Why Is “System Data” Taking Up So Much Space on Your Mac?
macOS
Key Takeaways
- You can find the System Data label by going to System Settings > General > Storage.
- System Data may include temporary files, app caches, iPhone backups, and anything else not easily categorized.
- Ways to free up System Data include restarting your Mac, deleting app caches, and removing old Time Machine snapshots.
If you’ve ever looked at your Mac’s storage settings to try and find out what’s using up all your space, you’ll have seen that it splits all your data into categories—apps, documents, photos, and so on. But there’s one category that isn’t obvious, and it’s often the largest of them all. So, what is System Data?
What Is System Data on a Mac?
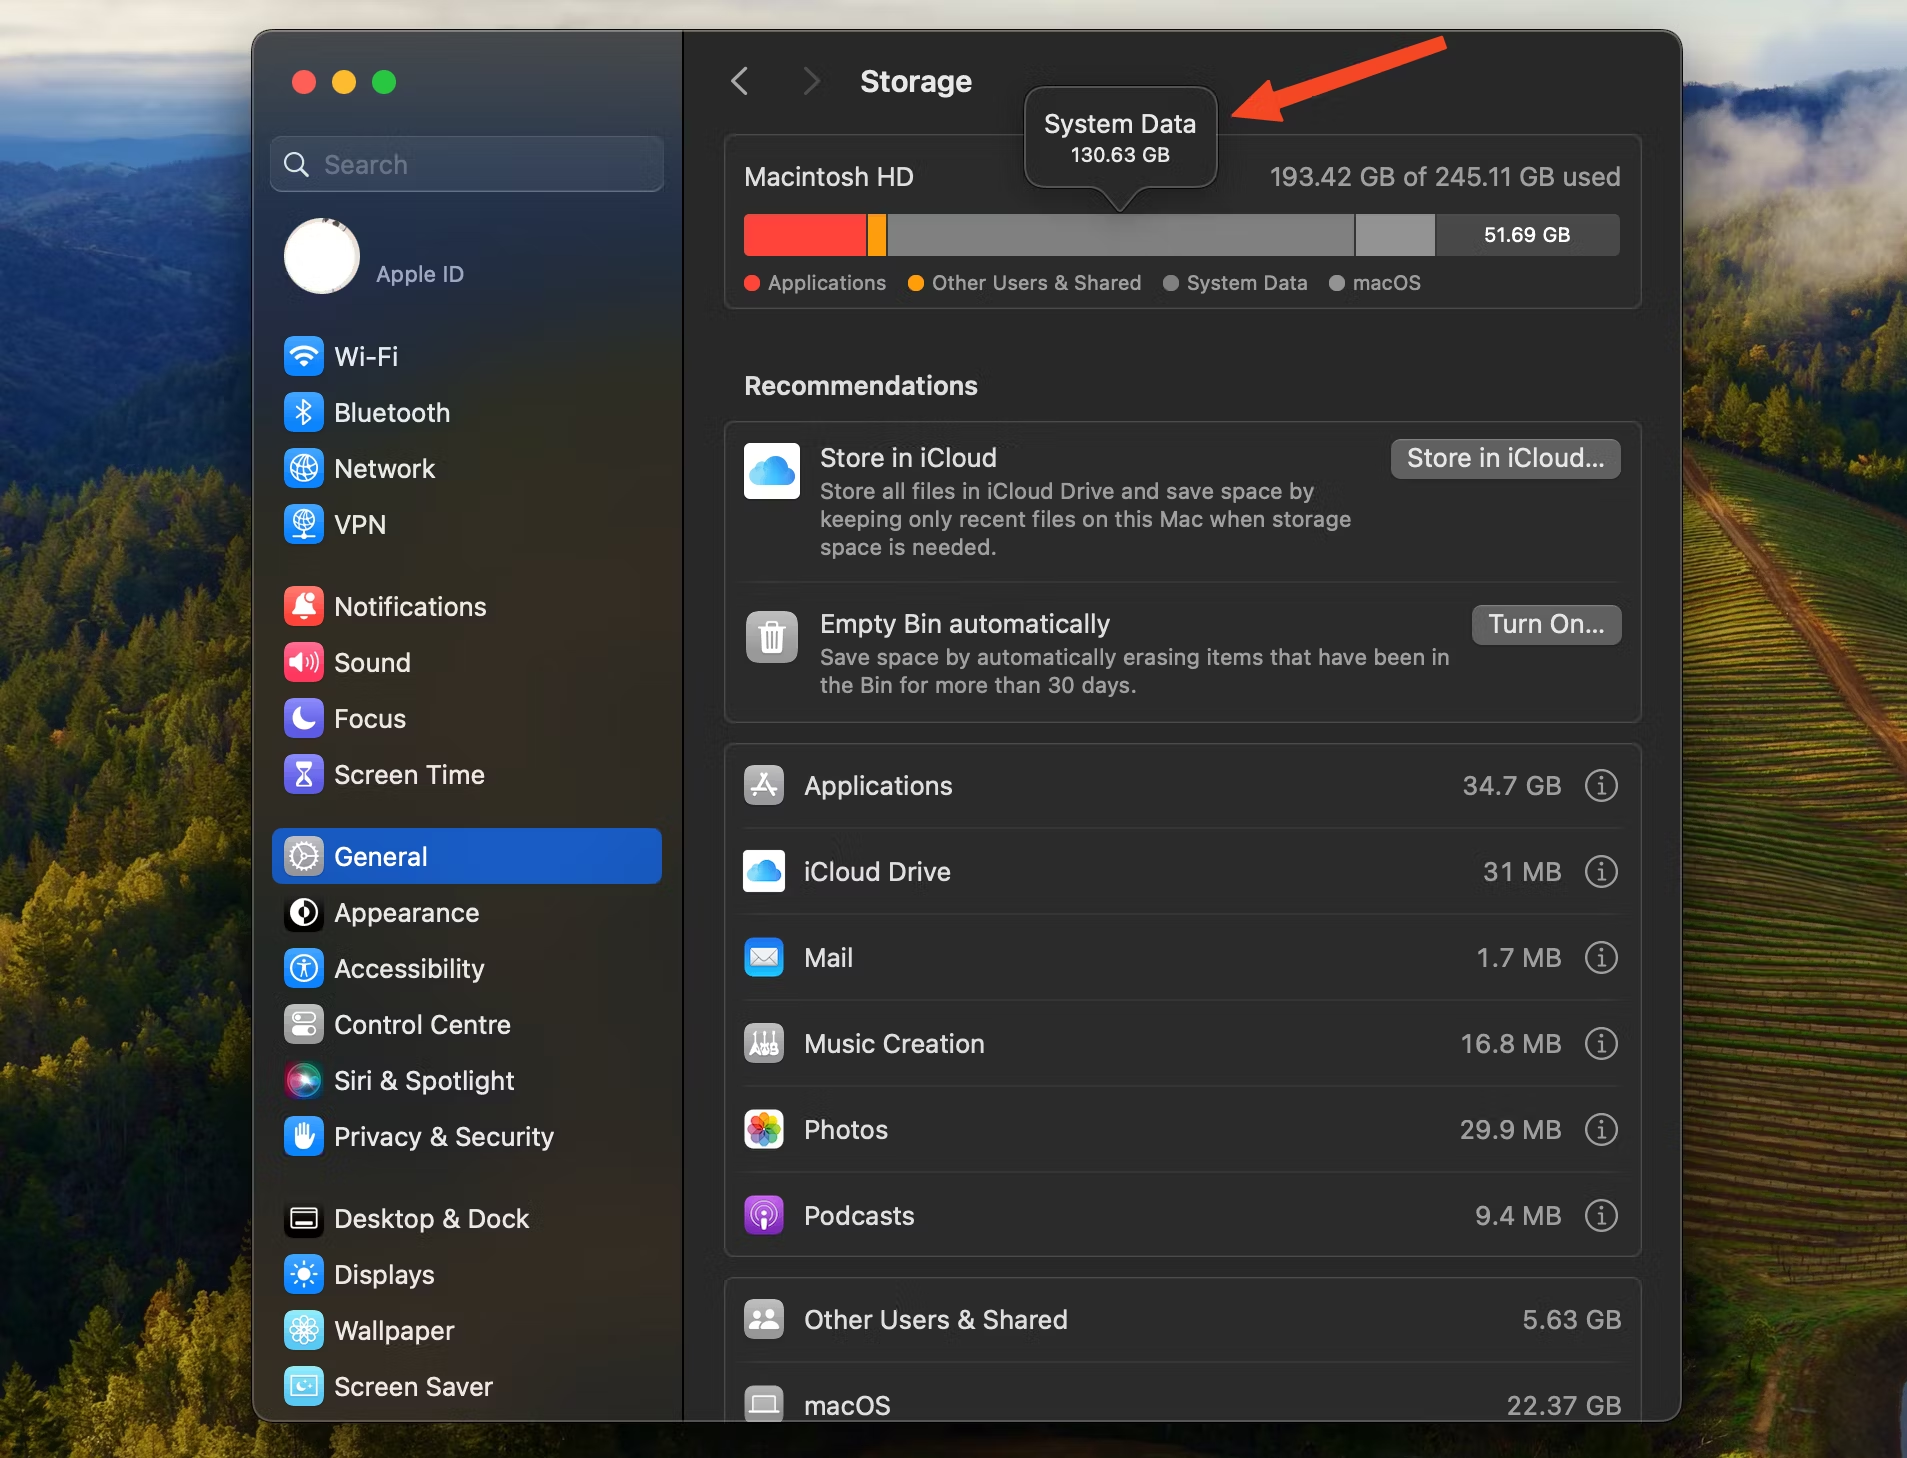
First, to check how the storage on your Mac is being used, click the Apple icon in the top left corner of the toolbar and go to System Settings > General > Storage.
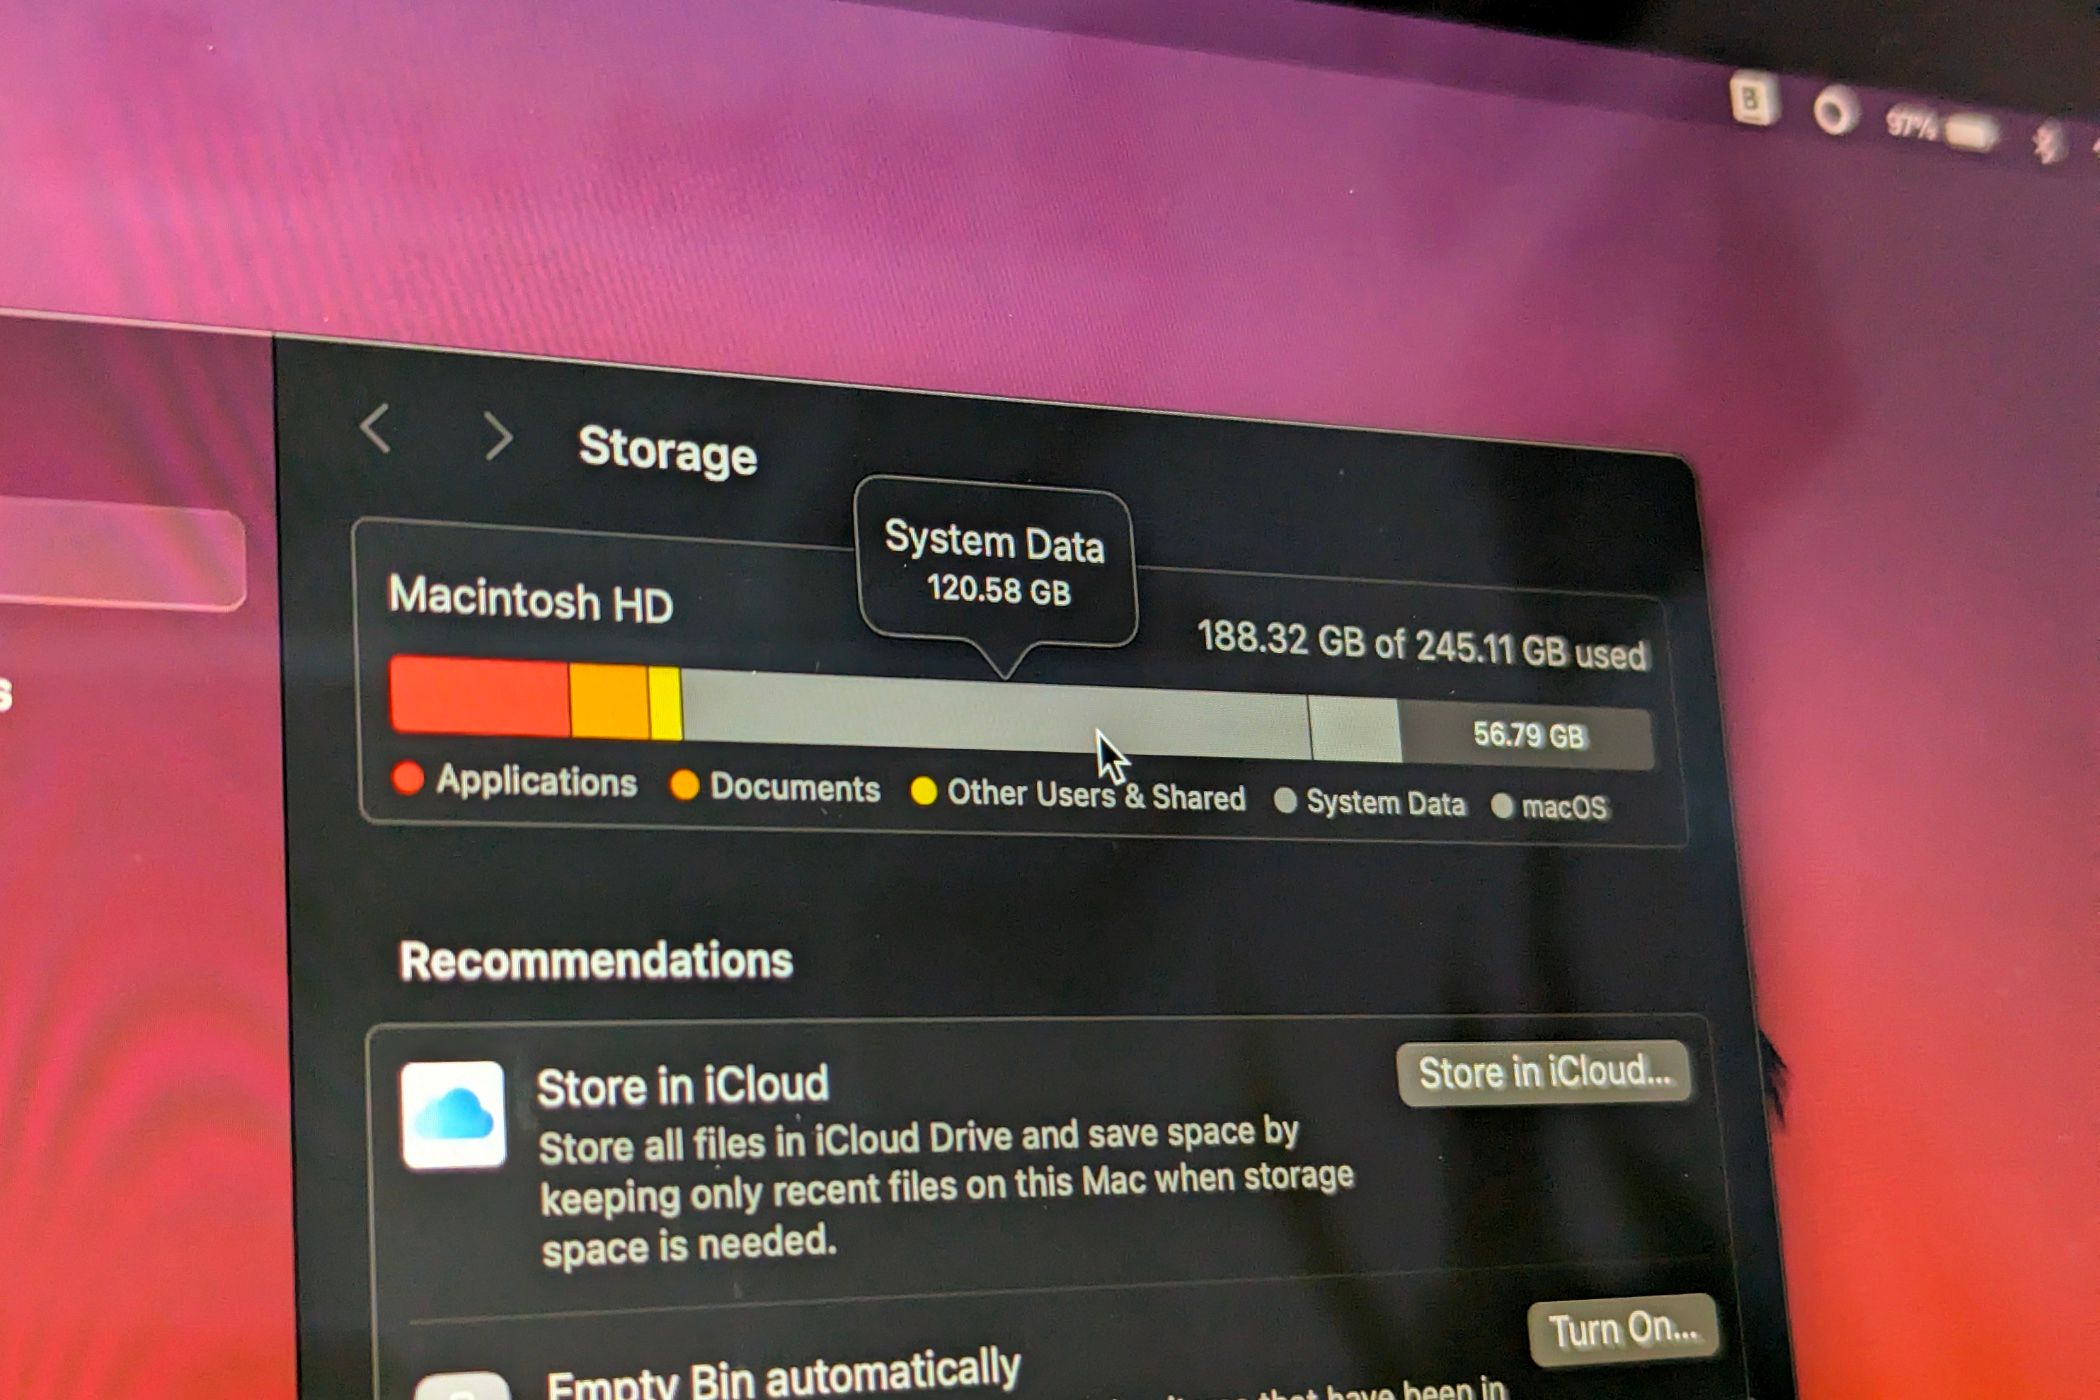
At the top of the window that opens, you’ll see a graphic showing a breakdown of the types of files you’ve got on your drive. It can sometimes take a minute or more to calculate the sizes.
Once it’s done, your files will be split into categories including applications, documents, system files, trash, photos, and more. Most of these are self-explanatory. But there’s one that’s somewhat vague called System Data, and it’s often surprisingly large.
On older versions of macOS, System Data might just be called System or grouped in with the macOS category.
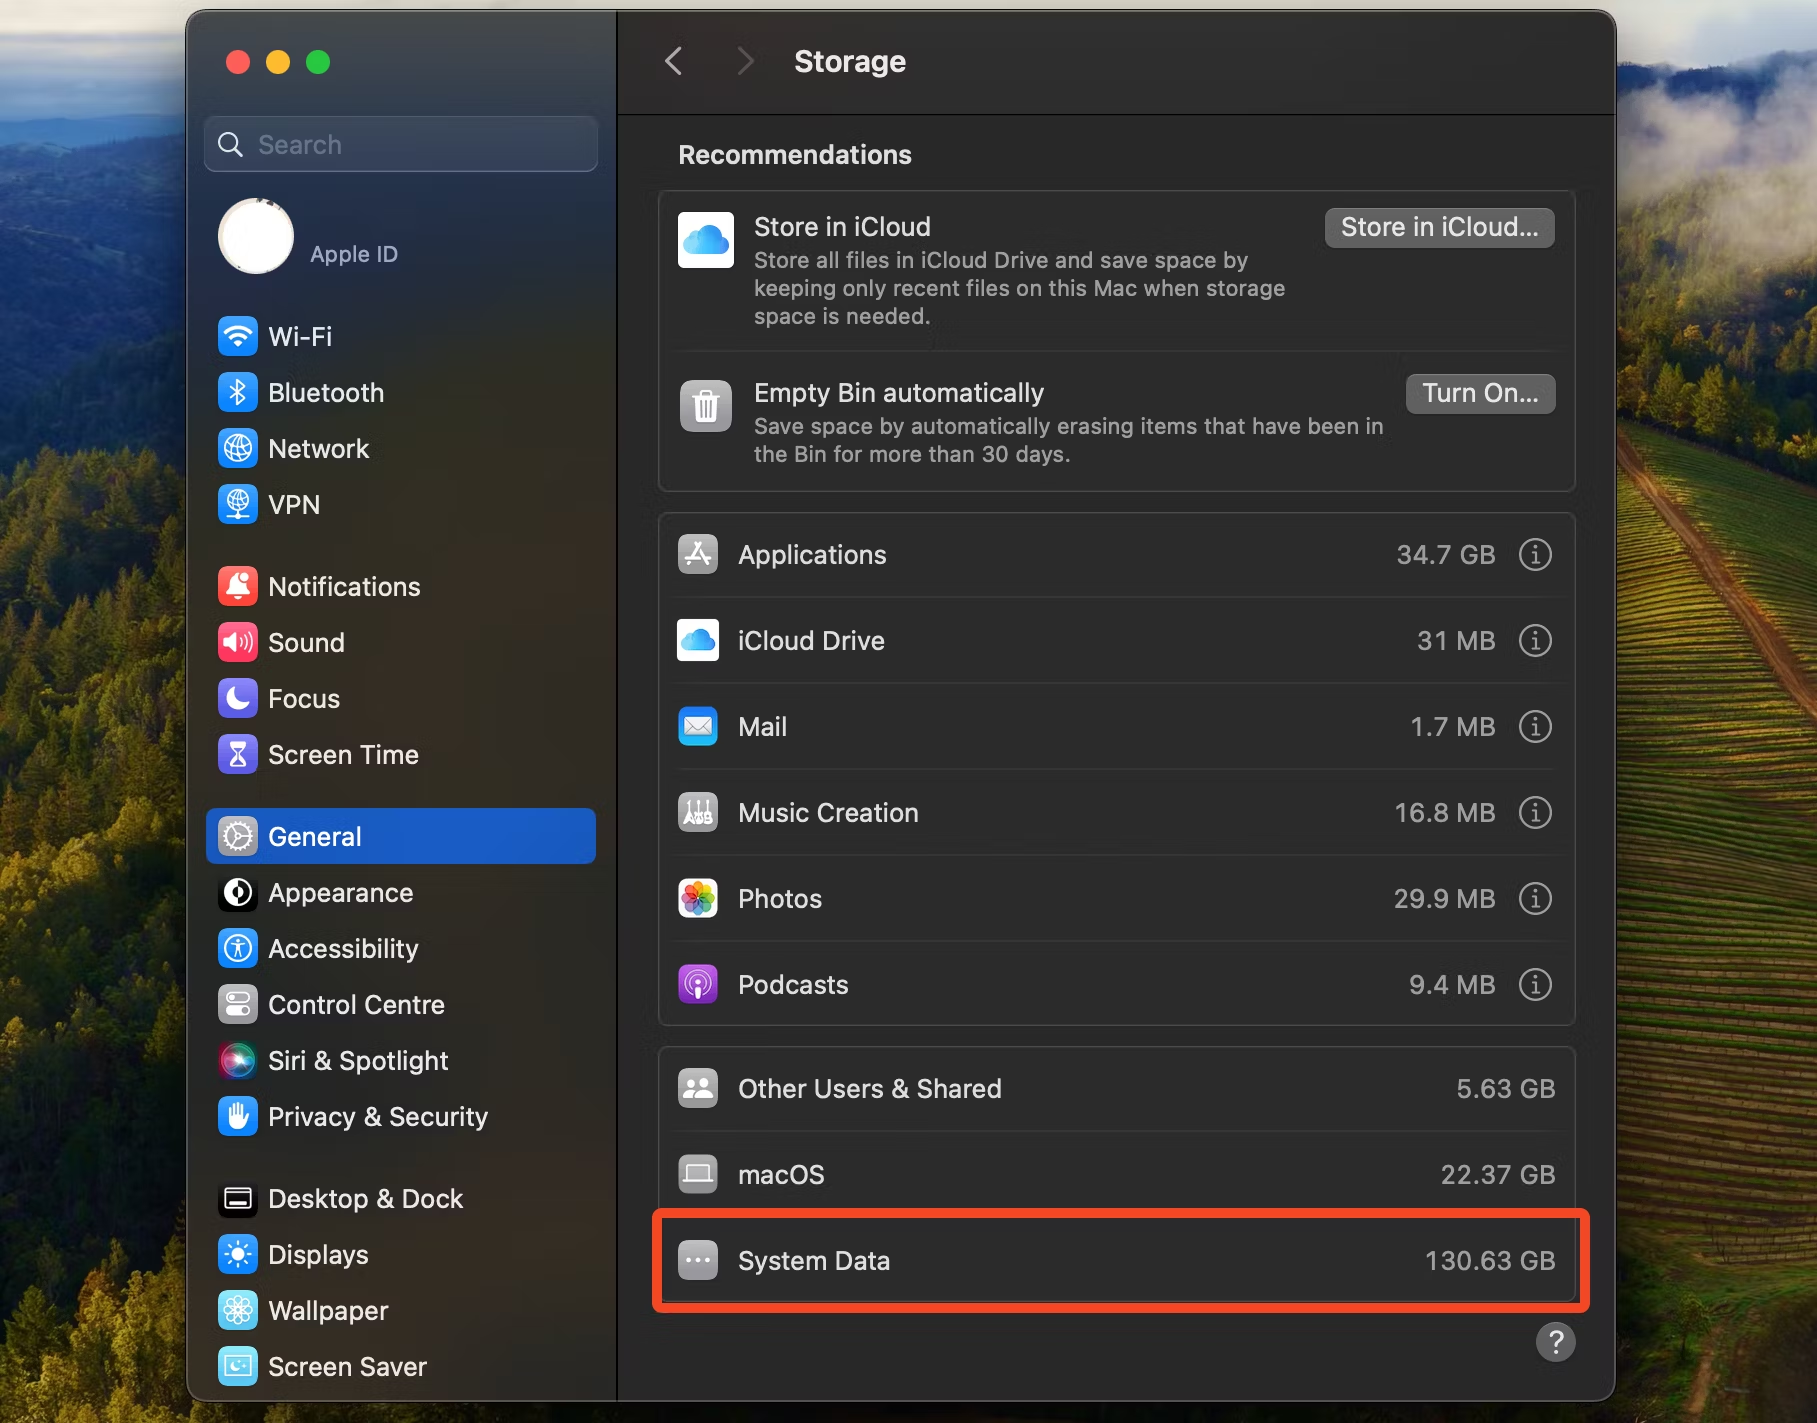
Scroll down, and you’ll see a little “i” inforation icon alongside a lot of the categories. Click the icon for more information on what’s in the category, and in some cases, you’ll have the chance to manage that data. In the Documents category, for instance, you can find and delete very large files.
But there’s no info icon next to System Data. So what exactly is it? Put simply, System Data is everything that cannot be placed into one of the other categories. It could be temporary files created by apps, old Time Machine snapshots, iPhone backups, app caches, large file downloads from within apps like plug-ins, parts of apps that have been left behind after you’ve uninstalled them, and pretty much anything else.
How to Free Up System Data on Your Mac
Because of the random nature of the System Data category, there’s no one-click solution to clearing it out. In most cases, you don’t need to worry about it because macOS will take care of it. It will delete files and free up space as and when it’s needed.
But if you are running out of space and your system data is particularly big, you can attempt to delete some of it.
You won’t be able to clear the System Data entirely, and you wouldn’t want to. Some of it is important for the smooth running of your Mac and programs.
Restart Your Mac
It’s a simple and obvious step, but restarting your Mac is a very easy way to reduce the system data size.
Apps save temporary files while they’re running, and they’ll often be deleted when you exit the app. But sometimes they aren’t, in which case a quick reboot will cause macOS to flush out a lot of the junk that’s no longer needed.
Delete Caches
Apps also often cache data so they can access it more quickly the next time they need it. These caches can get quite large over time, and there’s no simple way to delete them. Some apps let you do it in their settings, but you’ll have to root around to find the option. Browser caches are important but can get pretty big. The setting to clear the cache in Safari is hidden by default.
To enable it, go to Safari > Settings > Privacy, then click the “Advanced Settings” button and select “Show features for web developers.” This will add a new Develop menu to the Safari menu bar. Finish the process by going to Develop > Empty Caches.
In other apps, it’s easier. There’s a “Clear Browsing Data” option in Chrome, for example, and a “Clear Cache” button in the Spotify settings. Media apps and games in particular will get quite large caches—you should also clear the Steam cache from time to time.
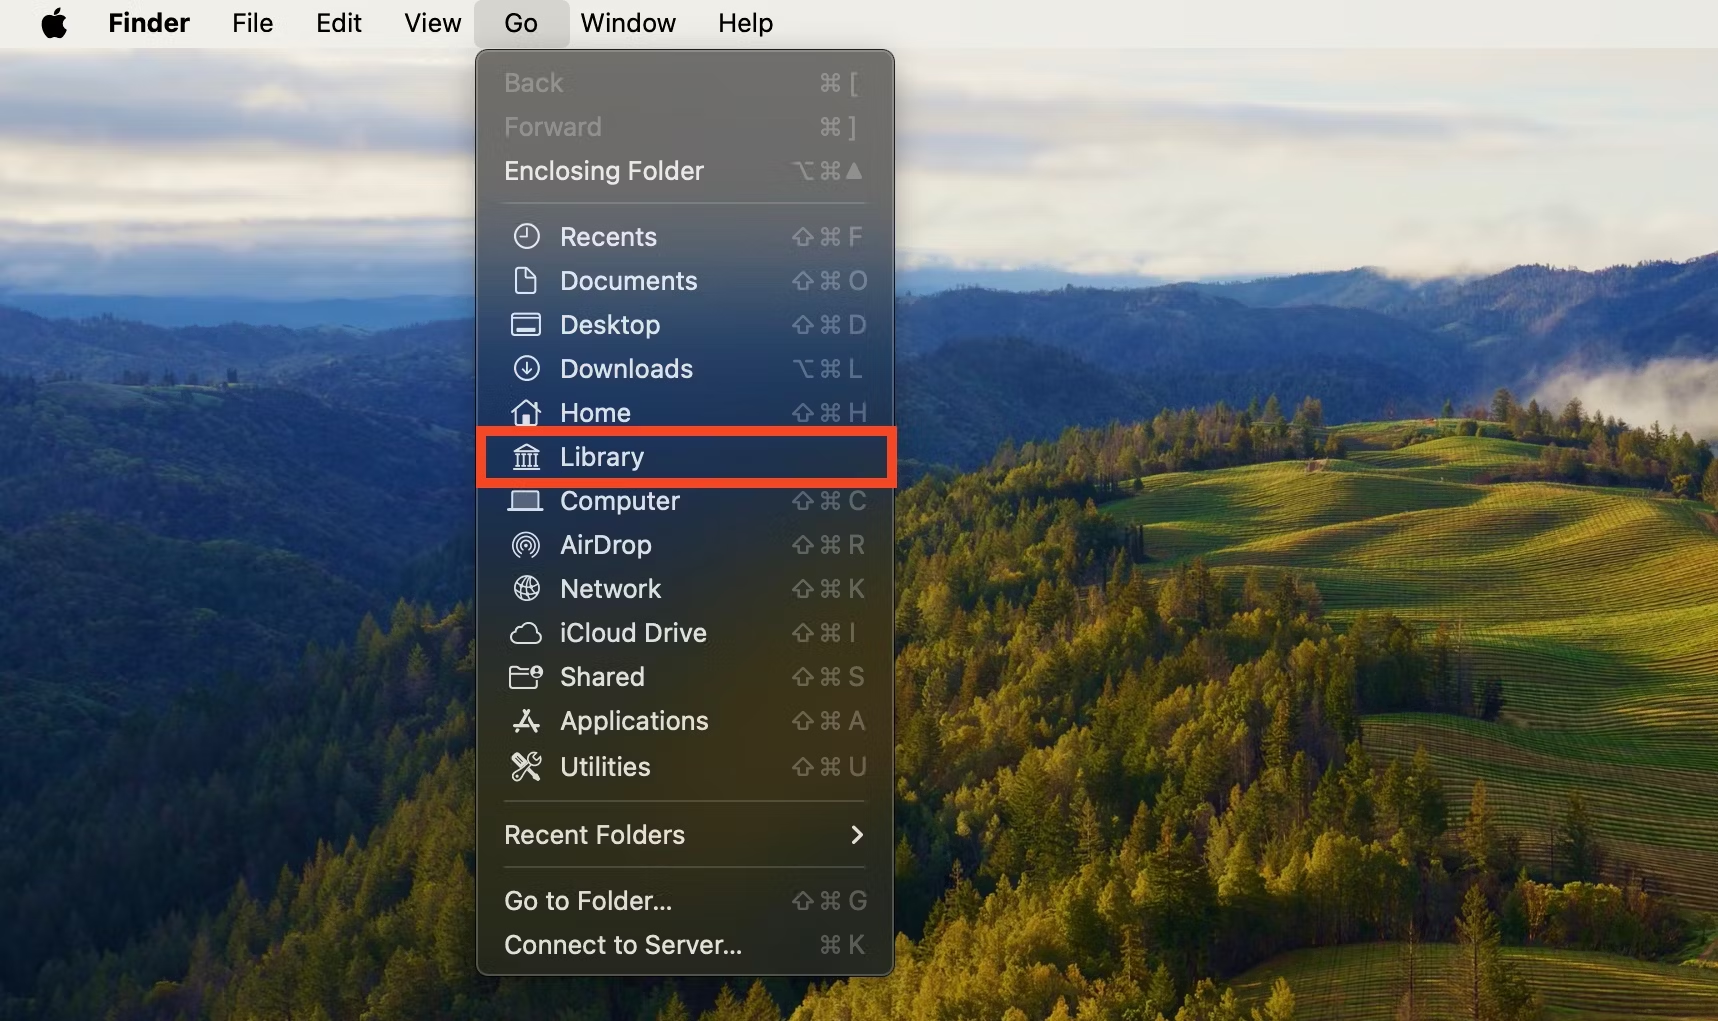
If an app doesn’t have a cache-clearing setting, you can do it manually instead. Open a Finder window and click “Go” in the menubar. Select “Library” from the menu—you might need to hold down the Option key to make it appear.
In the Finder window that opens, change the view to “List.” Then click Cmd+J to open the Options window and select “Calculate all sizes.” Finally, click “Size” at the top of the window to sort the folders by how big they are. “Caches” will often be the largest folder.
Open the Caches folder, and you’ll see all your apps and their cached data sorted by size. You can now work through these and identify any that are particularly large—in the high hundreds of megabytes, or even gigabytes. Also look for any folders relating to apps you’ve uninstalled, which can occasionally get left behind after you remove them.
To clear it, just open the folder for an app and delete the contents. The cache will start to be rebuilt next time you launch the app.
Delete Time Machine Snapshots
If you use Time Machine to back up your Mac, it will by default save snapshots of those backups to your internal storage.
They’re handy because they allow you to access and roll back to older versions of your files. However, they can use up a lot of space over time. macOS will manage them automatically, but you can do it yourself if you want to be more proactive in freeing up space.
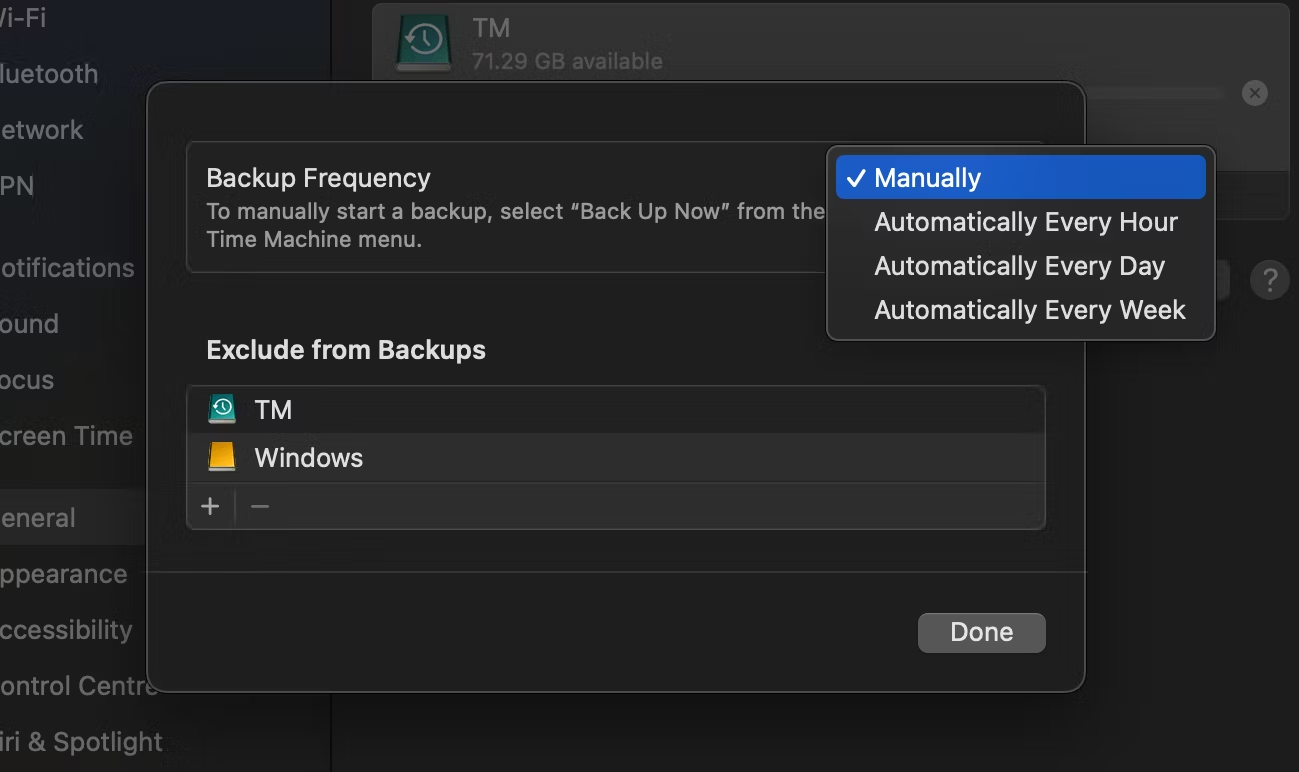
Go to System Settings > General > Time Machine to access the Time Machine settings. Click the “Options” button, and set Backup Frequency to “Manual.” This will delete all the saved snapshots on your hard drive. Now, set the frequency back to one of the Automatic options to get Time Machine working normally again.
Delete iPhone Backups
iPhone backups also come under the System Data category and they can be several gigabytes in size. You can find your iOS backups by connecting your phone, selecting it in the Finder, and going to “Manage Backups.” Delete the ones you don’t want.
To do it without connecting your phone, go to Library > Application Support > MobileSync > Backups, and delete them manually.
Your iOS devices also have System Data
that you can clear to free up space.
Delete Leftover App Files
The standard method for uninstalling apps on macOS—dragging them into the trash—doesn’t always work as cleanly as it could. Apps often leave behind folders containing large amounts of data that clutter your system.
Go back to the Library folder in Finder, and sort the folders by size again, as outlined in the “Delete Caches” section above.
The Containers and Application Support folders are likely to be the next two biggest folders, along with Caches.
You don’t want to be deleting random stuff from these folders, but you can look through their contents to find any apps that you’ve uninstalled and no longer need. The Adobe apps can often leave large folders behind if you don’t uninstall them properly, as well as media creation apps.
If you spot any folders relating to programs you no longer have, delete them. Remember to empty your trash after you’ve done it.
Properly Uninstall Apps
The best way to avoid having folders leave large amounts of content behind after you’ve uninstalled them is to make sure you uninstall them properly.
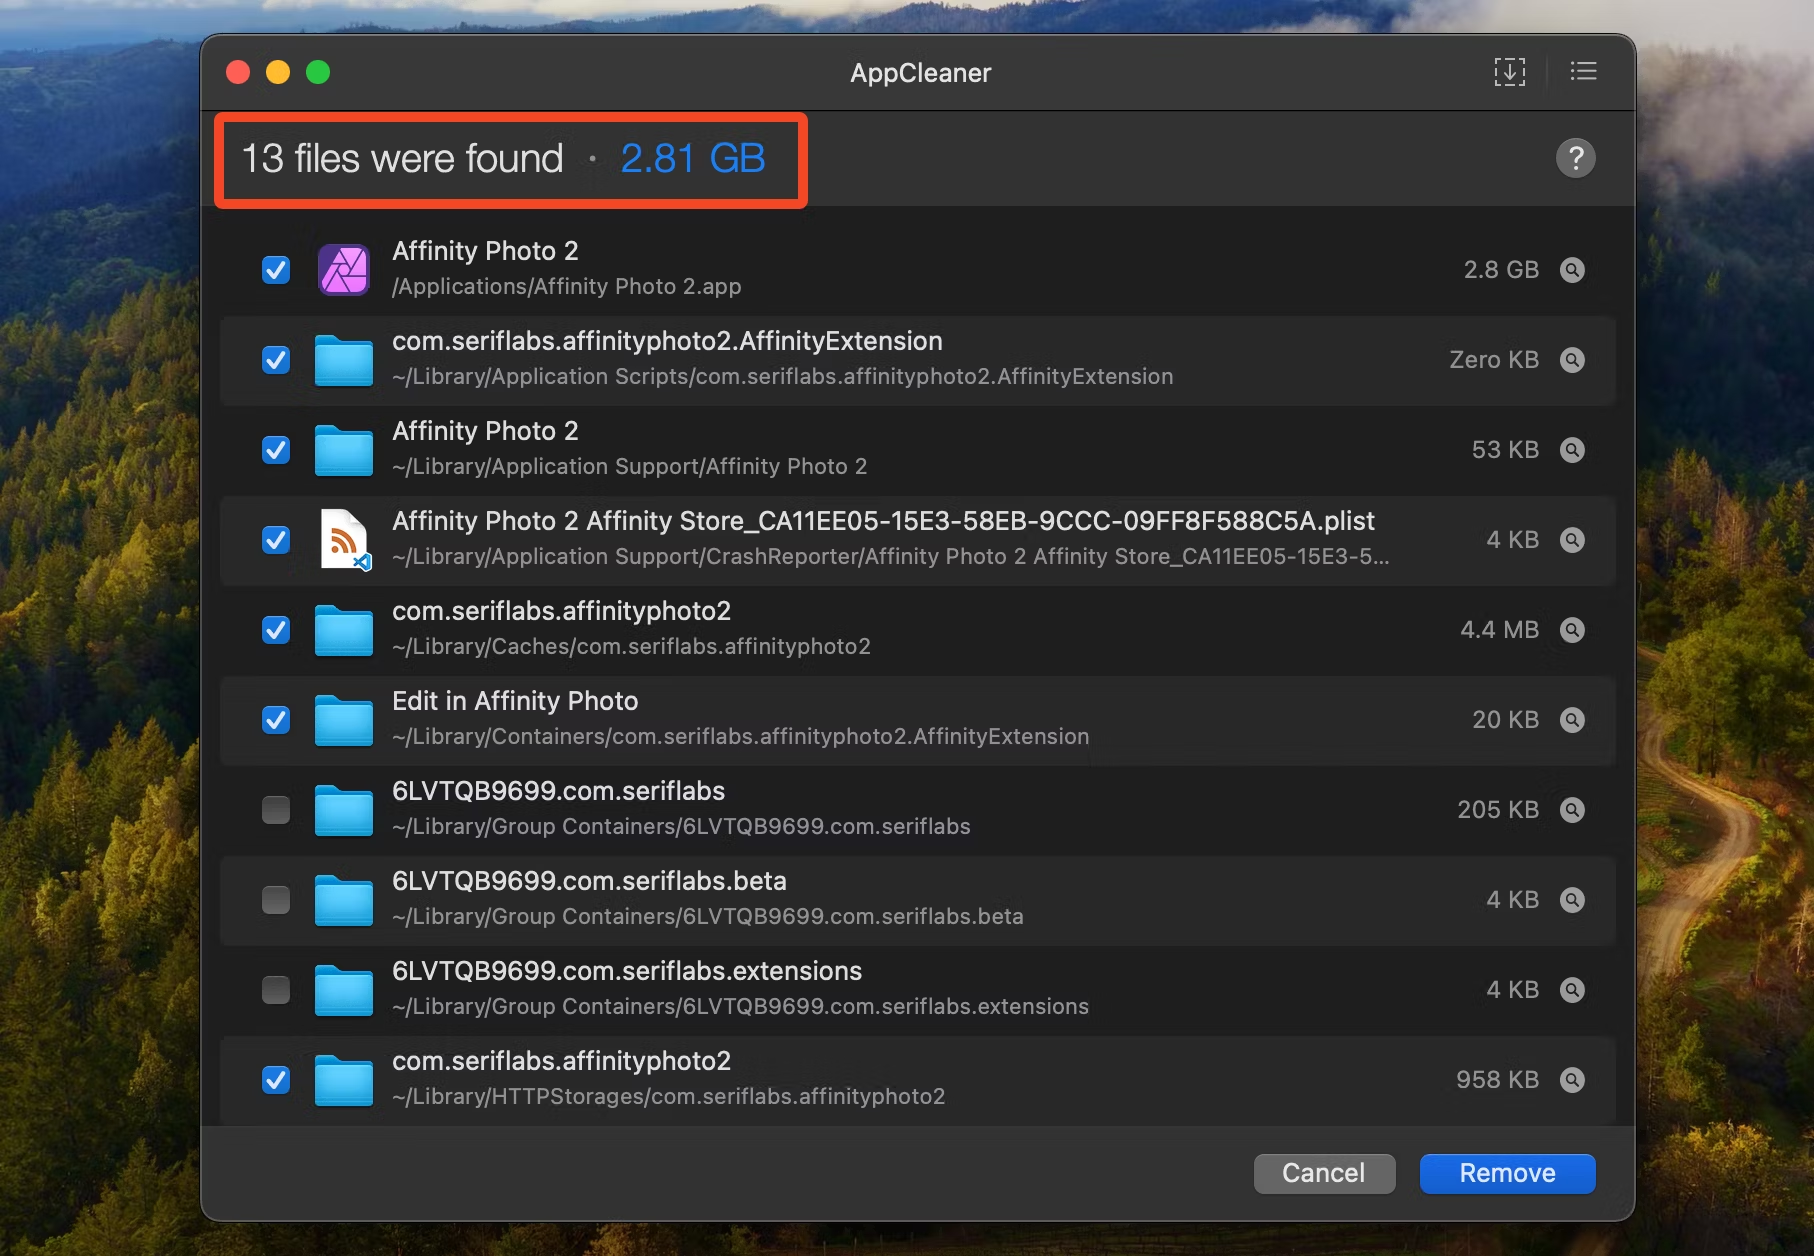
I always recommend App Cleaner, which is much more efficient than simply dragging the app into the trash.
After you install, move the app’s icon into your dock. Then, when you want to uninstall an app, drag it onto the App Cleaner icon. It will track down all the folders connected to that app, and you can delete them all in one go.
The System Data category in the storage options on a Mac is quite confusing because it’s very vague. Essentially, it contains everything that cannot be categorized in another way. You don’t have to worry about it too much, but if you want to trim it down, these tips could reduce the size by potentially tens of gigabytes.


