Use the Word Mobile App to Transcribe Your Speech in Real Time
Microsoft Word
Quick Links
-
How to Use Microsoft Word Dictation
-
Navigational and Formatting Commands
-
Other Tips You Should Know
There are many voice recording apps, and there are many transcription services. However, the Microsoft Word mobile app combines these two capabilities in one place, saving you time, effort, and—if you’ve already paid for Word—money.
The Microsoft Word dictation feature is only available to Microsoft 365 subscribers or people who have purchased a one-off version of Office or Word. You also need to use a microphone-enabled device and have a reliable internet connection.
How to Use Microsoft Word Dictation
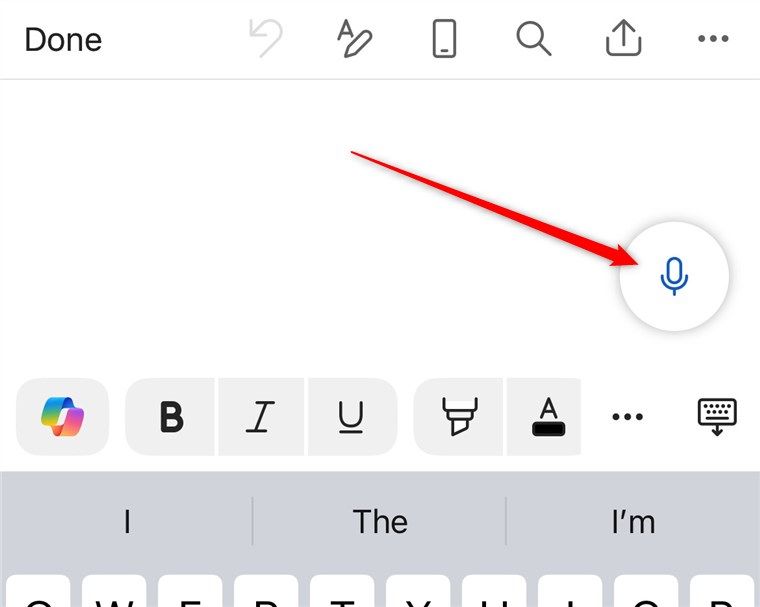
To begin, open a new or existing document via the Microsoft Word or Microsoft 365 mobile app, and tap the microphone icon that appears in the bottom-right corner of your screen. The screenshot below shows the icon on an iPhone, though it’s very similar (and hard to miss!) on an Android device.
When you tap the microphone icon, it will change to a keyboard icon, which you can tap to stop recording and return to typing mode.
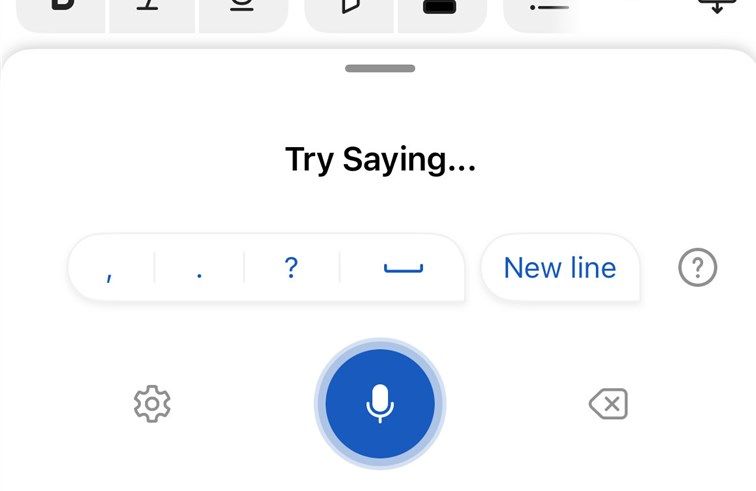
And just like that, you’re ready to go! The pane at the bottom of your screen—including a pulsating blue microphone icon—lets you know that the app is listening.
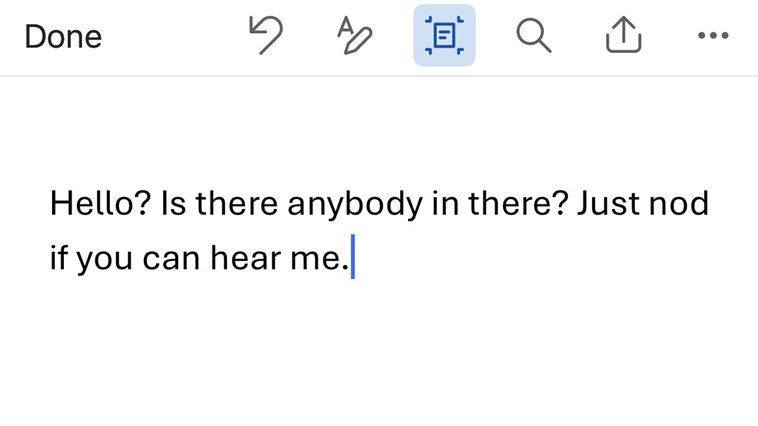
As soon as you start talking, Word will begin transcribing what you say.
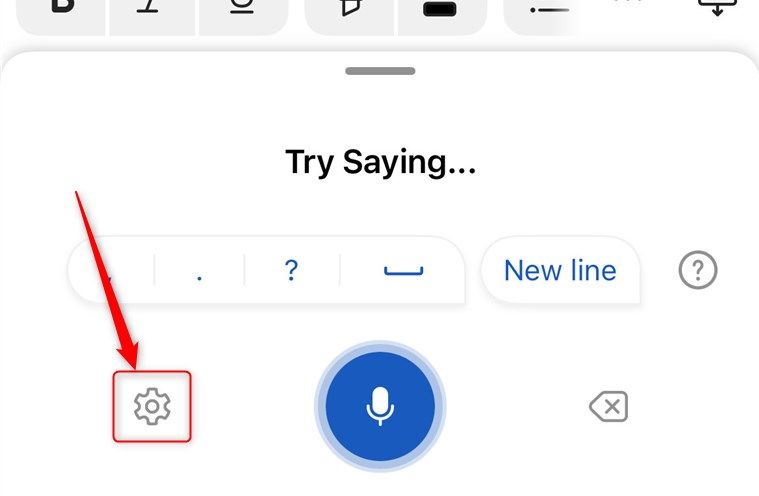
To change the language, enable or disable automatic punctuation, or decide whether sensitive terms should be filtered out, tap the “Settings” cog in the bottom-right corner of the transcription pane. At the time of writing (February 2025), the Word mobile app’s dictation tool supports nine languages—including English, French, Spanish, and Hindi—with a further 30—such as Bulgarian, Irish, and Thai—in preview.
Here, you can also activate or deactivate spoken commands.
Navigational and Formatting Commands
As well as transcribing what you say, the Word mobile app’s dictation feature also understands many commands. Here are some to get you started, though this list is by no means exhaustive!
“That” is a key word when using the Microsoft Word mobile dictation tool. For example, if you say “Highlight that yellow”, Word will highlight the last thing you said. Another example is “Uppercase that,” which turns the previous thing you said to block capitals. In other words, “that” means “the last thing I said.”
|
Command |
What The Command Does |
|---|---|
|
Delete |
Removes the previous word or punctuation |
|
Delete that |
Removes the last sentence or few words you just added |
|
Delete the last [number] words |
Removes the specified number of words before the cursor |
|
Delete from [word] to [word] |
Removes all the text between and including the two specified words |
|
Bold [word] |
Turns the specified word bold (or whichever formatting you choose) |
|
Underline the last sentence |
Applies underline (or whichever formatting you choose) to the previous sentence |
|
New line |
Moves the cursor to the next line |
|
Add comment |
Creates a blank comment box where you can type a comment |
| [Punctuation] |
Adds the specified punctuation |
|
Undo |
Undo the last action |
|
Smiley/frowny/winky face |
Uses punctuation to create a pictograph of a facial expression, such as 🙂 or 😉 |
|
Align center/left/right |
Aligns the current paragraph to the center, left, or right |
|
Create bullet/number list |
Starts a new bullet or numbered list on the next line |
|
Stop dictation |
Turns off the microphone and ends the dictation |
Other Tips You Should Know
Here are some things that I’ve found help me use the transcription feature like a pro:
- Before you start, make sure your Word document is not read-only—otherwise, the dictation icon will be grayed out. Also, make sure no other apps or web pages are using your microphone.
- Practice using the Word mobile app’s dictation feature, including some of the commands above, before you use it for real. Spending even five minutes playing around with the tool is enough to understand how it works.
- Try to reduce the amount of background noise.
- Use a headset or an external microphone if you plan to use the dictation tool for long periods.
- Don’t speak too quickly!
- Although Word’s transcription tool is great, don’t expect it to always work perfectly. Always proofread your work and use Microsoft Editor if you plan to send it to someone else or publish it as a final version.
You can also get Word to transcribe your speech on the desktop app and in Word for the web. On the other hand, if you want somewhere less formal to create your transcriptions than in Word, Microsoft OneNote also has a transcription function for turning your speech into notes.


