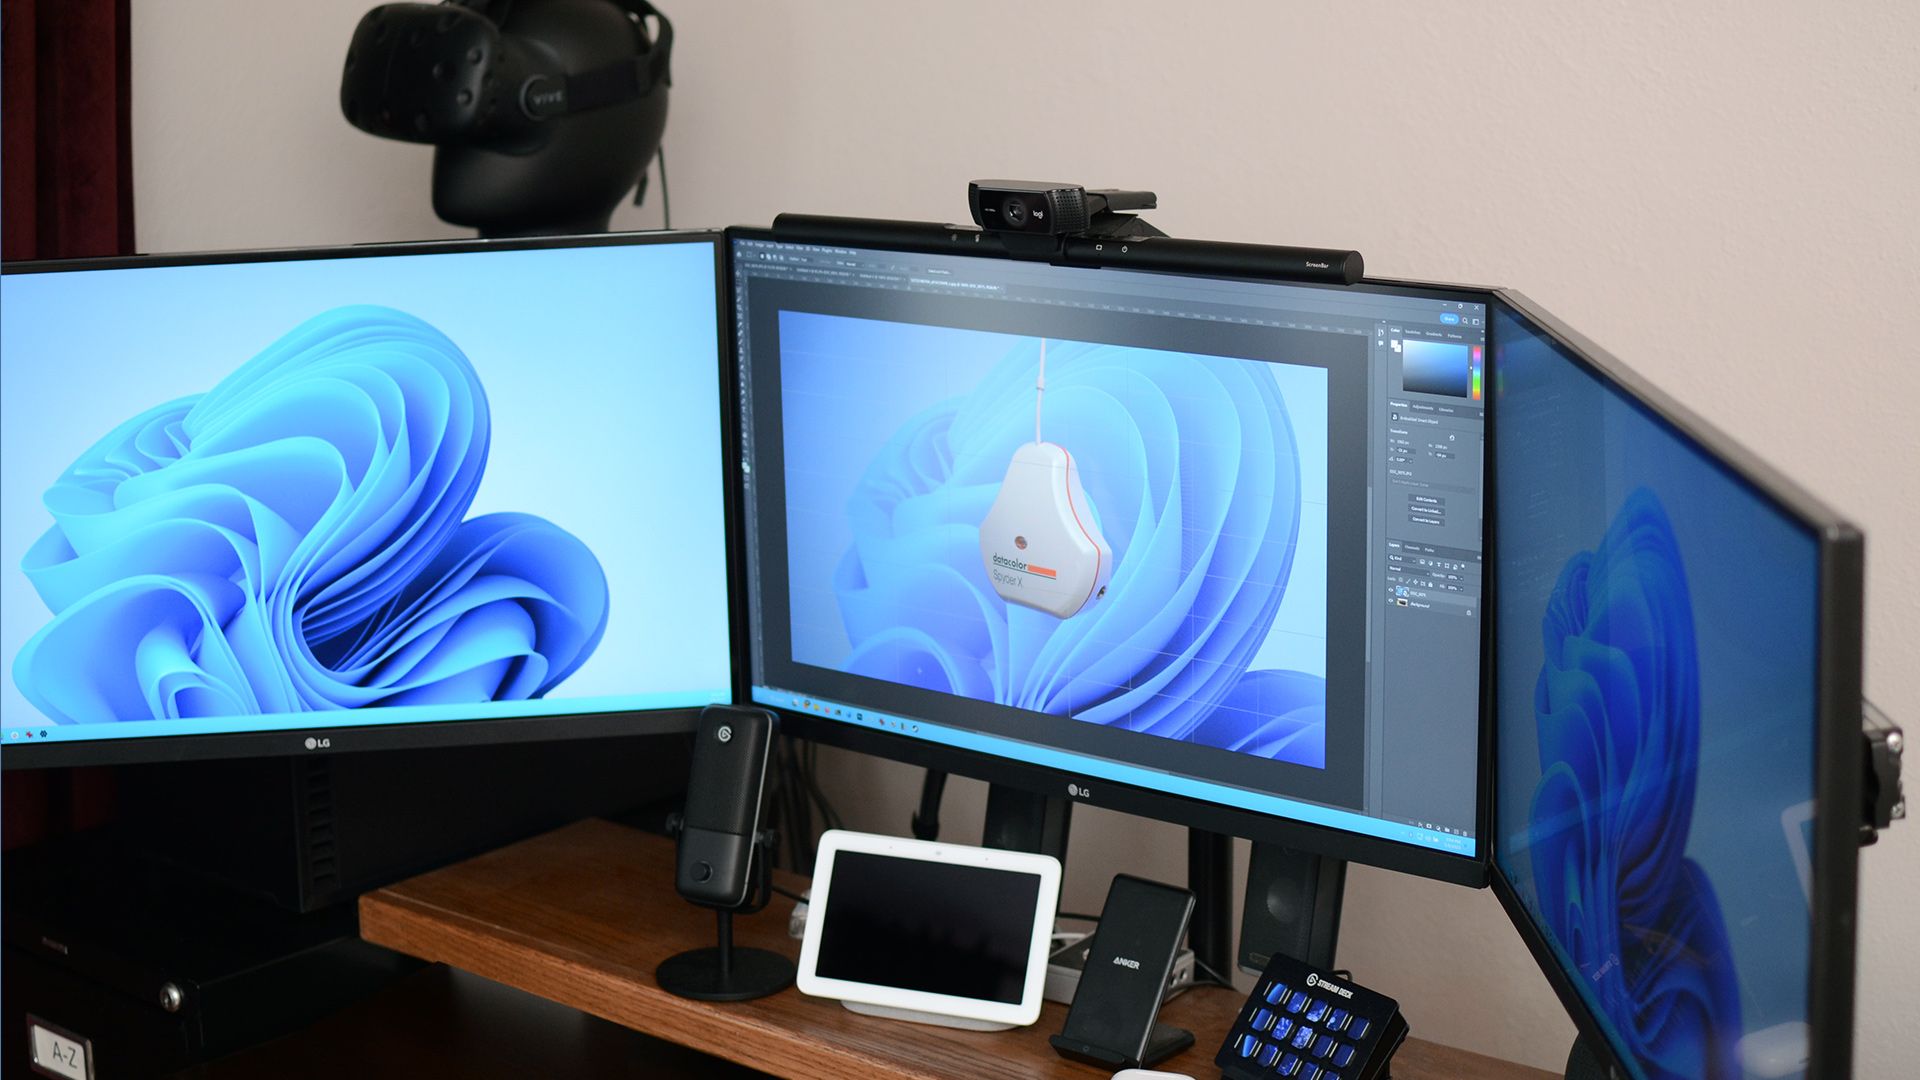
So You Bought a 4K Monitor, 5 Things to Do Next
Quick Links
-
Finalize the Placement
-
Choose the Right Video Cable
-
Apply Latest Firmware Updates
-
Configure the Monitor
-
Calibrate the Colors
Alright, you have taken the plunge and upgraded to a 4K monitor. Now, you can access a higher resolution for crisper visuals and text. However, acquiring the monitor is just the first step. Here are the top five things to do to get the most out of your newest purchase.
1
Finalize the Placement
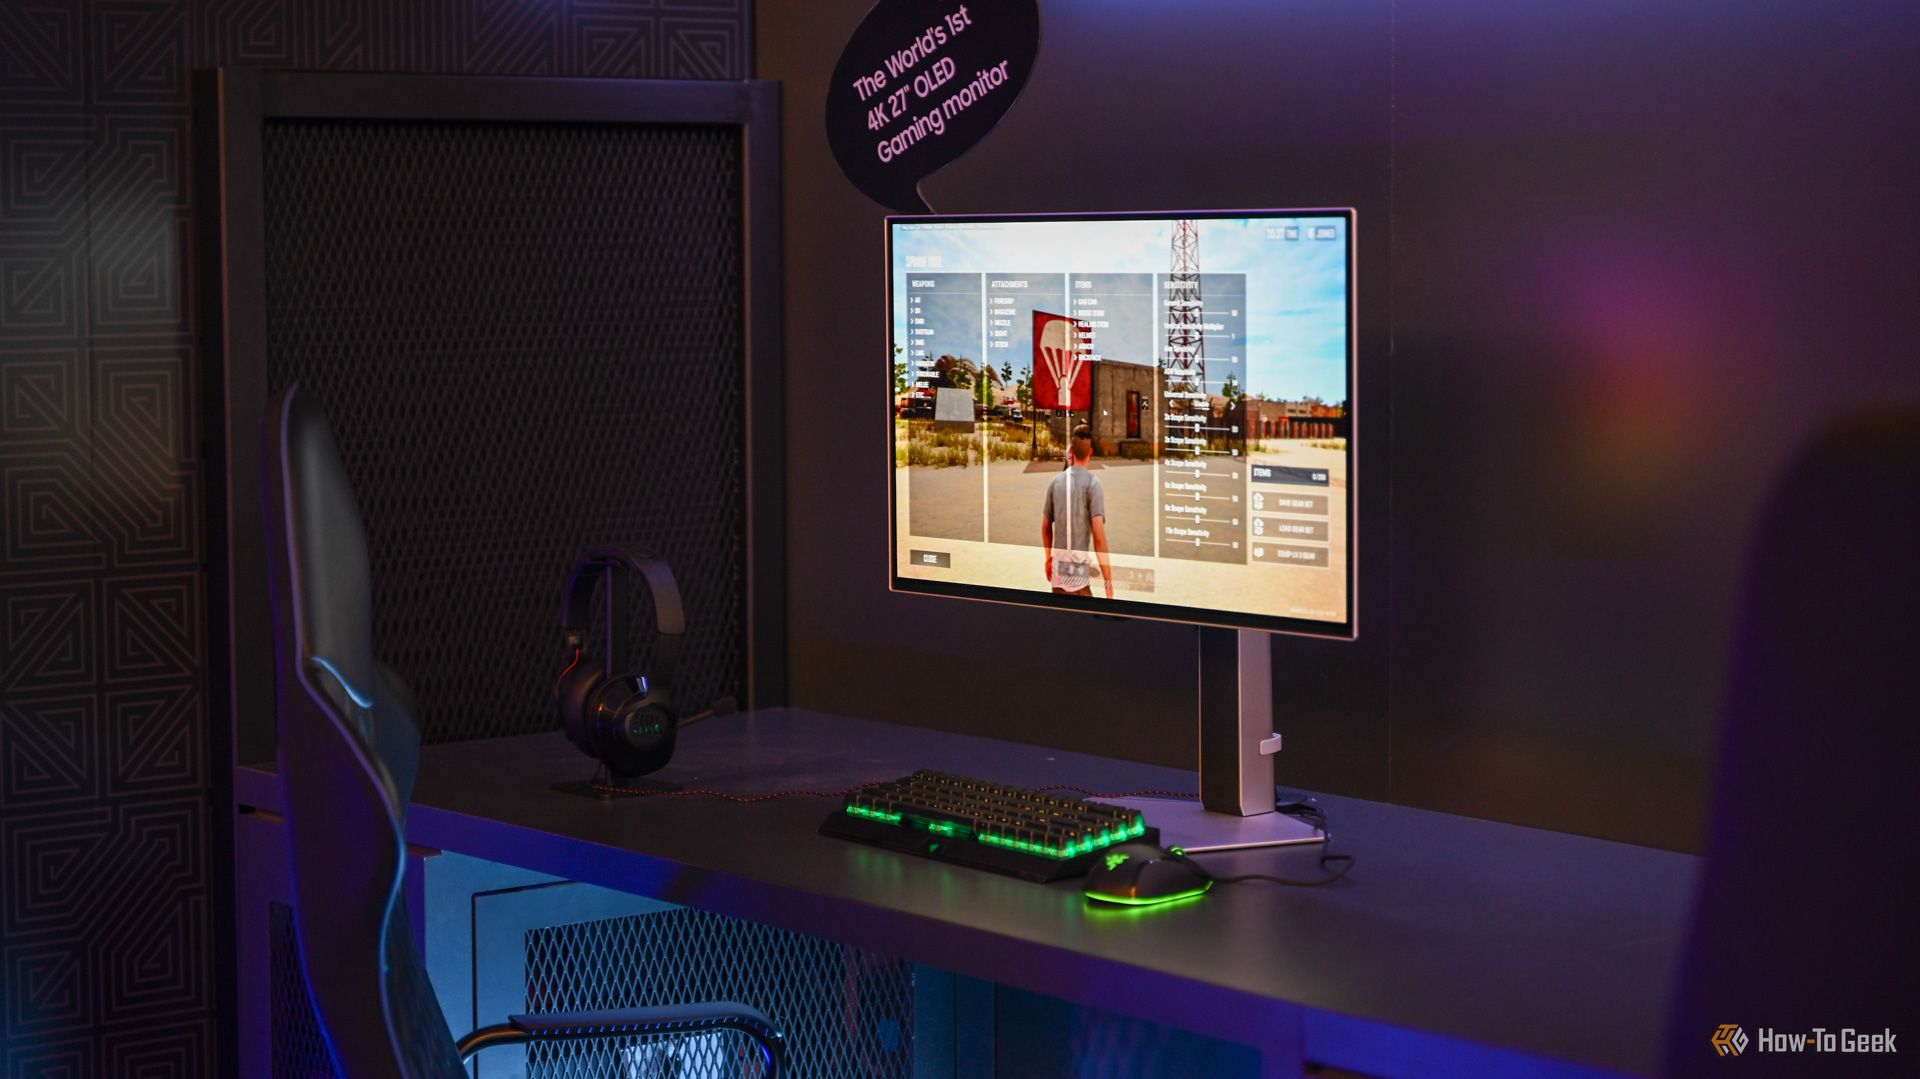
One of the first things you have to do after buying a 4K monitor is to decide its placement. You’ll have to find a comfortable and ergonomic position for your monitor. A 4K monitor is capable of displaying incredible detail. However, finding the correct viewing distance is essential to make the most of this resolution.
You can sit close to a 4K monitor as you won’t see the individual pixels. But you also have to take the screen size into account. You want to be able to view the entire screen without needing to move your head excessively. However, if you are too far, you risk straining your eyes. You can start by sitting at an arm’s length away from the monitor and then adjust to get a comfortable viewing distance.
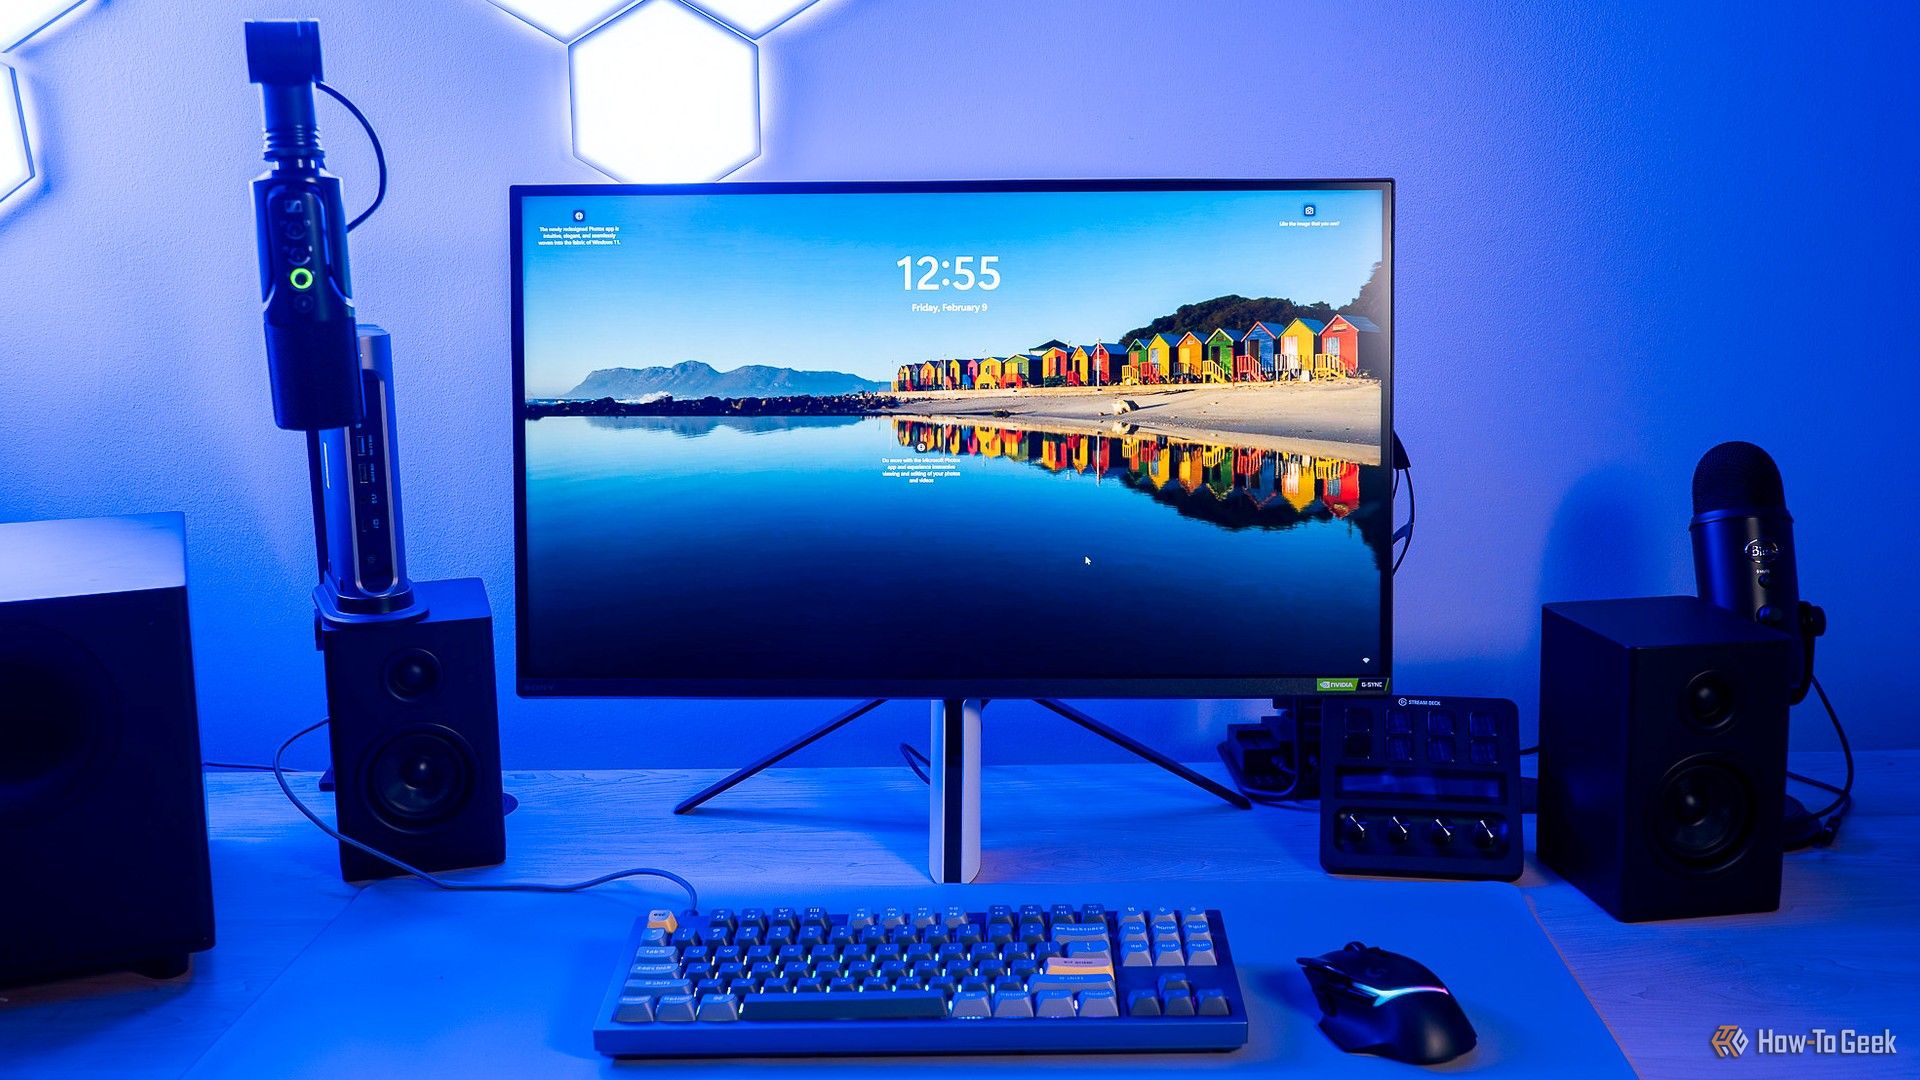
Moreover, you can either use the supplied stand or a monitor arm to adjust and get the perfect viewing angle. It’s typically a good idea to keep the top of the monitor at your eye level or slightly below. This helps you avoid neck strain and general discomfort.
Your monitor’s placement relative to the various light sources in the room is also crucial, as you don’t want distracting glare and reflections. Use curtains or blinds to control natural light, and move the setup if necessary to adjust according to the lighting fixtures to avoid direct glare.
Invest in a desk that can easily accommodate your monitor and computer peripherals. While desk shopping, you may also want to consider any possible future additions to your setup, such as a second or third monitor. If you don’t want to shell out for a new desk, one way to free up desk space is a monitor arm.
Lastly, don’t forget about cable management for a cleaner and more professional-looking setup. Although many monitors have built-in slots to route your cables, you can use cable ties, sleeves, adhesive clips, and other tools to manage and hide the cables.
Related
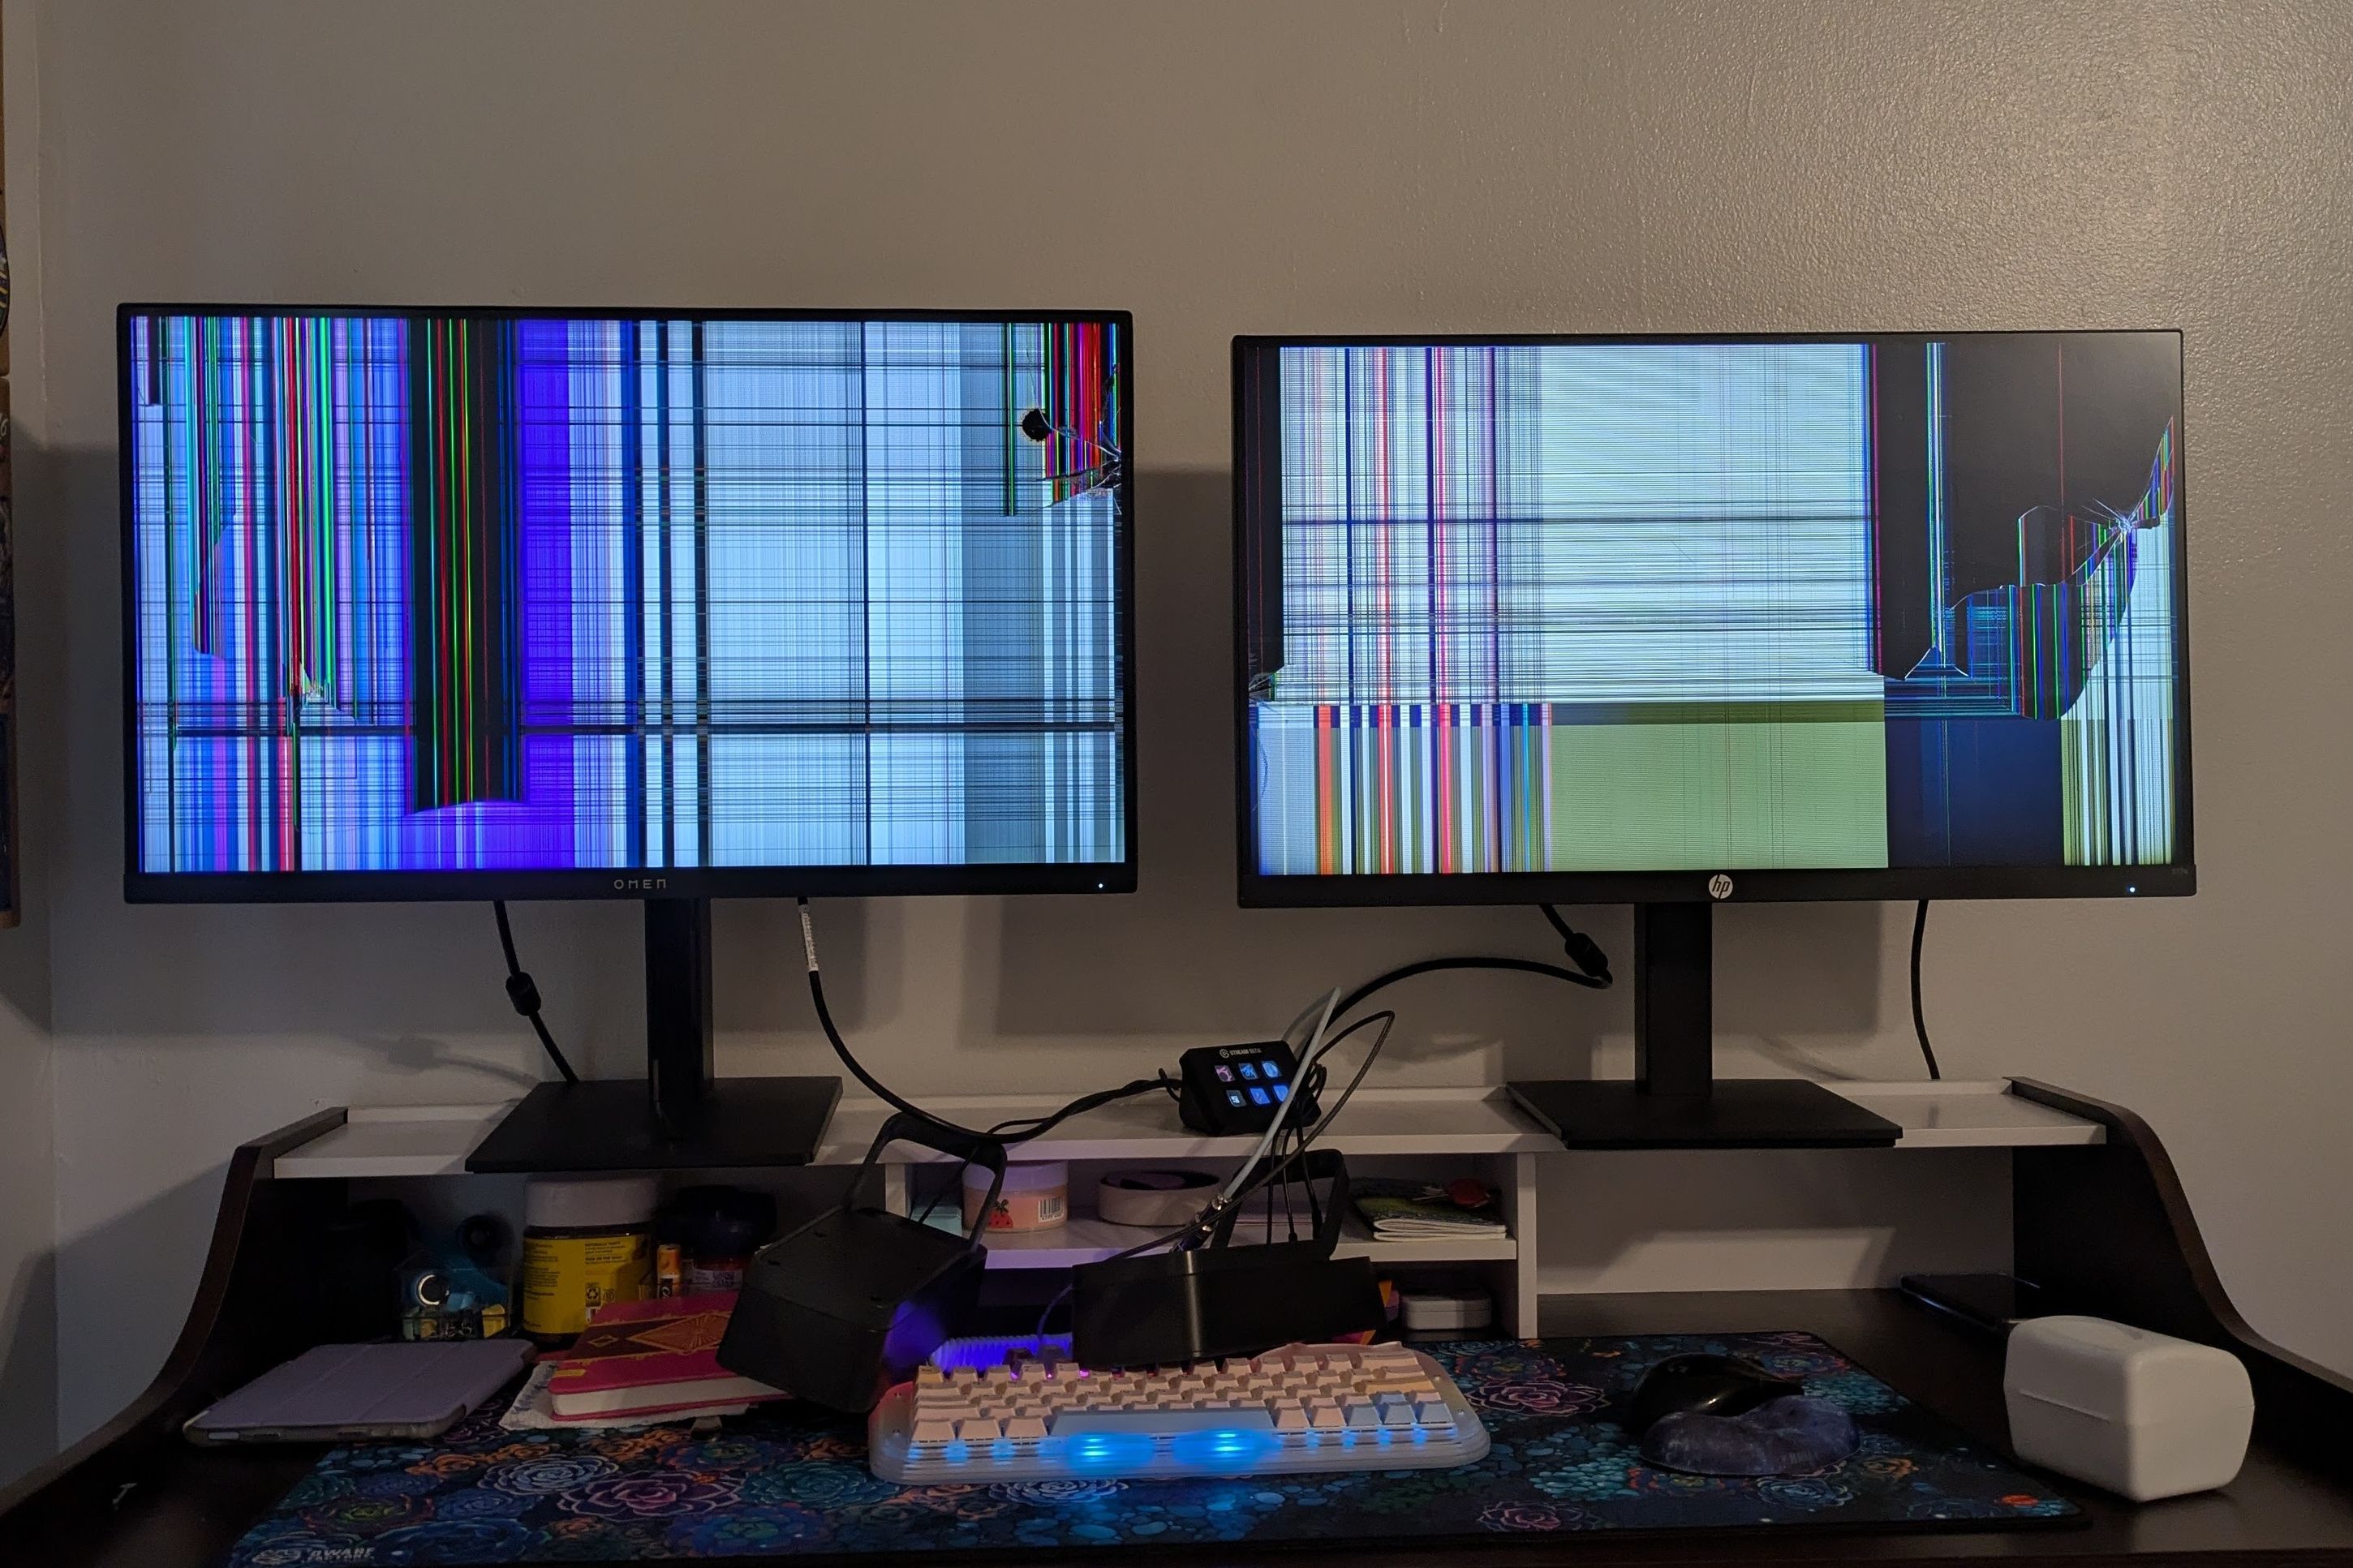
Don’t Be Like Me, Buy a Monitor Arm Before It’s Too Late
A little extra money and time now will save your wallet pain later.
2
Choose the Right Video Cable
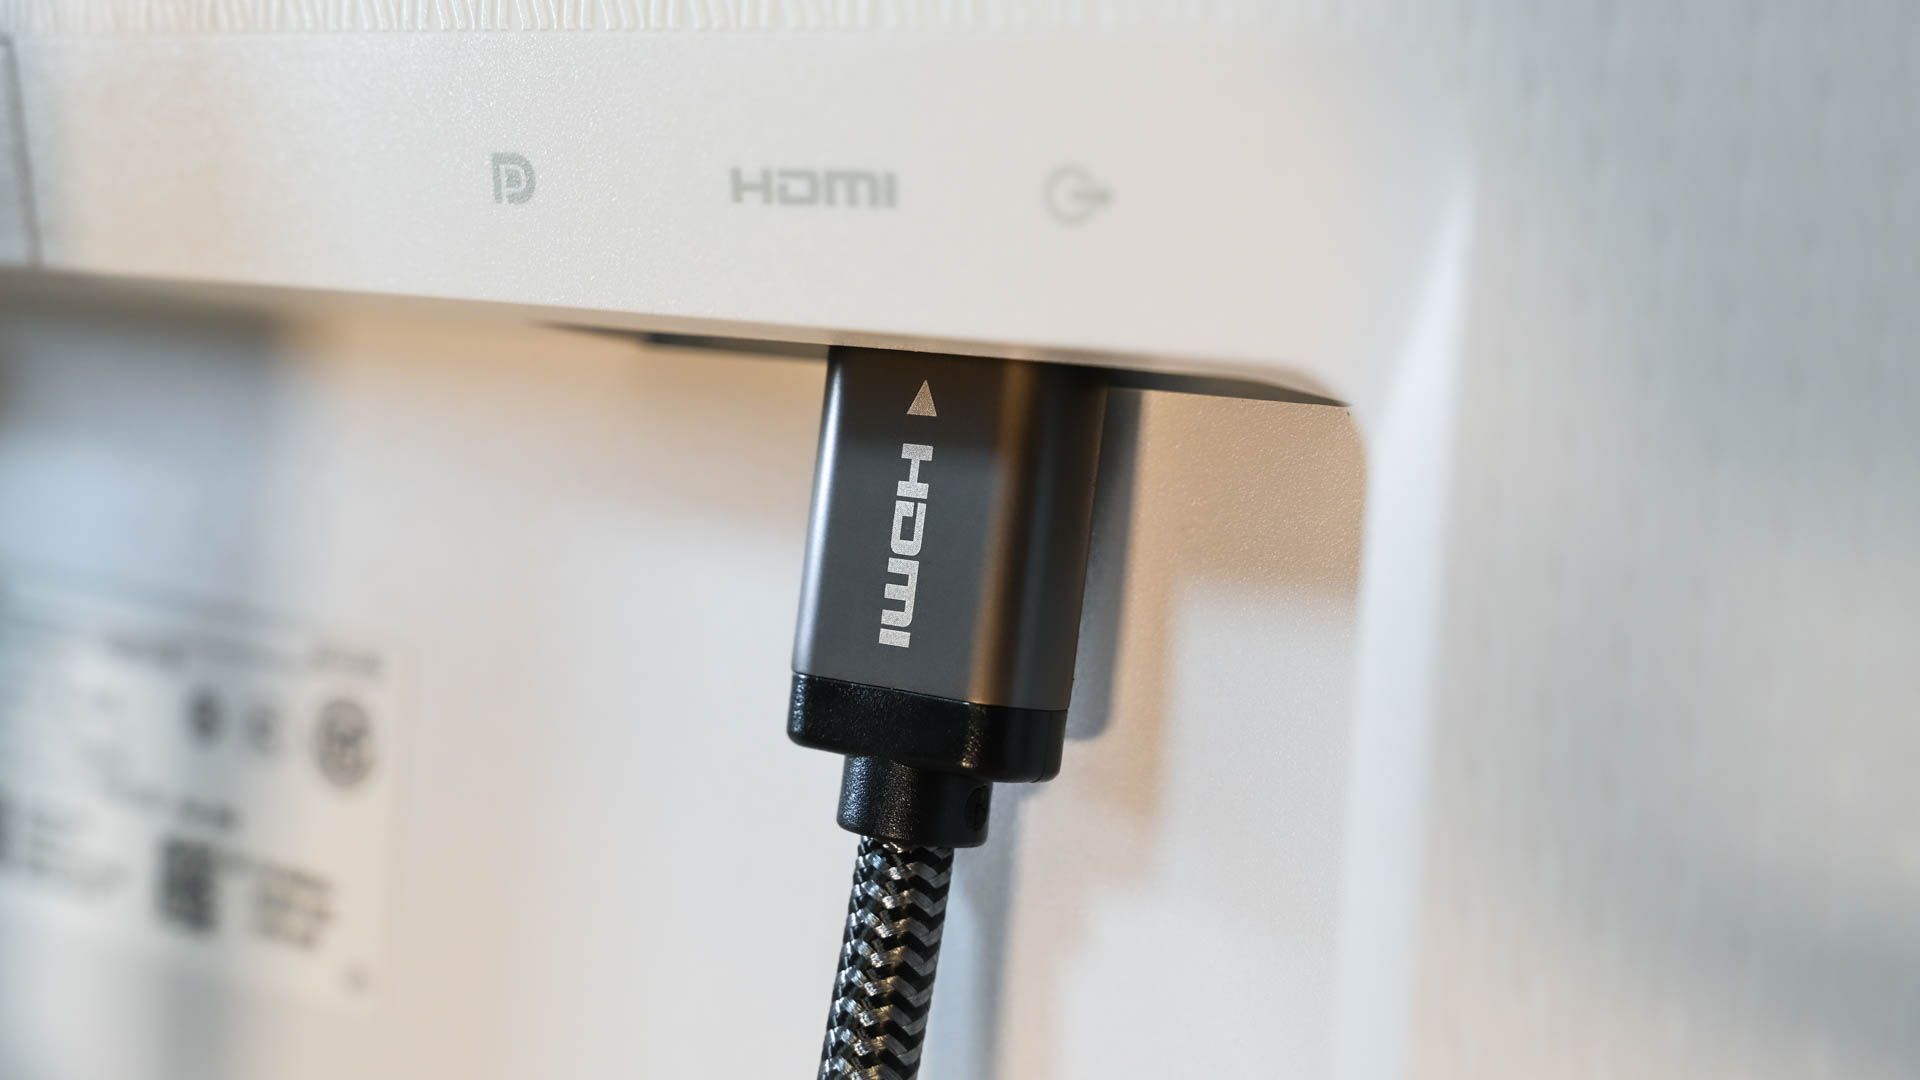
Monitor manufacturers bundle video cables to help you get started out of the box. But depending on your computer, not every cable may work or deliver the best experience. For example, if you plan to connect the monitor to your laptop with only a USB-C or Thunderbolt port, you may not necessarily get a compatible cable with the monitor.
Similarly, some monitors can only deliver part of their capabilities through one specific port. For example, Dell U2723QE, a popular 4K monitor, can’t push a 60Hz refresh rate through its HDMI port if you want to deliver 10-bit, chroma 4:4:4 signals. This is because the HDMI port is limited to version 2.0 bandwidth. However, the included DisplayPort 1.4 port has no such issues. Moreover, daisy chaining support is limited to DisplayPort or USB-C ports with DP Alt mode on all monitors that support this feature.
You must consider the capabilities of your monitor and computer GPU. Then, you can figure out which cable will deliver all your desired features.
Related
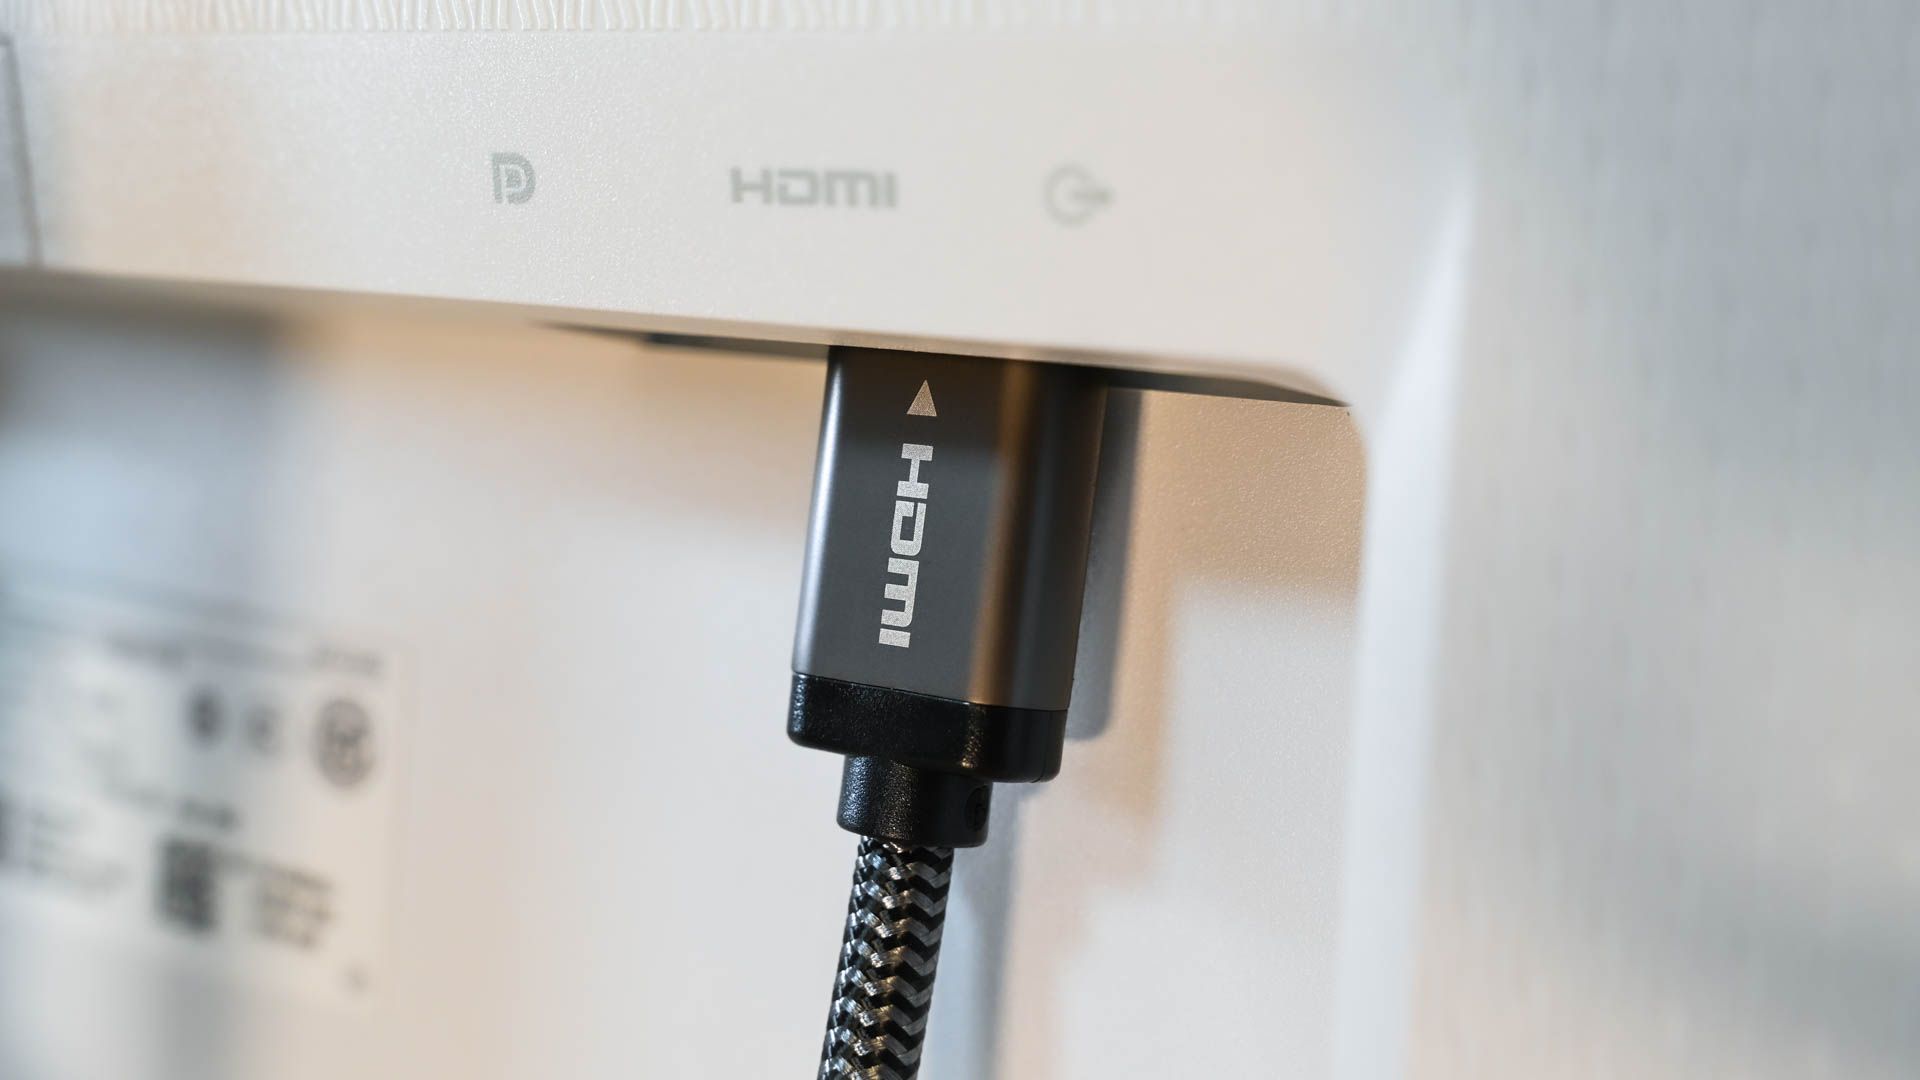
Should You Use HDMI, DisplayPort, or USB-C for a 4K Monitor?
HDMI, DisplayPort, USB-C, and Thunderbolt are all common now, but which is best?
3
Apply Latest Firmware Updates
Like other computing devices, monitors receive firmware upgrades to improve features and fix bugs. So, when installing a new monitor, it’s a good idea to check for available firmware updates. Applying the latest firmware will allow you to get the best experience.
Firmware updates are available via the manufacturer’s website. You can contact company support for any help, and it’s always ideal to follow the manufacturer’s instructions when applying a firmware update. The upgrade process will typically require you to download the firmware image to a flash drive and connect that drive to your monitor or connect your monitor and computer with a USB cable.

Related
What Are Subpixels and Why Do They Matter?
Enhance. Enhance. Enhance…
4
Configure the Monitor
Once you’ve placed, connected, and updated your 4K monitor, it’s time to configure its various features to get the most out of it. While monitors are typically a plug-and-play affair, you may need to update your GPU’s or monitor’s drivers for the best experience.
If the resolution is not already 4K, you can set it up by going to the display settings. However, 4K resolution will make text and icons appear very small, and this is where you can use scaling to make them bigger to your liking. You will still enjoy 4K resolution but with bigger text and window size.
The refresh rate is another vital aspect to configure. If your monitor has a fast refresh rate, you can adjust it according to your needs. For example, most gamers will want the highest refresh rate, but if you are only consuming media, browsing social media, and working with Office apps, there is no need to have a high refresh rate such as 240Hz as your default. It will put an unnecessary burden on your computer’s GPU and increase your power bill. You can dial it down to a more reasonable 120Hz or 144Hz and still get a responsive and smooth experience.
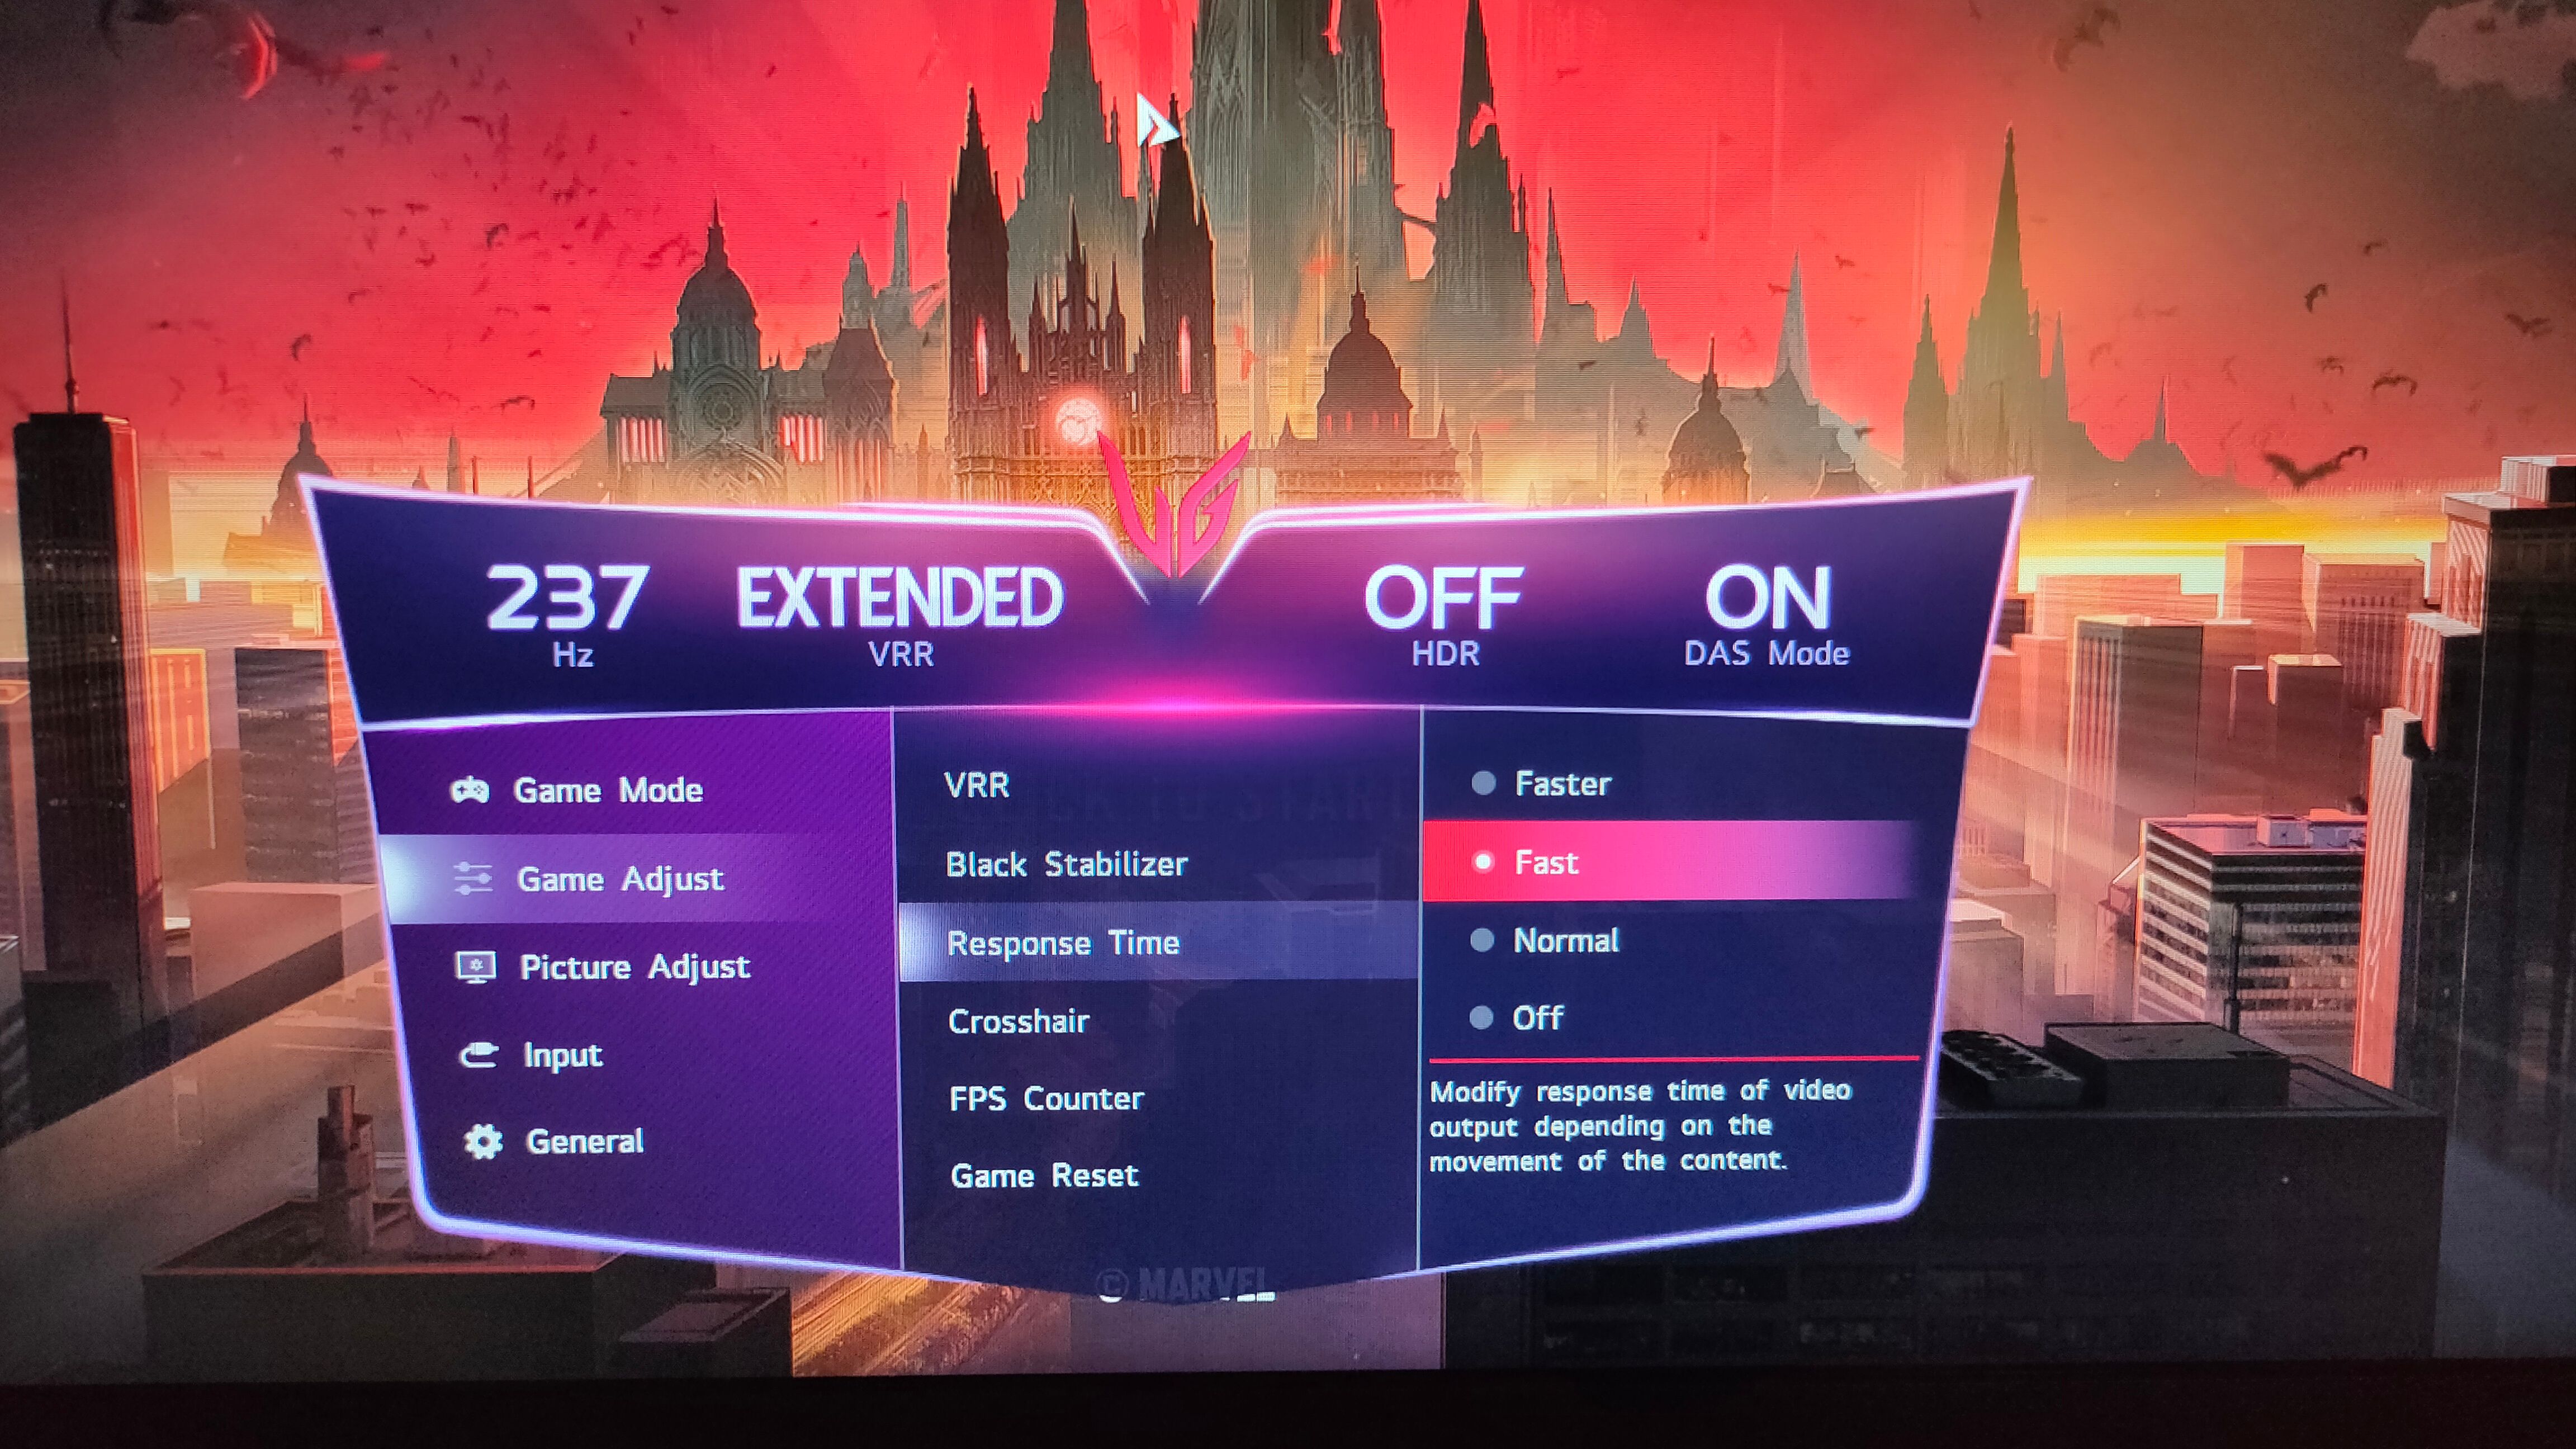
Besides the fastest refresh rate, gamers will want to enjoy a variable refresh rate (VRR) if available. VRR settings are typically present in your GPU’s control panel. AMD calls its VRR tech FreeSync, whereas Nvidia’s VRR tech is known as G-Sync. However, you may also need to enable VRR from your monitor’s on-screen display (OSD) in some cases. Plus, OSD typically includes the option to enable refresh rate overclocking for some monitors.
Finally, if your 4K monitor supports HDR, which it likely does, you’ll want to enable HDR in display settings to get access to a wider range of colors and more vibrant visuals.
Related
The Best Monitor Light Bars of 2025
Brighten up your computer workspace by adding a monitor light bar.
5
Calibrate the Colors
While precise color accuracy isn’t crucial for regular folks, it can severely impact a professional in graphic design, content creation, and other fields related to color work. So, if you are such a professional, color calibration is one of the last significant things to do with your 4K monitor before it’s finally ready for you.
Most professional grade 4K monitors come calibrated right from the factory. However, it’s a good idea to get your monitor hardware calibrated to avoid surprises and prepare it for your workload.
You can take the help of a professional for color calibration or do it yourself using a colorimeter. Hiring a professional would be better if you are new to color calibration.
Now that your 4K monitor is all set up and ready to use, here are 12 gaming monitor settings you should change and seven reasons to use your monitor in portrait mode. Plus, if your 4K monitor is widescreen, use these six ways to get the most out of it.


