
If reaching up to access Camera controls like the flash, HDR, and timer wasn’t bad enough, it’s gotten a lot more tedious on recent iPhones like the X, XS, and 11 series thanks to their tall displays. If you have a jailbroken iPhone, however, you can easily fix this issue using a free tweak.
Sure, you can use Reachability to make the options easier to reach, but this takes your attention away from what you’re trying to capture. So if you love shooting in portrait mode but constantly struggle with the camera’s topmost controls, you need to give FoxFort Mobile’s CamControl X a try.
- Don’t Miss: Jailbreak iOS 12 to iOS 12.4 on Your iPhone
Step 1: Install Packix Repo
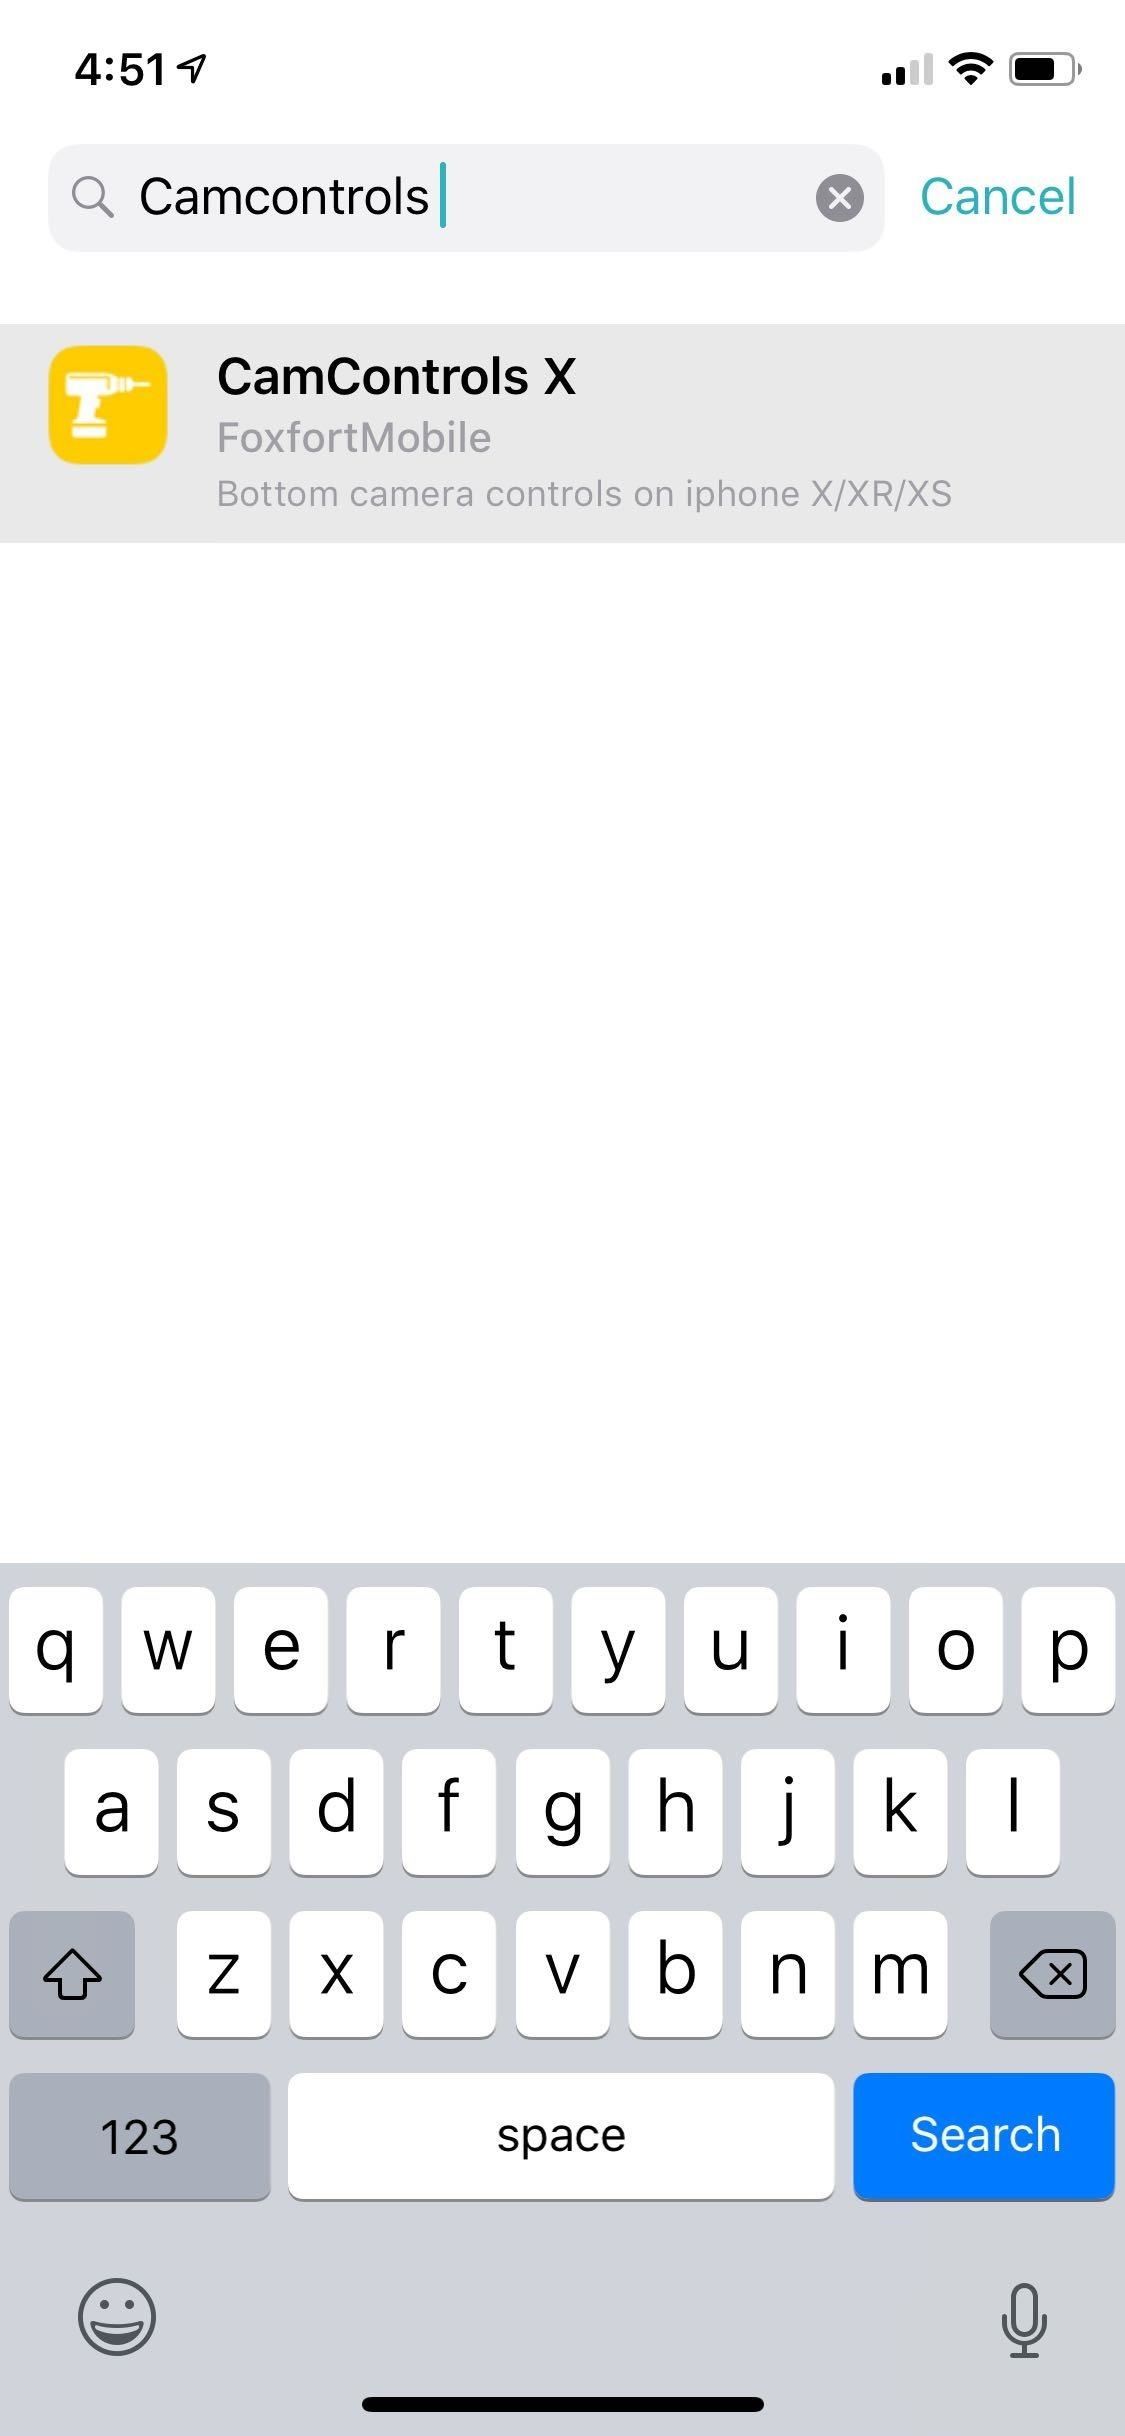
CamControls X isn’t available within Cydia or Sileo natively, so you’ll first need to install the Packix repo. Feel free to skip to the second step if you already have the repo. If not, go to the “Sources” page in either app and add repo.packix.com to the list. Head to our detailed guides below if you want more help.
- More Info: Add Outside Repos to Cydia | Add Outside Repos to Sileo
Step 2: Install CamControls X
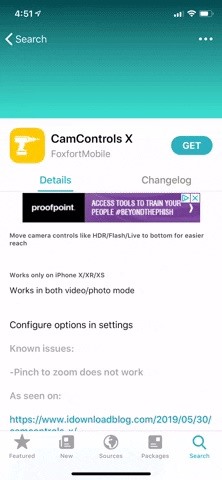
With Packix repo added, you can now install CamControls X. Perform a search for “CamControls X” in either Cydia or Sileo, then hit “Install” or “Get,” respectively, and follow the prompts to commence with installing the tweak.
- Packix Repo Link: CamControls X (free)
Step 3: Enable CamControls X
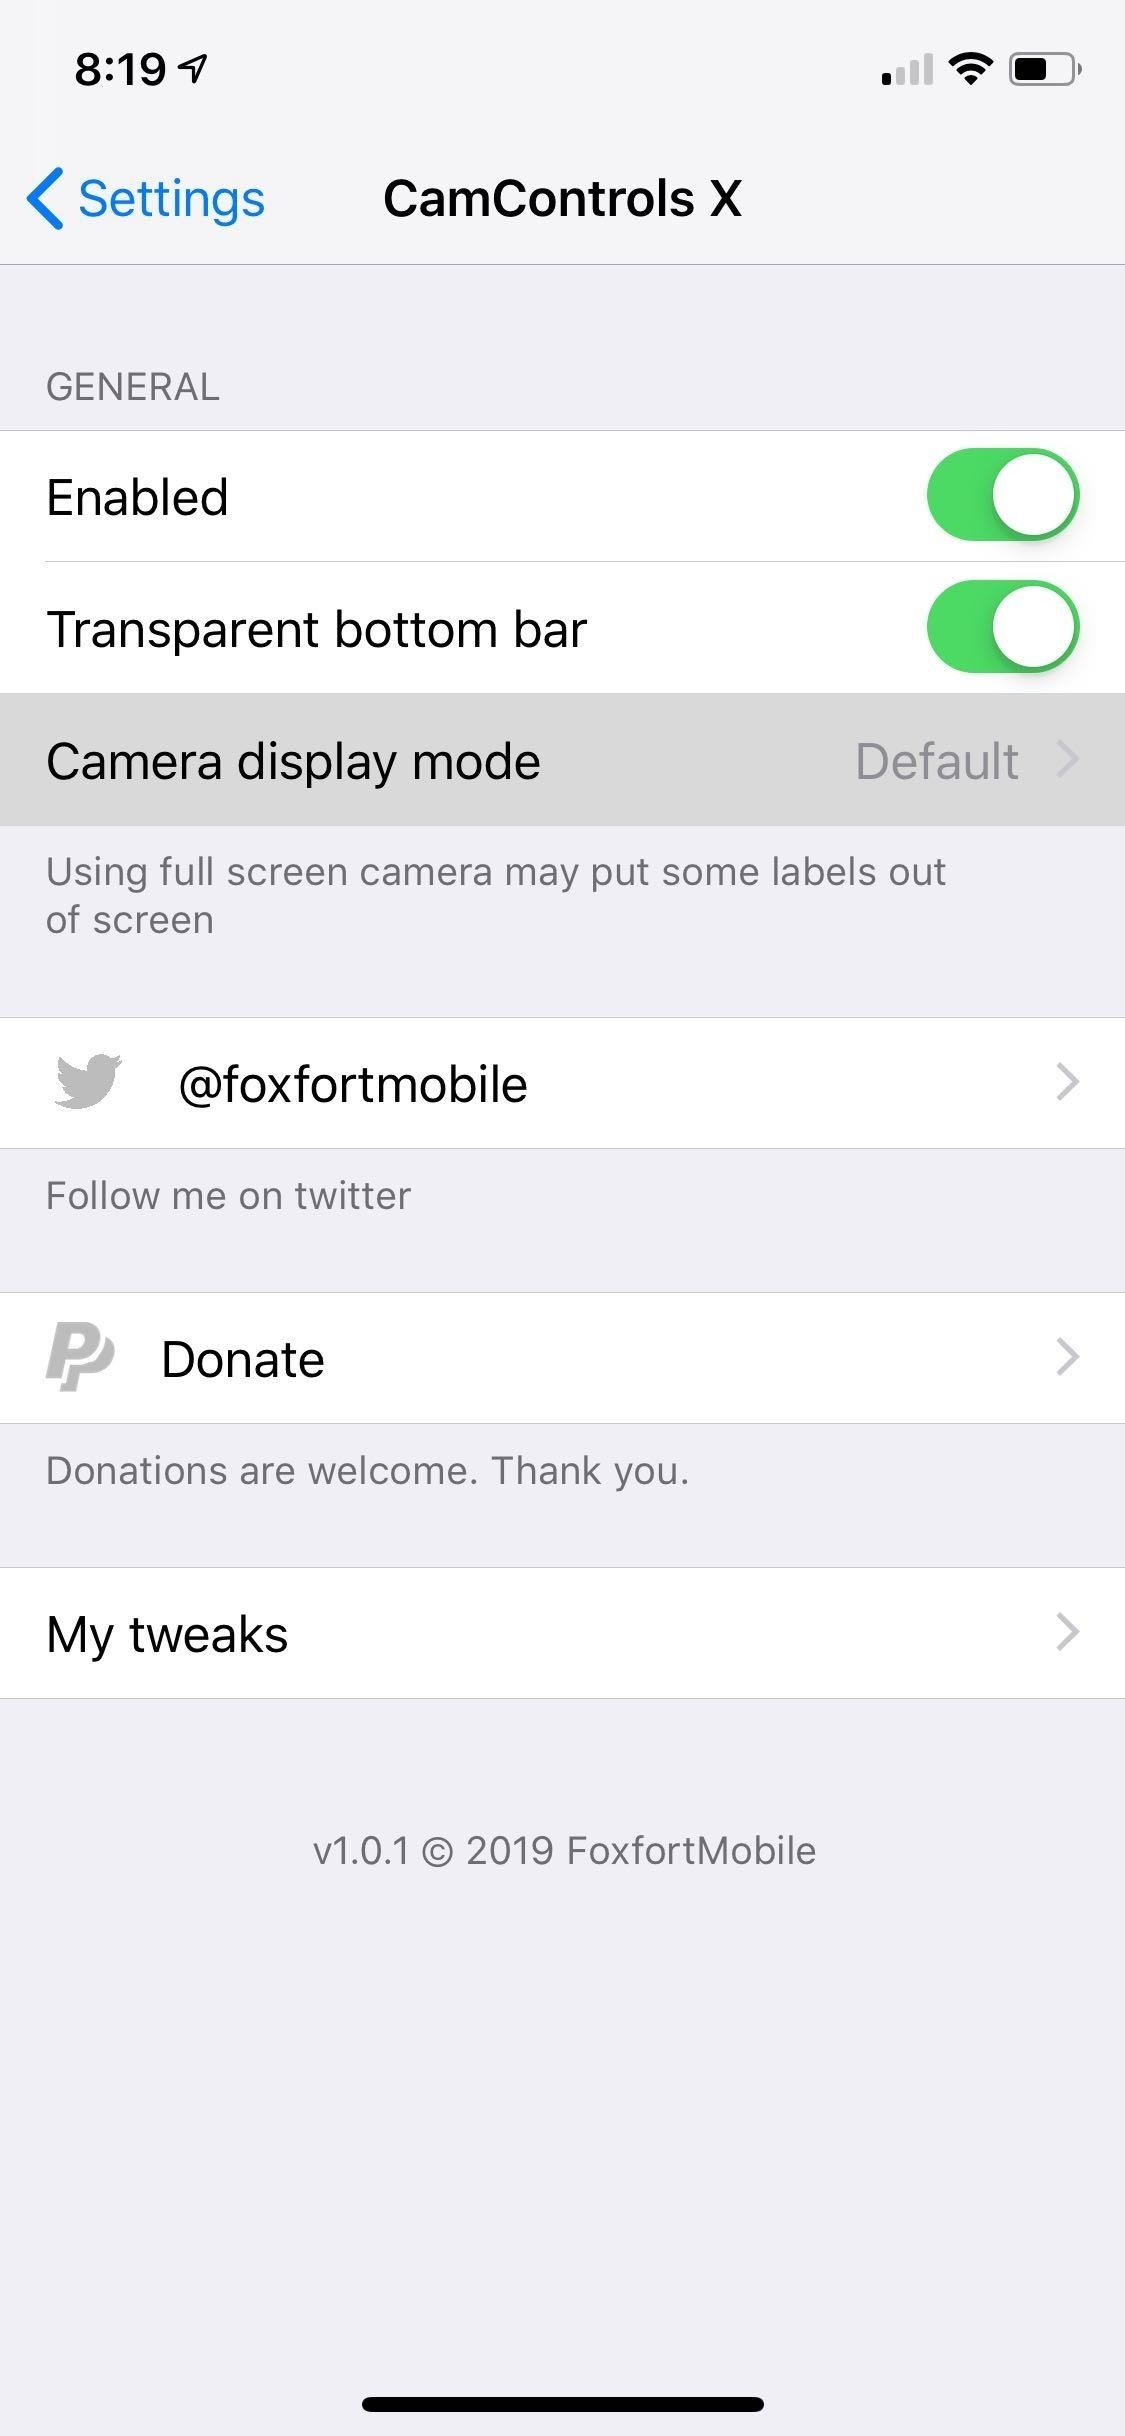
CamControls X isn’t automatically enabled once your iPhone resprings, so you’ll need to head to Settings and open the tweak’s page, then tap on the toggle next to “Enabled” to manually turn it on. Once you do, there’s no need to respring your iPhone — simply kill the Camera via the app switcher and reopen it for the changes to kick in.
Step 4: Customize & Use CamControls X
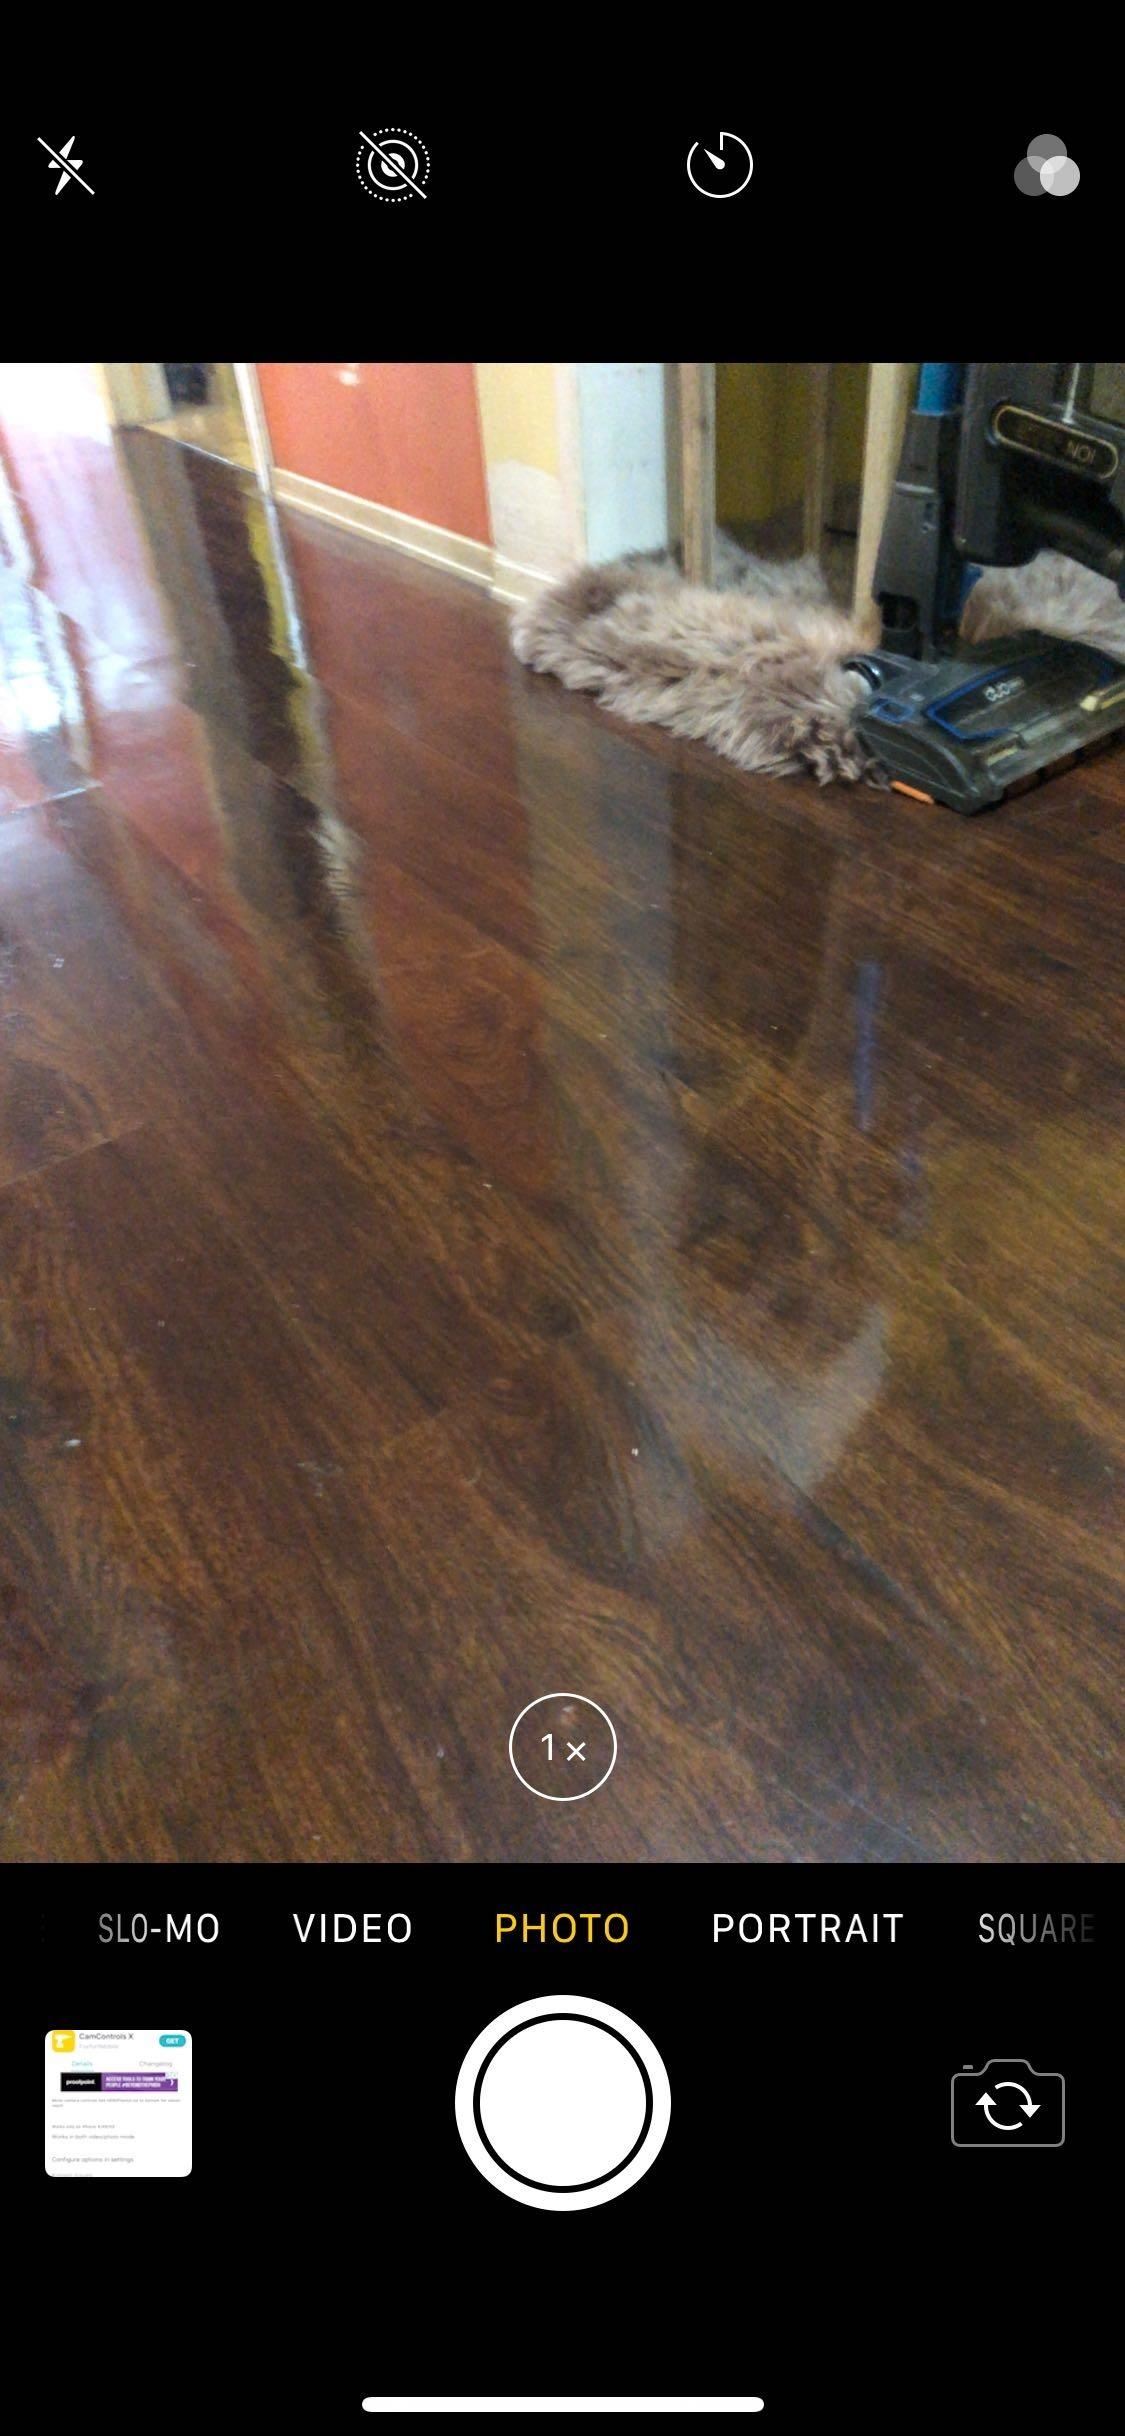
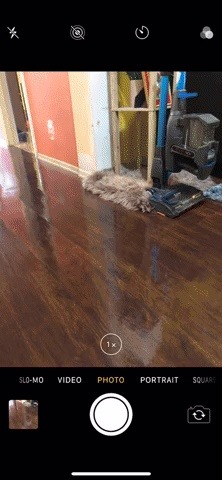
Besides relocating the topmost controls to the bottom for easier access, CamControls X gives you the ability to customize the Camera app’s UI. From the CamControls X Settings page, you can toggle “Transparent bottom bar” on to give the main controls a clear backdrop, and tweak the viewfinder’s size from the “Camera display mode” menu.
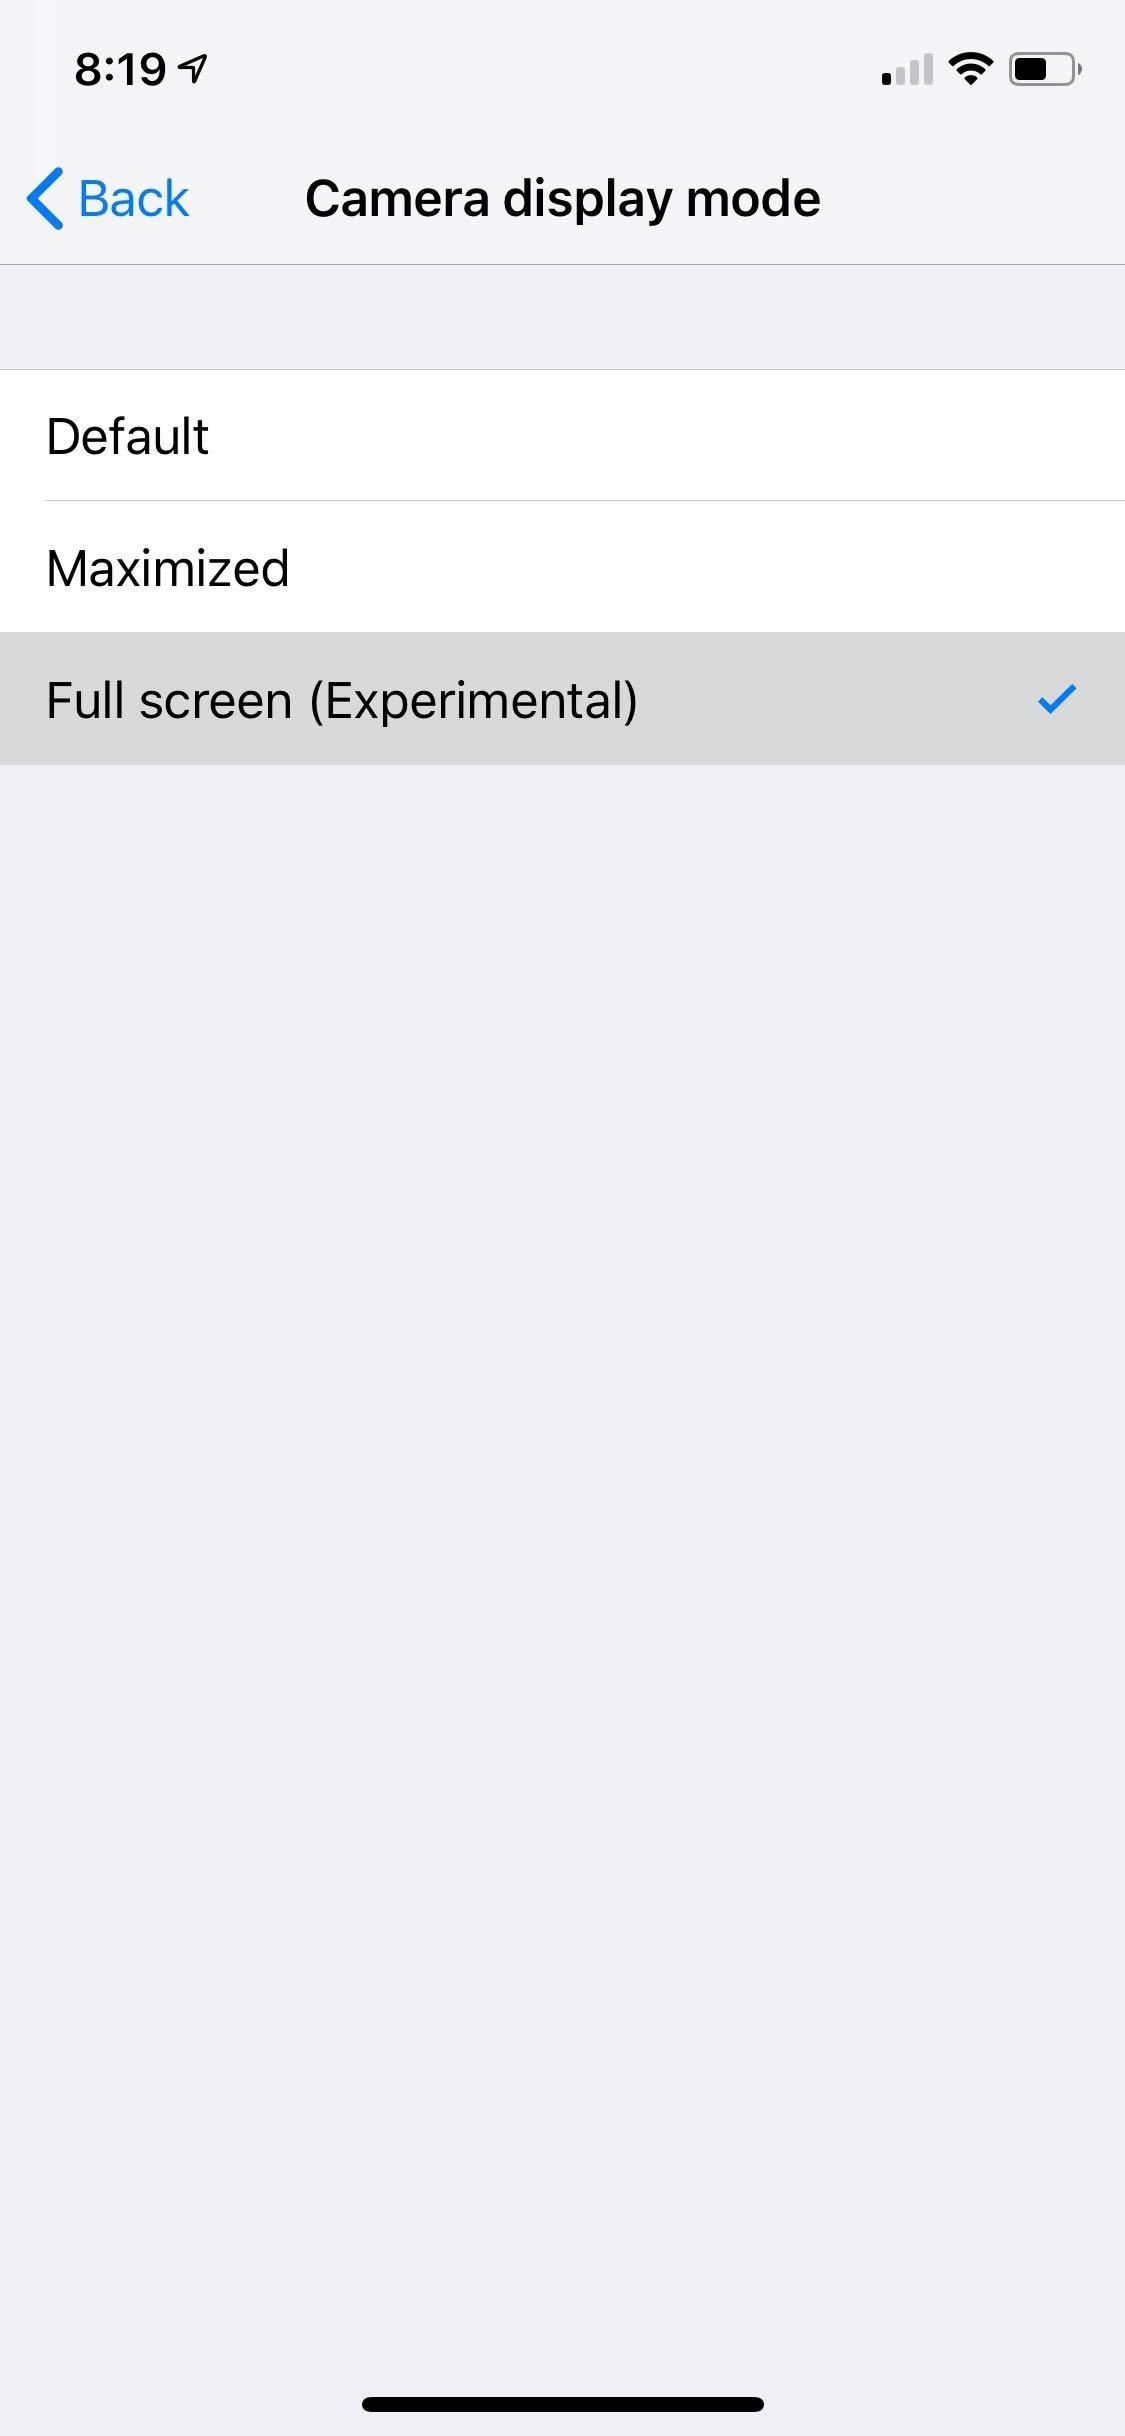
As seen in the images below, leaving the “Camera display mode” setting to “Default” leaves the viewfinder untouched, while choosing “Maximized” makes it noticeably taller. And just as the name suggests, selecting “Full screen (Experimental)” turns your iPhone’s entire display into a viewfinder.


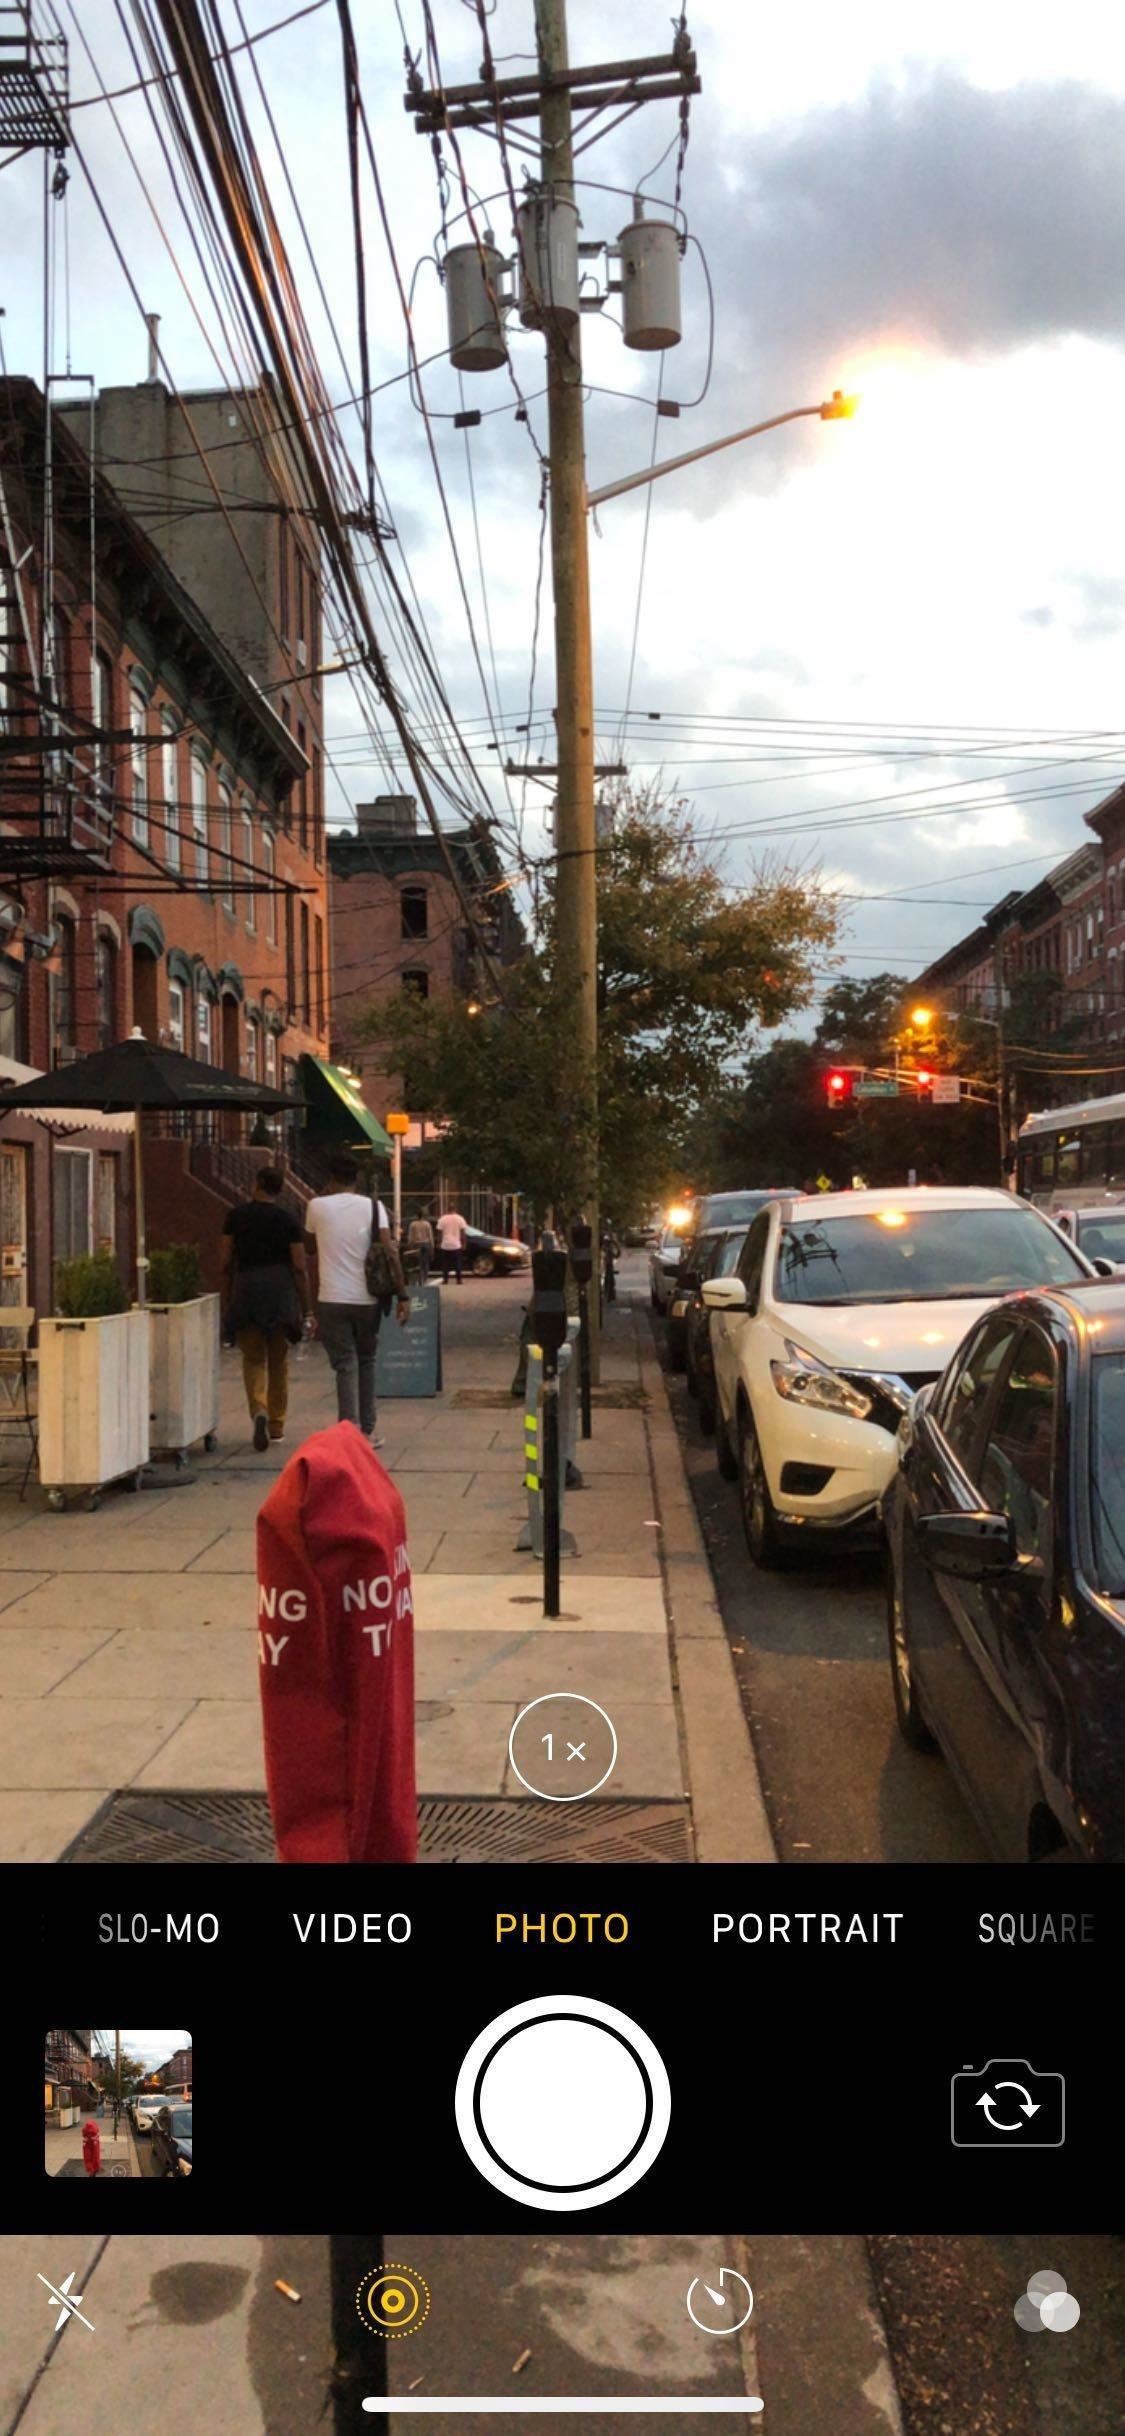
It’s worth noting that enabling “Transparent bottom bar” doesn’t actually work when the “Camera display mode” set to “Default.” The setting functions when the mode is set to either “Maximized” or “Full screen (Experimental),” however, and further expands your field of view to make capturing or recording moments a lot more convenient.

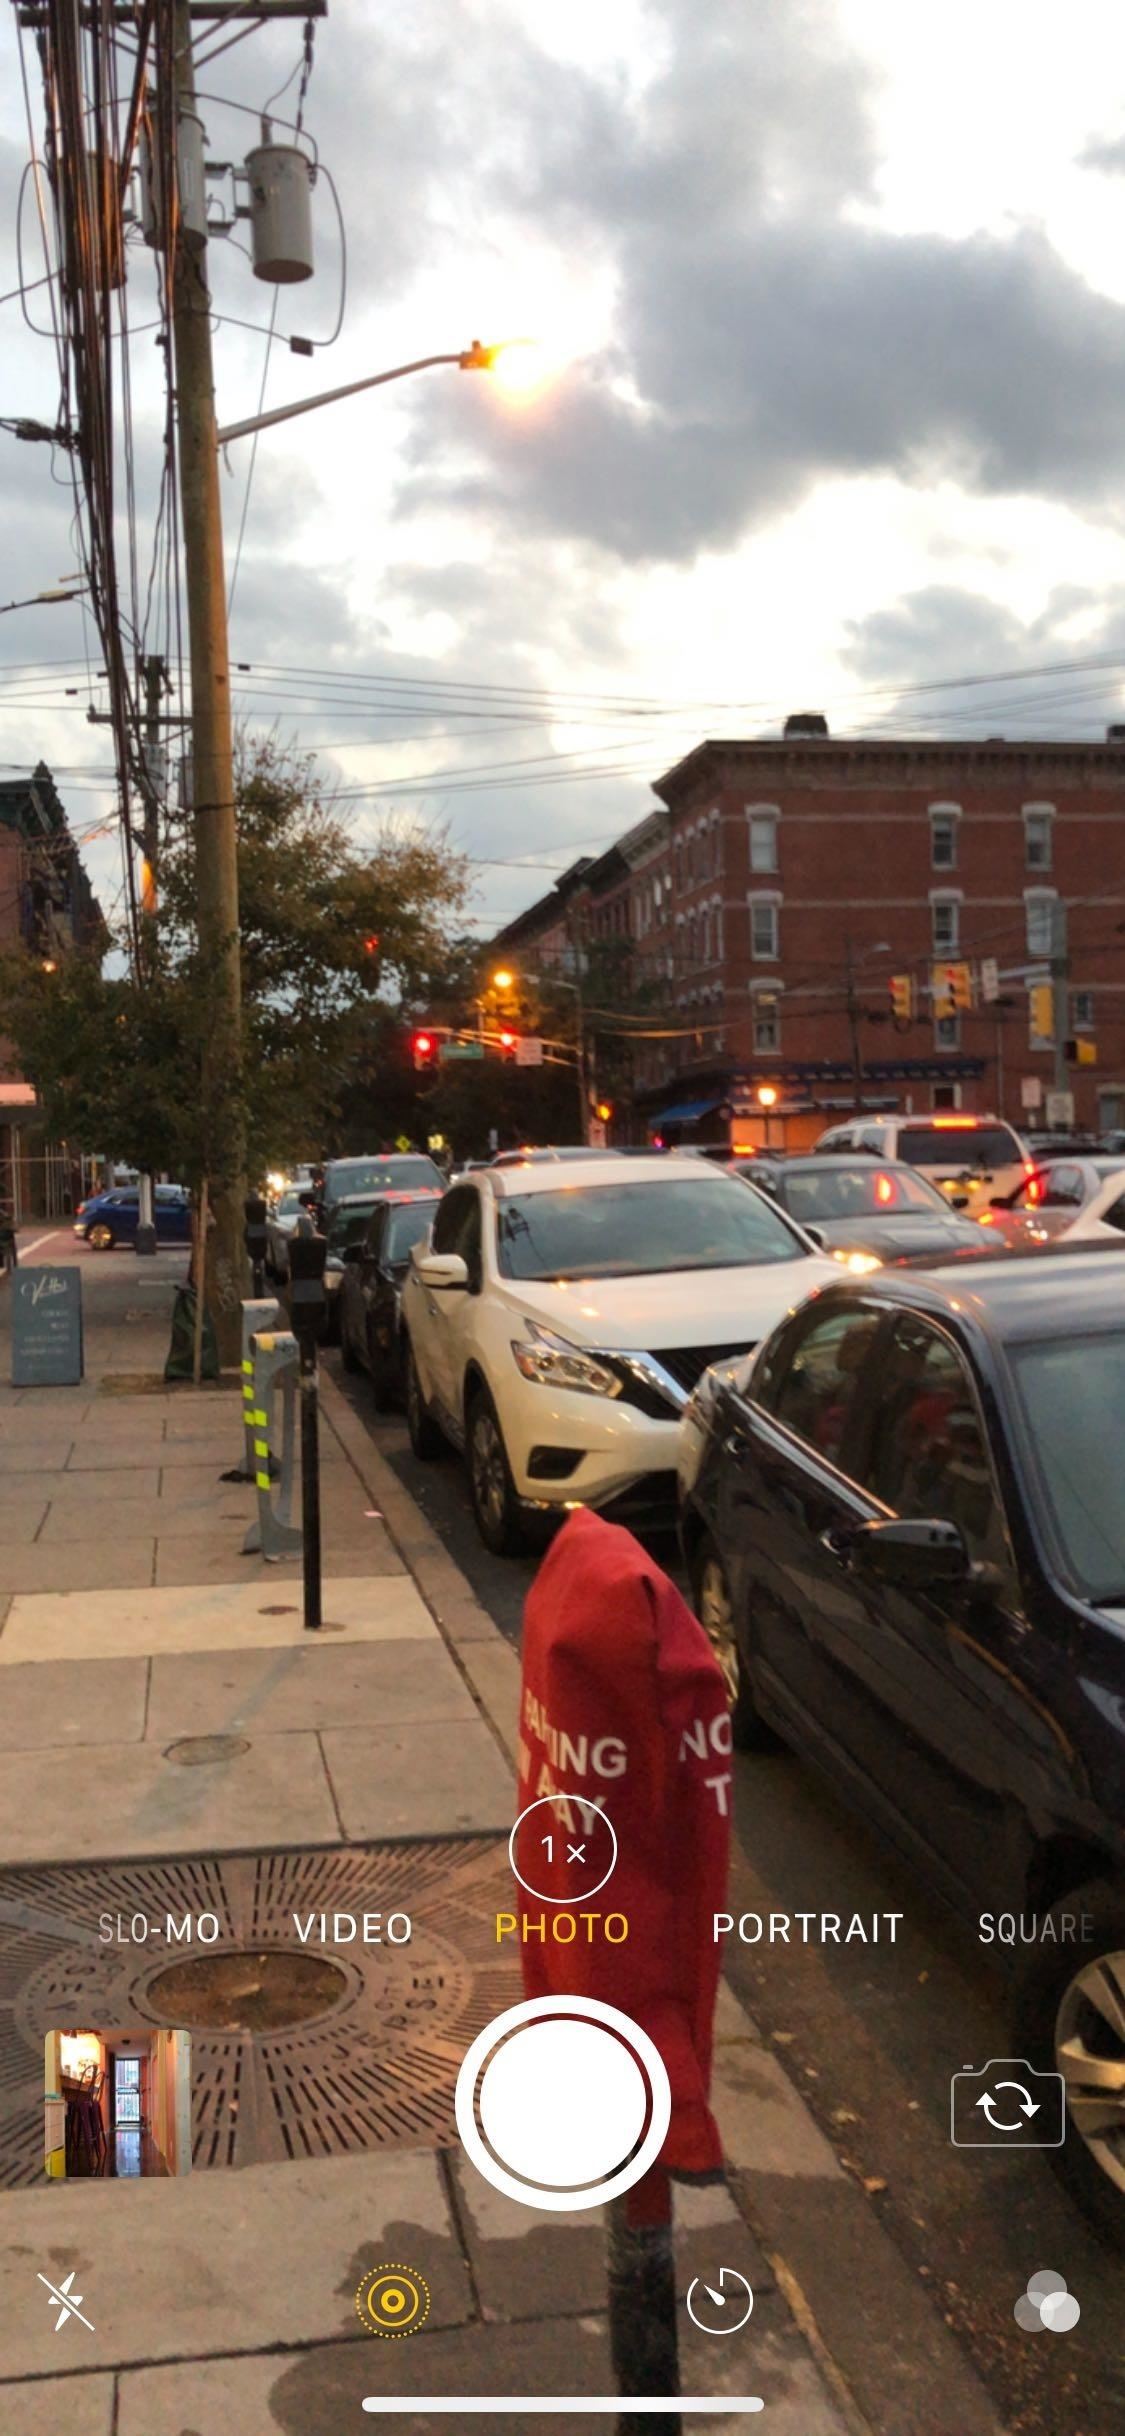
Whichever camera mode you choose, photos and videos that you’ve taken or recorded appear almost exactly the same — whether they were captured in portrait or landscape. That said, images captured in either “Maximized” or “Full screen” are slightly wider than those taken in the “Default setting, but is almost unnoticeable.


As great as CamControl X is at making the topmost camera controls more accessible, the tweak does have one notable limitation. Once you enable it, keep in mind that you’ll lose pinch-to-zoom functionality, so you’ll need to zoom in and out manually either by tapping on the “1 x” zoom button, or by long-pressing the button to reveal a dial for more fine-tuned zooming.


This article was produced during Gadget Hacks’ annual Tweaks & Hacks Celebration week. Read all of the Tweaks & Hacks Celebration stories.
Just updated your iPhone? You’ll find new emoji, enhanced security, podcast transcripts, Apple Cash virtual numbers, and other useful features. There are even new additions hidden within Safari. Find out what’s new and changed on your iPhone with the iOS 17.4 update.
“Hey there, just a heads-up: We’re part of the Amazon affiliate program, so when you buy through links on our site, we may earn a small commission. But don’t worry, it doesn’t cost you anything extra and helps us keep the lights on. Thanks for your support!”


