Google Assistant just got a lot more powerful thanks to IFTTT. The automation platform, whose name stands for If This, Then That, connects your favorite online services and smart devices to one another, allowing for a seamless experience with many different gadgets—and Google Assistant is officially supported.
This means that you can use Assistant to do things like post to Facebook, Twitter, or Slack by saying a custom trigger phrase. And if you have smart home devices like Phillips Hue, LIFX, or Logitech Harmony, Google Assistant can finally control things in the real world. Really, the possibilities are almost endless here, and all you need is Google Home, or a compatible Android device like the Pixel to set it all up.
Step 1: Create an IFTTT Account
To get this one going, the first thing you’ll need to do is sign up for an IFTTT account with an email address and password. If you already have an IFTTT account, just make sure that you’re signed in before proceeding.
Step 2: Attach Your Google Account
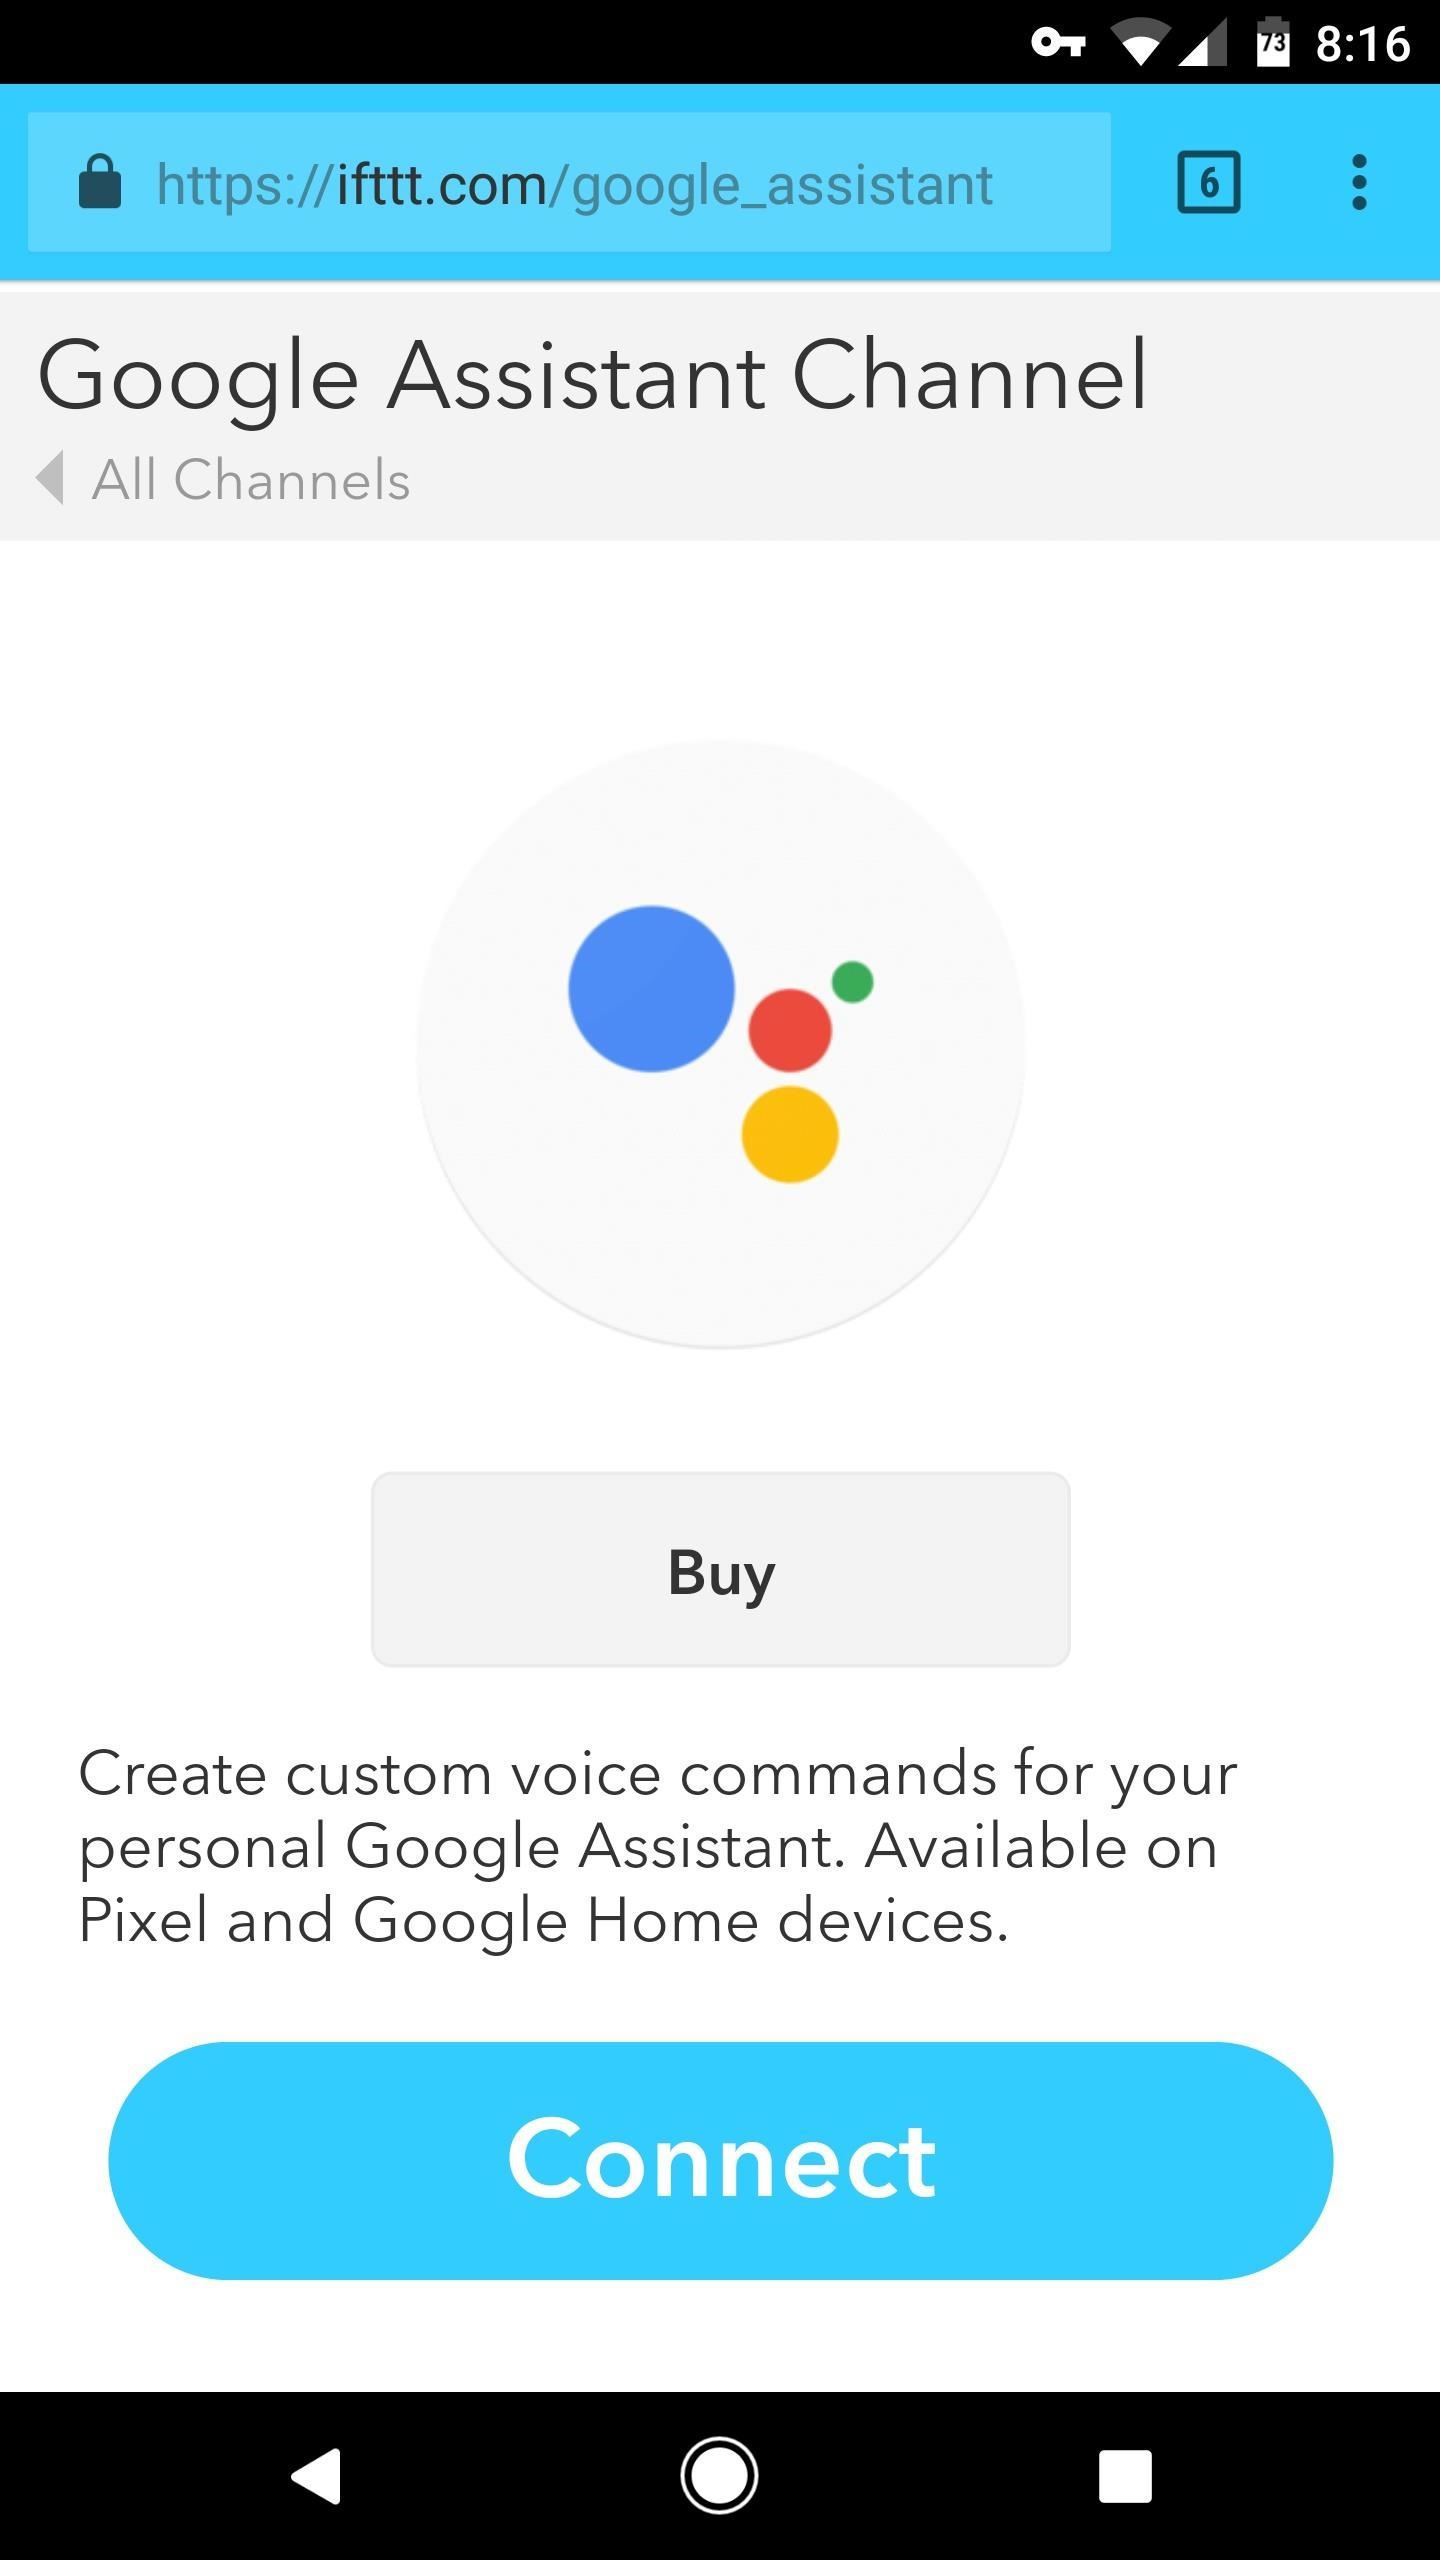
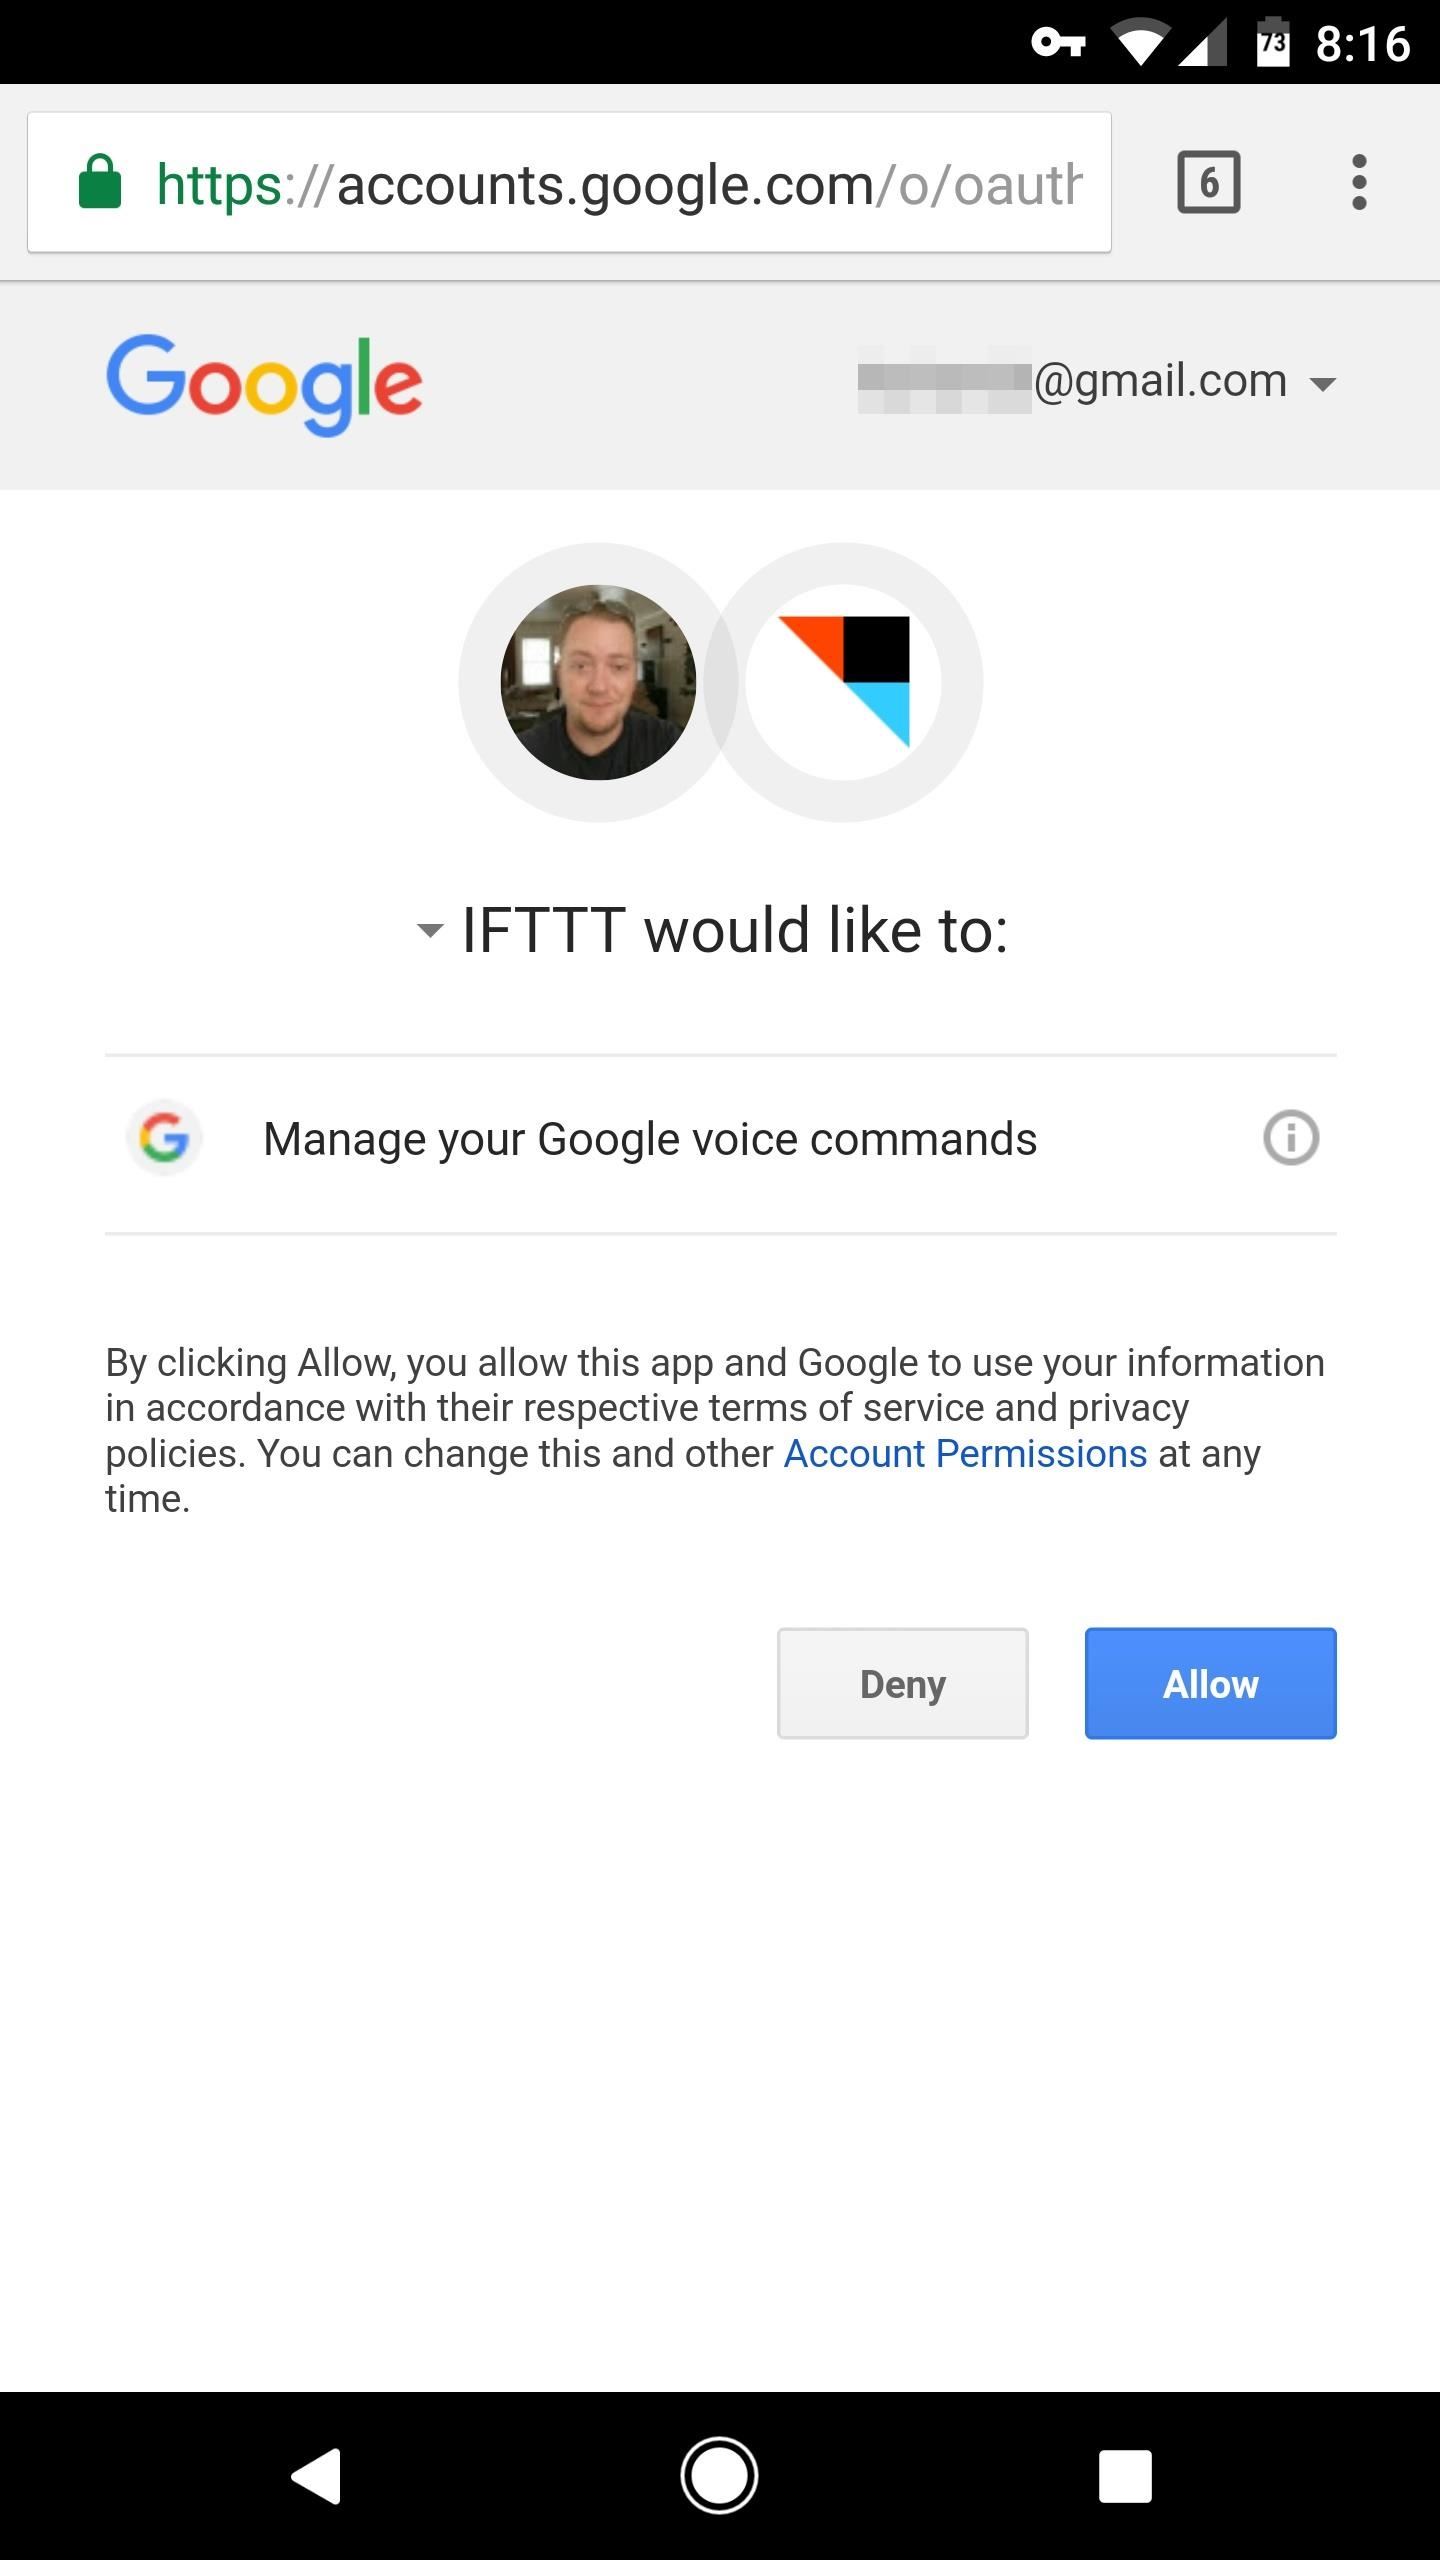
Next up, head to the Google Assistant page on IFTT at ifttt.com/google_assistant. From there, tap the “Connect” button, then sign into your primary Google account if prompted. Next, just tap the “Allow” button, and from now on, IFTTT will be capable of adding custom trigger phrases to your Google Assistant.
Step 3: Choose or Create a Recipe
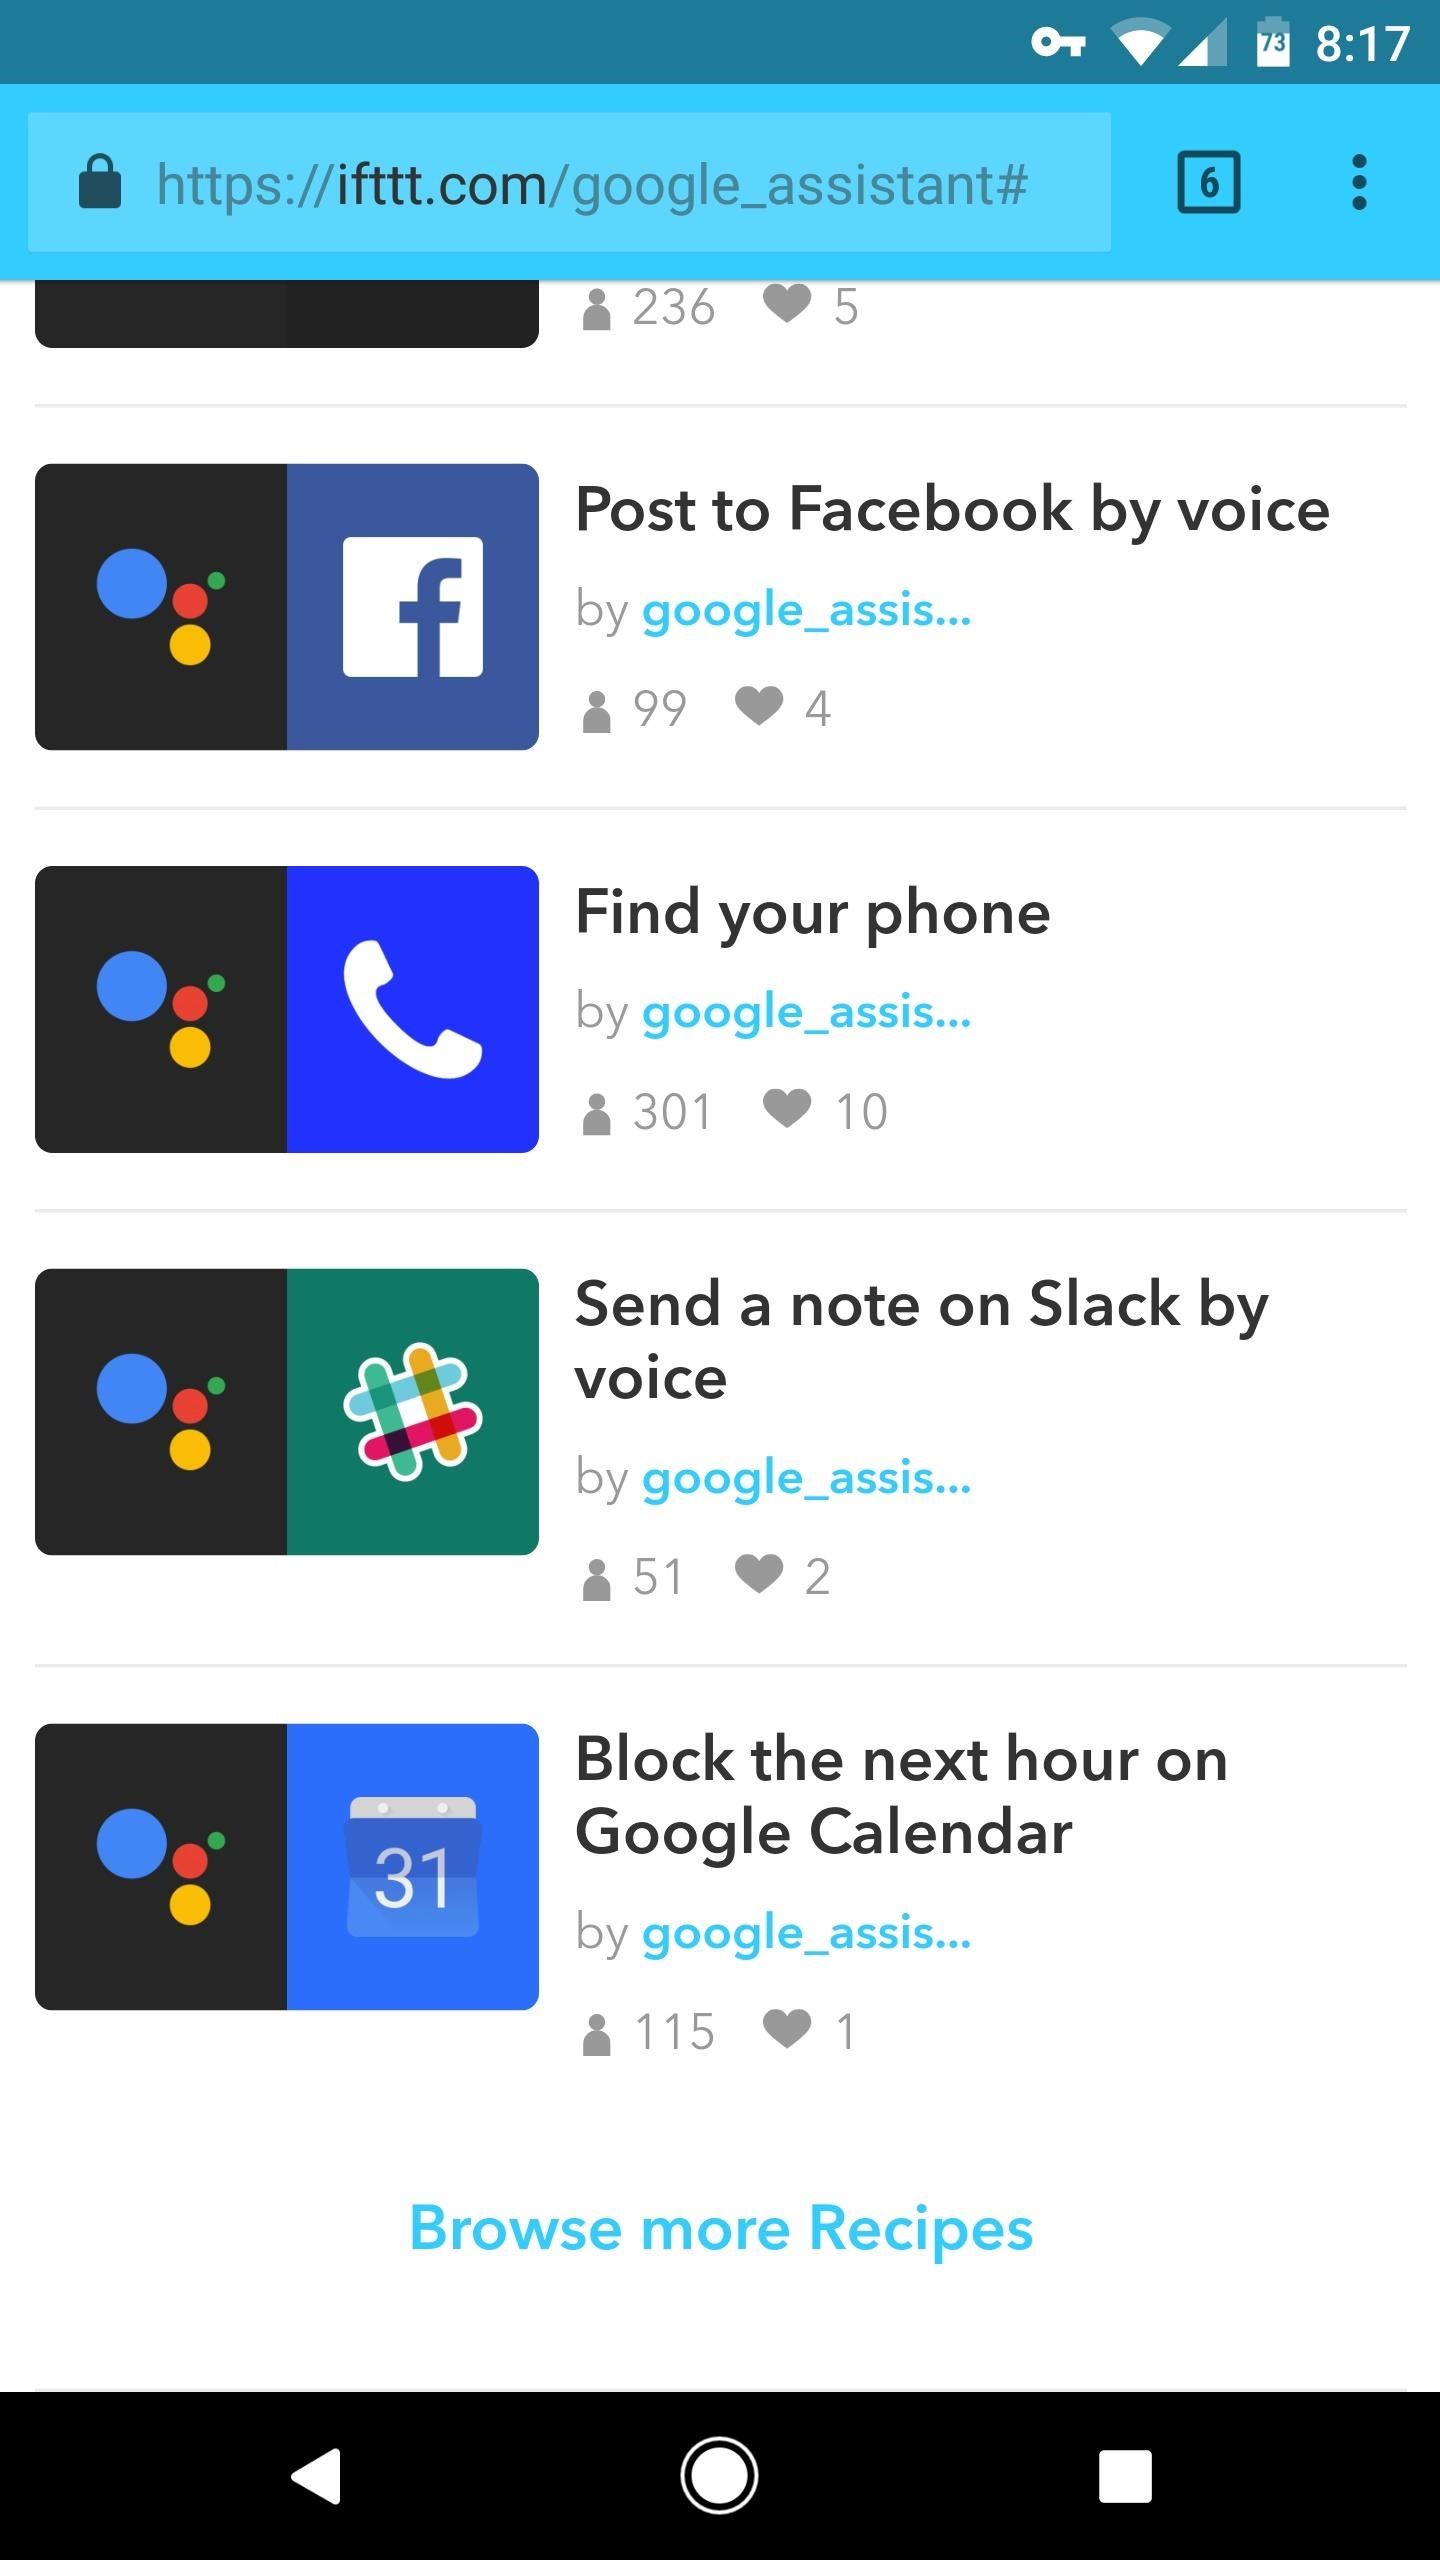
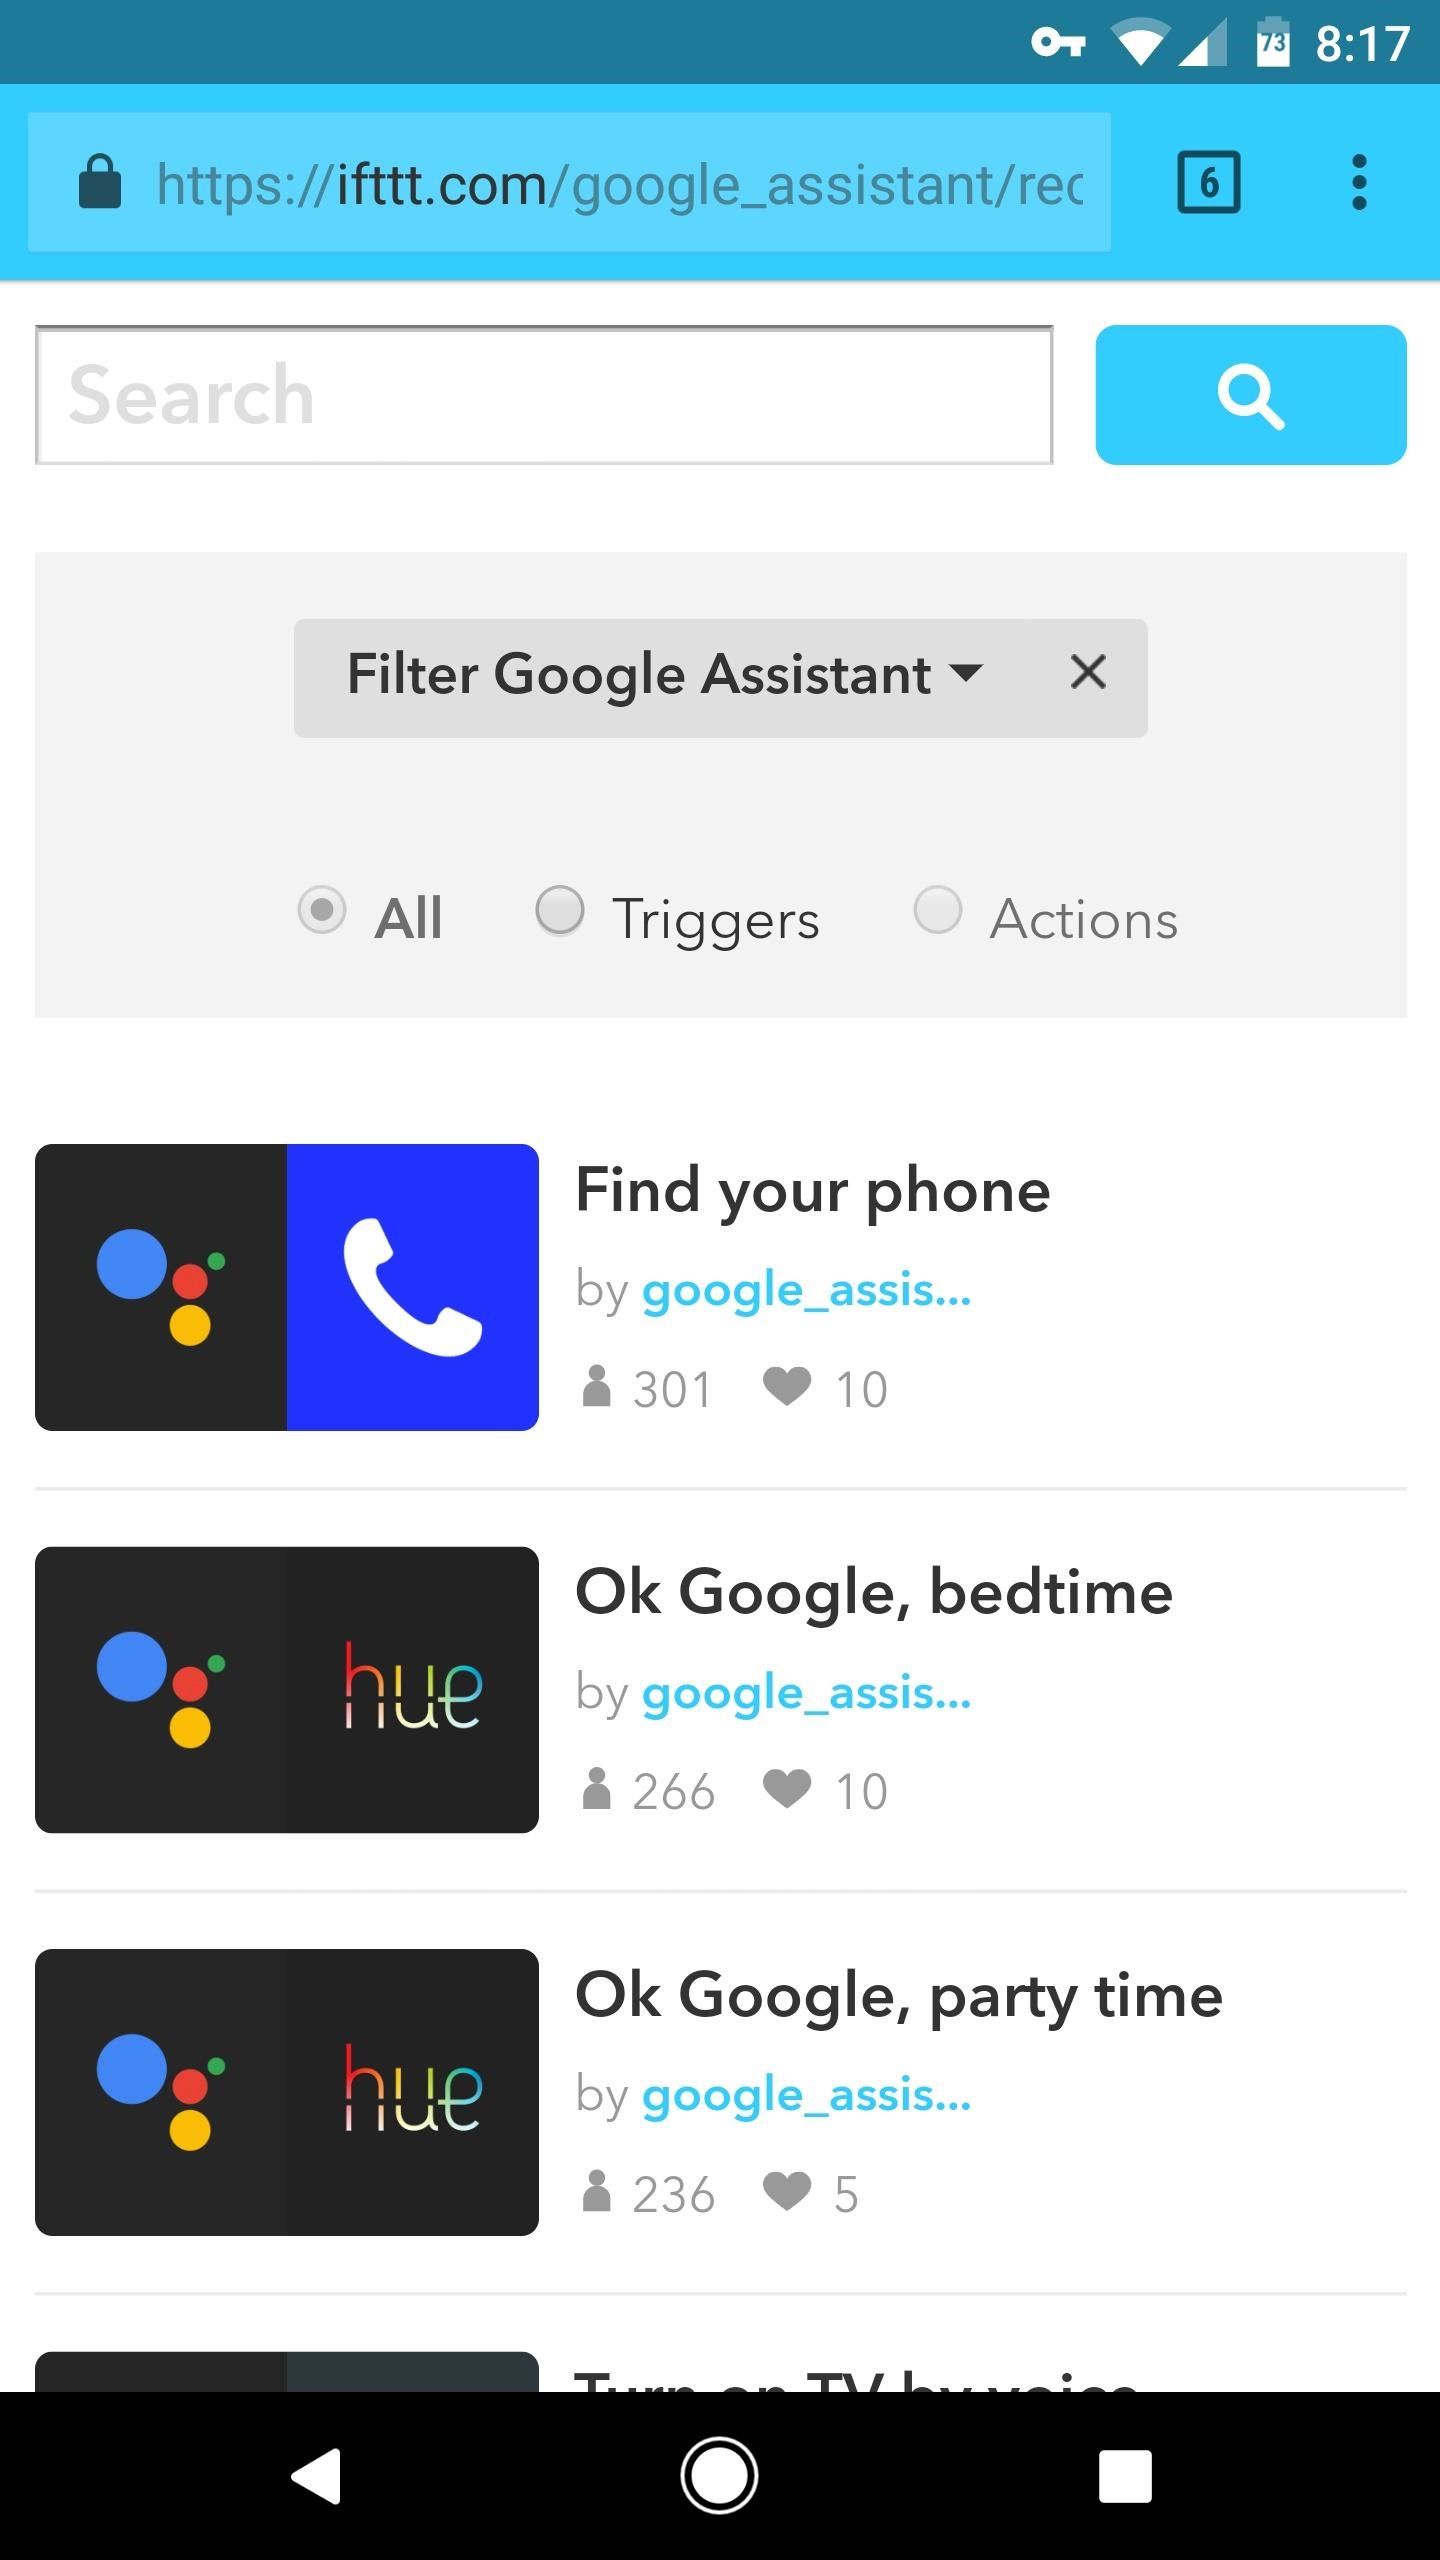
Next, you’ll be redirected back to the Google Assistant IFTTT page (if not, just head to ifttt.com/google_assistant again). From here, you can tap the “Create Recipe” button at the top of the list if you’d like to make your own custom Google Assistant action, but if you’re new to IFTTT, I’d suggest scrolling down to the bottom of this page and tapping “Browse more Recipes.”
From there, you’ll see a list of ready-made IFTTT recipes that can make Google Assistant perform all sorts of actions—from posting to Facebook to turning off your Hue smart lights. When you find one that interests you, simply tap it to set it up.
Step 4: Add Your First Recipe
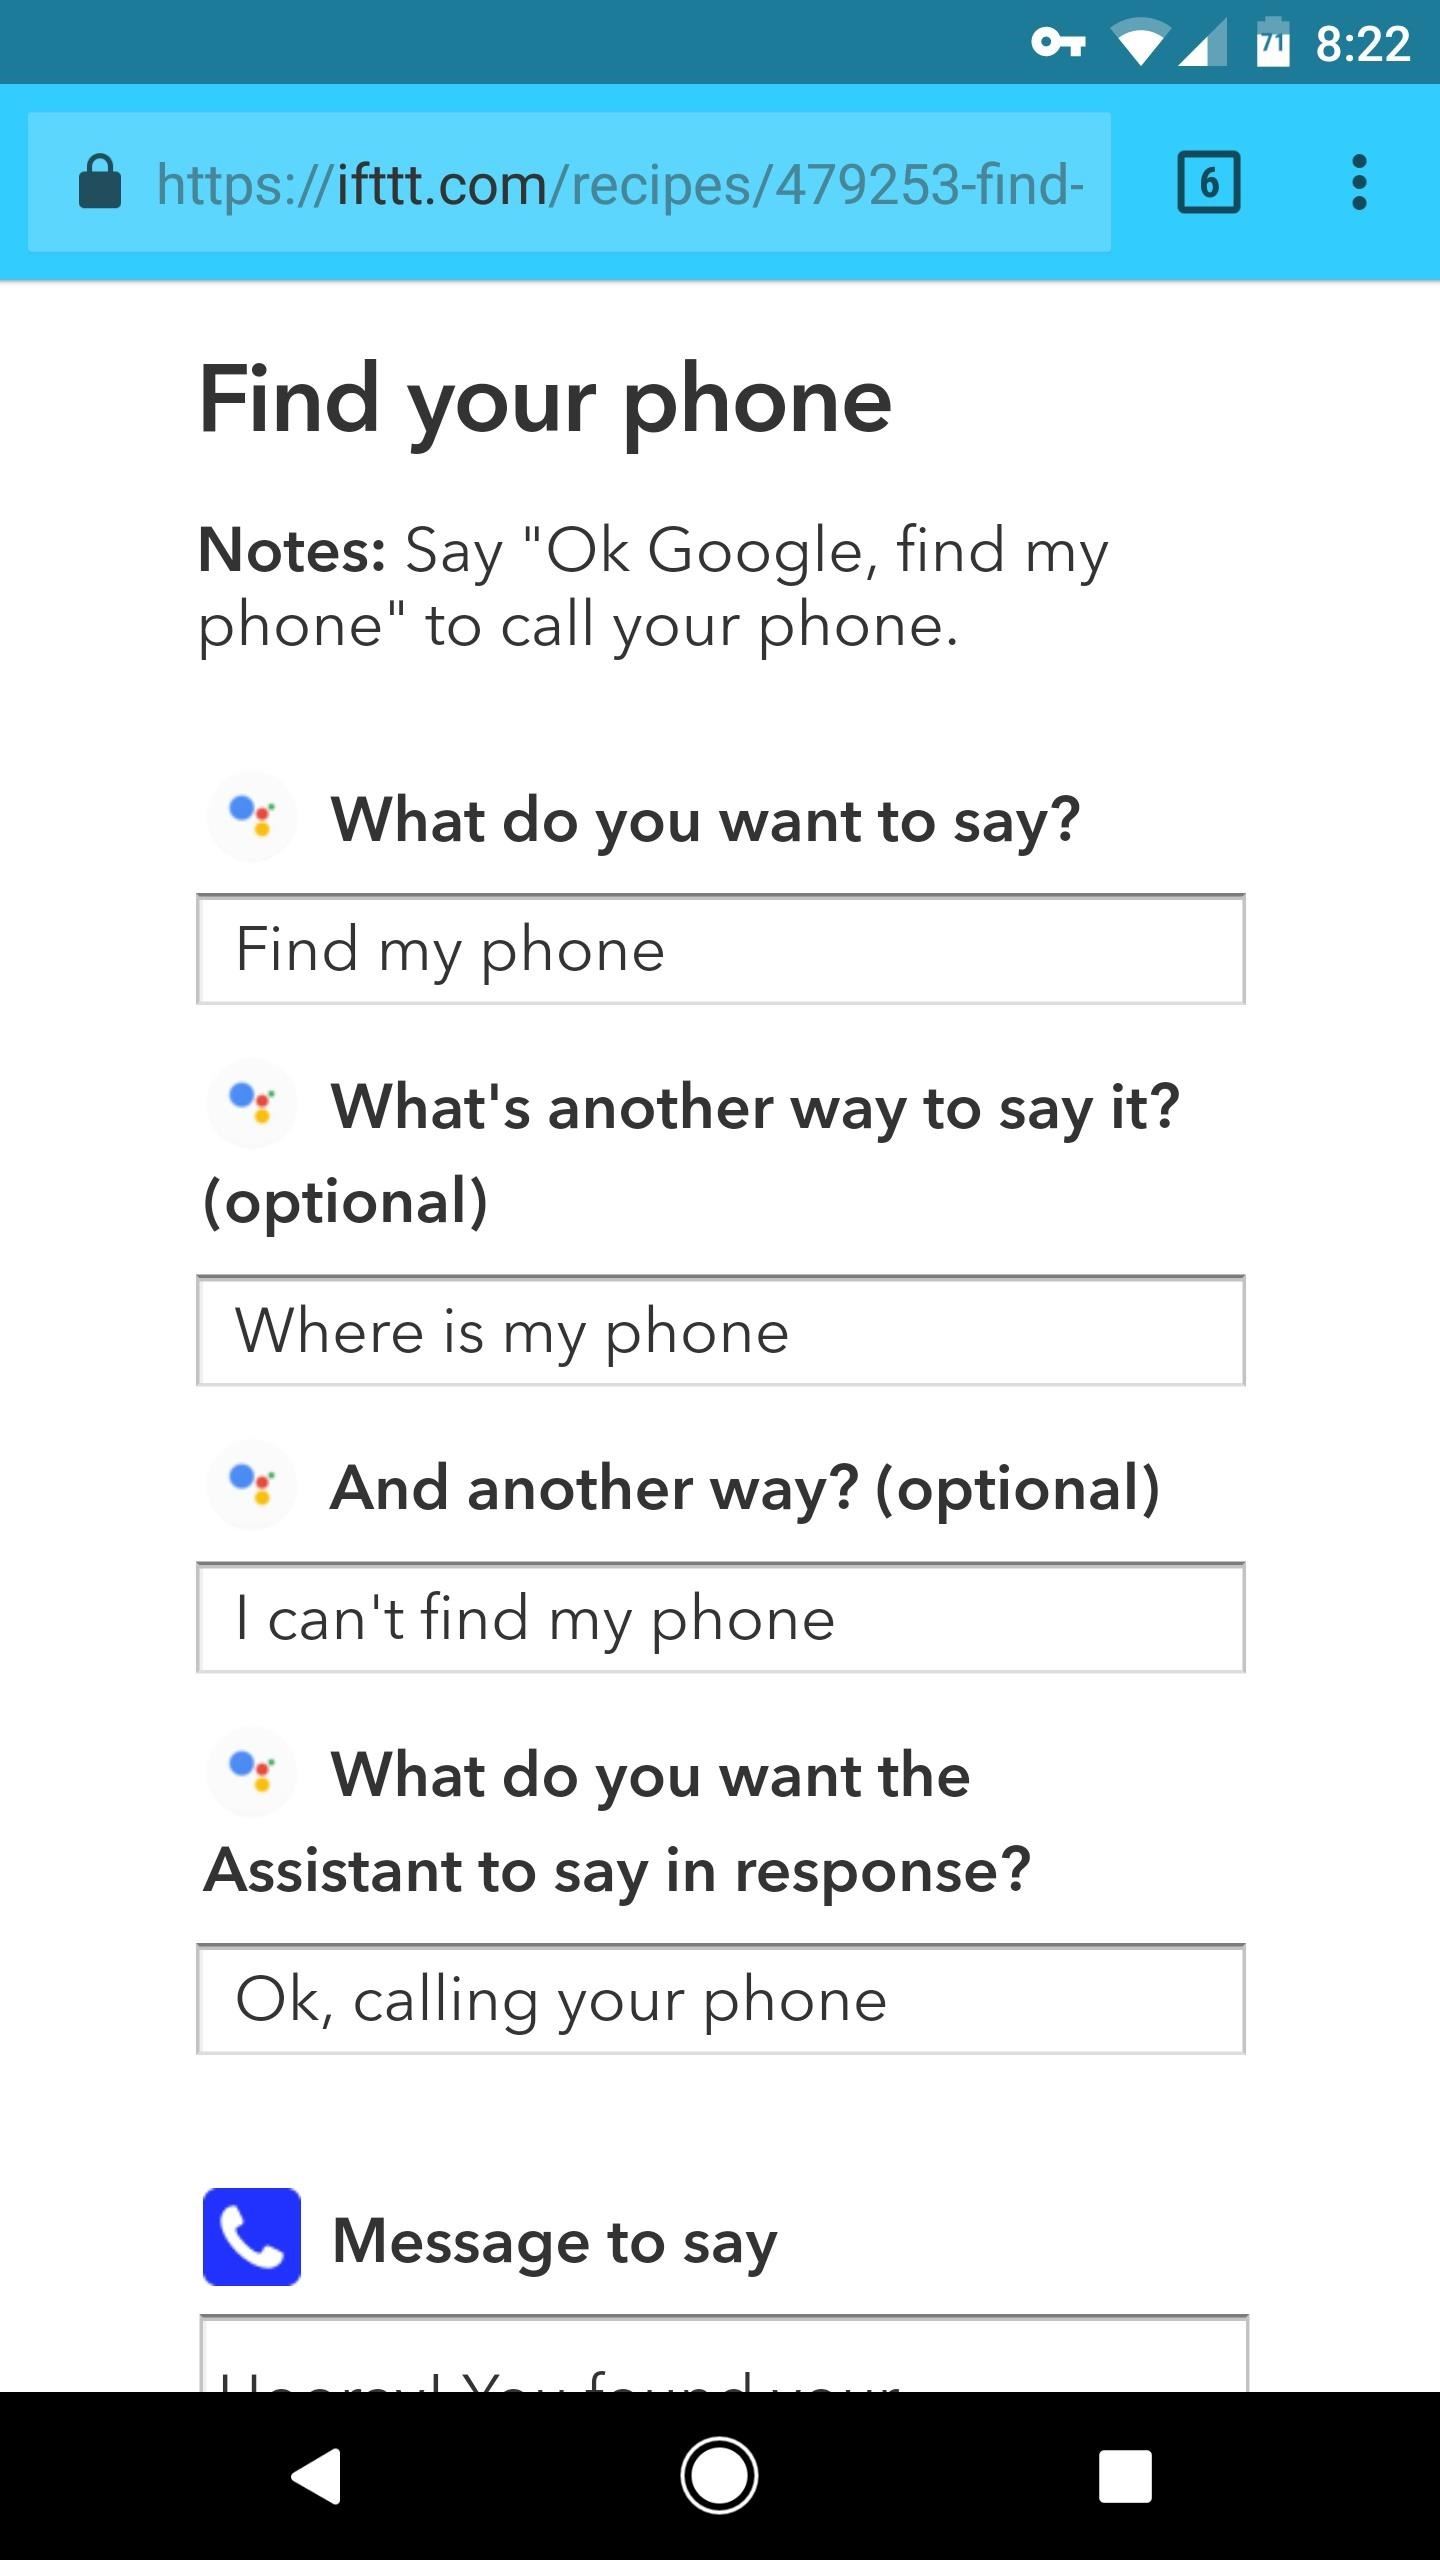
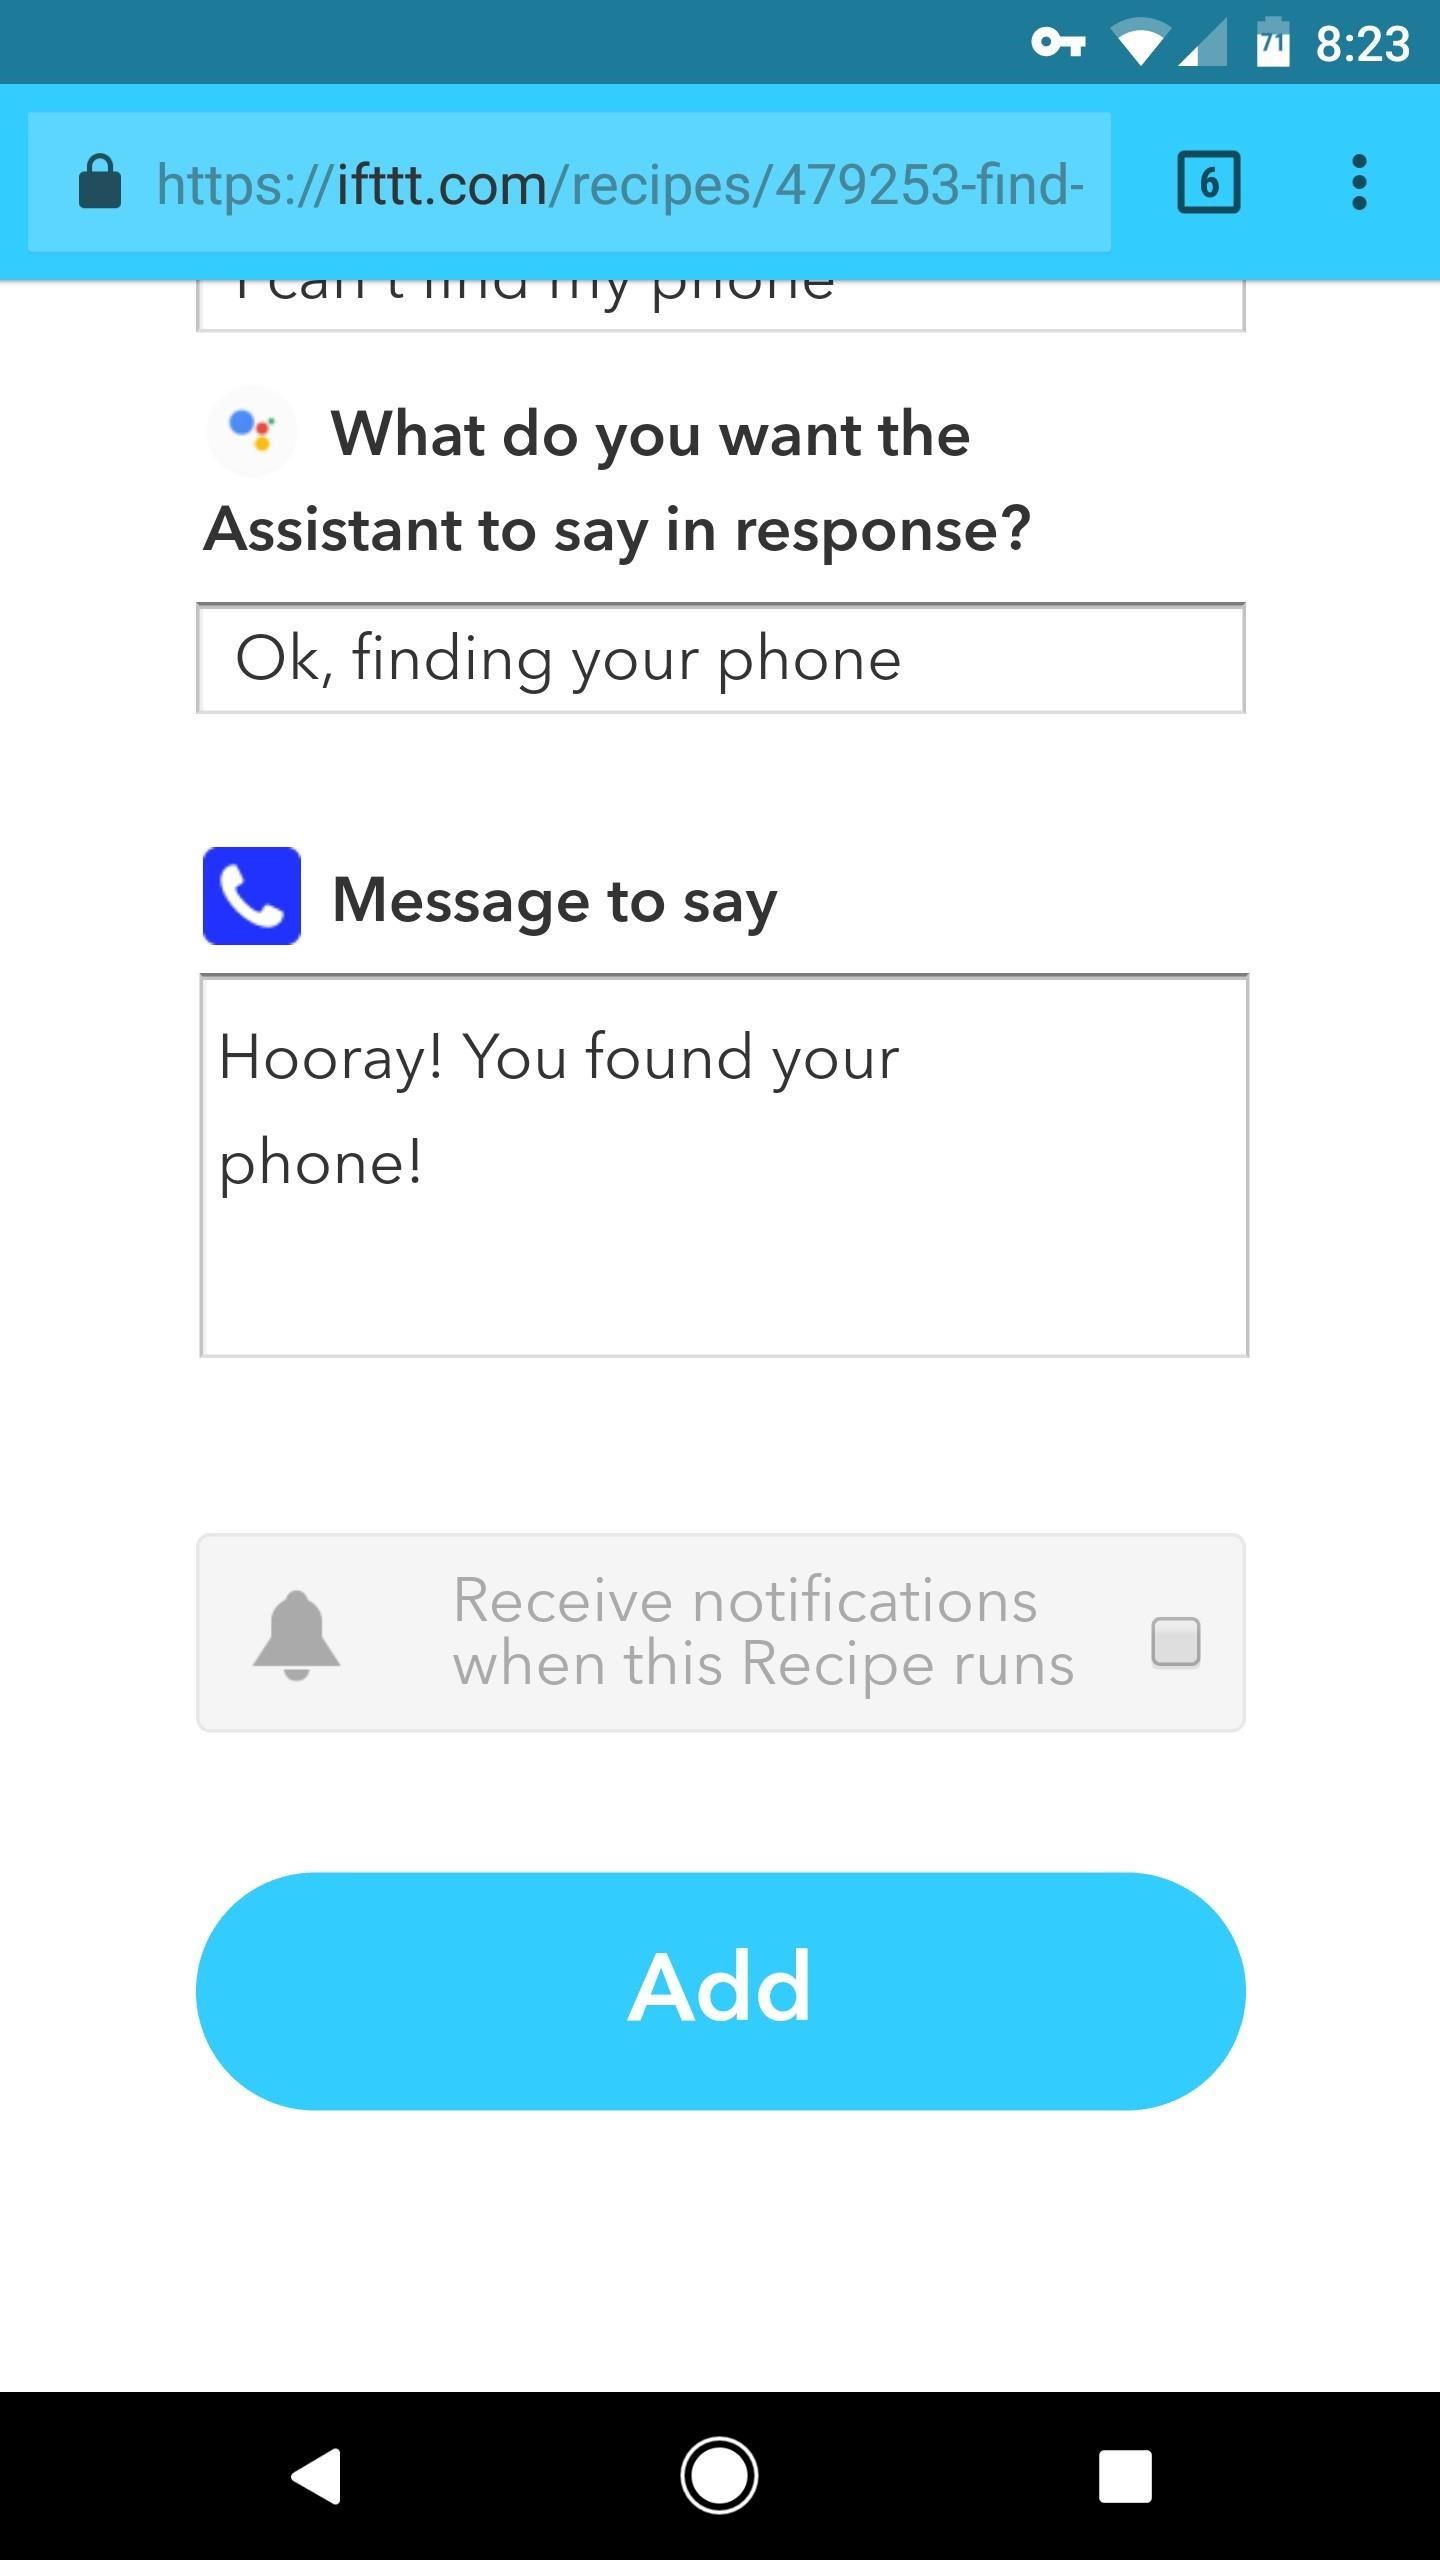
Once you’ve selected a recipe, you’ll get a chance to customize it a bit. The first three fields on this page let you set custom trigger phrases for your recipe—these are the commands you can give to Google Assistant when you want to execute this recipe.
Then, towards the bottom, you can choose what Google Assistant will say in response when it recognizes your custom trigger phrase. Once you’ve got everything set up, though, make sure to tap the “Add” button at the bottom of the page, and wait a few seconds until you see a message that says “Recipe created.”
Step 5: Use Google Assistant & IFTTT to Automate Your Life
Once you’ve added a recipe, allow up to five minutes for the changes to sync to Google’s servers. After that, you can simply say “OK Google,” then follow up with your custom trigger phrase to launch your IFTTT recipe—and this works with Android, Google Home, or any Assistant-enabled device where you’re signed in with the Google account you used to set up IFTTT.
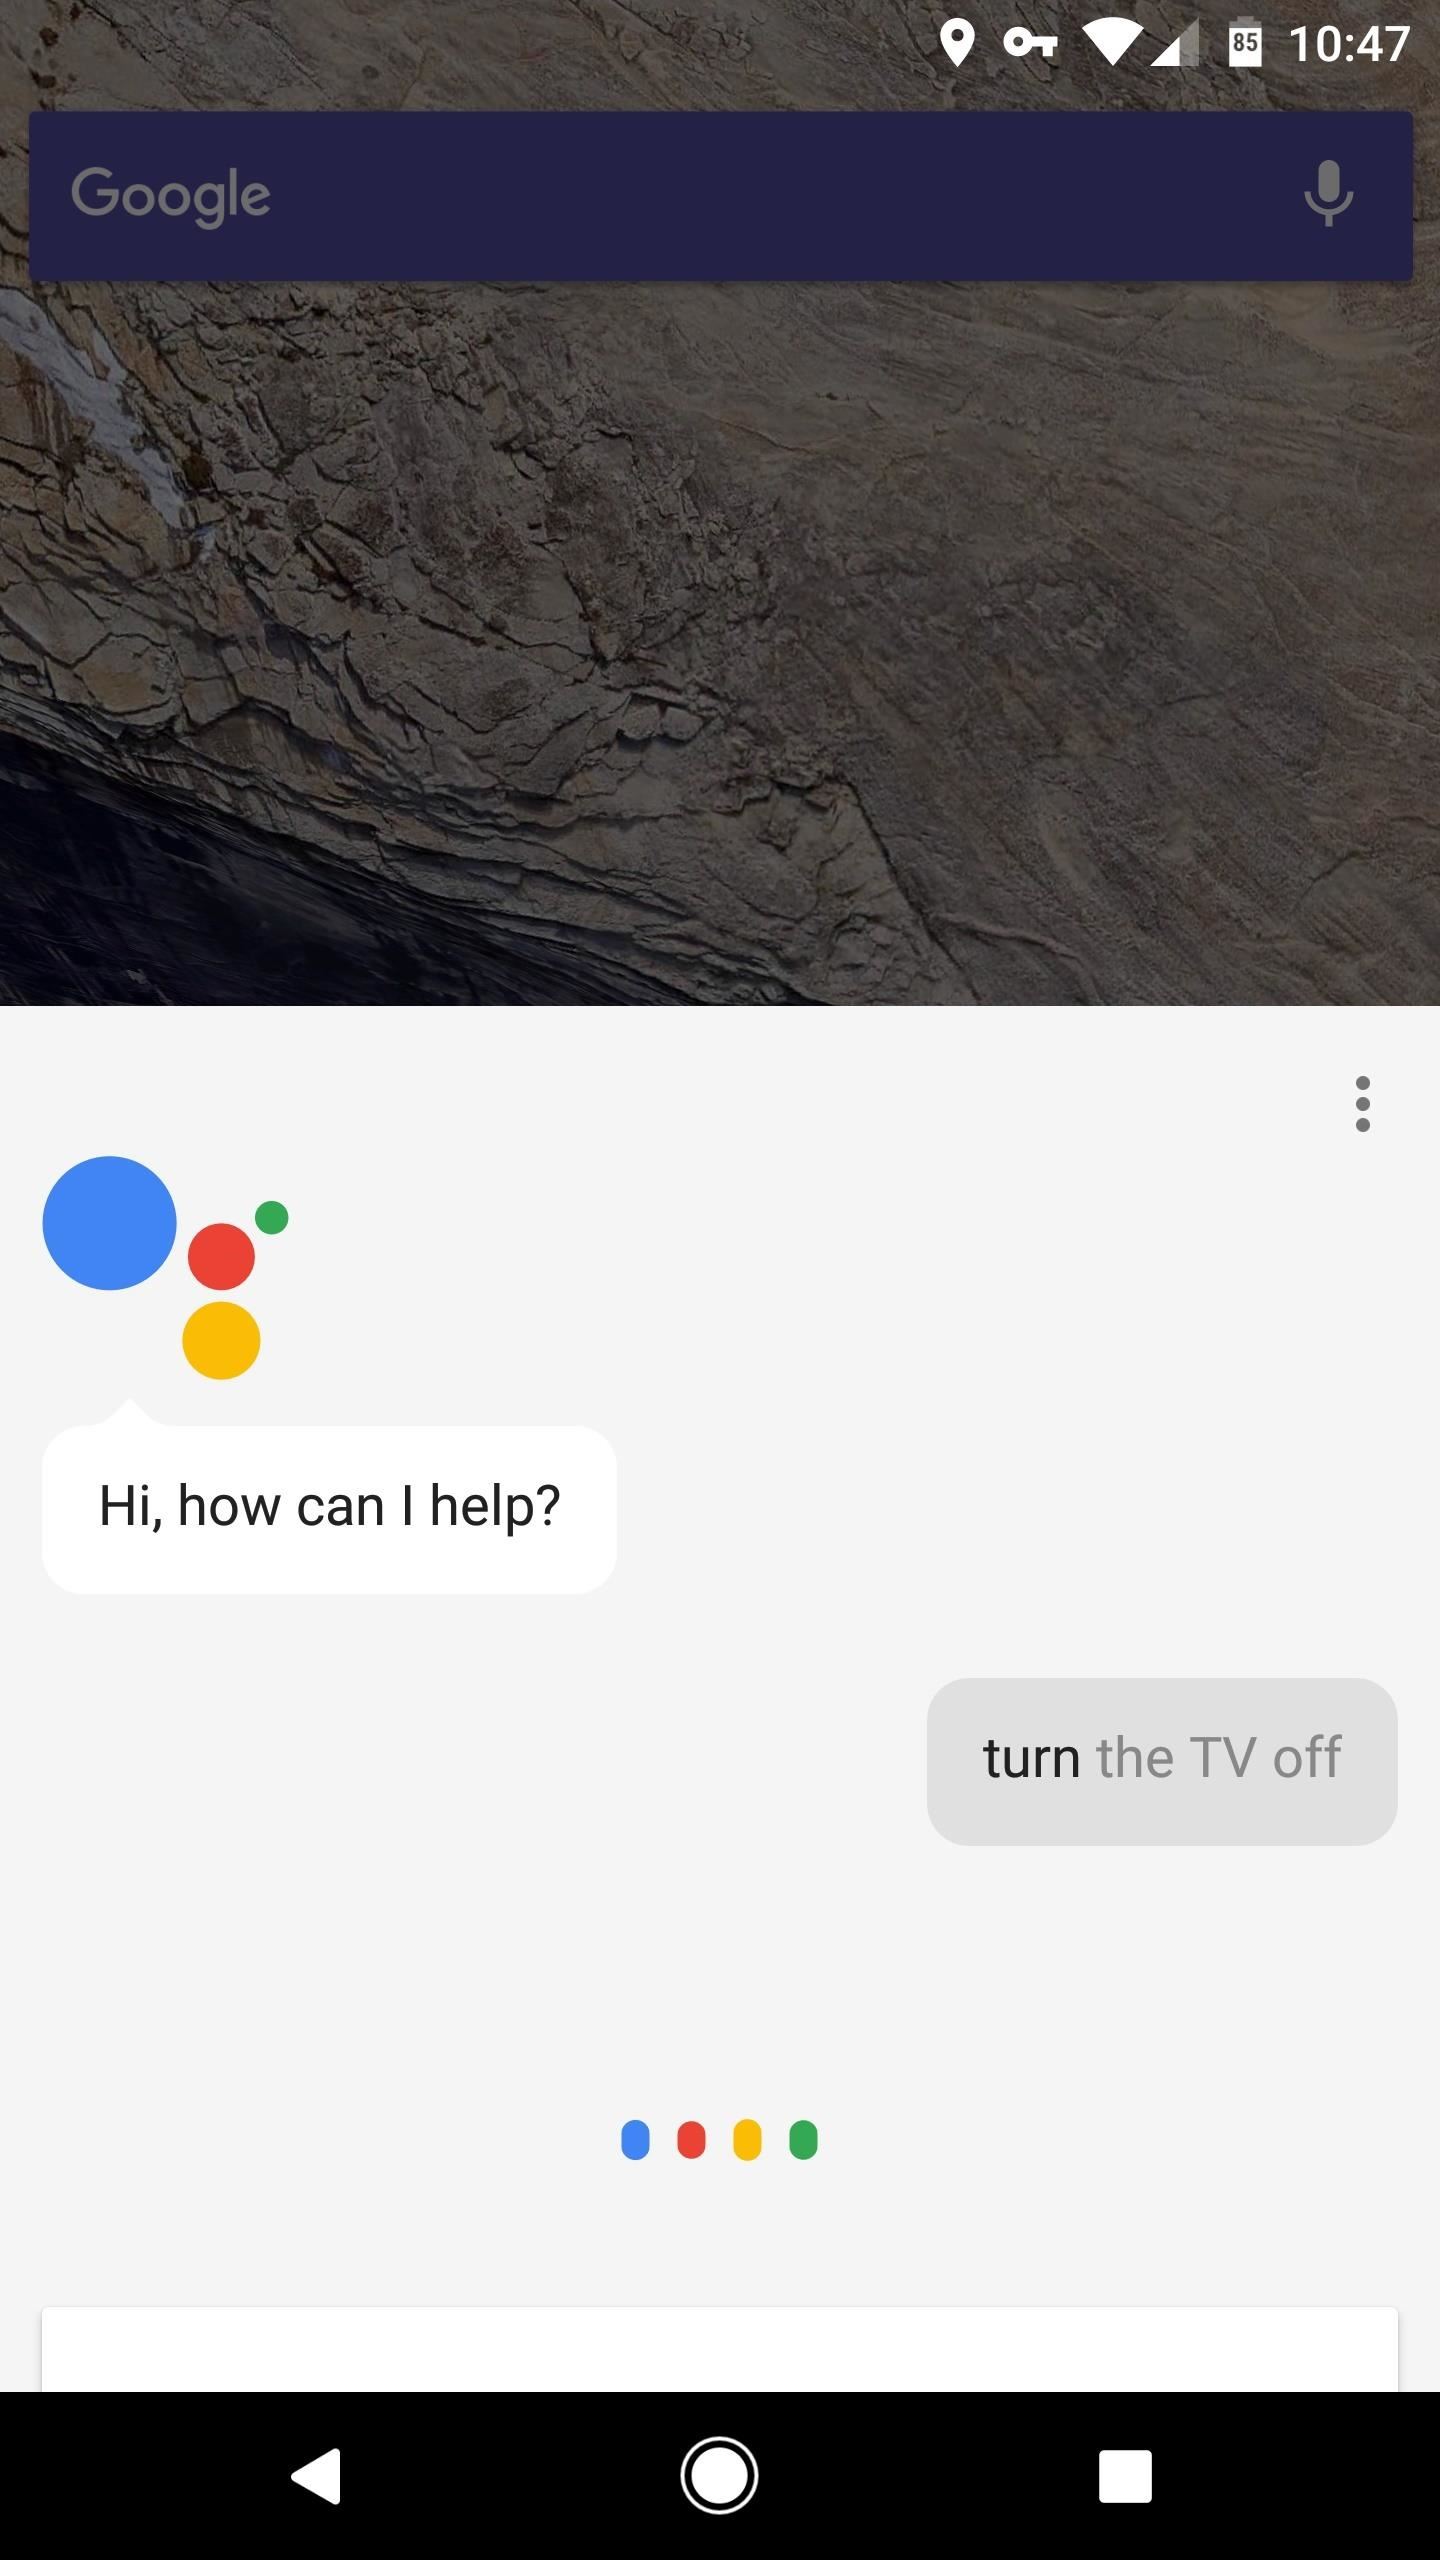
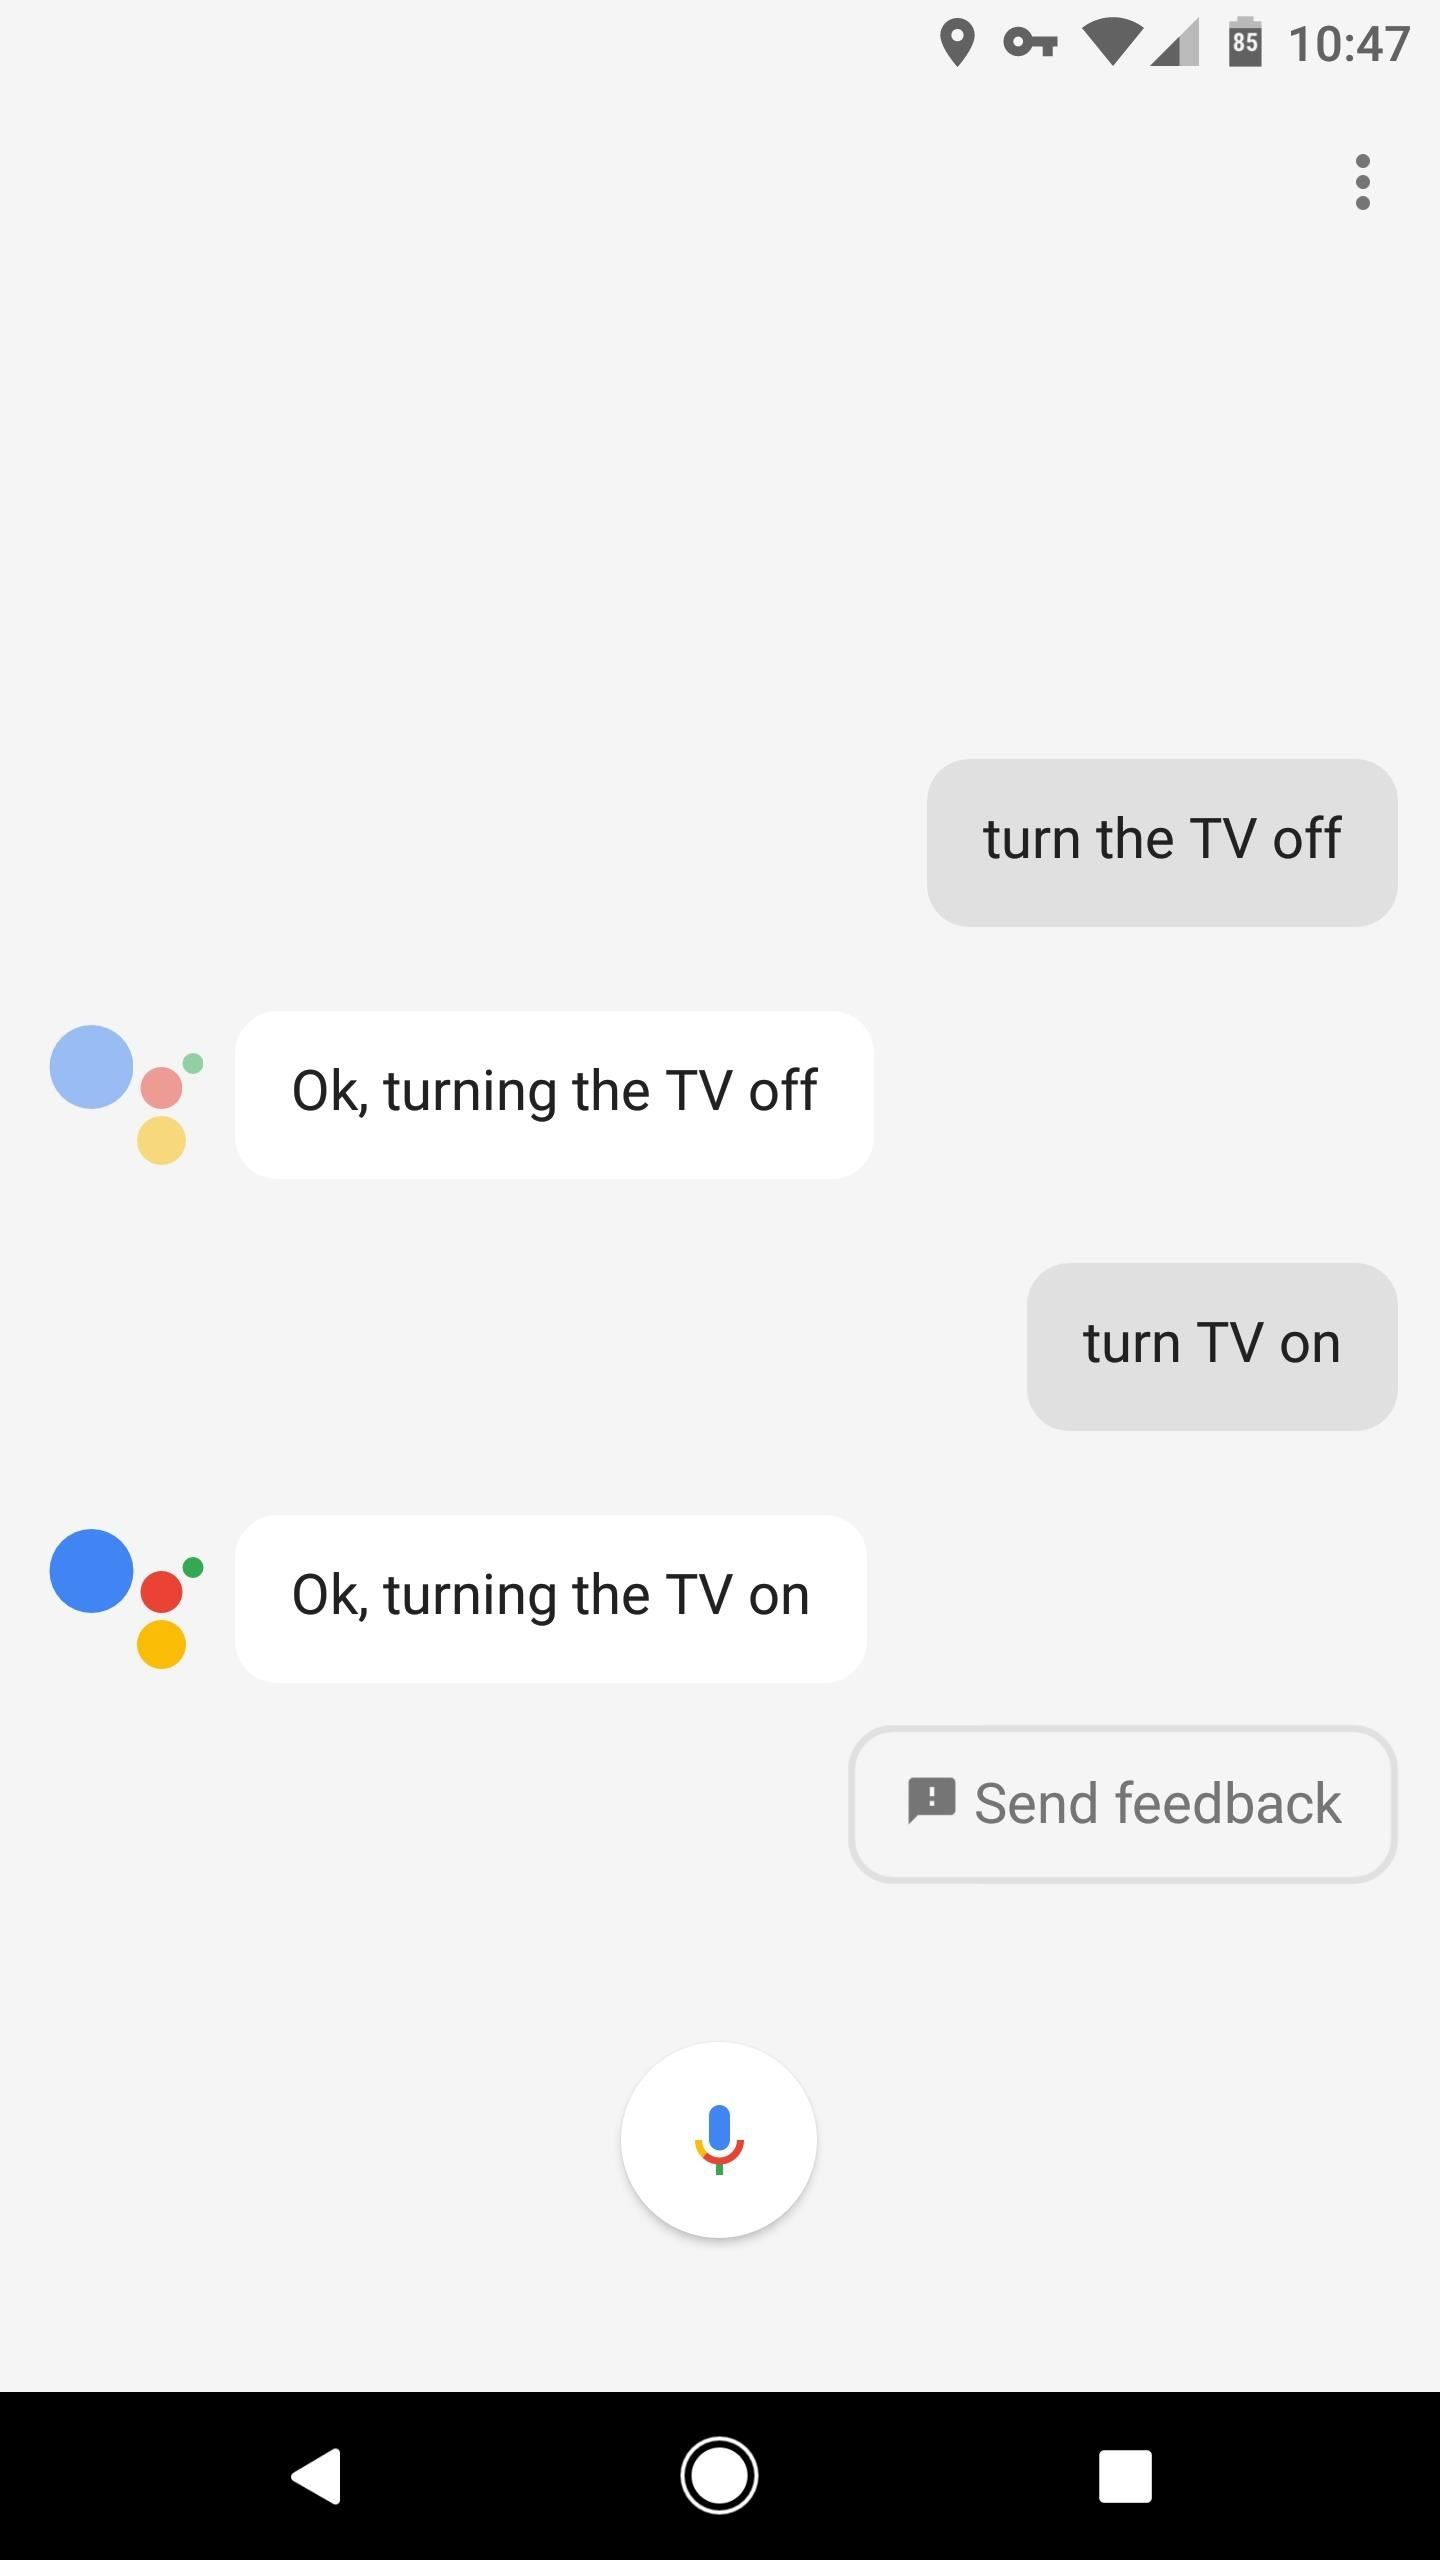
Google Assistant’s IFTTT compatibility certainly takes its powers to the next level by breaking the service out onto lots more internet-connected devices and services. In fact, there’s so much that can be done here that the possibilities are almost endless. While I was previously on the fence about Google Home, I’m now certain that I’ll be purchasing one after seeing what Assistant can do with IFTTT.
Hot Deal: Set up a secure second phone number and keep your real contact details hidden with a yearly subscription to Hushed Private Phone Line for Android/iOS, 83%–91% off. It’s a perfect second-line solution for making calls and sending texts related to work, dating, Craigslist sales, and other scenarios where you wouldn’t want to give out your primary phone number.
“Hey there, just a heads-up: We’re part of the Amazon affiliate program, so when you buy through links on our site, we may earn a small commission. But don’t worry, it doesn’t cost you anything extra and helps us keep the lights on. Thanks for your support!”


