Macs Waste a Lot of Space on Old Scanned Images, Here’s Where to Find Them
macOS
Key Takeaways
- Raw scans made on your Mac are stored in the “Pictures” folder, potentially taking up lots of space due to the size of uncompressed image data.
- Manually delete raw scans from the “Pictures” folder or save them in a custom folder for future use.
- Change the default save location for scans to easily track and manage them in the future.
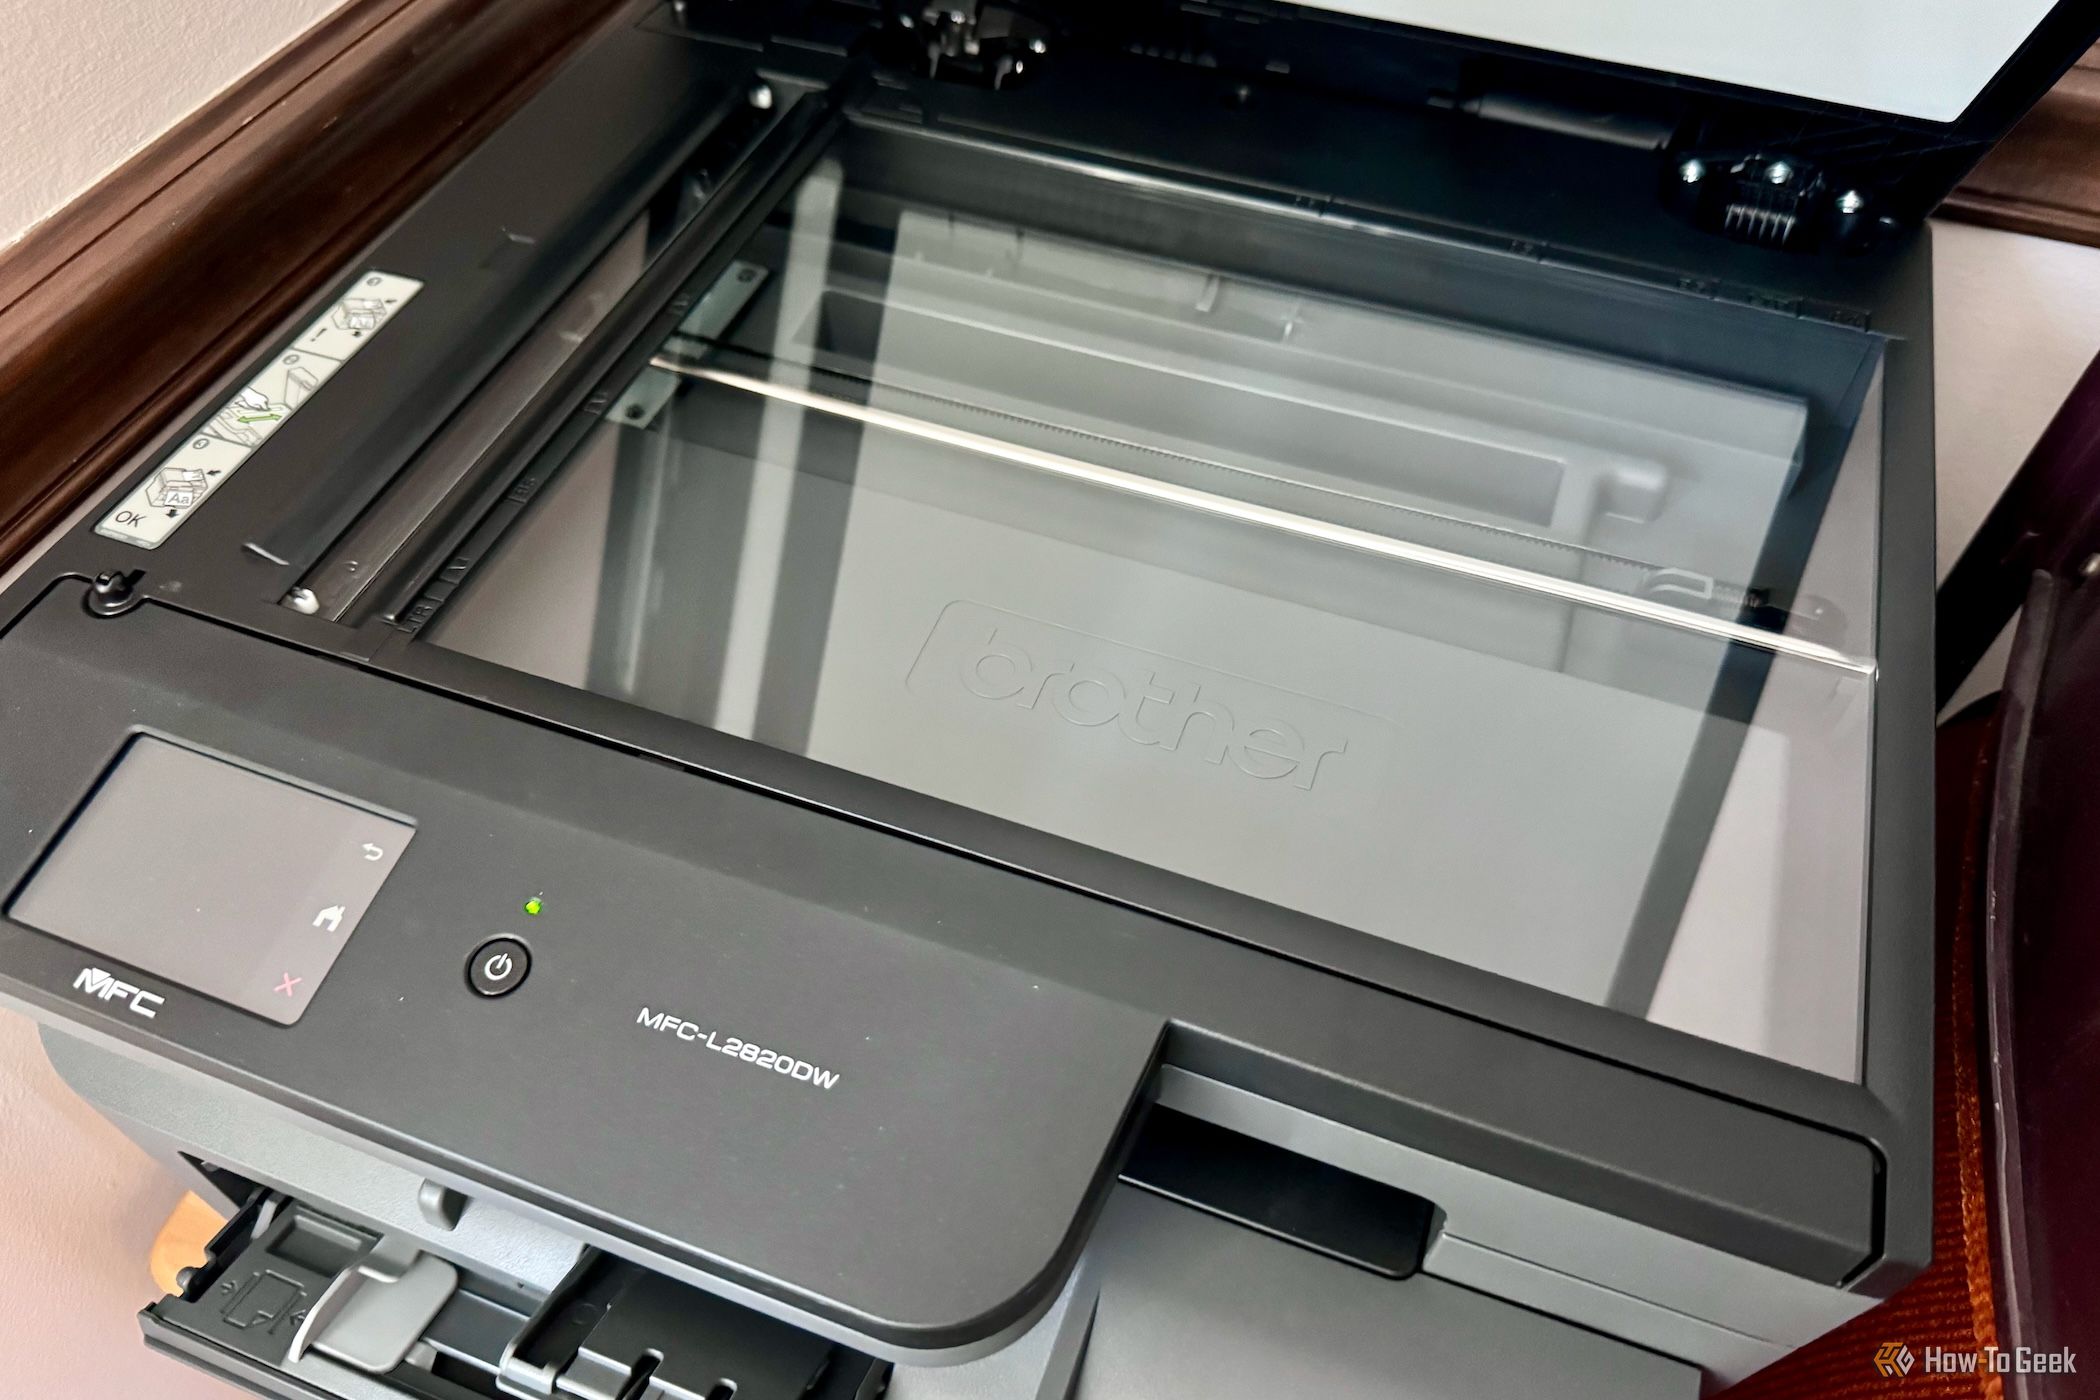
Scanners can be super handy, but they tend to leave a lot of unwanted junk behind. If you’re a Mac user who does a lot of scanning, you could probably recover a fair chunk of free space simply by emptying a single folder. Here’s how.
Where to Find Raw Scans on macOS
Not all Mac scanning software will save raw scan data by default As an example, Pixelmator Pro will only save the scan when you choose to save the image file after importing it. But for those that do, there’s one place that you’re most likely to find and that’s the Pictures folder.
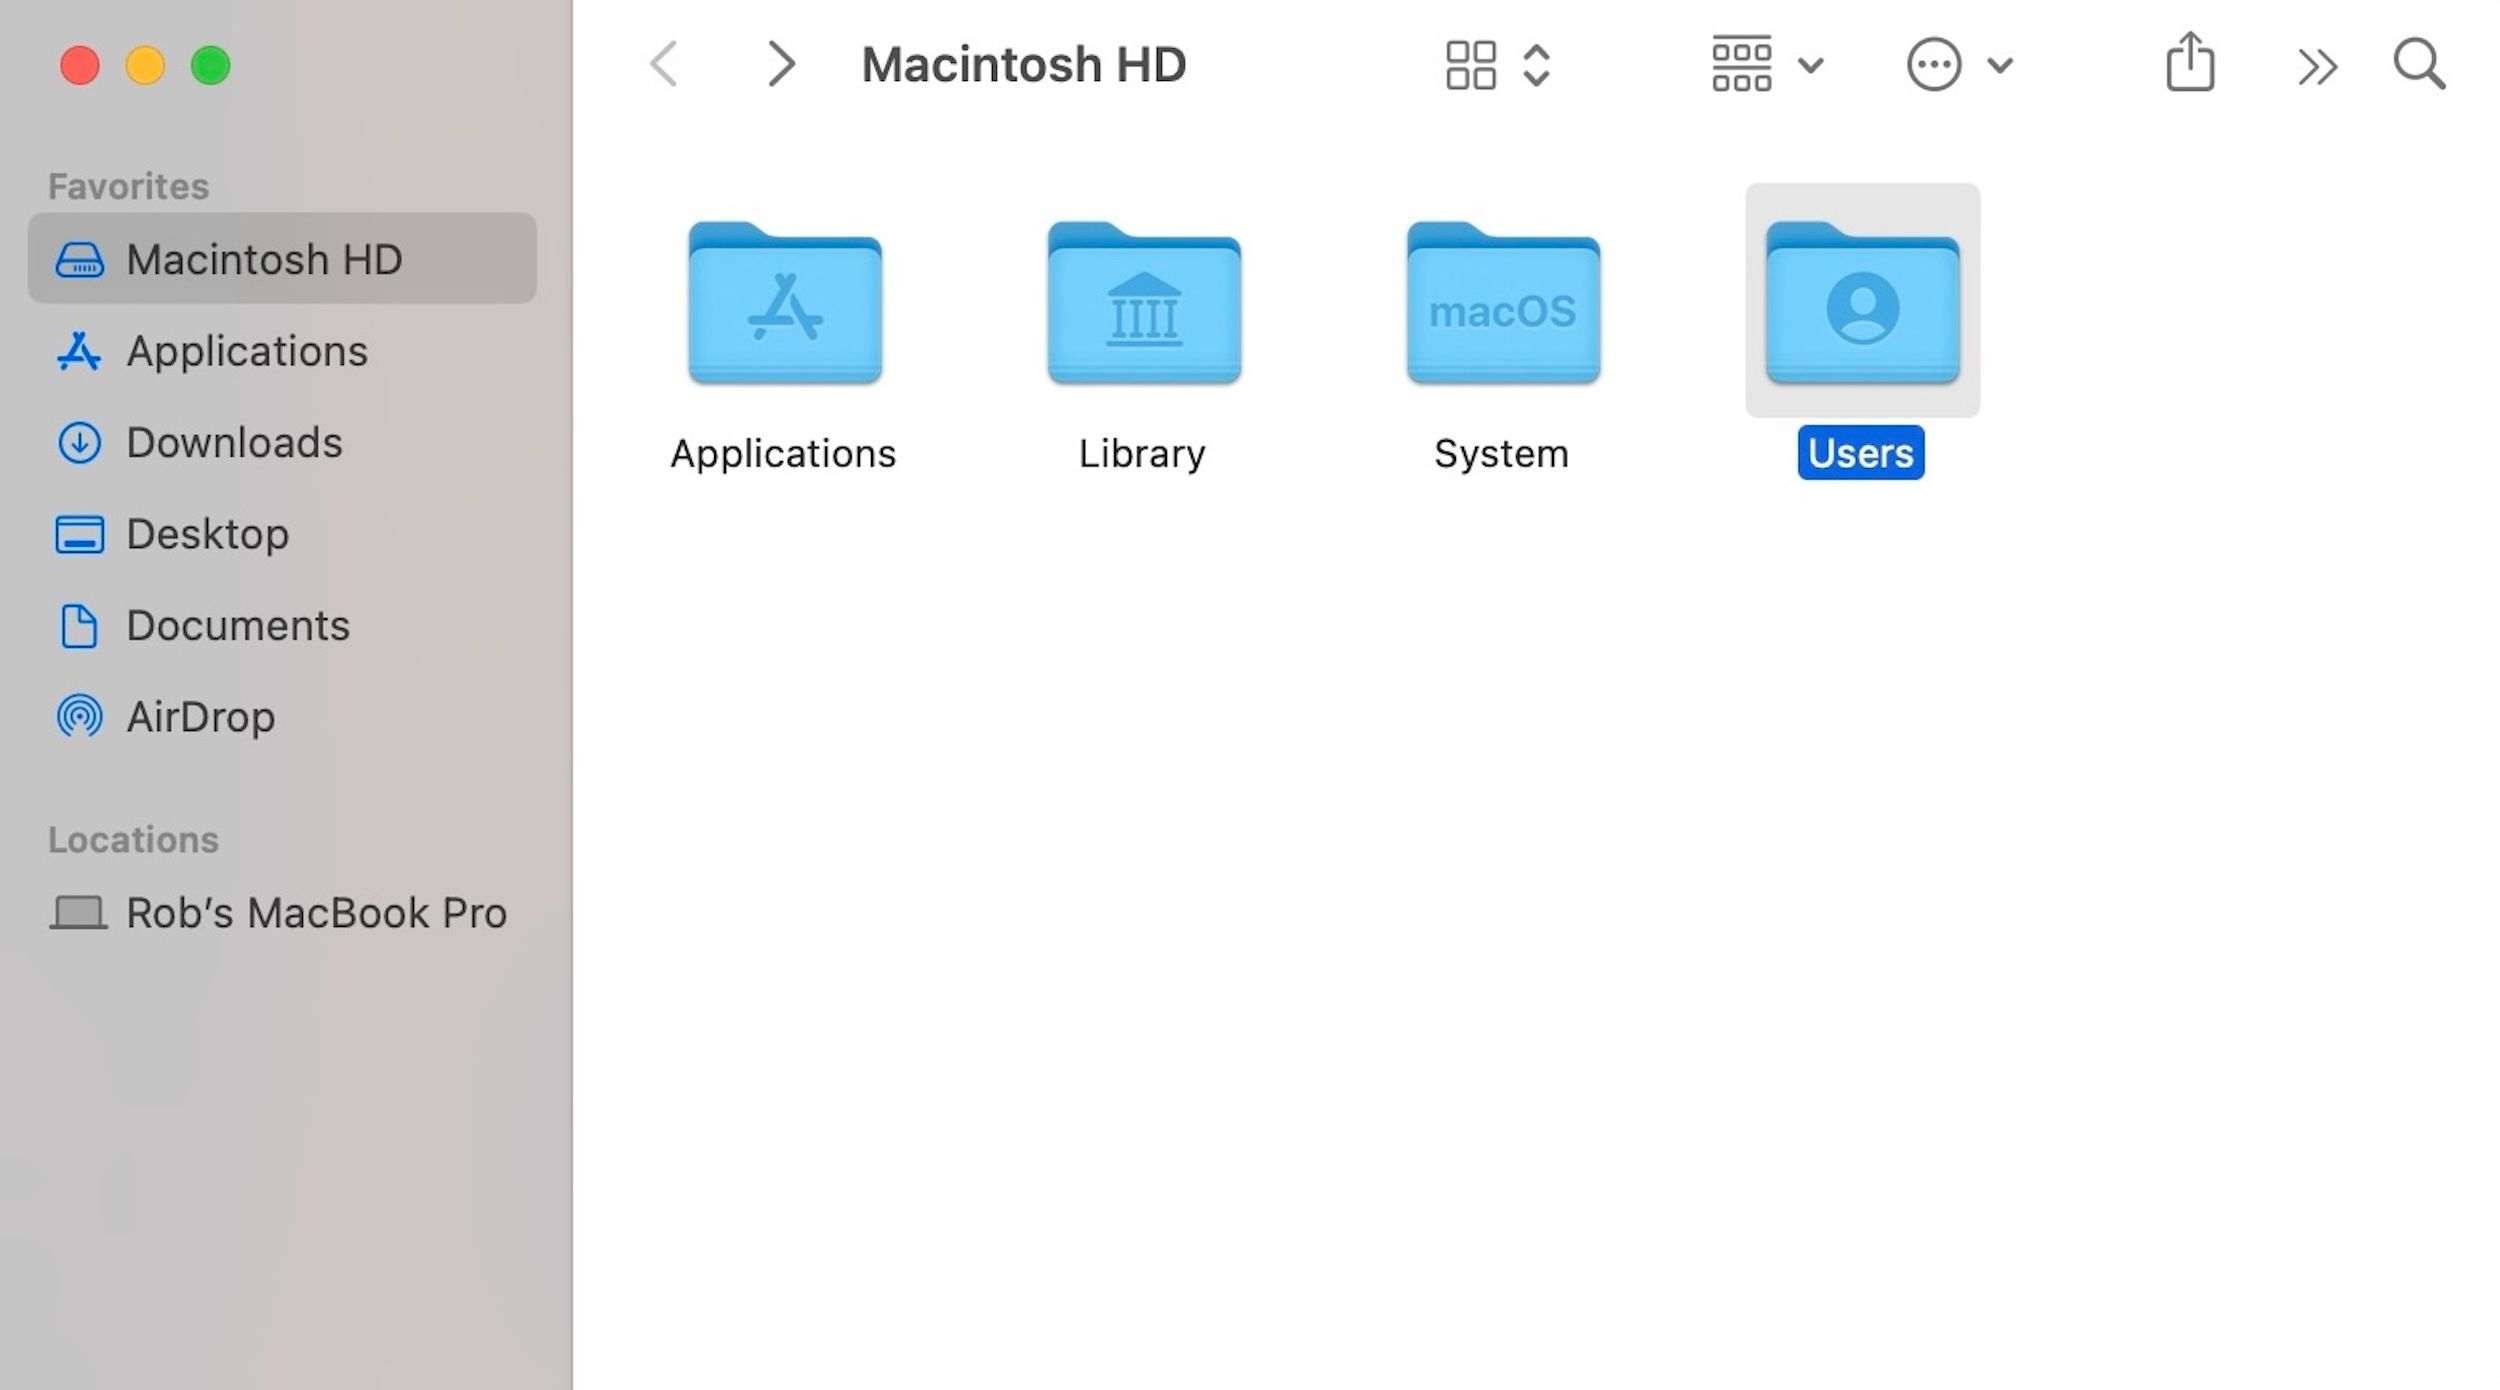
From Finder, open your Mac’s main hard drive directory. The default name is Macintosh HD, but it can be changed manually. Open the “Users” folder and then open the folder for the user profile you use when scanning. If there’s only one user profile available, it’s that one.
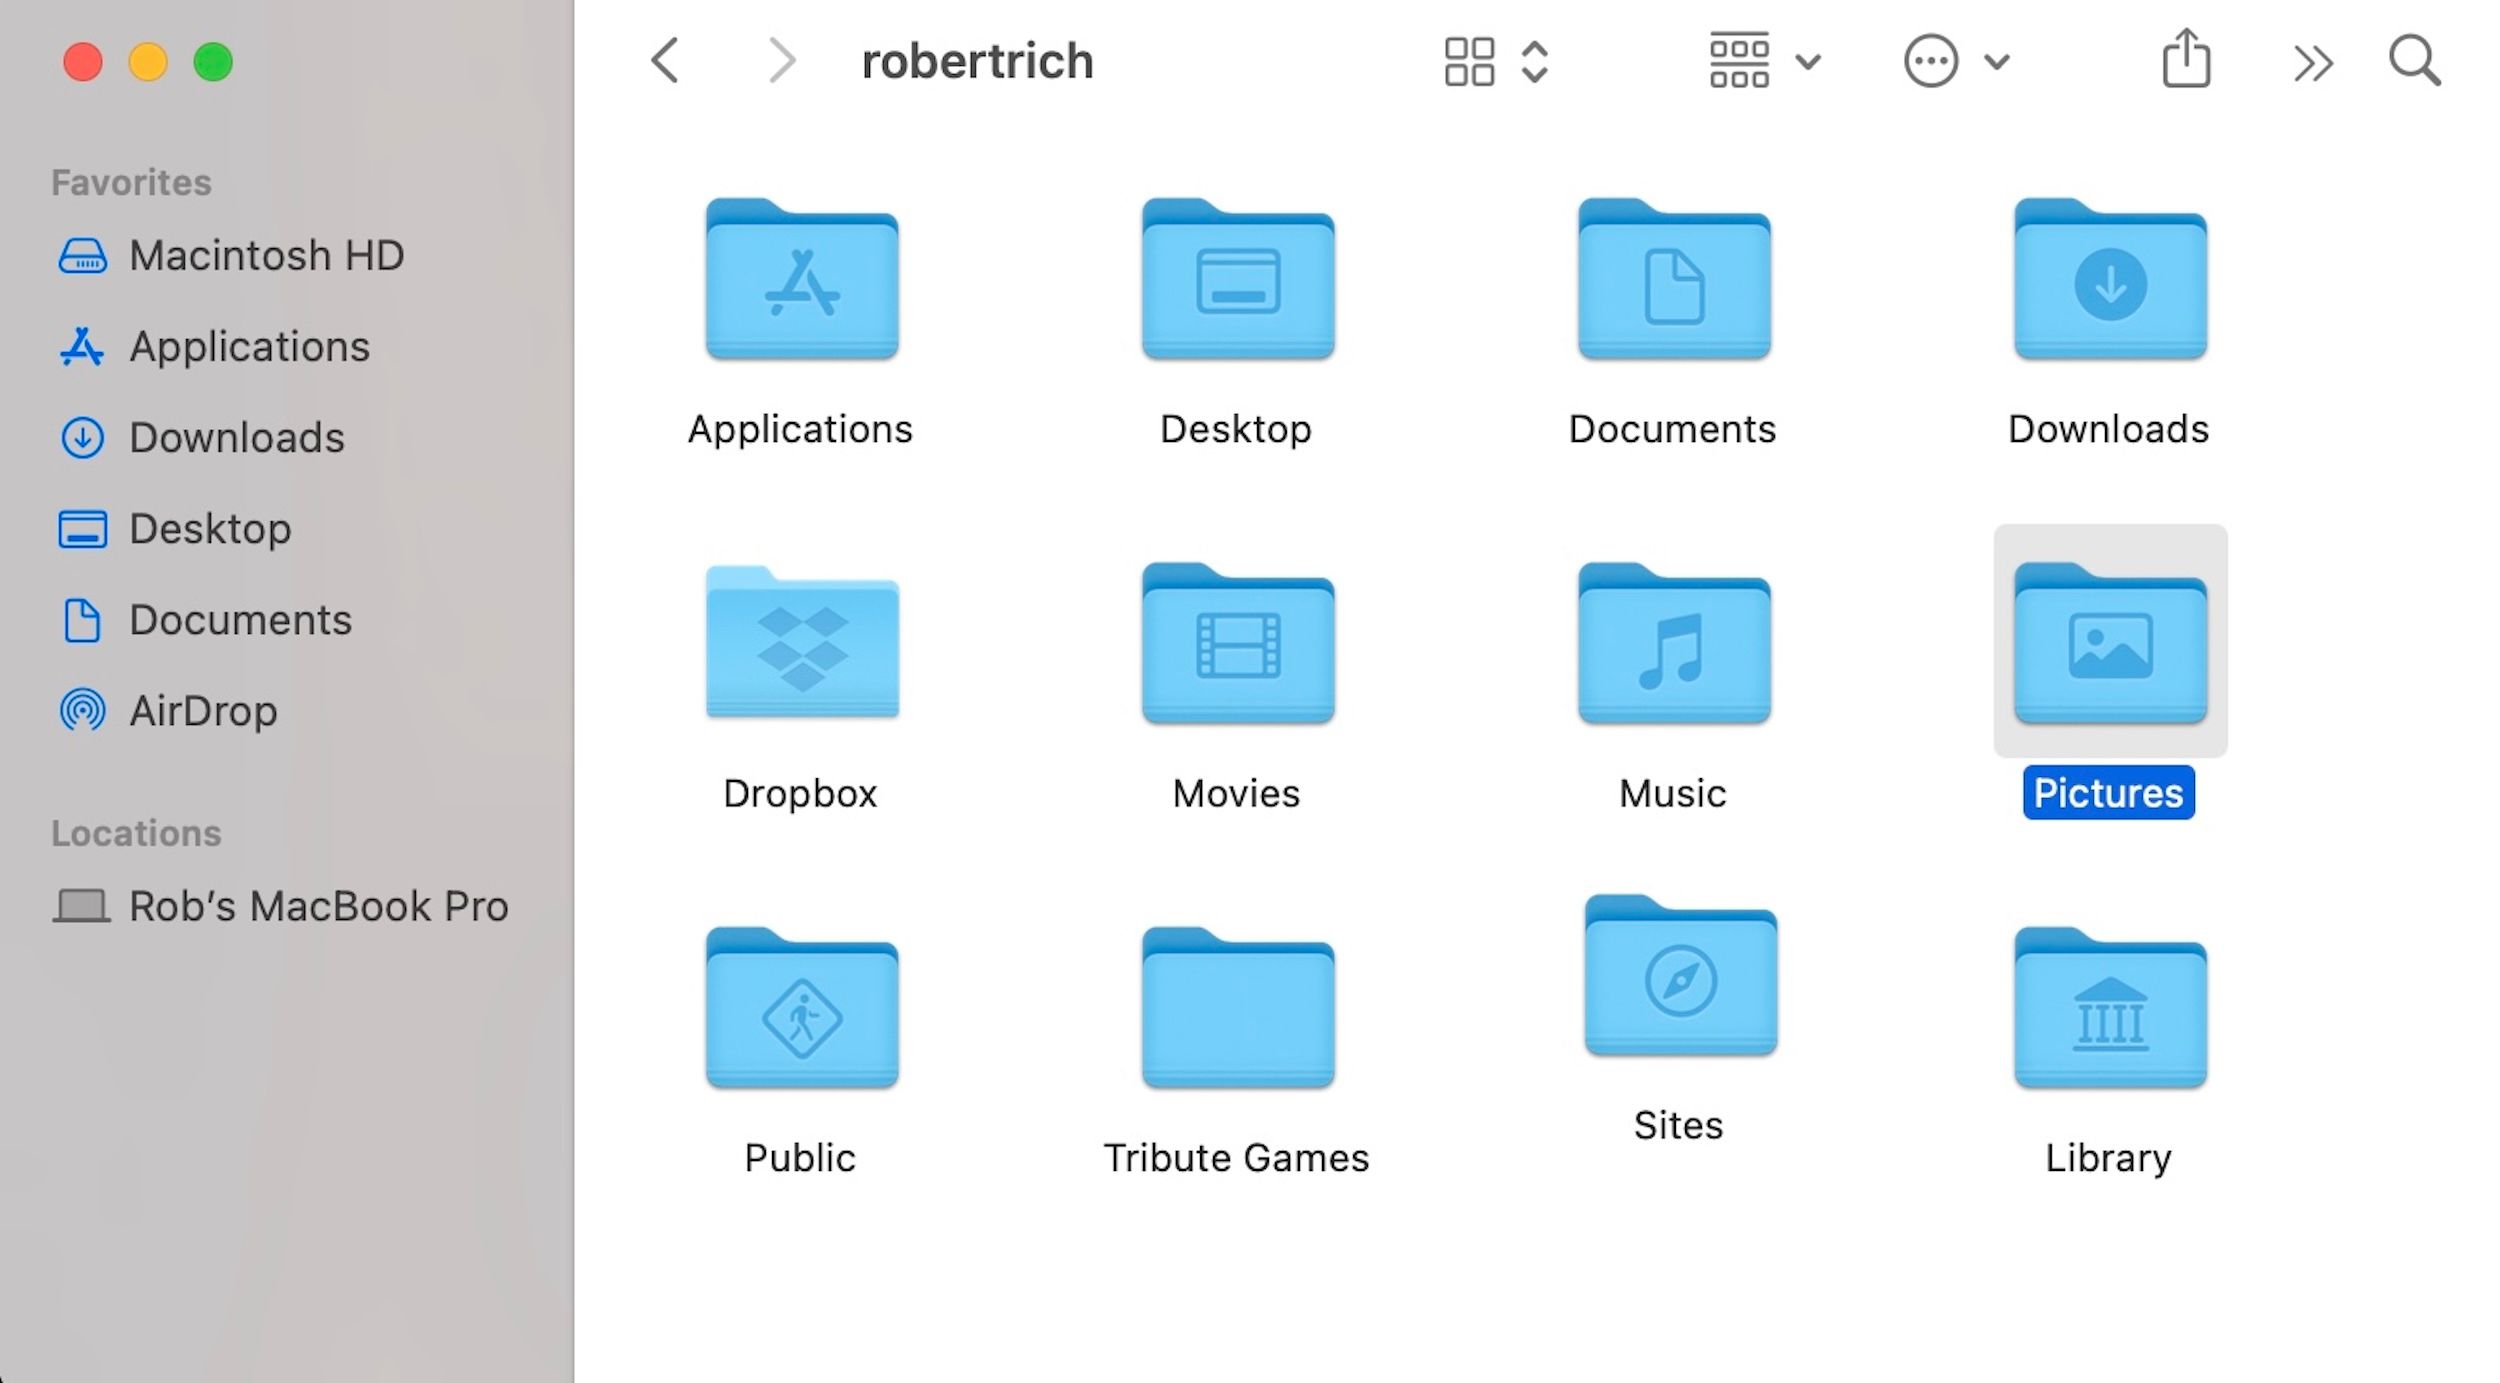
Locate and open the “Pictures” folder. All of your raw scan files will appear in this directory, which you can select all at once or manually pick out specific ones. Once selected, drag and drop the files into the Trash and empty it (right-click on the “Trash” icon and select “Empty Trash”).
Alternatively, if you prefer to hang onto the raw scans for future projects or posterity, you can create a custom folder in a location you won’t lose track of and then drag and drop the scans you want to keep into it for easier locating later.
Something to be aware of is that the name of these raw scan files can change depending on the scanner and drivers you’re using, which makes a manual search via the Finder difficult. Some apps may also use their own Pictures folder, which complicates doing a search for just the folder as well.
This is why it’s necessary to take the specific directory route noted above. Anything else is unlikely to turn up anything of note, which could give the mistaken impression that your Mac doesn’t have any excess scan files kicking around.
Change Save Location to Keep Track of Raw Scans
Rather than trying to memorize, write down, or look up where those scan files get hidden, there’s another way to make them easier to deal with in the future: change the default save location.
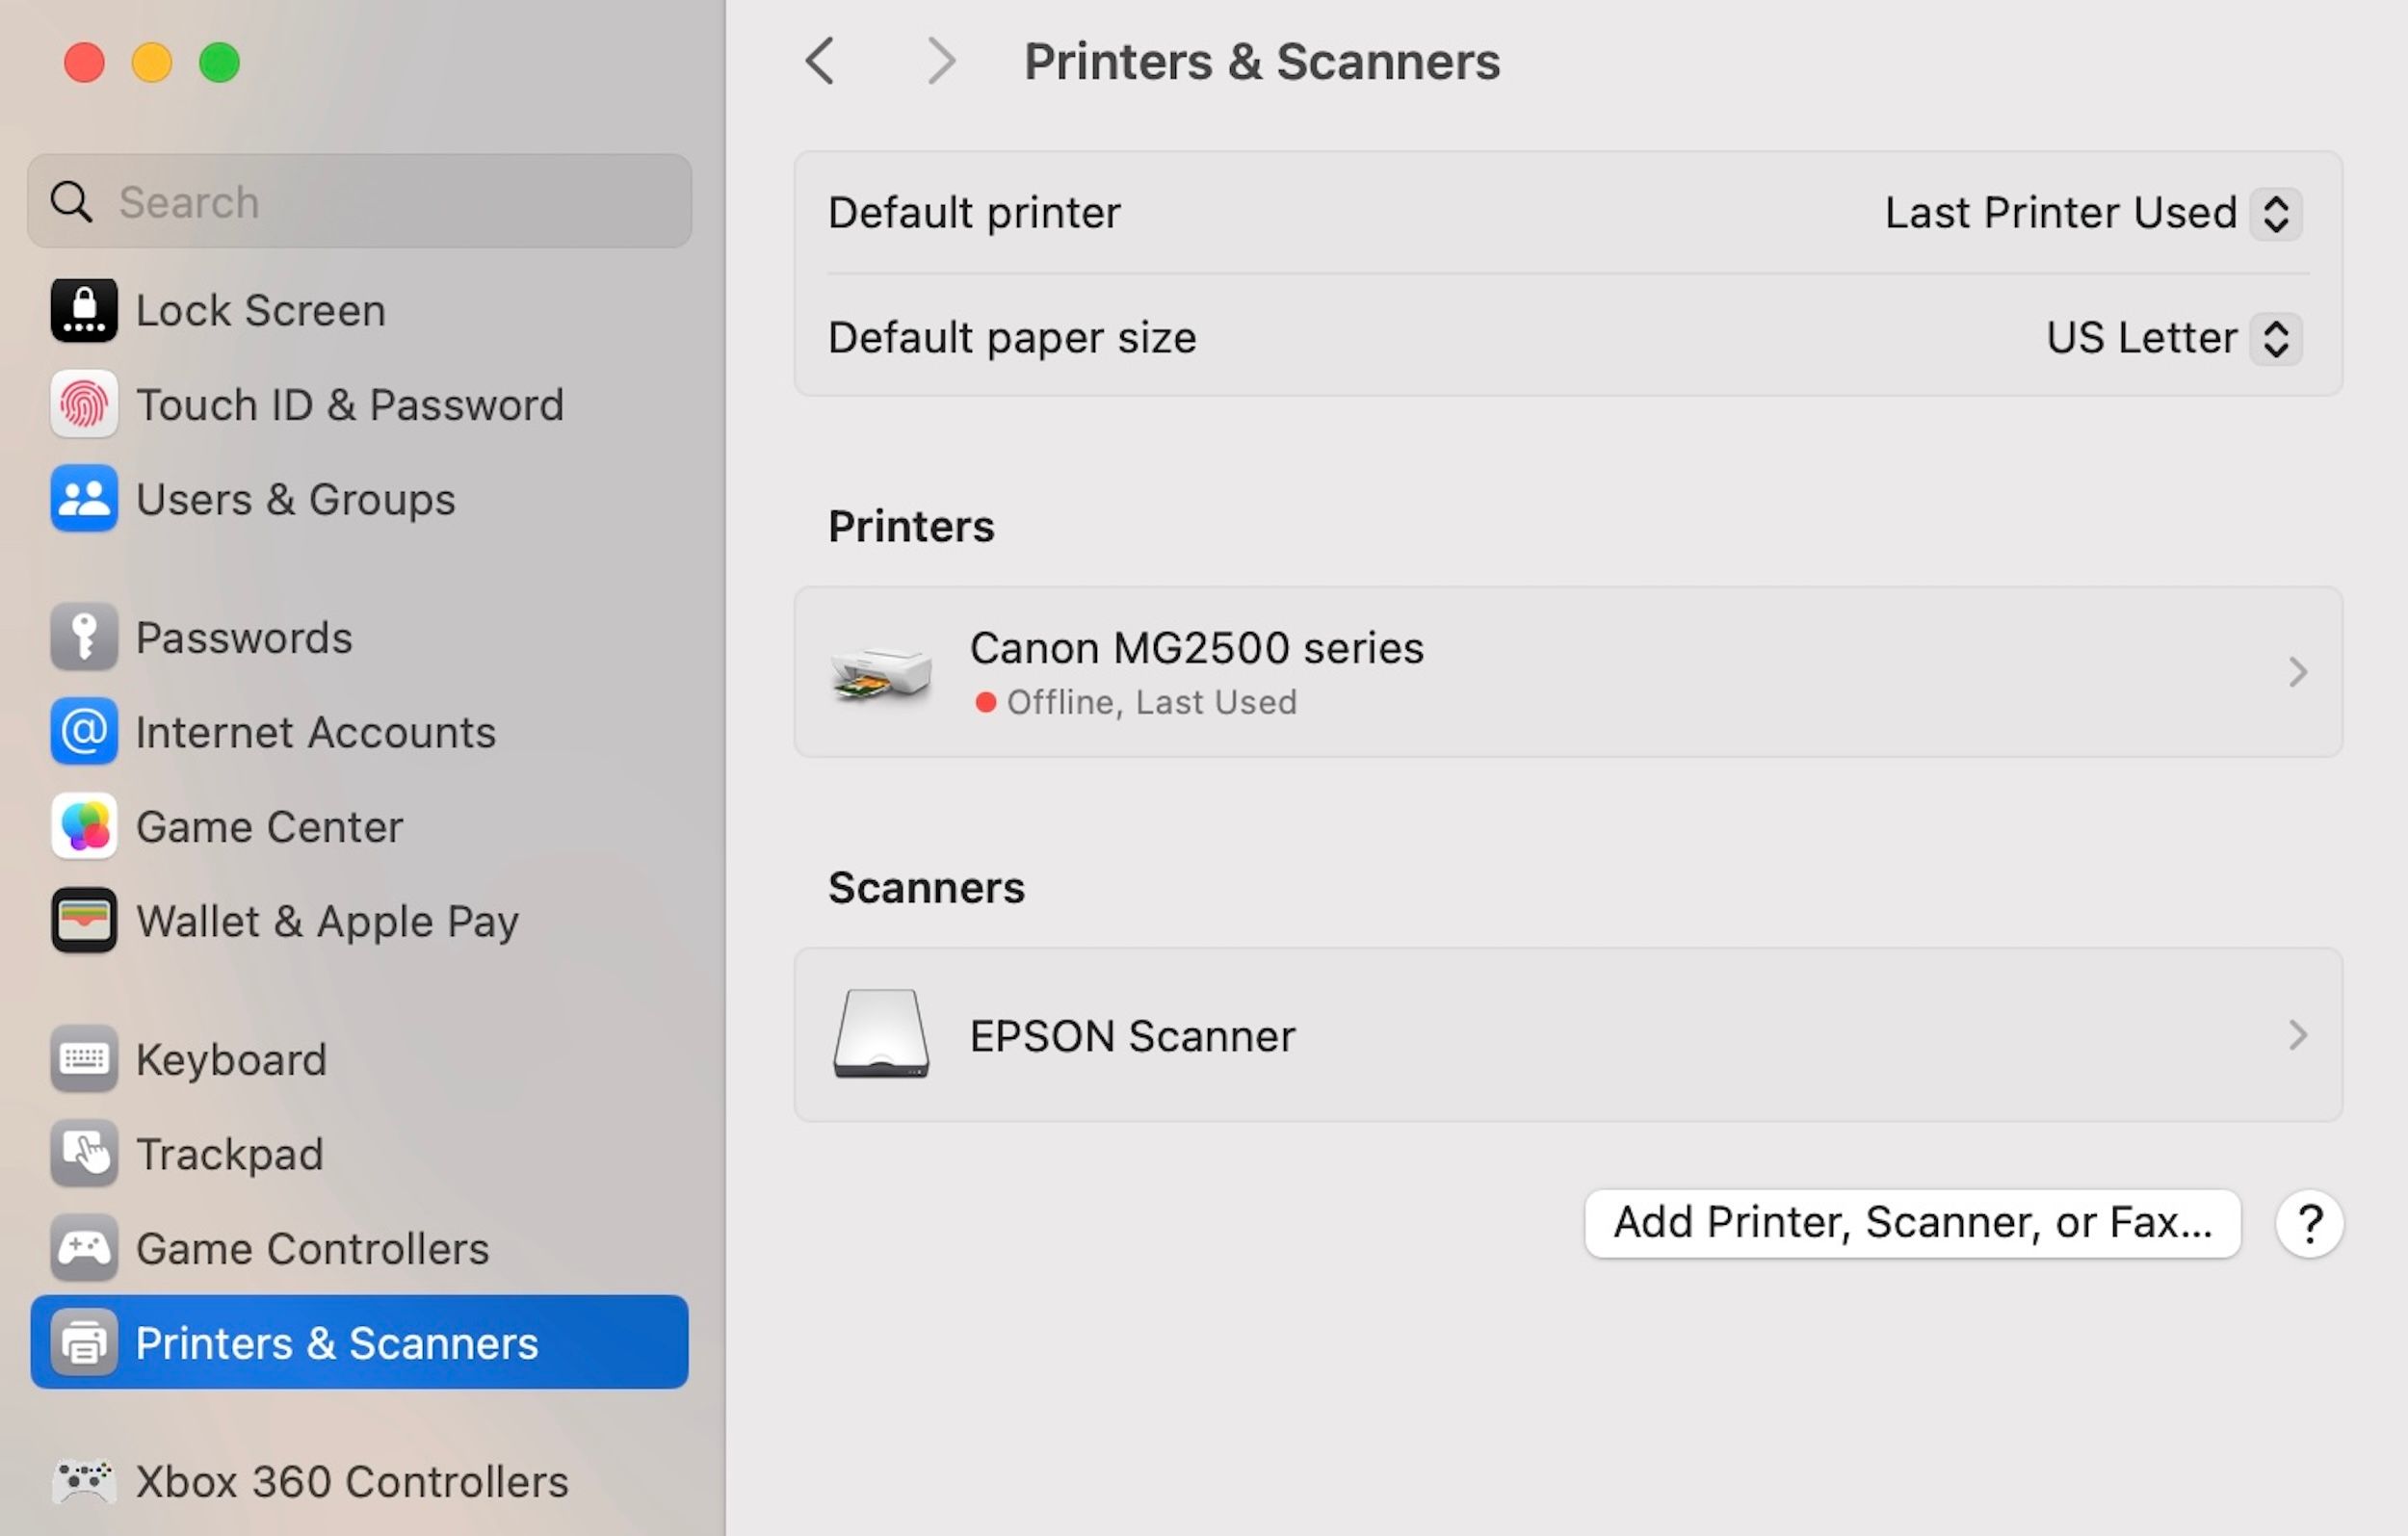
The exact steps may differ based on the scanner model and manufacturer, but you should be able to access the proper options by clicking on the Apple icon in the top-left corner of the screen and selecting “System Settings” (or System Preferences in macOS 12 Monterey and older).
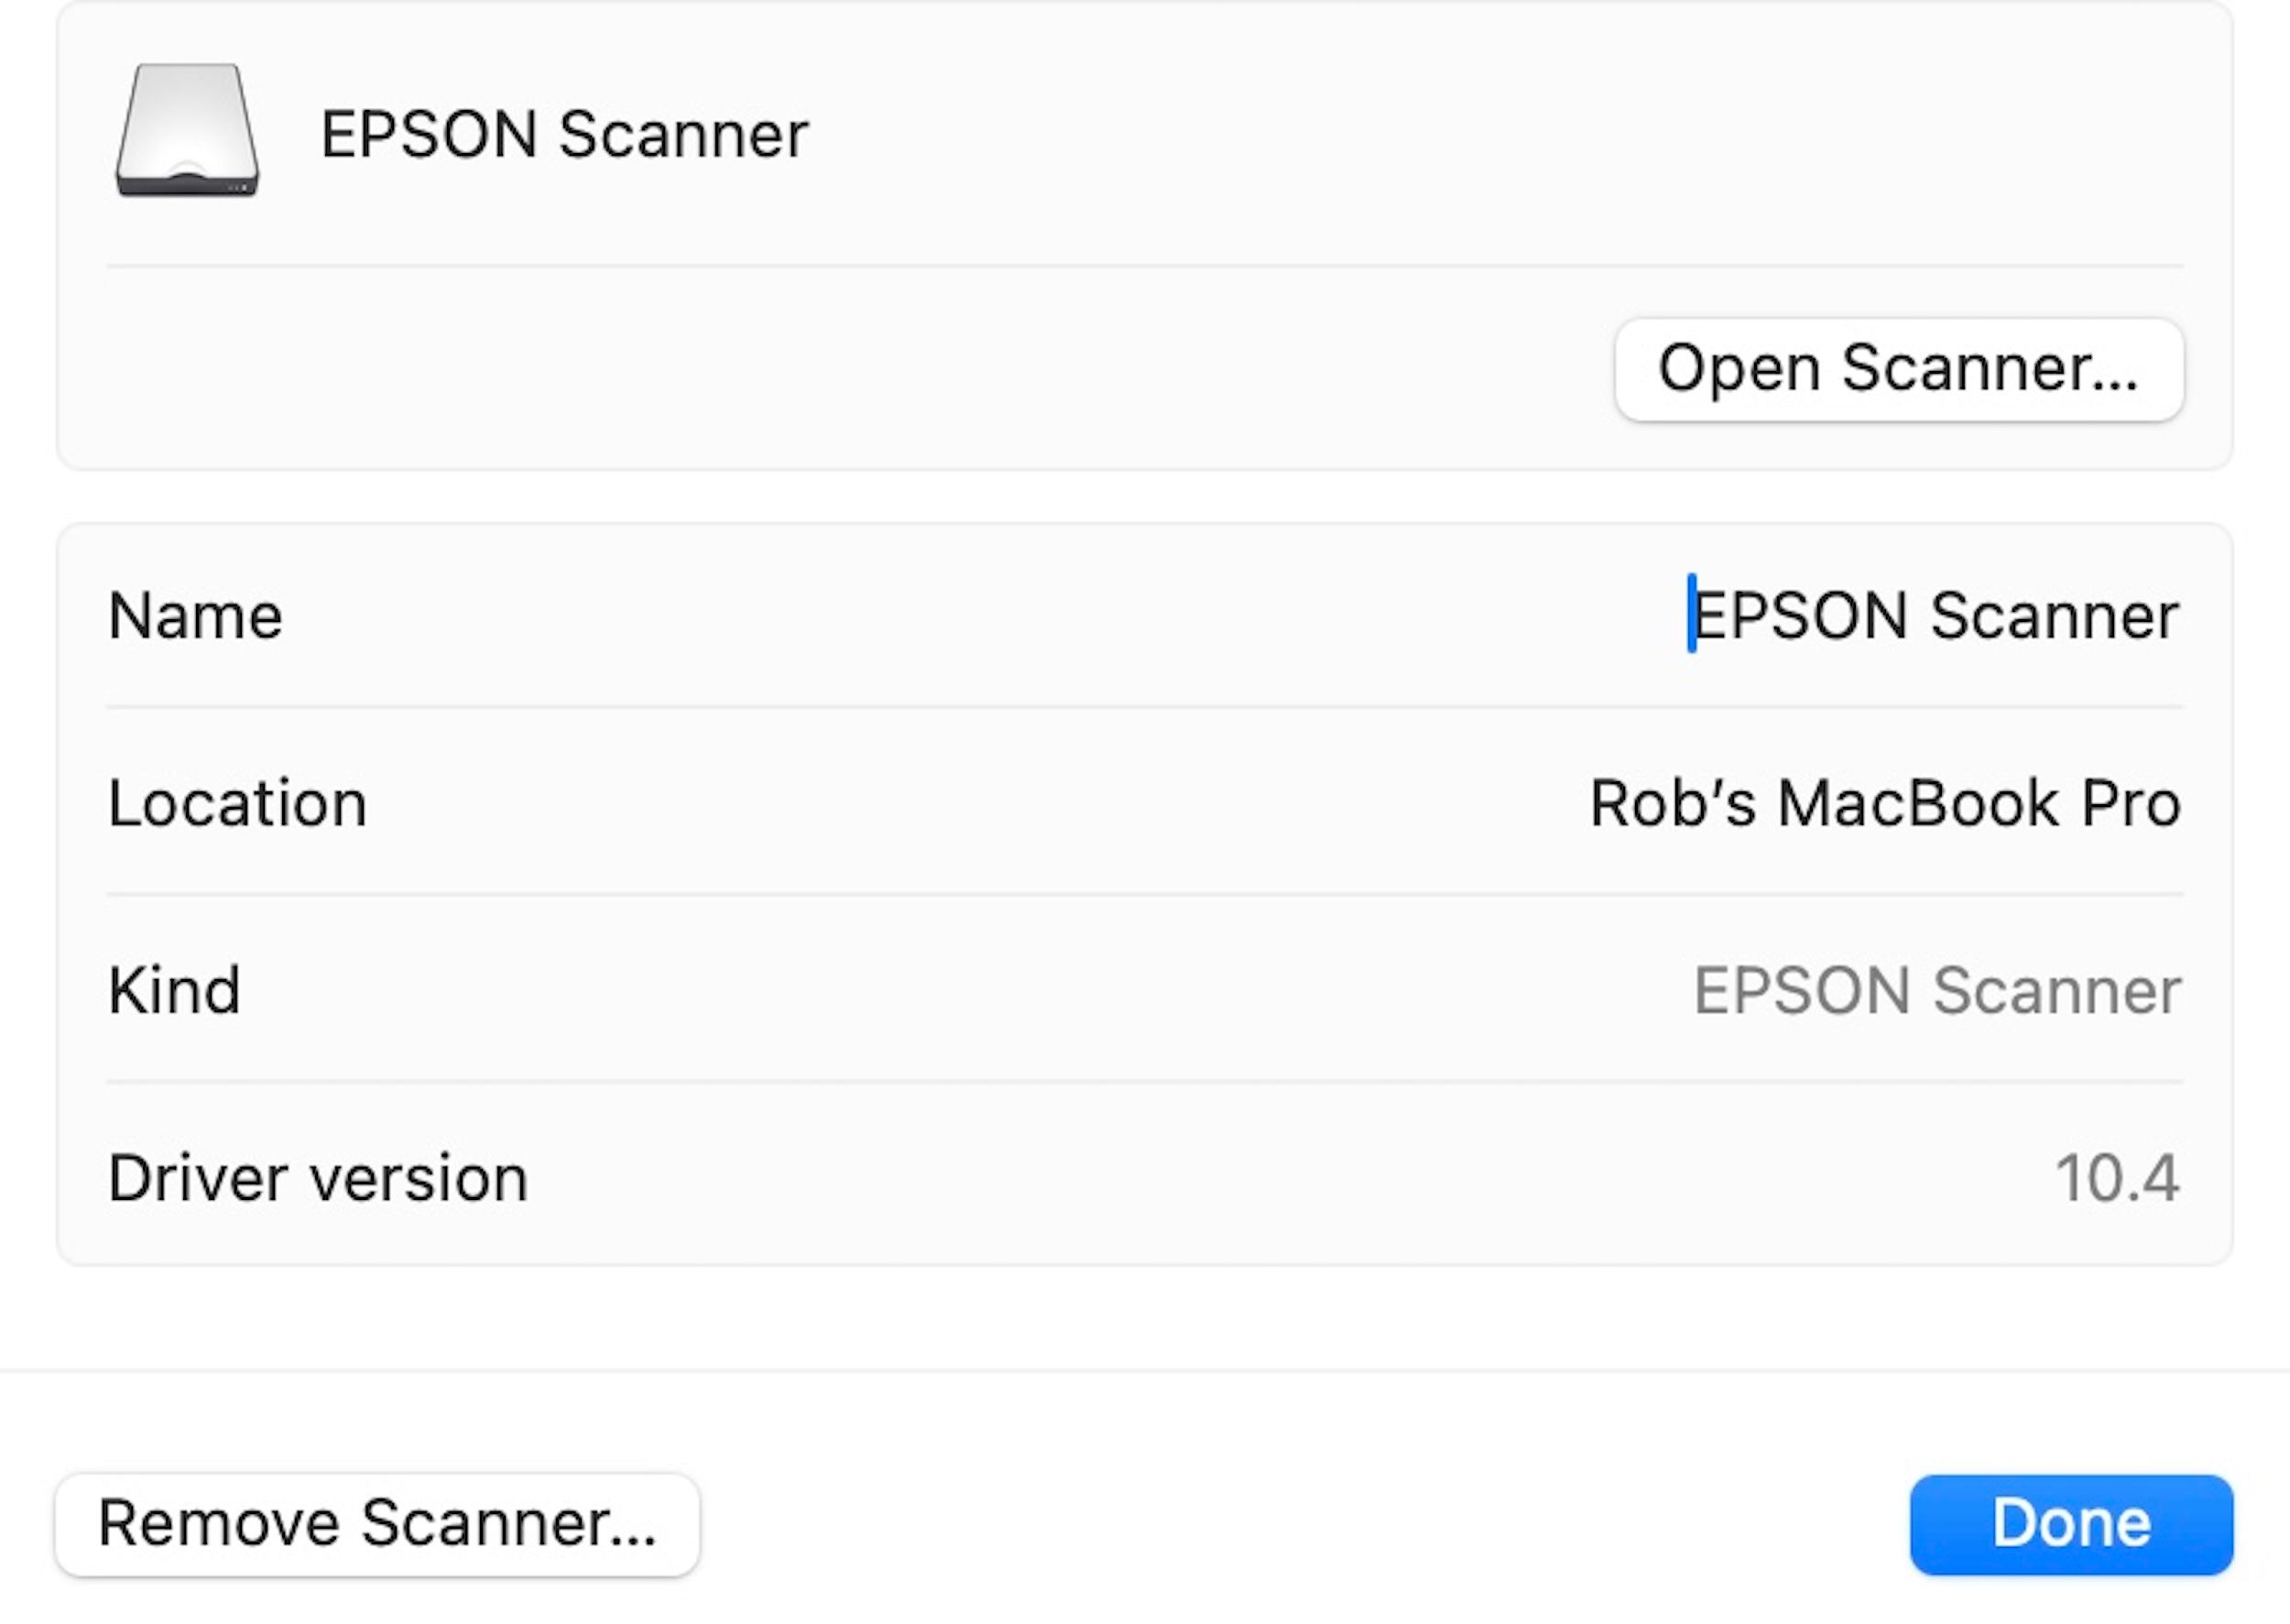
Scroll down the menu bar on the right side of the window and click on “Printers & Scanners.” Click on your scanner’s name in the Scanner section of the menu to open a more detailed pop-up window.
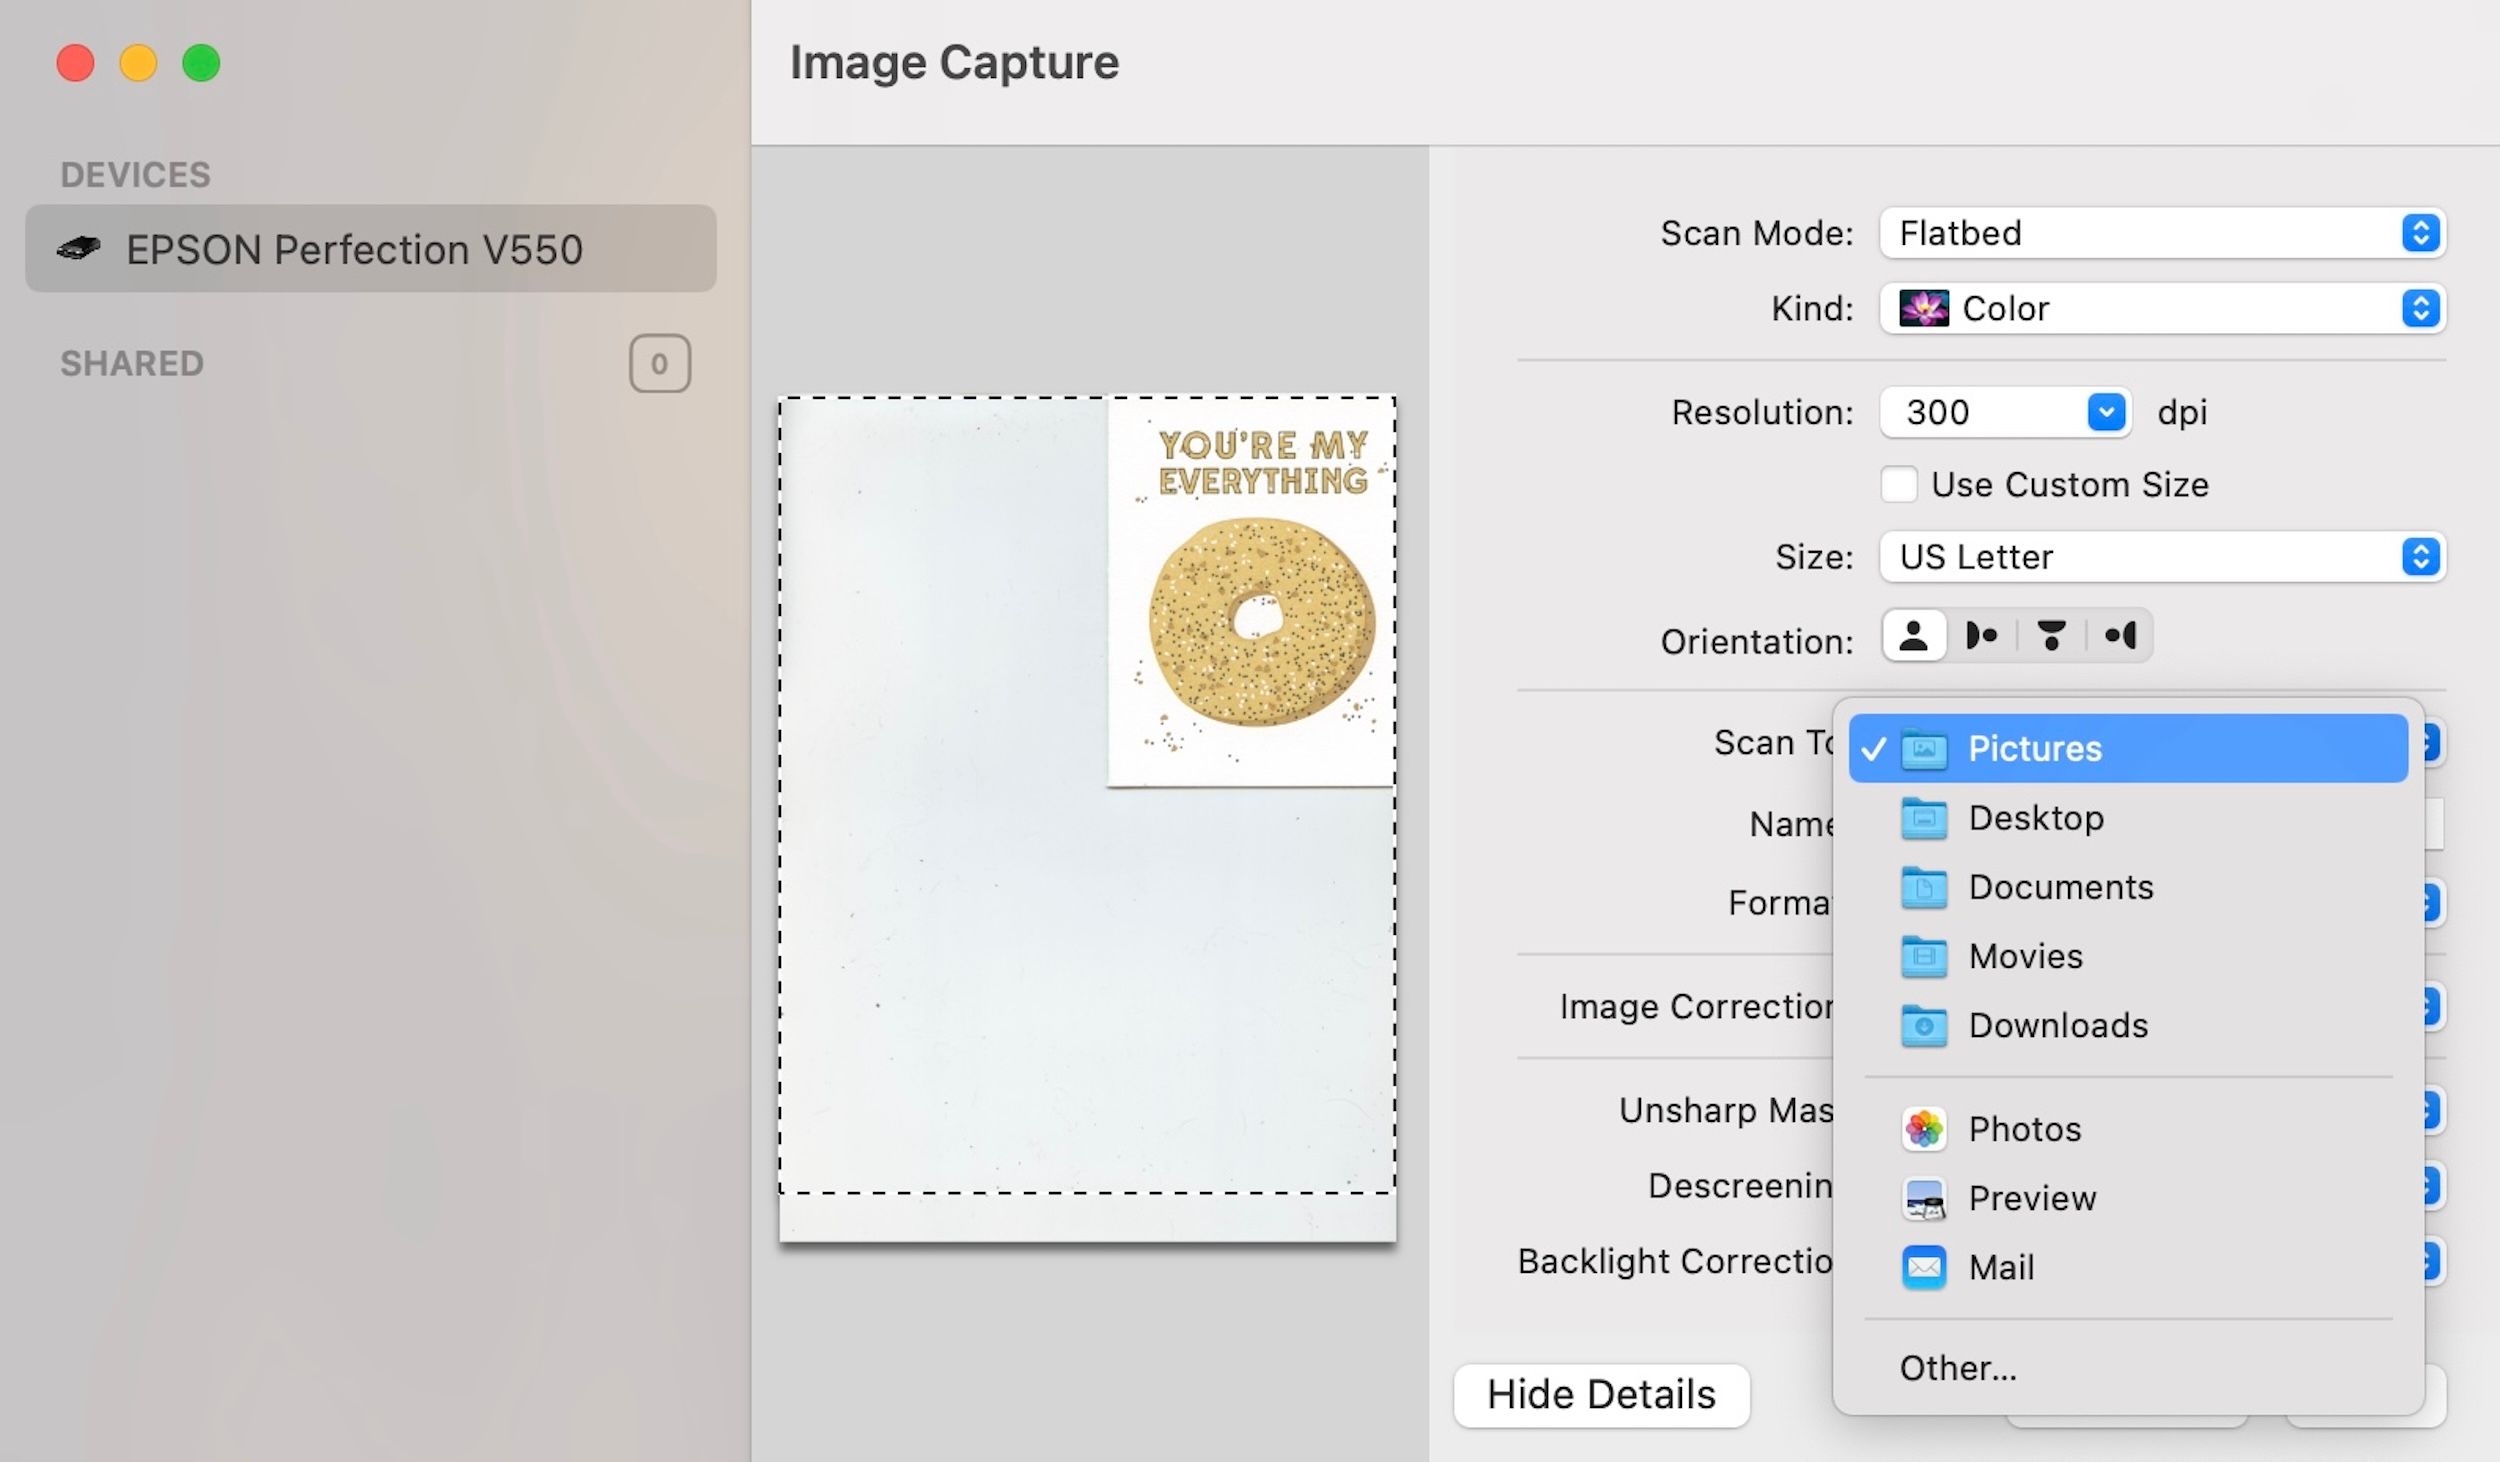
Click the “Open Scanner” button to open your Mac’s Image Capture app and pull up the main scanning options. If the window doesn’t appear or the scanning options are blank, you may need to turn the scanner on first.
Find the “Scan To:” option in the menu and open the drop-down menu next to it. Choose a new location to save your scans and make a note of it.
A handful of scans are unlikely to cause any major storage problems unless you scan at a particularly high resolution which makes for much larger files. In a situation like that, you won’t need to worry about digging through the hard drive to clear out those old scans.
If you do a lot of 35mm photography or illustration, create hand-drawn visuals for print, import images for graphic design work, or otherwise scan a lot of content for work or fun, chances are there’s a fair bit of hard drive space for you to reclaim. Not got a scanner yet? Check out our favorite photo scanners.


