It seems nowadays the word “easy” has taken on an alternate meaning. When I see “easy,” I expect a quick and painless process, but when it comes to flashing or installing a custom ROM, easy means anything but.
That’s the main reason I’ve avoided installing CyanogenMod on my Samsung Galaxy S3—because “easy” never really seemed so easy.
For example, on the Nexus 7, you had to unlock your bootloader, have a custom recovery, and use a root toolkit to install CyanogenMod and Gapps. On the HTC One, it was a similar process, minus the toolkit.
That doesn’t sound so easy to me. I want to do even less work, and I want it to take me five minutes or less.
Luckily, the folks over at CyanogenMod heard my complaints and have created quite possibly the easiest and fastest way to install a custom ROM ever—NO rooting and NO bootloader unlocking involved. Let’s install it on my GS3 and see just how easy it really is.
Compatibility & Back Up
The installation of CyanogenMod 10.2 will factory reset your device, so make sure you back up your GS3 in case you need it.
If your device isn’t even compatible, you will be shit out of luck. If you are not sure if your Android device is compatible with this pain-free method, check out their list of supported devices.
Step 1: Enable USB Debugging
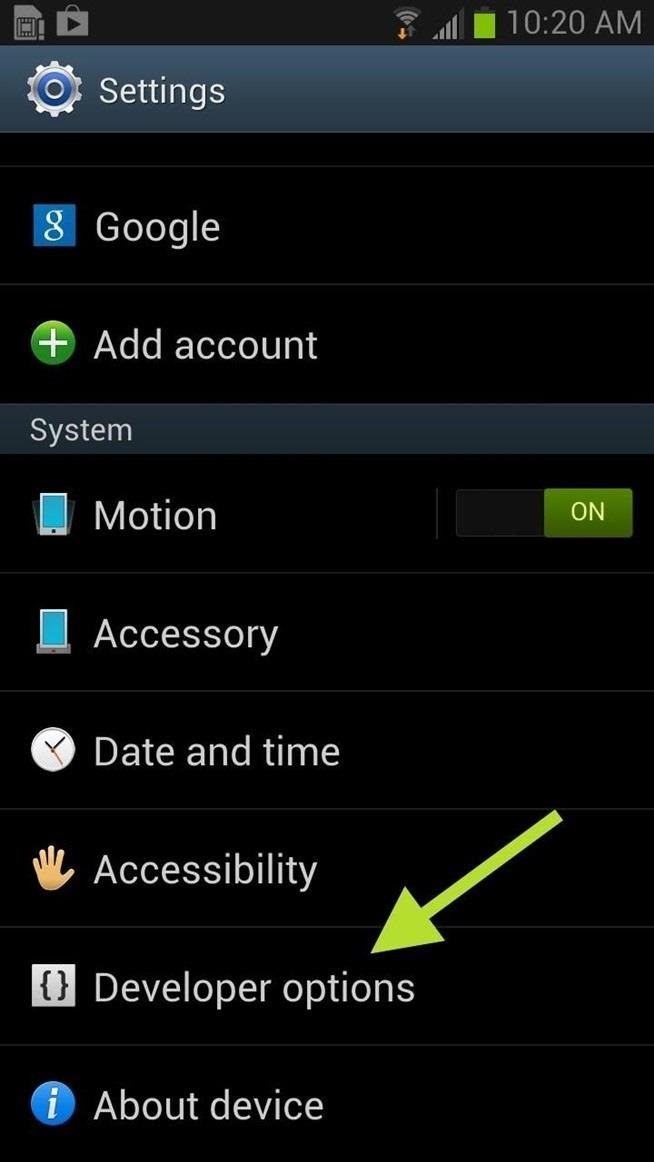
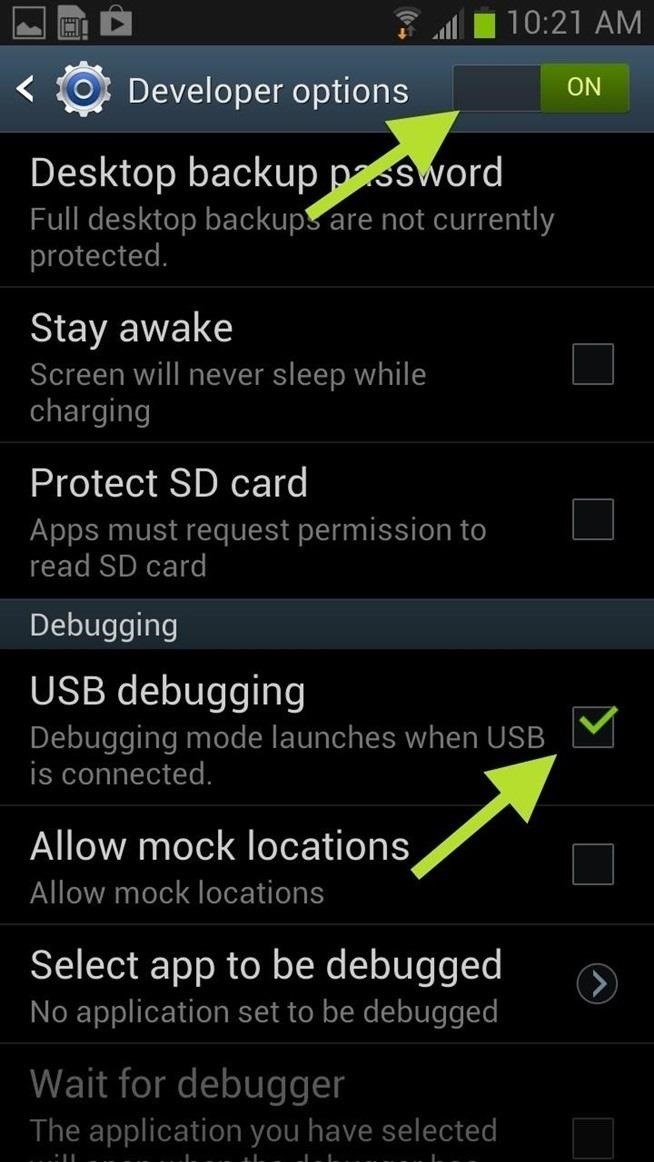
Now, on your GS3, you’ll need to enable USB Debugging. You can do this by going to Menu -> Settings -> Developer Options and make sure Developer Options is turned ON (if not already). Then, make sure the box next to USB Debugging is checked.
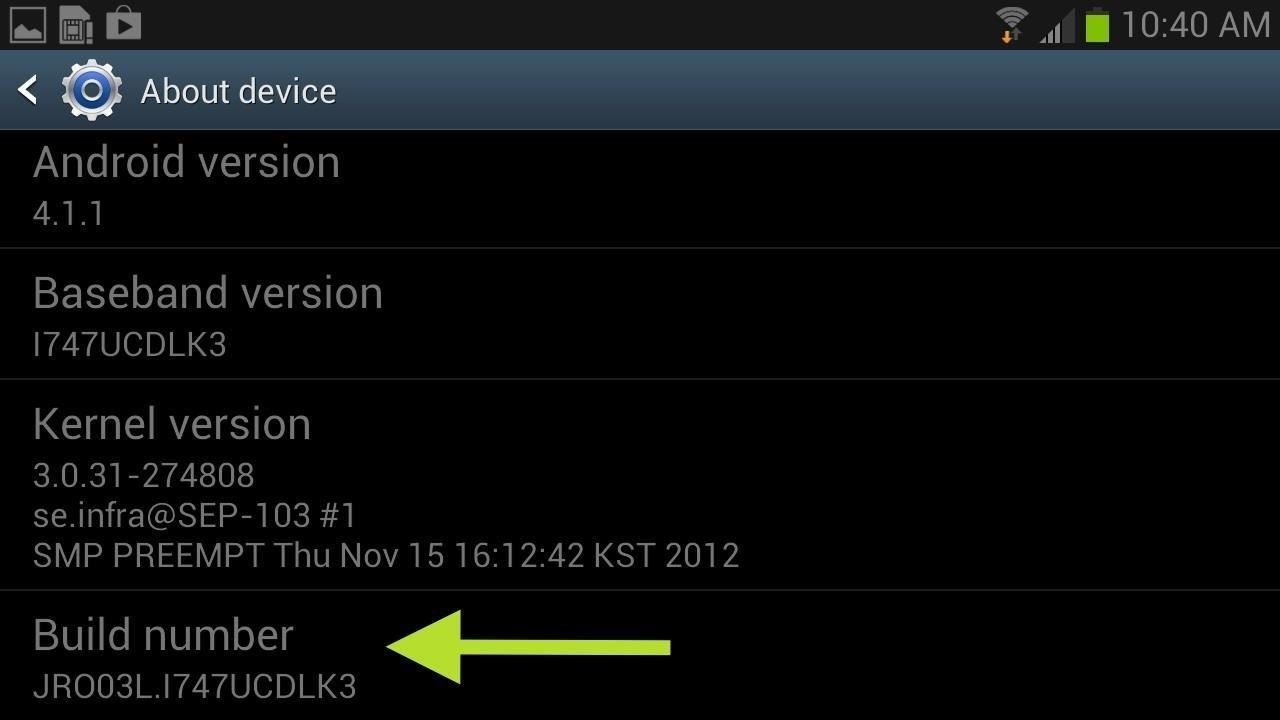
If you do not see Developer Options at first, go to About device and tap on Build number until it says You are now a developer.
Step 2: Download the CM Installer on Your GS3
Now, you’ll need to download the “one-click” CyanogenMod Installer from Google Play onto your Android device. After it installs, don’t open it just yet. Patience. You will open it up in Step 4 below.
Update: Play Store Version No Longer Available
The above version of CyanogenMod Installer was removed from the Google Play Store, but you can still get it directly from CyanogenMod.
Step 3: Download the CM Installer on Your Windows PC
The device apps alone isn’t enough to get the job done, so you’ll need to download the companion CyanogenMod Installer for Windows on your PC. You will need to be running Vista or later.
The developers are working on an installer for Macs, so sit tight Apple fans. Linux is also a possibility if demand is high enough.
Step 4: Connect Your GS3 to Your PC
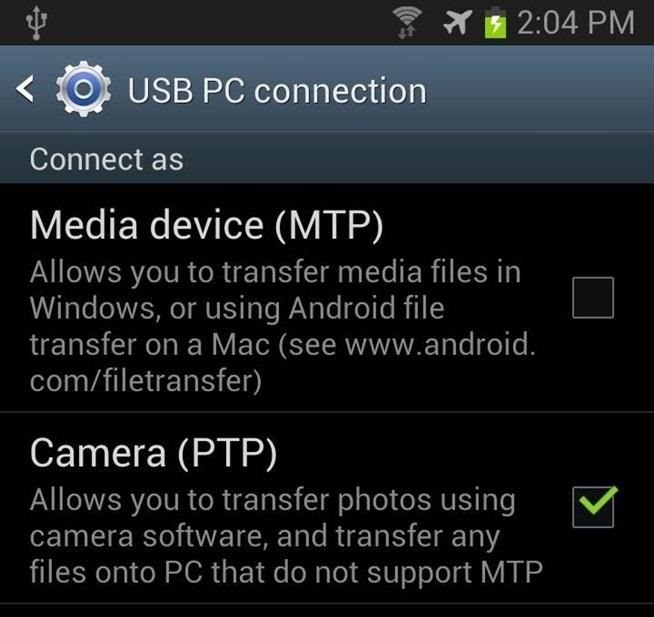
Connect your device to the computer with your USB cable, and then open up the Installer app on your GS3. You may be prompted to enable Camera (PTP) mode for your USB connection. Click continue on the installer and the check the mode in the settings.
Step 5: Run the CM Installer on the PC
Now, run the Installer in Windows. It will automatically update and then detect your plugged-in device.
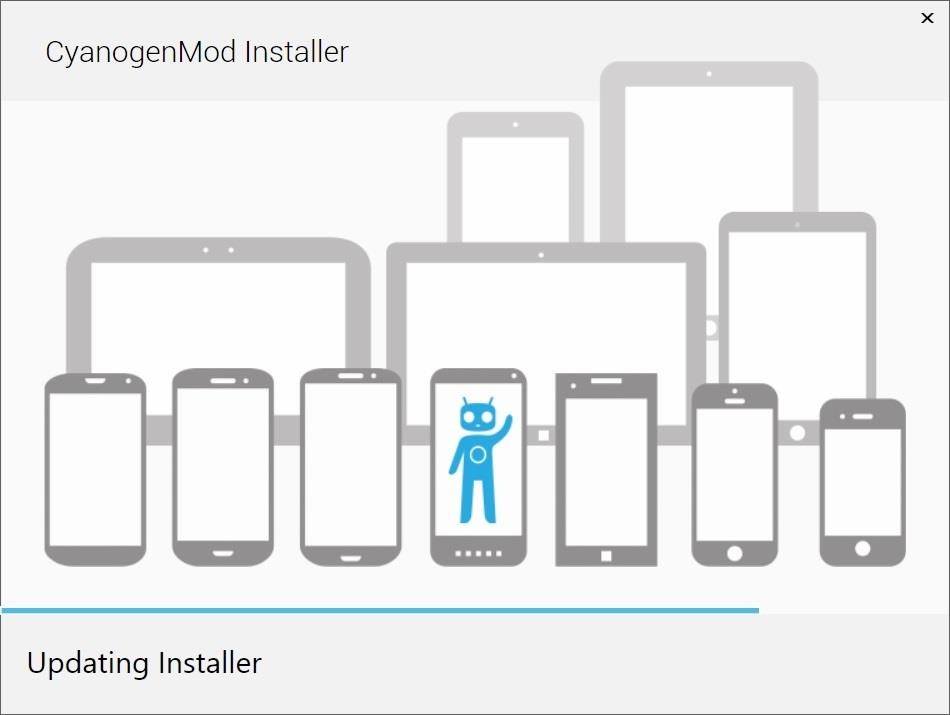
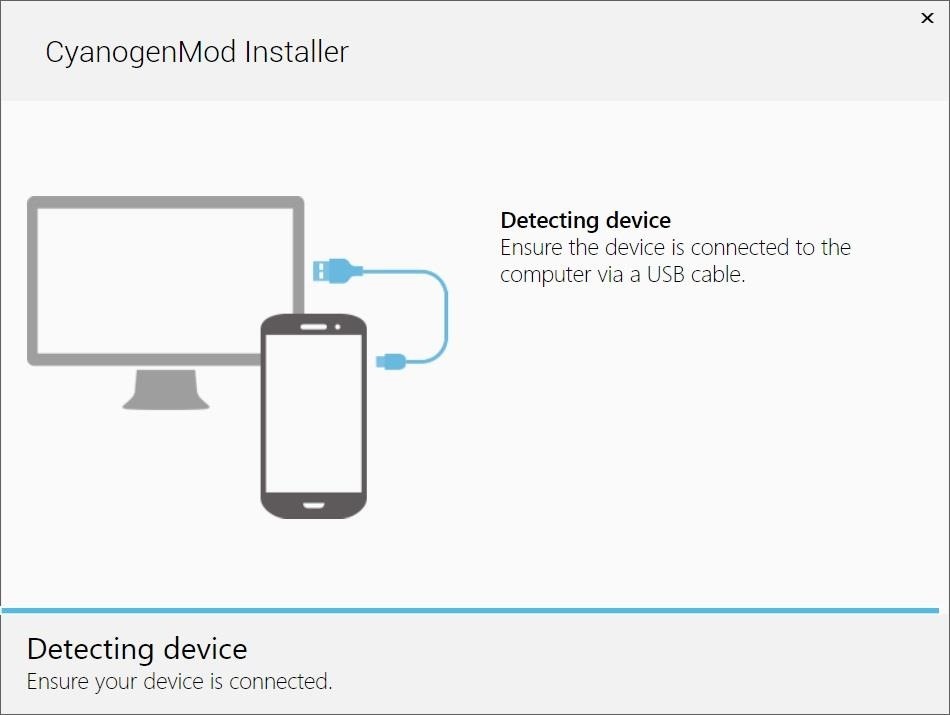
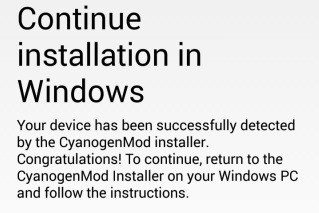
If you’ve done everything correctly your device will be detected and you will see this on your GS3 screen.
Step 6: Sit Back & Relax
The installer will now begin to download its goodies. Once it’s done downloading, you will see the CyanogenMod blue bot waving you onward.
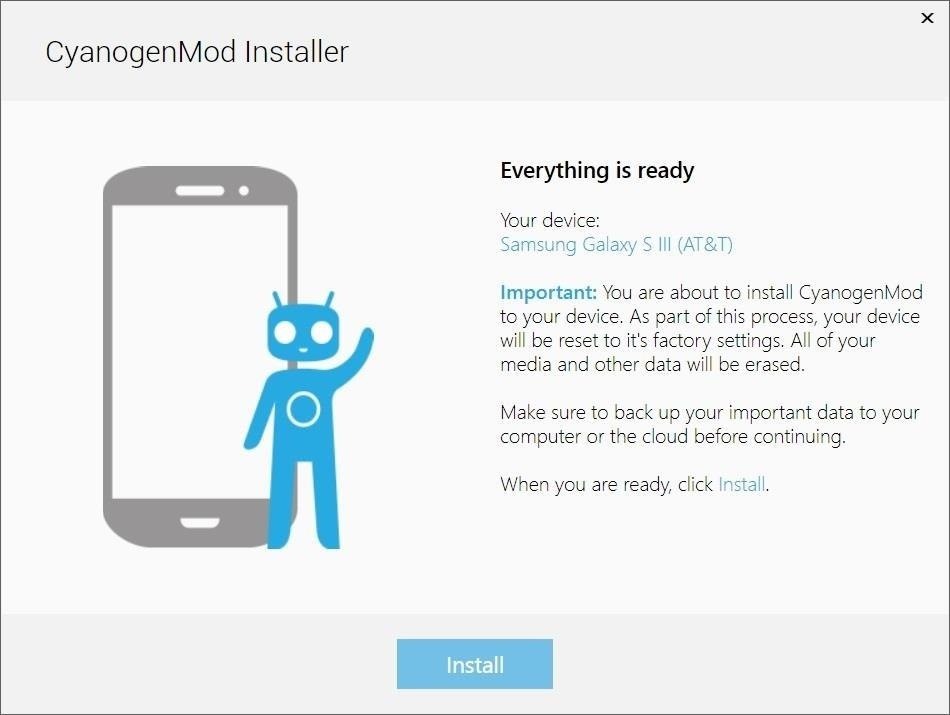
This is your last chance to back up all of your stuff. You can backup your phone’s data using Kies on Windows or Mac or placing it on an SD card.
Now hit install and you are almost done!
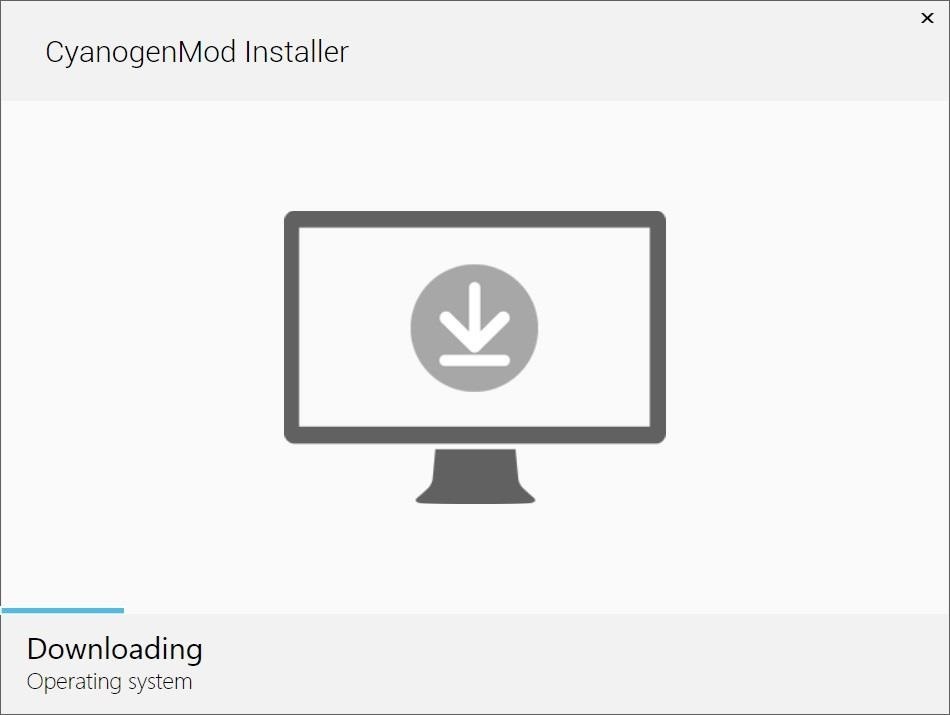
During this installation process, your device will turn off and on. Just make sure the USB connection is stable and you should have nothing to worry about.
Step 7: Reboot One Last Time
You can now commence the “Success Dance.” Your installation is now complete and your device will restart one last time.
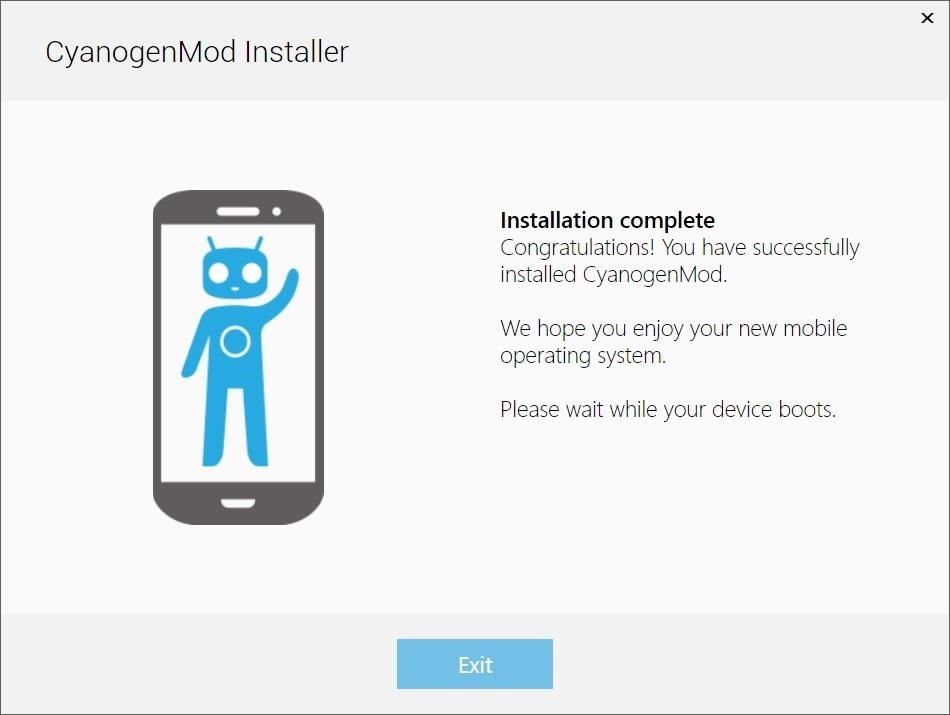
Step 8: Enjoy Your New ROM
Now wasn’t that actually easy?
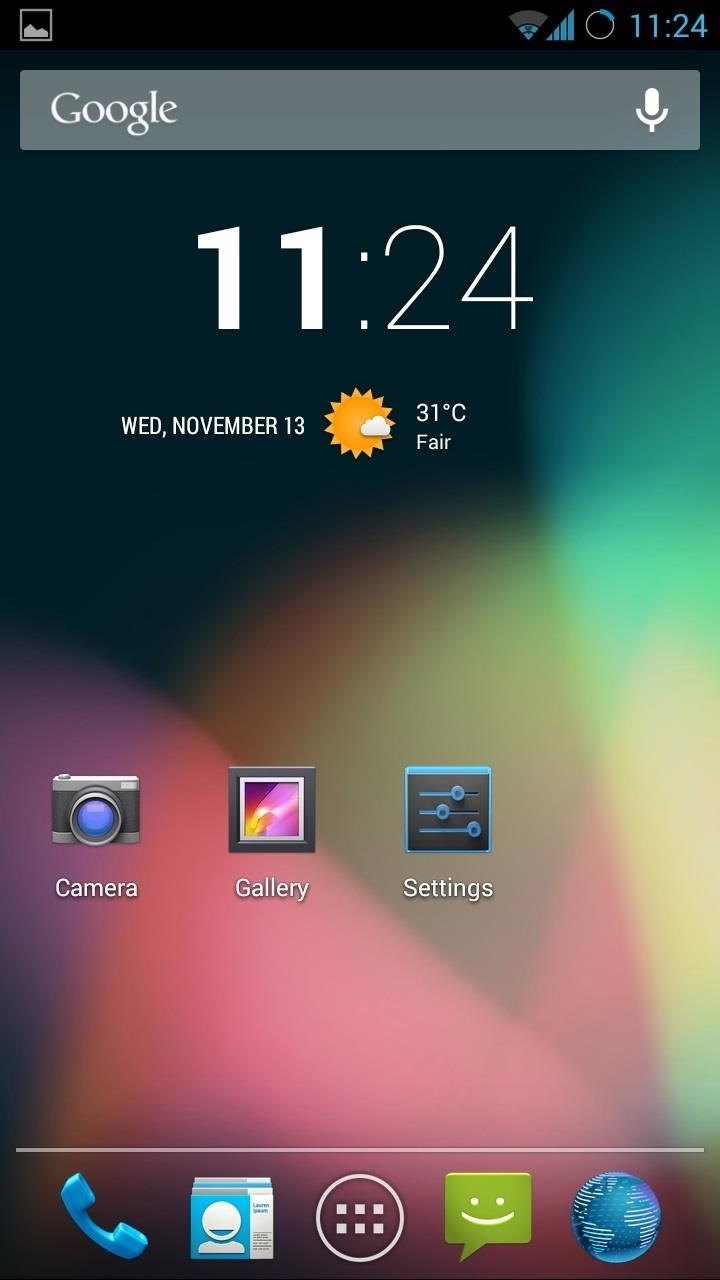
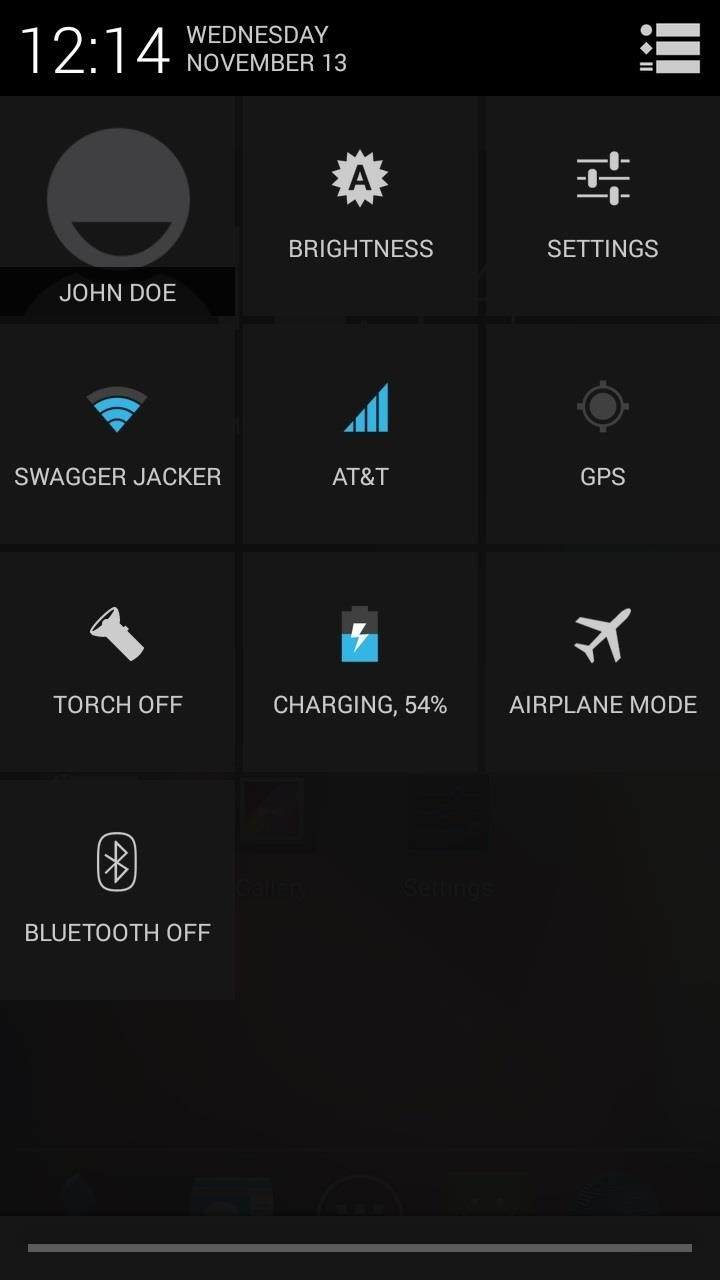
It’s great to see CyanogenMod helping the common folks out with this installer, because I’ve only been using CM on my GS3 for like 5 minutes now and I’m already sad I didn’t do it sooner. I mean, I was still stuck on Android 4.1.2. Screw you AT&T and TouchWiz. I now have stock 4.3 with all the softModder bells and whistles for ultimate customization.

The process really couldn’t be easier, especially since there’s zero rooting and unlocking involved for you, and I never ran into any snags while installing. Did it run as smoothly for you as it did for me?
Just updated your iPhone? You’ll find new emoji, enhanced security, podcast transcripts, Apple Cash virtual numbers, and other useful features. There are even new additions hidden within Safari. Find out what’s new and changed on your iPhone with the iOS 17.4 update.
“Hey there, just a heads-up: We’re part of the Amazon affiliate program, so when you buy through links on our site, we may earn a small commission. But don’t worry, it doesn’t cost you anything extra and helps us keep the lights on. Thanks for your support!”


