I Cheaped Out on My PC Build & Now I’m in Cable Management Hell
Windows
I finally got around to building a new gaming PC this year. While the specs are solid, I cheaped out on everything else—minimal RGB, a non-modular PSU, and a budget case. After countless hours of cable management, though, I wish I could go back.
Non-Modular Power Supplies Are a Nightmare
Without a doubt, my first and biggest mistake was purchasing a non-modular power supply. In case you don’t know what I’m talking about, a modular power supply has fully detachable power cables, allowing you to use only the cables that you need. This eliminates the excess bulky cables that come with a standard, non-modular power supply. Semi-modular PSUs do something similar by offering a mix of detachable and permanently attached cables.
Modular PSUs cost a bit more (around $20–$50), as they’re more expensive to manufacture, but they’re worth every penny. They make cable management much faster and easier, as you don’t have to deal with unused cables. I figured that since I’m a cable management master, I could expertly hide the cables by neatly tucking them away and saving a few bucks. I opted for the Cooler Master MWE White v2 700W, which is a solid, budget-friendly PSU.
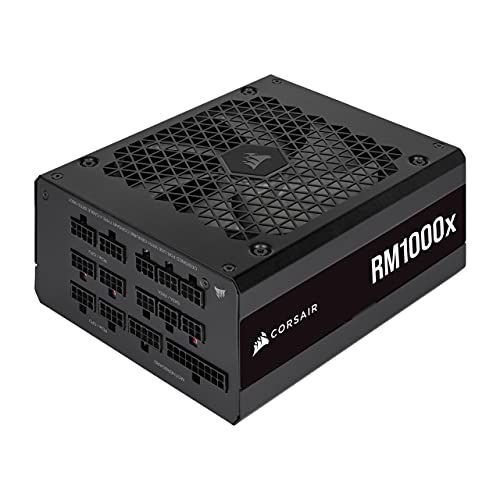
Corsair RM1000X 1000W PSU
It’s no $50 special, but it’s one of the top rated PSUs around with high-efficiency, quiet operation, and power to run next-gen GPUs.
$193 at amazon
See at bestbuy
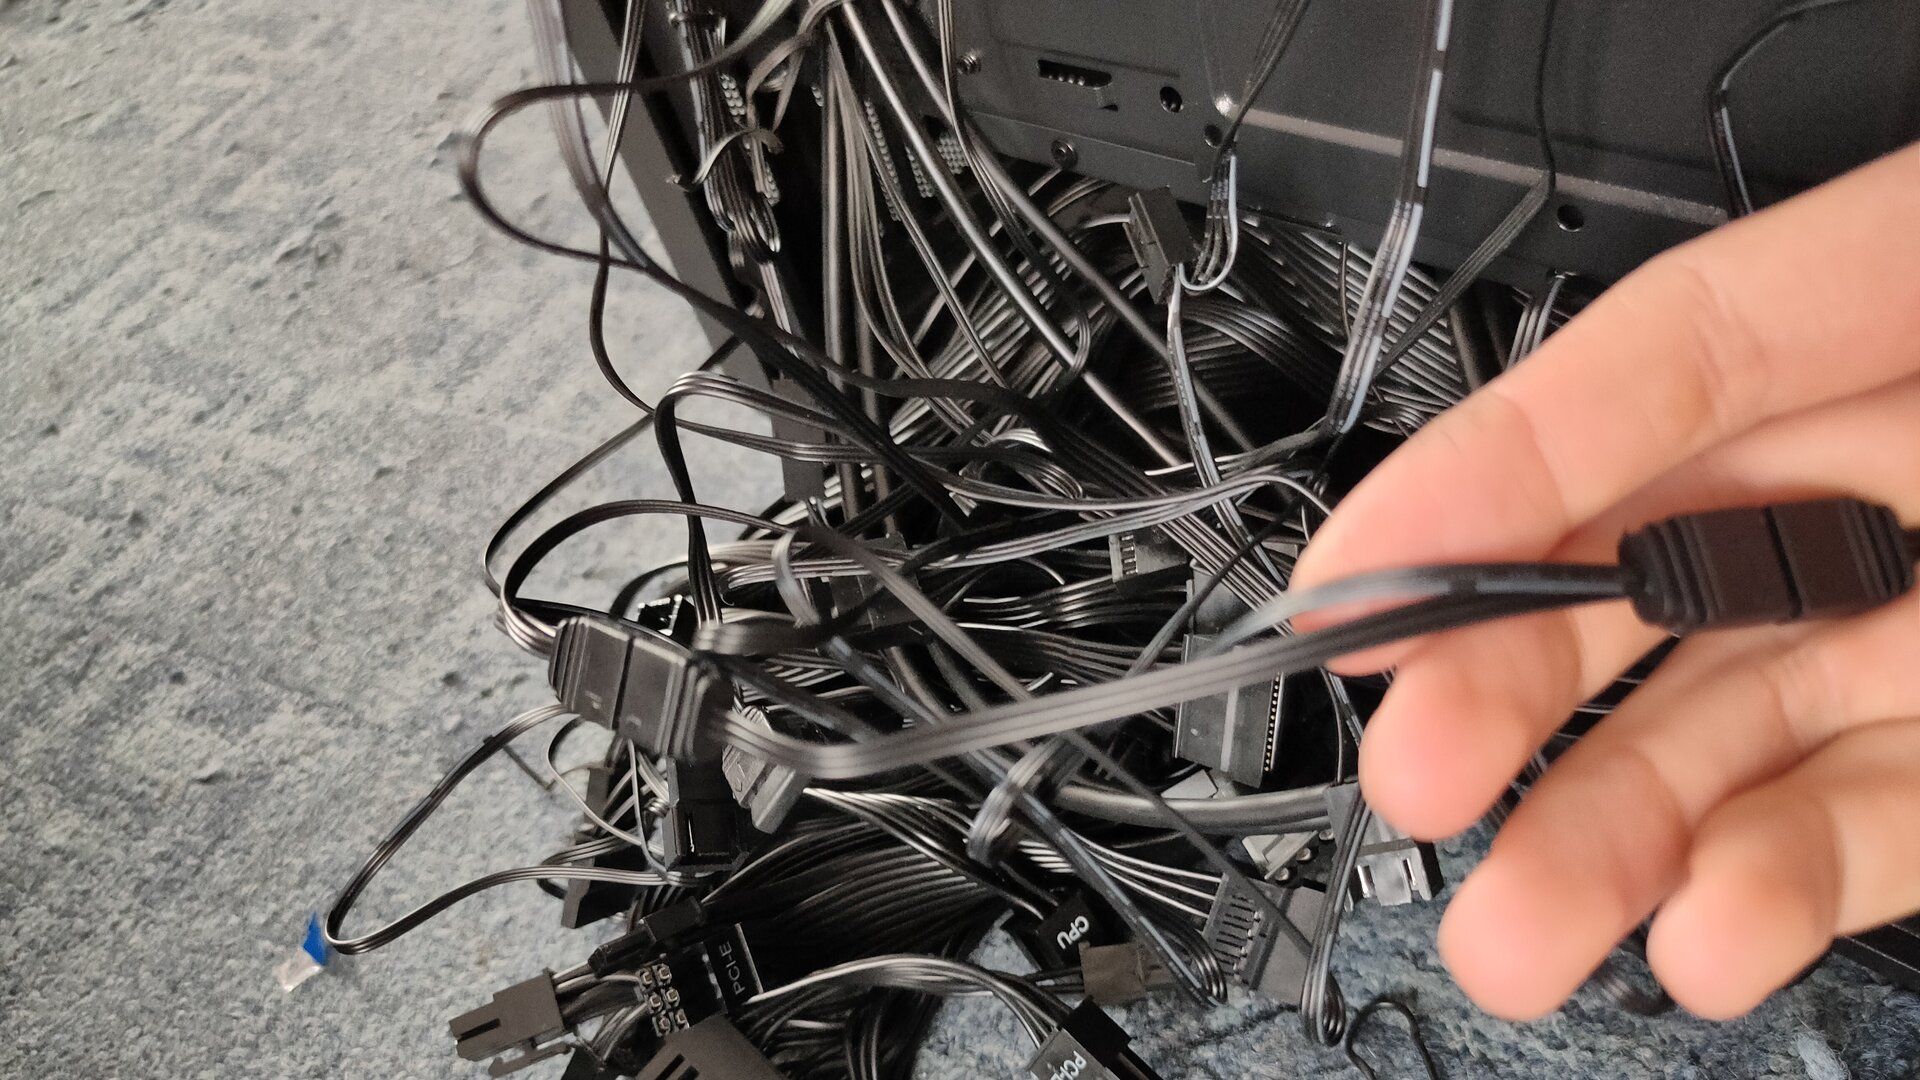
The moment the PSU arrived, I realized what a huge mistake I had made. It came with a whole bundle of Molex and SATA power cables that I didn’t need. Molex is largely obsolete and typically only used if you run out of fan headers on the motherboard. I don’t have any SATA drives, either—just a 2TB NVMe that covers all my current storage needs.
I had to tuck away all those Molex, SATA, and unused PCIE power cables somewhere, just to close the case. Fortunately, I found some room in the unused HDD drive bay, so I guess if I wanted to add an HDD now, I wouldn’t have a place to put it.
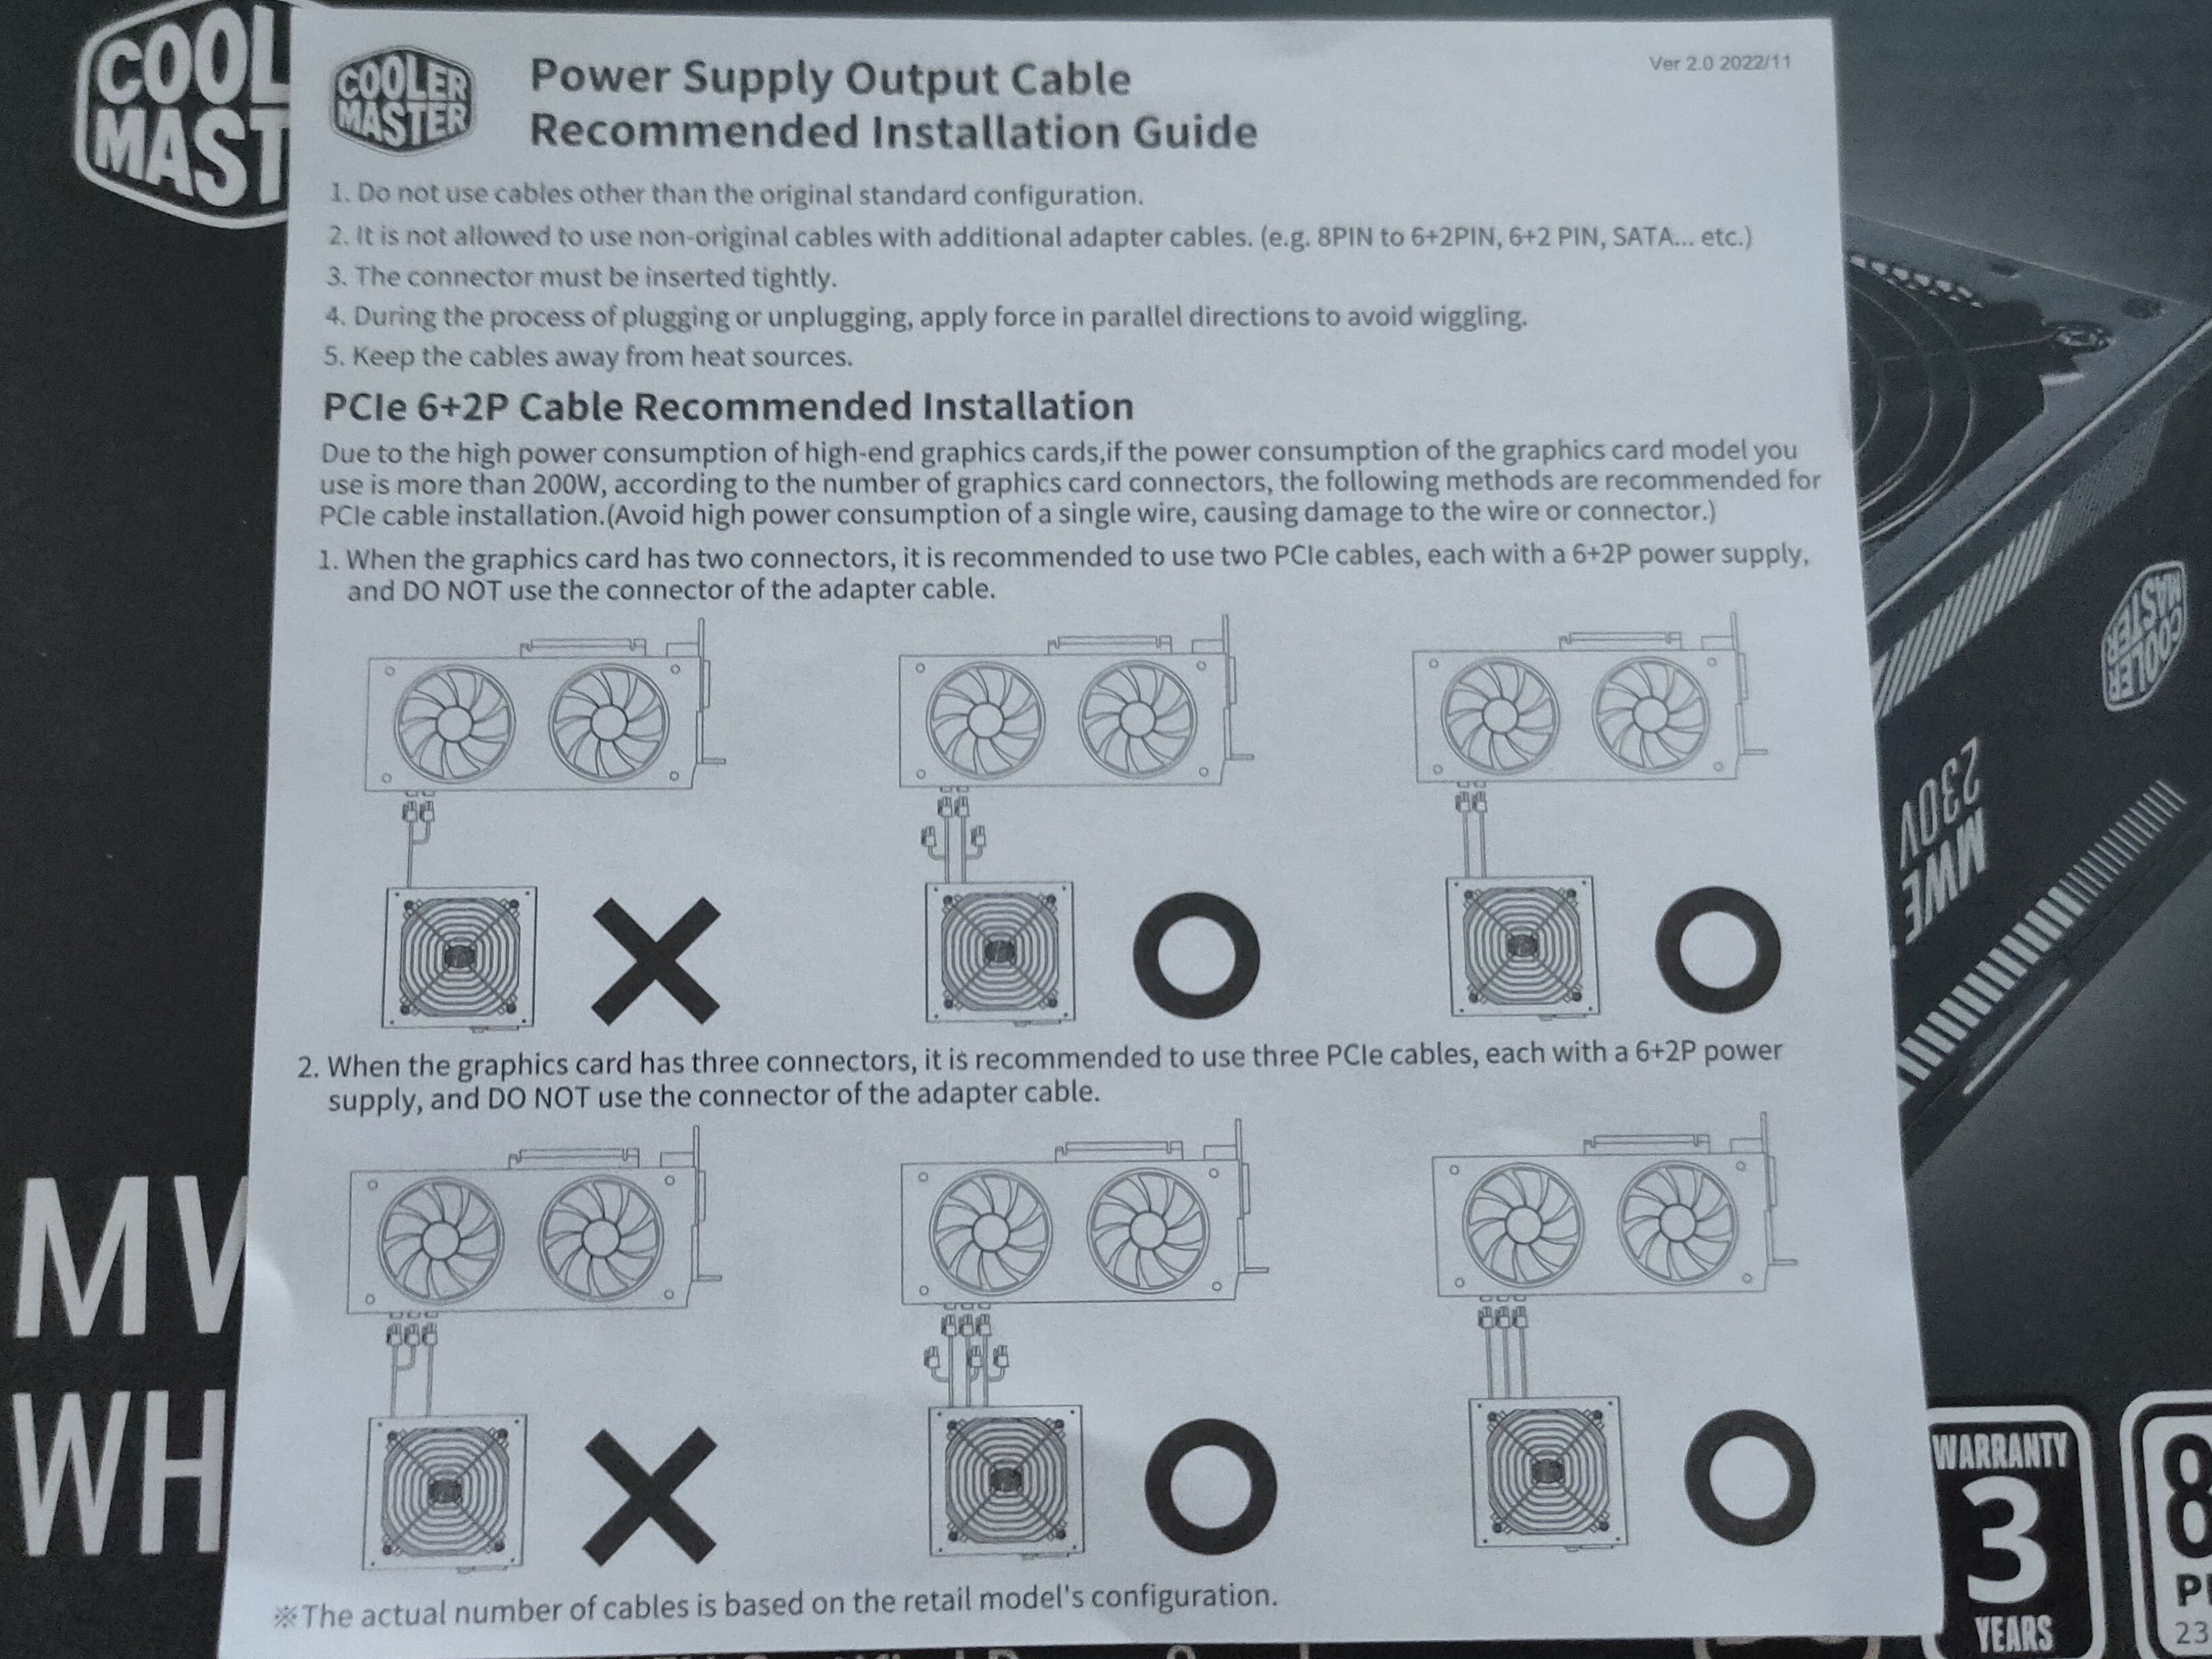
That’s not all, though. Another benefit of modular power supplies is that you have more flexibility with your cable choice, as you can hook up 6+2 pin PCIE power cables to the GPU without an ugly daisy chain connector hanging off of it, resulting in a cleaner look on the front. I had to connect two separate cables to my GPU and tuck the extra connectors underneath.
You can also even custom cables with a modular PSU (though whether you should is a different story), which is especially useful if you have an RTX 40 or 50 Series with a 16-pin 12VHPWR connector. My only option for neater GPU cables would be an angled adapter, but I wouldn’t trust it, as there’s a very small chance that it could melt and catch on fire.
Related
After 60 Years the 4-Pin Molex Connector Is Finally (Almost) Dead
For whom the bell tolls.
It’s a Cheap mATX Case
Perhaps the non-modular PSU wouldn’t be much of an issue if I were building a full PC tower. After all, my previous build was a full tower with two HDDs, and I had no problems with hiding all the cables. Still, I always liked mATX cases because they’re more compact than a full-tower but still offer enough airflow and room to work with, unlike a Mini-ITX case.
I initially planned to buy the popular ASUS Prime AP201, a tiny mATX case with a front-mounted PSU, but then I saw the Thermaltake Versa H16 TG, a case that costs roughly the same but also comes with three ARGB case fans. The value proposition was too hard to resist.
However, cable management and component installation in budget cases can be a bit of a gamble; there’s no guarantee that it’s well-thought-out. For example, while the case can fit my Sapphire Pulse RX 6800 XT, I have to disassemble and remove the entire CPU cooler assembly before I can shimmy it out.
I knew that building an mATX case could get tricky, but I didn’t realize just how cramped it would get. The power supply shroud has some room for cable management, but it was still a challenge. Plus, the shroud didn’t have cutouts in exactly the right spots, so some of the USB and case cables stuck out.
As far as fan cable management goes, that was a challenge as well. Each fan had both a 3-pin and an ARGB connector. At least I was able to daisy-chain all of them for simpler cable management.
I Built the PC Out of Order
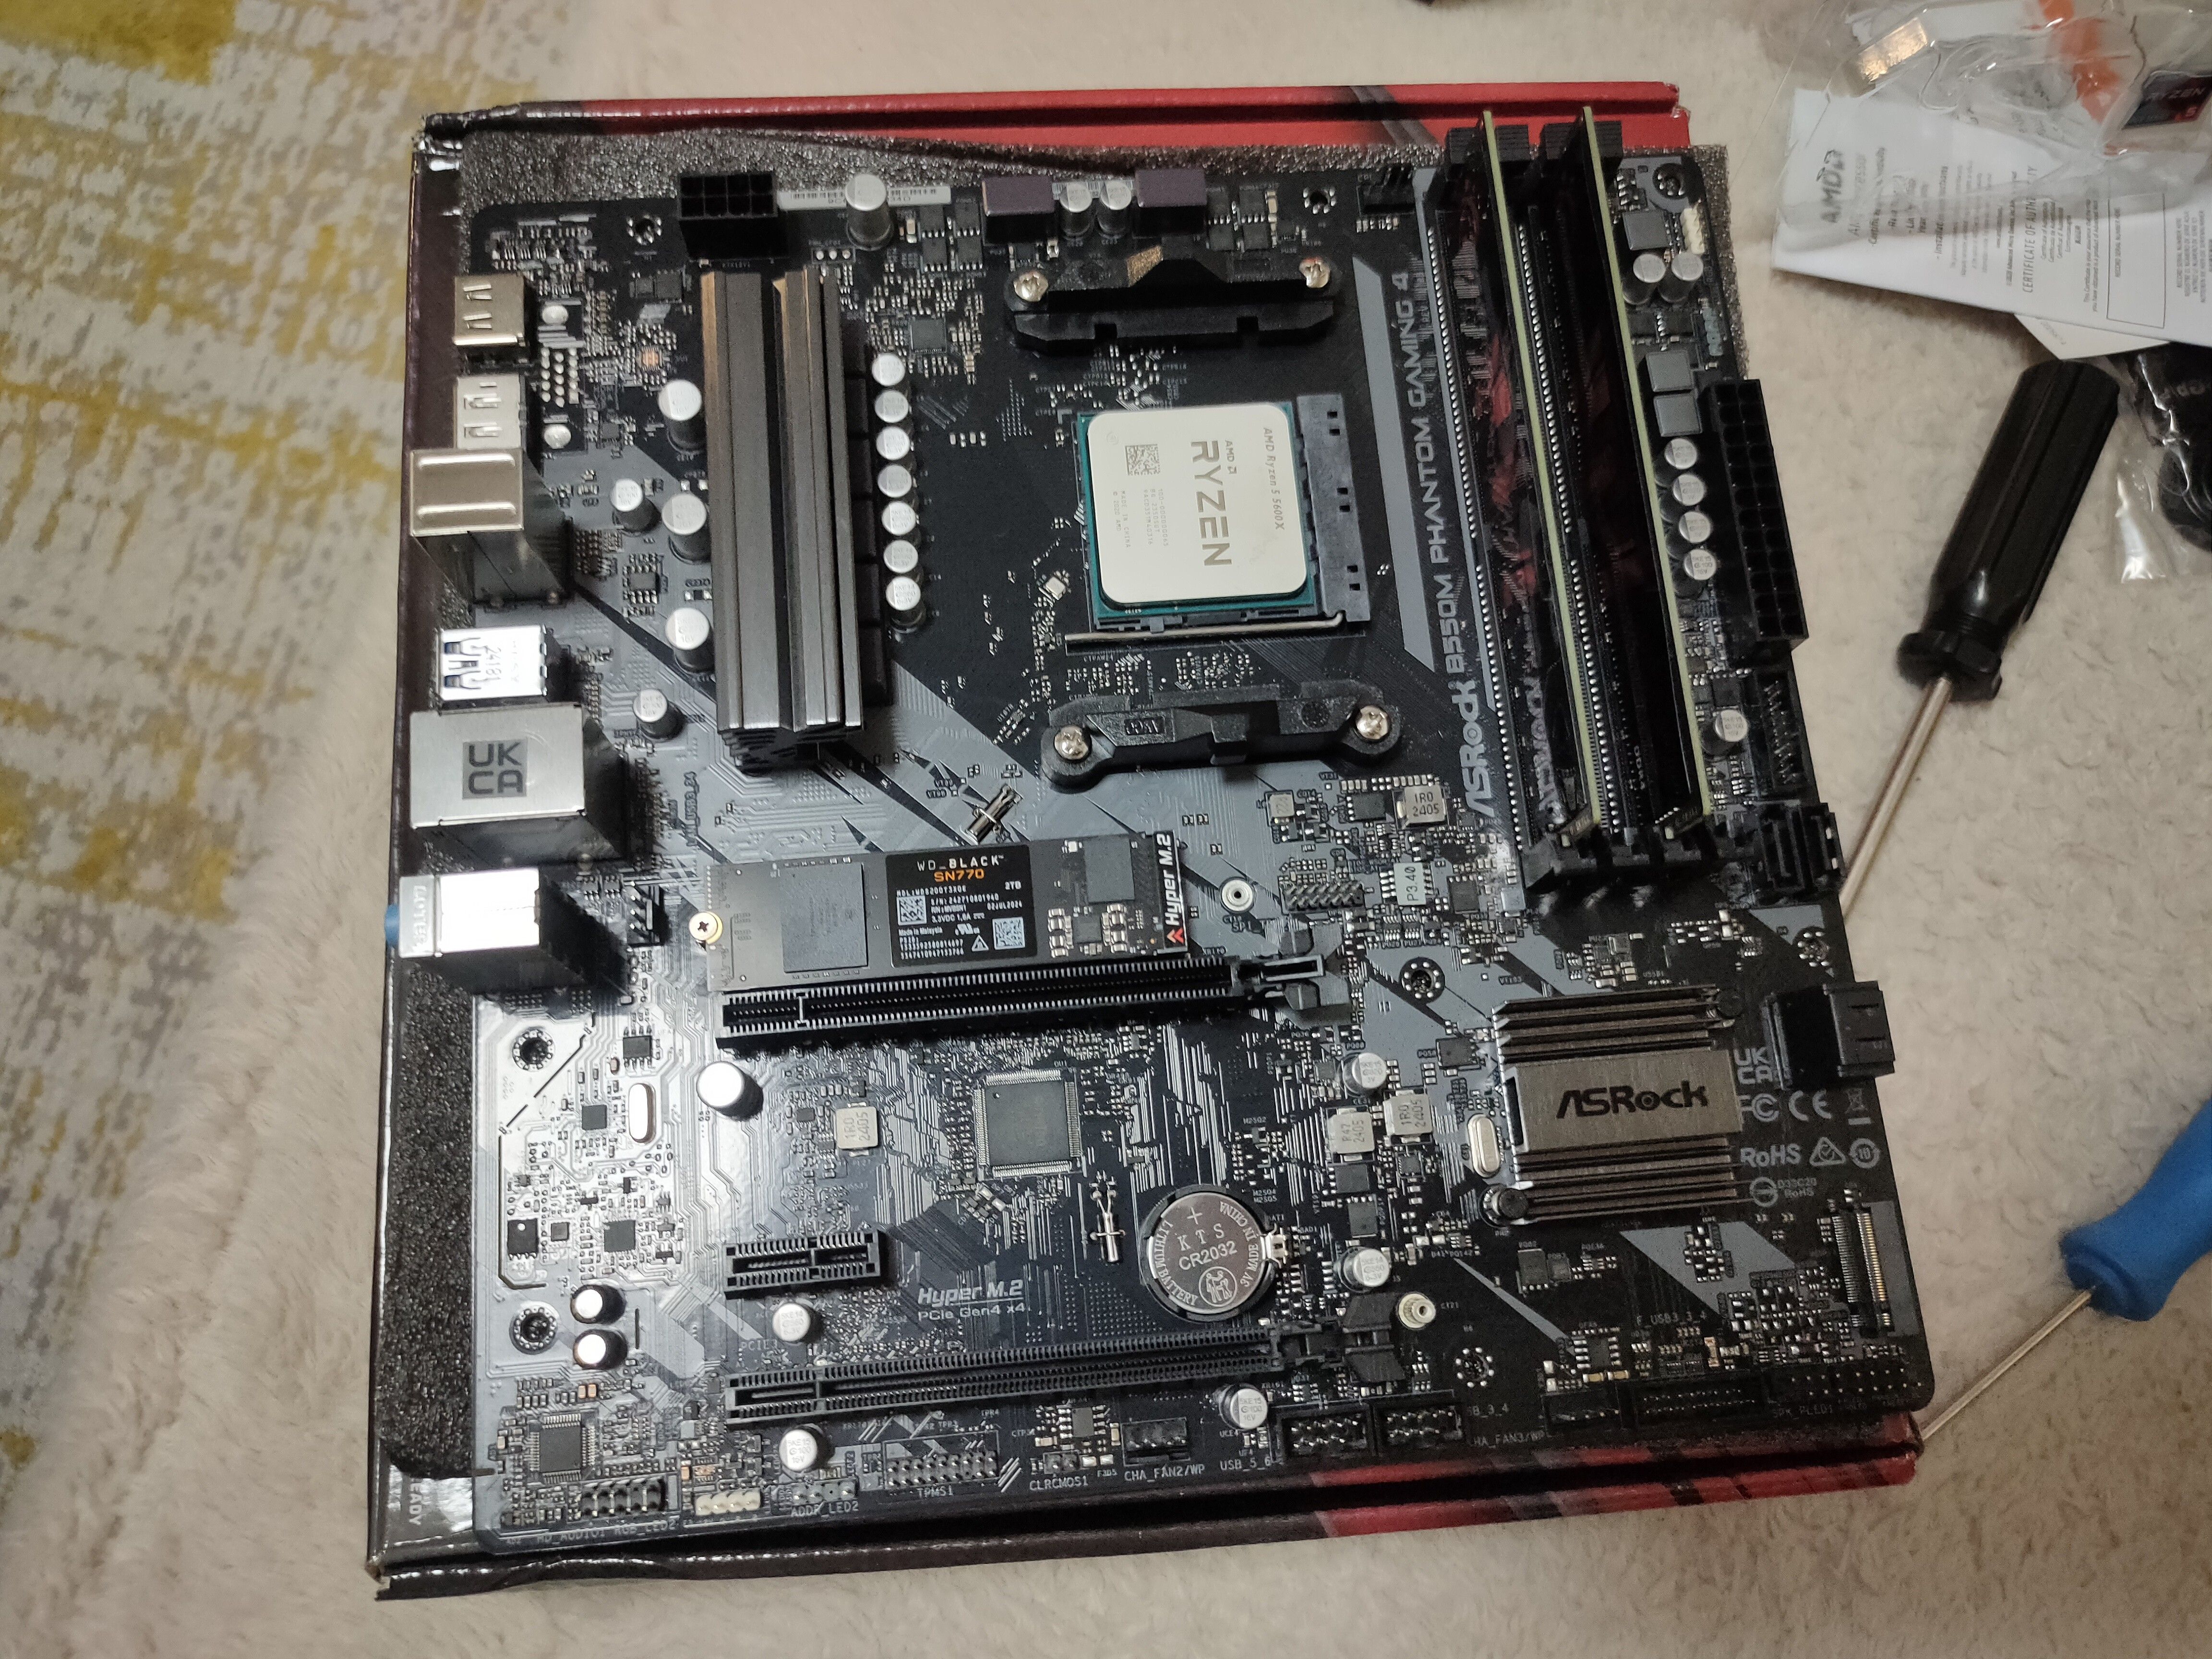
When you’re building a PC, there’s a loose order that you should follow to make your life easier. You want to place the motherboard on its box and install everything: the NVMe, CPU, cooler, RAM, and possibly the GPU. Then you install any extra case fans, route the cables, install the motherboard, plug in and organize the fan cables, and only then add the PSU. It’s not a strict order; that’s just how I usually do it.
Since I was still waiting for the CPU, RAM, and NVMe to arrive and couldn’t resist getting started, I went ahead and installed everything I had. When my AliExpress CPU and eBay RAM and NVMe finally arrived, I had to remove the GPU, install the new components, and then mount it back. It was extra work for no good reason.
I Made It Work, But You Don’t Have to Struggle
While I was finally able to tuck everything in and am satisfied with the final result, it wasn’t easy. I spent several hours routing and tucking away extra cables and removing and re-installing the GPU and CPU cooler. I still dread opening the back of the case, as I’m afraid that everything will jump out at me. I was also thinking about adding an ARGB LED strip, but I’m afraid that it’d only highlight the subpar cable management at the top and bottom of the motherboard.
You don’t have to go through the cable management nightmare that I did. Learn from my mistakes: spend the extra $20 on a modular PSU and do some research on your hardware and PC case. If you’re going for a smaller case, check a few reviews to confirm that it has enough space and is easy to build in. Have fun building!
Related
Horizontal PC Cases Were Peak Case Design, Here’s Why
Relax, lie down maybe.


