While most smartphones these days take great video, the iPhone is the camera to beat. Recent models like the iPhone 12 and 12 Pro shoot in 4K resolution from every camera, and even a budget device like the iPhone SE delivers an excellent 4K image from the rear shooter. That said, if you haven’t touched your camera settings since taking it out of the box, you’re likely missing out.
Every model since the iPhone 6S is capable of shooting 4K video (2160p), but Apple insists on setting the default resolution to 1080p HD. That’s still high-definition, just not the maximum quality your iPhone is capable of shooting in. Unless you’re worried about storage space (4K video can take up a lot of room, and even more with HDR enabled), you should be focused on recording the best video possible.
- Don’t Miss: 13 Exciting New Features in Apple Photos for iOS 14
Method 1: Switch to 4K from the Camera App
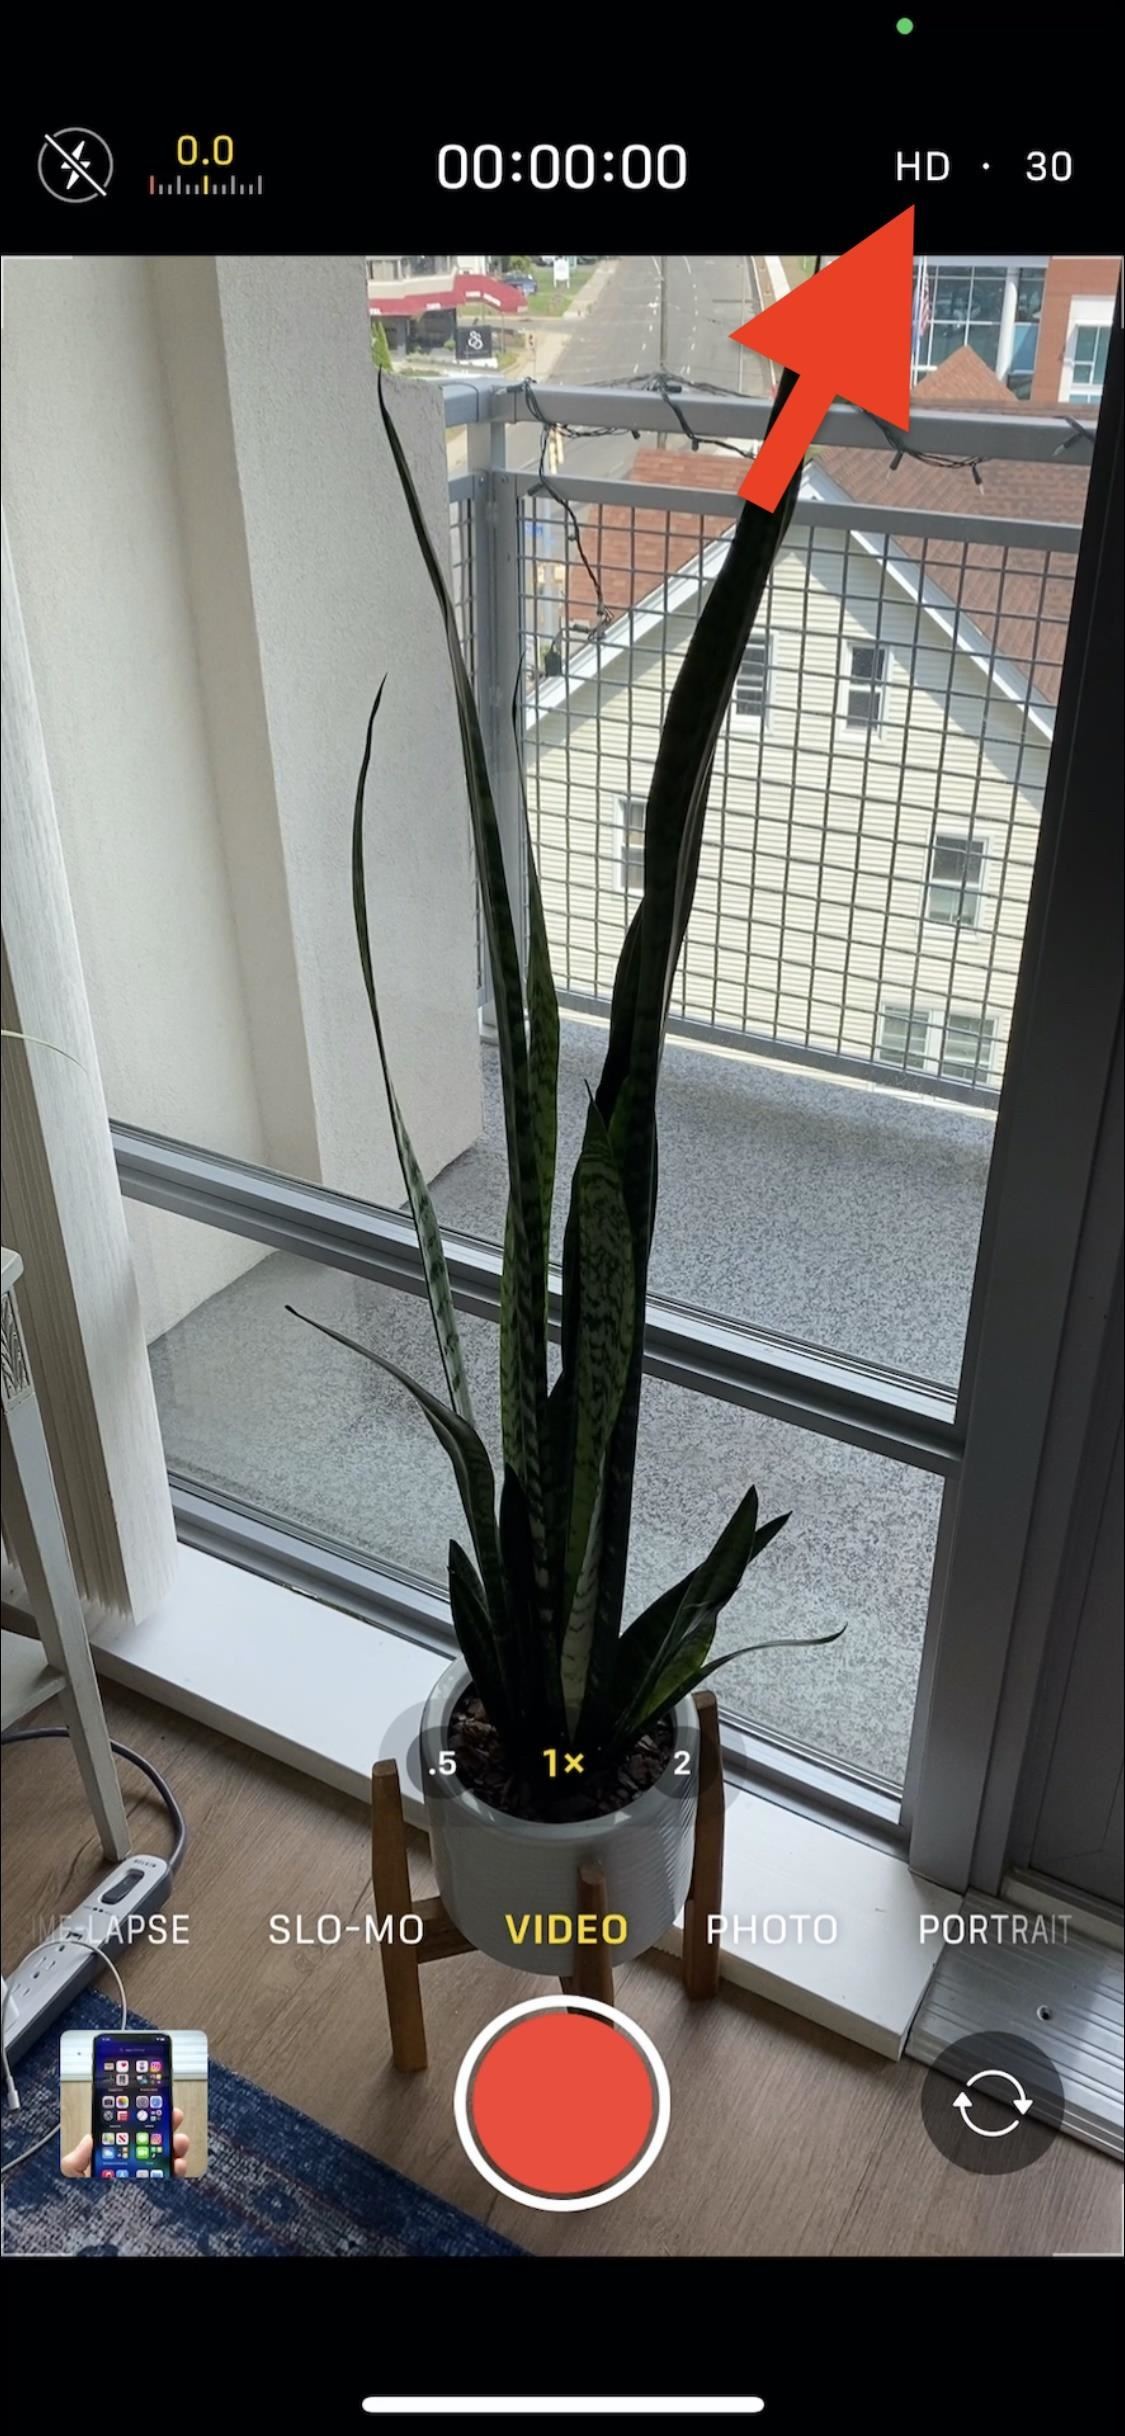
If you’re running iOS 14 on the iPhone 12, 12 mini, 12 Pro, or 12 Pro Max, or any iPhone model that supports the software, or iOS 13.2 or later on an iPhone 11, 11 Pro, 11 Pro Max, or SE (2nd generation), you can change your video resolution right in the Camera app.
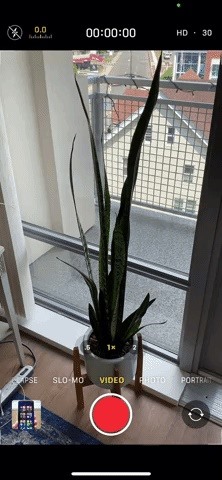
Just tap on the “HD” that appears in the toolbar, which signifies 1080p mode. When you do, your iPhone should switch to 4K, without you needing to backtrack over to Settings. If you already see “4K,” that means your iPhone is already shooting at the highest quality possible. However, if you’re using the front camera instead of the rear, only the iPhone 11 series and iPhone 12 series models can choose 4K recordings.
At this point, you can also tap the “24,” “30,” or “60” that’s next to 4K to change the frame rate too. The 24 will make your video look choppier, like film; 30 will look like standard video; 60 will make captured motion look very smooth. The iPhone 8 and later can use any of those frame rates with the rear camera, while older devices are limited to “30” frames per second (fps). The iPhone 11 series and iPhone 12 series models can switch frame rates on the front camera too.
- More Info: iOS 13.2 Fixed the Biggest Issue with iPhone’s Video Camera
Just know that any changes you make directly in Camera will only affect that shooting session. If you close the app, Camera will return to the default resolution and frame rate (see Method 2 for info on that) when you open it back up. “Preserve Settings” does not lock it in place either.
What if It’s Not Switching Between Resolutions?
If nothing happens when you tap on “HD” in the toolbar, it may not be activated on your iPhone yet. So, you’ll need to head to Settings –> Camera –> Record Video, then toggle on the “Video Format Control” switch. Not every iPhone will have this setting, so if you don’t see it, it’s on by default, and you can’t turn it off.

Method 2: Switch to 4K from the Settings App
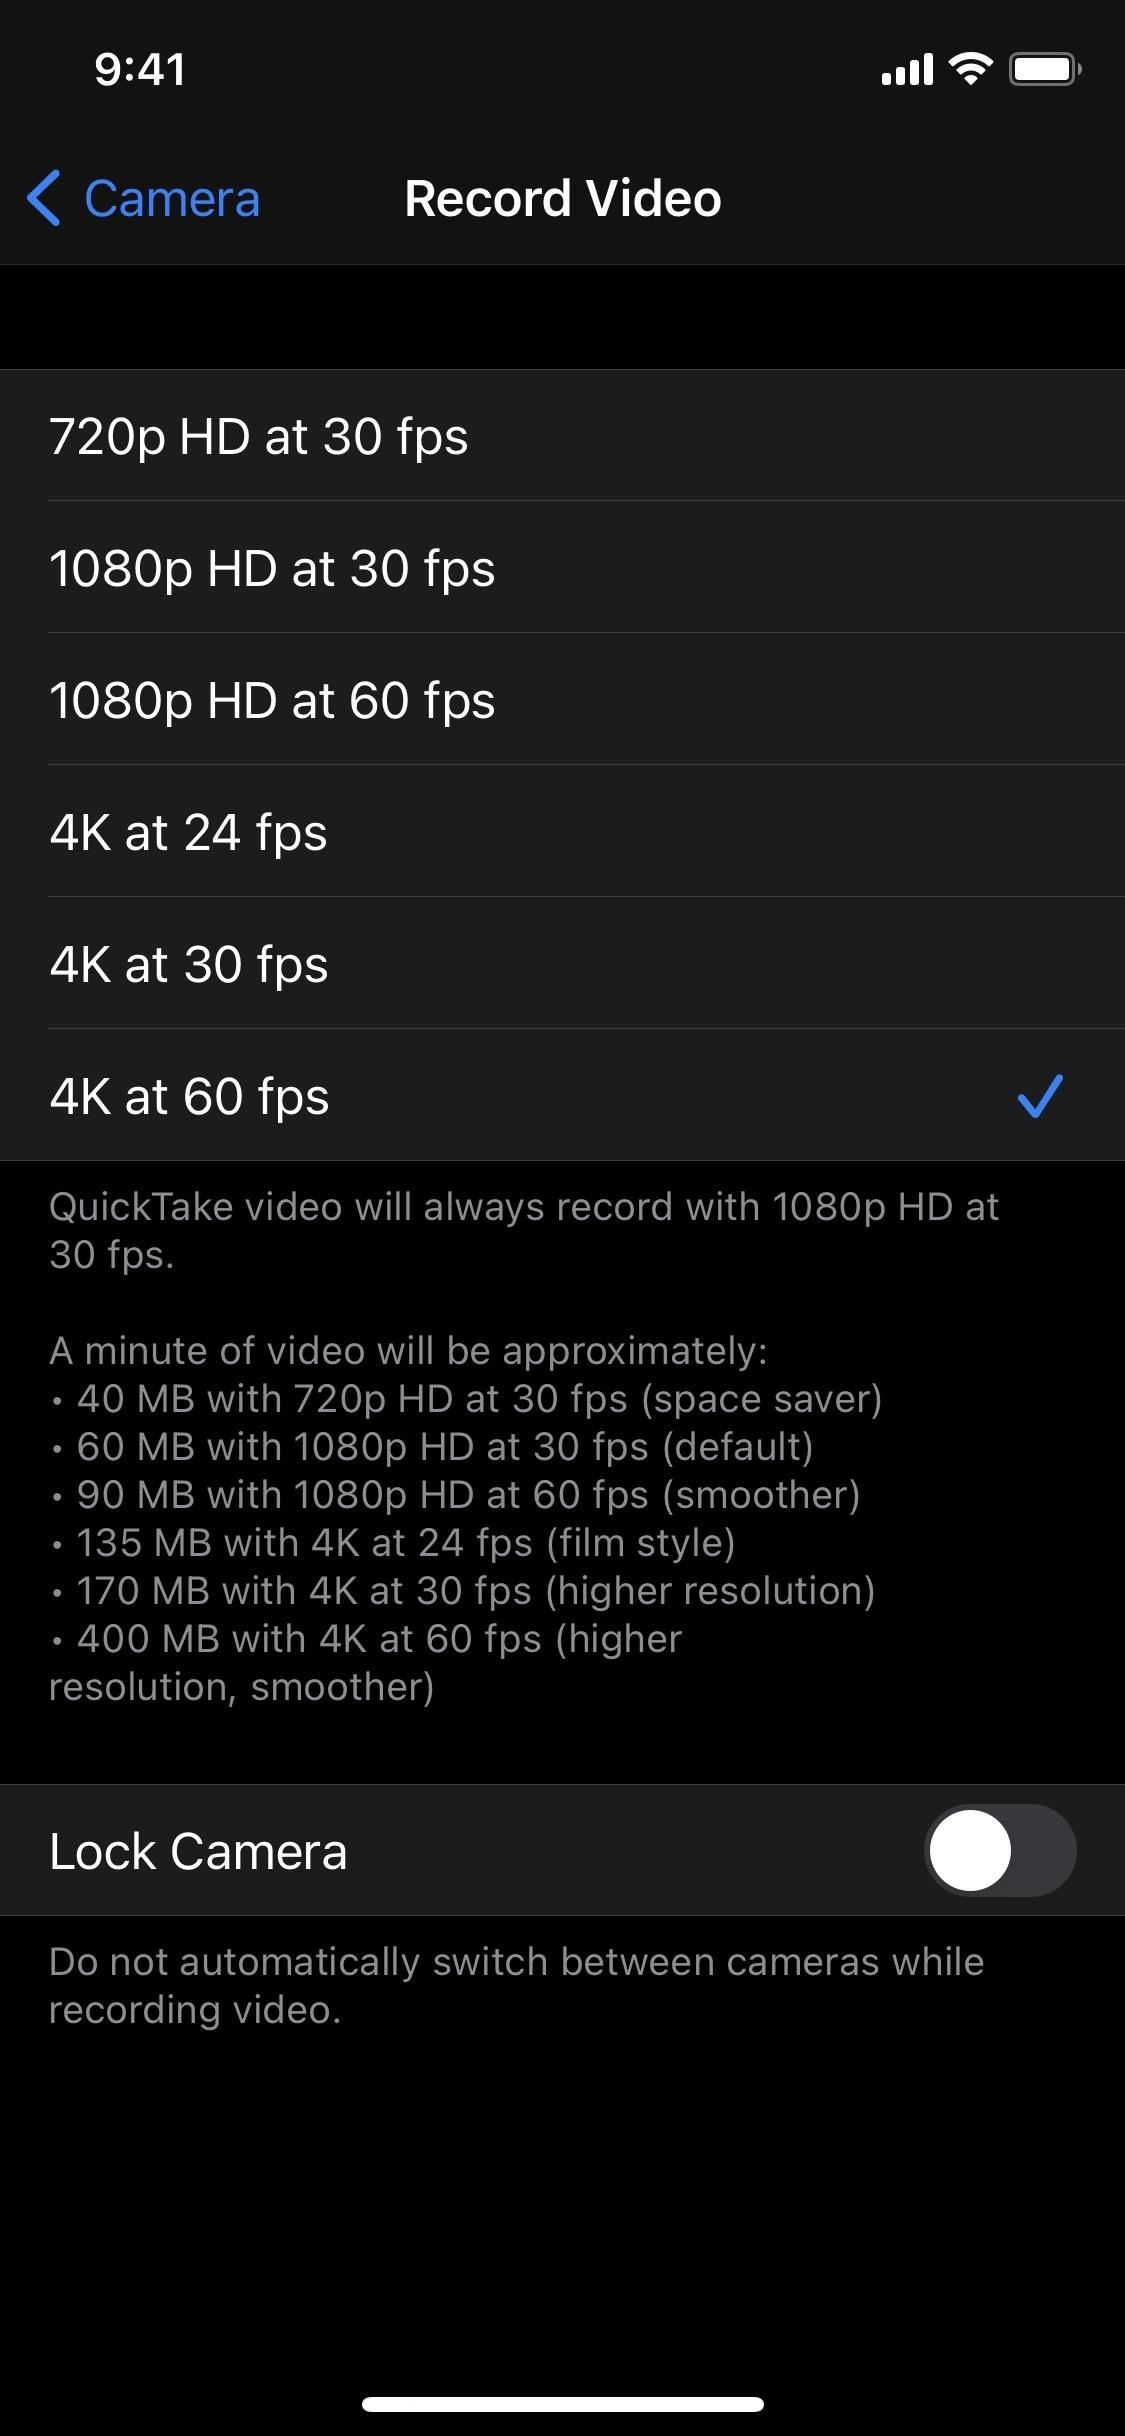
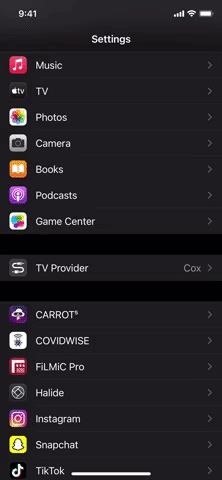
On any iPhone model or iOS version, open Settings, then head to “Camera.” From here, tap “Record Video,” then choose any of the 4K options. Changing it here will switch it in the Camera app immediately.
- Don’t Miss: How to Turn Off HDR Video Recording on Your iPhone 12 or 12 Pro
Just like in Method 1, which frame rate you choose is up to you. To reiterate, 24 fps will make your video look choppier, like film; 30 fps will look like standard video; 60 fps will make captured motion look very smooth. If it helps, the Apple default is 30 fps. Whichever option you choose will apply to the rear and front camera, though, if the front camera does not support your preferred resolution, it will use the next best one.
Whatever resolution settings you choose here will be your defaults going forward. So, let’s say you select 4K at 60 fps, but you change it to 4K at 24 fps using Method 1. When the Camera closes or times out, when you go back to record video, it’ll be back at 4K and 60 fps, your defaults.
Your Frame Rate May Change in Dimly Lit Environments
Now, there’s something to be said about shooting in dark areas. Whenever “Auto FPS” on the iPhone 12 series models is activated, in dimly lit environments, your iPhone will automatically switch from 60 fps or 30 fps to 24 fps since 24 fps keeps the shutter open longer, which lets in more light.
On older iPhone models, it does the same whenever “Auto Low Light FPS” is enabled, only it will switch to 24 fps when shooting at 30 fps, not both 30 fps and 60 fps. The indicator in the Camera app never changes when it does this, so you won’t know until you look at the footage.
Just updated your iPhone? You’ll find new features for Podcasts, News, Books, and TV, as well as important security improvements and fresh wallpapers. Find out what’s new and changed on your iPhone with the iOS 17.5 update.
“Hey there, just a heads-up: We’re part of the Amazon affiliate program, so when you buy through links on our site, we may earn a small commission. But don’t worry, it doesn’t cost you anything extra and helps us keep the lights on. Thanks for your support!”


