Downloading third-party screen recording apps can be dangerous. The primary function of these apps is being able to record everything on one’s display, so it’s easy to see how a malicious developer could exploit this for their own gain. That’s why the addition of Android 10‘s built-in screen recording is so impactful.
With Android 10 (aka One UI 2 on Samsung devices), there’s now a built-in screen recorder. It’s hidden away for a lot of phones, but if you’re on Samsung or LG, it’s dead simple to access. Others might have to send an ADB command to access the one built into stock Android, but there’s finally a way to record a video screenshot without downloading a third-party app.
- Jump Ahead: Samsung & LG instructions | All other phones
Method 1: Use the Quick Settings Tile (Samsung & LG)
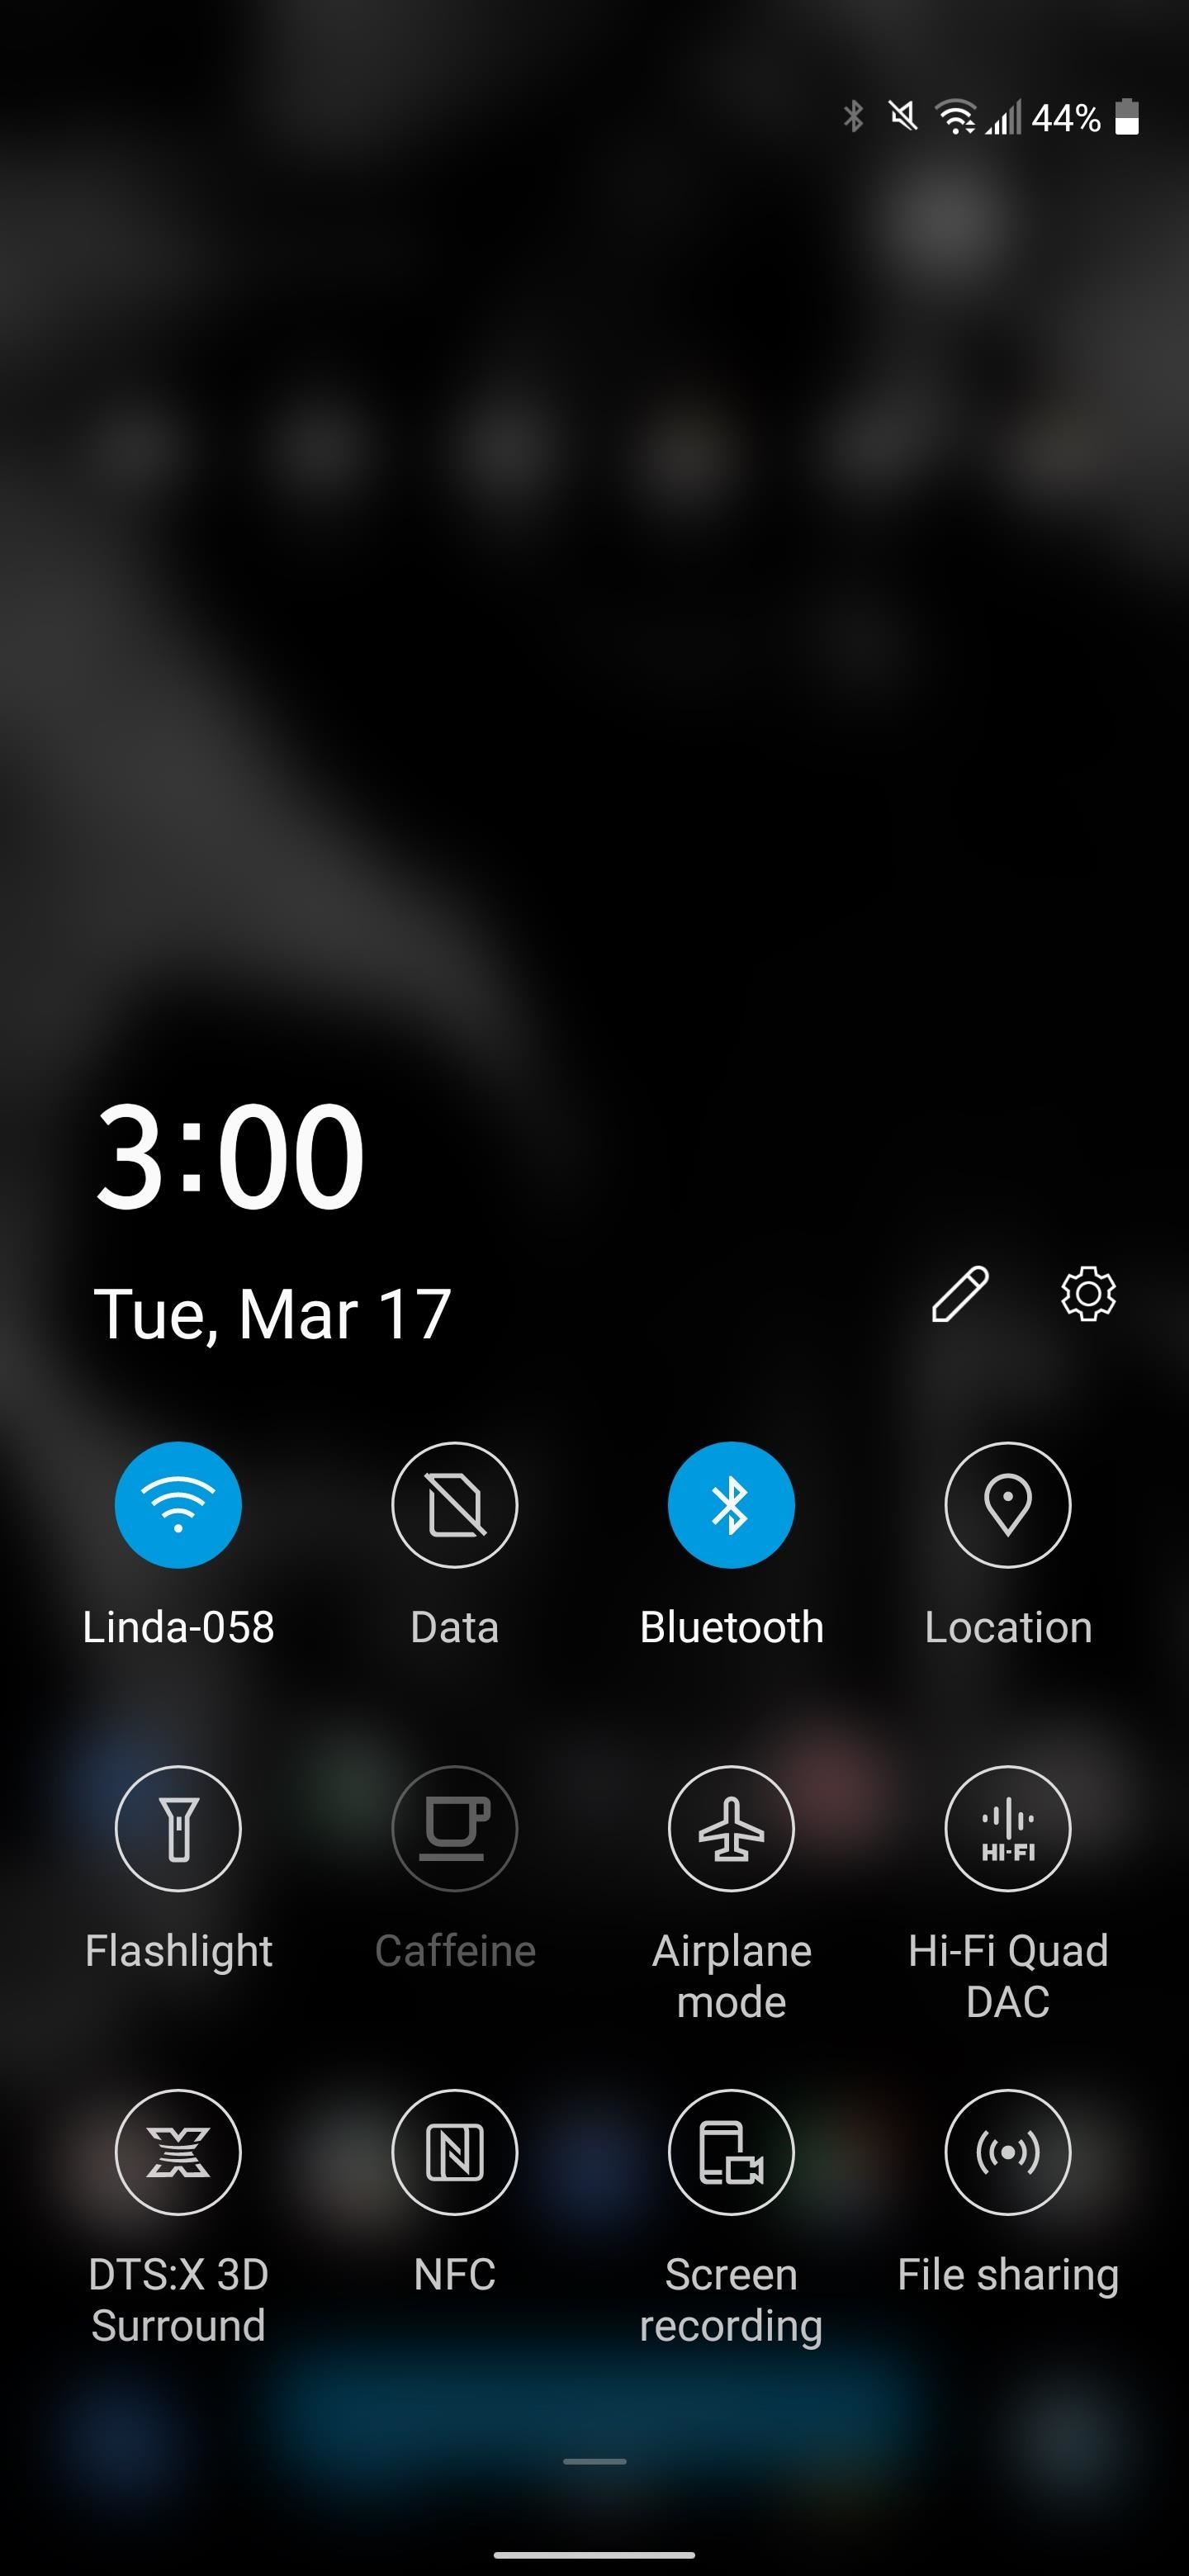
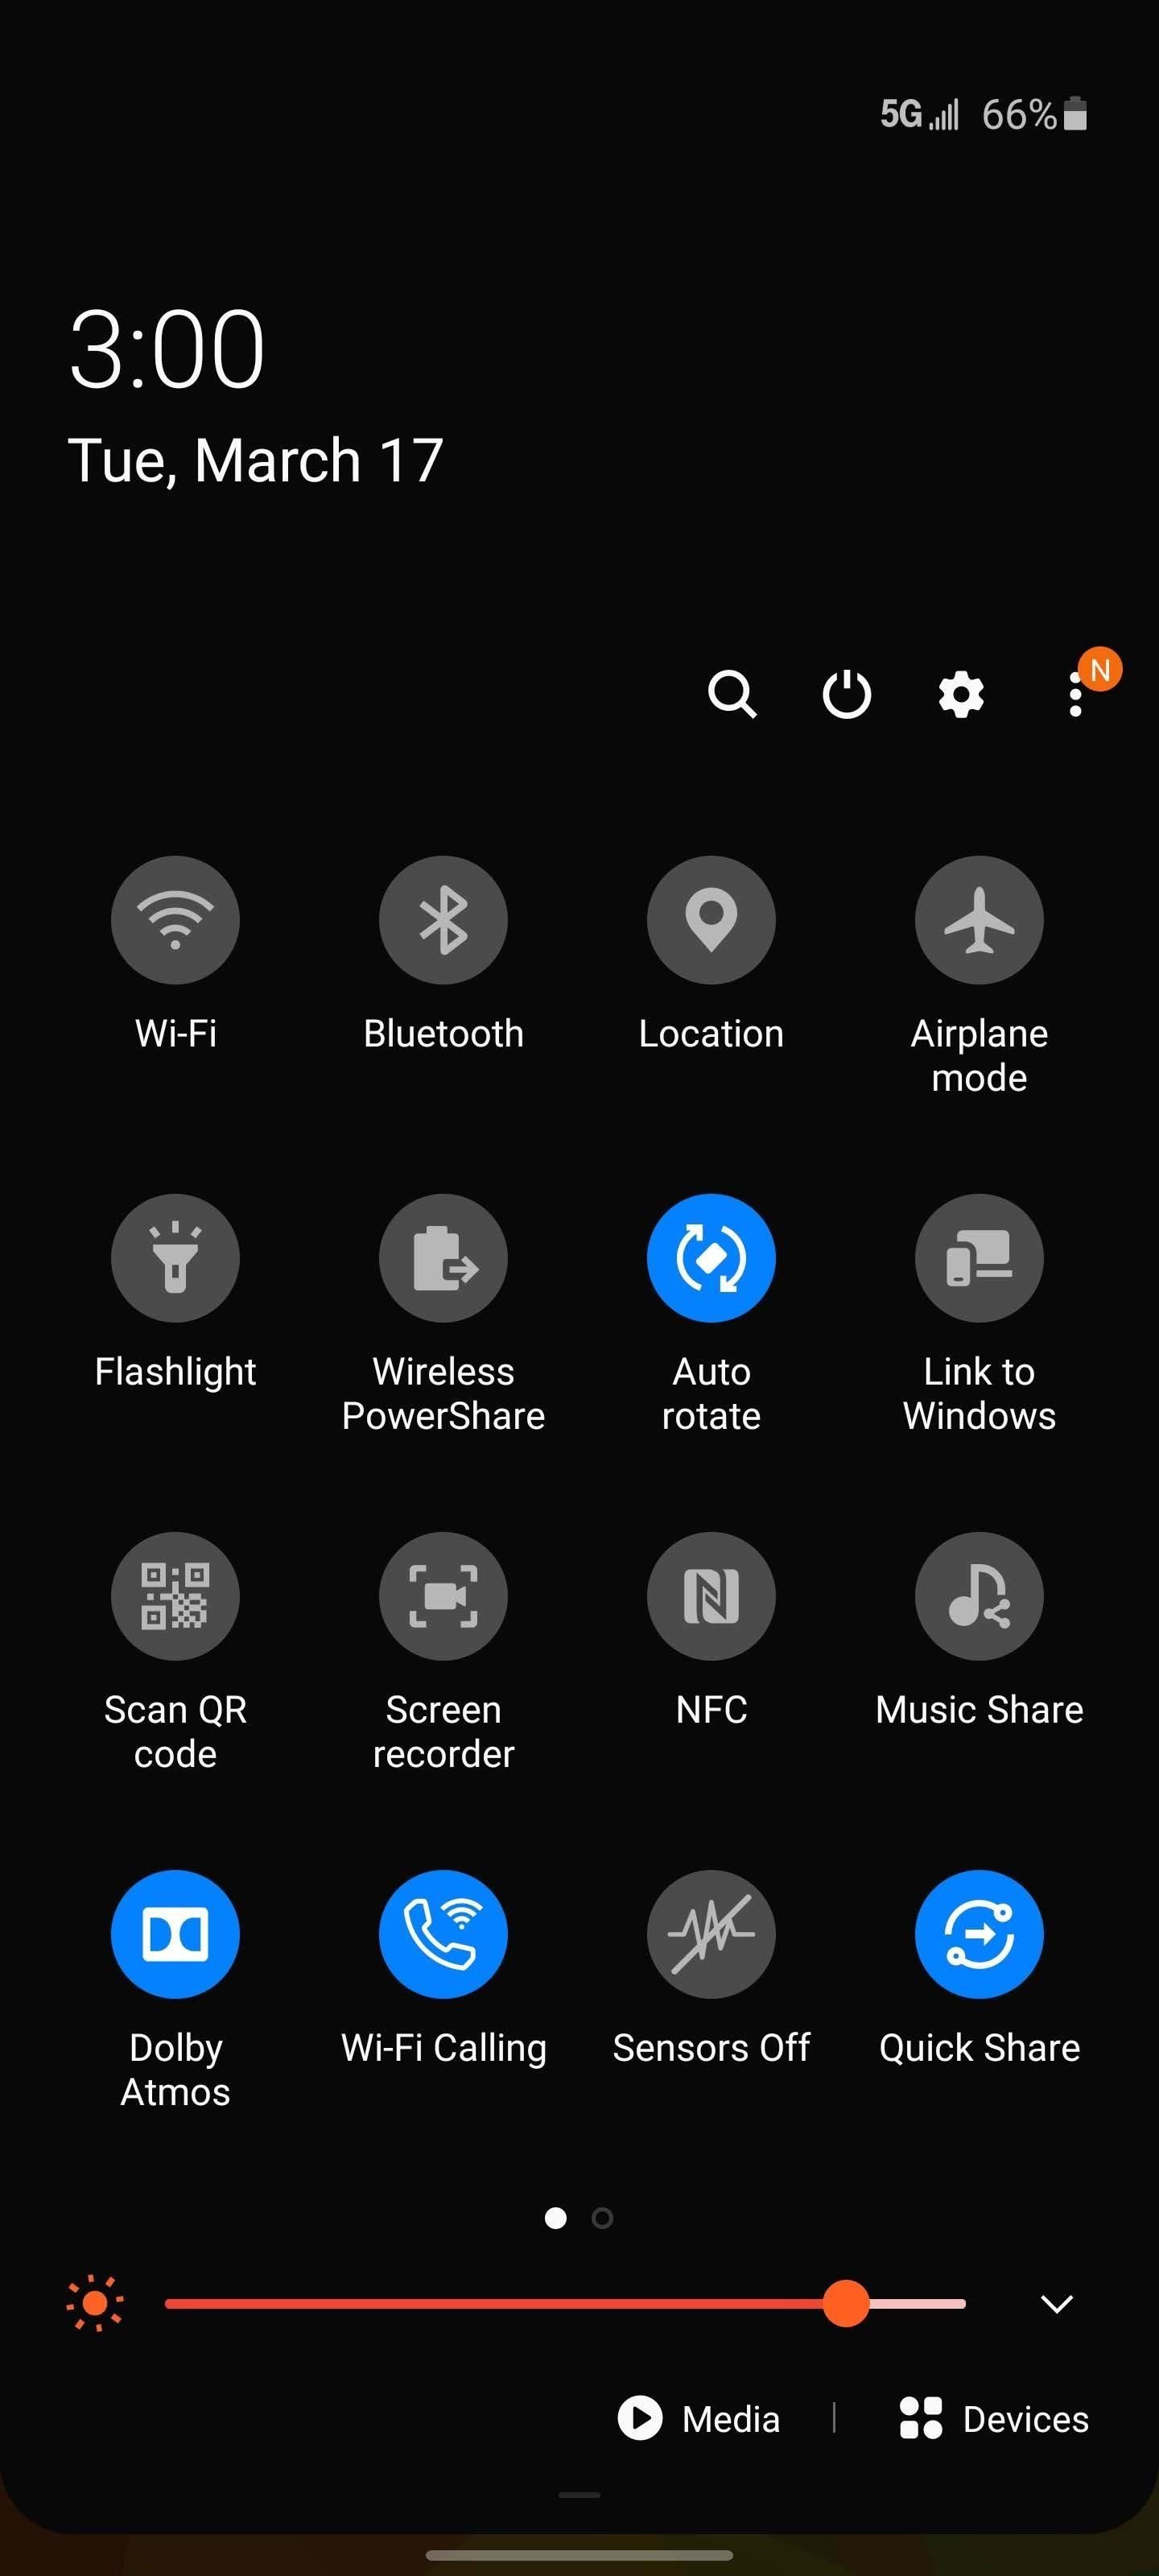
Both Samsung and LG smartphones running Android 10 include a screen recorder feature in their OEM skin. Unlike Method 2, which works for other phones, you don’t need a computer to unlock it.
So swipe down twice from the top of your screen to fully expand the Quick Settings menu. Here, look for the “Screen recorder” tile — if you can’t find it, you may have to swipe left to the second or third page of tiles.
For LG devices, a recording countdown starts as soon as you tap the tile.
For Samsung smartphones, you’ll be asked if you want to record audio. You can choose to record media sounds (your phone’s internal audio), media and the microphone, or no audio. Once you do, a countdown will appear, and when it reaches zero, it will begin recording.
Samsung also has some tools to enhance your recording, which you can learn about using the link below.
Method 2: Use the ADB Command (All Others)
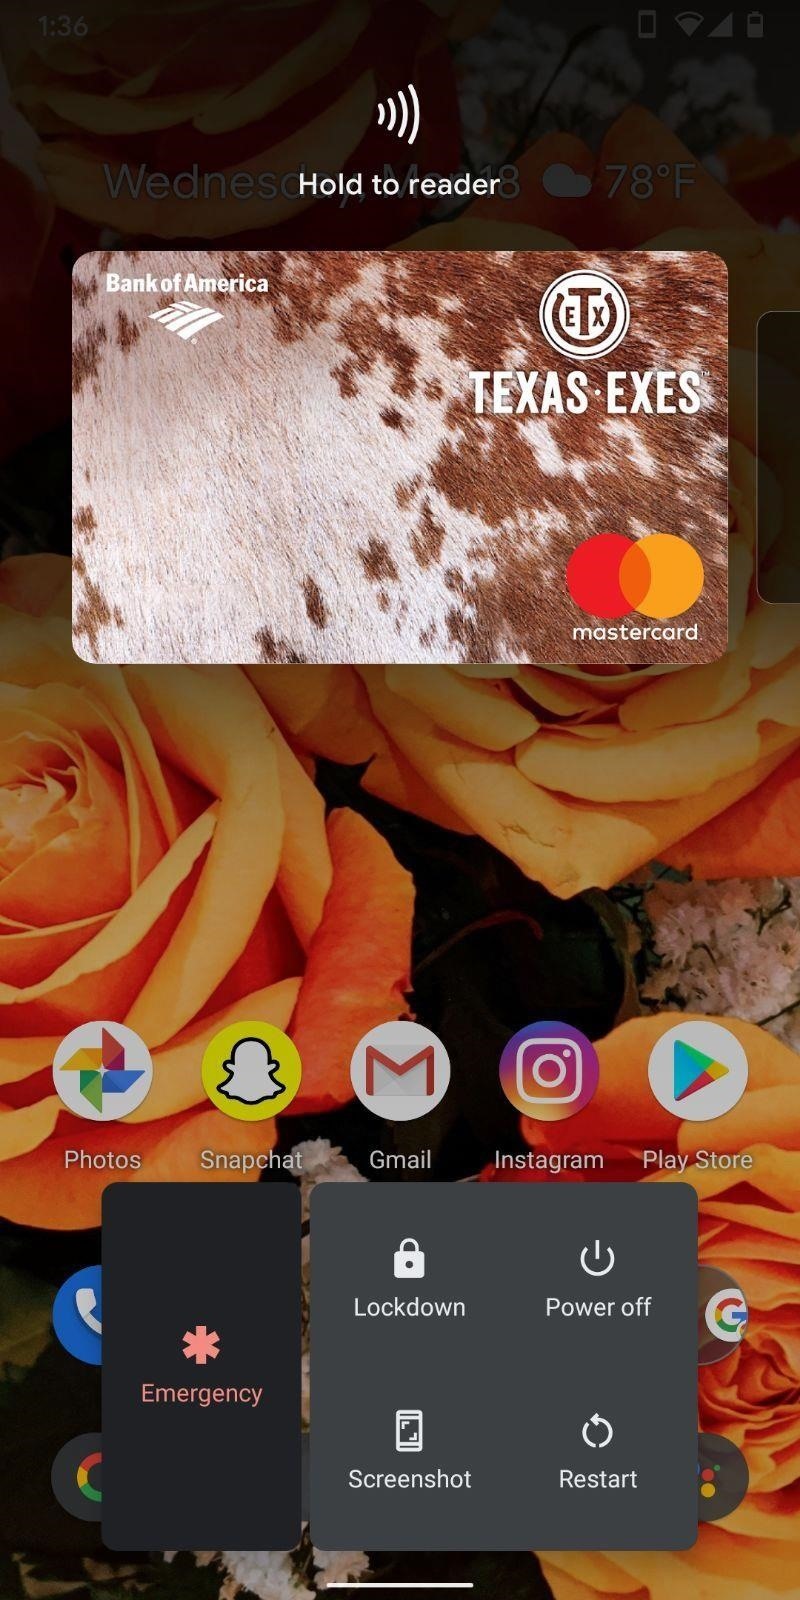
Method 2 will only work if your phone uses the same power menu found in stock Android (below). Specifically, you need to see the “Screenshot” option when you long-press the power button, which many OEM skins remove from the power menu.
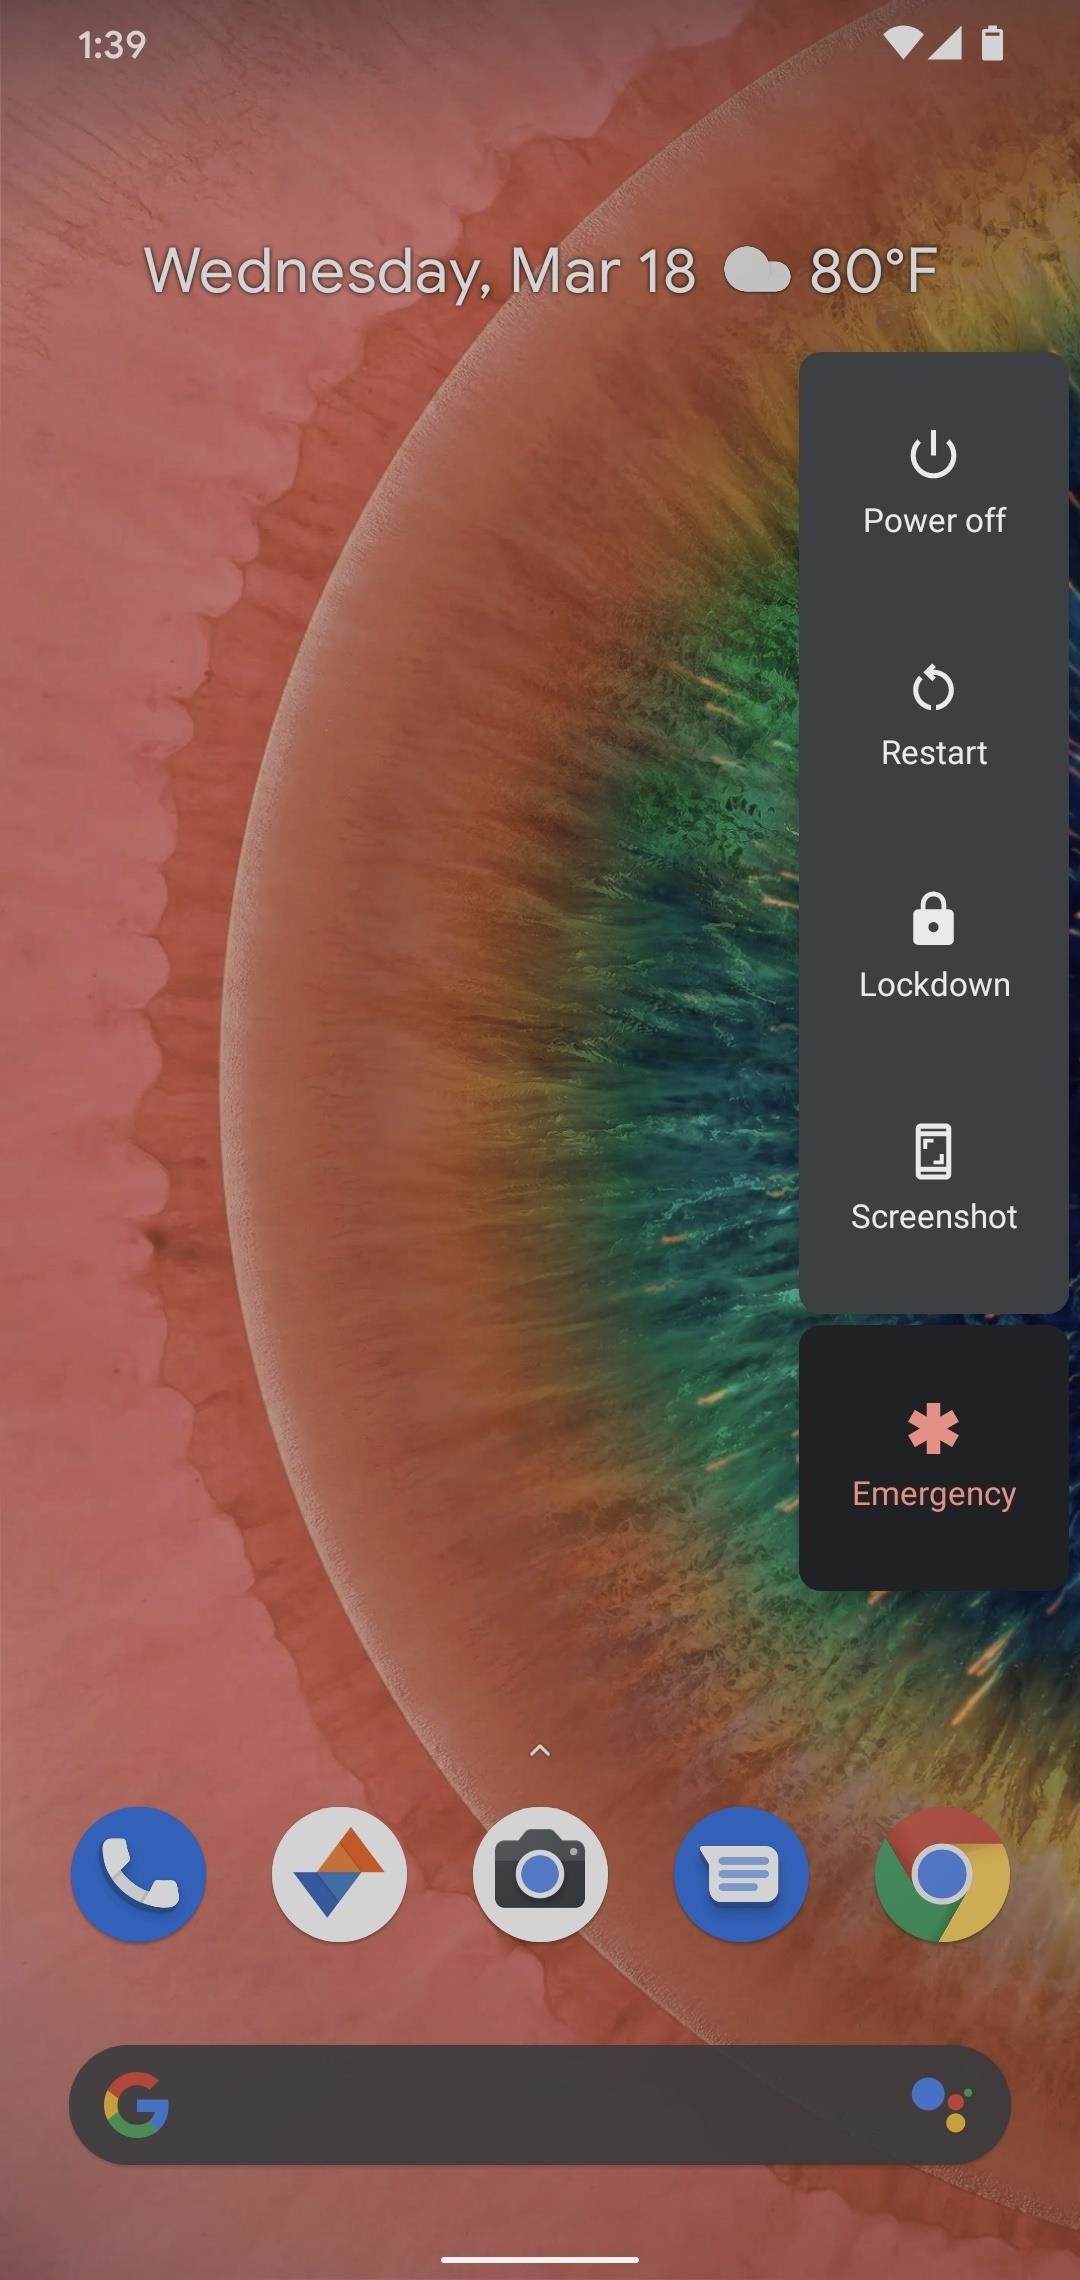
In the Android 10 beta, screen recording was a hidden flag in Developer Options, but Google removed the flag in the final Android 10 release. So we thought Android 10 users were stuck waiting for Android 11, where Google added back the feature. But with the help of ADB, we can bring it back.
Requirements
- Windows, macOS, or Linux computer
- USB data cable
Step 1: Download Platform-Tools
To use ADB, you’ll need to download Google’s Platform-Tools files. Use the link below to download the ZIP file corresponding to the operating system running on your computer.
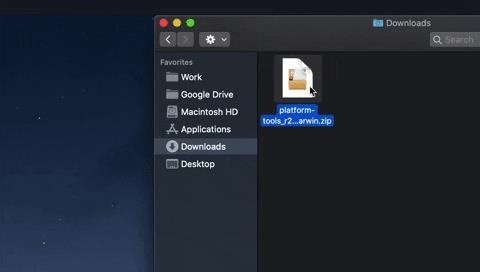
Step 2: Extract the ZIP
Once downloaded, extract the ZIP file to your desktop to make it easier to locate the folder later.
Step 3: Open a Prompt in the Platform-Tools Folder
If you are using a Windows computer, open Command Prompt. If you are running macOS or Linux, open Terminal. Once your command line tool is open, type in the following:
cdPress the spacebar to add a space, then drag the platform-tools folder from your desktop to the Command Prompt or Terminal window to auto-populate its location. Finally, hit enter to redirect the command line tool so that it’s operating in the same folder as the files it needs to run the ADB commands below.

Step 4: Allow USB Debugging
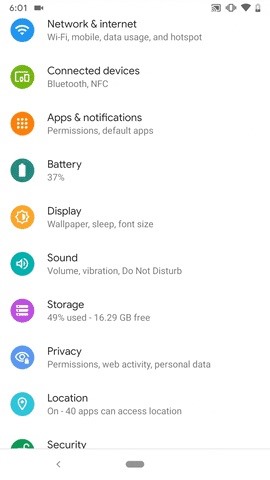
Connect your phone to your computer, then you will need to unhide the Developer Options menu by quickly tapping “Build number” in Settings –> About Phone seven times in a row. You’ll be prompted to enter your lock screen passcode, then it will say, “You are now a developer!” Now, return to the “System” page in Settings, choose “Advanced,” then select “Developer options.”
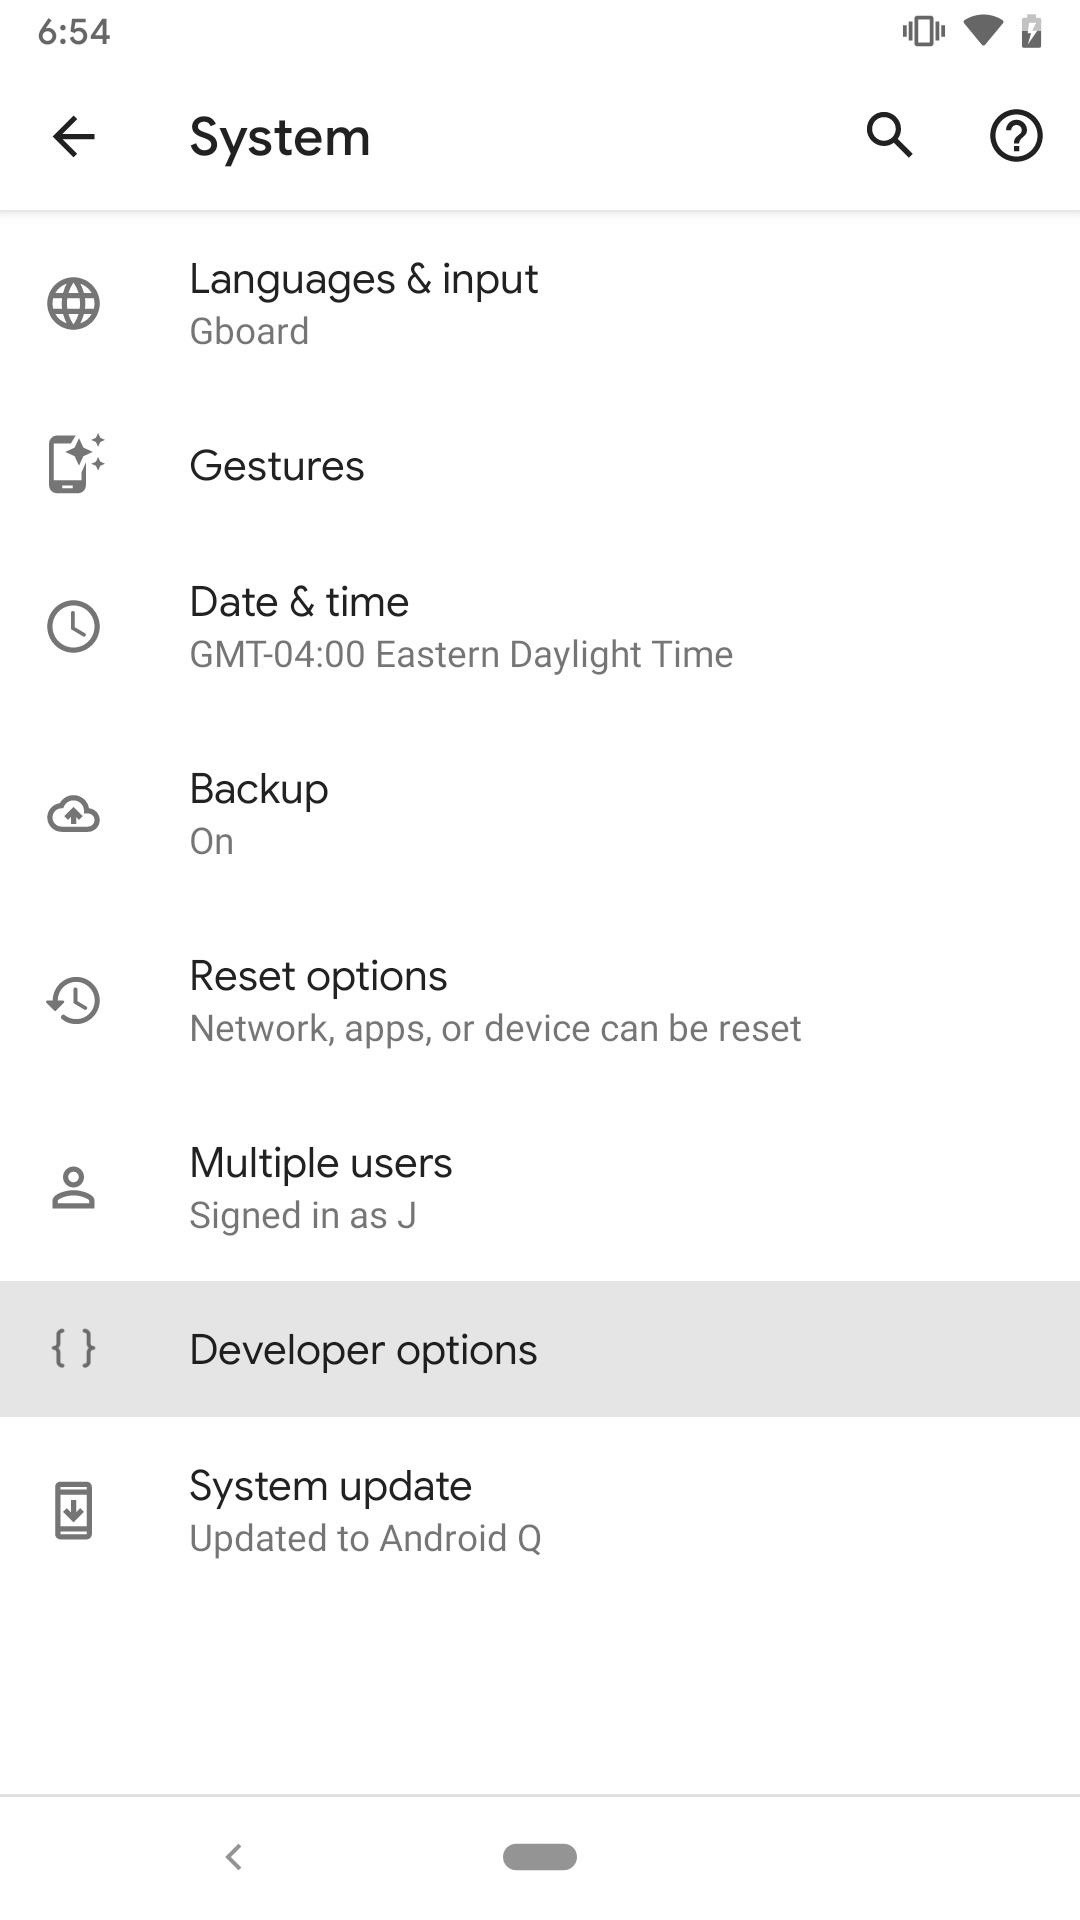
Inside “Developer options,” tap “USB Debugging.” A prompt will appear (see screenshot below) asking you to allow USB debugging. Select “Always allow from this computer” so you don’t see this prompt again and choose “Allow.”
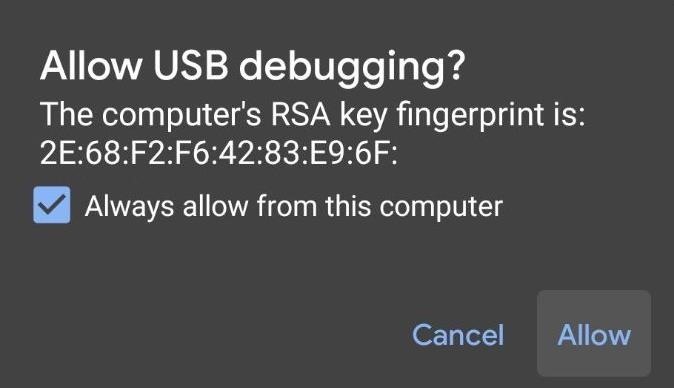
If you don’t see this prompt, input the following command in your command line utility:
adb devicesNote: If you’re on macOS or Linux and receive an error, add “./” before any ADB commands shown in this guide (e.g., “./adb devices”).
Step 5: Enable the Screen Recorder
Now you’re ready to send the command that will enable the screen recorder. Input the following into your command line tool, remembering to add “./” if you’re on Mac or Linux.
adb shell settings put global settings_screenrecord_long_press trueStep 6: Record Your Screen
Now, long-press the power button to access the power menu, then long-press the “Screenshot” button until you see a menu with a “Start Recording” button. Tap it, and a new popup will appear warning that this program will capture everything on your display. Choose “Start now.”


A notification will appear titled “Screen Recording” with stop, pause, and cancel options available. Each does as their name implies, allowing you to stop the recording, pause it, or end it without saving it. The notification can be accessed at any time by pulling the tray down from the top.
Recordings will be saved to your default gallery in a folder called “Captures.” In the notification that states it was saved, you also have the option to “Share” or “Delete” the video. If you try to take a screenshot during a recording, it seems to break the screen recording, so keep that in mind. Quality varies from device to device.
Hot Deal: Set up a secure second phone number and keep your real contact details hidden with a yearly subscription to Hushed Private Phone Line for Android/iOS, 83%–91% off. It’s a perfect second-line solution for making calls and sending texts related to work, dating, Craigslist sales, and other scenarios where you wouldn’t want to give out your primary phone number.
“Hey there, just a heads-up: We’re part of the Amazon affiliate program, so when you buy through links on our site, we may earn a small commission. But don’t worry, it doesn’t cost you anything extra and helps us keep the lights on. Thanks for your support!”


