If you’ve ever tried to update your Android phone manually, you know the process can be unnecessarily hard. There are so many steps and parts, that if one thing goes wrong, the whole process doesn’t work. Recognizing this, the Android team came up with an even easier way.
With the new Android Flash Tool, you can use your browser to update your phone. You don’t need to use a command prompt, install platform-tools, or even unlock your bootloader beforehand. The tool, will walk you through the process, flashing the update automatically — even developer preview updates. In fact, if your phone is soft bricked, it can even get you back up and running in a few clicks.
Requirements
- Google Chrome, Microsoft Edge 79 or later, or any browser with WebUSB
- Windows, macOS, Linux, or Chrome OS computer
- Google Pixel 2 or newer with unlockable bootloader
- important data backed up (this will wipe your device if your bootloader isn’t already unlocked)
Step 1: Enable USB Debugging & OEM Unlocking
First, you will need to activate Developer Options, the hidden Settings menu that has two options we need to make this work. So open Settings, choose “About Phone,” then tap on “Build number” seven times (the one located at the bottom of the page) and enter your lock screen passcode when prompted.
Now, return to Settings, select “System,” and then “Advanced.” Open “Developer options” and enable the toggle next to “USB debugging,” then press “OK.” If your bootloader is not already unlocked, enable the toggle next to “OEM Unlocking” as well. If your bootloader is unlocked, this option will be activated and grayed out.
Step 2: Install Drivers (Windows Only)
If you’re using a Windows PC, you’ll need to install driver software for your computer to recognize your phone properly. If you’re using macOS, Linux, or Chrome OS, you can skip this step.
First, download the Google USB Driver ZIP file below and extract it anywhere on your computer (typically, right click –> Extract).
Now, plug your phone into your computer and right-click the Start button, then choose “Device Manager.” Here, under “Portable Devices,” “Other Devices,” or “Universal Serial Bus devices,” right-click your Google Pixel and select “Update Driver,” then choose “Browse my computer for driver software.”
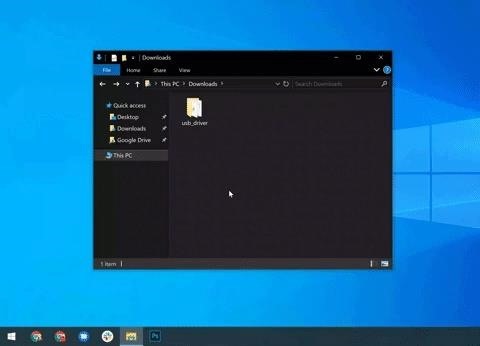
Now, choose “Browse” on the prompt, then select the usb_driver folder you extracted from the ZIP and click “Next.” Afterward, you should see a prompt letting you know the driver was installed correctly.
Step 3: Add a Build & Start Flashing
Make sure your Pixel is connected directly to your computer with a USB cable. Don’t link to any USB hubs, adapters, or monitors — connect directly to a USB port on the motherboard if possible.
Now, visit one of the links below from your computer. If you opt for the stable version (currently Android 10), select your carrier, then click “Get Started” and choose “OK” on the popup. If you’re installing the beta (currently Android 11), choose the link that corresponds to your Pixel model under Android Flash Tool, then click “Get Started” and “OK.”
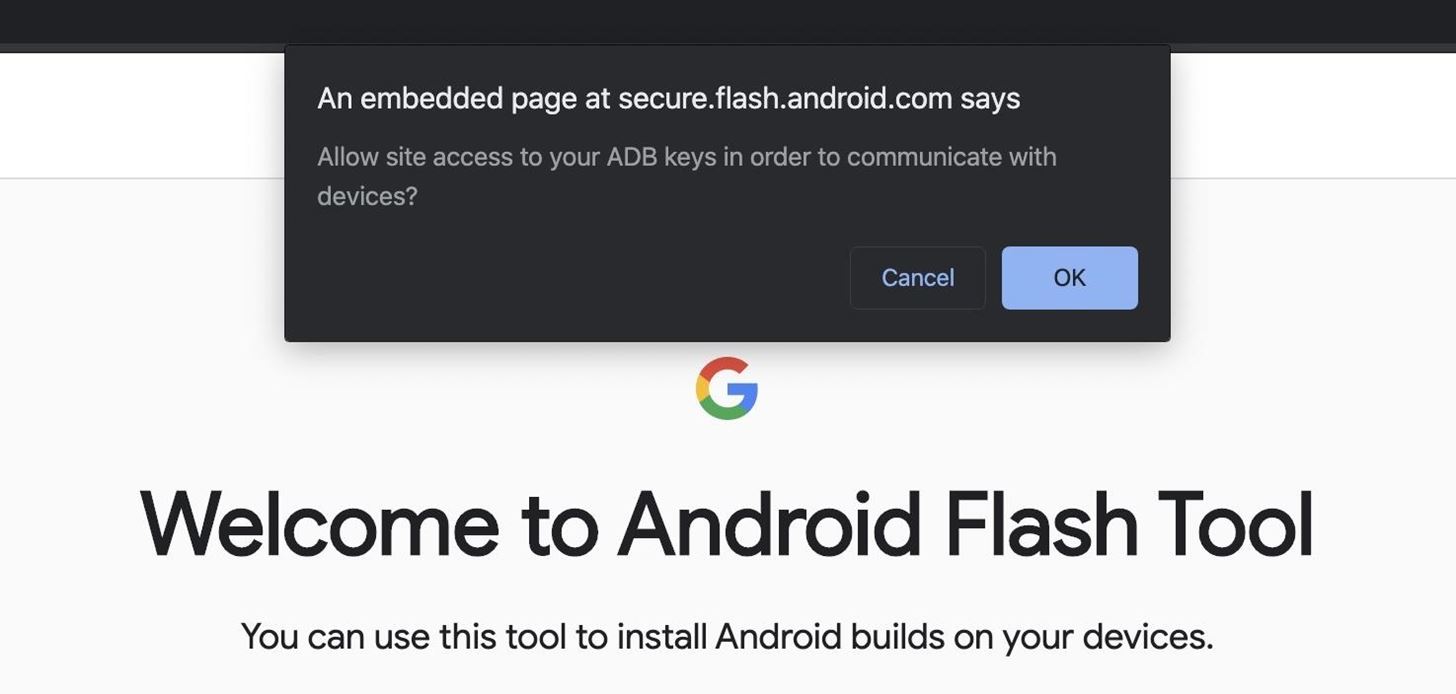
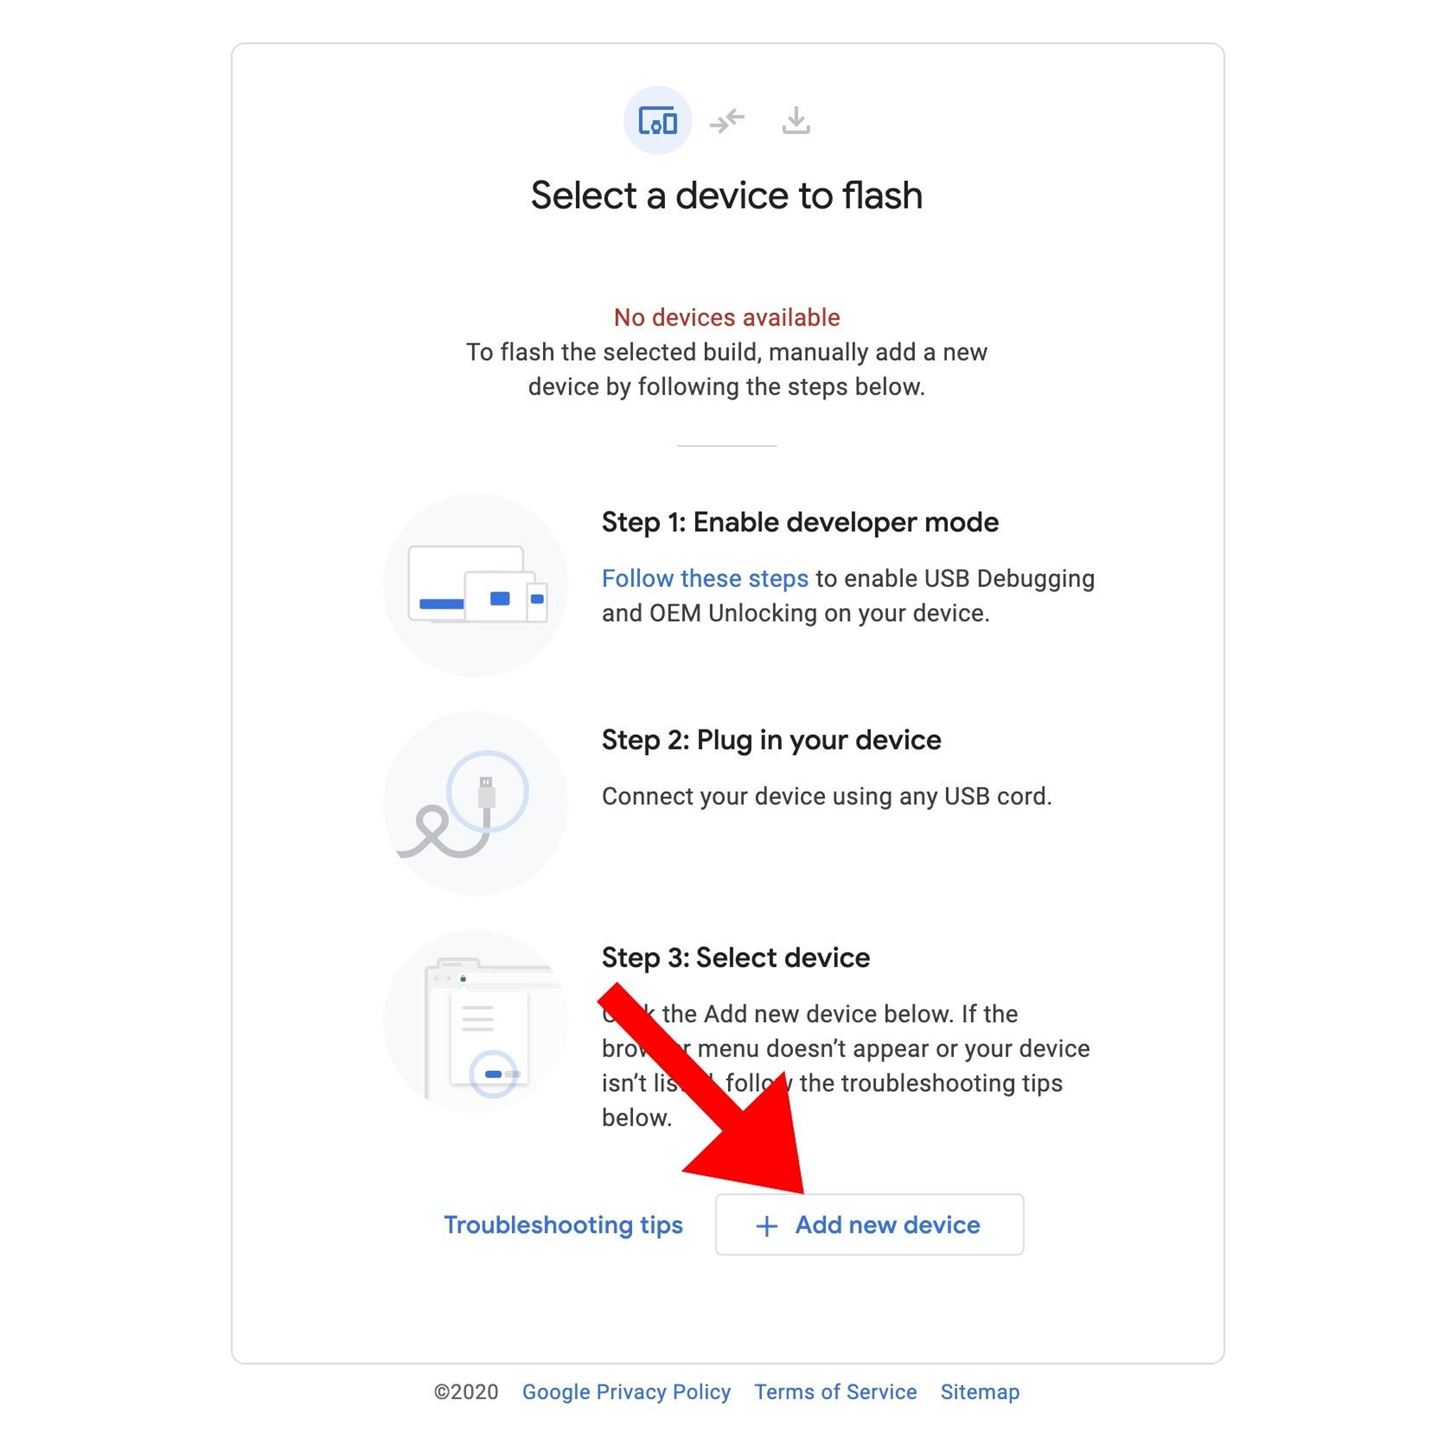
On the new page, choose “Add new device” towards the bottom.
Now, select your connected device in the popup.
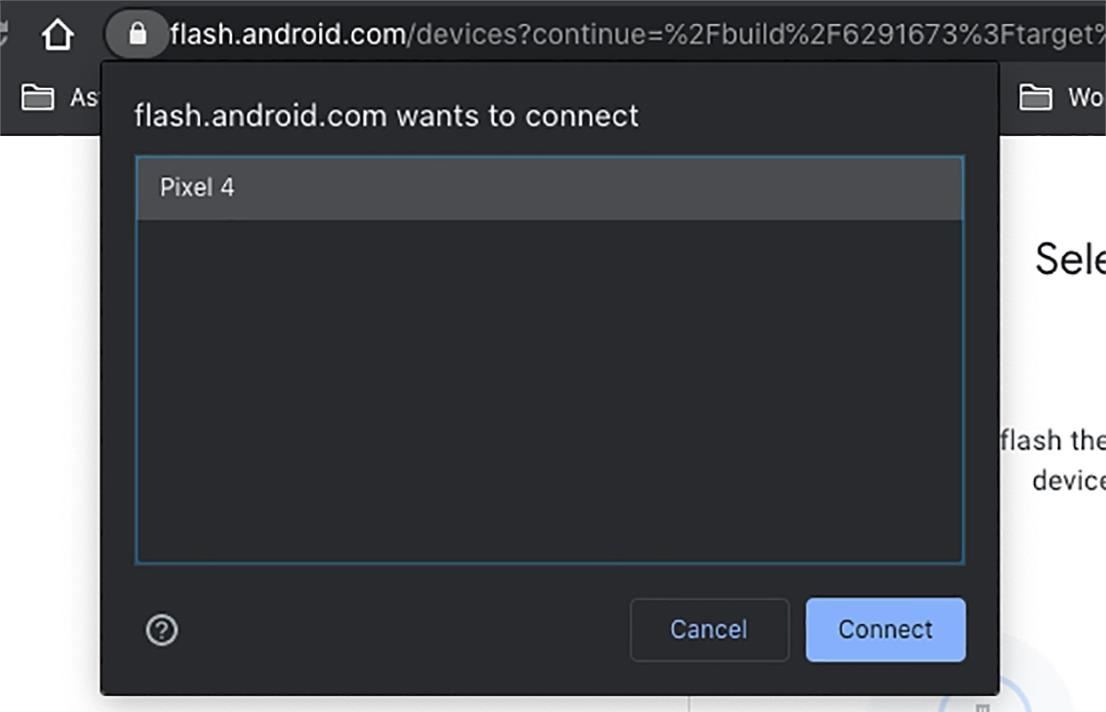
Select “Connect,” and you should see your device listed under “Unavailable.”
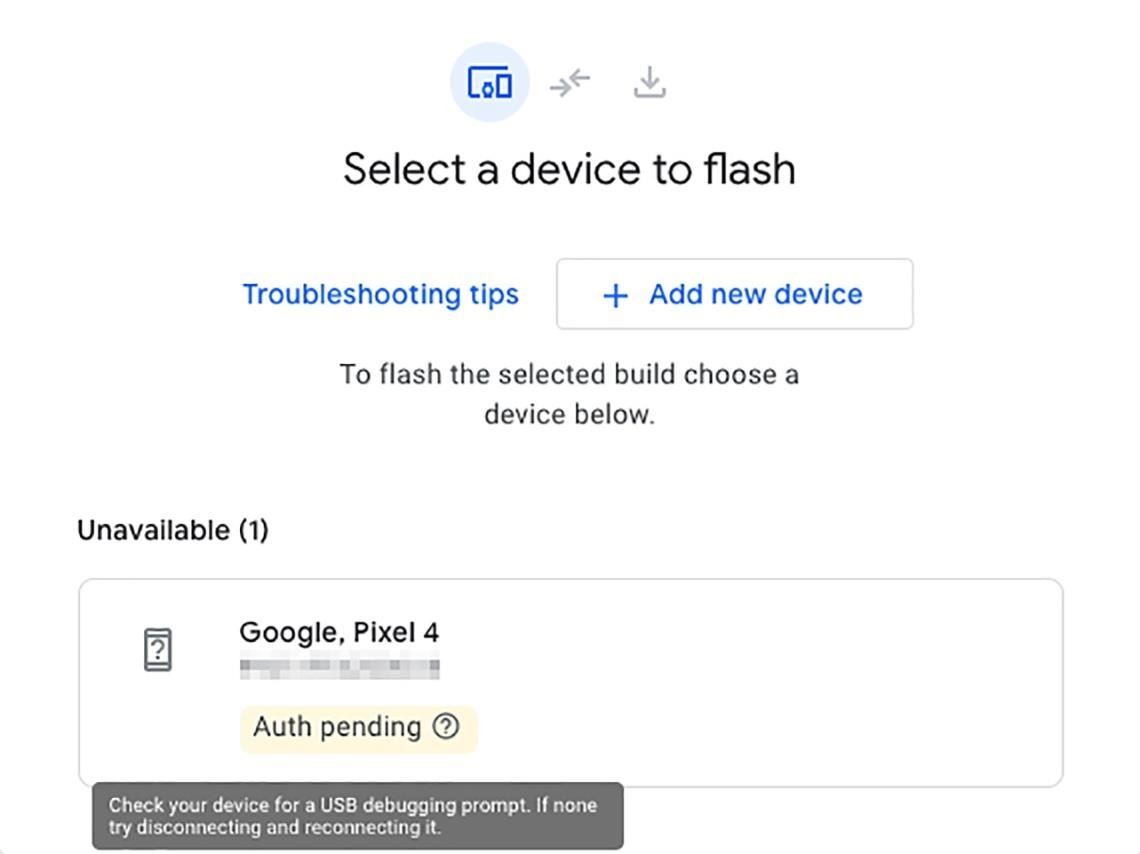
This message is because you need to allow USB debugging, the prompt that will have appeared on your smartphone right now.
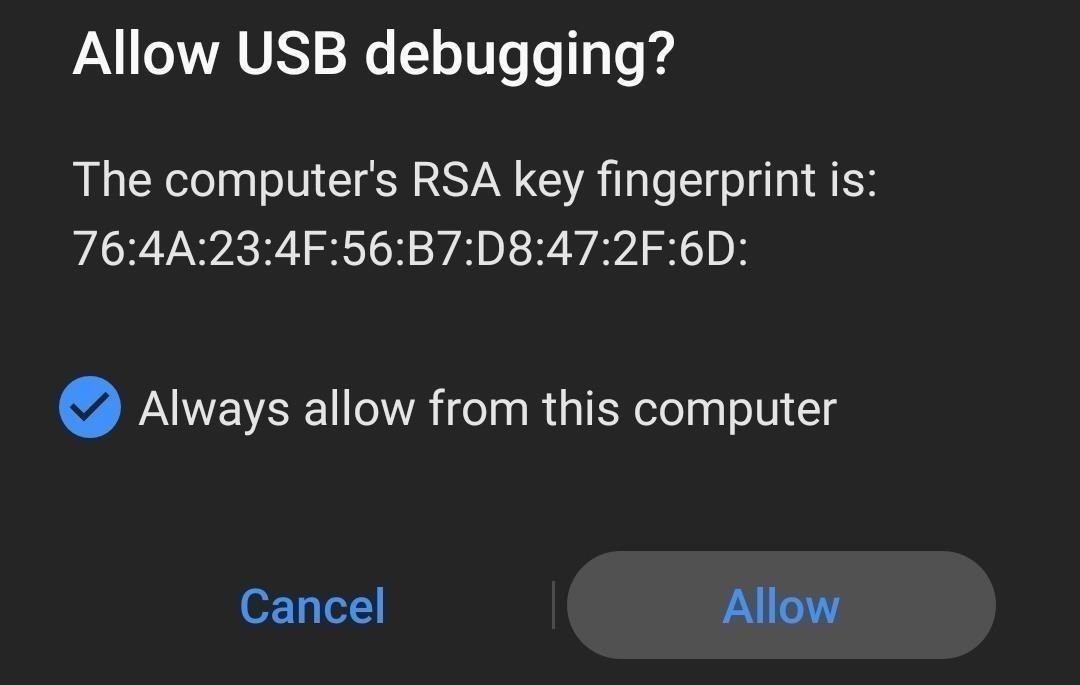
Hit “Allow” on the prompt, and on your computer, your device should now be listed under “Available” with a green “Connected” underneath it.
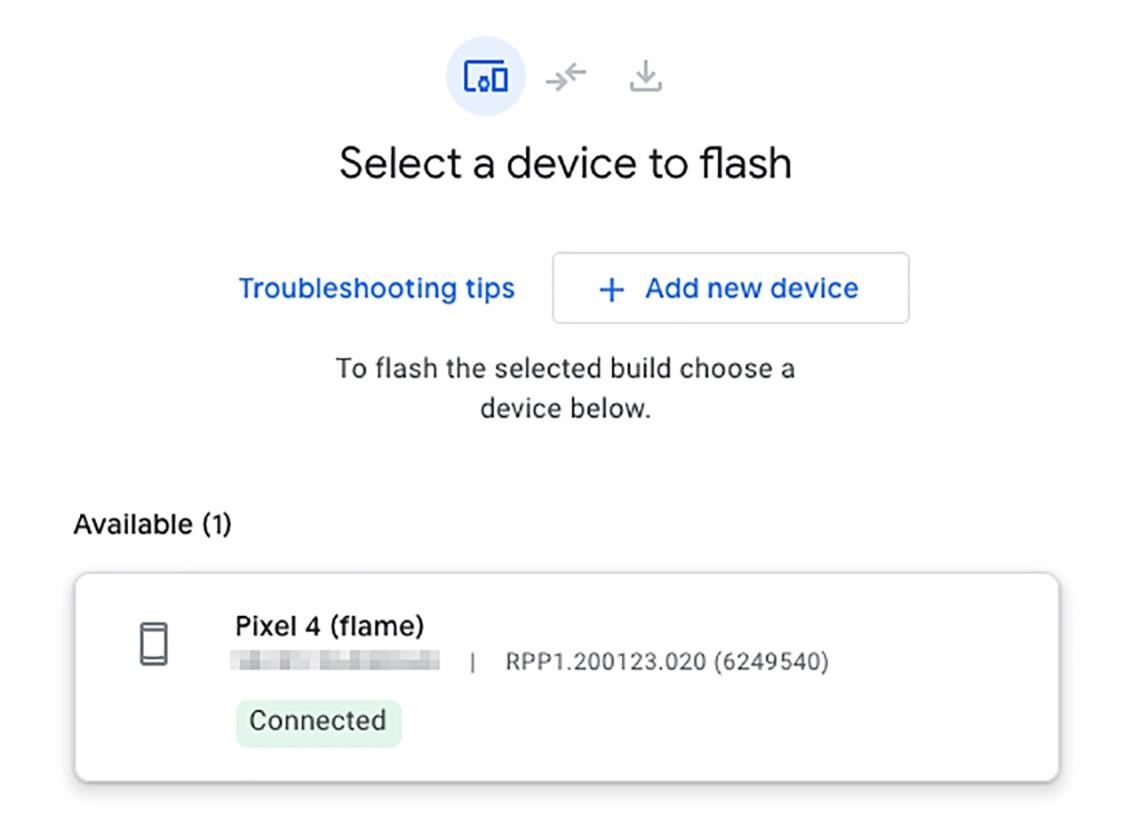
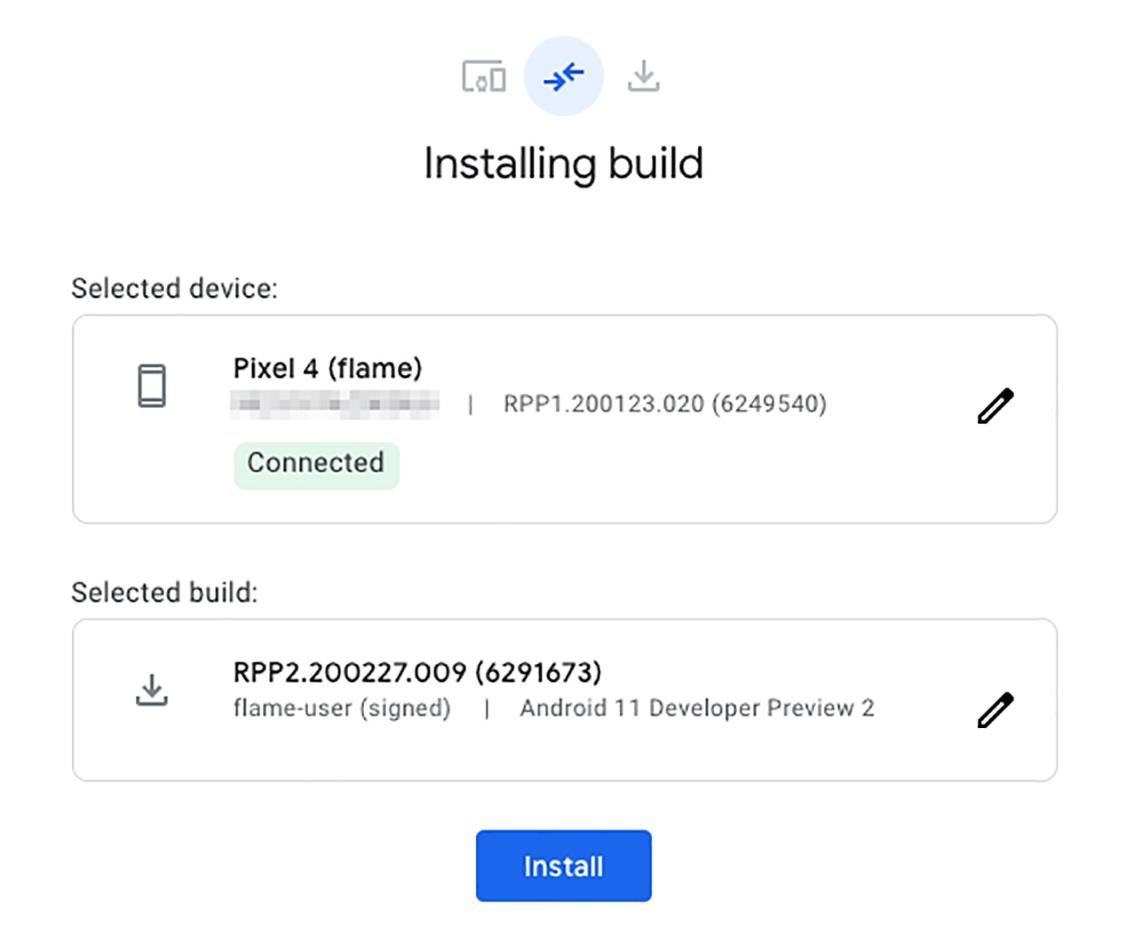
Click on your device to advance to the next page, which will show the current build you are trying to install. Once you have verified the build, choose “Install.”
In the final section, you will be presented with a couple of warnings that should be adhered to, minimizing your chance of encountering any issues. Choose “Confirm” after reviewing these warnings.

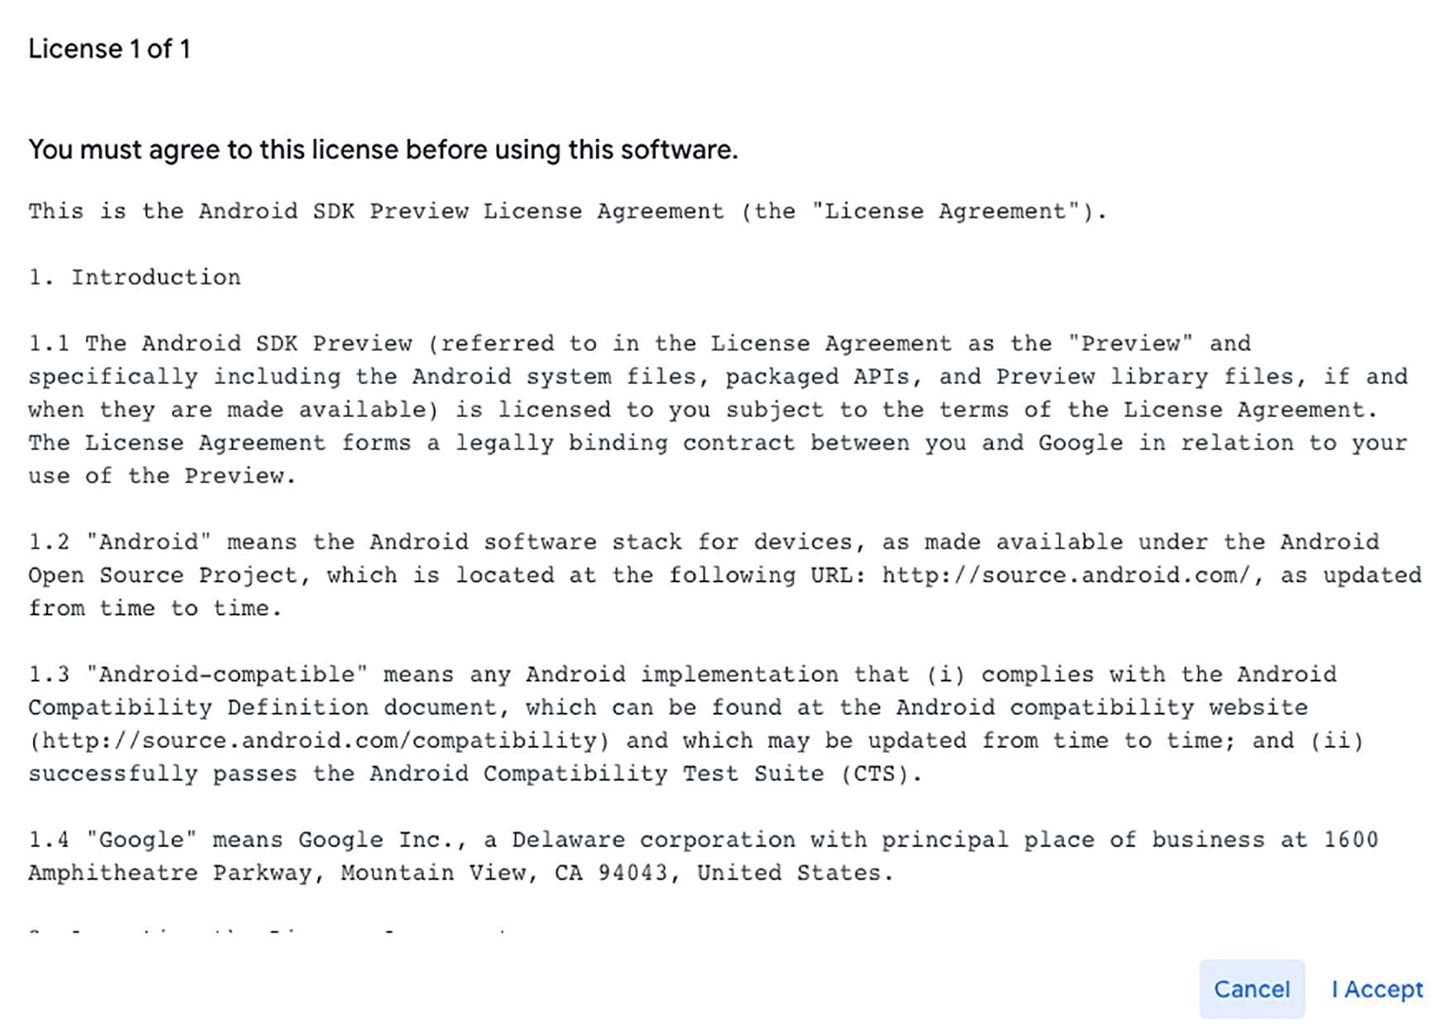
Now, choose “Allow” on the browser popup asking permission for the Android Flash Tool to show notifications. On the new page titled “License 1 of 1,” select “I accept.”
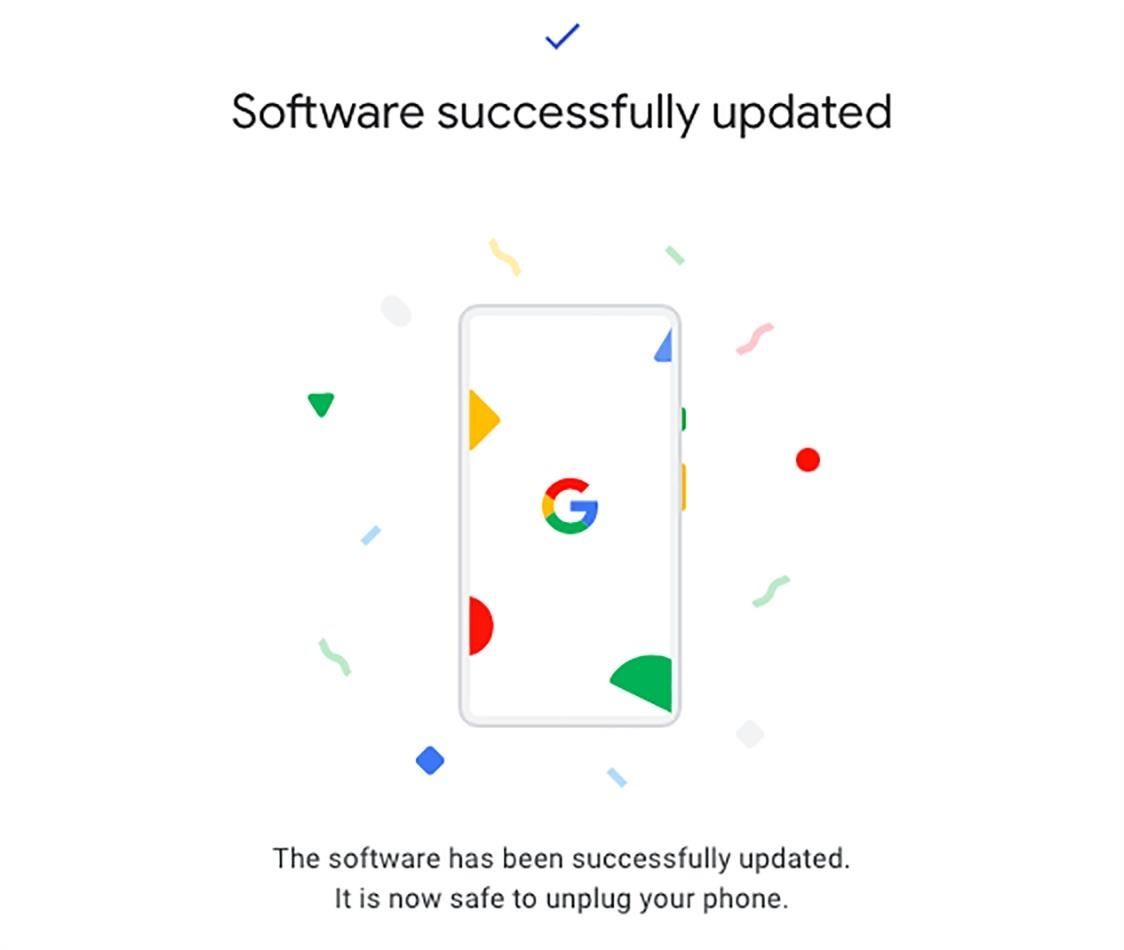
After a series of restarts, your phone will reboot with the new build, and Chrome will update its page with a message upon completion. Yep, it’s really that simple!
Who needs a wand? Unlock your magical powers and transform yourself from a Muggle into a Wizard or Witch just by using your Android phone. See how:
“Hey there, just a heads-up: We’re part of the Amazon affiliate program, so when you buy through links on our site, we may earn a small commission. But don’t worry, it doesn’t cost you anything extra and helps us keep the lights on. Thanks for your support!”


