As great as passcode and biometric security features like Face ID are for preventing unwanted access, they aren’t needed 100% of the time. When you’re at home with a locked door between you and anyone you wouldn’t trust with your phone, they really only serve to slow you down. Android has long had a solution for this, but a new Cydia tweak has now brought a similar solution to iPhones.
Google’s Smart Lock feature — specifically, Trusted Places — lets Android users disable lock screen security while in a safe environment. Apple has yet to offer something similar for iOS, but Luke Muris has stepped up to the plate and given the jailbreak community an awesome tweak that brings Smart Lock’s functionality to their iOS devices.
- Don’t Miss: 60 iOS Features Apple Stole from Jailbreakers
IntelligentPass is the tweak in question, and it gives you the ability to disable your passcode in specific situations, such as times when you’re connected to your home or work Wi-Fi or during a certain time of day. In all, the added benefits the tweak brings to your iPhone makes it well worth its $2.49 price tag, as you’ll find out below.
Step 1: Install the Packix Repo
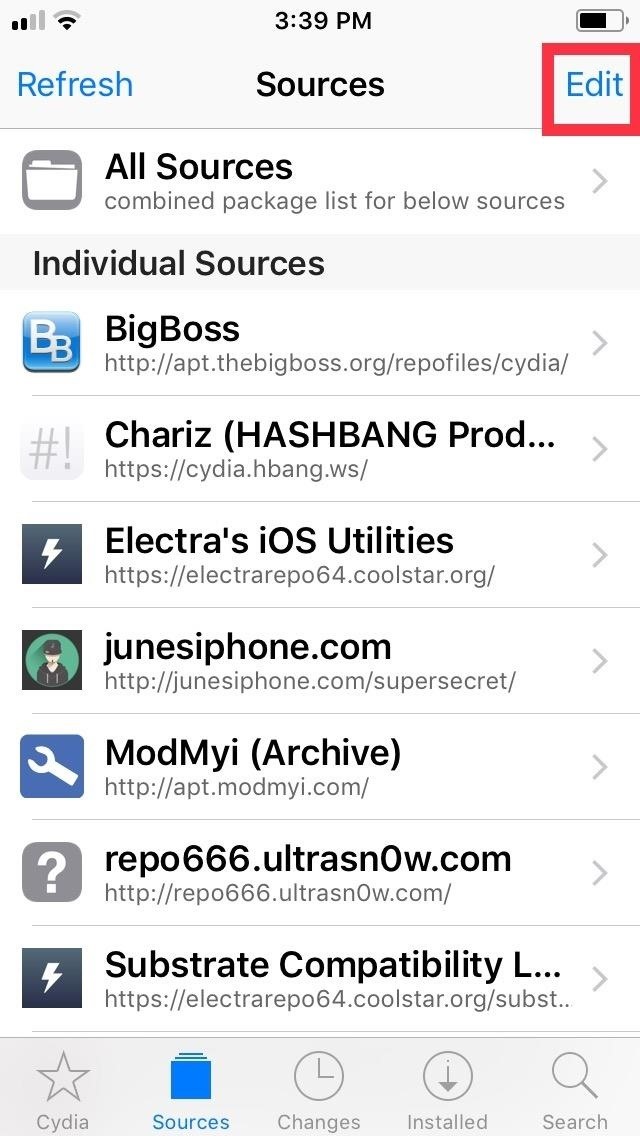
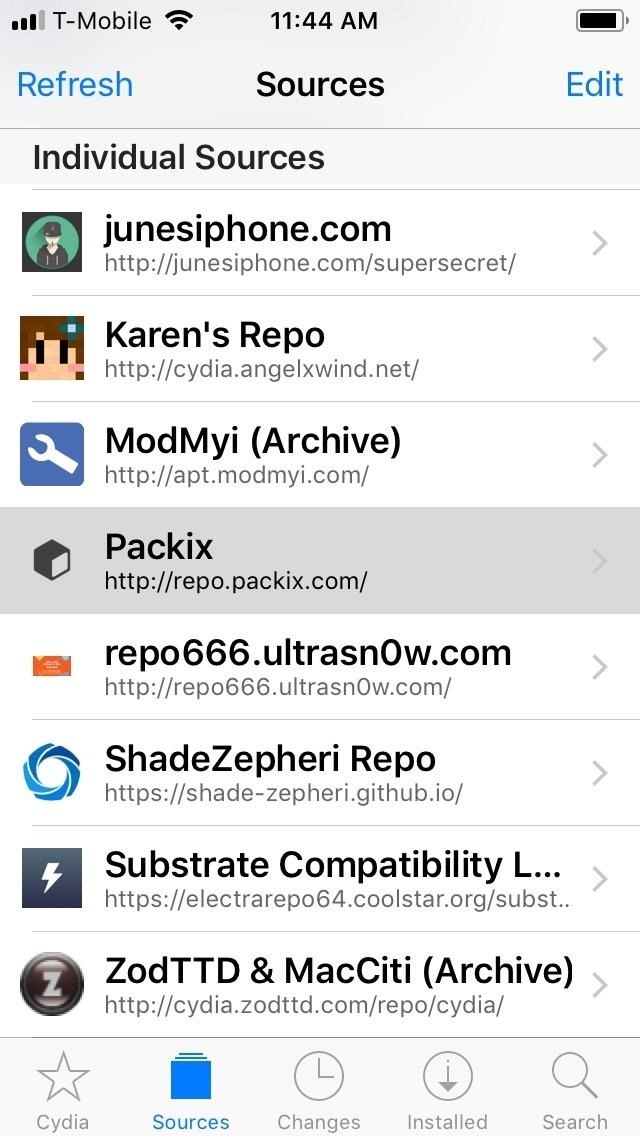
In order to get your hands on IntelligentPass, you’ll first need to install an external repo in Cydia. To do so, open Cydia and tap on “Sources” along the bottom of the screen, then hit “Edit” on the upper-right corner and select “Add” on the upper-left.

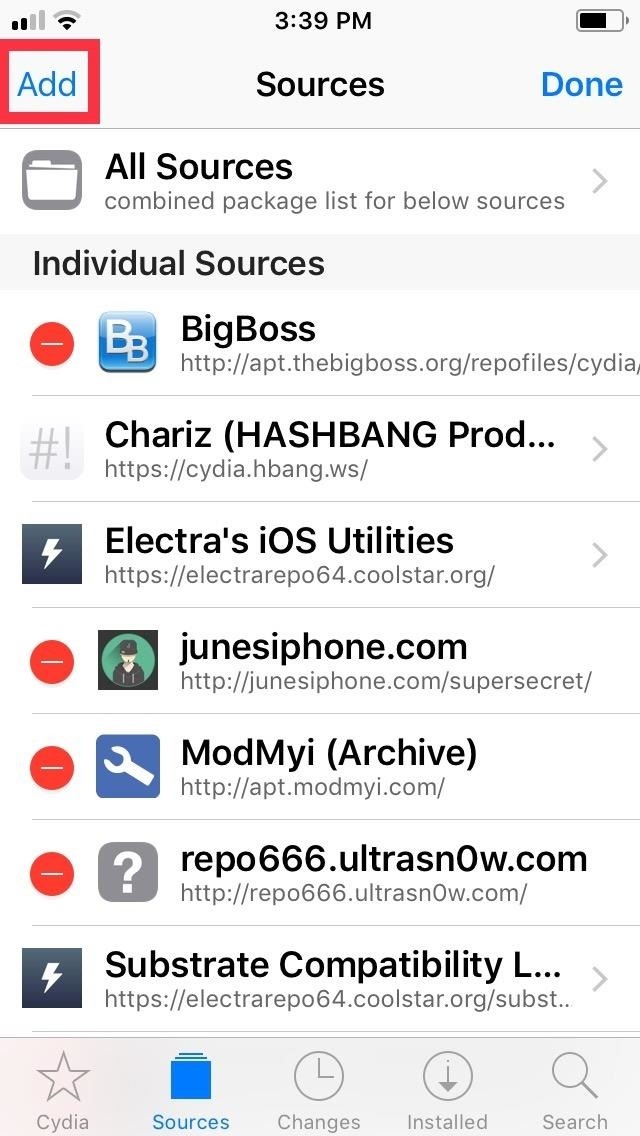
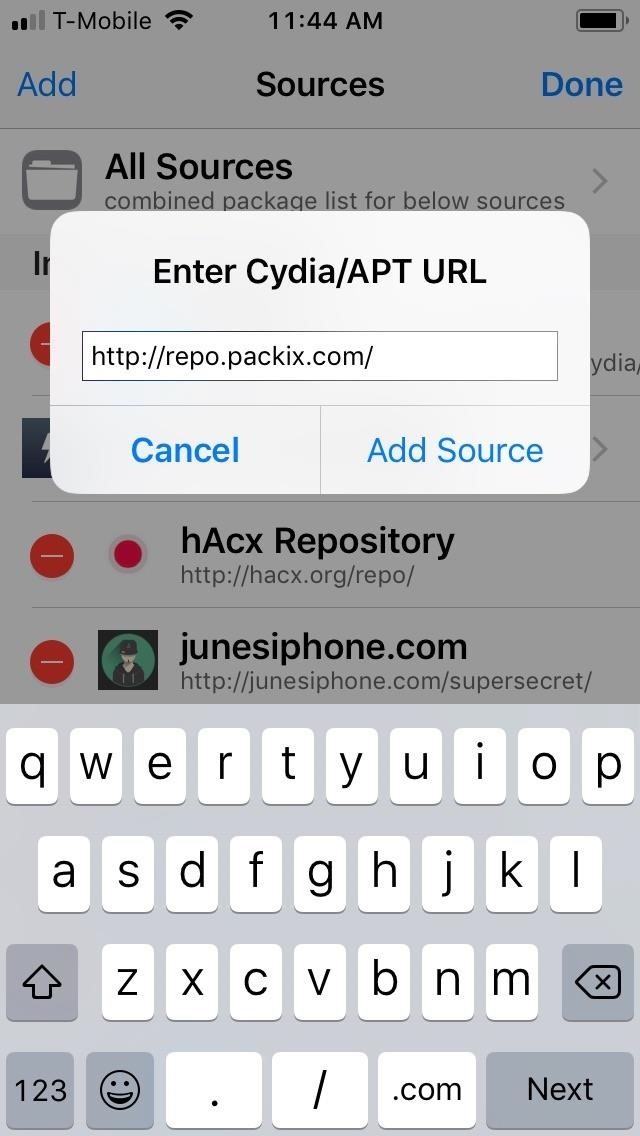
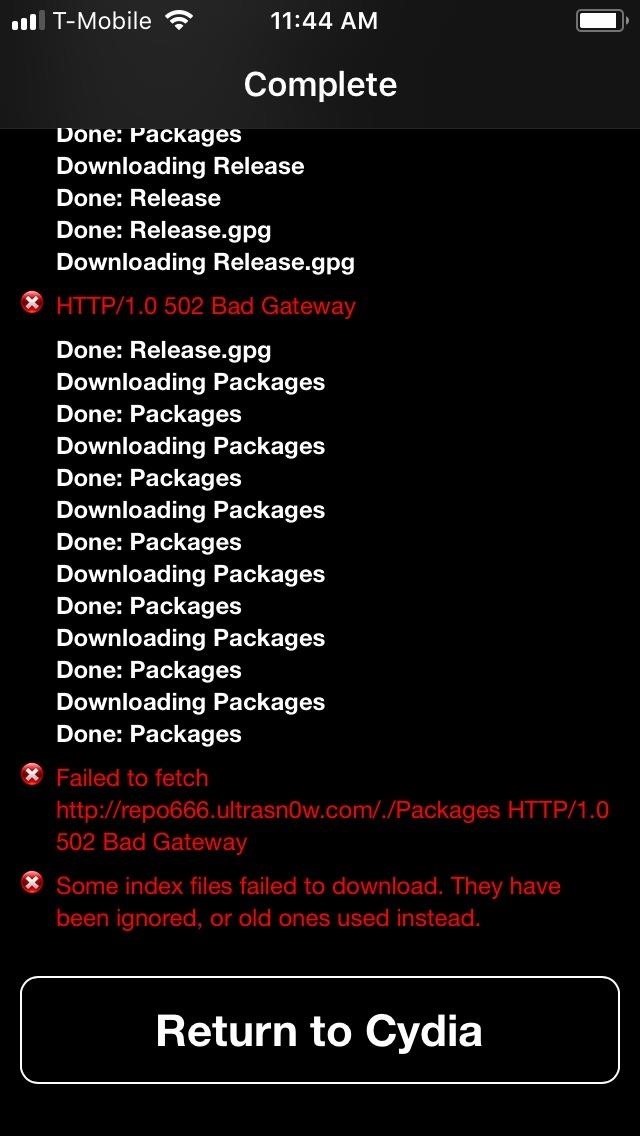
Once a URL prompt appears, type repo.packix.com into the empty field. From there, tap on “Add Source,” then allow the repo to finish installing. Hit “Return to Cydia” once the process completes.
Step 2: Purchase IntelligentPass
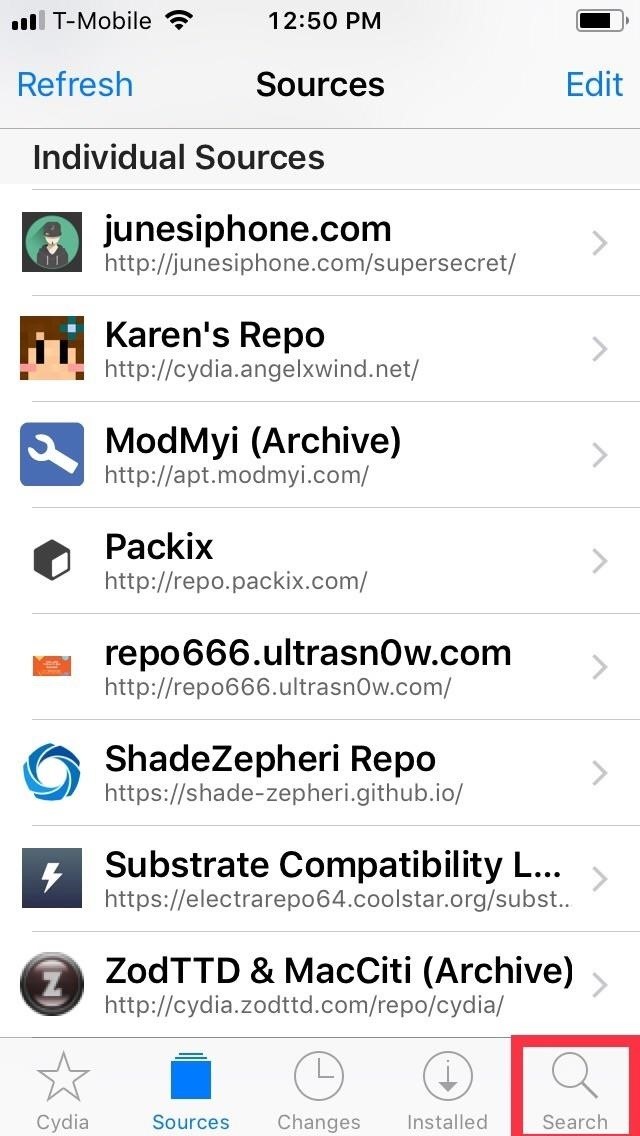
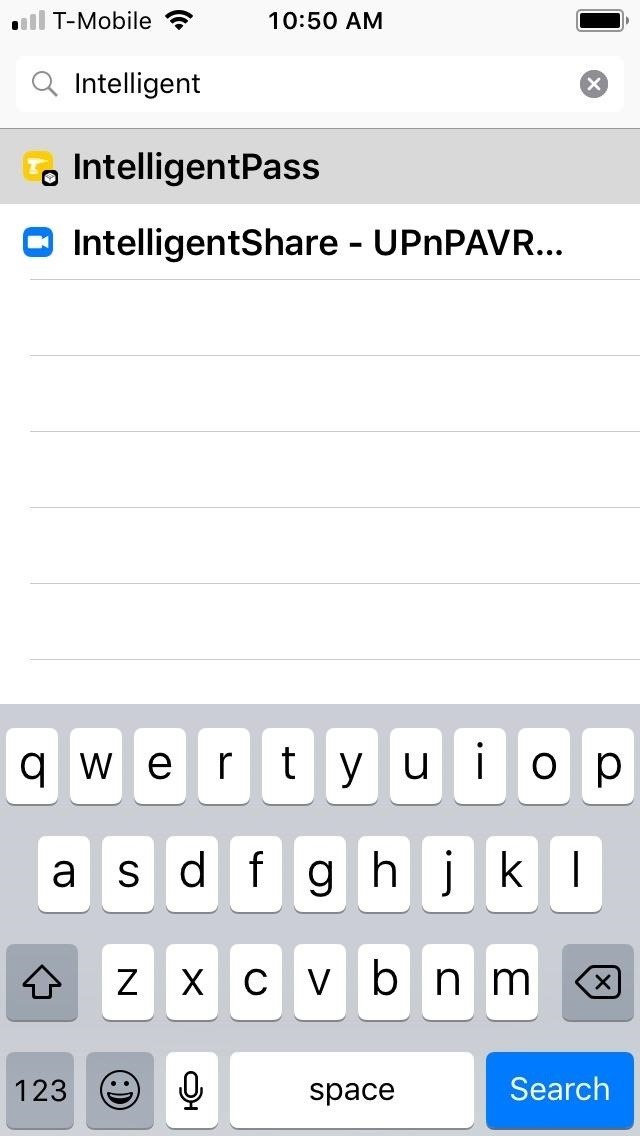
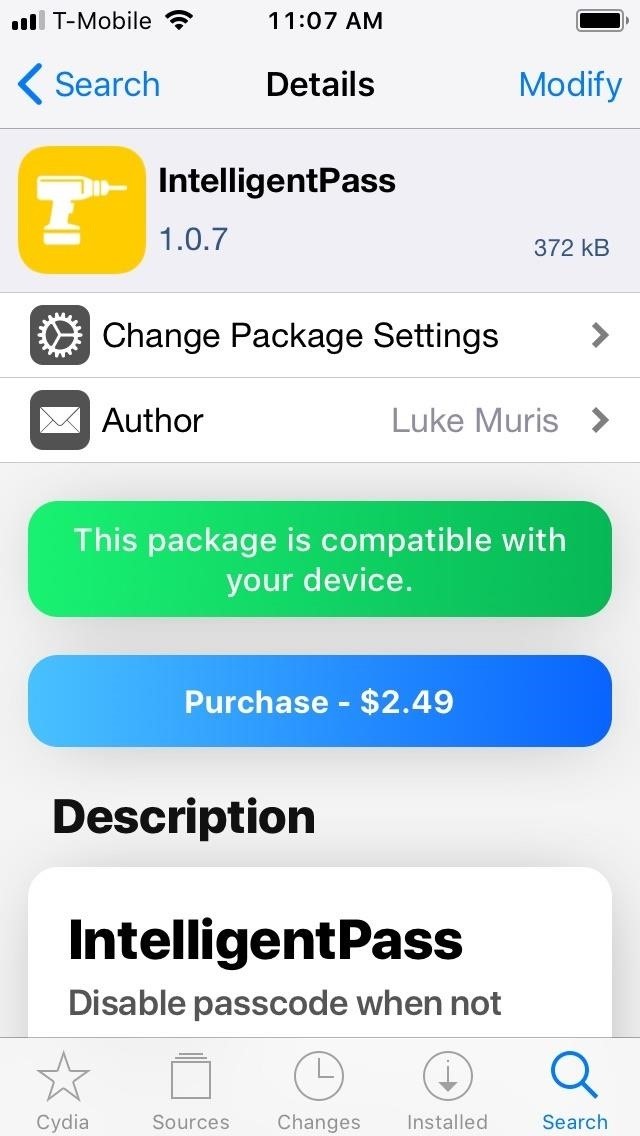
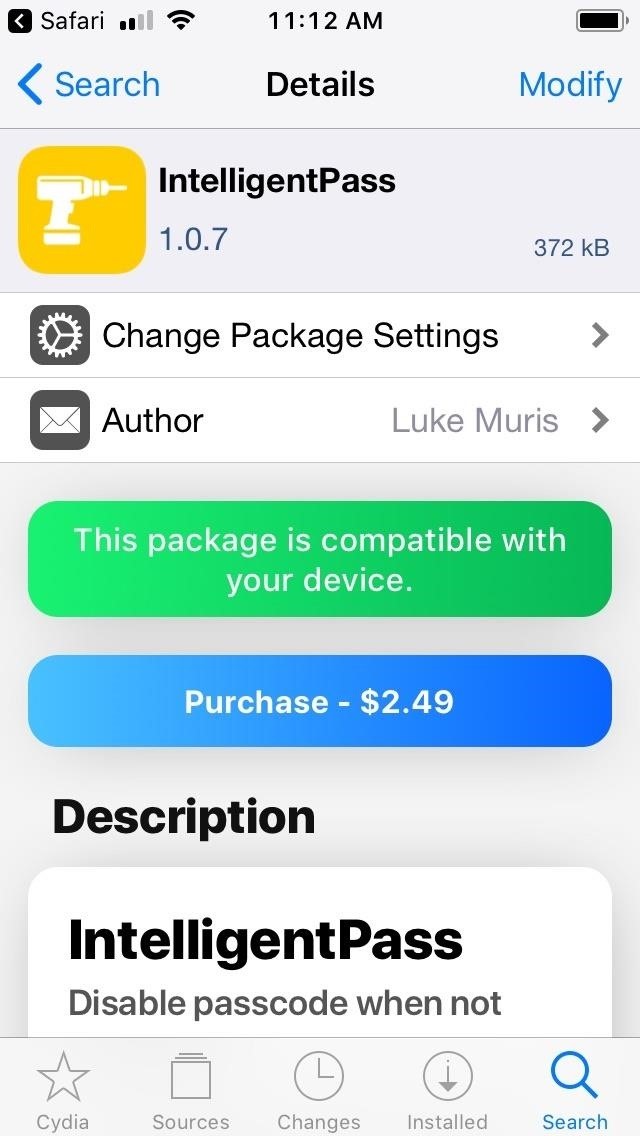
With the Packix repo now installed within Cydia, head to the search page by tapping on the magnifying glass icon, then input “intelligentpass”and select the tweak once it appears in the results. From there, tap on the blue “Purchase” button within the tweak’s “Details” page to proceed with purchase.
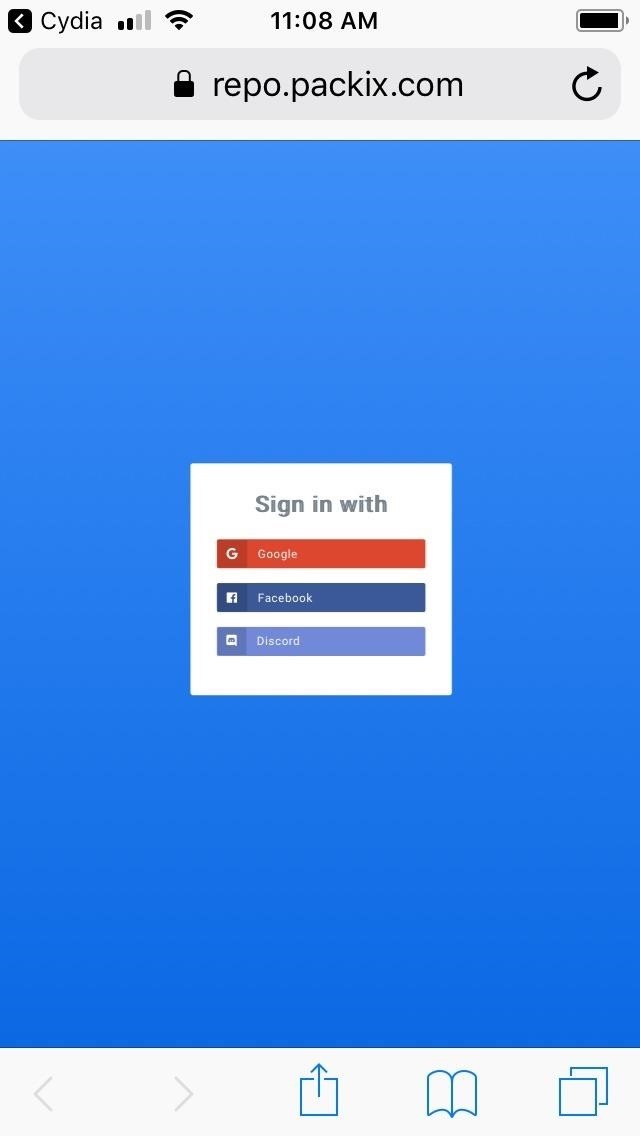
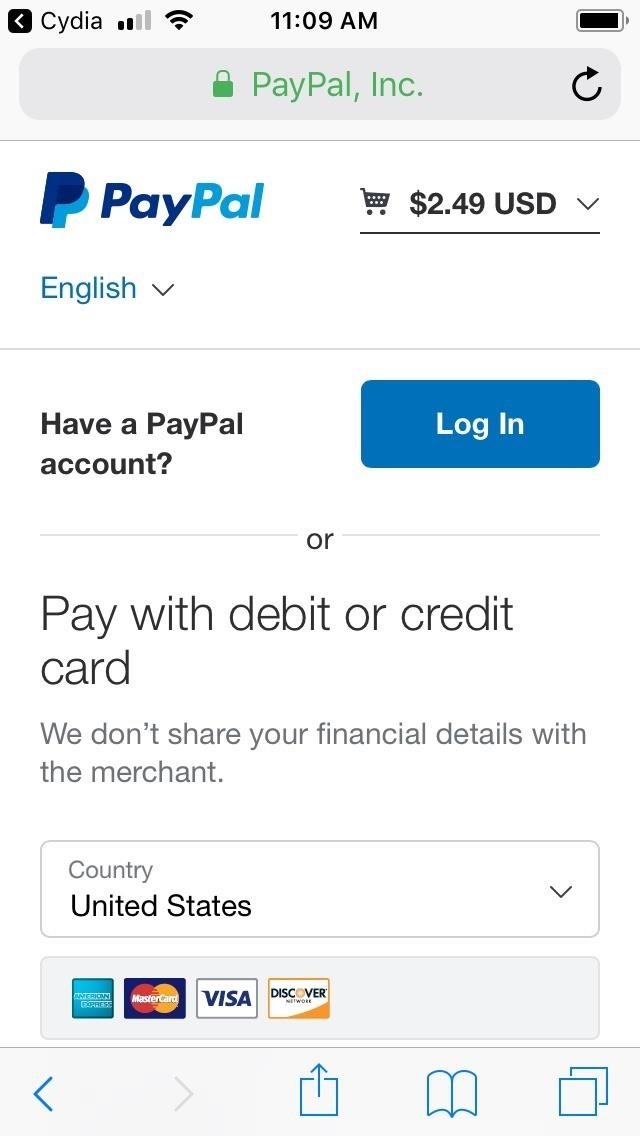
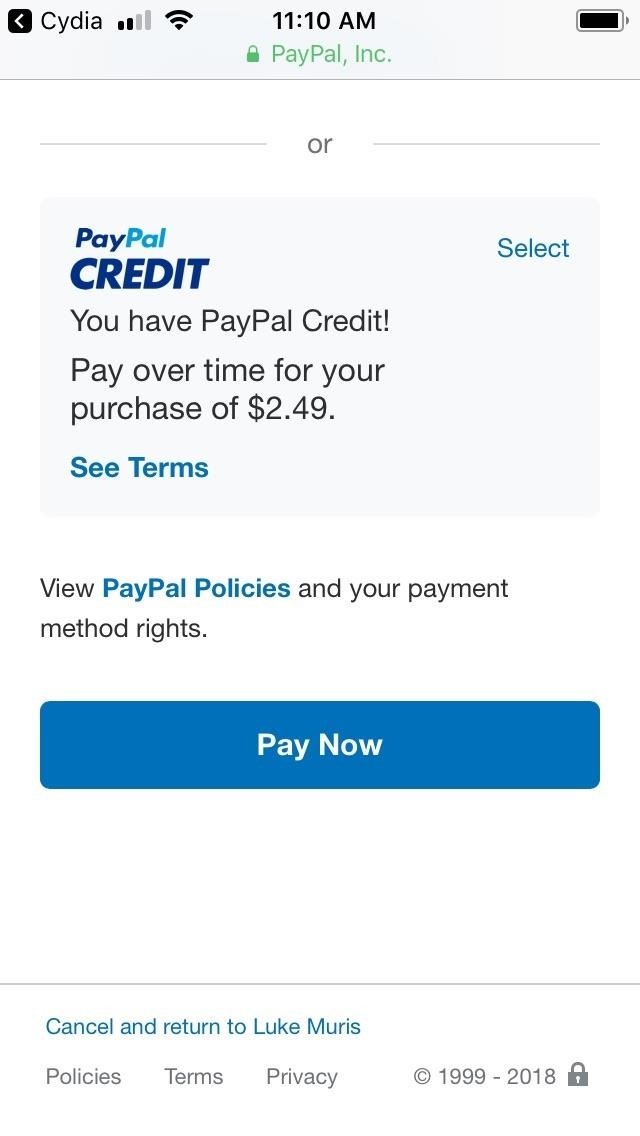
You’ll now be transferred to a Safari page for Packix and prompted to sign in with either your Google, Facebook, or Discord account. Once you’ve signed in, you’ll then be taken to a PayPal checkout page, so either fill in the required payment details, or log into your PayPal account, and follow the prompts to confirm your purchase.
Upon successful payment, you’ll immediately be redirected back to the Safari page for Packix to complete an additional step.
Step 3: Register & Link Your iPhone
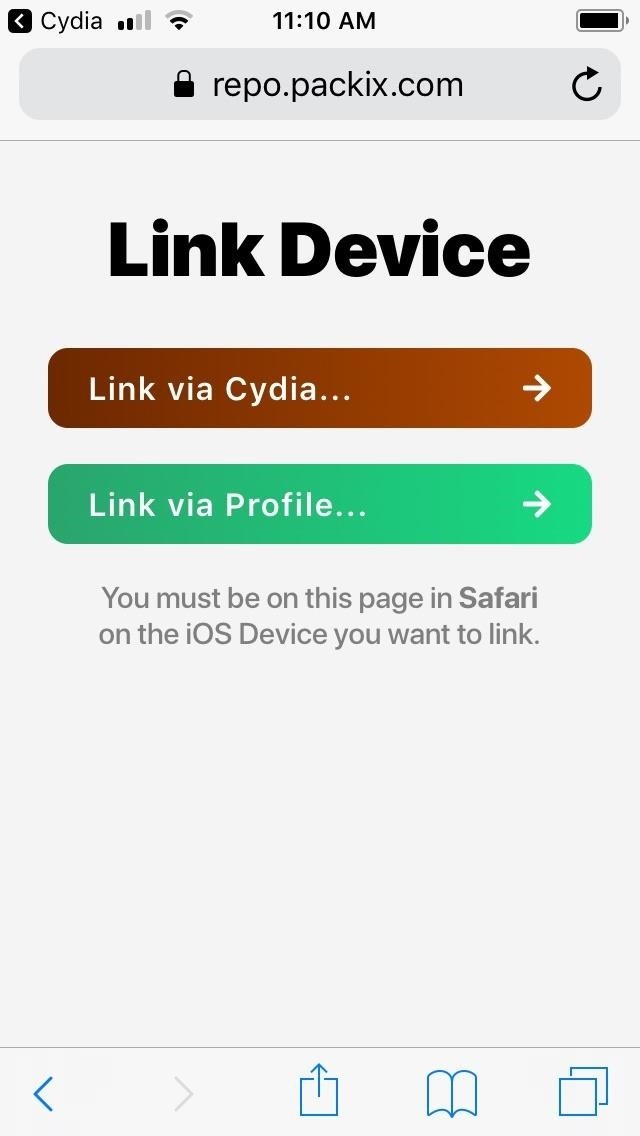
Before you can install IntelligentPass, you’ll still need to link your device and verify your purchase with Cydia to allow installation. To do so, tap on the green “Link via Profile” button within the Packix page, then tap on “Allow” on the permission prompt that appears to proceed with installing a configuration profile.
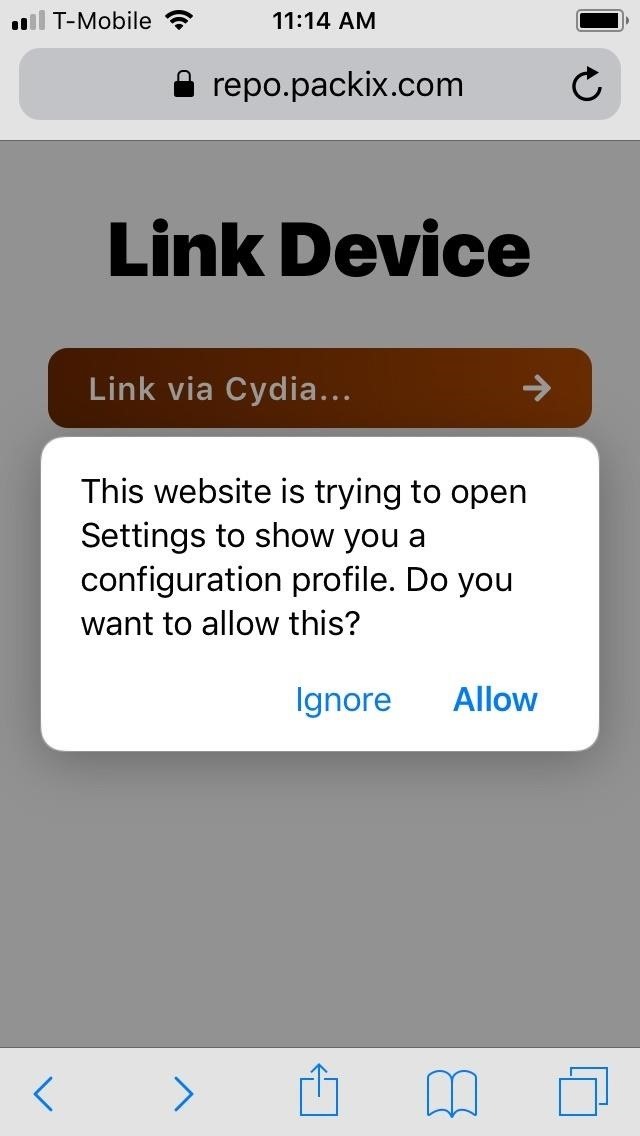
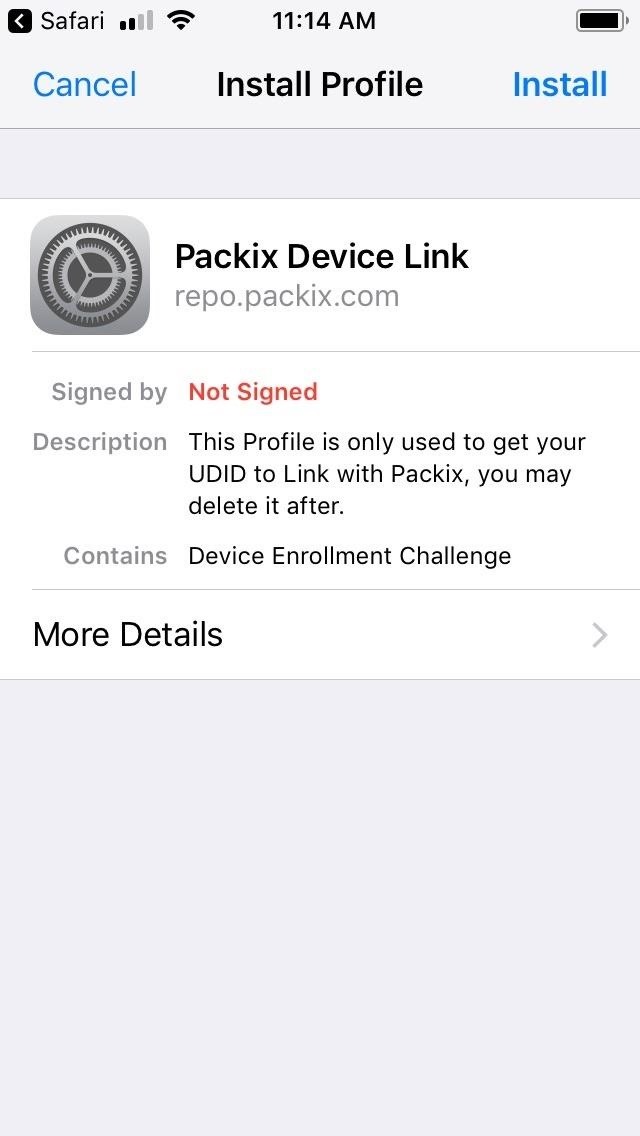
You’ll now be taken to the Settings app, so hit “Install” in the upper-right corner and tap on it again on the following page to finalize your selection. After doing so, you’ll again be redirected to Packix’s Safari page for one last time to confirm that your device is now linked with your recently purchased tweak.


Step 4: Install IntelligentPass
The way is now clear for you to download IntelligentPass, so head back to the tweak’s Details page within Cydia and tap on “Modify” in the upper-right to start with installation. Now, select “Install” on the prompt that appears along the bottom of the screen.
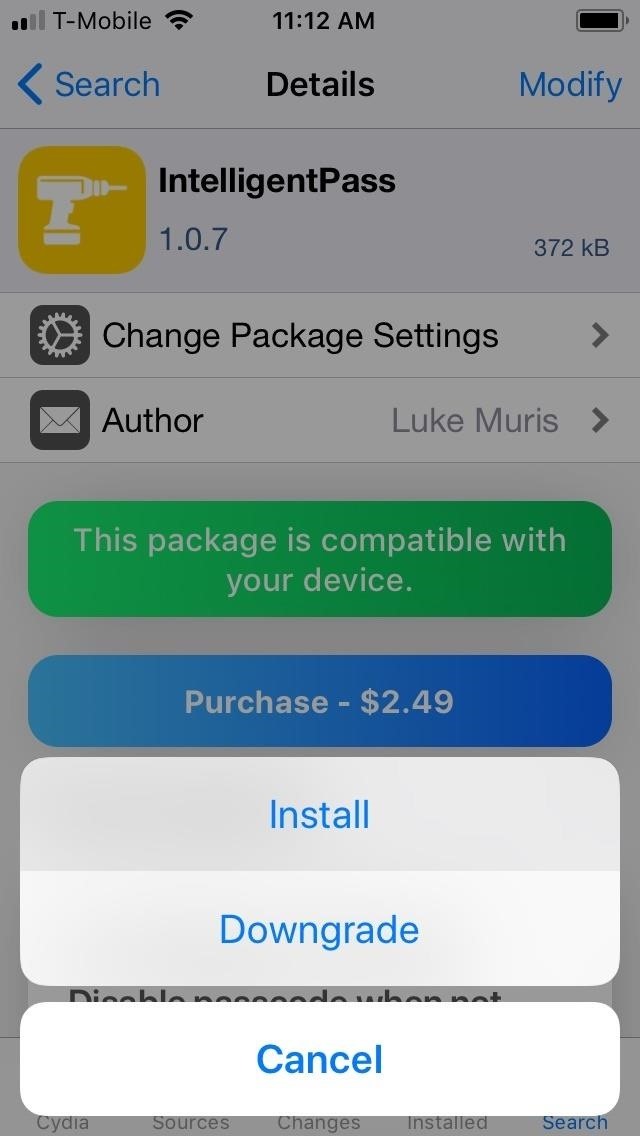
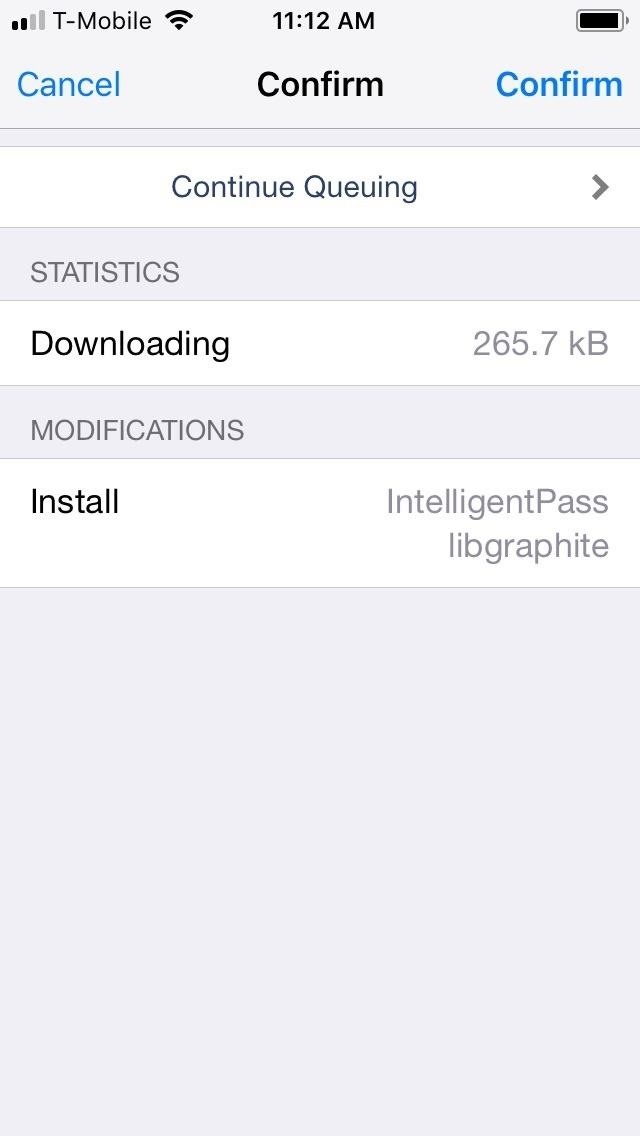
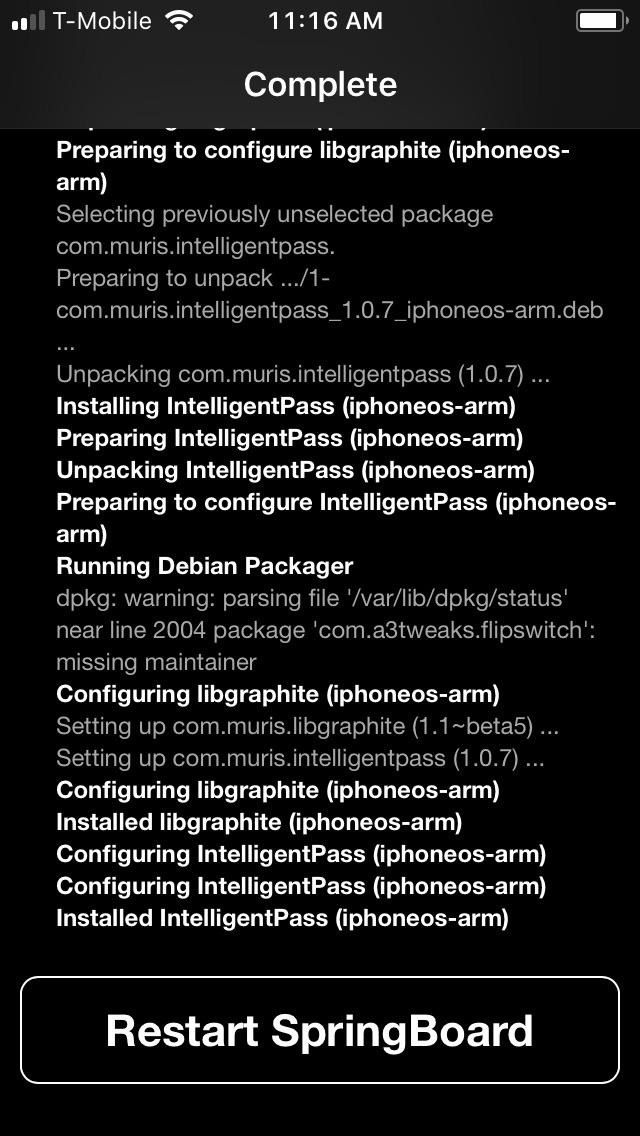
Next, tap “Confirm” in the upper-right corner. IntelligentPass will now be installed onto your iPhone, so wait a moment for the process to complete. Afterward, hit “Restart SpringBoard” to respring your iPhone and complete the tweak’s installation.
Step 5: Use IntelligentPass
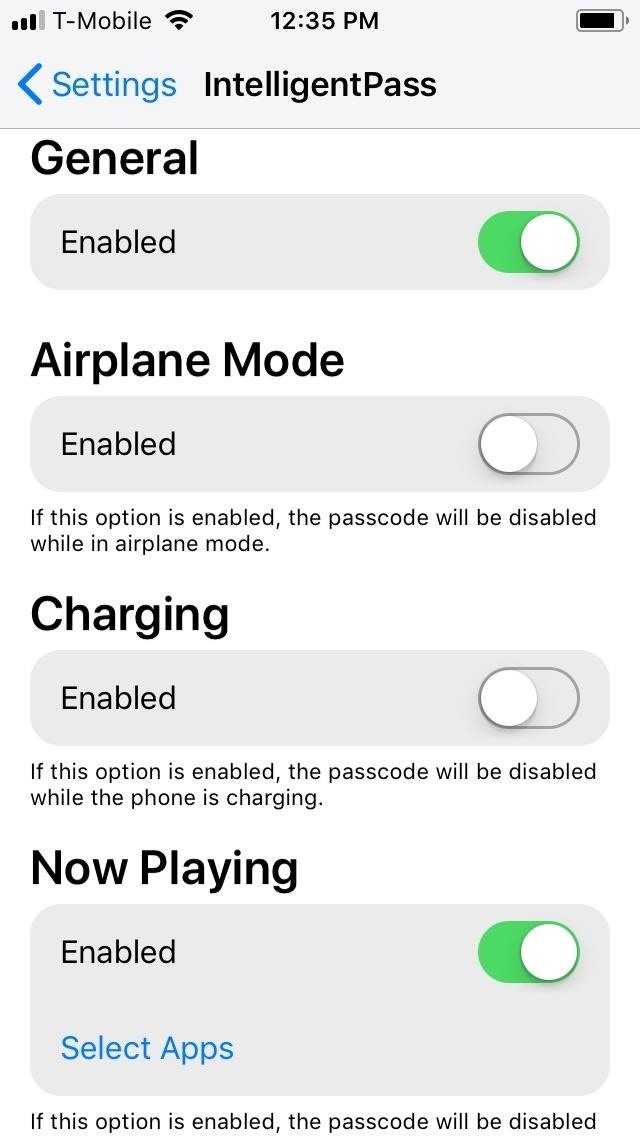
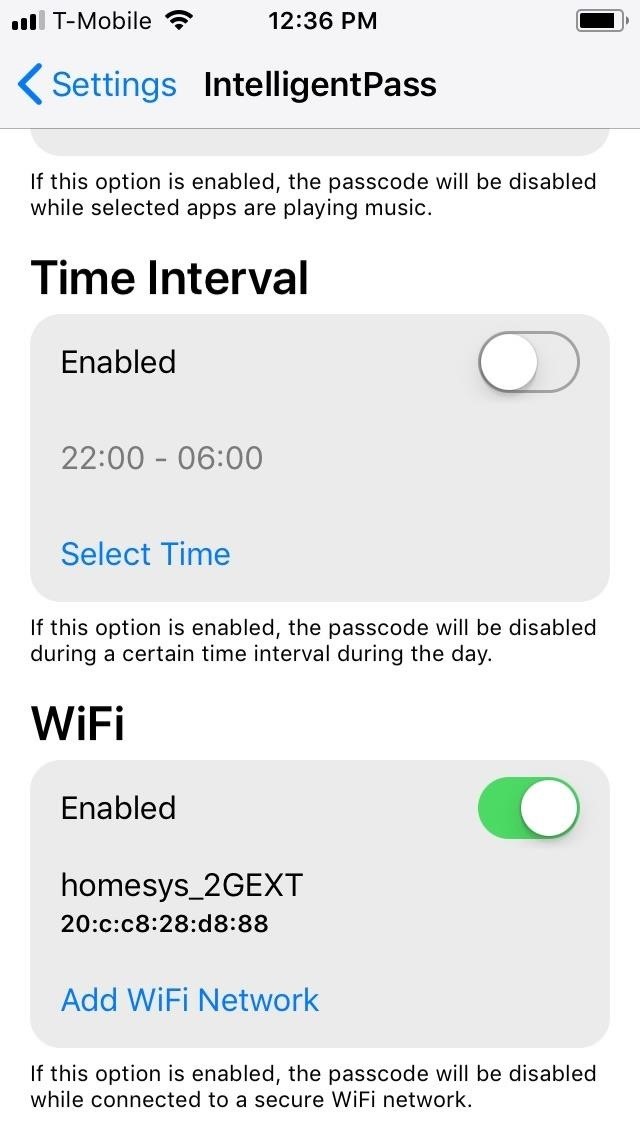
IntelligentPass is enabled off the bat, and it’s set to recognize your current Wi-Fi network by default. This means that once your iPhone resprings, you’ll immediately be able to get into your device without inputting either your PIN or biometrics (so long as you’re on Wi-Fi). Just bear in mind, however, that your passcode will once again be required for verification purposes whenever you restart your iPhone.
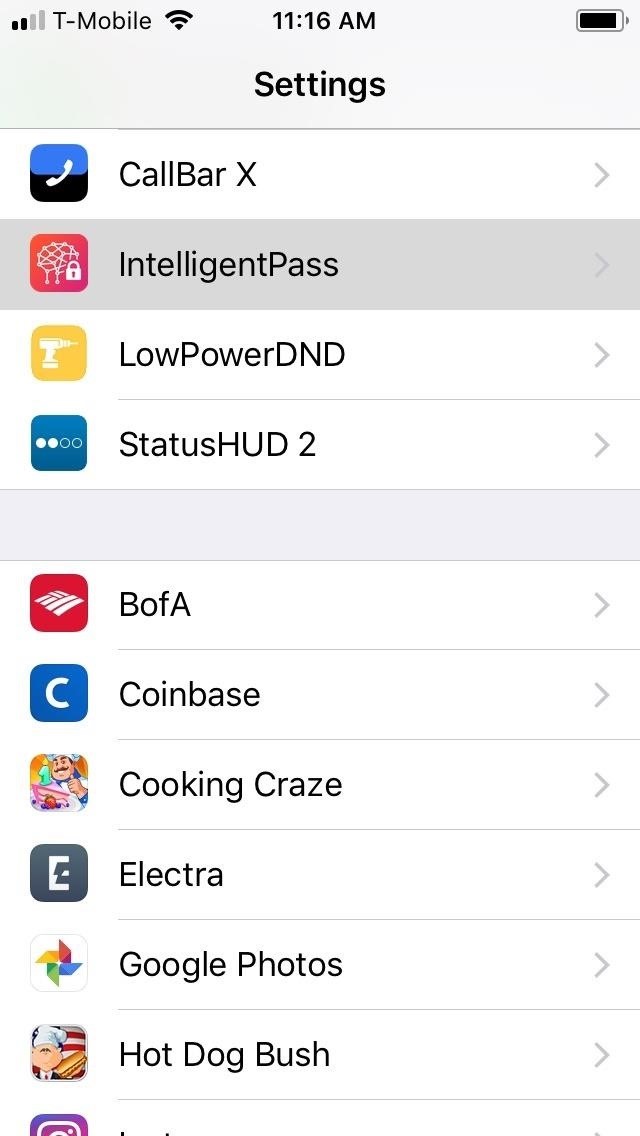
Beyond that, the tweak also gives you options for when to disable your iPhone’s lock screen security, which can be viewed and managed in the IntelligentPass page within Settings. From there, you can disable your passcode for specific situations by enabling various settings, like whenever your device is charging or in Airplane Mode, while a designated app is open, or during a set time frame.
- Follow Gadget Hacks on Pinterest, Reddit, Twitter, YouTube, and Flipboard
- Sign up for Gadget Hacks’ daily newsletter or weekly Android and iOS updates
- Follow WonderHowTo on Facebook, Twitter, Pinterest, and Flipboard
Just updated your iPhone? You’ll find new emoji, enhanced security, podcast transcripts, Apple Cash virtual numbers, and other useful features. There are even new additions hidden within Safari. Find out what’s new and changed on your iPhone with the iOS 17.4 update.
“Hey there, just a heads-up: We’re part of the Amazon affiliate program, so when you buy through links on our site, we may earn a small commission. But don’t worry, it doesn’t cost you anything extra and helps us keep the lights on. Thanks for your support!”


