How to Run a Lightweight Command Line Speed Test on Windows, Mac and Linux
Internet
Quick Links
-
Run a Speed Test on Mac via Terminal
-
Run a Speed Test on Windows via Command Prompt
-
Run a Speed Test on Linux via Terminal
Internet speed test websites are often bogged down with ads, slowing down your system. Fortunately, Ookla offers a lightweight Command Line Interface (CLI) version of its speed test so you can test your internet speed without the overhead of a web browser. Here’s how to use it on macOS, Windows, and Linux.
Run a Speed Test on Mac via Terminal
To accomplish this on Mac, we will be using Homebrew, a popular macOS package manager. If you haven’t installed Homebrew yet or if you are unsure, open Terminal (you’ll find it under Applications > Utilities) and enter the following command:
/bin/bash -c "$(curl -fsSL https://raw.githubusercontent.com/Homebrew/install/HEAD/install.sh)"This command will download and install Homebrew. Once installed, you can easily install the speed test CLI by entering:
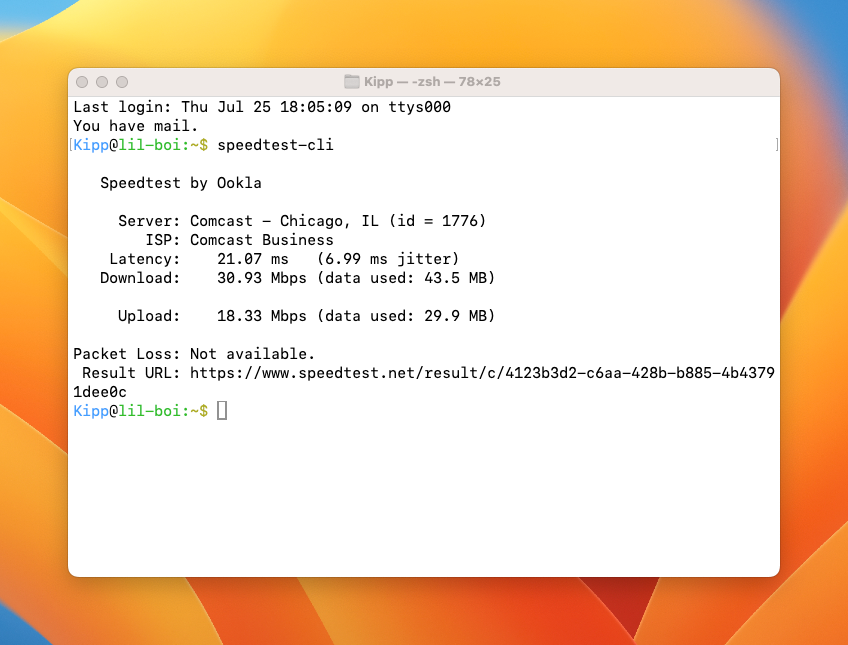
brew install speedtest-cliAfter the installation is complete, you can run the speed test by simply typing:
speedtest-cli
This command will initiate a quick analysis of your internet connection speed, all from within the Terminal. This method not only saves system resources but also eliminates the need for navigating through ad-heavy websites.
Run a Speed Test on Windows via Command Prompt
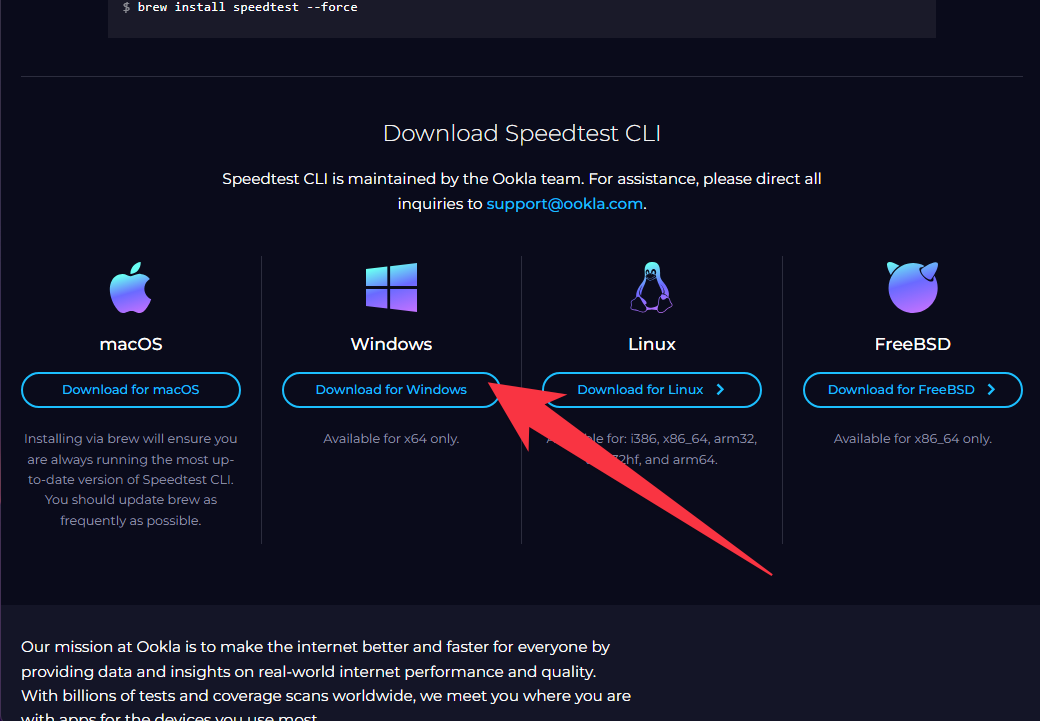
Installing the speed test CLI on a Windows PC is straightforward. Start by visiting the Speedtest CLI download page. Scroll down to find the download option for Windows. It’s important to note that the CLI tool is only available for 64-bit versions of Windows.
After downloading the installer, unzip the file to find “speedtest.exe.” It’s a good idea to place this file in a directory like C:Program Filesspeedtest.exe as this location is both easy to remember and accessible by all user accounts on your system. For added convenience, consider creating a desktop shortcut or pinning the executable to your taskbar.
To run the speed test in Command Prompt (hit Start, type “command” and click “Command Prompt” when it appears), all you need to do is type the full path to the executable, encased in quotation marks to prevent conflicts arising from spaces, and hit enter:
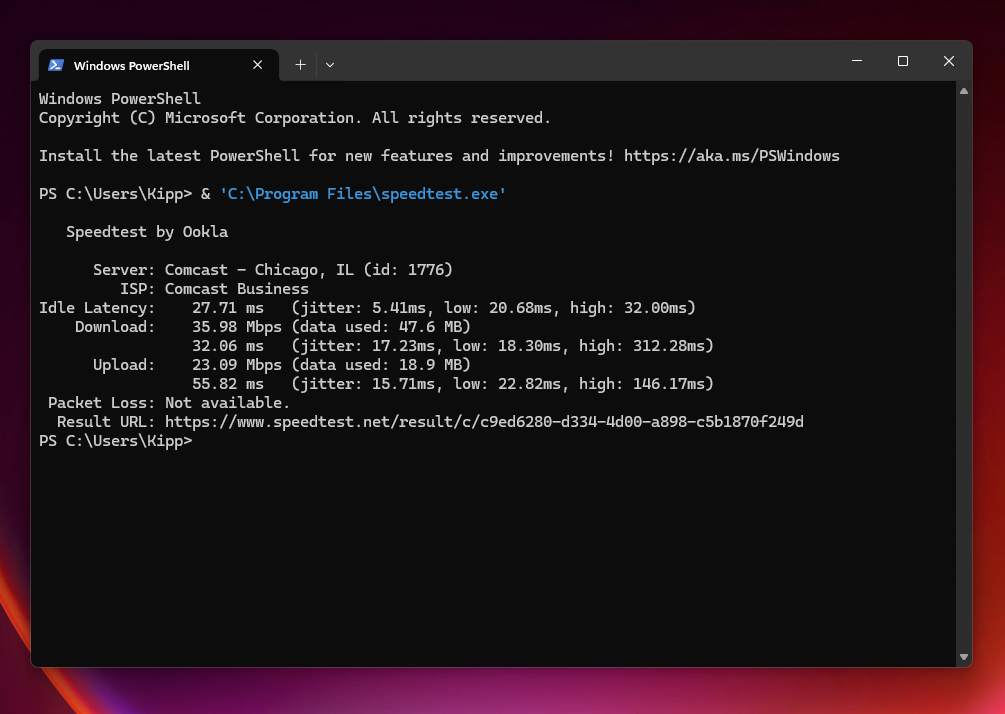
"C:Program Filesspeedtest.exe"To run in PowerShell (Terminal), the syntax is slightly modified. You must prepend an ampersand to run the executable at the given file path, like so:
& "C:Program Filesspeedtest.exe"These commands will run the application via the command line, providing you with a quick readout of your current internet speed and related parameters.
Run a Speed Test on Linux via Terminal
Linux users have a slightly different setup process, as the steps can vary depending on the distribution. Here, we’ll cover the installation process for one of the most widely used distributions: Debian/Ubuntu.
First, open a Terminal window. Before installing the speed test CLI, you may need to install curl, a command-line tool for transferring data with URLs. If you’re unsure whether curl is installed, you can install it by running:
sudo apt-get install curlNext, add the Ookla repository to your list of package sources. This ensures that you get the latest version of the speed test CLI. Use the following command to do this:
curl -s https://packagecloud.io/install/repositories/ookla/speedtest-cli/script.deb.sh | sudo bashOnce the repository is added, you can install the speed test CLI with:
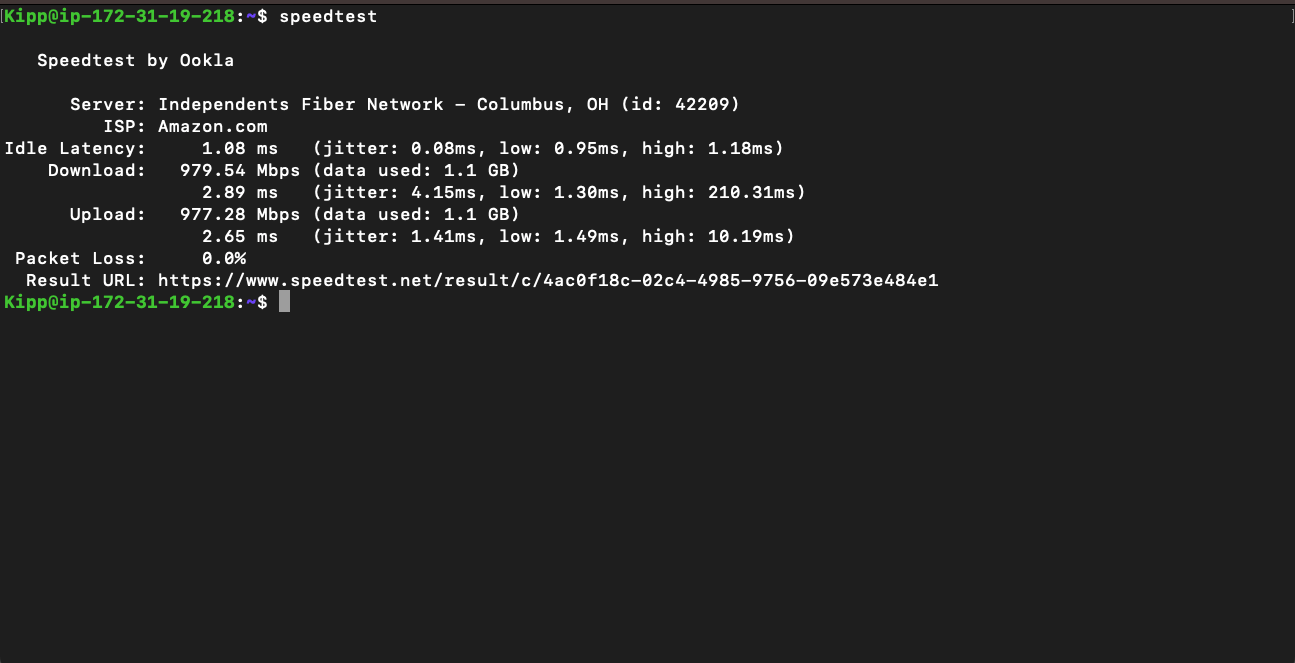
sudo apt-get install speedtestAfter installation, you can test your internet speed by typing “speedtest” in the Terminal and pressing enter. This command will run the test and display the results directly in the window.
Using Ookla’s CLI speed test is an efficient way to measure your internet connection speed without the distractions and slowdowns caused by browser-based tools. No matter which OS you’re using, this lightweight tool provides accurate and quick results. It’s particularly useful when you want to avoid ads or need to integrate speed tests into automated systems or scripts.
With just a few commands or a shortcut workflow, you can have a reliable tool at your disposal for monitoring and diagnosing your network performance, empowering you to run a network test at the drop of a hat or a hotkey.


