If you remember, back in late 2023, Microsoft officially killed its free text Editor, WordPad. The latest builds of Windows 11 don’t have this free rich text editor; instead, you get a revamped notepad.
While WordPad is definitely not an advanced text editor, it’s still a very useful and lightweight program for offline text editing. People miss WordPad on Windows 11 because its simplicity is still unmatched.
Can You Get WordPad on Windows 11?
Technically, Microsoft ditched WordPad, but there are still ways to get it running on Windows 11. If you’re using the latest builds of Windows 11, you will have to download & install WordPad on Windows 11.
Download & Install WordPad on Windows 11
We got our hands on a WordPad ZIP file, which you need to copy and paste into a file explorer location. The program doesn’t need installation; it’s a portable tool.
- Download WordPad for Windows 11 (ZIP file)
How to Restore WordPad in Windows 11?
Once you have the WordPad ZIP file, follow these simple steps to restore the classic WordPad on the latest Windows 11.
1. To get started, extract the WordPad.zip file we have shared.

2. Once done, double click on the Wordpad executable file to instantly have access to the tool.
3. To create a desktop shortcut for Wordpad, right-click on the WordPad application file and select Send to > Desktop (Create Shortcut).

4. To add the WordPad shortcut to the Start menu, copy the desktop shortcut you’ve created.

5. Next, head to this location on your File Explorer:
C:ProgramDataMicrosoftWindowsStart MenuPrograms

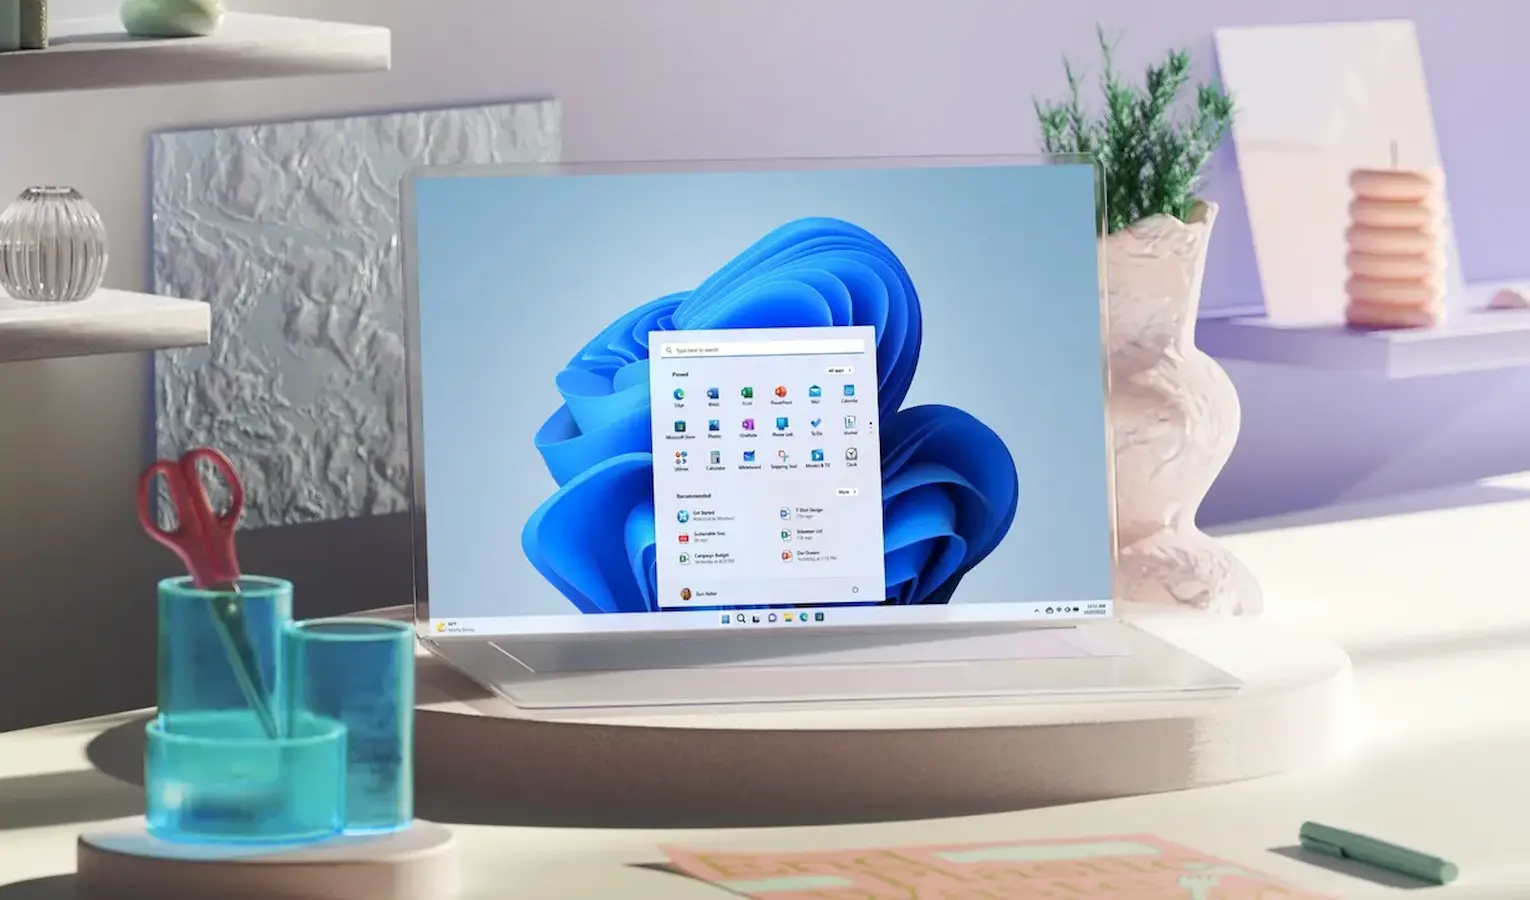
6. Paste the Shortcut at this location. Next, open the Start Menu and click on All Apps.
7. Next, move to the W section and find the WordPad app.

How to Make WordPad Default Application for Supported Formats?
If you prefer Wordpad for handling TXT, XML, ODT, RTF, or other support file types, follow these steps to set WordPad as your default text editing app.
1. Open the Settings app on your Windows 11 PC.
2. When the Settings app opens, move to the Apps > Default Apps.

3. On the Default apps, type .txt. You can also type any other file format you want.
4. Next, click Choose a Default and select WordPad.

5. If WordPad is not available, select Choose an app on your PC’ and select the WordPad application file you’ve got.
This article explains how to get back the classic WordPad in Windows 11. Let us know if you need more help on this topic in the comments. Also, if you find this guide helpful, don’t forget to share it with your friends.
“Hey there! Just so you know, we’re an Amazon affiliate. This means if you buy something through our links, we may earn a small commission. It doesn’t cost you extra and helps keep our lights on. Thanks for supporting us!”