In recent years, Apple has been pushing health and safety as cornerstones of its technology, and iOS 11 is no exception. Apple’s latest entry in its mobile operating system brings a new emergency feature called Emergency SOS, which gives you easy access to contact 911 if you press the sleep/wake button five times. It’s a useful way to contact emergency services when you might otherwise not be able to.
Now, this feature isn’t entirely new, I’ll admit. Apple introduced it in watchOS 3 for Apple Watch in 2016. To access emergency services, an Apple Watch user would use their side button to trigger the call — but there was a catch. The user’s iPhone had to be nearby, or the Watch had to be connected to a trusted Wi-Fi network with Wi-Fi Calling enabled. Plus, you know, not everyone has an Apple Watch.
So adding Emergency SOS to the iPhone just makes sense. Apple actually teased this emergency feature in some of the iOS 10 betas but eventually dropped support for it except for in India. However, it’s now available for everybody in the US with the public version of iOS 11, so keep reading to see how to use and customize it. And note that it works slightly different on the new iPhone 8 and 8 Plus models, as well as the iPhone X.
- UPDATE: 8 Ways to Call Emergency Services on Your iPhone When You Can’t Dial 911 Manually
Step 1: Enable ‘Auto Call’ (Optional)
If you’d like Emergency SOS activated on your iPhone, you don’t actually have to do anything because it’s already enabled. However, it won’t automatically call emergency services after activating it with the default button presses. If you want to change that, head to your Settings, then tap “Emergency SOS.” This menu looks almost identical to the one available in the Apple Watch app.
Toggle on “Auto Call,” then choose whether or not you’d like a “Countdown Sound” to play when the feature has been activated. This option would be a good choice for those worried they’d set Emergency SOS off by accident, but for those of us paranoid we’d want to use Emergency SOS in complete silence, it might be best to keep this option off.
If you have an iPhone 8 or 8 Plus, you have to enable the “Also Works with 5 Clicks” option and use that instead of the default button combination. See Step 3 below for more details.
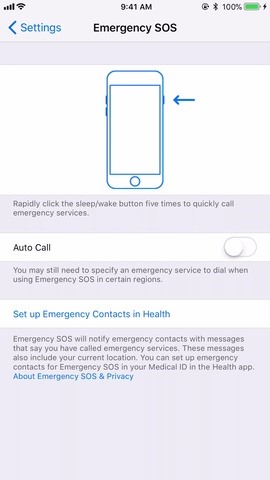
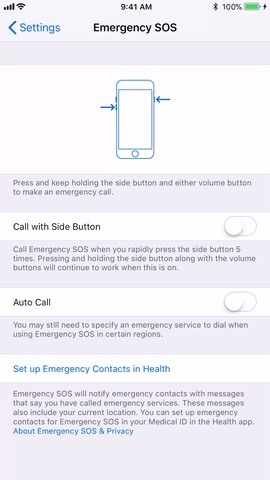
To prevent Emergency SOS from automatically calling emergency services, it’s as simple as tapping “Auto Call” once more to turn it off.
Step 2: Add Emergency Contacts (Optional)
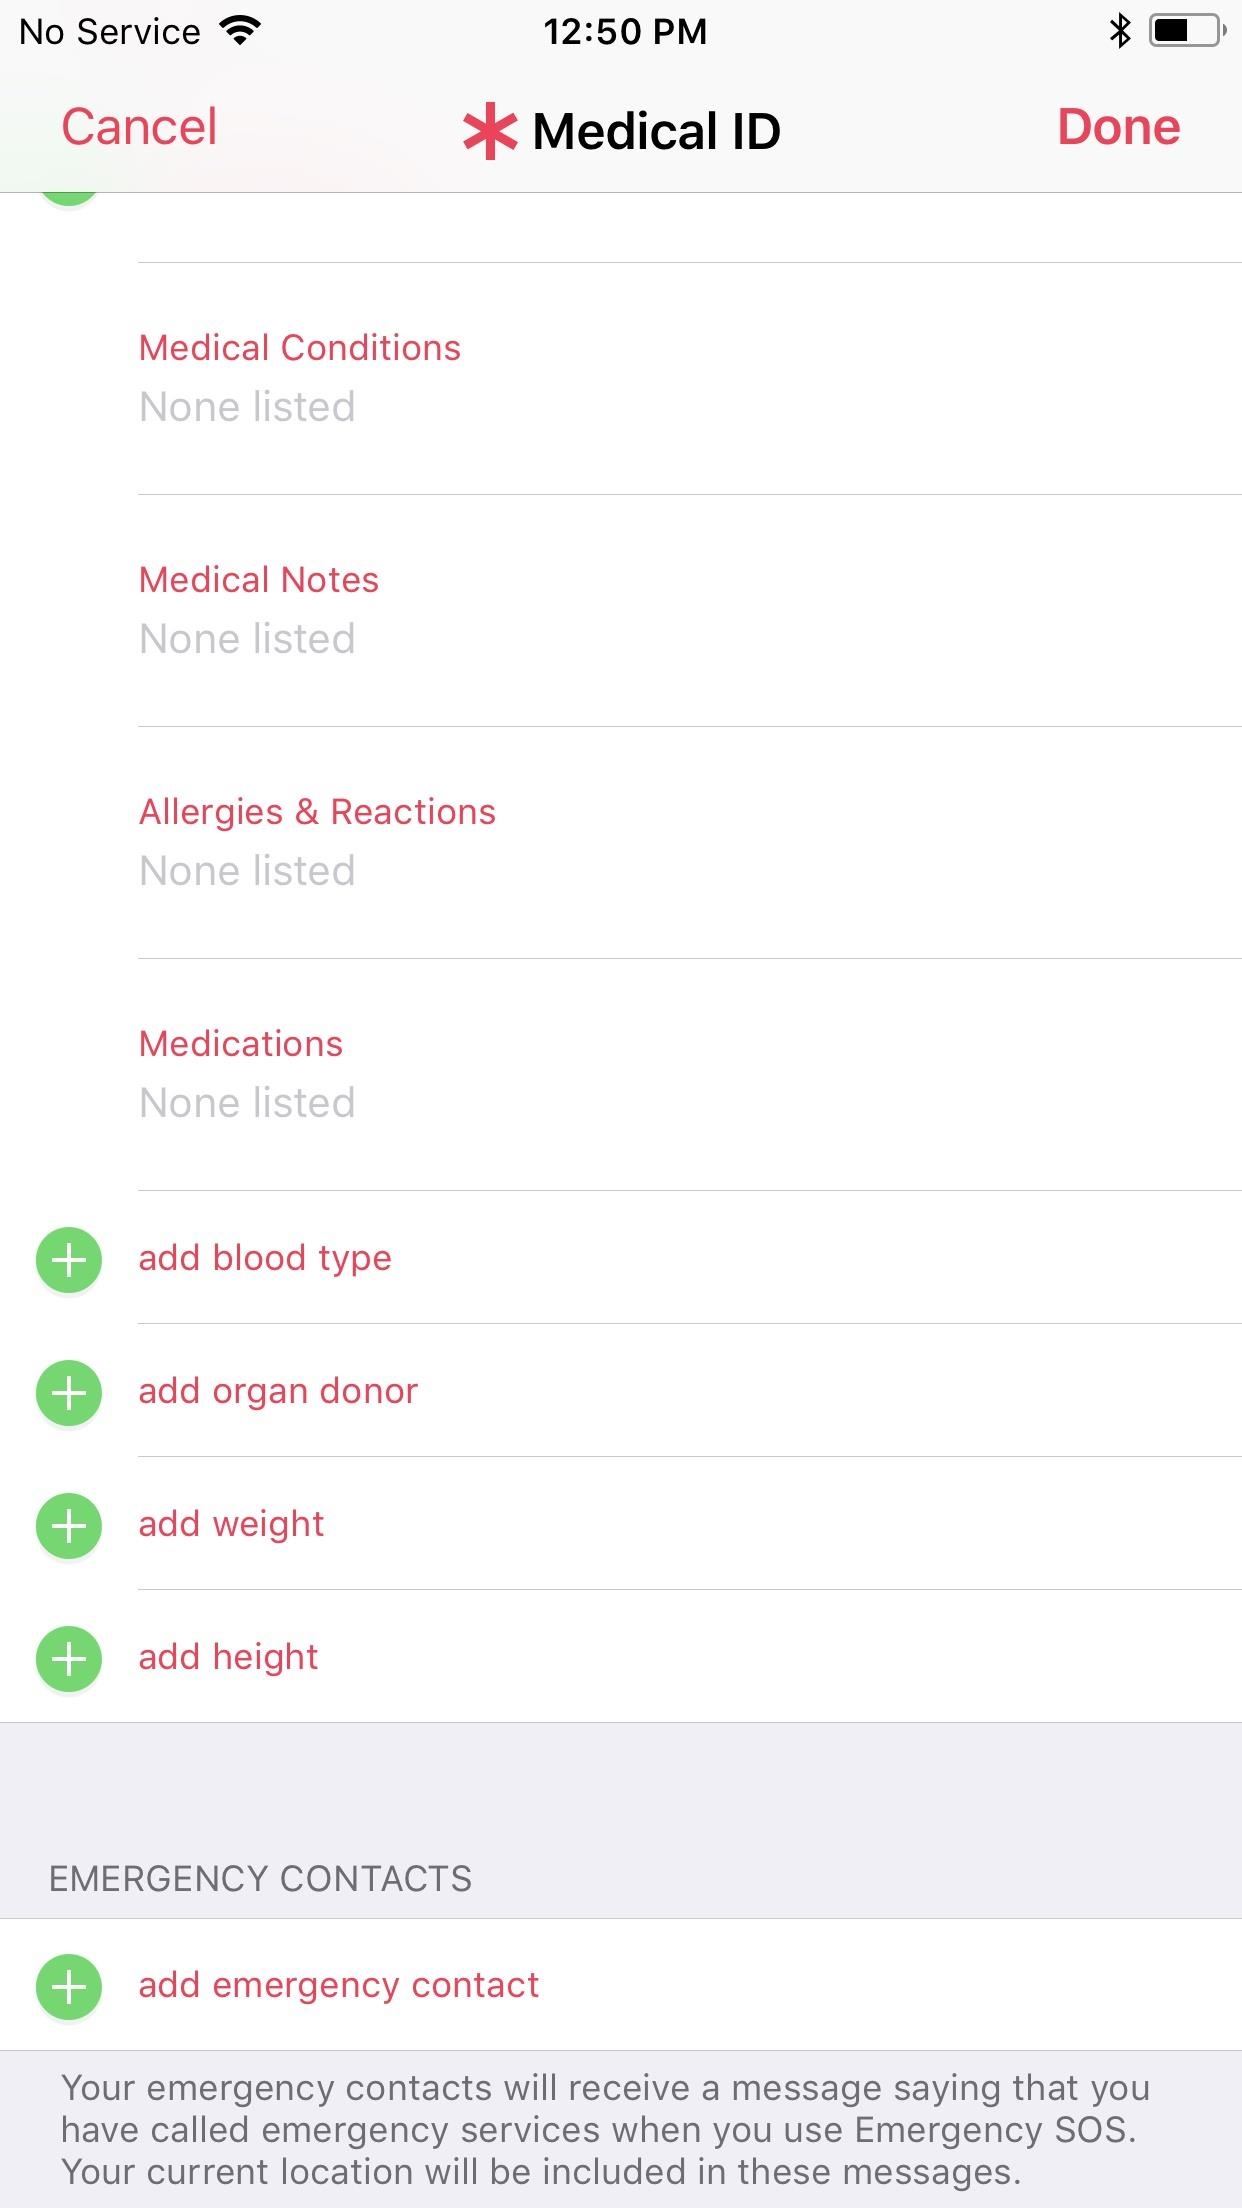
If you have a significant other or family member — even a close friend — that’s worried about you, you can add them as an emergency contact in the Health app. This process is pretty much the same as adding emergency contacts that will show up on your Medical ID on the lock screen when someone tries to call 911 for you.
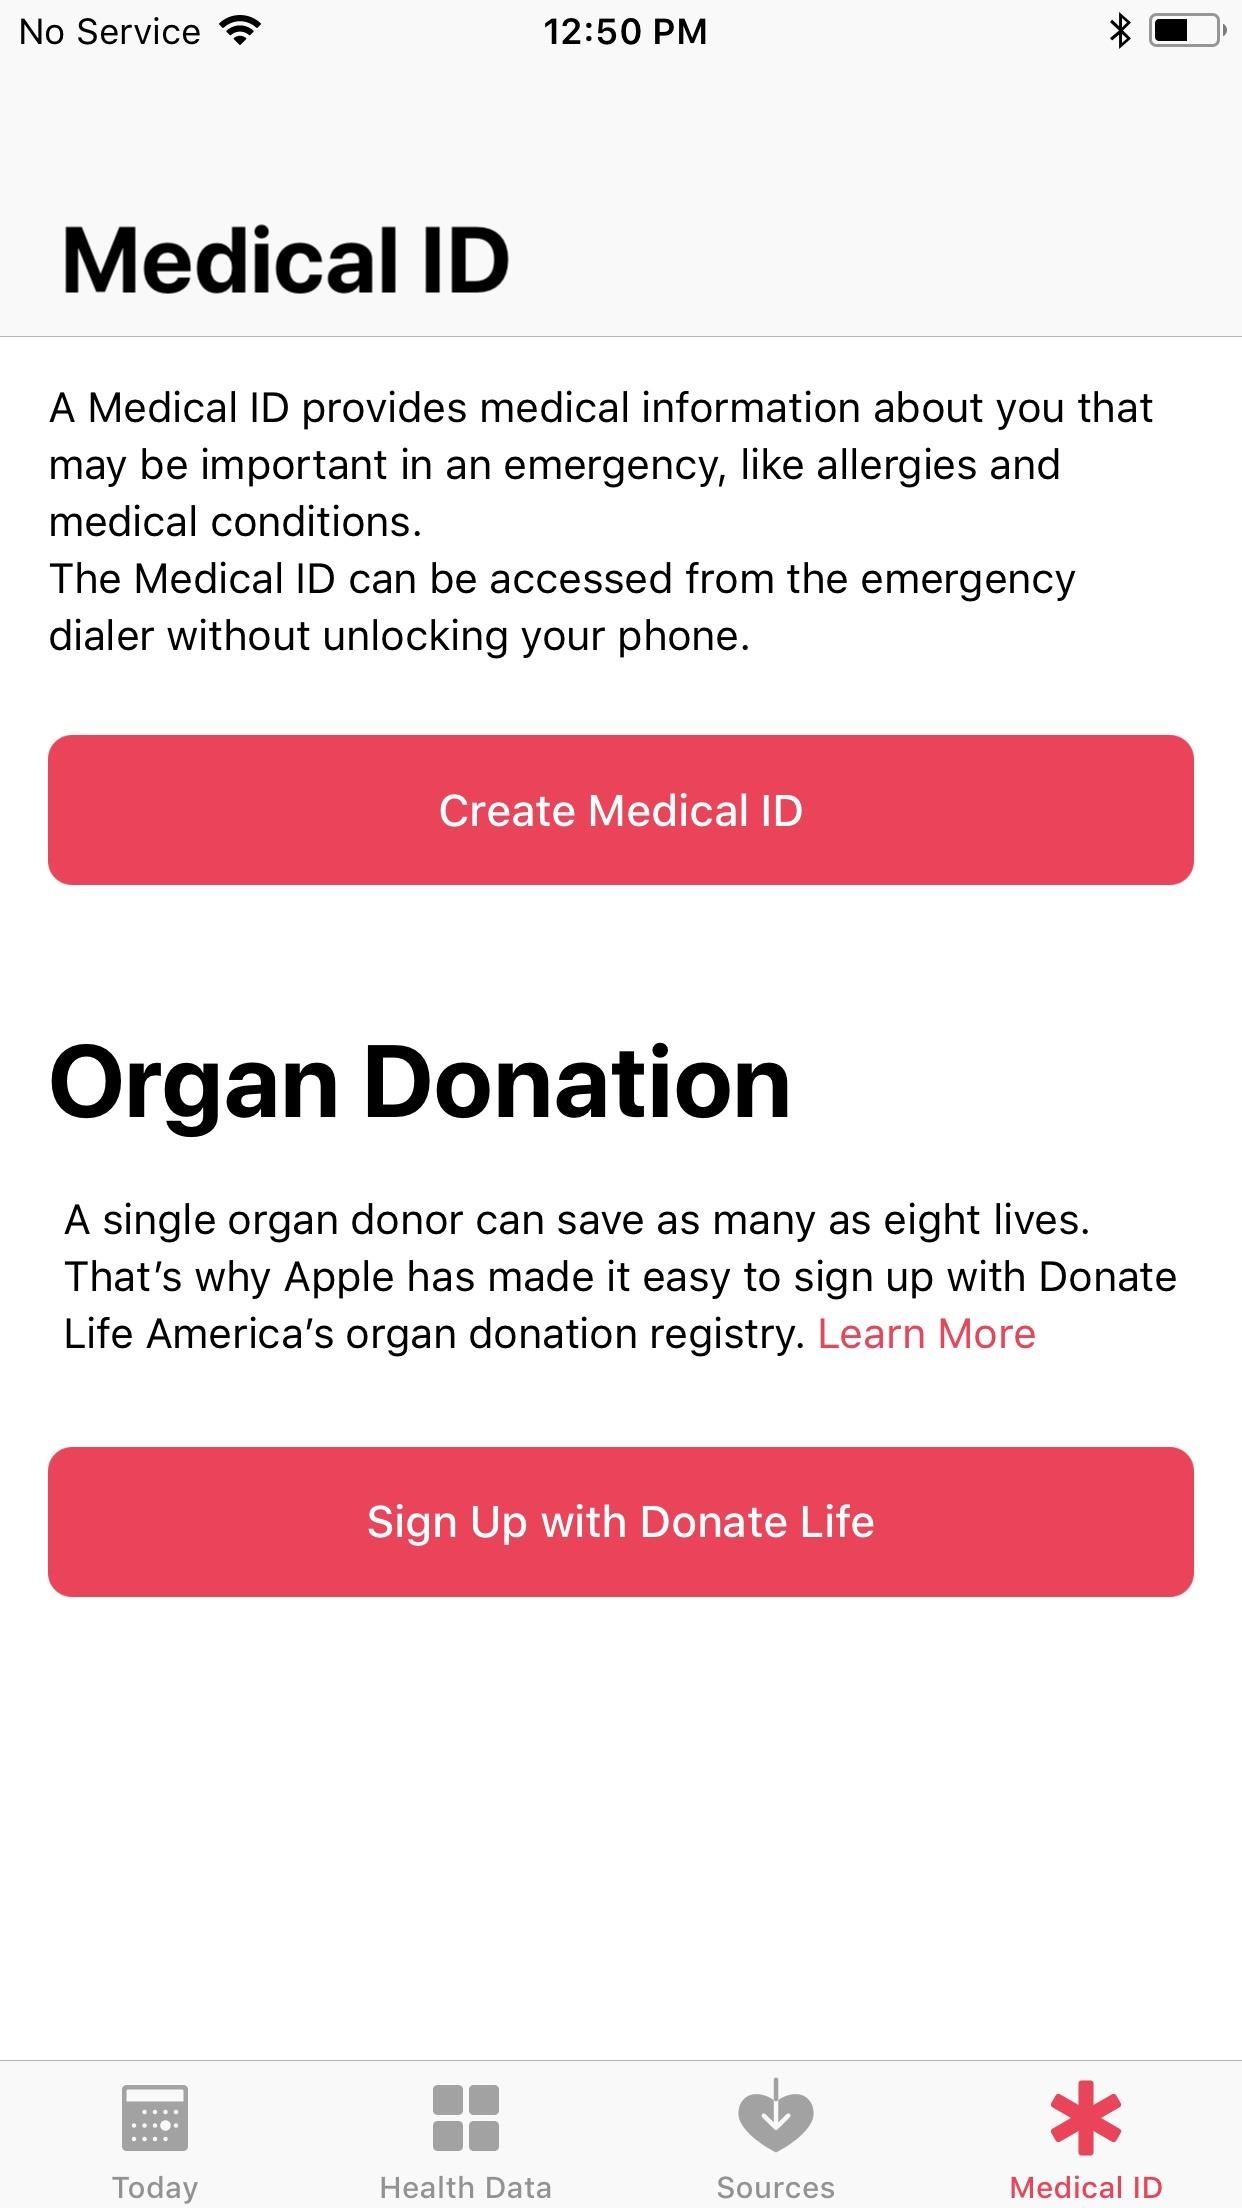
Just open the Health app, then tap on the Medical ID tab. If you haven’t set up your Medical ID yet, tap on “Create Medical ID.” If you already have one, tap on “Edit” up top. In the edit screen, scroll down to the bottom and select “add emergency contact,” then choose one of your contacts from the list. You can add more contacts as needed. When ready, just hit “Done.”
- Don’t Miss: How to Quickly Disable Touch ID on Your iPhone in iOS 11 for Extra Security
Step 3: Call 911 with Emergency SOS
Now you’re prepared for the worst. But there are different ways to actually activate Emergency SOS depending on what iPhone model you have.
iPhone 7 Models & Earlier
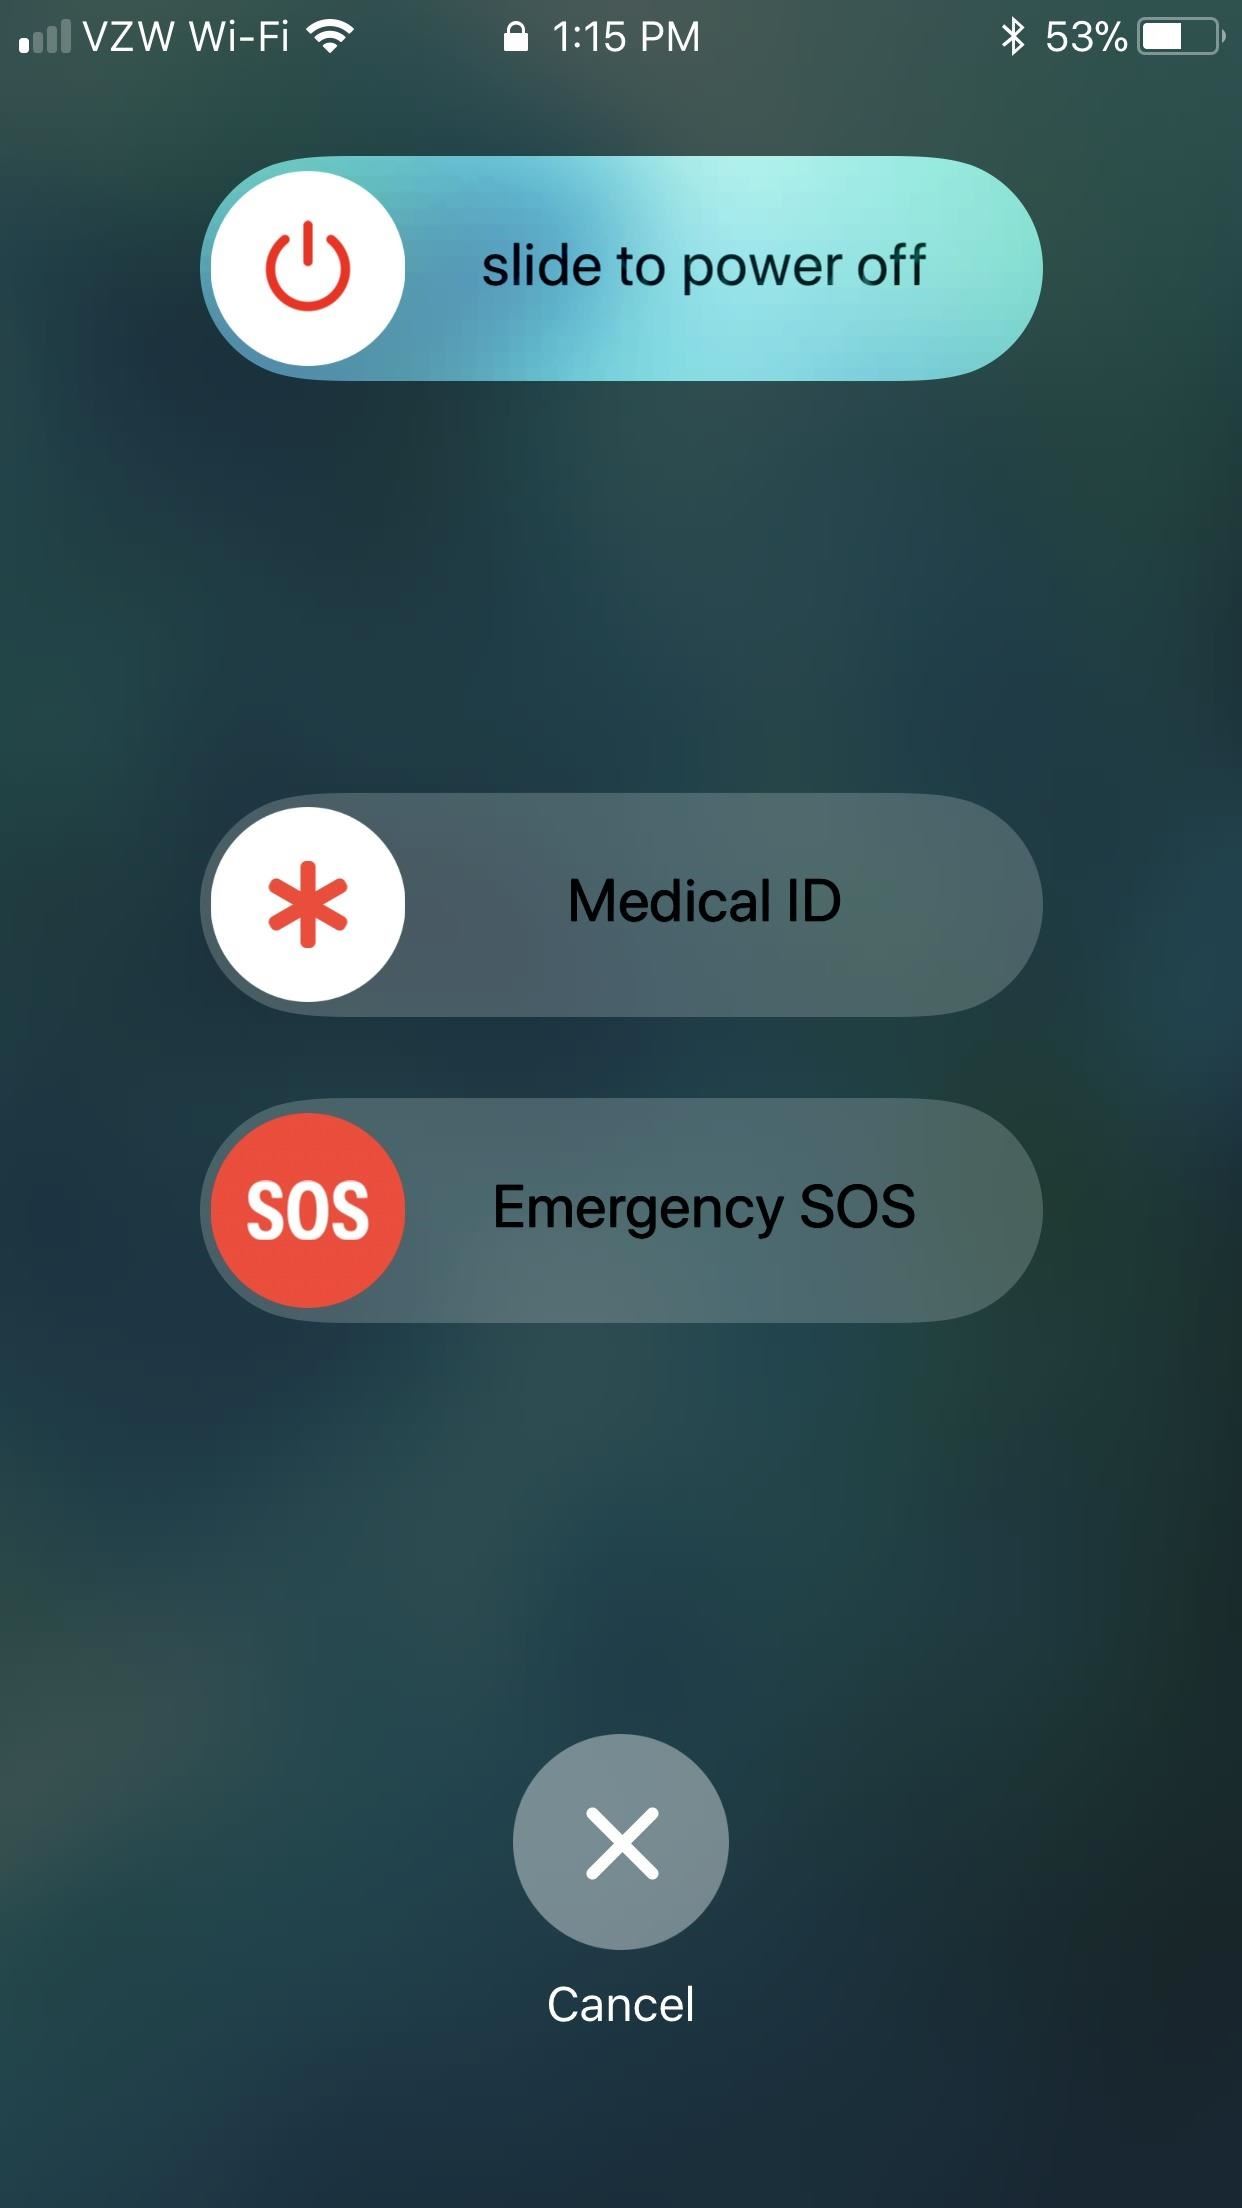
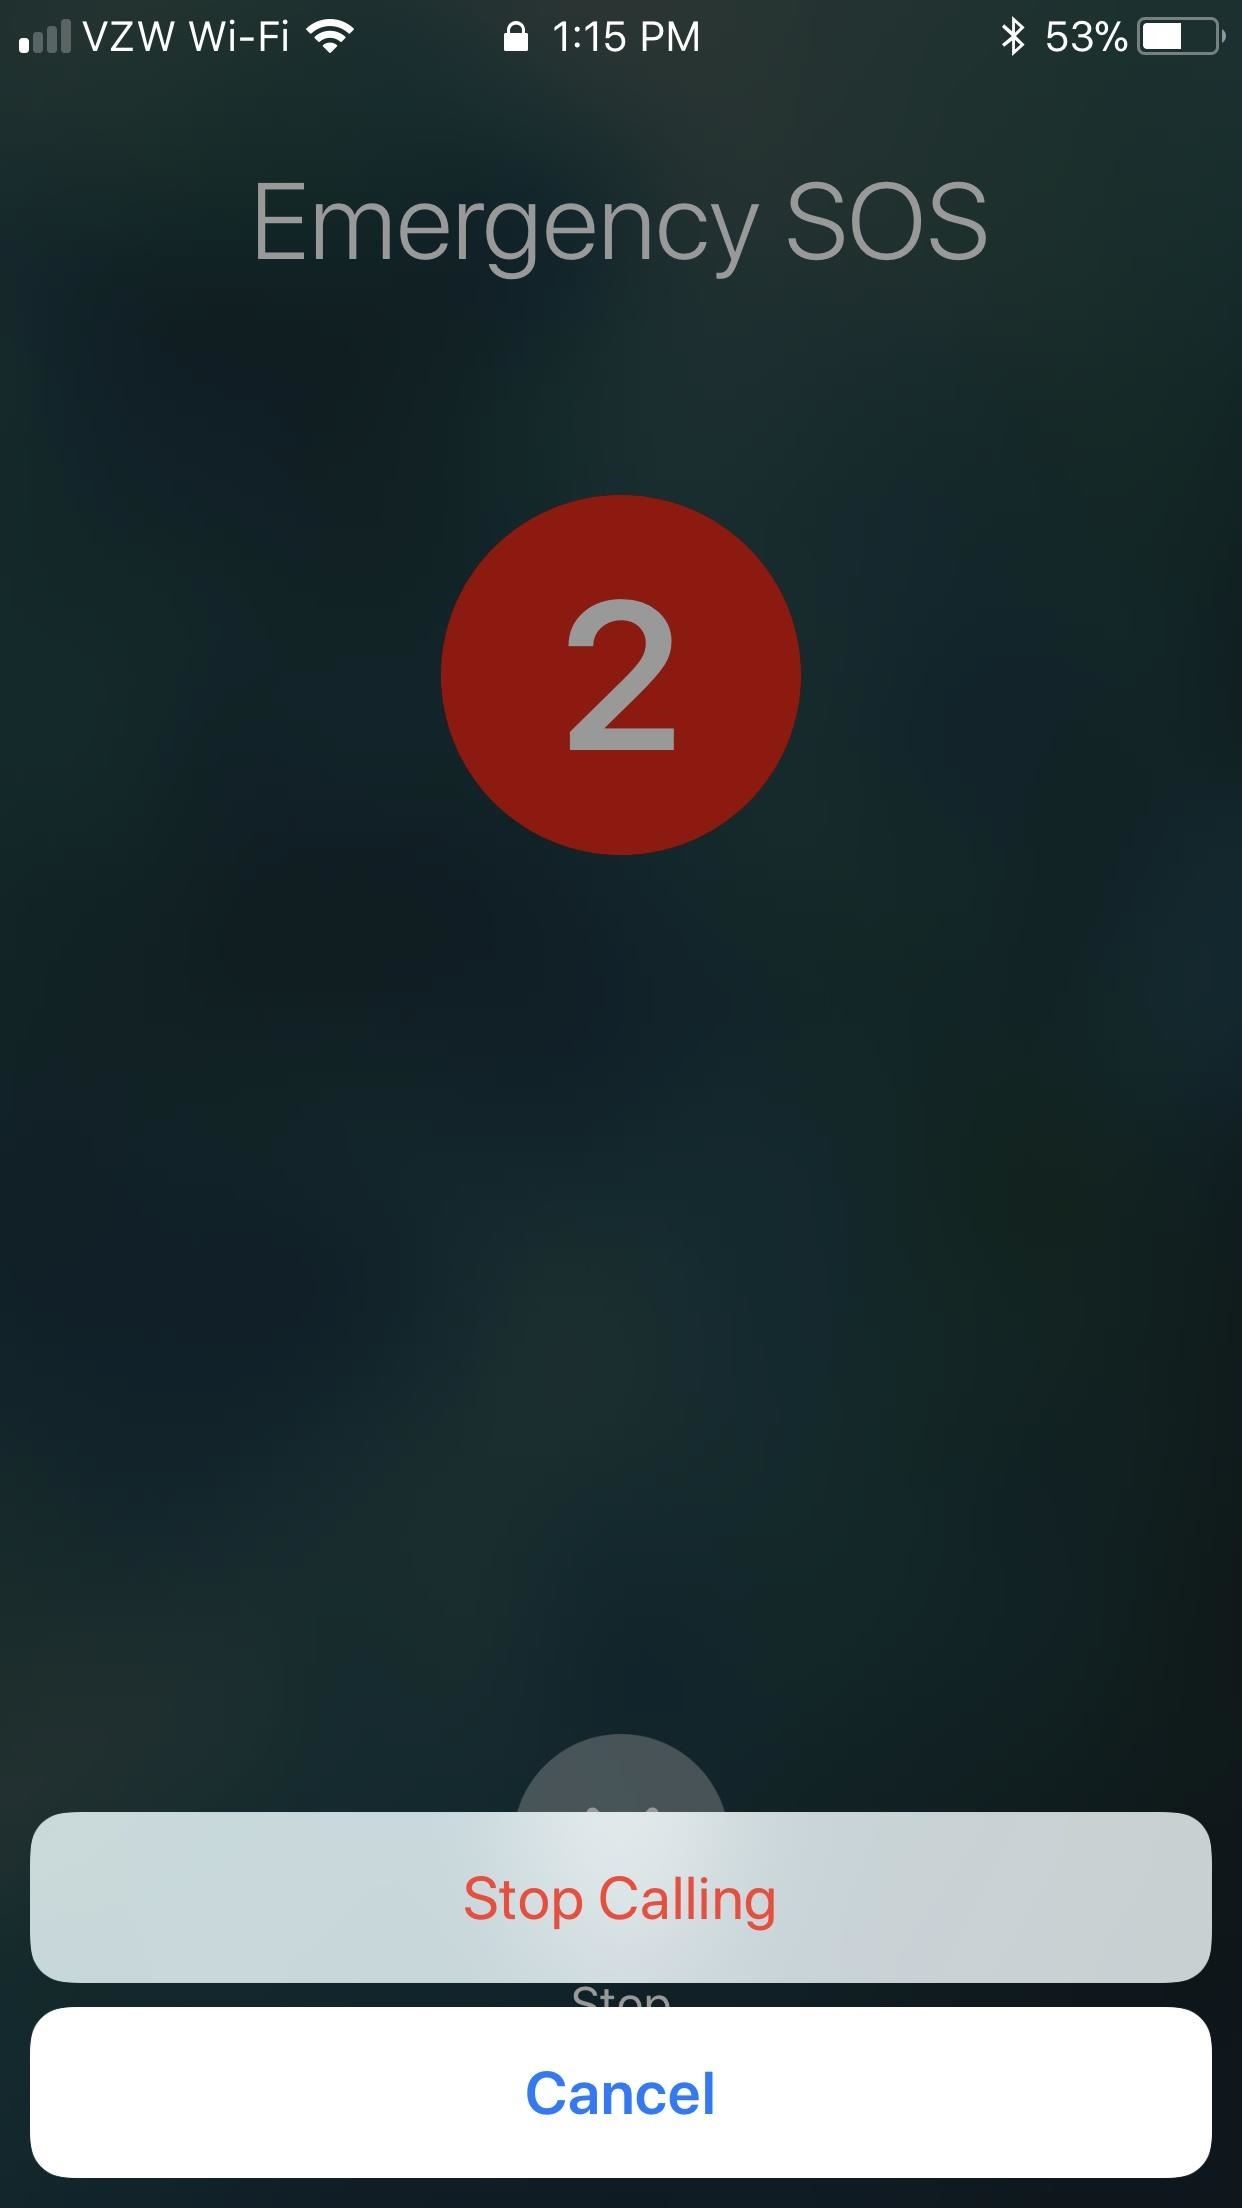
If you have an iPhone 7 model or earlier, you just need to click the Side button (aka Power or Sleep/Wake button) 5 times quickly in a row. When you activate Emergency SOS, your iPhone will either give you an “Emergency SOS” slider to call 911 (if you didn’t enable “Auto Call”) or give you until the count of three before it contacts 911 (if you did enable “Auto Call”).
It goes without saying, but this isn’t a setting that should be taken lightly. You can easily cancel this countdown by tapping the Stop (X) button at the bottom of the screen, then tapping “Stop Calling.”

iPhone 8 & 8 Plus
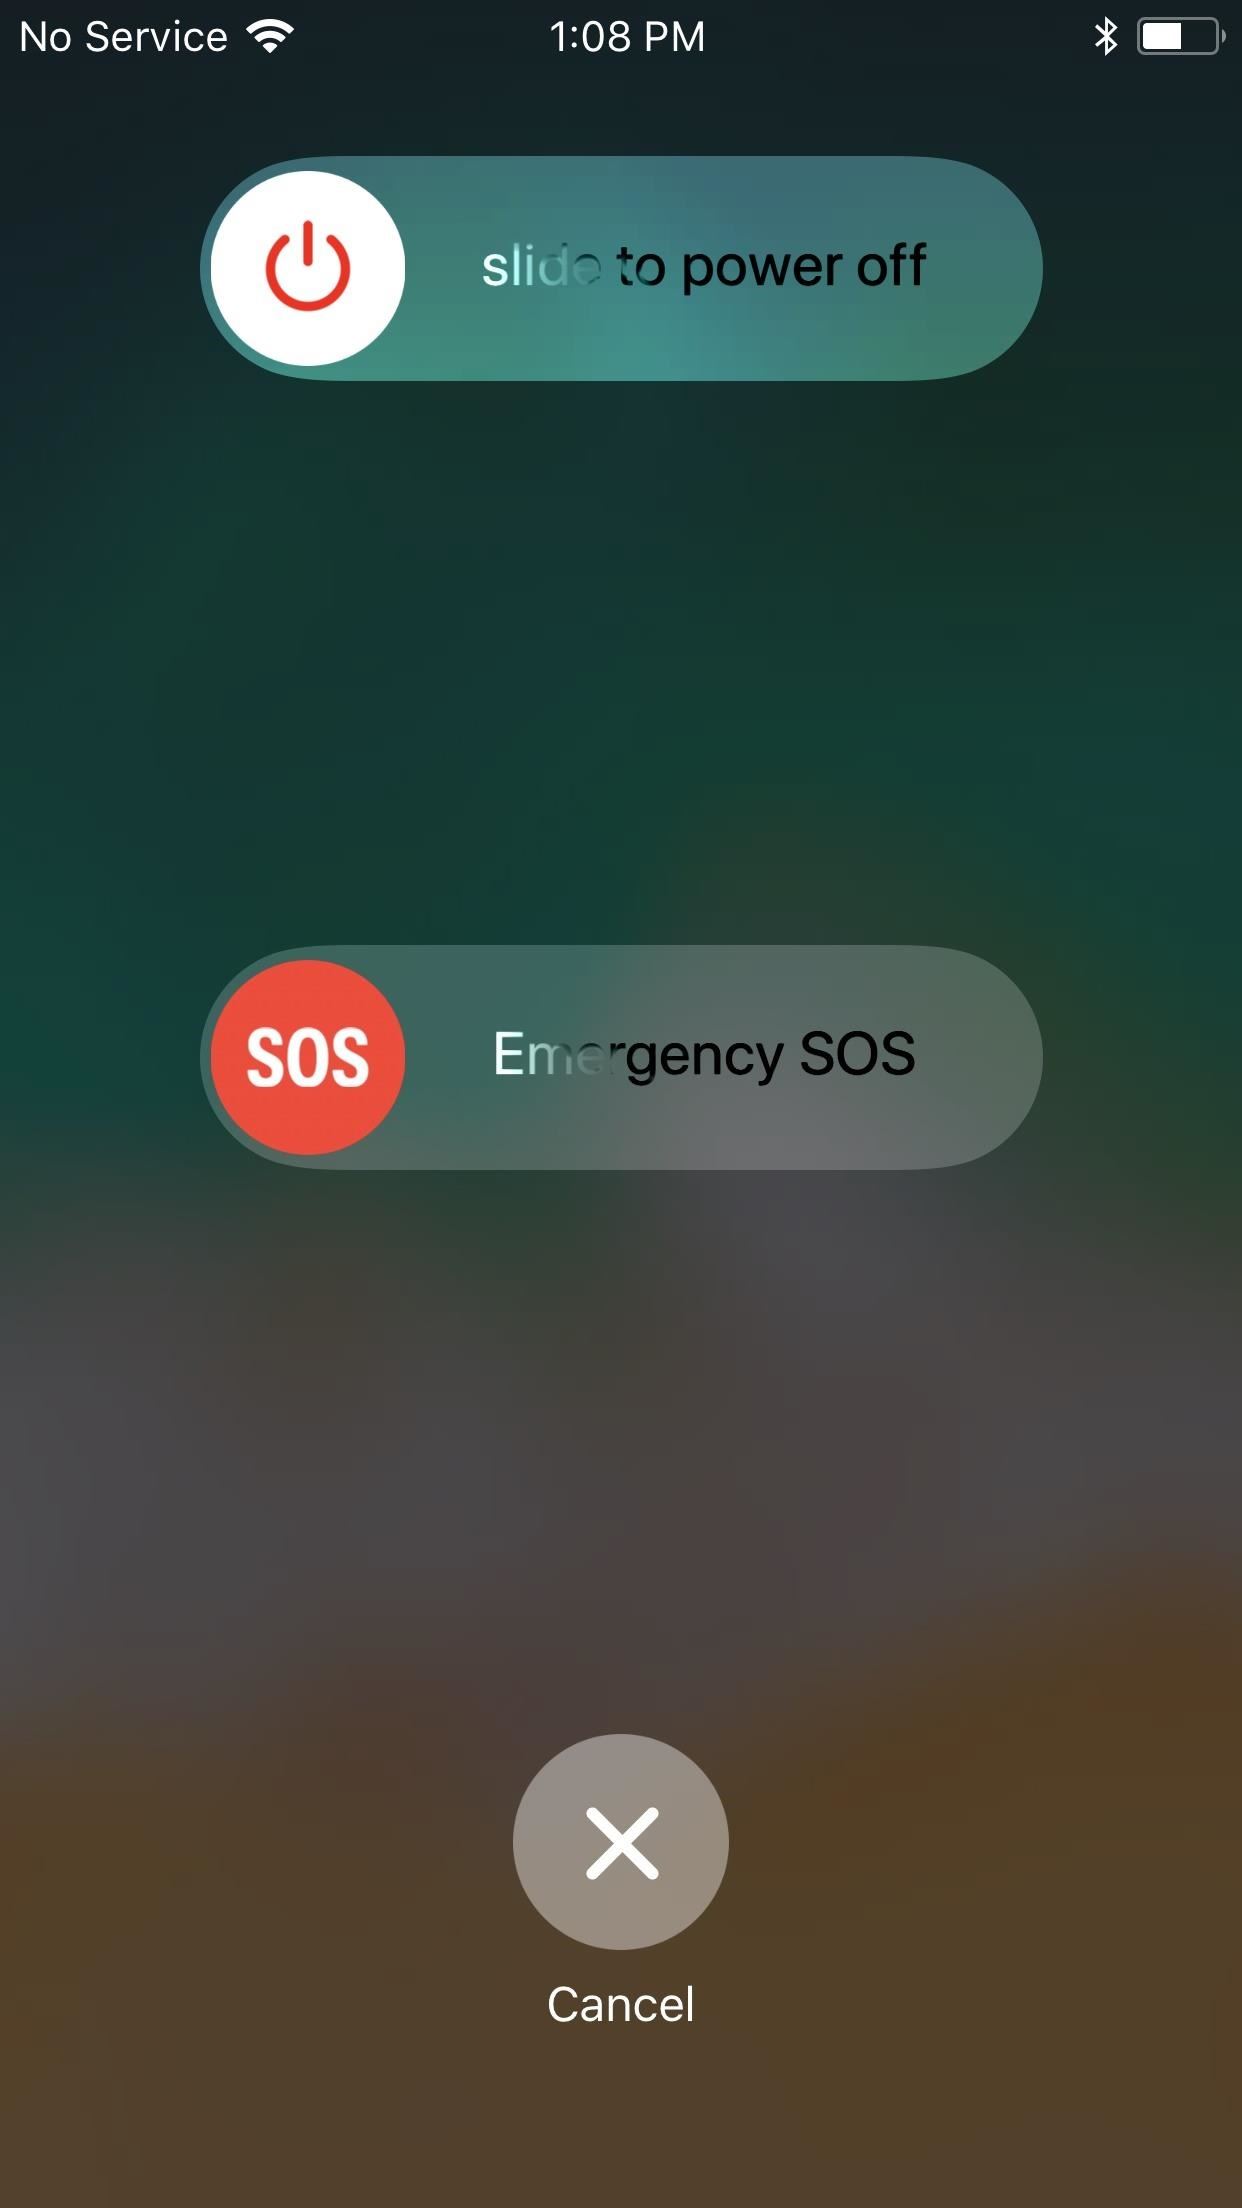
If you have an iPhone 8 or 8 Plus, the default method is to press and hold the Side button with either the Volume Up or Volume Down button for about 2 or 3 seconds. However, this requires more action on your part, even with “Auto Call” enabled. You actually have to swipe right on the “Emergency SOS” slider that appears no matter what. Then, it will immediately call 911, so be careful.
You can also choose to use 5 quick clicks of the Side button as well by toggling on “Also Works with 5 Clicks” in the Emergency SOS settings. This will work the same as above on other iPhone models where you’ll see the three-second countdown.

No matter which iPhone model you have, if the call goes through, 911 will be reached and you can begin talking to them about your situation, if possible.
If you set up Emergency SOS contacts, after the 911 call ends, your selected contacts will receive a text message with your current location, unless you cancel, and they may periodically get updates on your location as you move about. If it works anything like with the Apple Watch, you’ll also get a notification periodically asking you if you want to stop sharing your location.
A possibly intentional consequence of using Emergency SOS — even if “Auto Call” is turned off — is that you’re forced to input your passcode before re-enabling Touch ID. This works as the closest thing you have to a “cop button,” where you can’t be compelled by law enforcement to use your fingerprint to unlock your iPhone.
Just updated your iPhone? You’ll find new emoji, enhanced security, podcast transcripts, Apple Cash virtual numbers, and other useful features. There are even new additions hidden within Safari. Find out what’s new and changed on your iPhone with the iOS 17.4 update.
“Hey there, just a heads-up: We’re part of the Amazon affiliate program, so when you buy through links on our site, we may earn a small commission. But don’t worry, it doesn’t cost you anything extra and helps us keep the lights on. Thanks for your support!”


