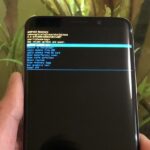
TWRP won’t be ready for the Pixel 4 and 4 XL until months after release. But since you can already root with Magisk and tinker with the OS, you might find yourself in a situation where your phone won’t boot, yet you don’t have a custom recovery installed to fix it. Luckily, there’s still a way around this.
This method of recovery uses a core-only version of Magisk to disable all modules so you can boot back into Android. XDA member Tulsadiver has provided a set of Pixel 4 and 4 XL image files to help you recover from that bootloop. You still need to do a few extra things to get back up and running since the file itself is a temporary fix. But follow along with the guide below, and you’ll be all set.
Step 1: Download the Magisk Core-Only Image
Since you’re trying to get your Pixel 4 out of a bootloop, you won’t be able to do anything with it on the phone side of things. However, with a modified boot image file and a computer, you’ll be able to use Fastboot commands to bring it back to life! Download the file onto your computer using one of the links below.
- Download Magisk Core-Only Image: Pixel 4 | Pixel 4 XL
Once downloaded, move the file to your desktop for easy access later.
Step 2: Download the Platform-Tools Package
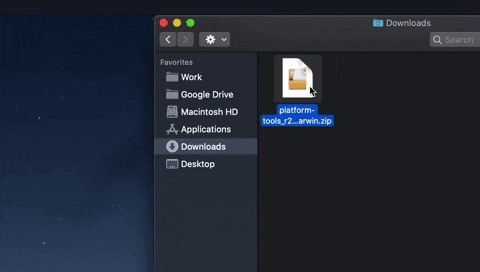
Your one and only lifesaver here without TWRP is going to be Fastboot. But you’ll need the SDK Platform Tools package from Google to send Fastboot commands to your phone, so download the tool from one of the links below. When it’s done, extract the ZIP and place the extracted folder on your desktop.
- Download Google’s Platform-Tools: Windows | Mac | Linux
Step 3: Boot into Fastboot Mode
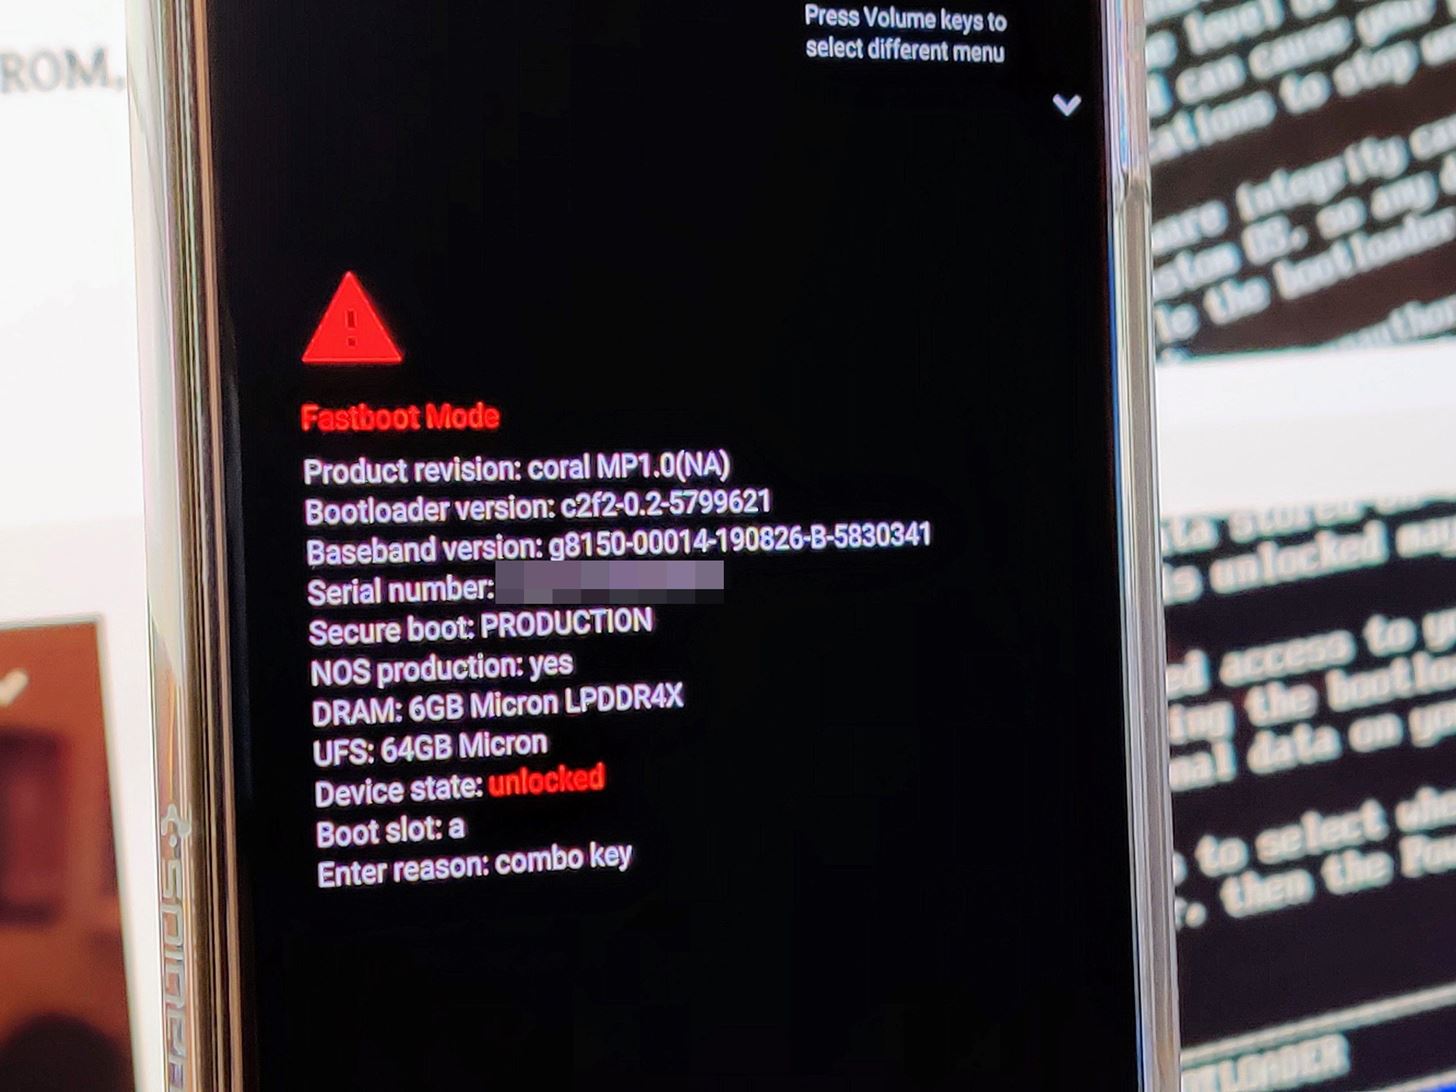
It’s time to get your phone ready to accept the commands required for the recovery process. Your phone is likely already turned off since it was bootlooping, so just hold the power button and volume down button at the same time until the Fastboot menu pops up. If the phone is still actively in the process of bootlooping, just hold the volume down button during one of the reboots until you see the Fastboot menu.
Now, make sure to connect your phone to your computer with a USB cable.
Step 4: Open a Command Window in Platform-Tools
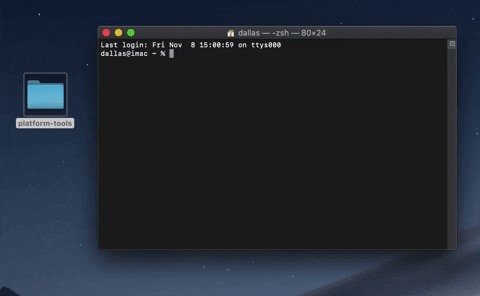
Now, open a command prompt on your computer. If you’re on Windows, press the Windows button on your keyboard, then type in “cmd” and hit enter. If you’re on Linux or Mac, open the Terminal app from your Applications folder.
From there type in “cd” and add a single space, but don’t hit enter yet. Instead, drag the platform-tools folder from your desktop and drop it on the command window. This will populate the folder’s full path. Once that happens, go ahead and hit enter.
If you’d like more help with this, see our full guide below.
- More Info: How to Open a Fastboot Command Window in Platform-Tools
Step 5: Flash the Magisk Core-Only Image
Finally! It’s time to bring your Pixel 4 back from the dead. If you’re on Windows, type fastboot boot and add a space, but don’t hit enter yet. If you’re on Mac or Linux, type ./fastboot boot and add a space, but again, don’t hit enter yet.
Now, drag the Magisk Core-Only image file you downloaded in Step 1 from your desktop and drop it right on top of the command window. This will populate its full location path, which should leave you with a command looking something like the one shown below. If so, go ahead and hit enter
fastboot boot C:UsersYourNameDesktopimage-newpixel4.img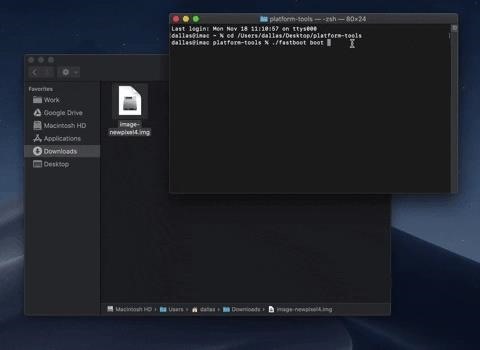
Your phone should automatically boot back into Android at this time, but this is only temporary — if you reboot again at this point, you’ll go back to bootlooping because the problem isn’t fixed yet. So keep your phone plugged into the computer for now and do not close the terminal window yet.
Step 6: Enable Developer Options
Now that you’re back in Android, head to Settings –> About Phone, then tap the “Build number” entry seven times in quick succession to enable Developer Options. If you’ve never done this before, you can visit our full guide below.
- More Info: How to Unlock the Pixel 4’s Hidden Developer Options Menu
Step 7: Enable USB Debugging
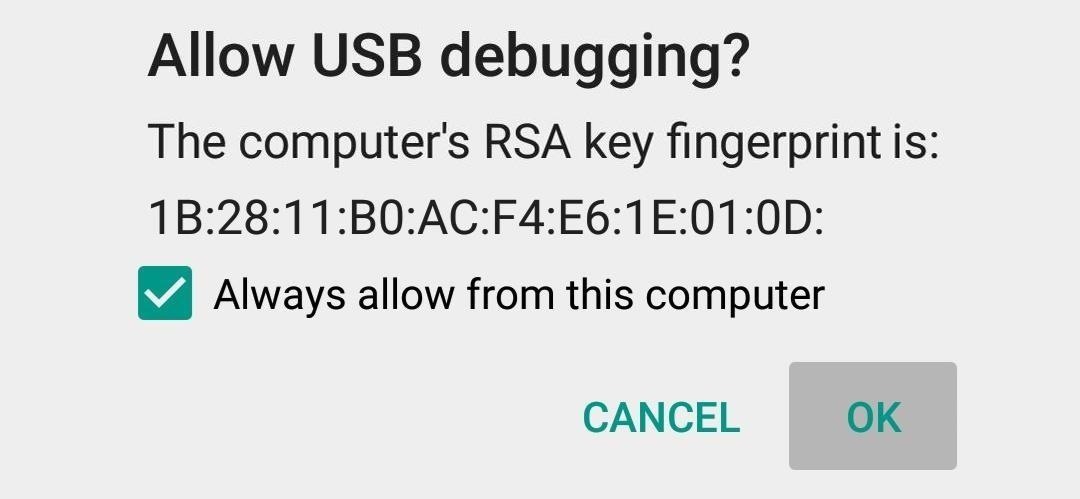
Now, open the Developer Options menu and enable “USB Debugging” near the top. If you’ve never used ADB with this phone before, you should be asked if you’d like to “Allow USB debugging.” Tick the box next to “Always allow,” then press “OK” on this popup. Check out the full guide below if you need more help with this part.
- More Info: How to Enable USB Debugging
Step 8: Remove the Magisk Modules
The last and final step of this whole recovery process — you have two possible choices here. You can open the Magisk Manager app and head into the “Modules” section to locate the module that caused the bootloop. Tapping the trash bin icon and then rebooting from there will resolve the issue. If you can’t open Magisk Manager because it’s force closing, read on to get back up and running.
It’s time to run the ADB command that will remove all installed Magisk modules from your system. Make sure your phone is connected to your computer with a USB cable. Now, copy and paste the following command into the terminal window you opened in Step 4, then hit enter to confirm your choice.
Windows Command:
adb wait-for-device shell magisk --remove-modulesMac & Linux Command
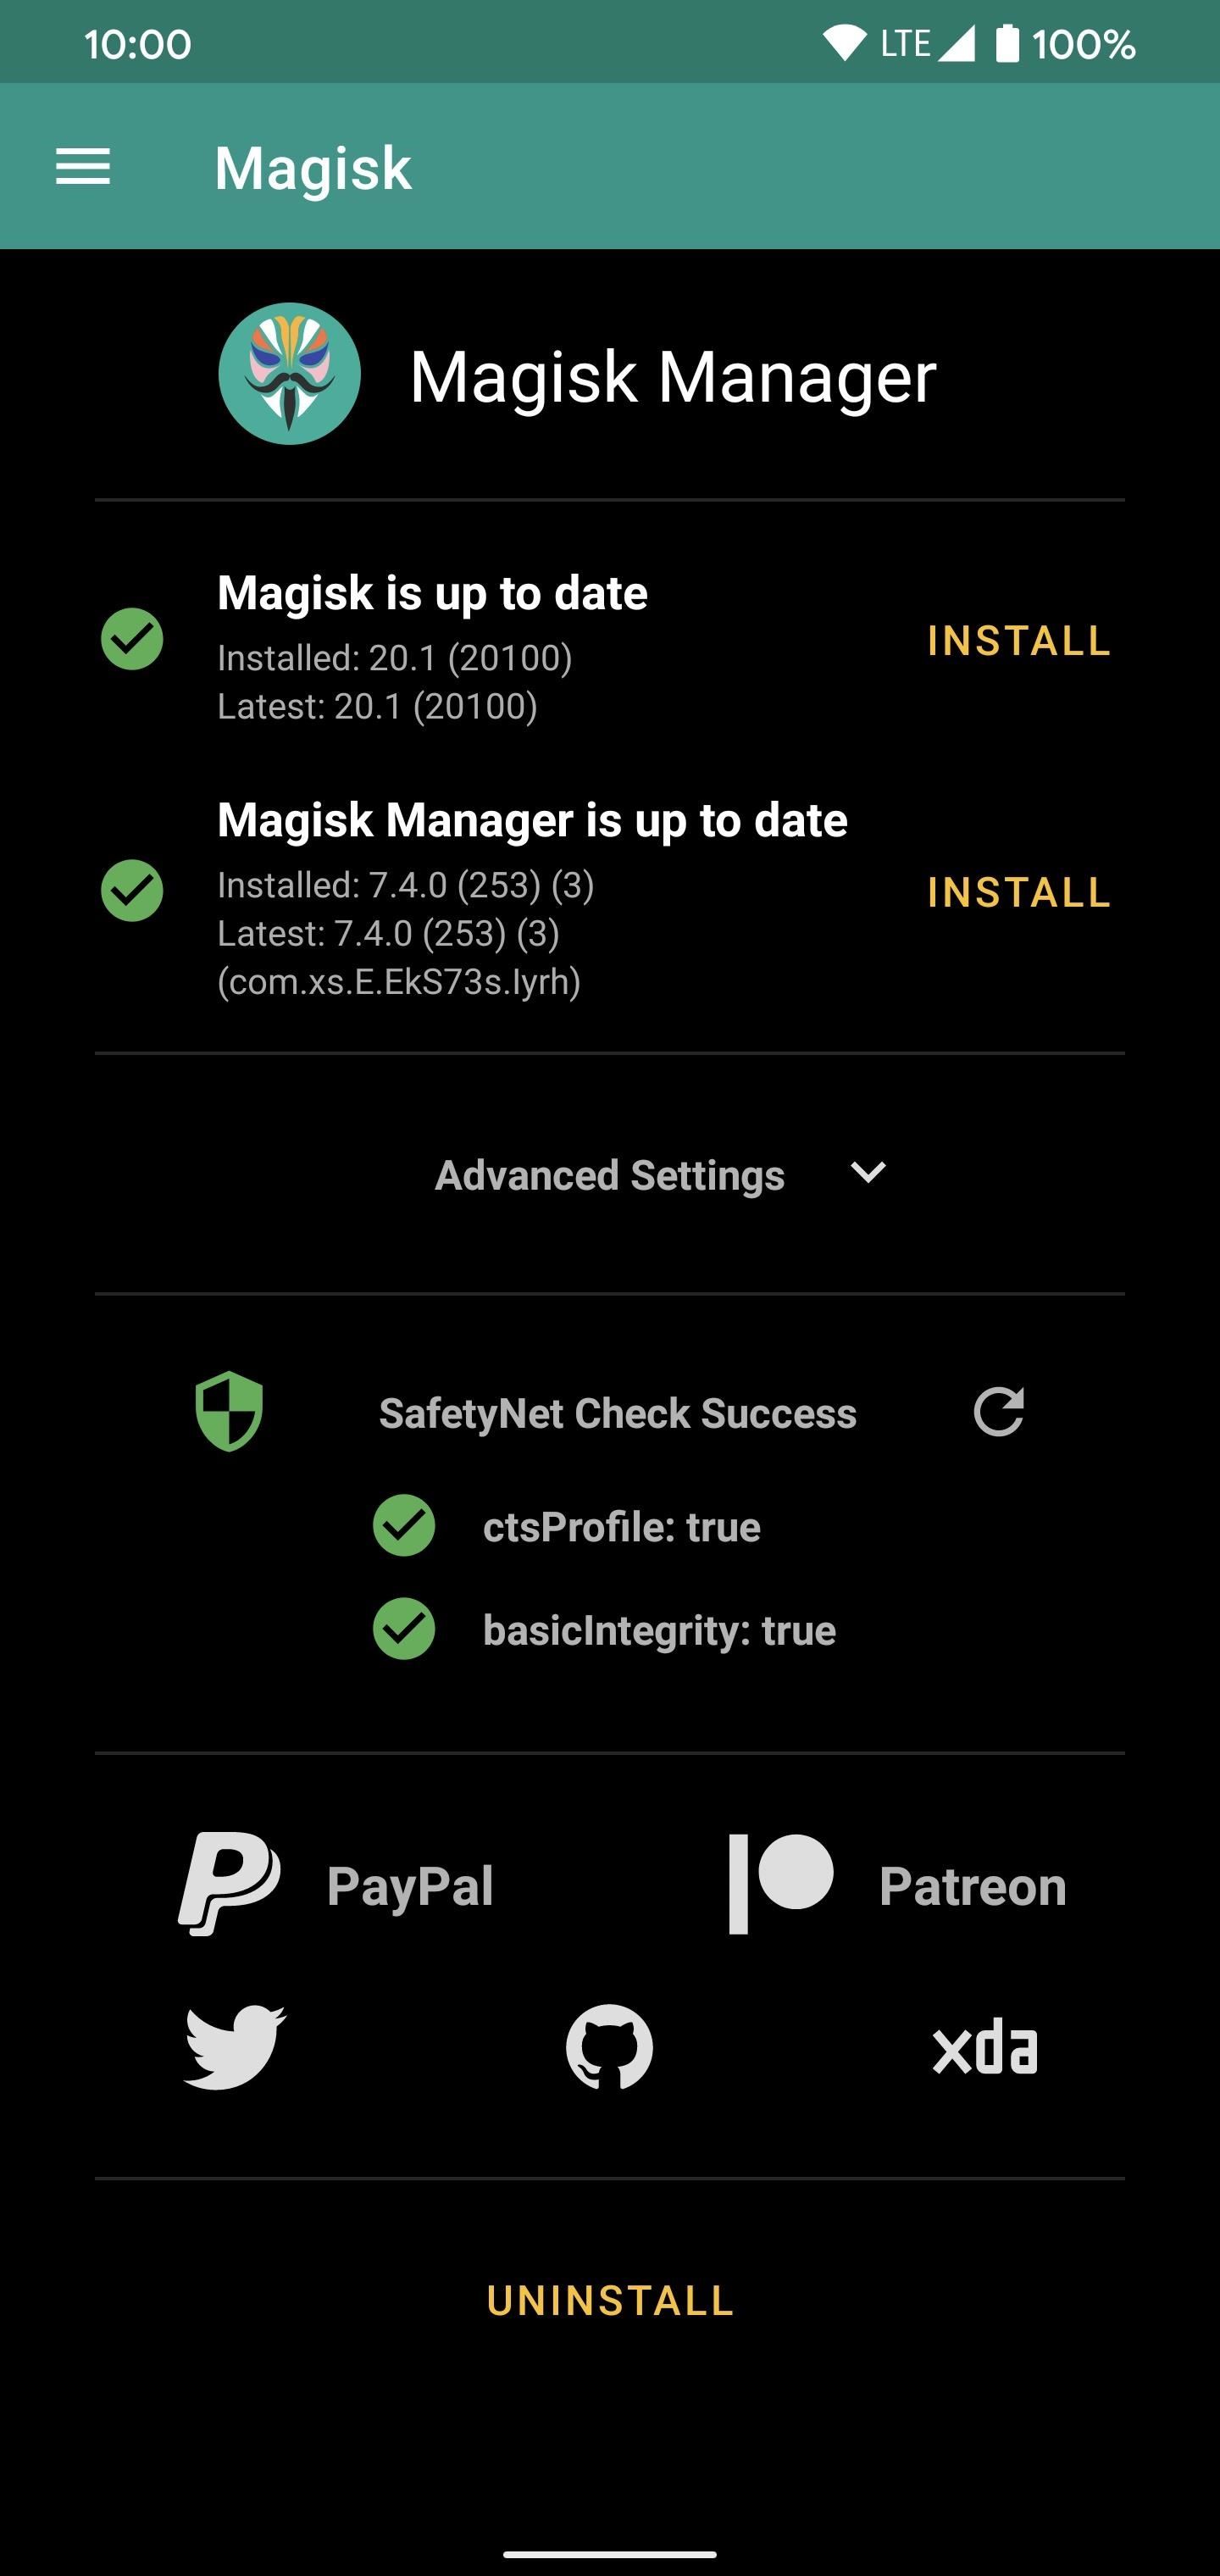
adb wait-for-device shell magisk --remove-modulesThe above command will wipe out your Magisk modules, then reboot the system for you automatically. Once you come back from the reboot, head into the Magisk Manager app, and you’ll notice everything looks good again, with full root access, too. What bootloop?
If you go to the “Modules” section, you’ll see there is nothing there at this time, which means you’ll have to start fresh. You saved your device from a complete data wipe, so installing a few modules is a small price to pay.

Just updated your iPhone? You’ll find new features for Podcasts, News, Books, and TV, as well as important security improvements and fresh wallpapers. Find out what’s new and changed on your iPhone with the iOS 17.5 update.
“Hey there, just a heads-up: We’re part of the Amazon affiliate program, so when you buy through links on our site, we may earn a small commission. But don’t worry, it doesn’t cost you anything extra and helps us keep the lights on. Thanks for your support!”


