When Google Play Music launched a few years ago, I ditched iTunes and began using the service as my one and only source for listening to my personal music library. While All Access is great, I still prefer the radio feature on Spotify, so I still use that to discover new music.
In an effort to get all of my music in one place, I had to download and import all of my “liked” Spotify tracks into Google Music, but now with Pyportify from developer Joshua Braegger, the process is completely automated.
Pyportify is a ported version of developer Sebastian Mauer’s tool Portify that can run on any machine with Python, allowing you to link Spotify Premium to Google Play Music All Access in order to migrate your playlists over.
Legal Issues
This will violate both Google‘s and Spotify’s terms of service, so there is a chance of negative consequences coming your way if you decide to use this service.
Step 1: Install Homebrew
To get started, you’ll need to install Homebrew, a command-line package installer for Mac OS X. There is no installer or DMG file to download for Homebrew; all you have to do is open Terminal and enter the following command (while the spacing looks a bit awkward below, you can simply copy and paste the command into Terminal).
ruby -e “$(curl -fsSL https://raw.githubusercontent.com/Homebrew/install/master/install)”

After you get the “success” message, you can close Terminal.
Step 2: Install Python
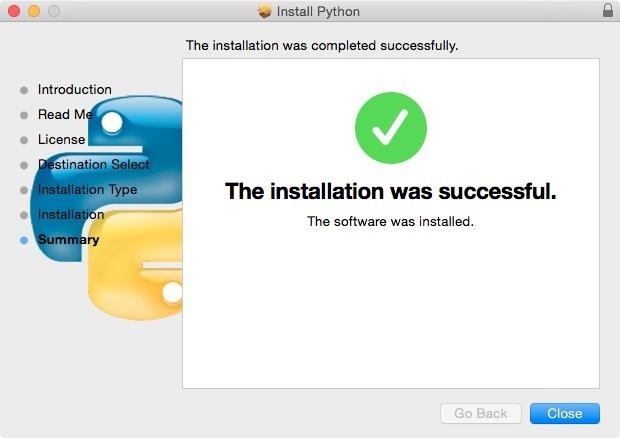
Next up we will have to install Python so our Mac can run Pyportify. Once the installer has downloaded, open it and go through the normal set up prompts, then restart your Mac.
Step 3: Install Pyportify
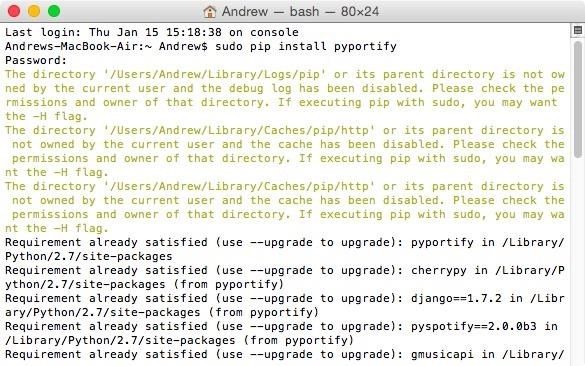
Now that your Mac has everything it needs to run Pyportify, it’s time to install it, which is handled in Terminal and is completed with three commands.
Before moving from one to the next, wait for the entire command to finish running, and if you receive an error, stop and make sure you have completed the above steps correctly. To make things easier on you, just copy and paste these over rather than manually inputting them.
Command 1:
brew install homebrew/binary/libspotify
Command 2 (this command enters as two separate lines):
sudo ln -s /usr/local/opt/libspotify/lib/libspotify.12.1.51.dylib
/usr/local/opt/libspotify/lib/libspotify
Command 3:
pip install pyportify
If the last command gives you an error, change it to sudo pip install pyportify instead.
Step 4: Use Pyportify to Copy Playlists
There are two ways to use Pyportify. You can either select playlists you want to transfer over through a web client, or you can simply copy all of your playlists from Spotify to Google through a Terminal command.
Method #1: Use the Web Client to Pick & Choose Playlists
To start the web client, open up Terminal and enter the “pyportify” command. This will generate an easy-to-use transfer wizard at localhost:3132, which can be accessed by any web browser, but do not close Terminal until you are completely finished.
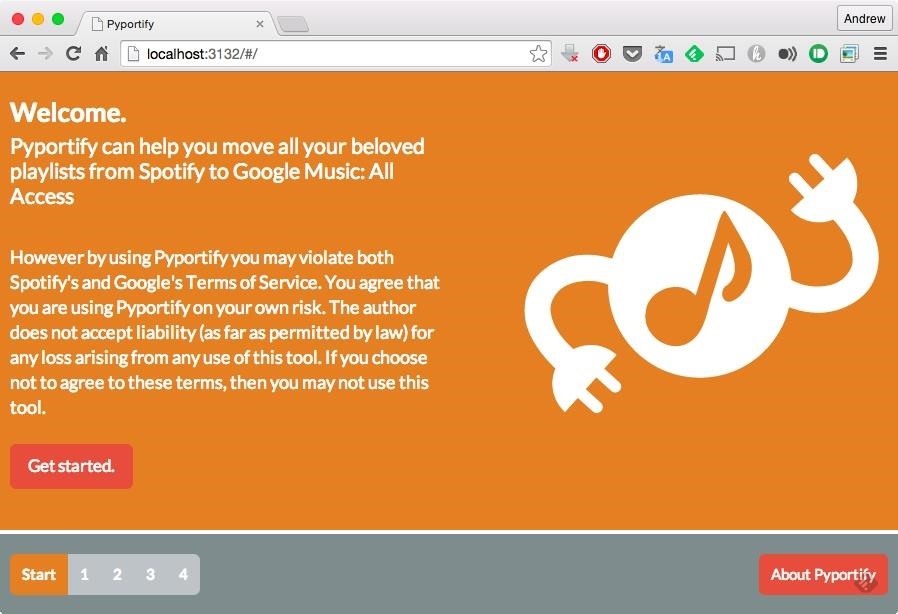
From the web client, you will need to enter your Spotify and Google credentials, then you can begin selecting which playlists you want to migrate over. You can make sure everything is going okay by watching the Terminal window. Once the transfer is finished, you can close both Terminal and the wizard.
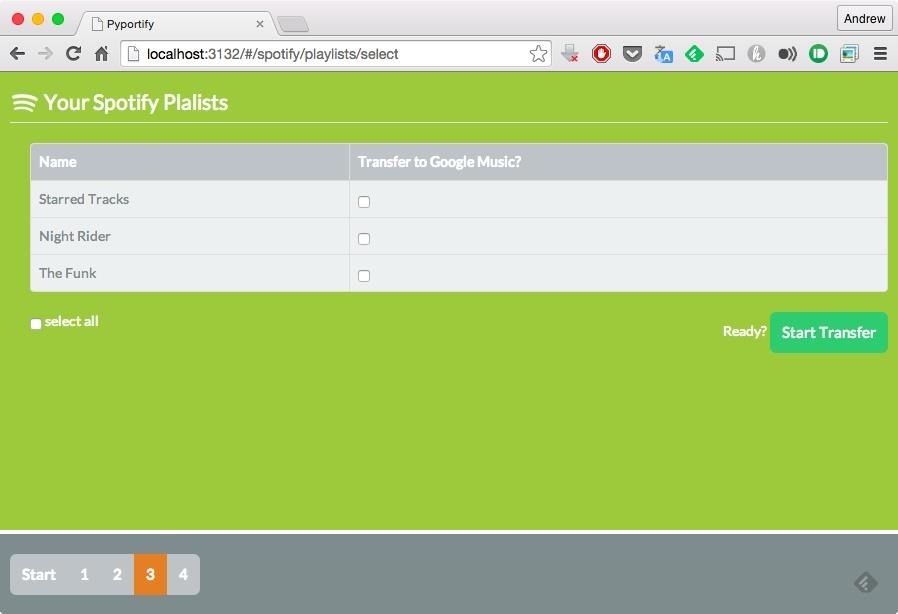
Method #2: Copy All Playlists Using a Terminal Command
If you want to copy all of your playlists over, you can use the “pyportify-copyall” command in Terminal. You will still need to enter your credentials, but after that, all of your playlists will be transferred over automatically.
While the legality of this app is a bit iffy, it definitely saved me from hours of downloading and uploading music to Google Play Music. Let me know if it worked for you in the comments below, and check us out over on Facebook, Google+, and Twitter.
Just updated your iPhone? You’ll find new emoji, enhanced security, podcast transcripts, Apple Cash virtual numbers, and other useful features. There are even new additions hidden within Safari. Find out what’s new and changed on your iPhone with the iOS 17.4 update.
“Hey there, just a heads-up: We’re part of the Amazon affiliate program, so when you buy through links on our site, we may earn a small commission. But don’t worry, it doesn’t cost you anything extra and helps us keep the lights on. Thanks for your support!”


