To serve as a framework for the “Nexus Imprint” feature in their new Nexus 5X and Nexus 6P smartphones, Google added native fingerprint scanner support to Android 6.0. Sure, Android devices have had fingerprint scanners in the past, but this is a unified, system-wide implementation that all devices can use—meaning that in the near future, we may finally start to see apps that let you log in to your account with your fingerprint instead of a password.
So far, not many developers have taken advantage of this new fingerprint API, so the dream of logging into a bank account by touching a sensor is not yet a reality, although some specific banking apps support it. In the meantime, though, we can now take matters into our own hands, thanks to a new Marshmallow-compatible fingerprint lock app from developer SupriseToYou. With this one installed, you can lock any app with your fingerprint, and I’ll show you how to set it up below.
- Don’t Miss: How to Fingerprint Lock Any App on Lollipop or Lower
Requirements
- Device running Android 6.0 or higher
- Fingerprint lock screen already set up
Step 1: Install AppLock
The app that will let you fingerprint-lock any app on Marshmallow is called AppLock, and it’s available on the Google Play Store.
UPDATE – 1/26: The free version of AppLock is not available on the Play Store for the moment. We’re not entirely sure why this version has been removed, but we’re hopeful it will be back up soon. If you’d like, you can see if it’s been re-uploaded by checking this link, but in the meantime, the ad-free pro version is still available.
UPDATE – 3/1: AppLock has now been completely removed from the Play Store, for unknown reasons. It may appear again at a later date, but until then, we suggest you try out FingerSecurity instead, which should work for most devices with a fingerprint security.

Step 2: Grant Special Permissions
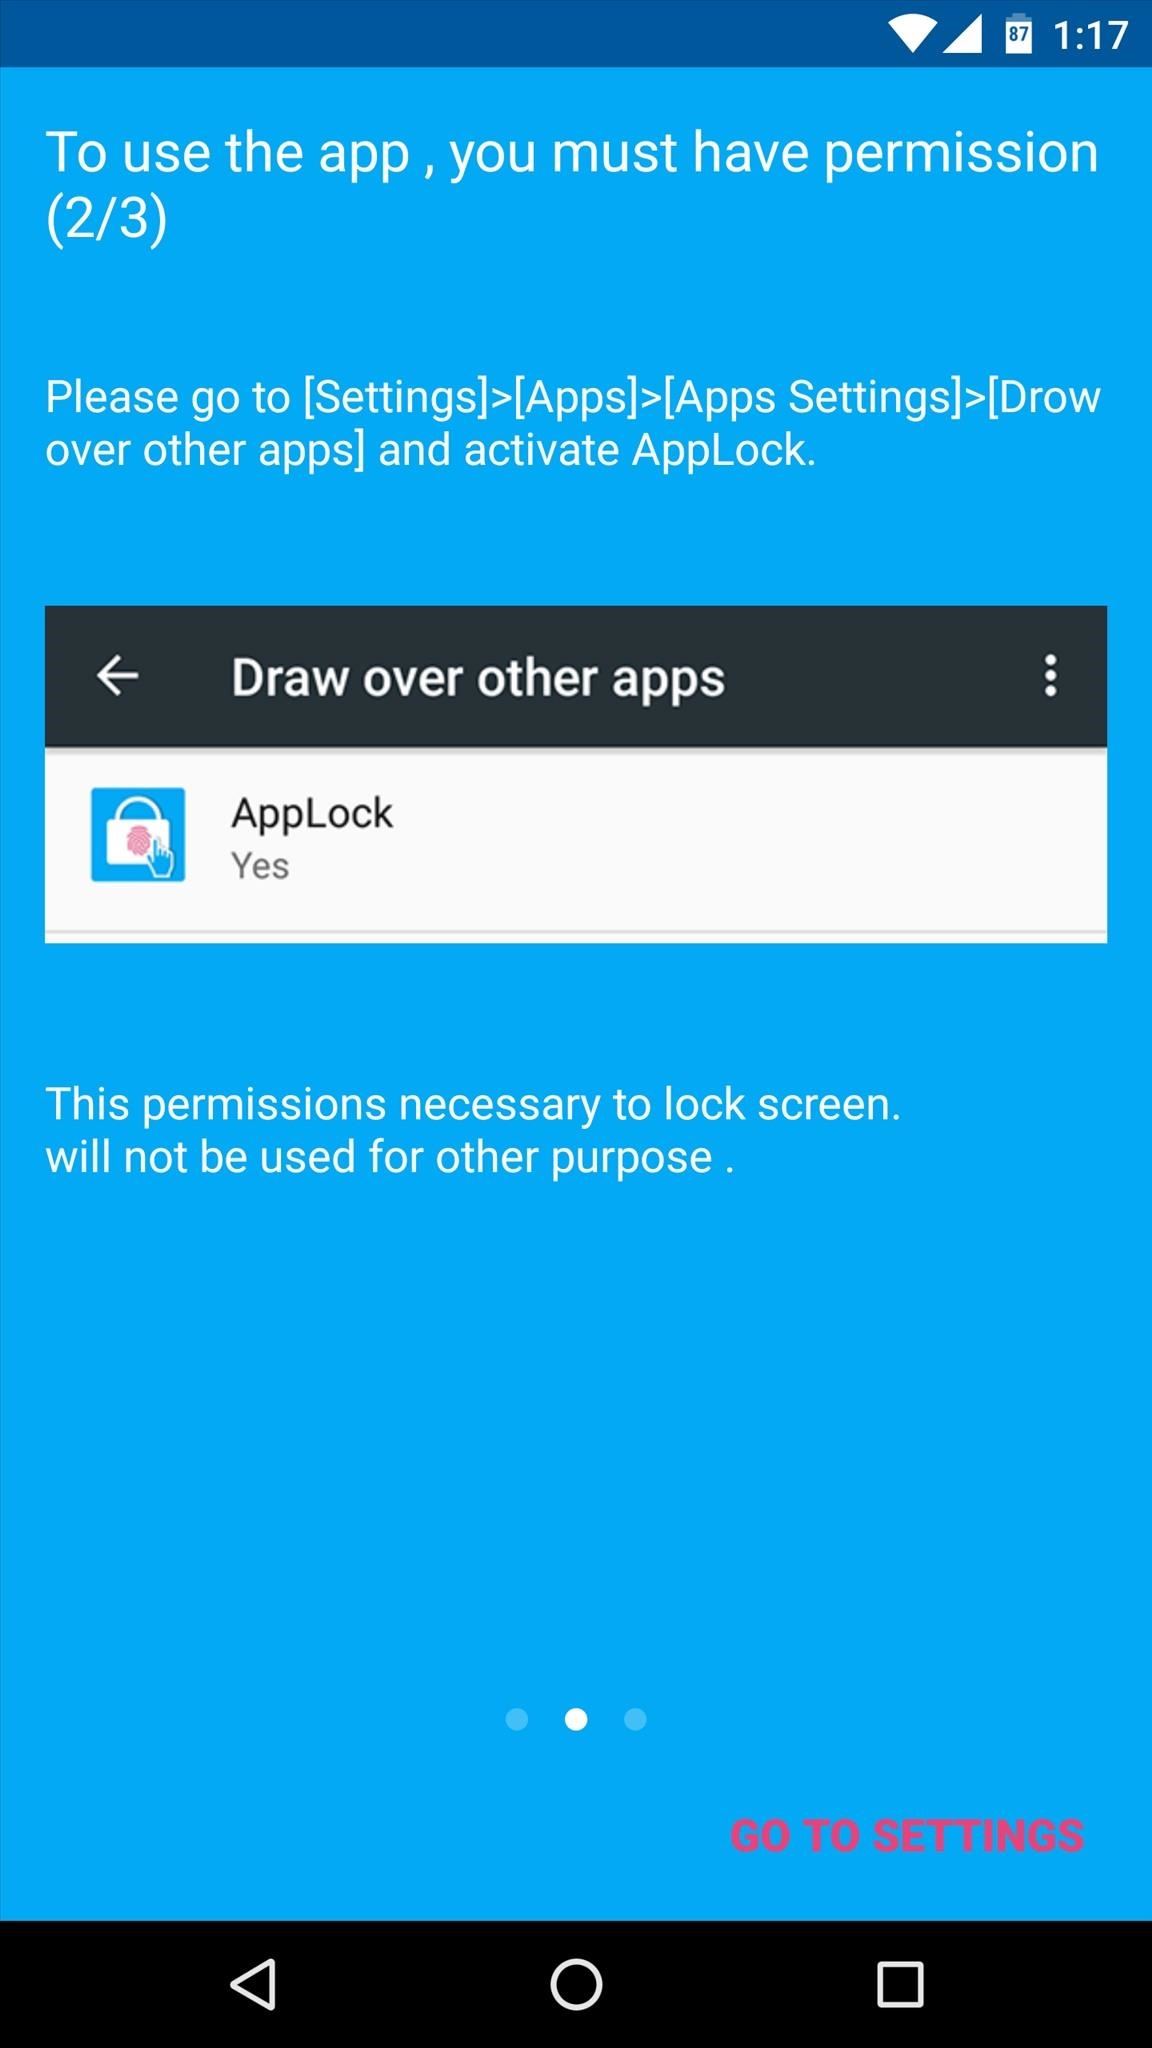
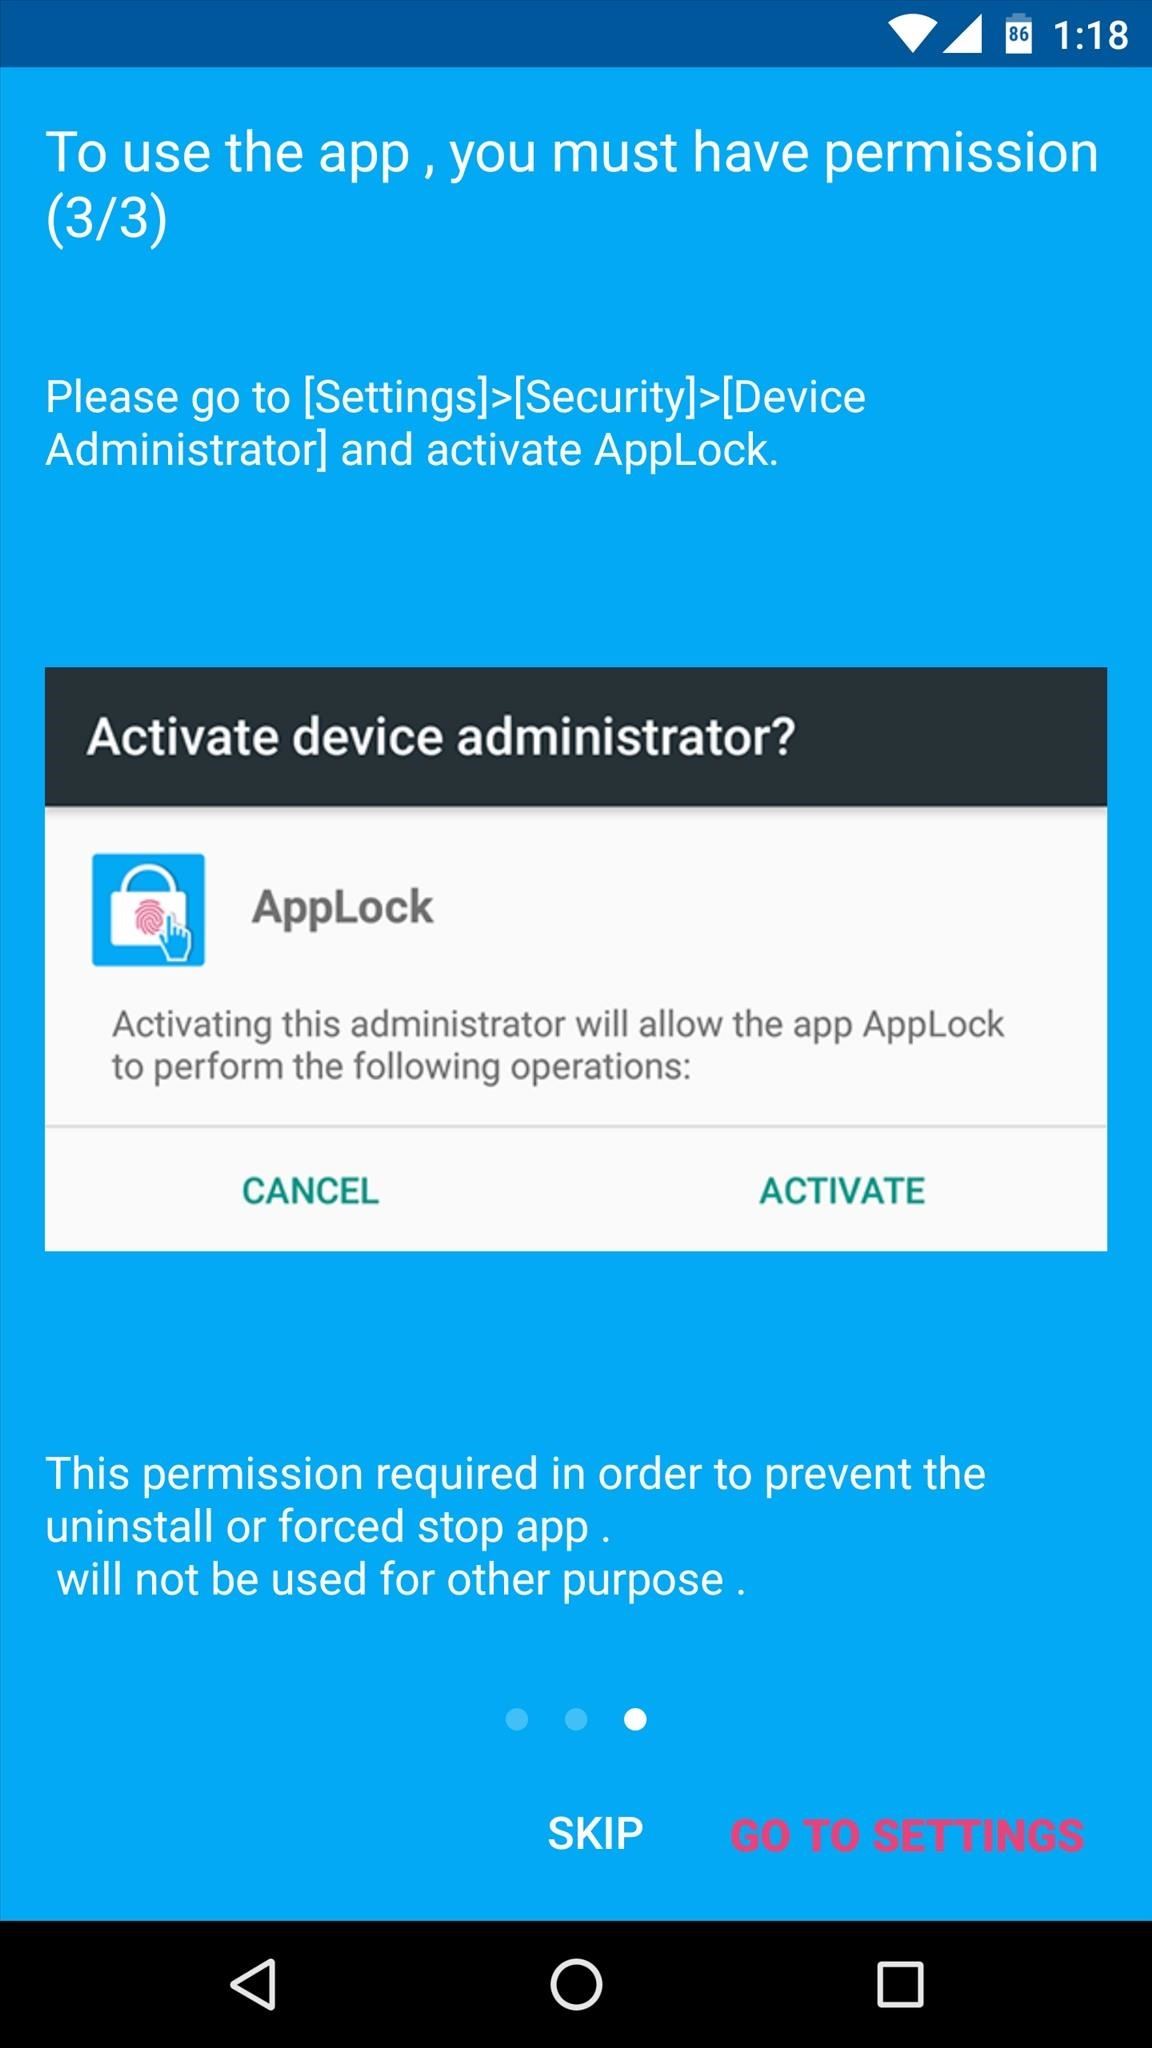
After installing AppLock, you’ll be asked to grant the app a few special permissions. To start, tap the “Go to Settings” button at the bottom of the screen, then select the AppLock entry on the following system menu, and enable the permission by toggling the switch at the top of the screen to “On.”
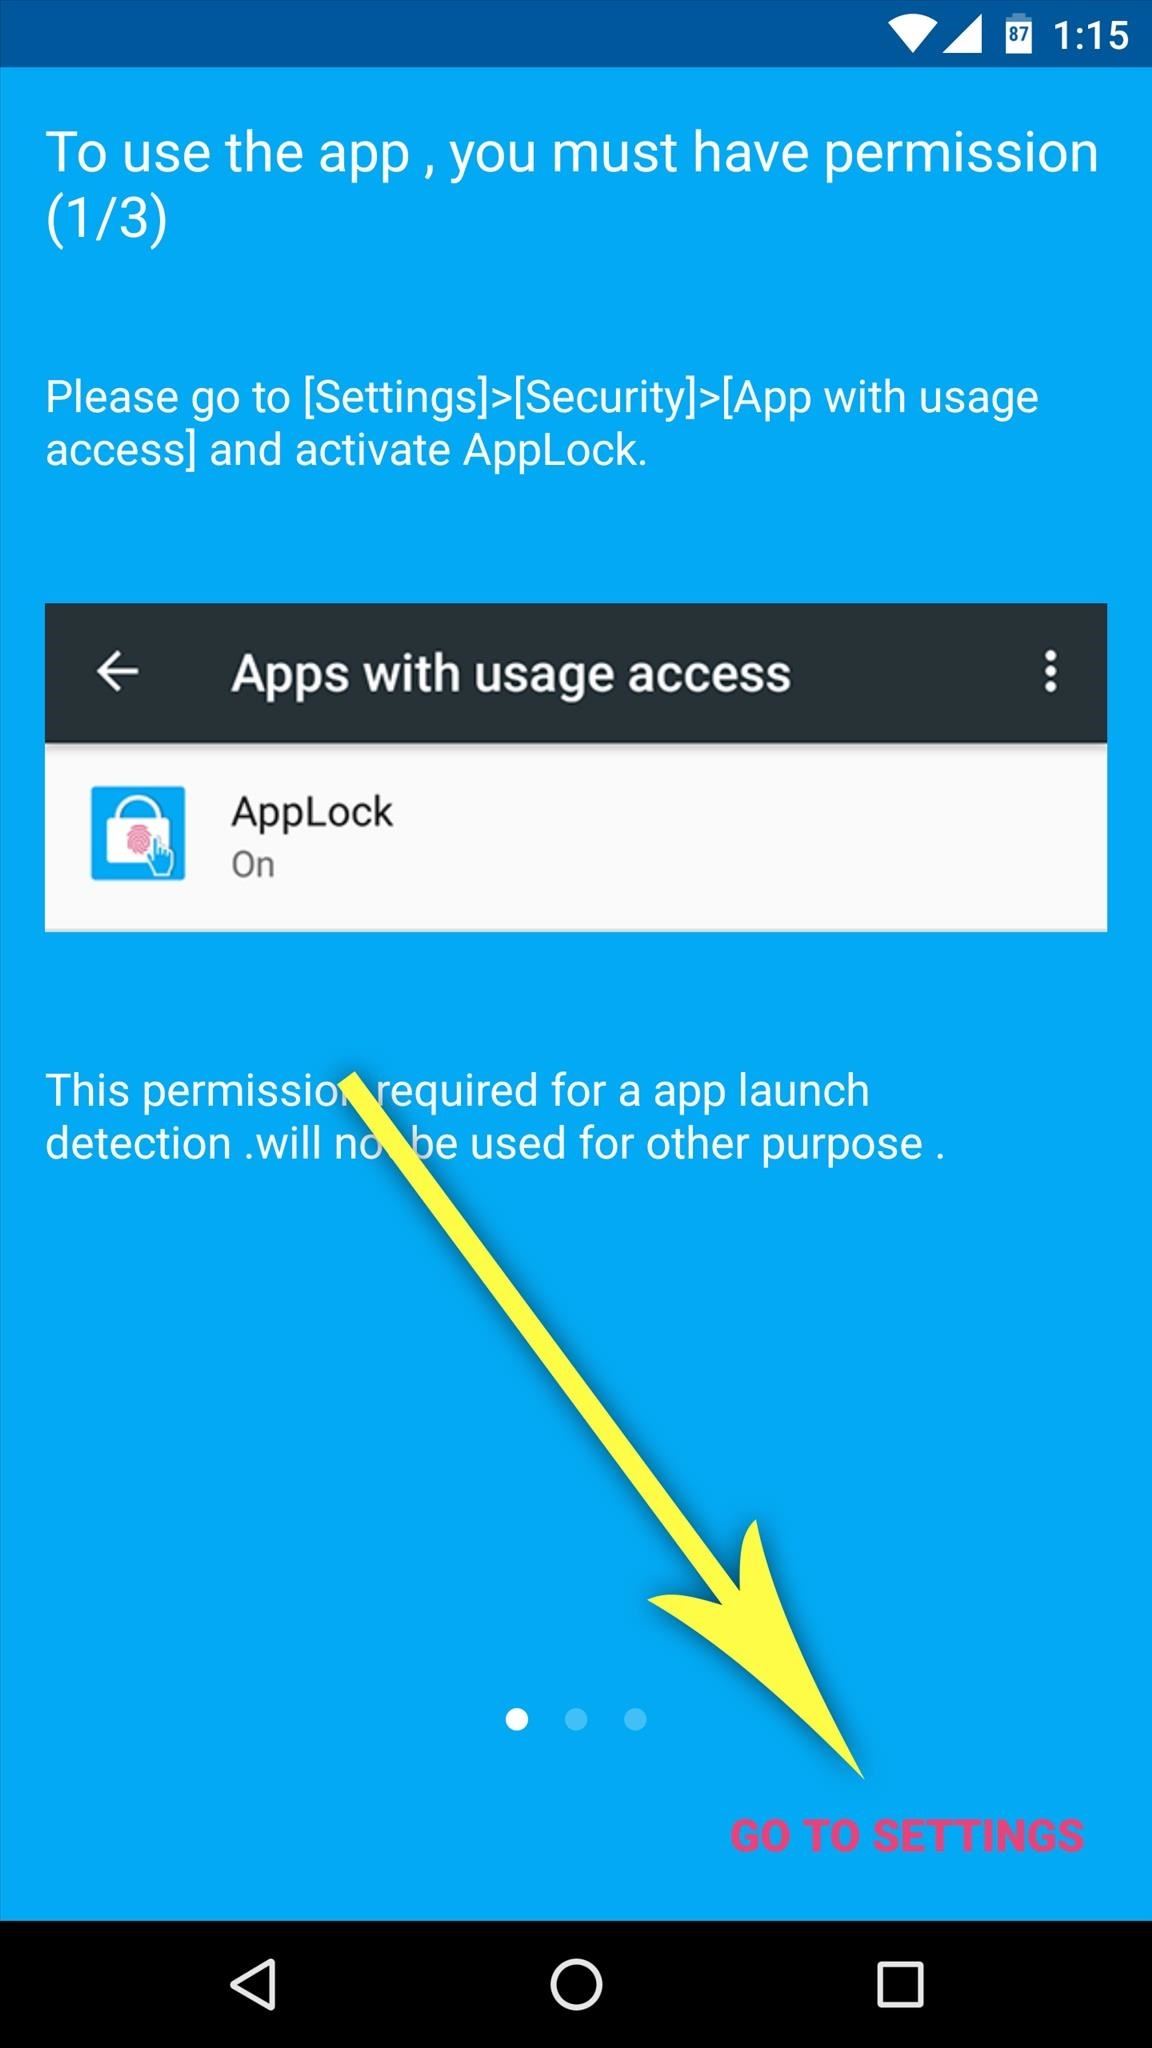
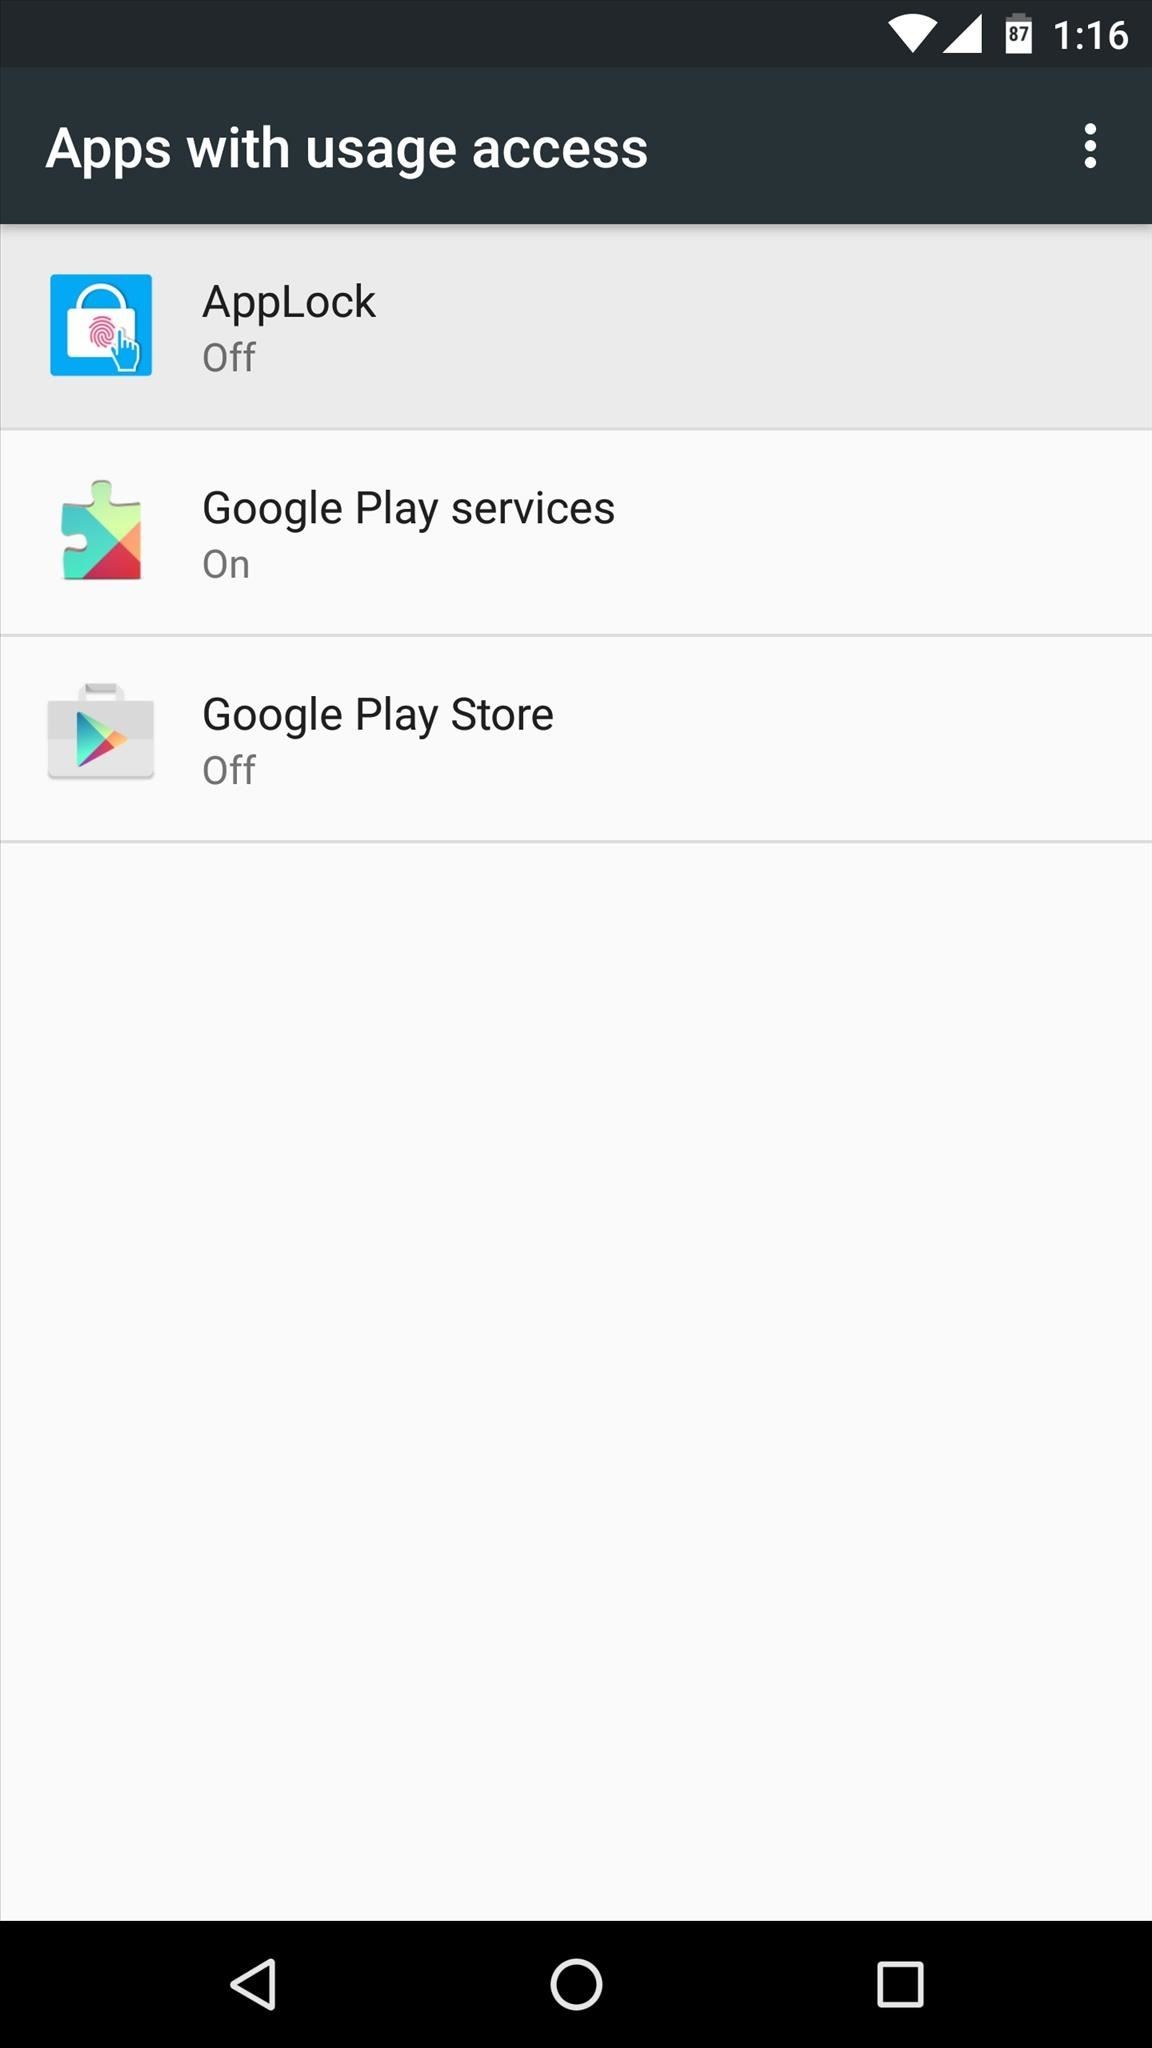
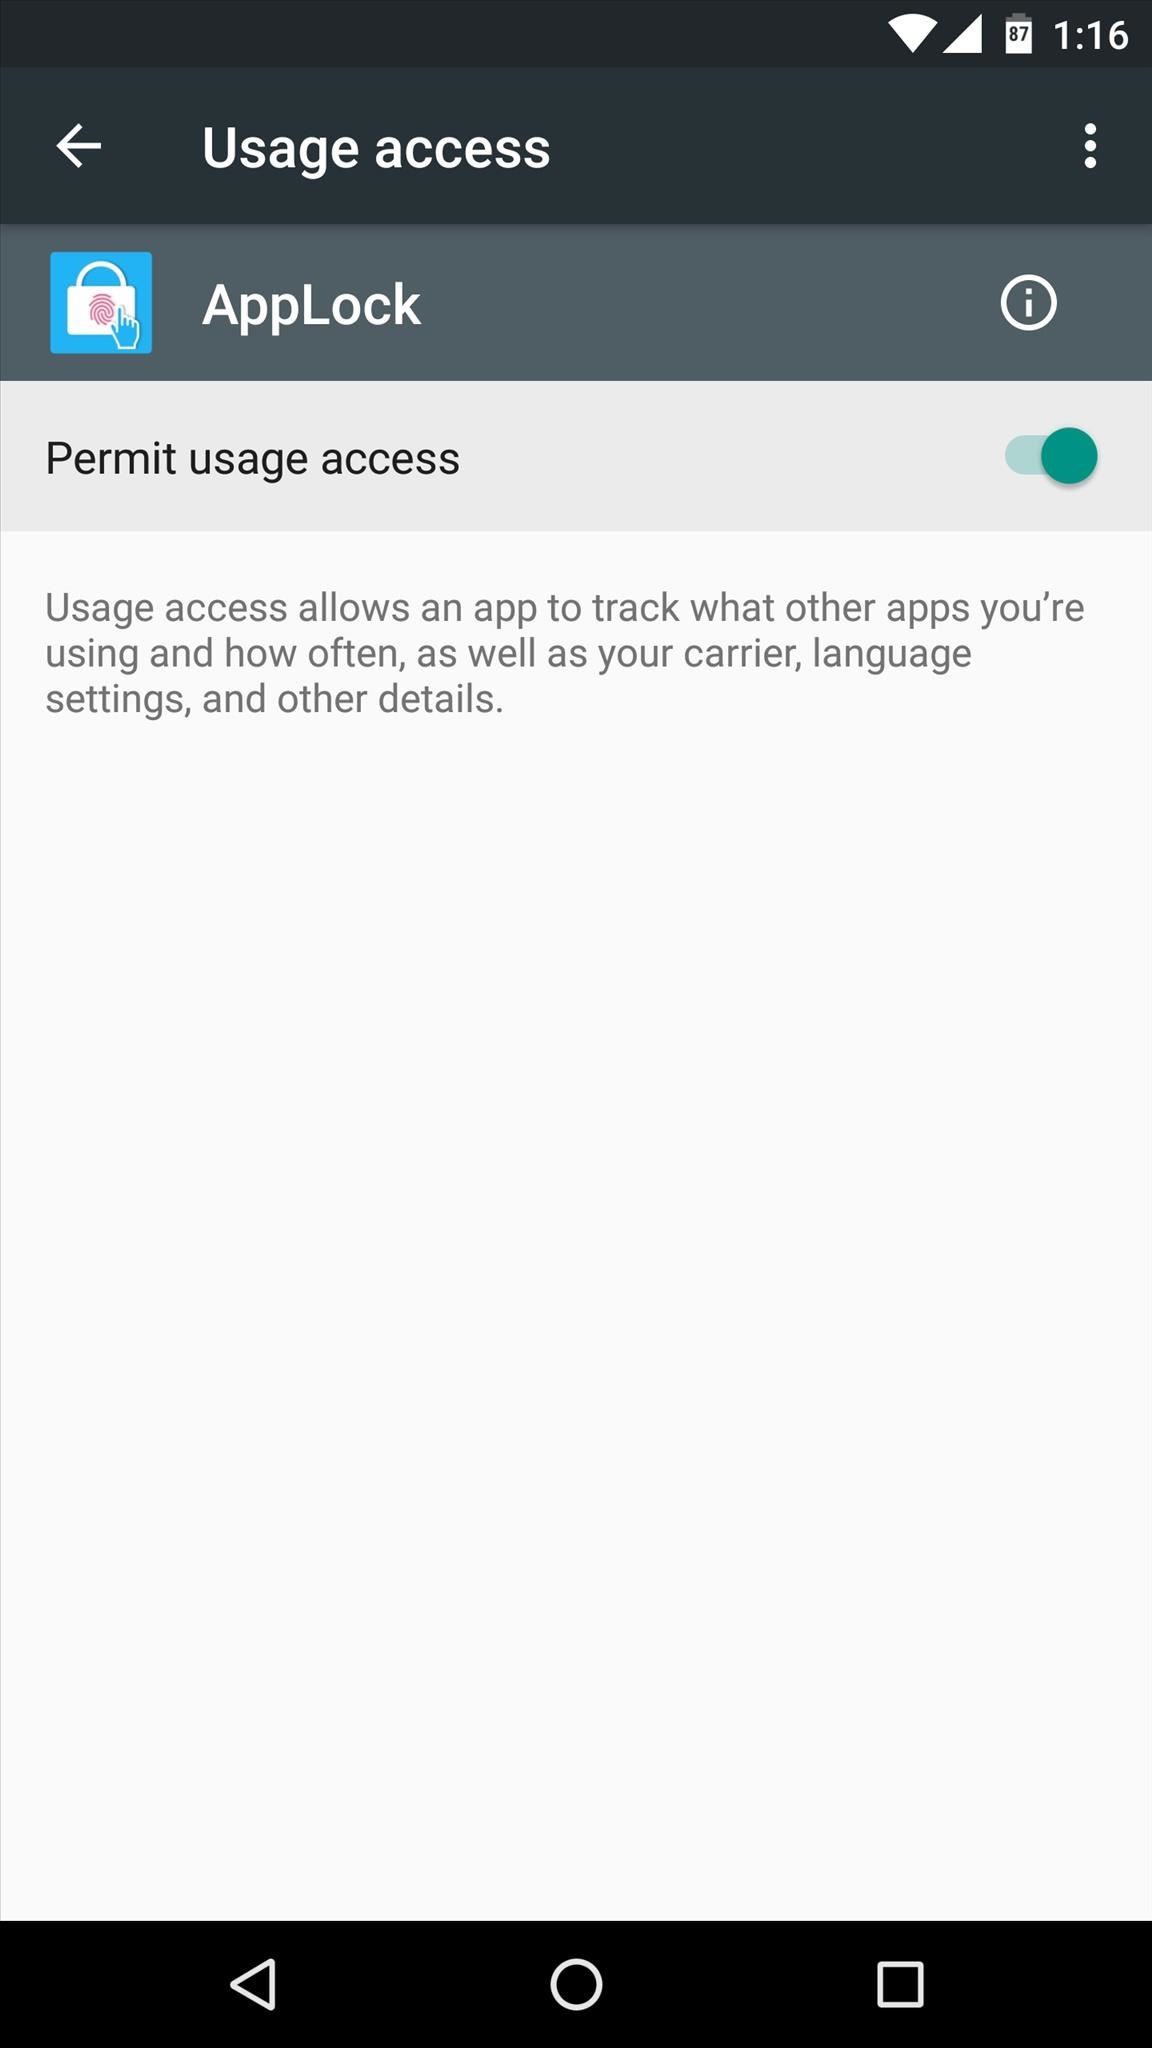
From here, head back to AppLock by tapping your back button twice. Next, simply repeat this same process for the other two permissions the app requests, and you’ll be just about ready to go.
Step 3: Select Apps to Lock with Your Fingerprint
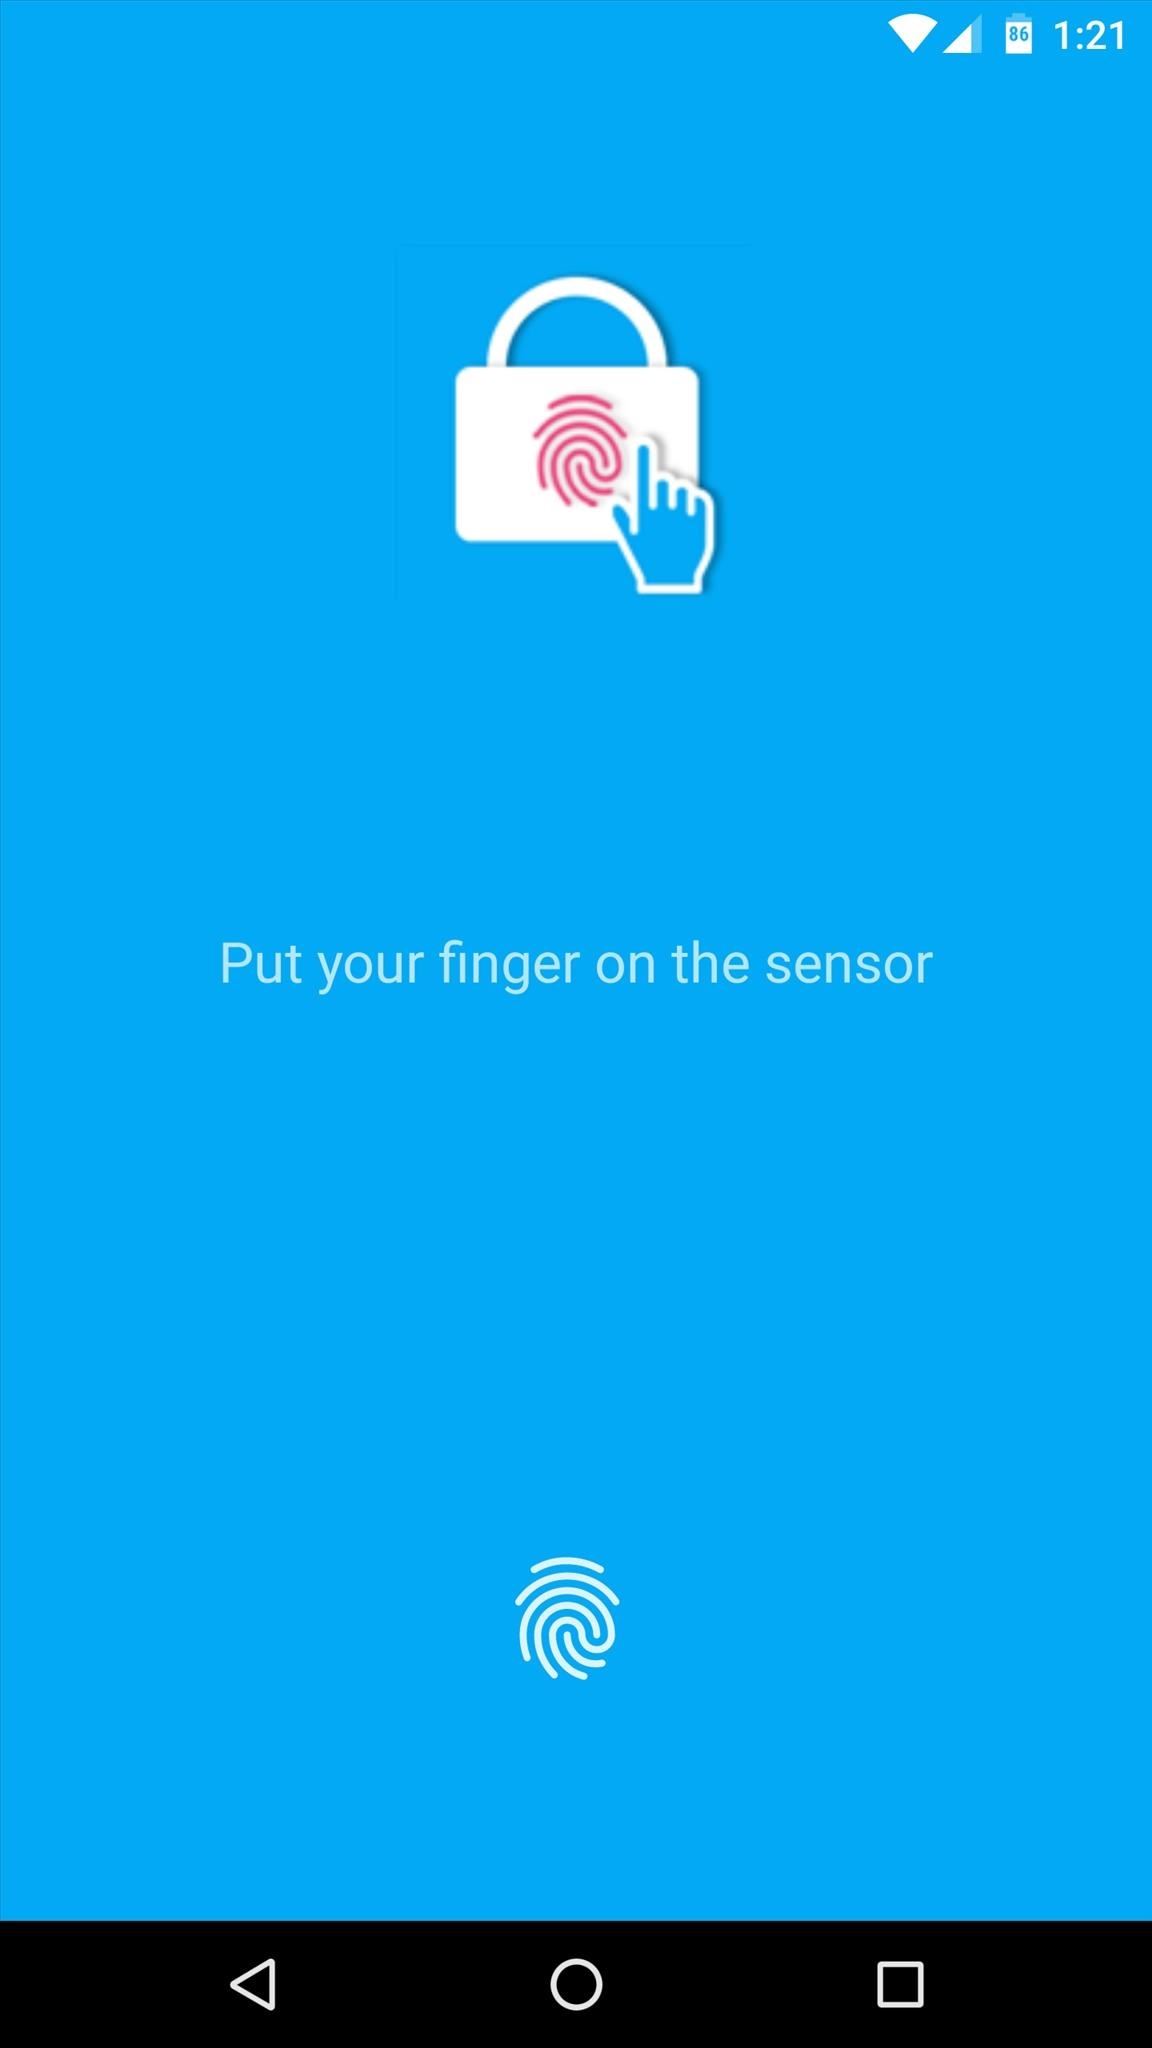
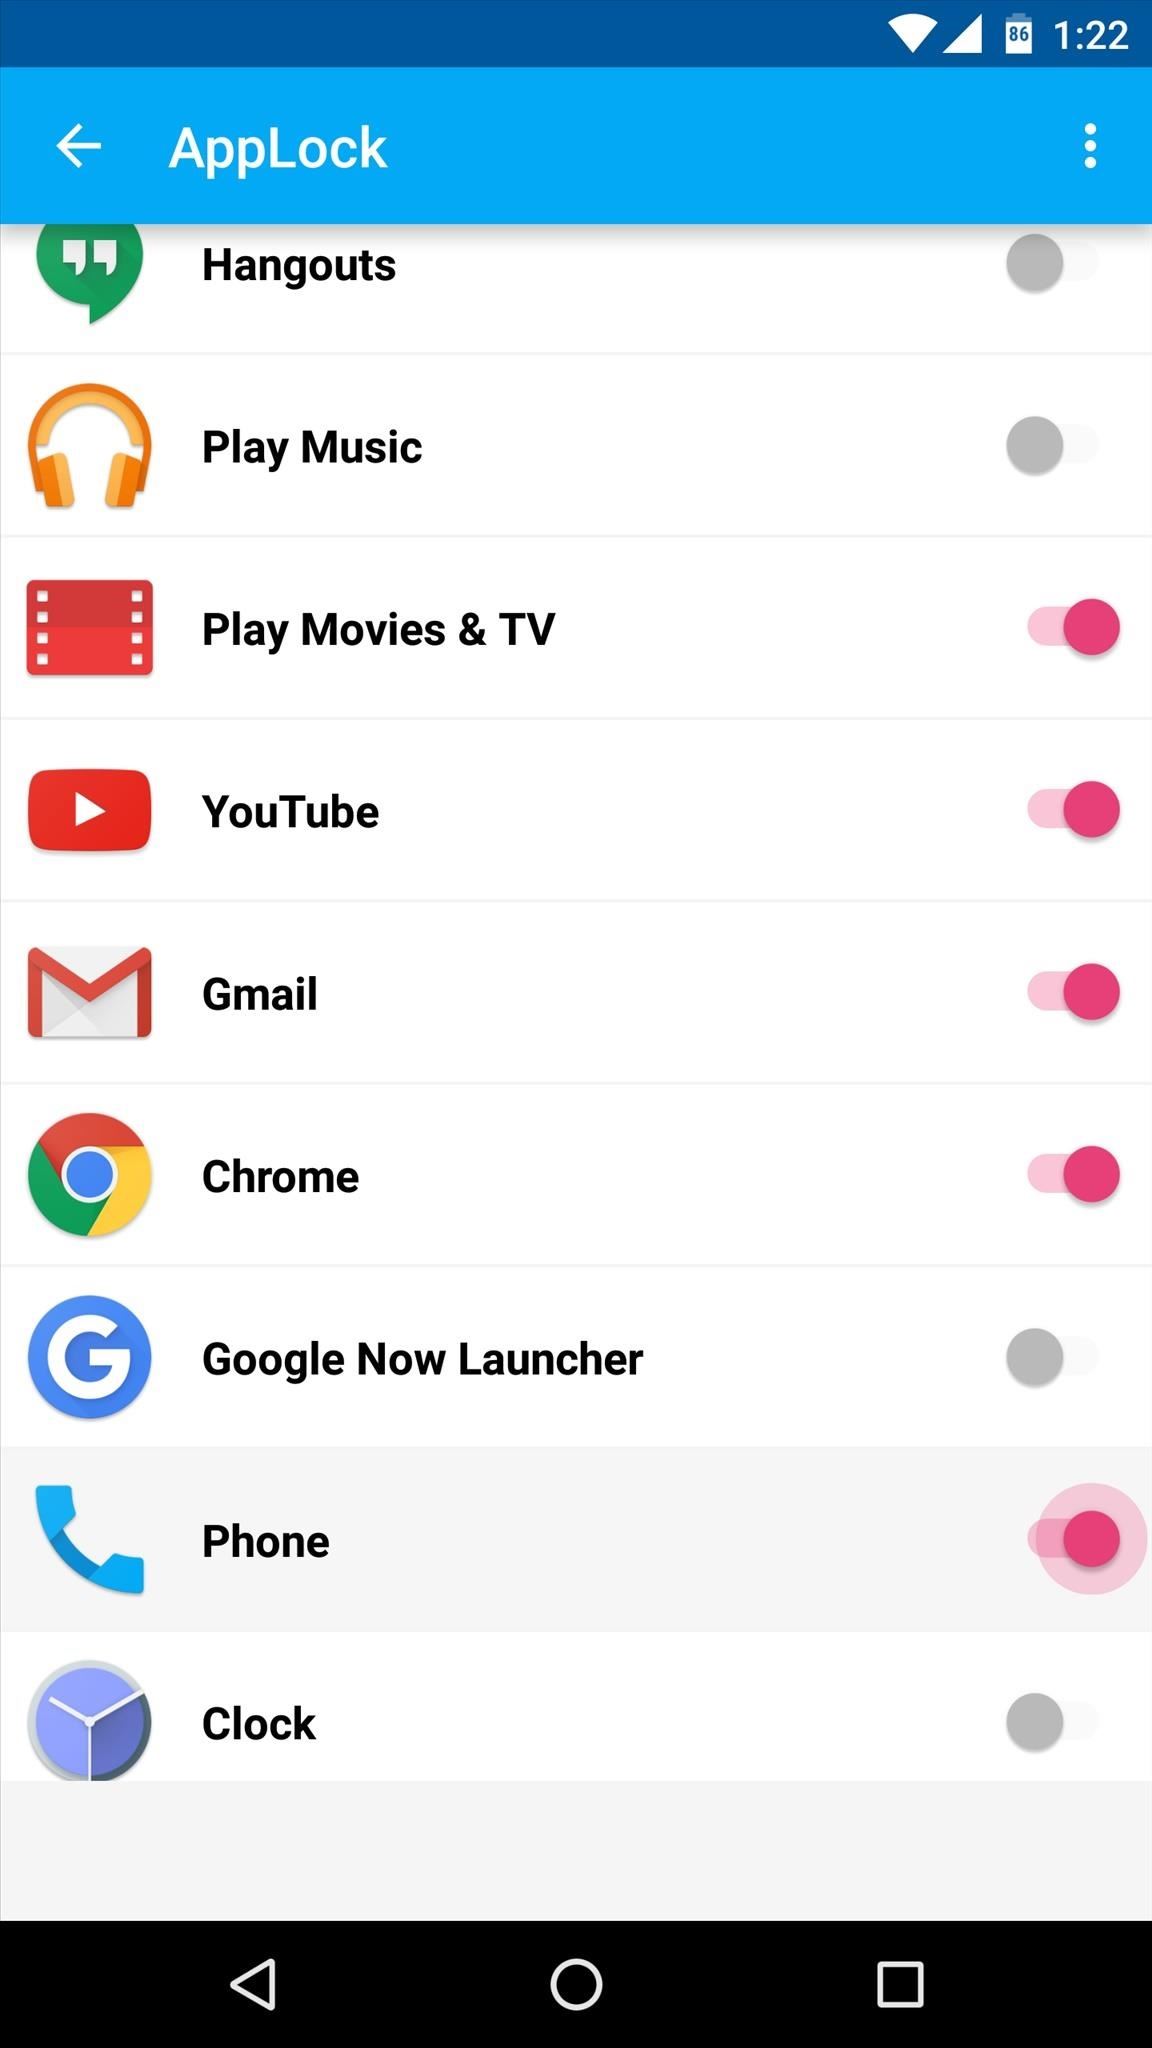
Once all three of the permissions have been granted, AppLock will ask you to scan your fingerprint. Once you do that, you’ll see a list of all your installed apps.
To lock any app and require that your fingerprint is scanned before the app can be used, simply toggle the switch next to the entry. You can repeat this process for as many apps as you’d like, and when you’re done, simply exit AppLock.
Step 4: Unlock Apps with Your Fingerprint
From now on, any time you open one of the apps you selected, you’ll be required to scan your fingerprint before you can use it. Because of the permissions AppLock requested, it would be virtually impossible for anyone to bypass this fingerprint lock screen, so you can rest assured knowing that only you can access these apps.
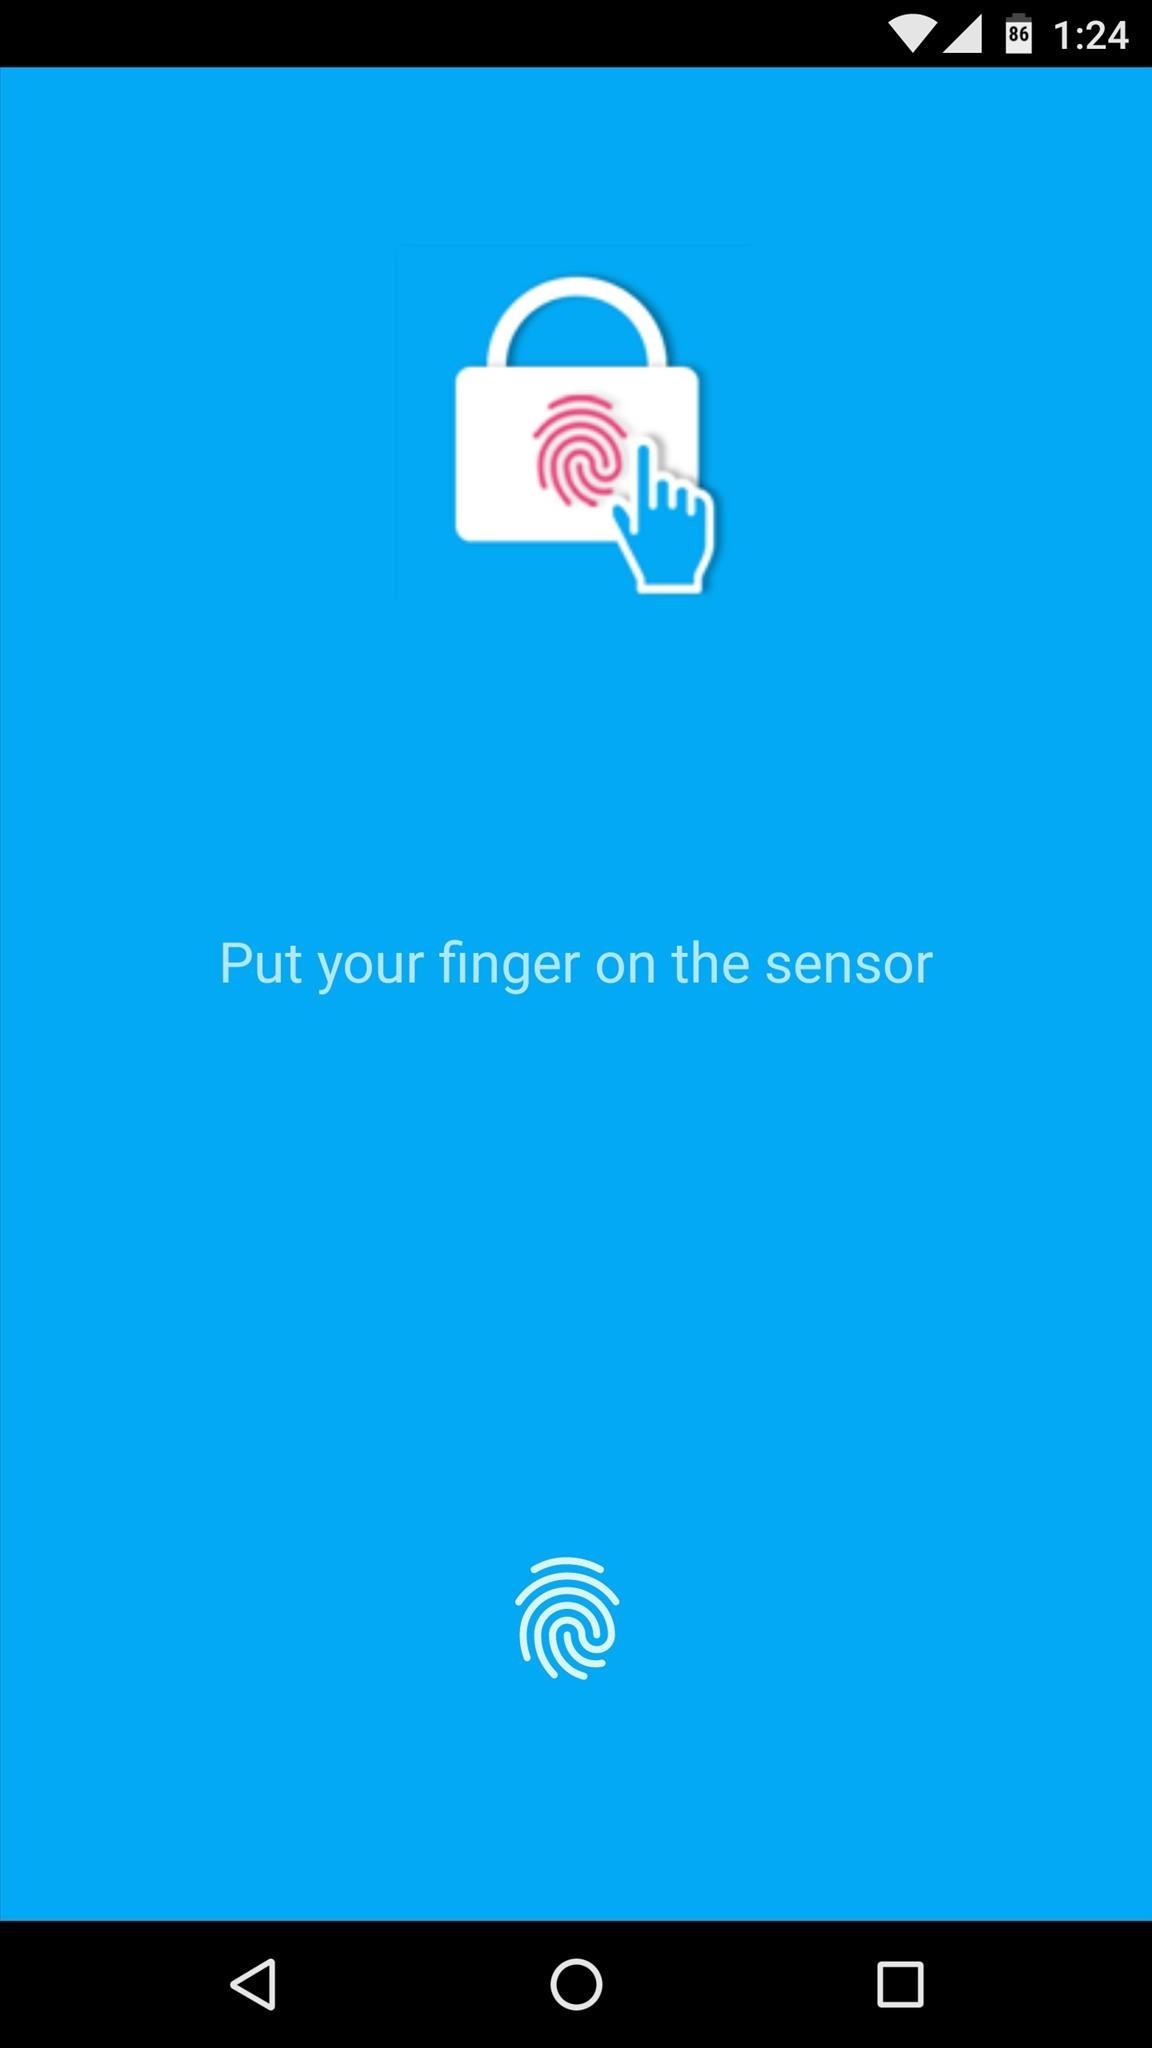
Personally, I’m locking out my gallery app for privacy, my banking app for security, and a few others for peace of mind. What apps did you lock using AppLock? Let us know in the comment section below, or drop us a line on Android Hacks’ Facebook or Twitter, or on Gadget Hacks’ Facebook, Google+, or Twitter.
Hot Deal: Set up a secure second phone number and keep your real contact details hidden with a yearly subscription to Hushed Private Phone Line for Android/iOS, 83%–91% off. It’s a perfect second-line solution for making calls and sending texts related to work, dating, Craigslist sales, and other scenarios where you wouldn’t want to give out your primary phone number.
“Hey there, just a heads-up: We’re part of the Amazon affiliate program, so when you buy through links on our site, we may earn a small commission. But don’t worry, it doesn’t cost you anything extra and helps us keep the lights on. Thanks for your support!”


