Xposed, by XDA developer rovo89, is a framework for your Samsung Galaxy S4 (or other Android device) that lets you add tweaks and customizations to your ROM (either stock or custom) without any real hassle.
This pretty much means that your GS4 can have the features of a custom ROM without ever having to install one—and you get to pick and choose which softMods you want to add to your system.
Before Proceeding: Root!
You will need a rooted phone for this tutorial. If you have the AT&T GS4 with MF3 firmware, you can check out my full rooting guide for help. If you have another version, you can try one of our other softModder guides to rooting the GS4 for instructions.
Step 1: Back Up Your Data
As a precaution, you should create a full nandroid backup using your recovery (either ClockworkMod or TWRP). If you don’t have a custom recovery, you should back up as much stuff as you can. The very popular Titanium Backup gets the job done in backing up all your apps and system data.
Step 2: Enable Unknown Sources
You might have done this already through previous softModder guides, but if you haven’t already, its quite simple. Just tap on your GS4’s menu button, go to Settings -> More -> Security, and under Device administration, make sure Unknown sources is checked.
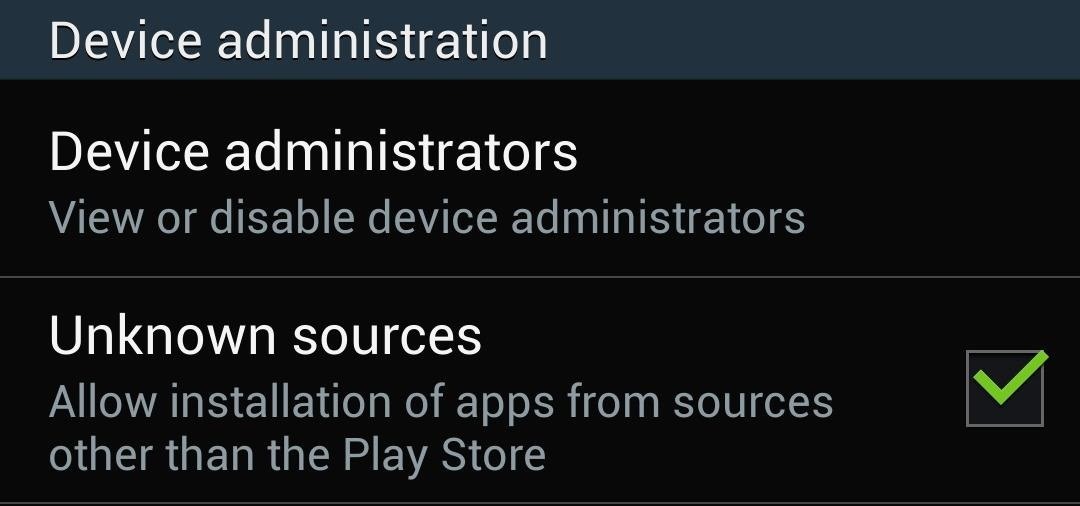
This will allow us to install apps from outside the Google Play Store.
Step 3: Download the Xposed Framework
You can grab the latest version here of the Xposed Framework right here. Download directly onto your device.
Step 4: Install the Xposed Installer
Once you finish downloading the .apk file above, the Download complete alert will pop up in your Notification tray. The .apk file gets updated every so often, so the file name that you have might vary, but it will look something like this: de.robv.android.xposed.installer_v#.apk.

Open it up and select Install at the bottom.
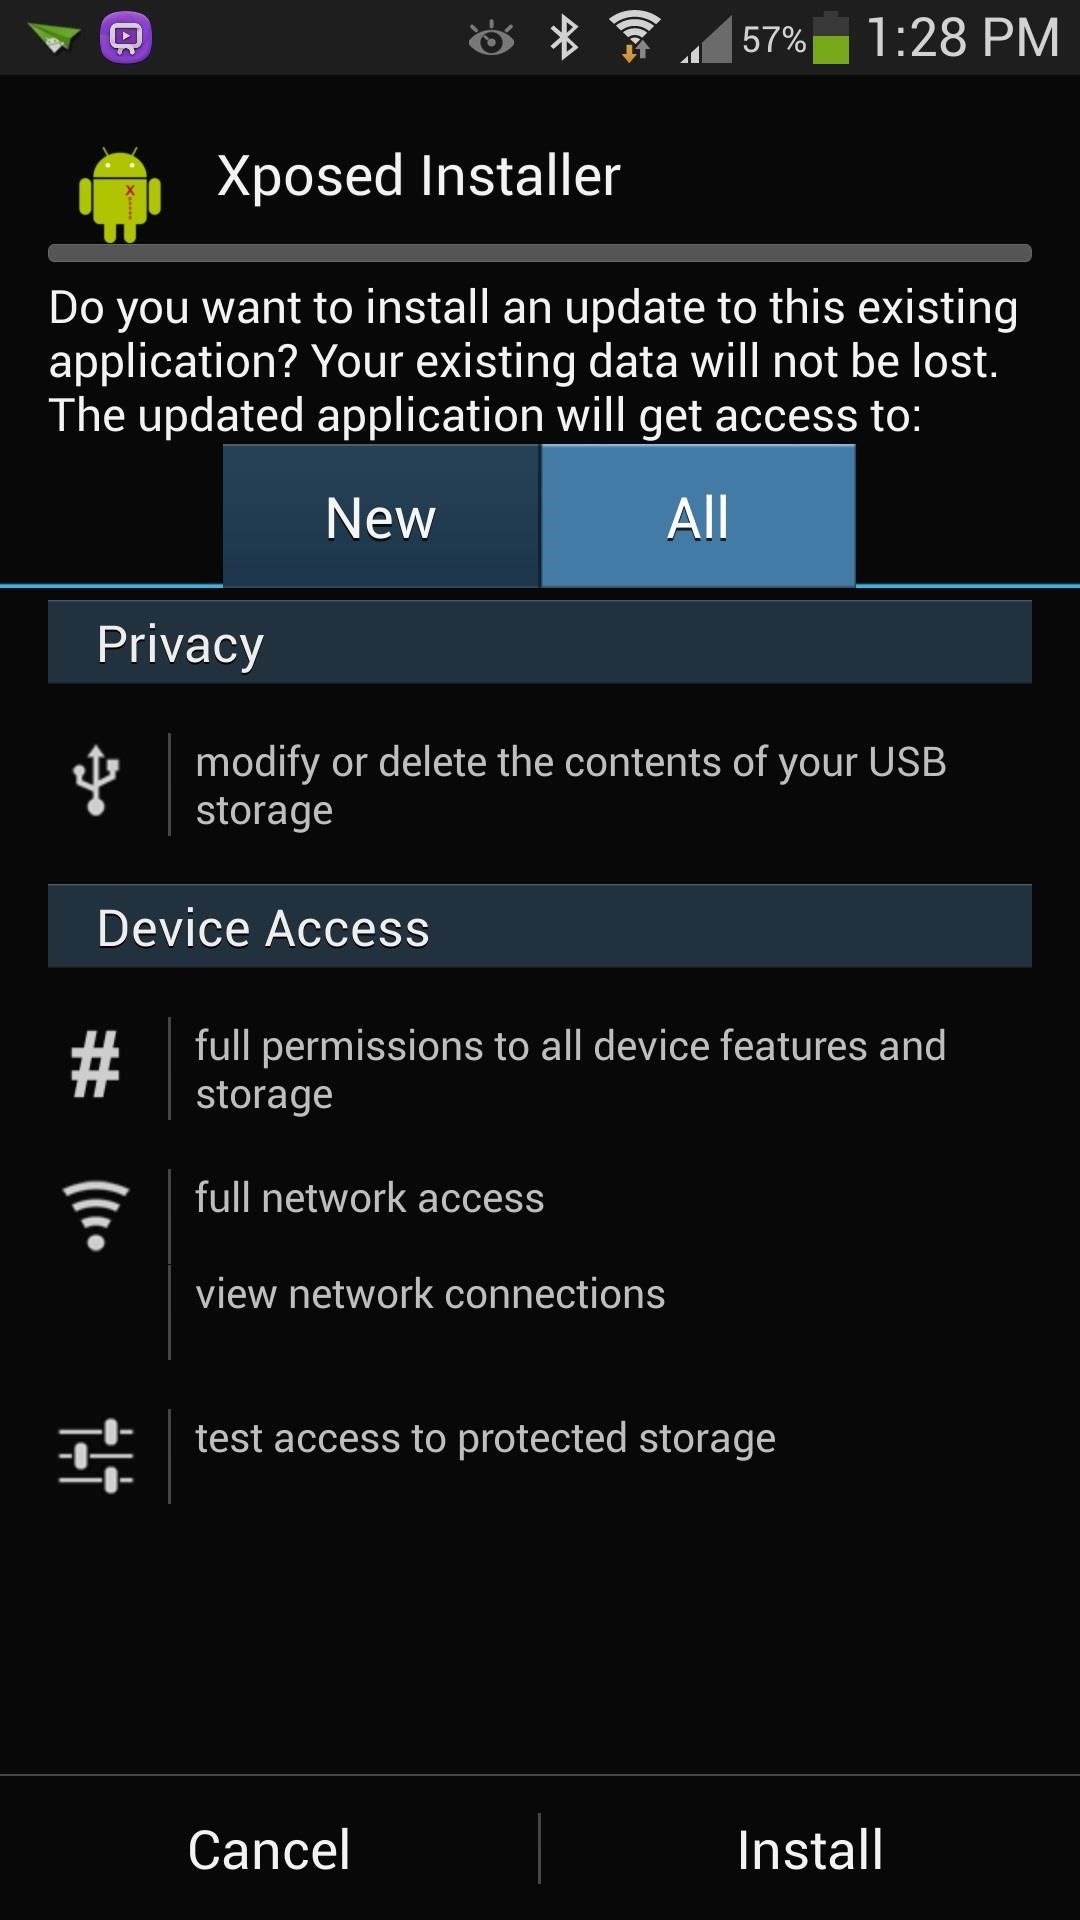
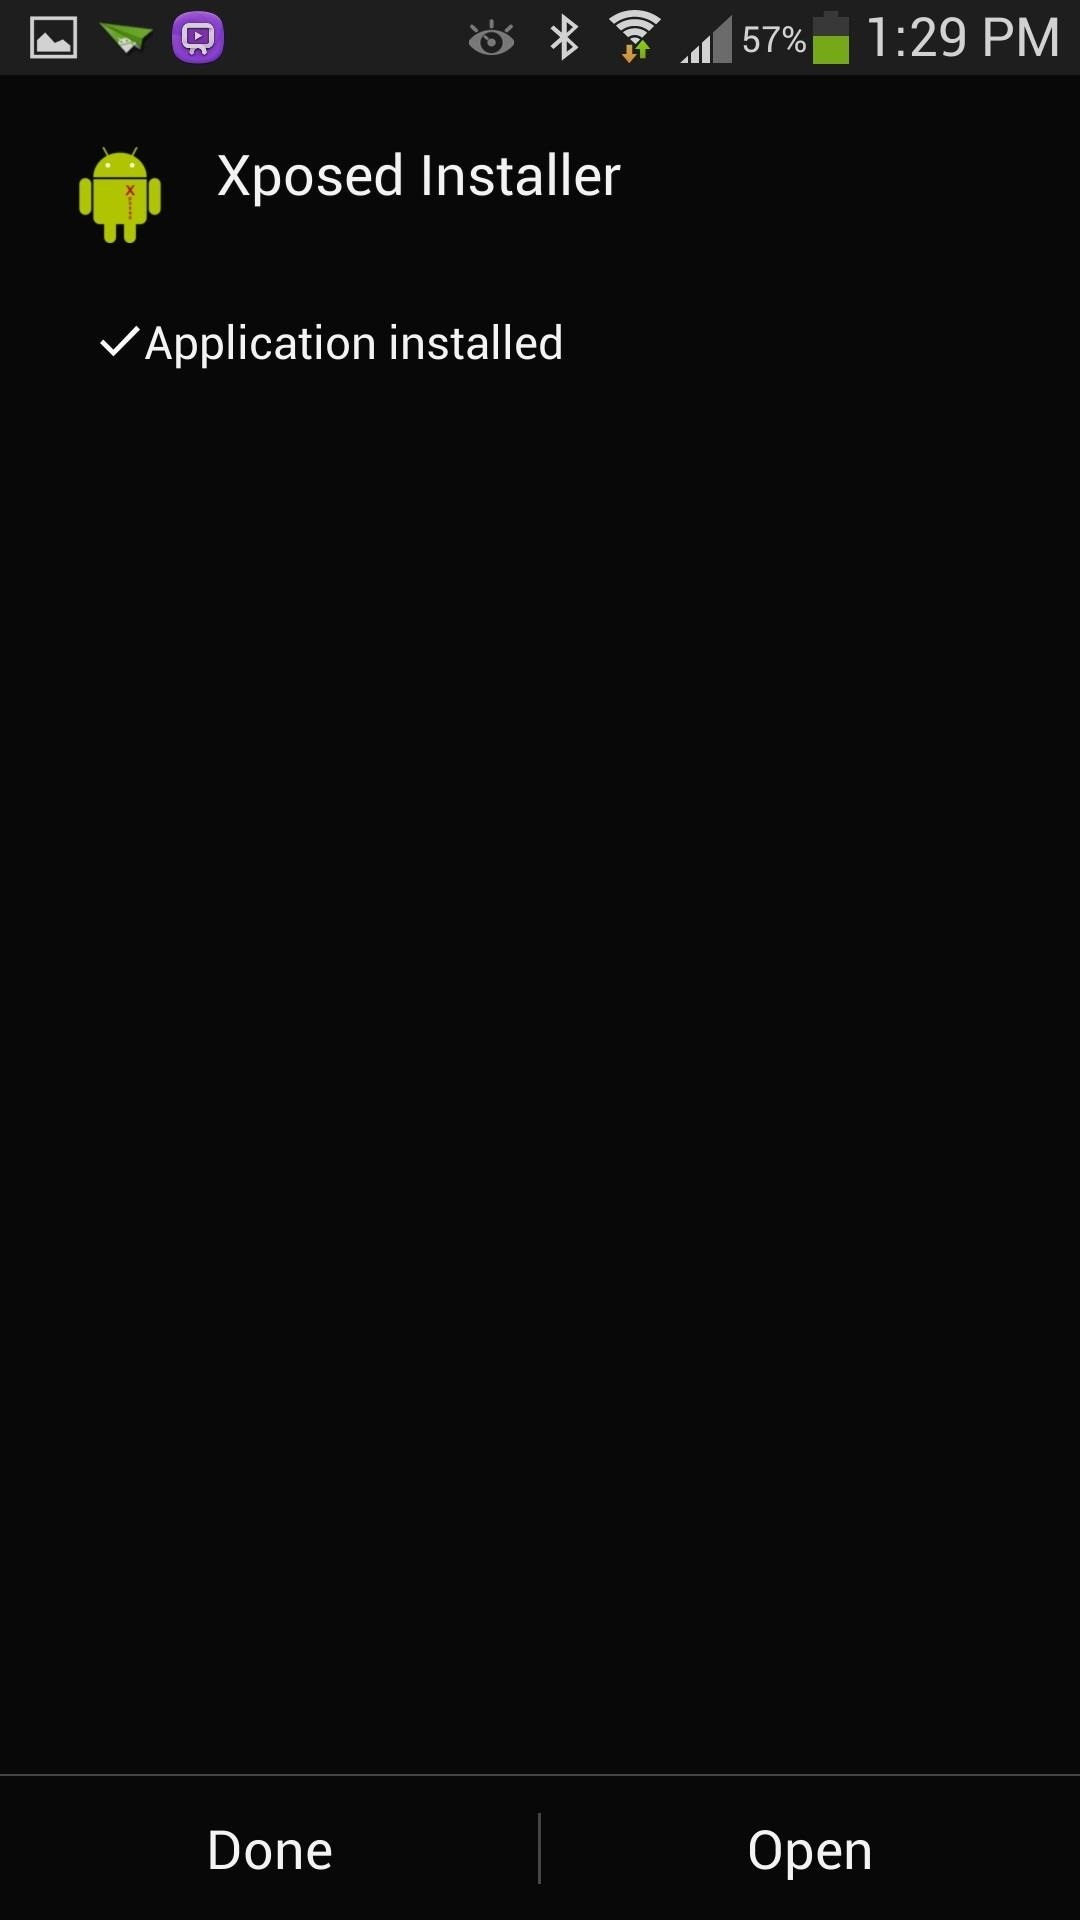
Tap Open once the install finishes.
Step 5: Run the Xposed Installer
Now, you haven’t actually installed the Xposed Framework quite yet; just the installer. Hopefully I don’t confuse you here, but it’s like downloading a software program’s installer file (like an .exe) onto Windows, then running the .exe to actually install the program.
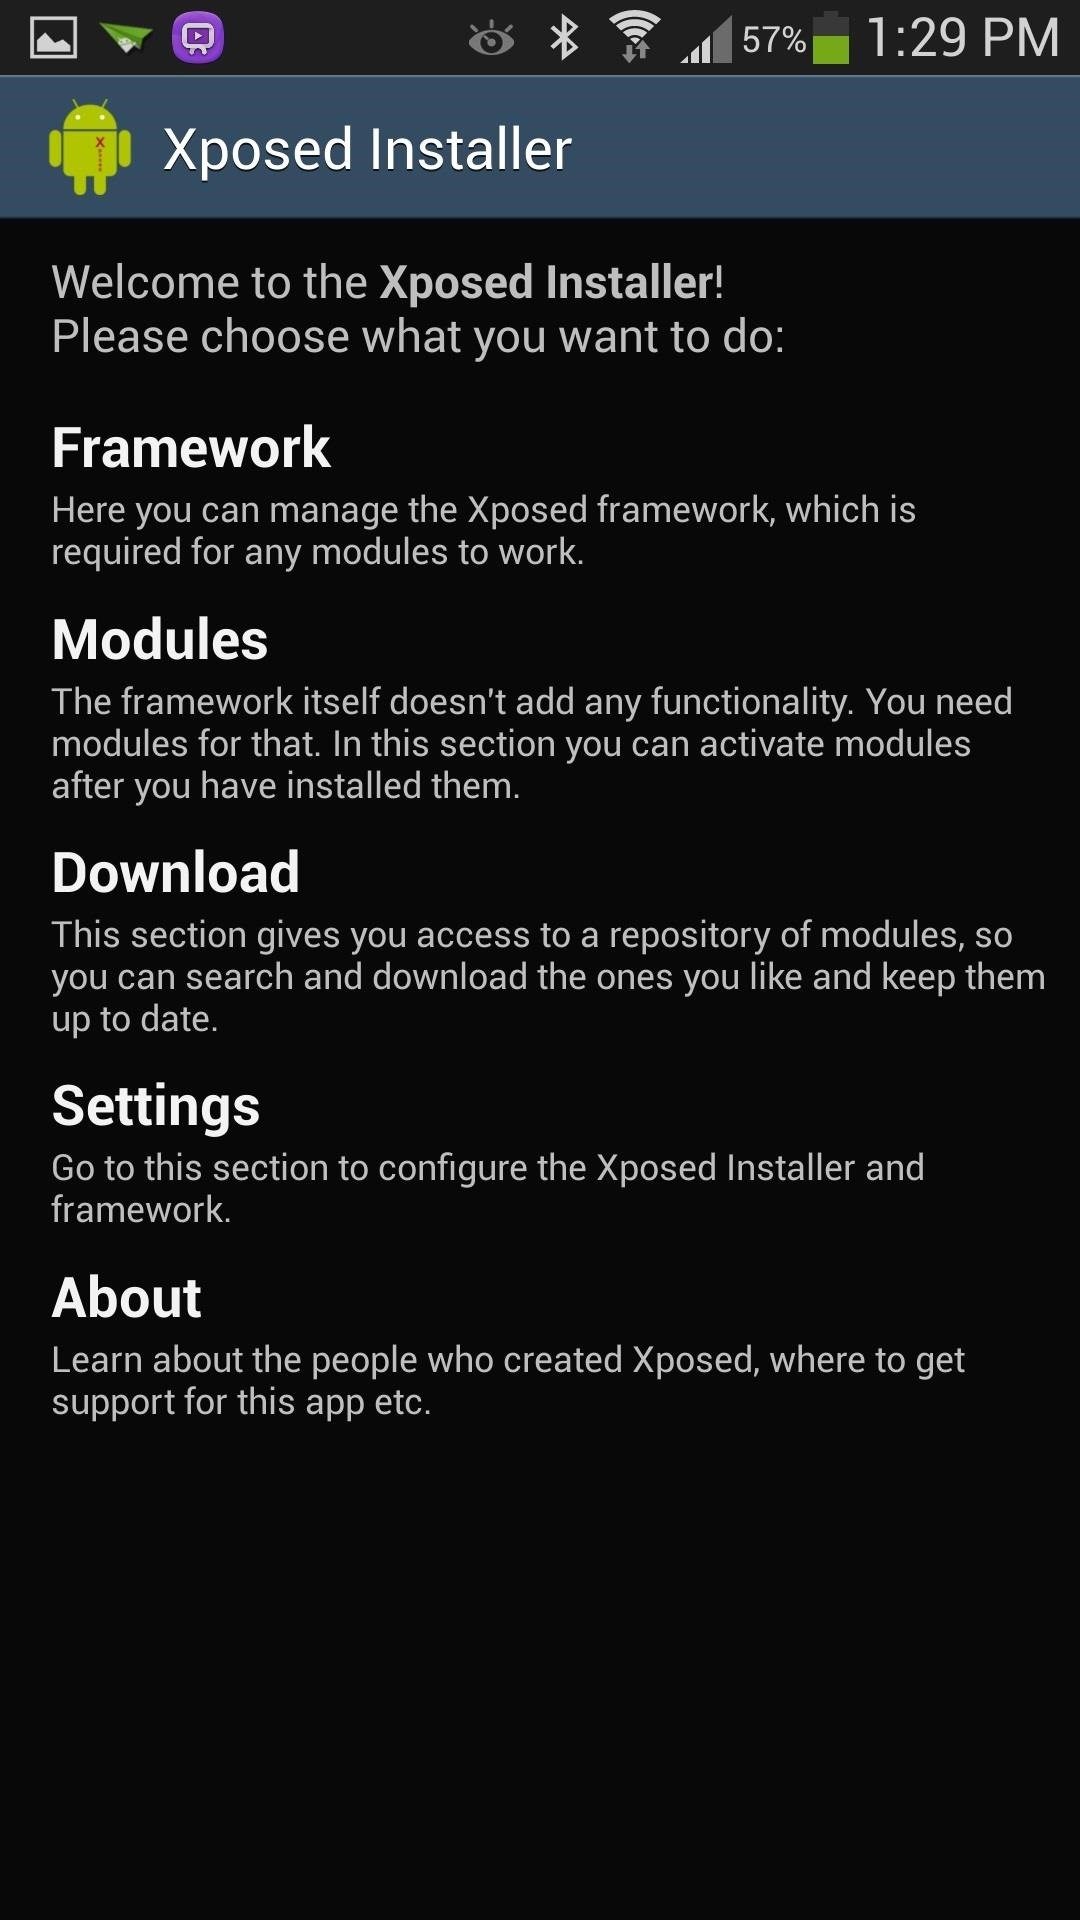
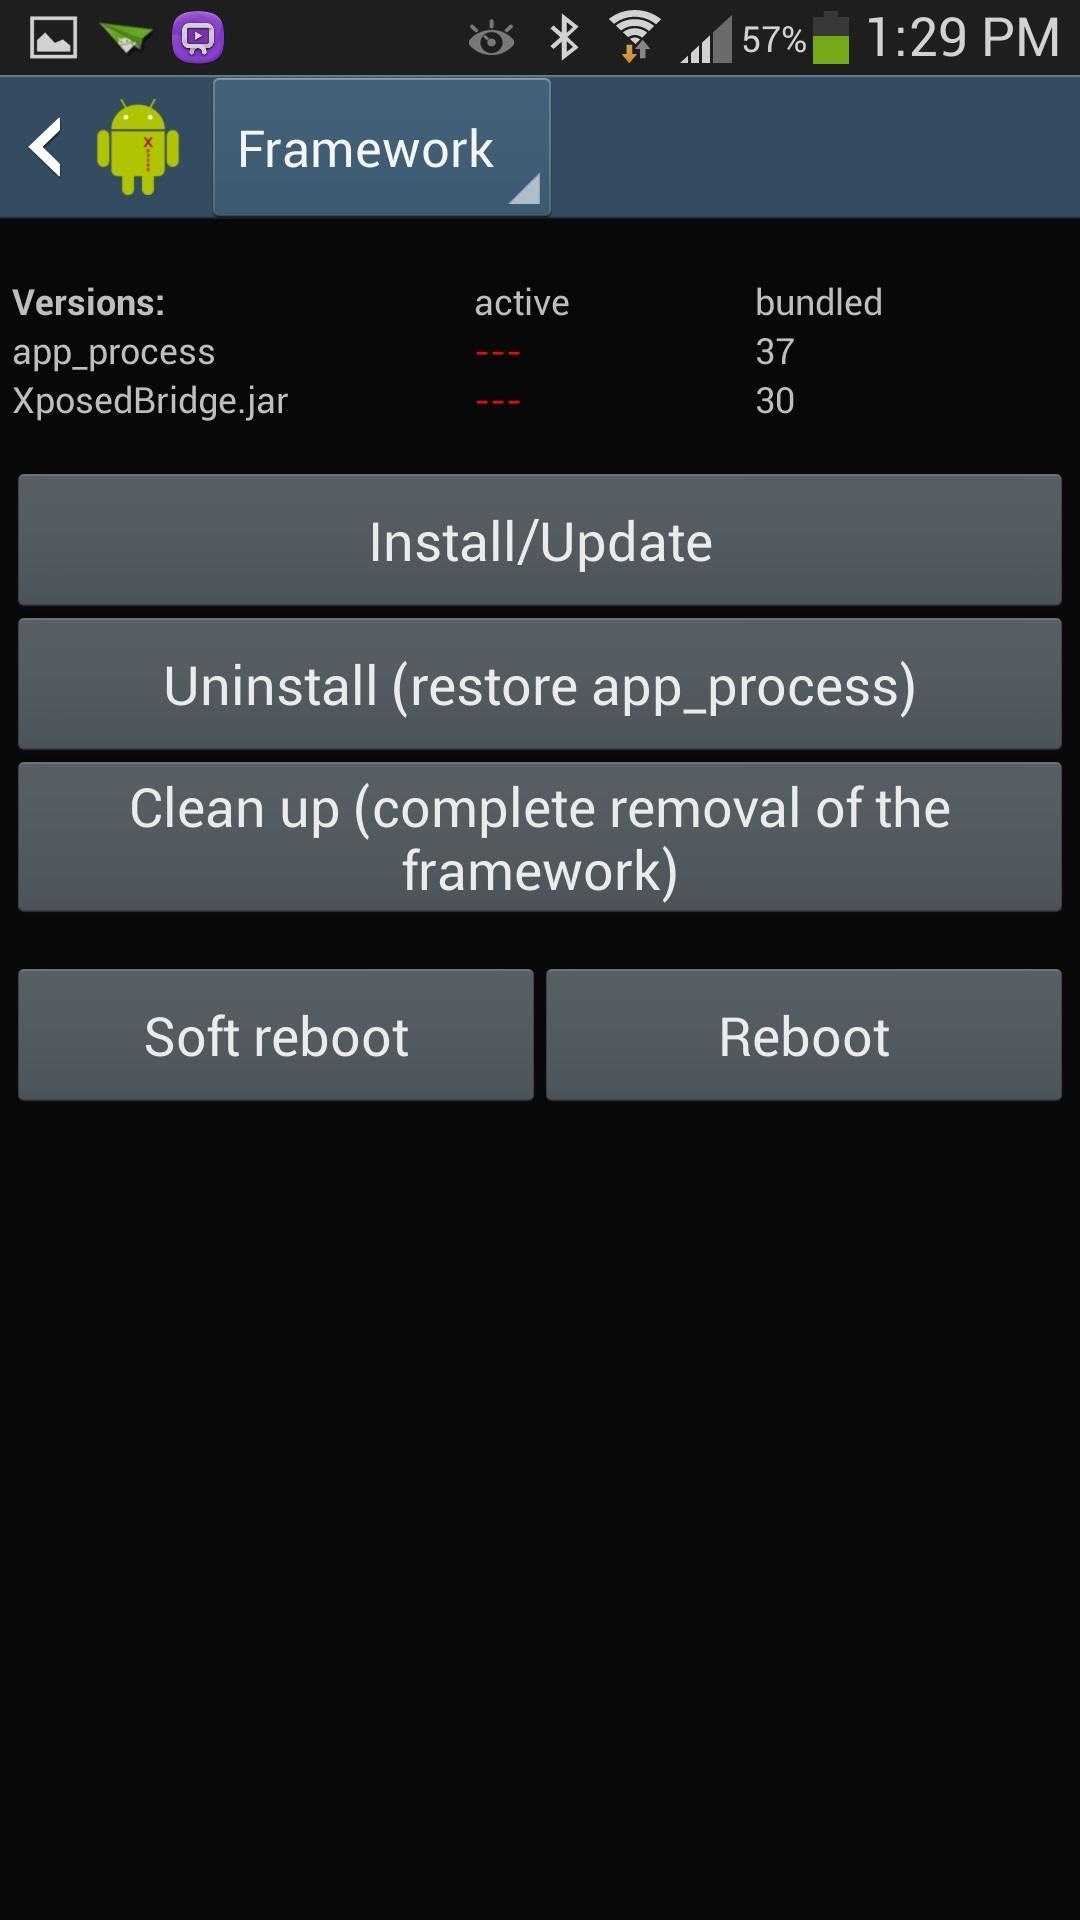
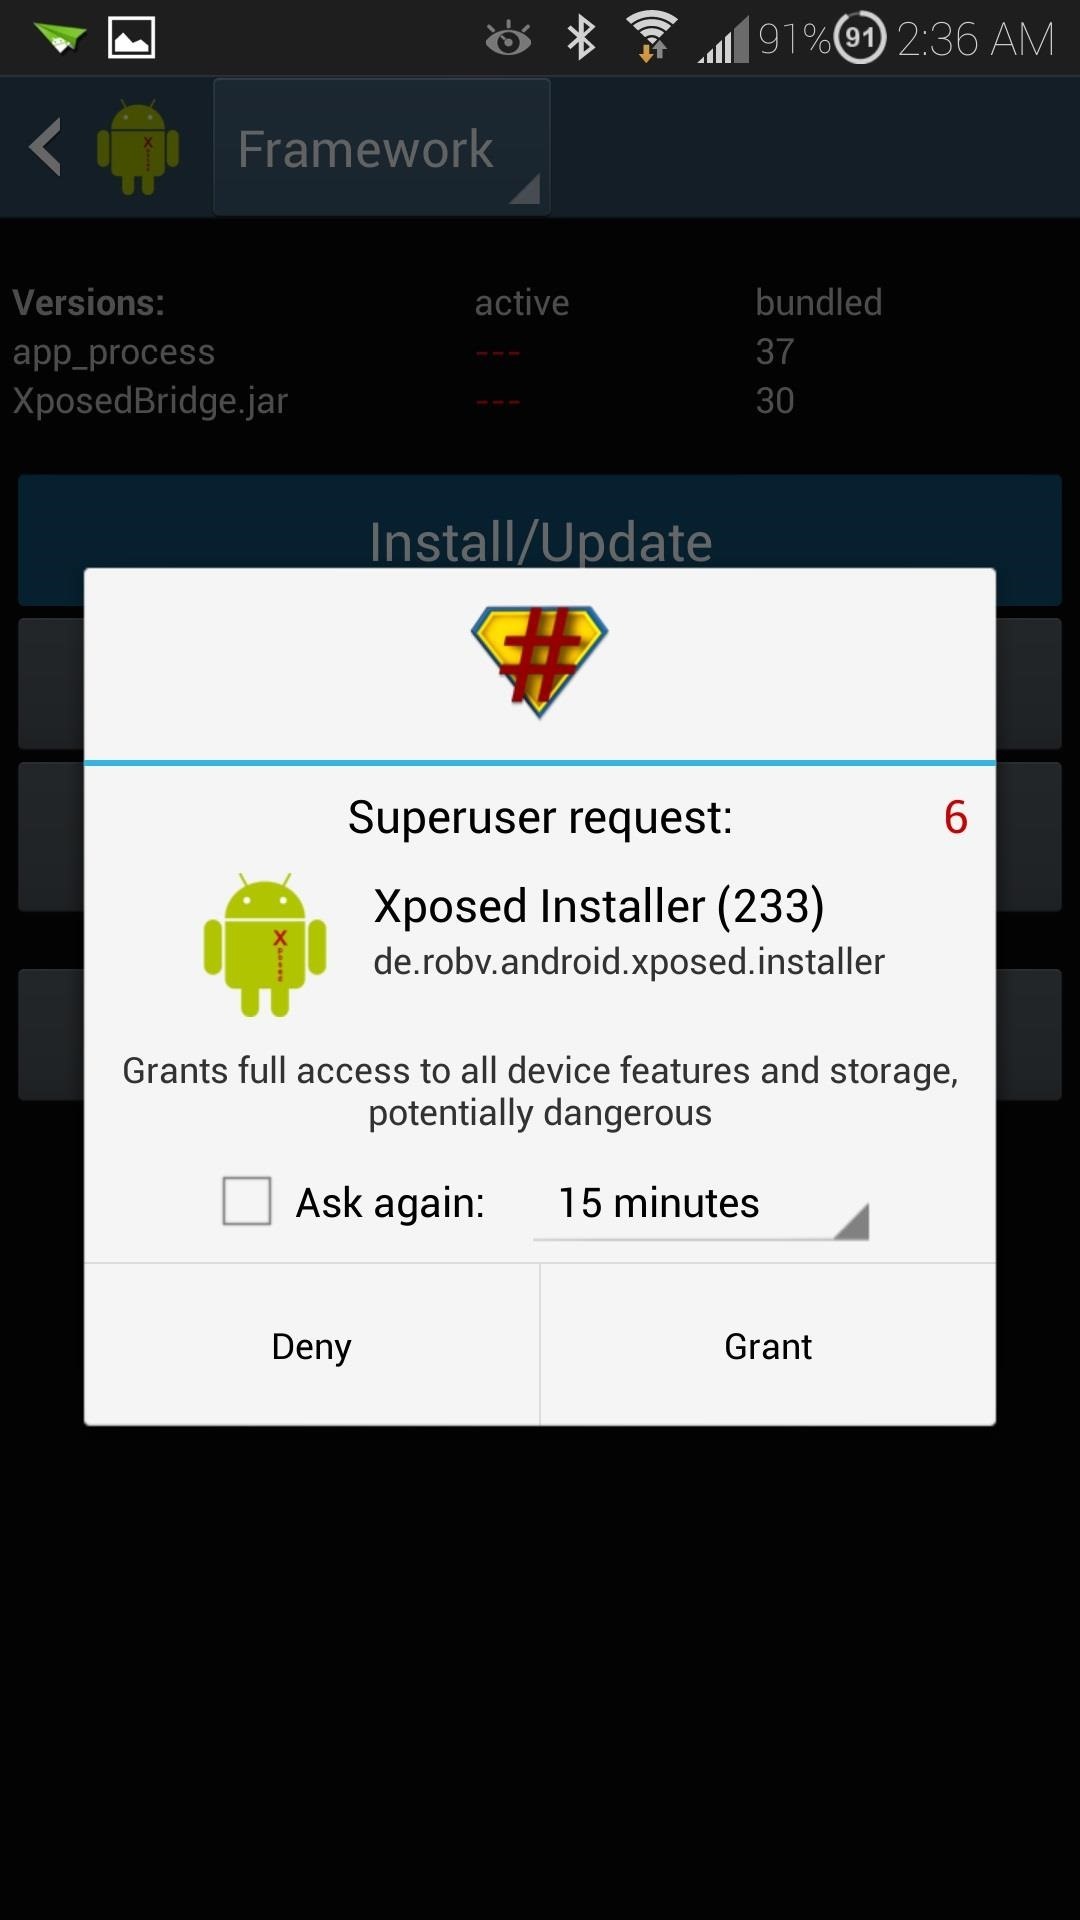
So in order to do so, tap on Framework, then Install/Update. A Superuser request should pop up; go ahead and select Grant.
Tip
If you ever need to uninstall Xposed, you would use the Uninstall, then Clean up buttons.
Step 6: Reboot Your GS4
You’ll need to reboot in order for the Xposed Framework to start working. You also need to do so every time you install an Xposed module or update Xposed.
Xposed Is Installed…Now What?
The Xposed Framework itself doesn’t actually do anything. What it does it provide a backbone for you to add modules, which do the actual modifications.
Step 1: Picking Modules
A good “starter pack” module to have for your GS4 is Wanam Xposed. It’s developed by Mohamed Karami, and available for free on the Google Play Store.
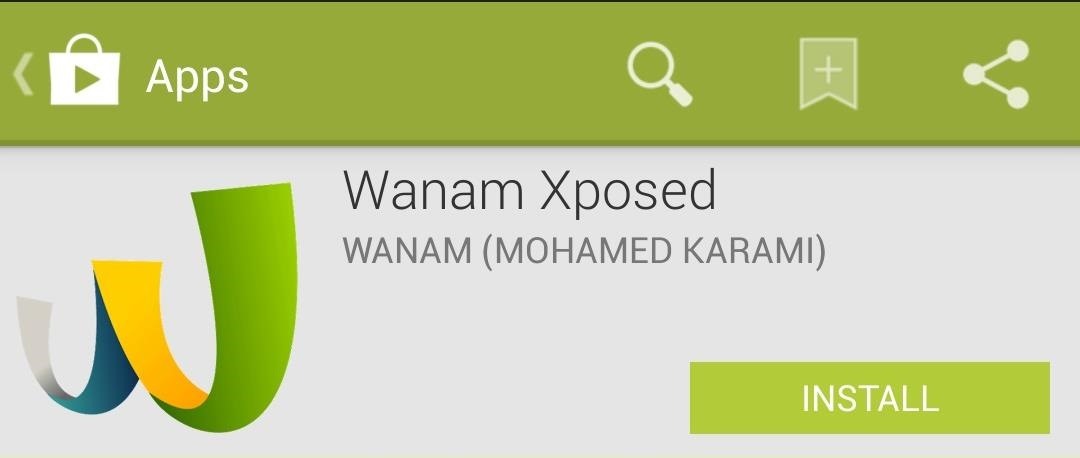
Check out its description in the Play Store for a list of customizations it offers. That list is huge! Just a few of my favorites:
- Flashlight through volume button UP
- Skip music with Volume buttons
- Transparent Notifications panel
Another good “starter pack” (for AT&T devices only) is Nottach Xposed. You can find a full guide on Nottach right here by fellow softModder Faisal.
Step 2: Installing Modules
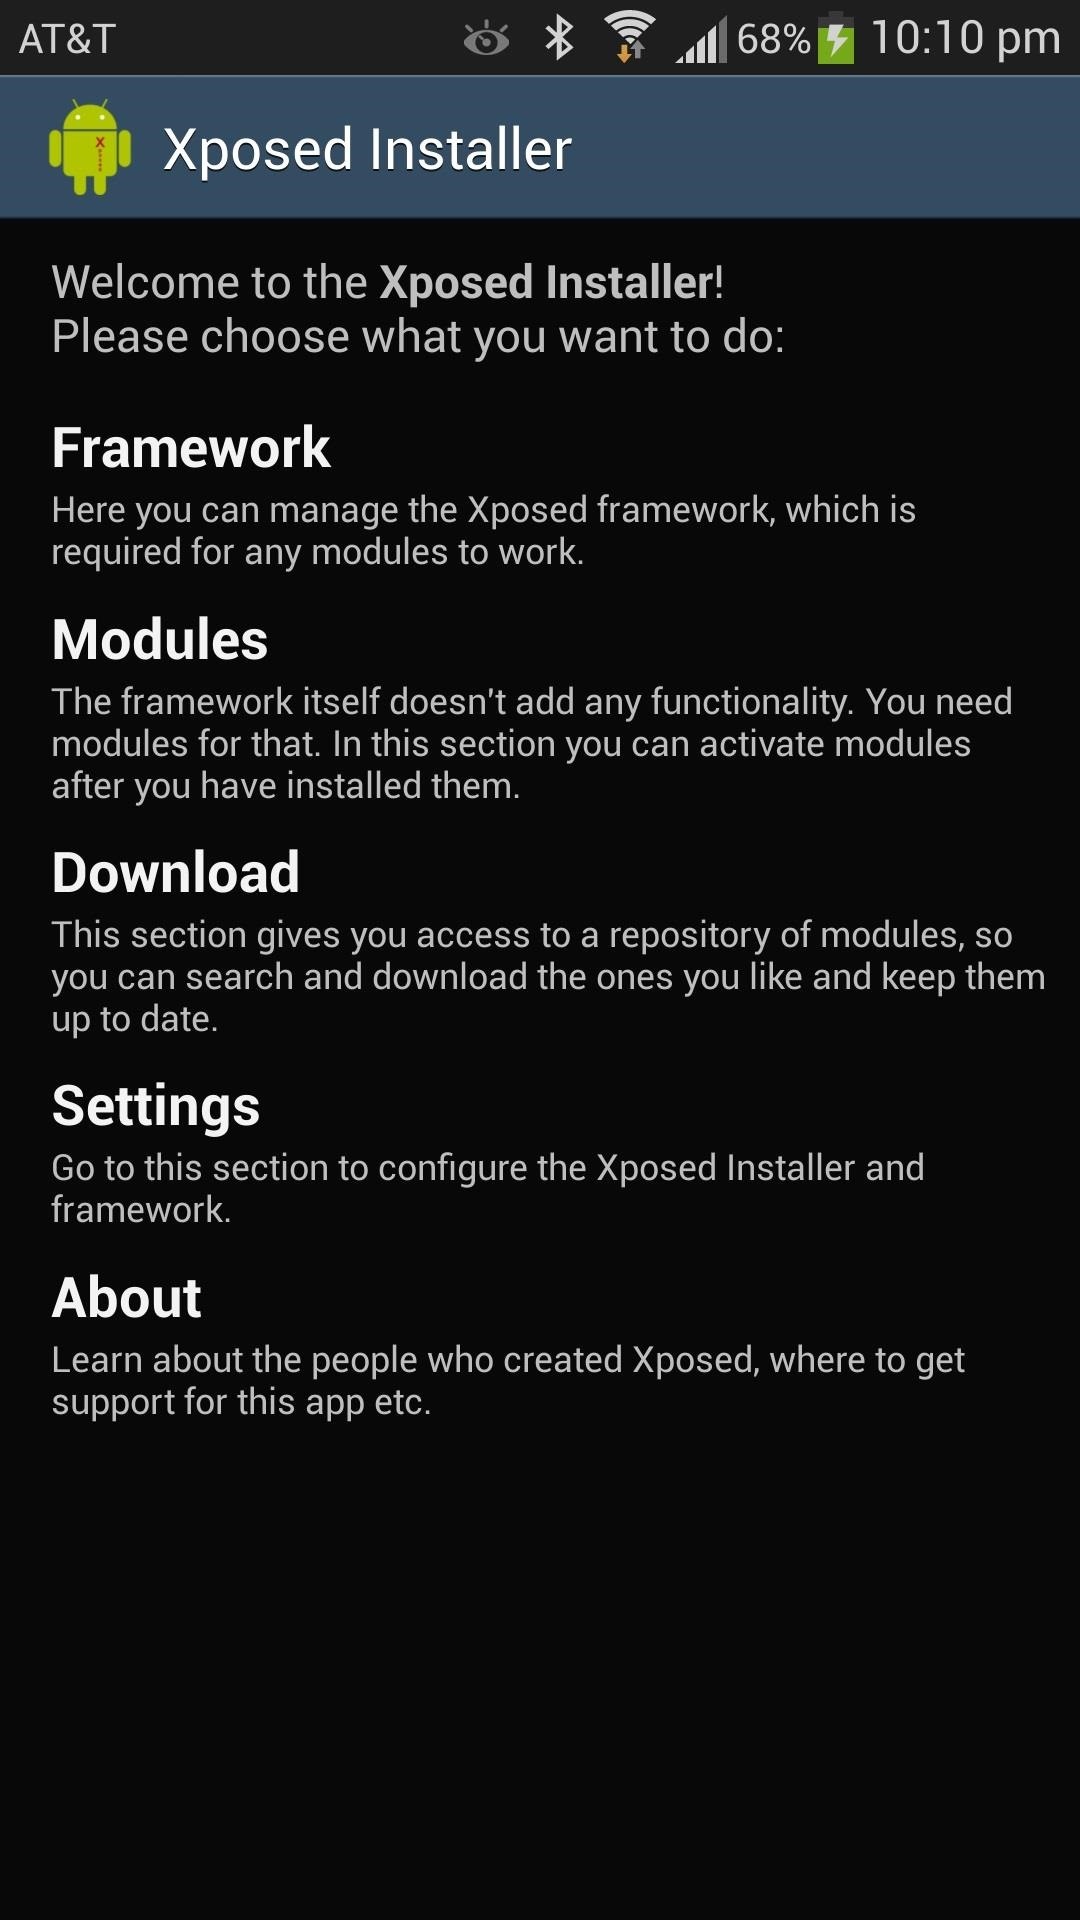
Once you install one of the above modules, you’ll have to do a few things to activate it. Whenever Xposed Framework detects a module being installed, it gives a notification telling you that the module is not active yet. You can tap on the notification and it’ll take you to Xposed’s Modules page.

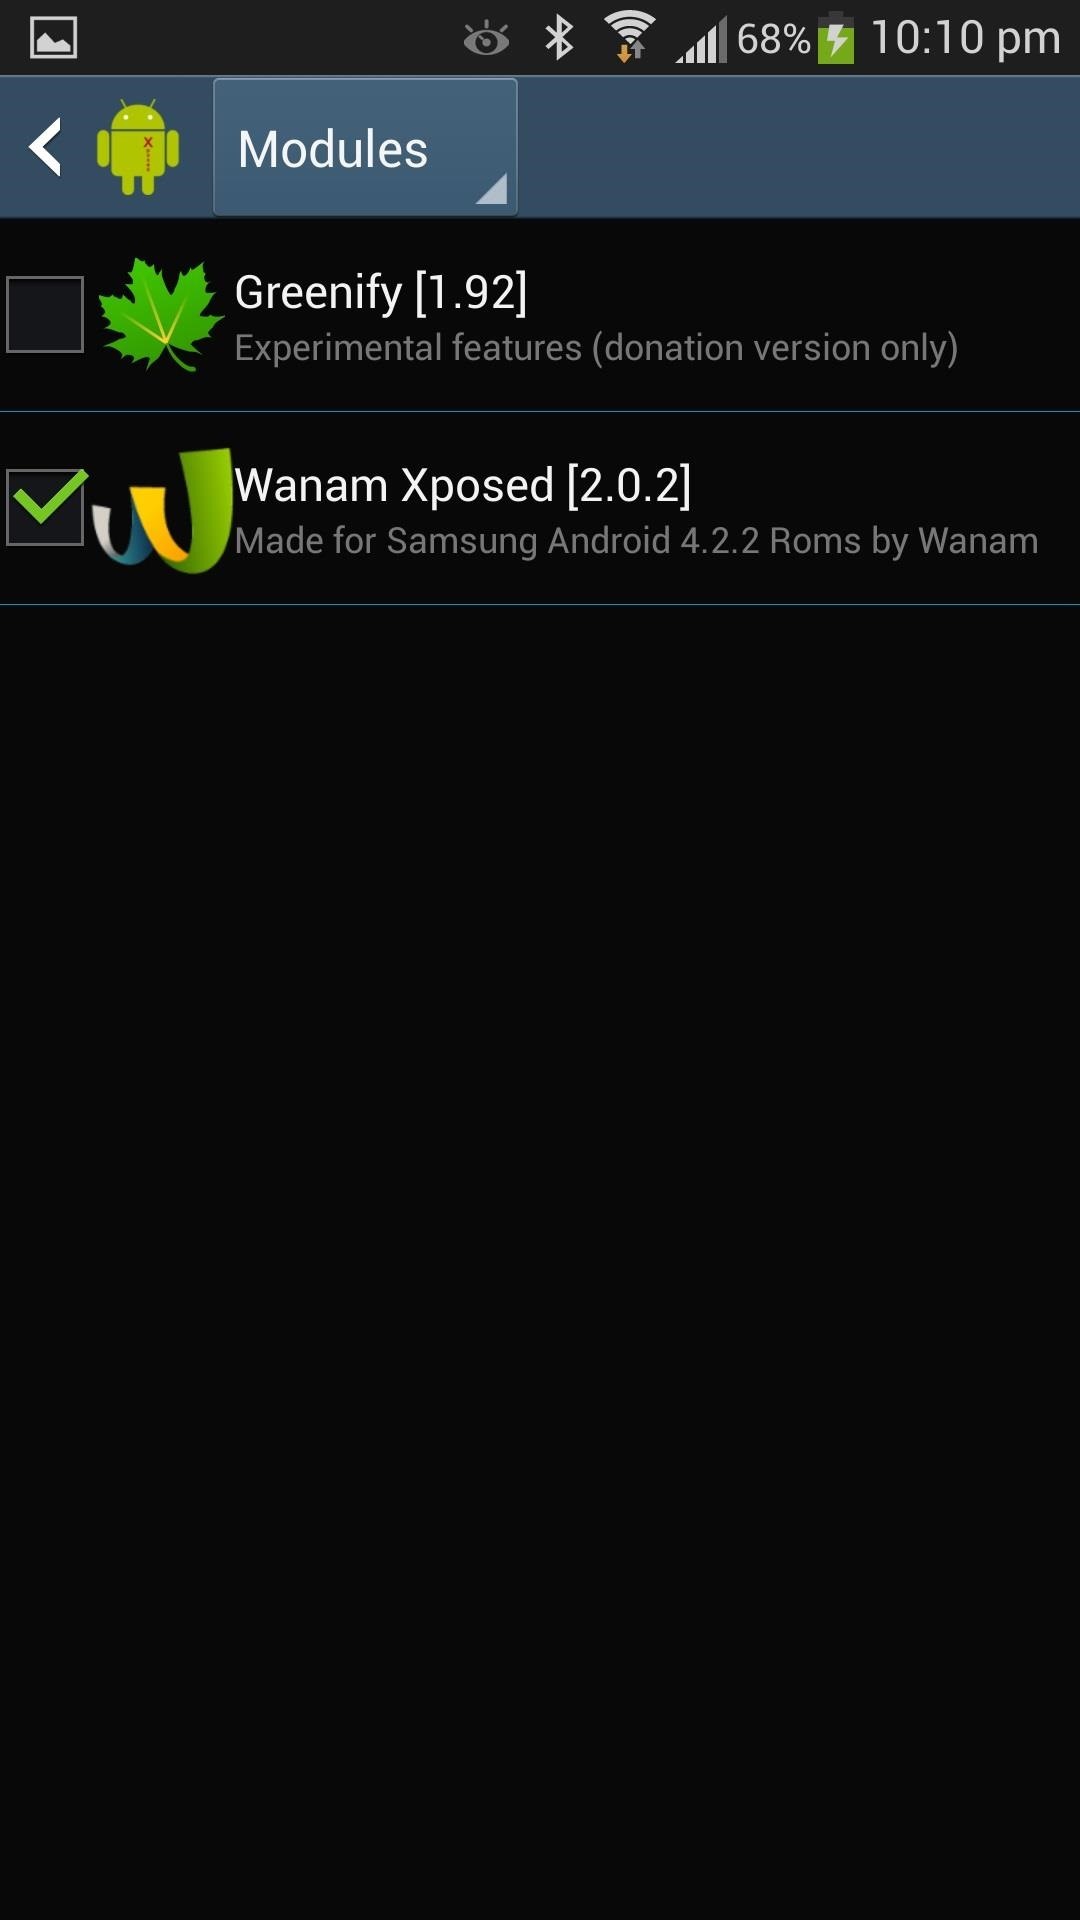
If you miss or accidentally cleared the notification, simply head to Xposed’s main screen and tap on Modules. Then check the box next to Wanam Xposed (or whichever module you want to activate). You’ll need to reboot.
Step 3: Test Out Your New Mods
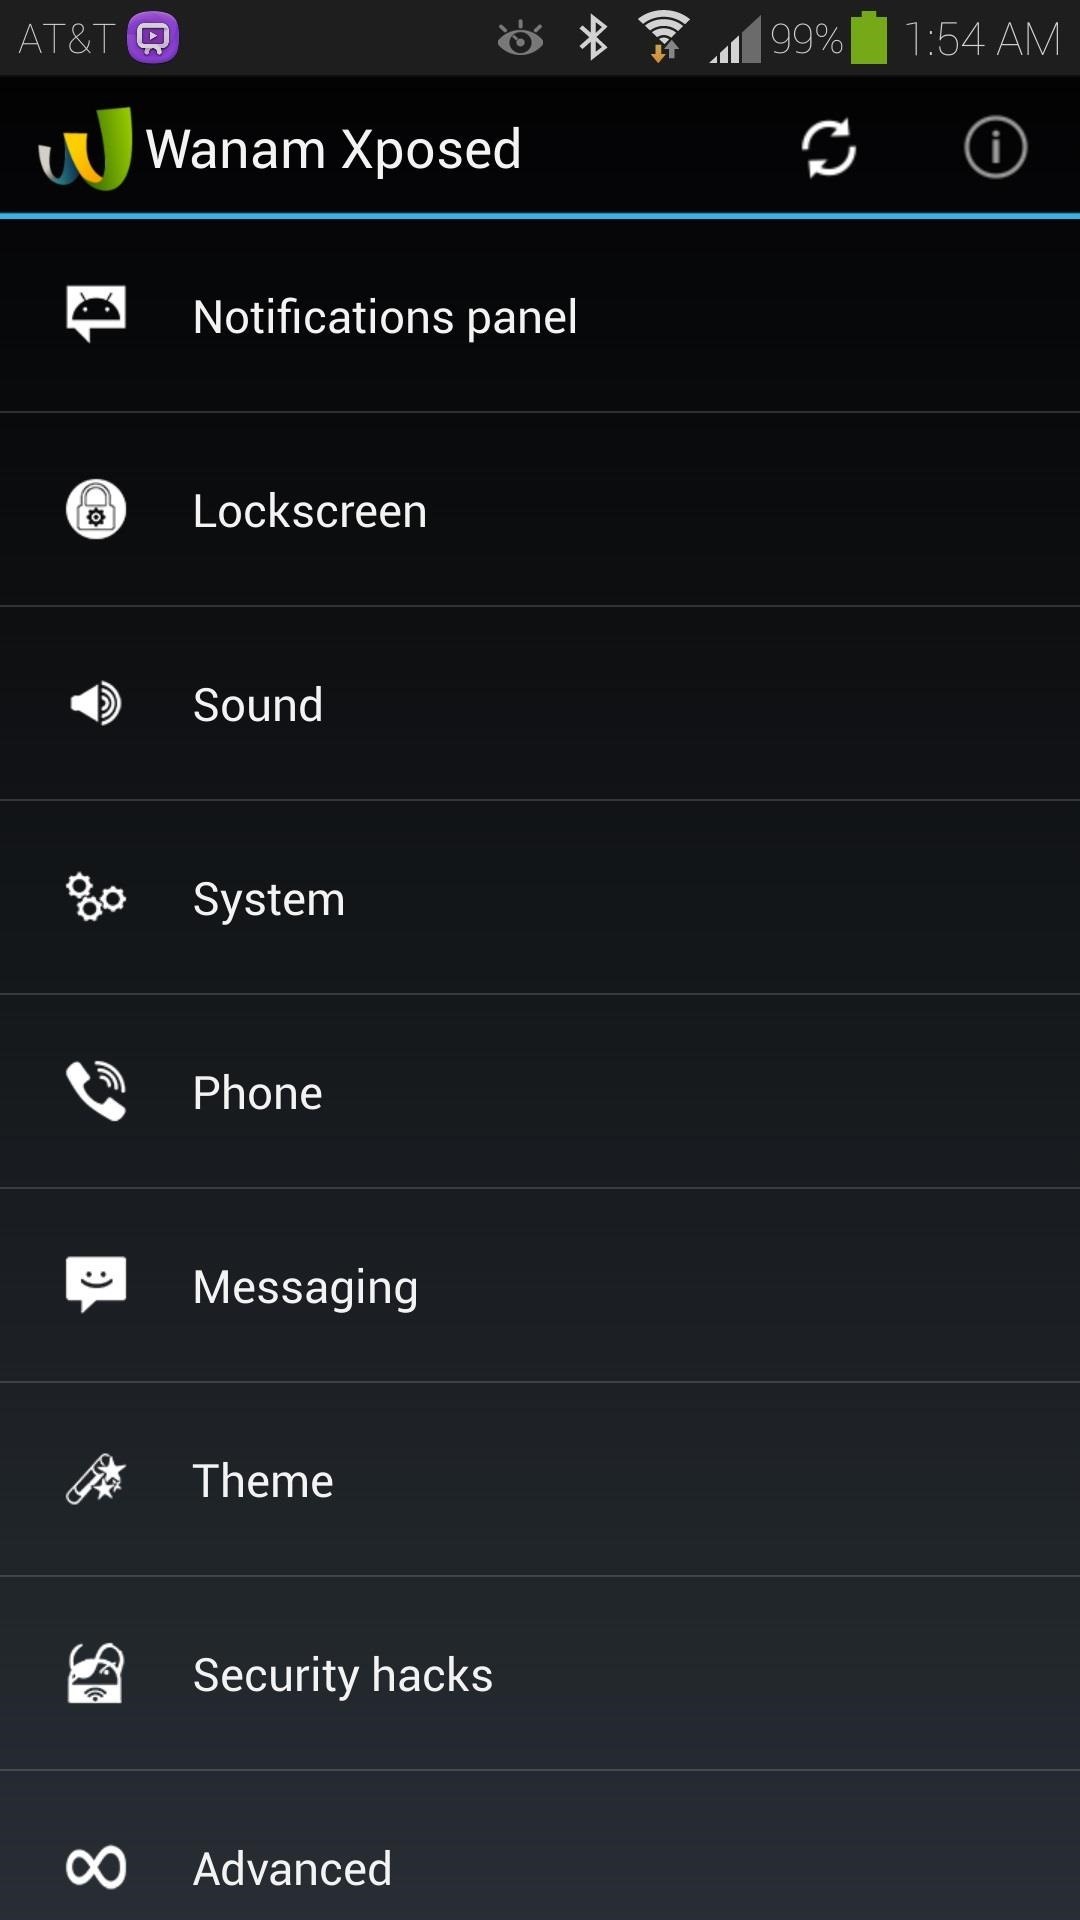
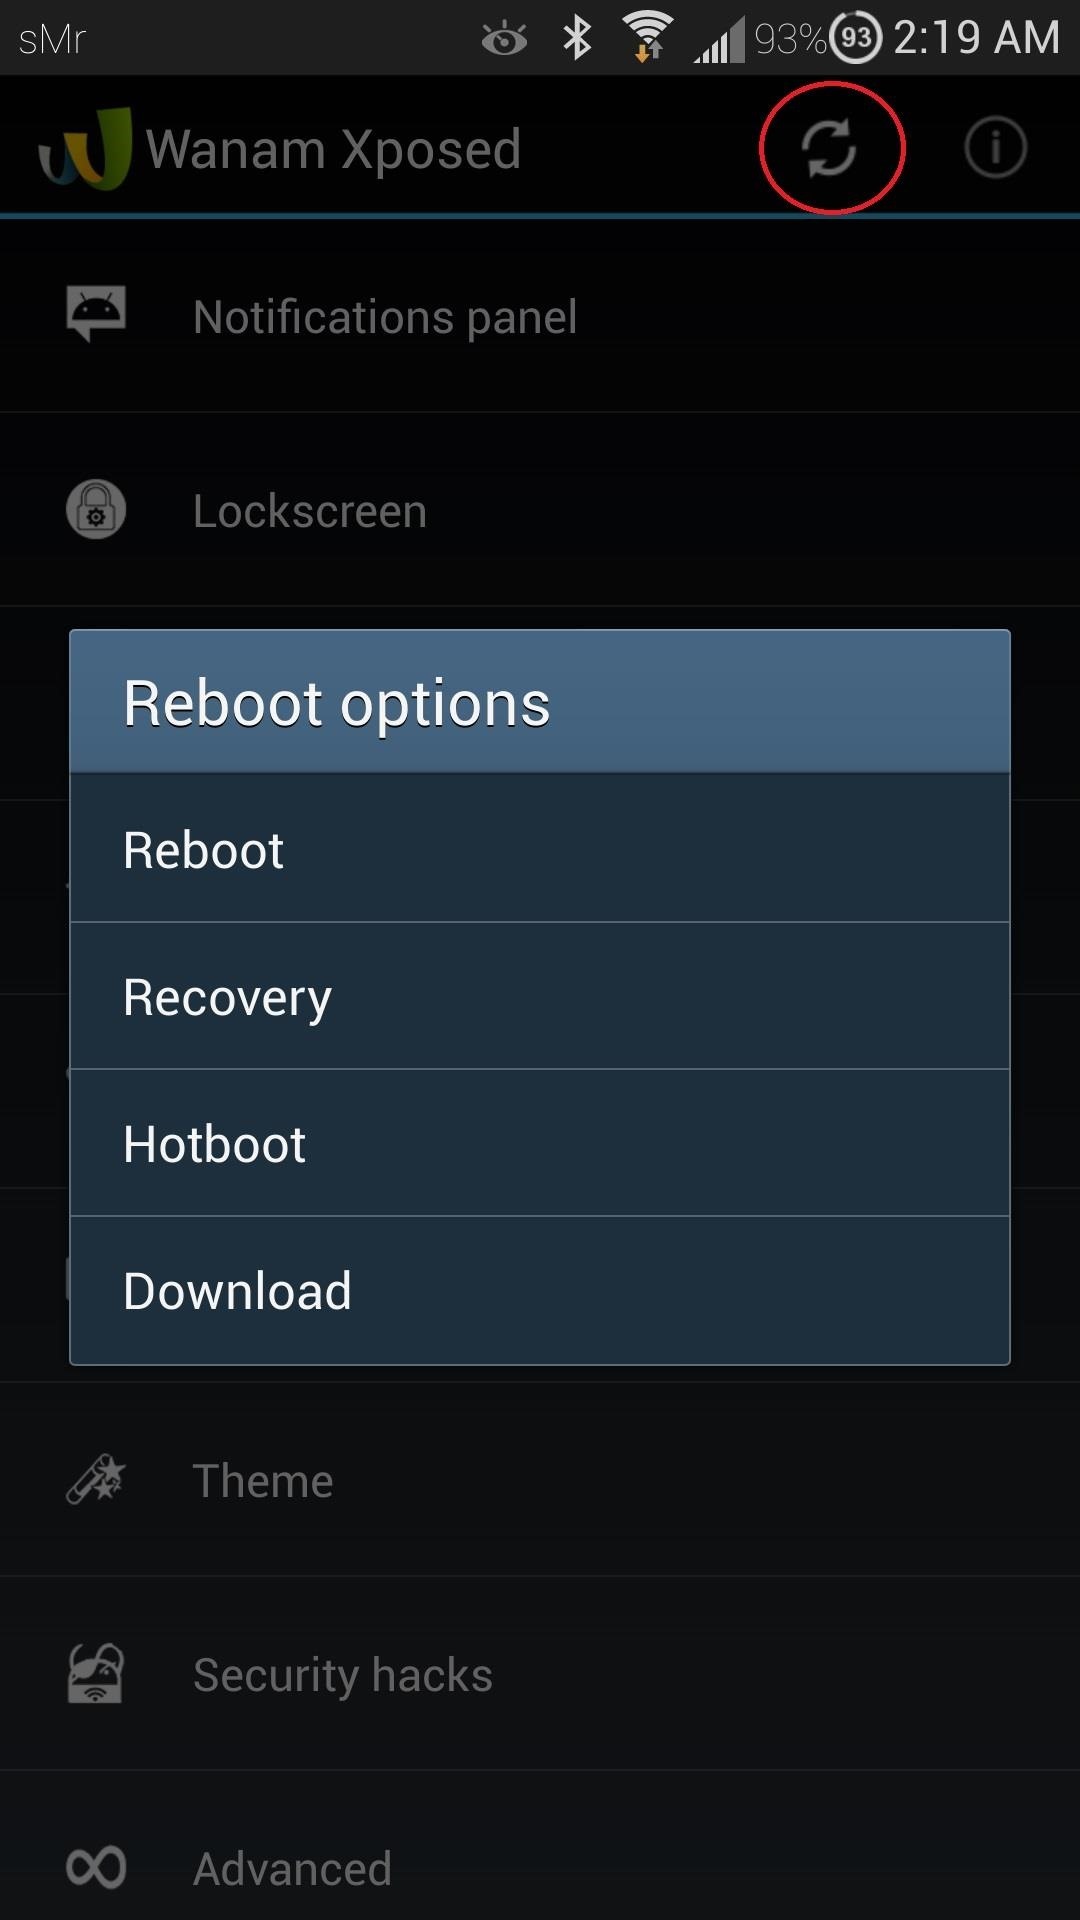
To try out Wanam’s customizations, simply tap on it from Xposed’s Module page, or open it up from your app drawer. They’re split up into various categories. Every time you make a change, a reboot is required for the changes to take effect. Wanam has a built-in reboot menu, which you can bring up by tapping the circular arrows icon near the top right corner.
There are dozens of other Xposed modules for you to try out. Check out this XDA thread full of them. For our GS4, stick to section A. Modules for all ROMs and B. Modules for TouchWiz ROMs.
I’ll be showcasing some of the really great ones in upcoming GS4 tutorials, so stay tuned! If you have any questions, comments, or module recommendations, feel free to post in the discussion section below.
Just updated your iPhone? You’ll find new features for Podcasts, News, Books, and TV, as well as important security improvements and fresh wallpapers. Find out what’s new and changed on your iPhone with the iOS 17.5 update.
“Hey there, just a heads-up: We’re part of the Amazon affiliate program, so when you buy through links on our site, we may earn a small commission. But don’t worry, it doesn’t cost you anything extra and helps us keep the lights on. Thanks for your support!”


