If you’re like me, you spend a lot of time on your computer, which can be damaging to your eyes in the long run. Studies have shown that staring at a computer screen or television up close for extended periods of time can have harmful effects on your vision.
An application called f.lux, available for Mac OS X, Windows, Linux, and iOS (which requires a jailbreak), has a goal of keeping your eyes healthy every time you’re looking at your screen. While not available for Android, there are alternatives called Twilight and CF Lumen (the latter requiring root access).
In essence, f.lux changes the color tone of your computer or mobile screen, which is dependent on the time of day as well as what you’re doing.
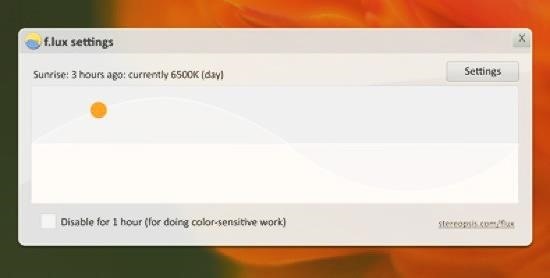
Now, this will definitely be odd at first and take some getting used to, but it’s an amazing app that everyone should use if you plan on keeping that 20-20 vision. It’s also proven to help you get more sleep, since you’re no longer staring at a bright screen before bed, and the red tones are much easier on your eyes. I’ve been using it for a little while, and I’m already in love with it.
Step 1: Install Flux on Mac OS X
On a Mac computer, f.lux is an easy and quick install. Just download from here, unzip the file, and double-click on the Flux icon to open it.

Step 2: Give Flux Permissions
When the application launches, it will ask for permission to use your location. Hit OK so f.lux can adjust your screen to your time zone.

Then, you have the option of putting the app in your Applications folder or leaving it where it is. I recommend moving it.

Step 3: Set Up Flux to Your Liking
The first thing you’ll notice is your screen will begin adjusting to the time of day. On the center of your screen is a menu that allows you to edit some options to your liking.
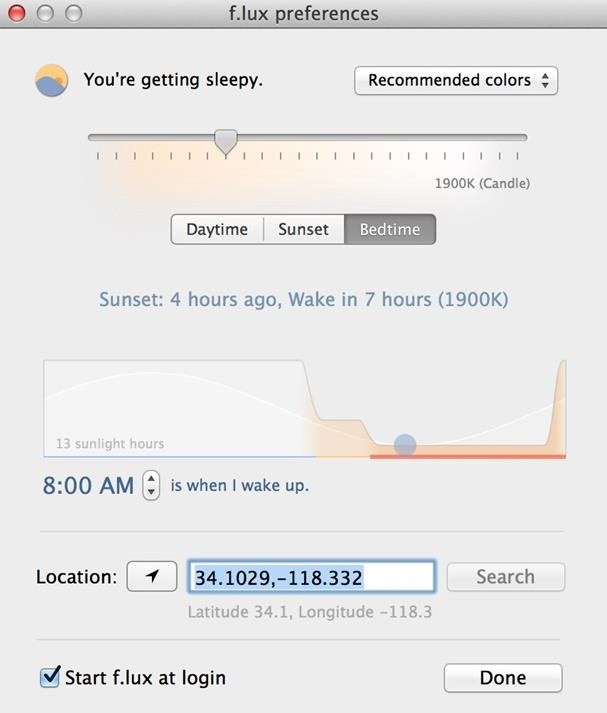
You can instantly select one of three boxes that are presets for different times of the day.

You can also change the location via latitude and longitude, but neither of these options are needed if you gave permission for your location.

If you want to set the color tone yourself, you can use the slider. The lower you go, the warmer the tone. The higher you go, the cooler the tone.

This is all just a matter of preference. The default options will do the job. There is a little drop-down menu that will, by default, suggest recommended colors. These are the colors that are set based on the time. But, there are some great specific options in that drop box, like the Working Late option.

Once you’ve customized, you can exit out of this menu and enjoy your new color tone.
Step 4: Fine-Tune Your Flux Experience
Flux is all ready to go, but I’m gonna show you the rest of the options that will make your experience quick and easy. The application is running in the background on your Mac bar.

If you click on its icon, you’ll be presented with a simple interface with multiple options.
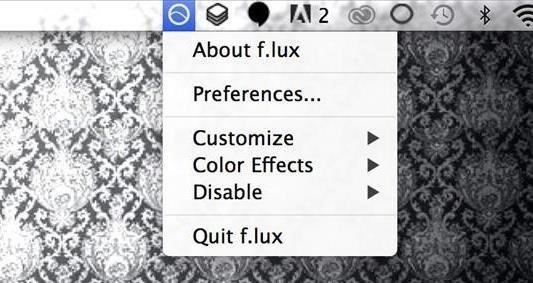
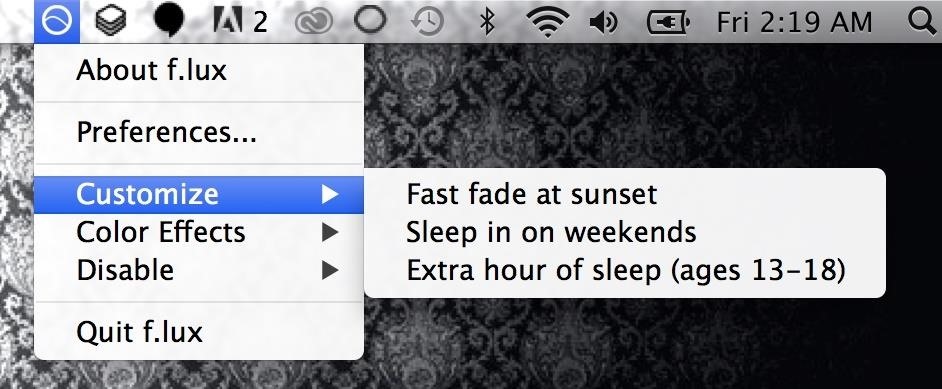
Preferences will take you to the customization window we were just in. Customize will give you a few options that change when f.lux actually begins changing certain color tones such as “Sleep in on weekends.”
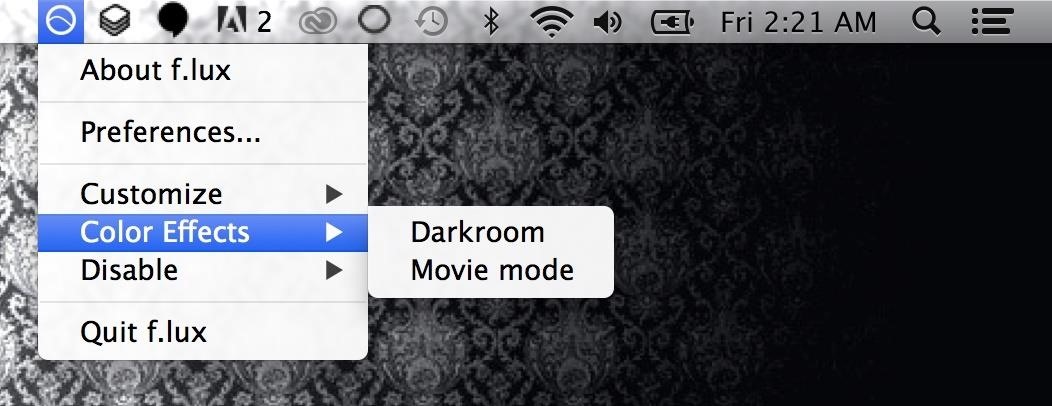
Color Effects with add some quick color changes for two tasks:
Darkroom and Movie Mode. Darkroom is for reading in the dark, and Movie Mode is for watching films at night.
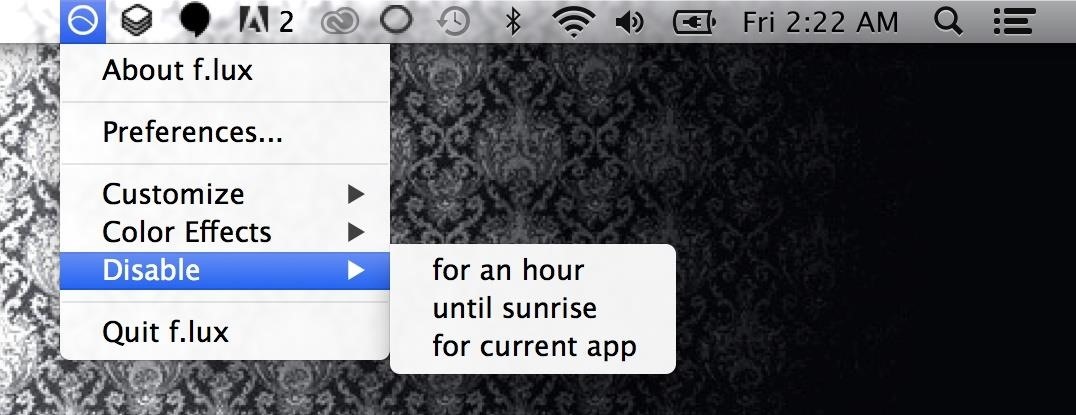
Disable will give you the flexibility to shut off f.lux for certain periods of time before it re-enables itself.
And, obviously, Quit f.lux will exit out of the app entirely. This returns your Mac’s color tone back to its original state.
Keep Your Eyes Healthy
If you want to keep your eyes healthy when using your electronics, then f.lux is your best option. I know I will continue using it, and install it on all my devices that support it.
Just updated your iPhone? You’ll find new emoji, enhanced security, podcast transcripts, Apple Cash virtual numbers, and other useful features. There are even new additions hidden within Safari. Find out what’s new and changed on your iPhone with the iOS 17.4 update.
“Hey there, just a heads-up: We’re part of the Amazon affiliate program, so when you buy through links on our site, we may earn a small commission. But don’t worry, it doesn’t cost you anything extra and helps us keep the lights on. Thanks for your support!”


