Excessive cell phone use was issue that Apple decided to tackle with iOS 12. Starting with the iPhone’s 2018 update, a new “Screen Time” feature give you the ability to set App Limits to encourage more balanced usage, and there’s another setting that gives you control over when certain apps can be accessed.
This “Downtime” feature not only gives you more power over when your child can access their favorite apps, but can also help you curb any unwanted habits you may have developed, like browsing through Facebook well into the night. This time-based setting is pretty straightforward to access and configure, as you’ll see below.
- Don’t Miss: Set App Limits on Your iPhone in iOS 12 to Restrict All-Day Access to Games & Other Addictive Apps
Step 1: Enable Downtime for the First Time
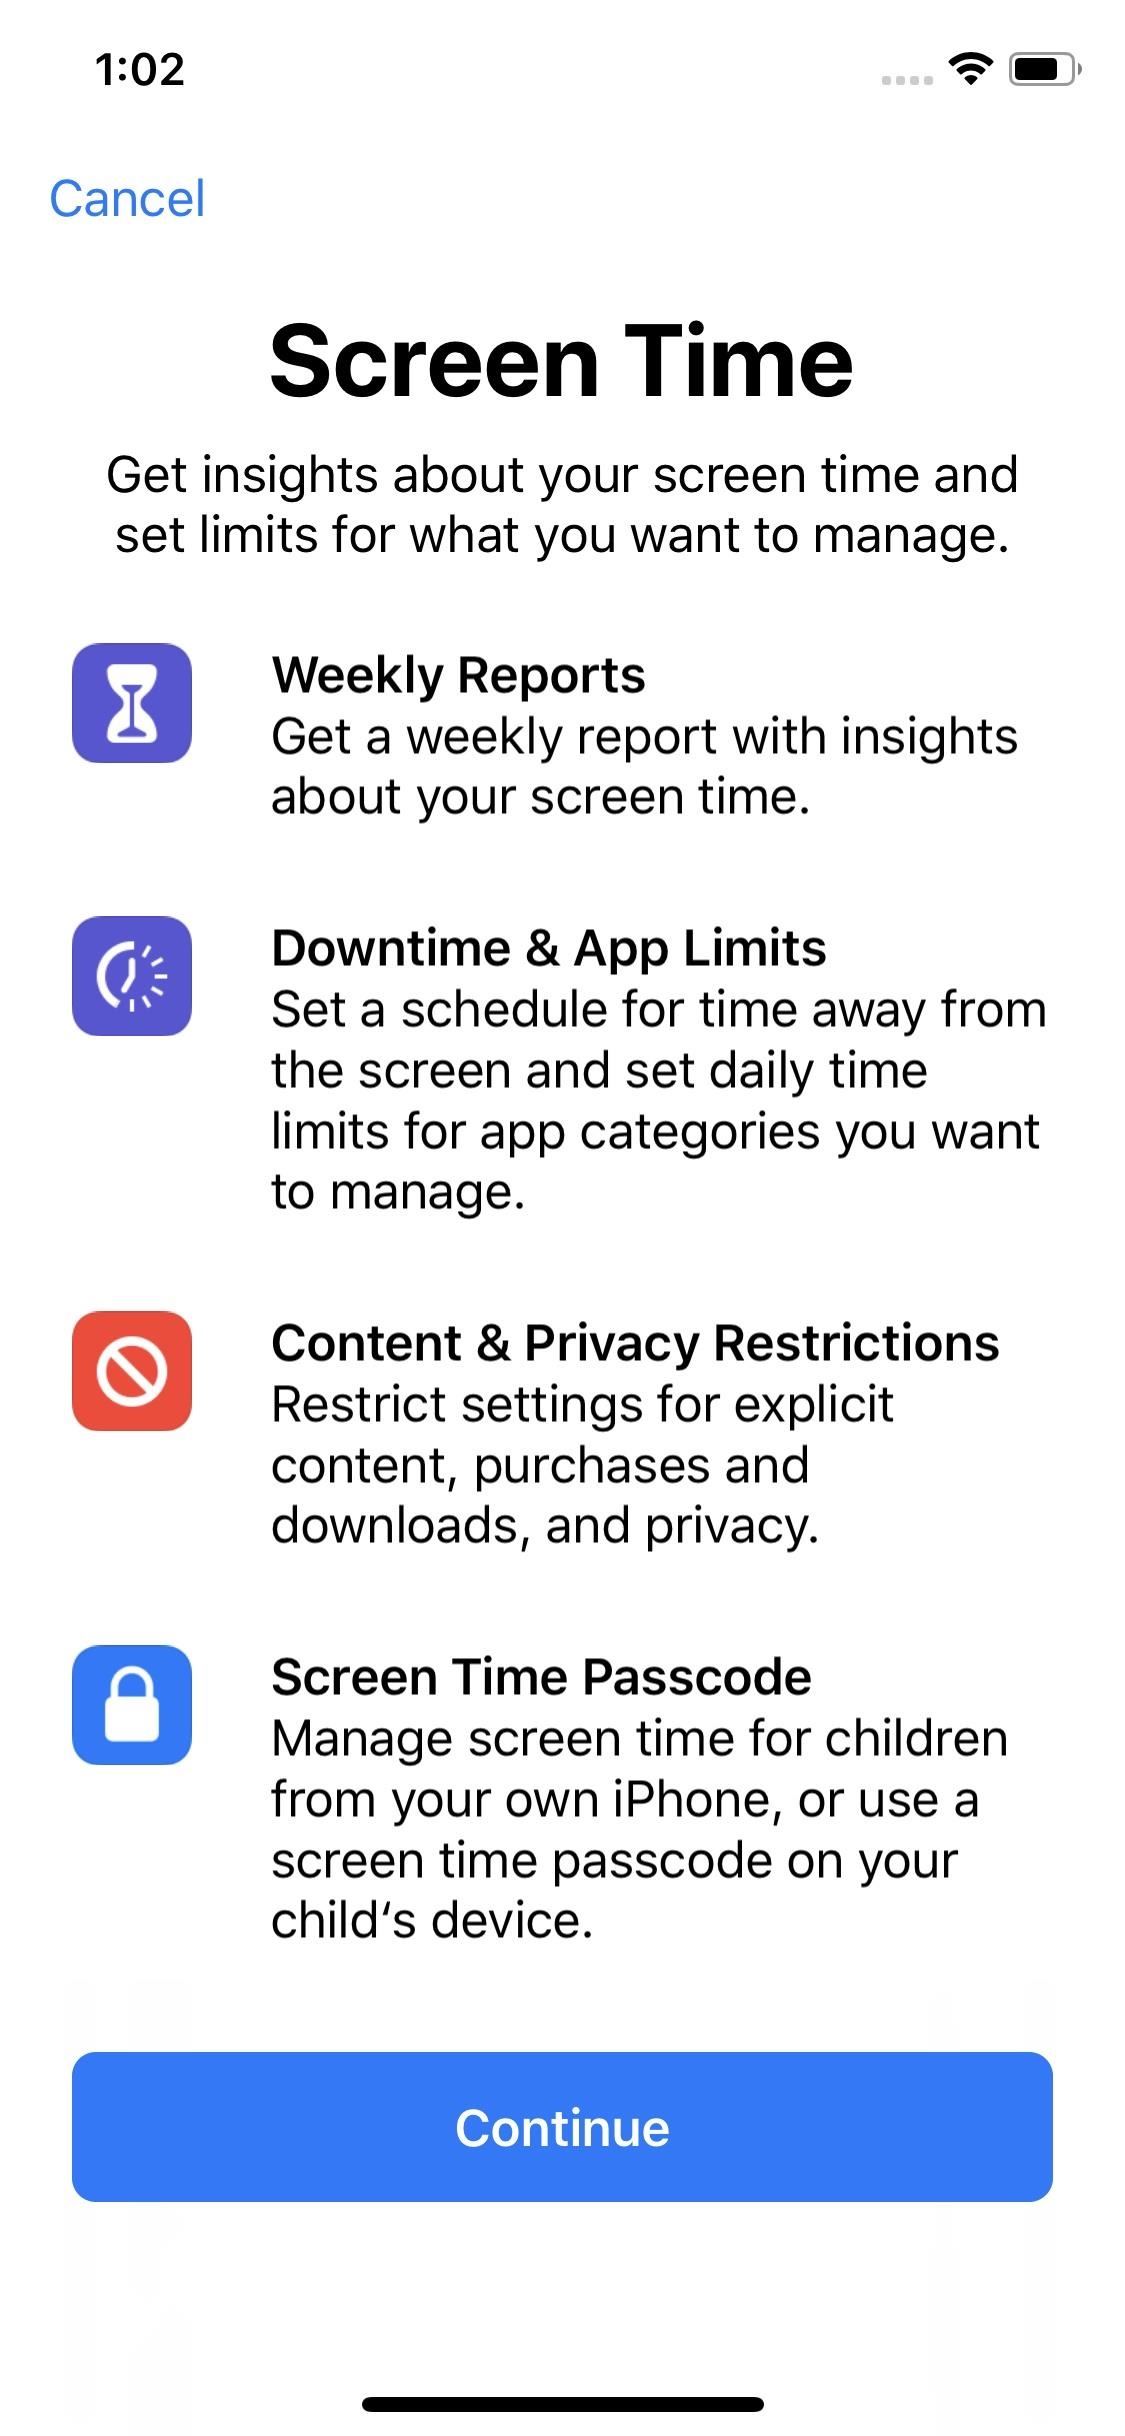
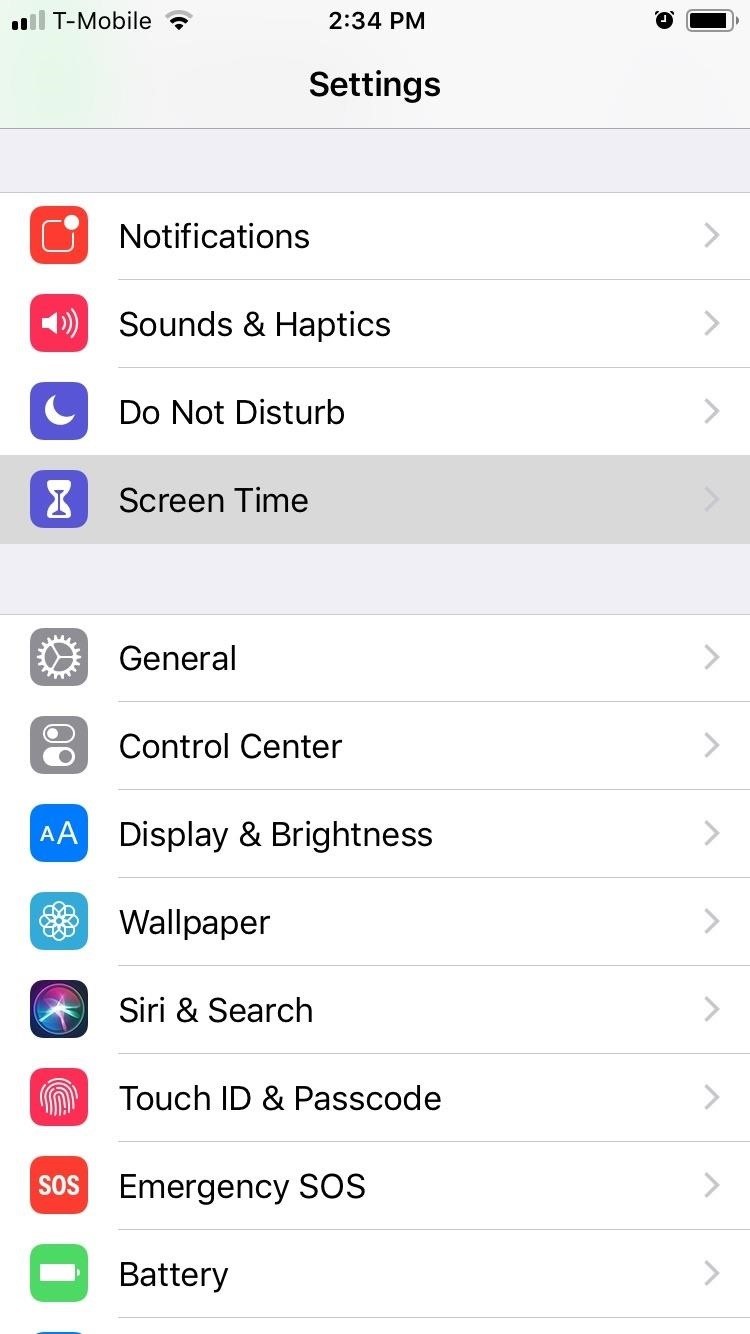
To start, open the Settings app and select “Screen Time.” When accessing this menu for the first time, you’ll see an initial setup page highlighting the features and walking you through the process of enabling Downtime. If you or your child has already accessed this menu and dismissed the initial setup pages, you can skip ahead to Step 2.
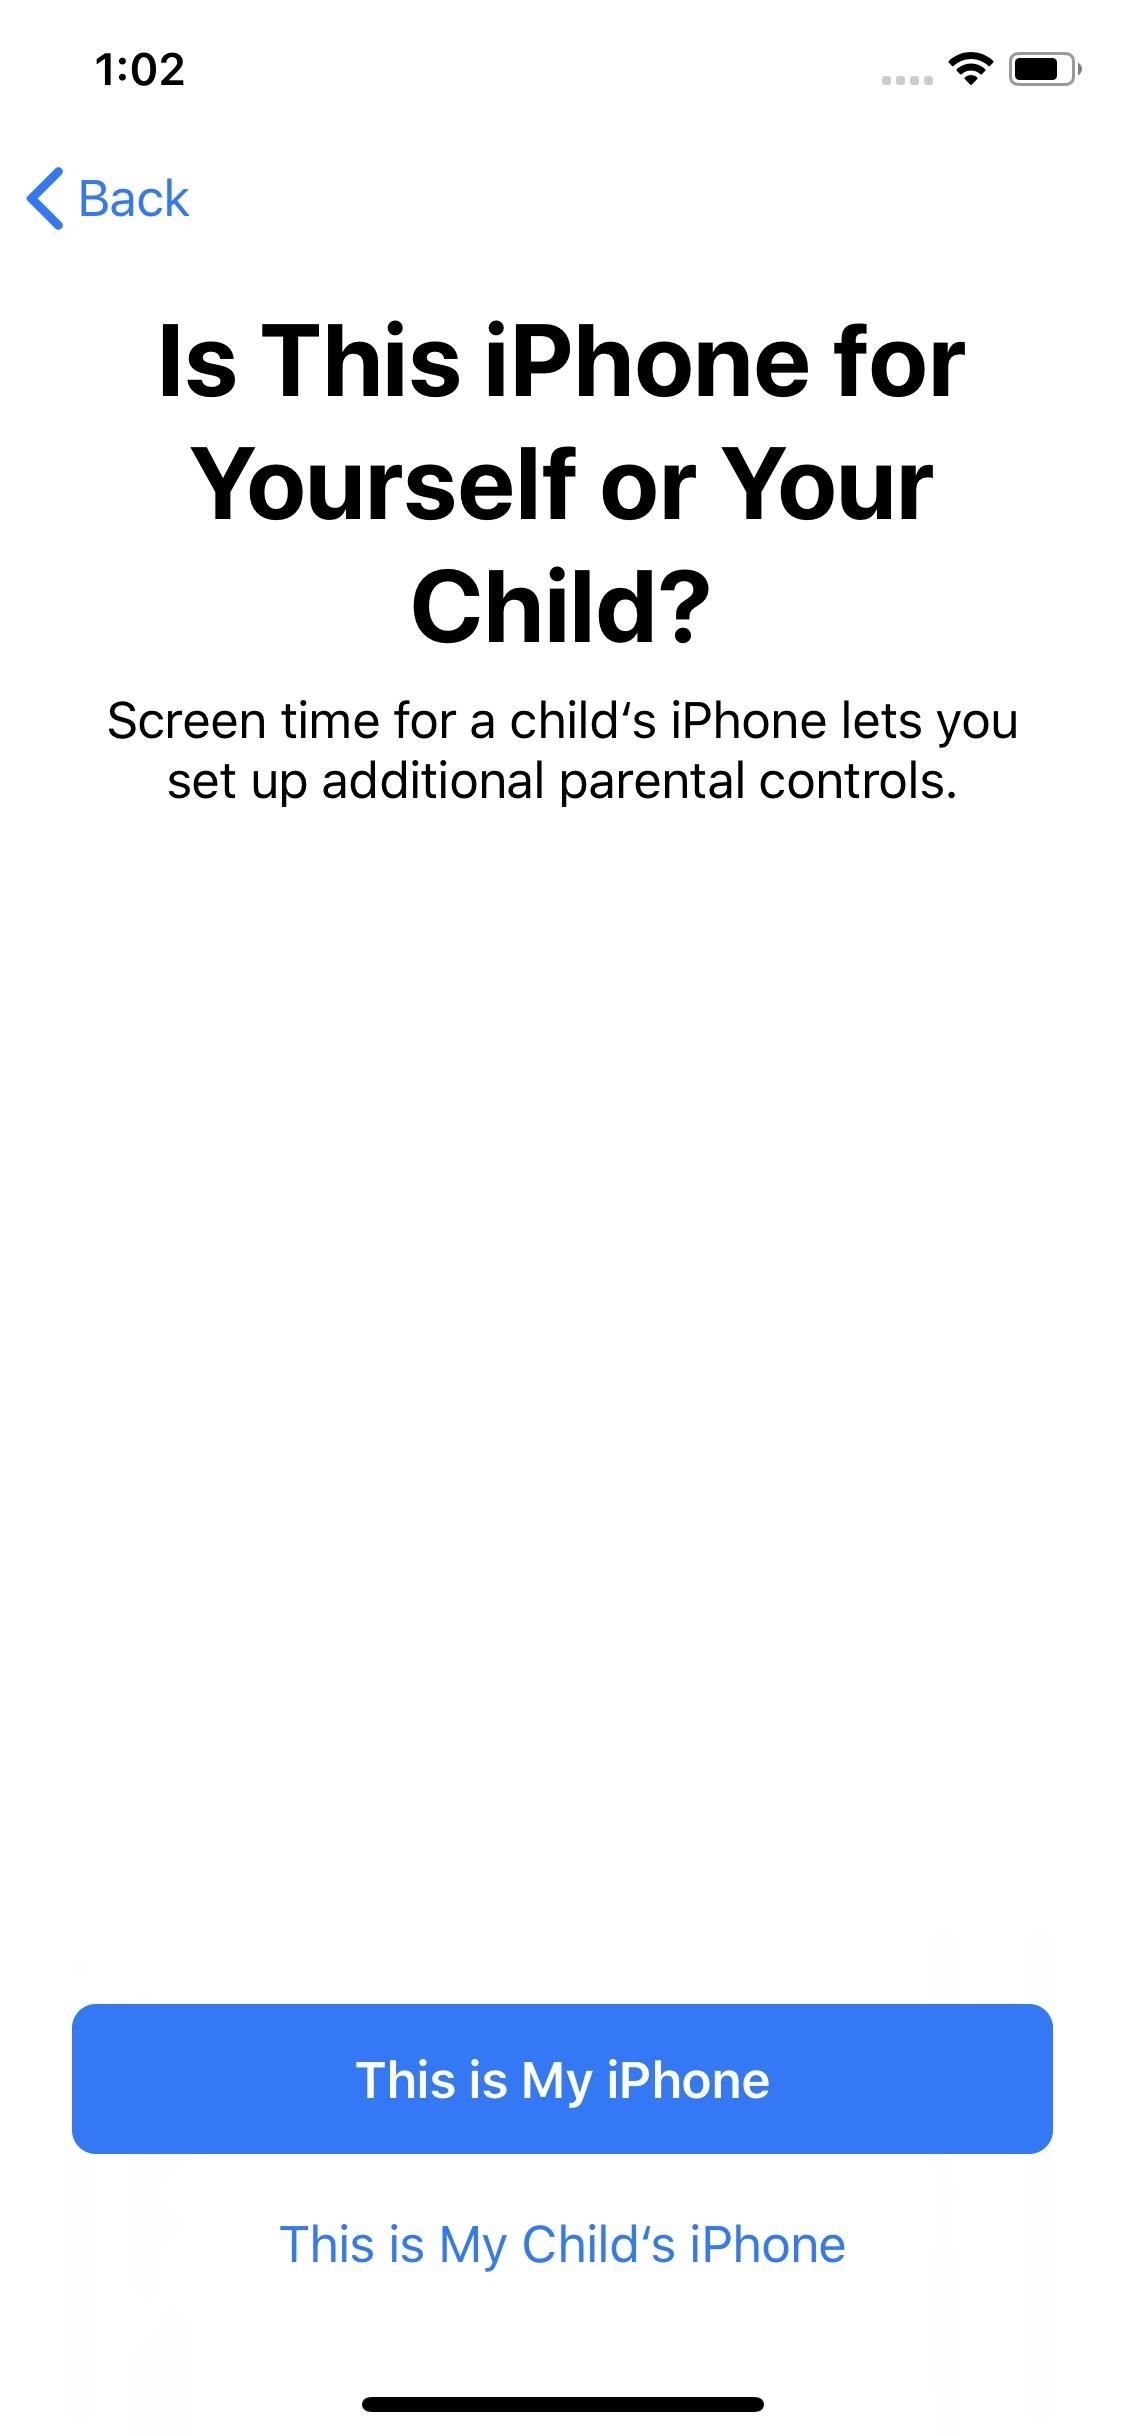
Hit “Continue” on the bottom of the first screen and you’ll be taken to a page asking whether the iPhone is yours or your child’s, so either hit “This is My iPhone” or “This is My Child’s iPhone” to proceed.
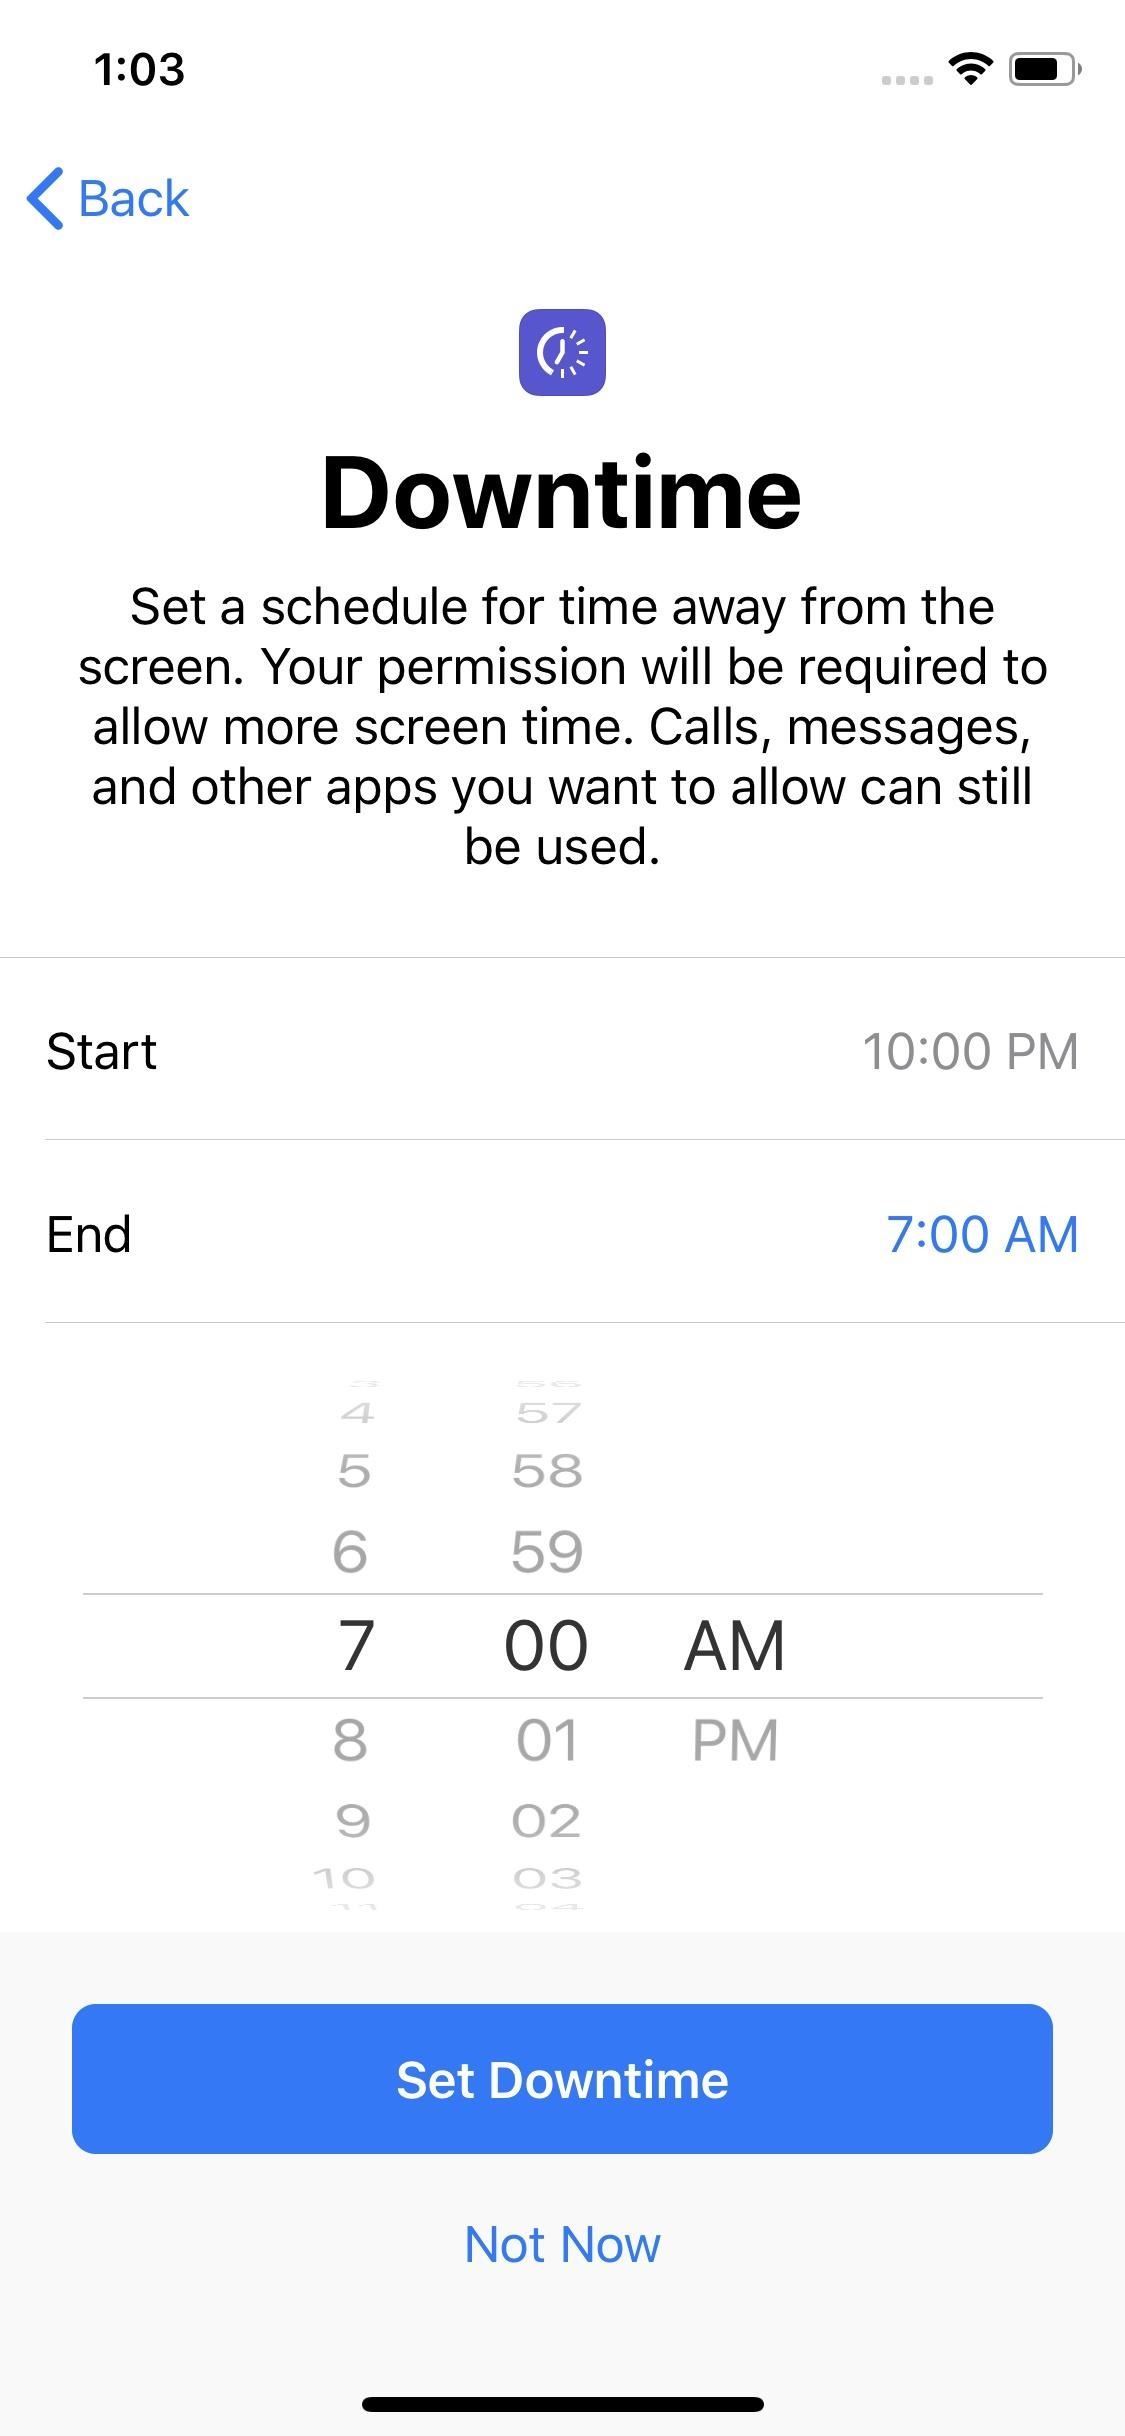
You’ll now be able to set the start and end times for Downtime simply by tapping on both “Start” and “End” and selecting your desired times for Downtime to kick in and stop. During these hours, most apps will be unavailable unless the passcode is entered (more on that later). Once you’re satisfied with the settings, tap on “Set Downtime” to proceed.

Next, you’ll be taken to a page highlighting App Limits, which further imposes time-based restrictions on certain apps. For more on App Limits, be sure to check out this guide.
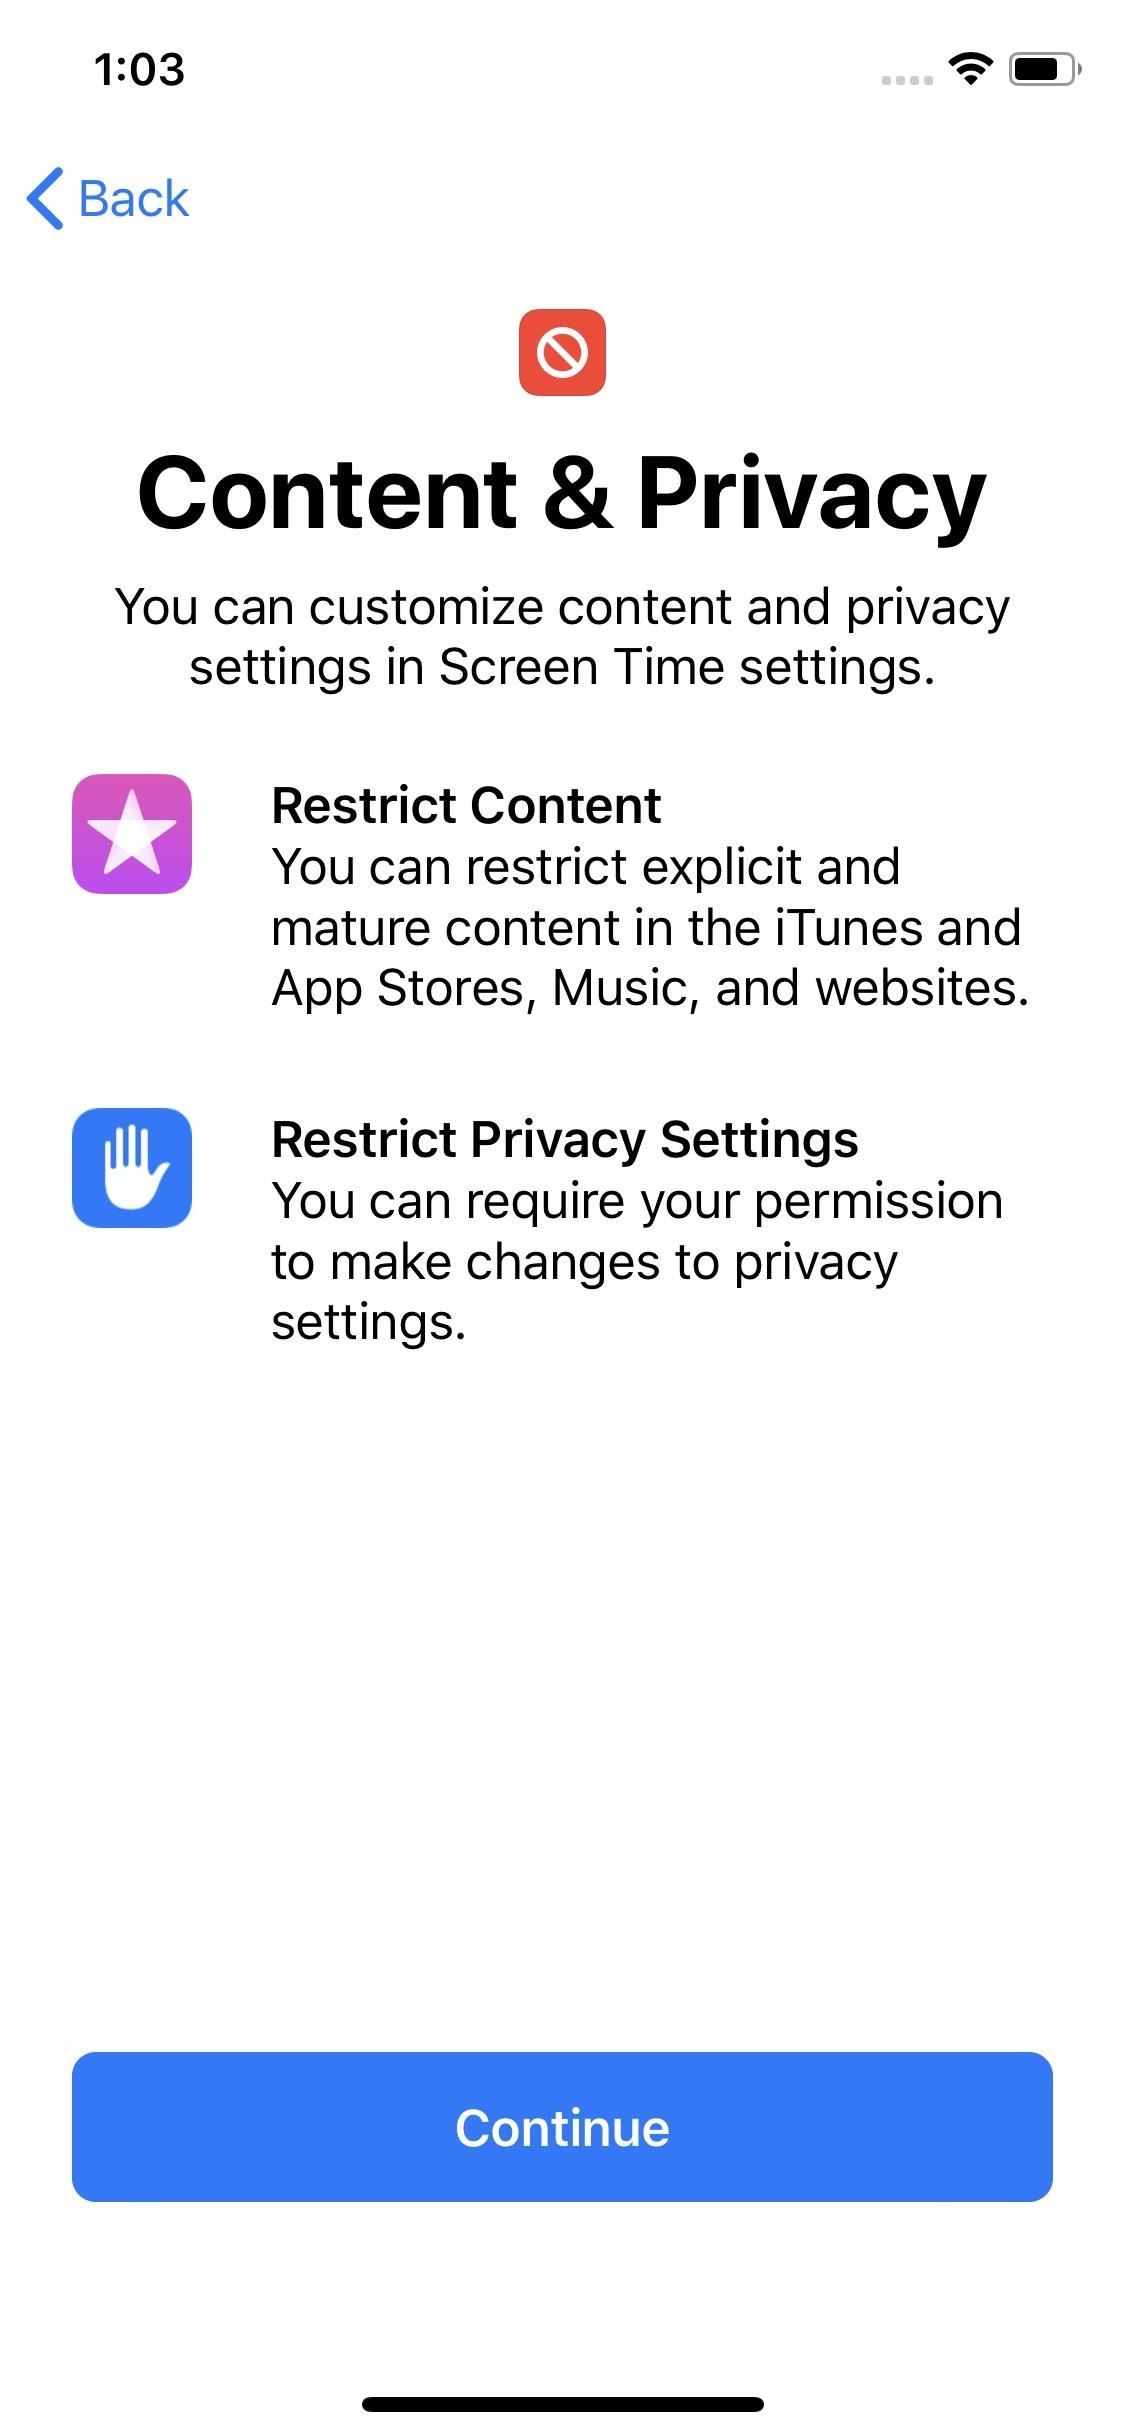
If you opt not to set App Limits, tap on “Not Now,” then hit “Continue” on the following page after reading through the summaries found within the “Content & Privacy” page, and continue on with setting up Downtime.

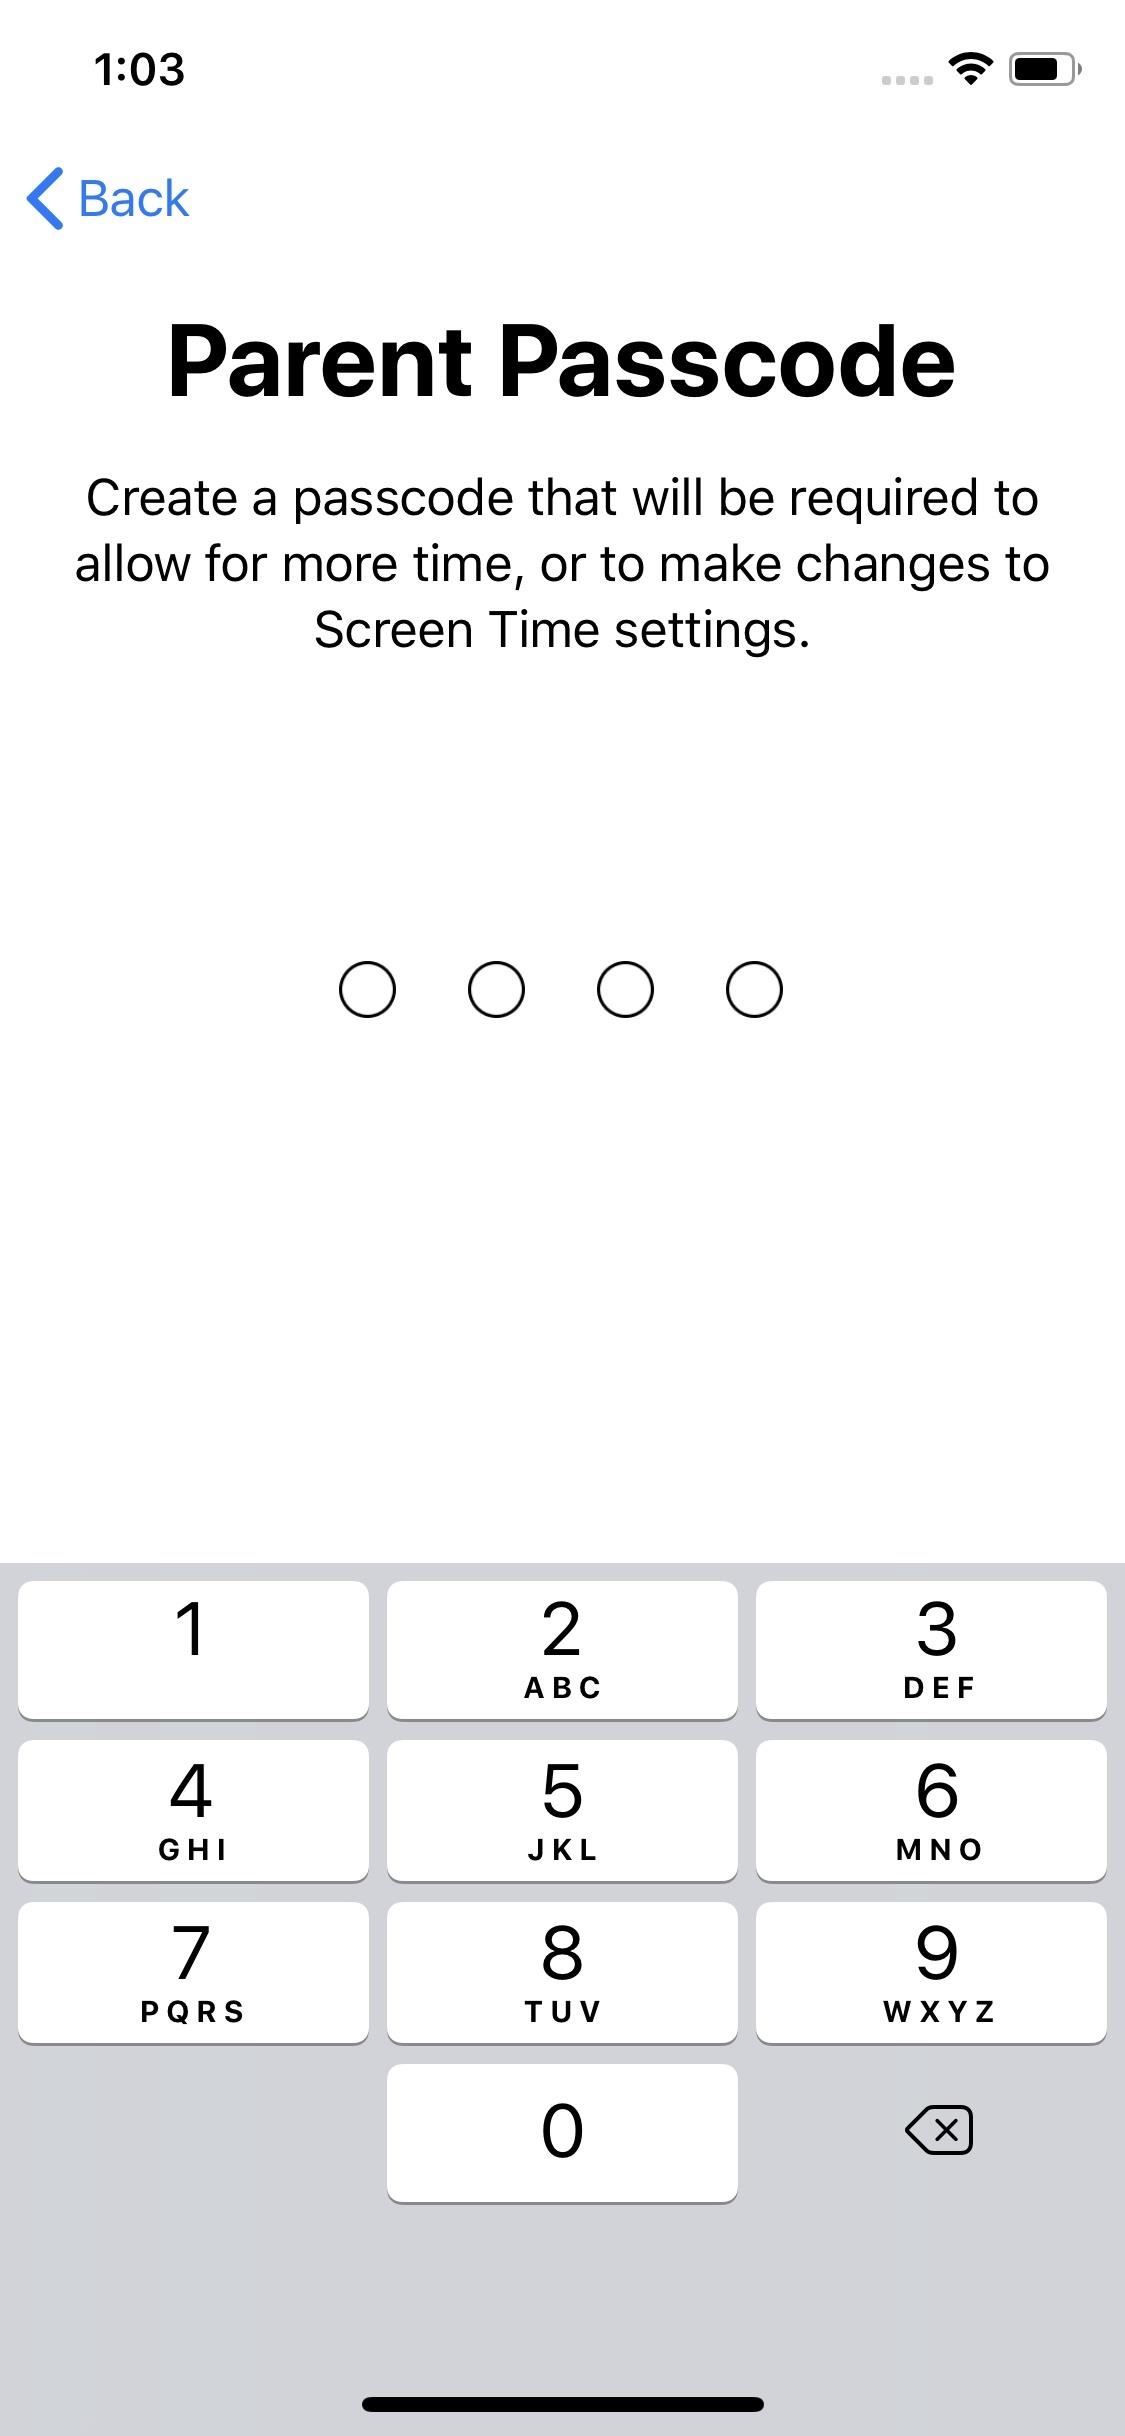
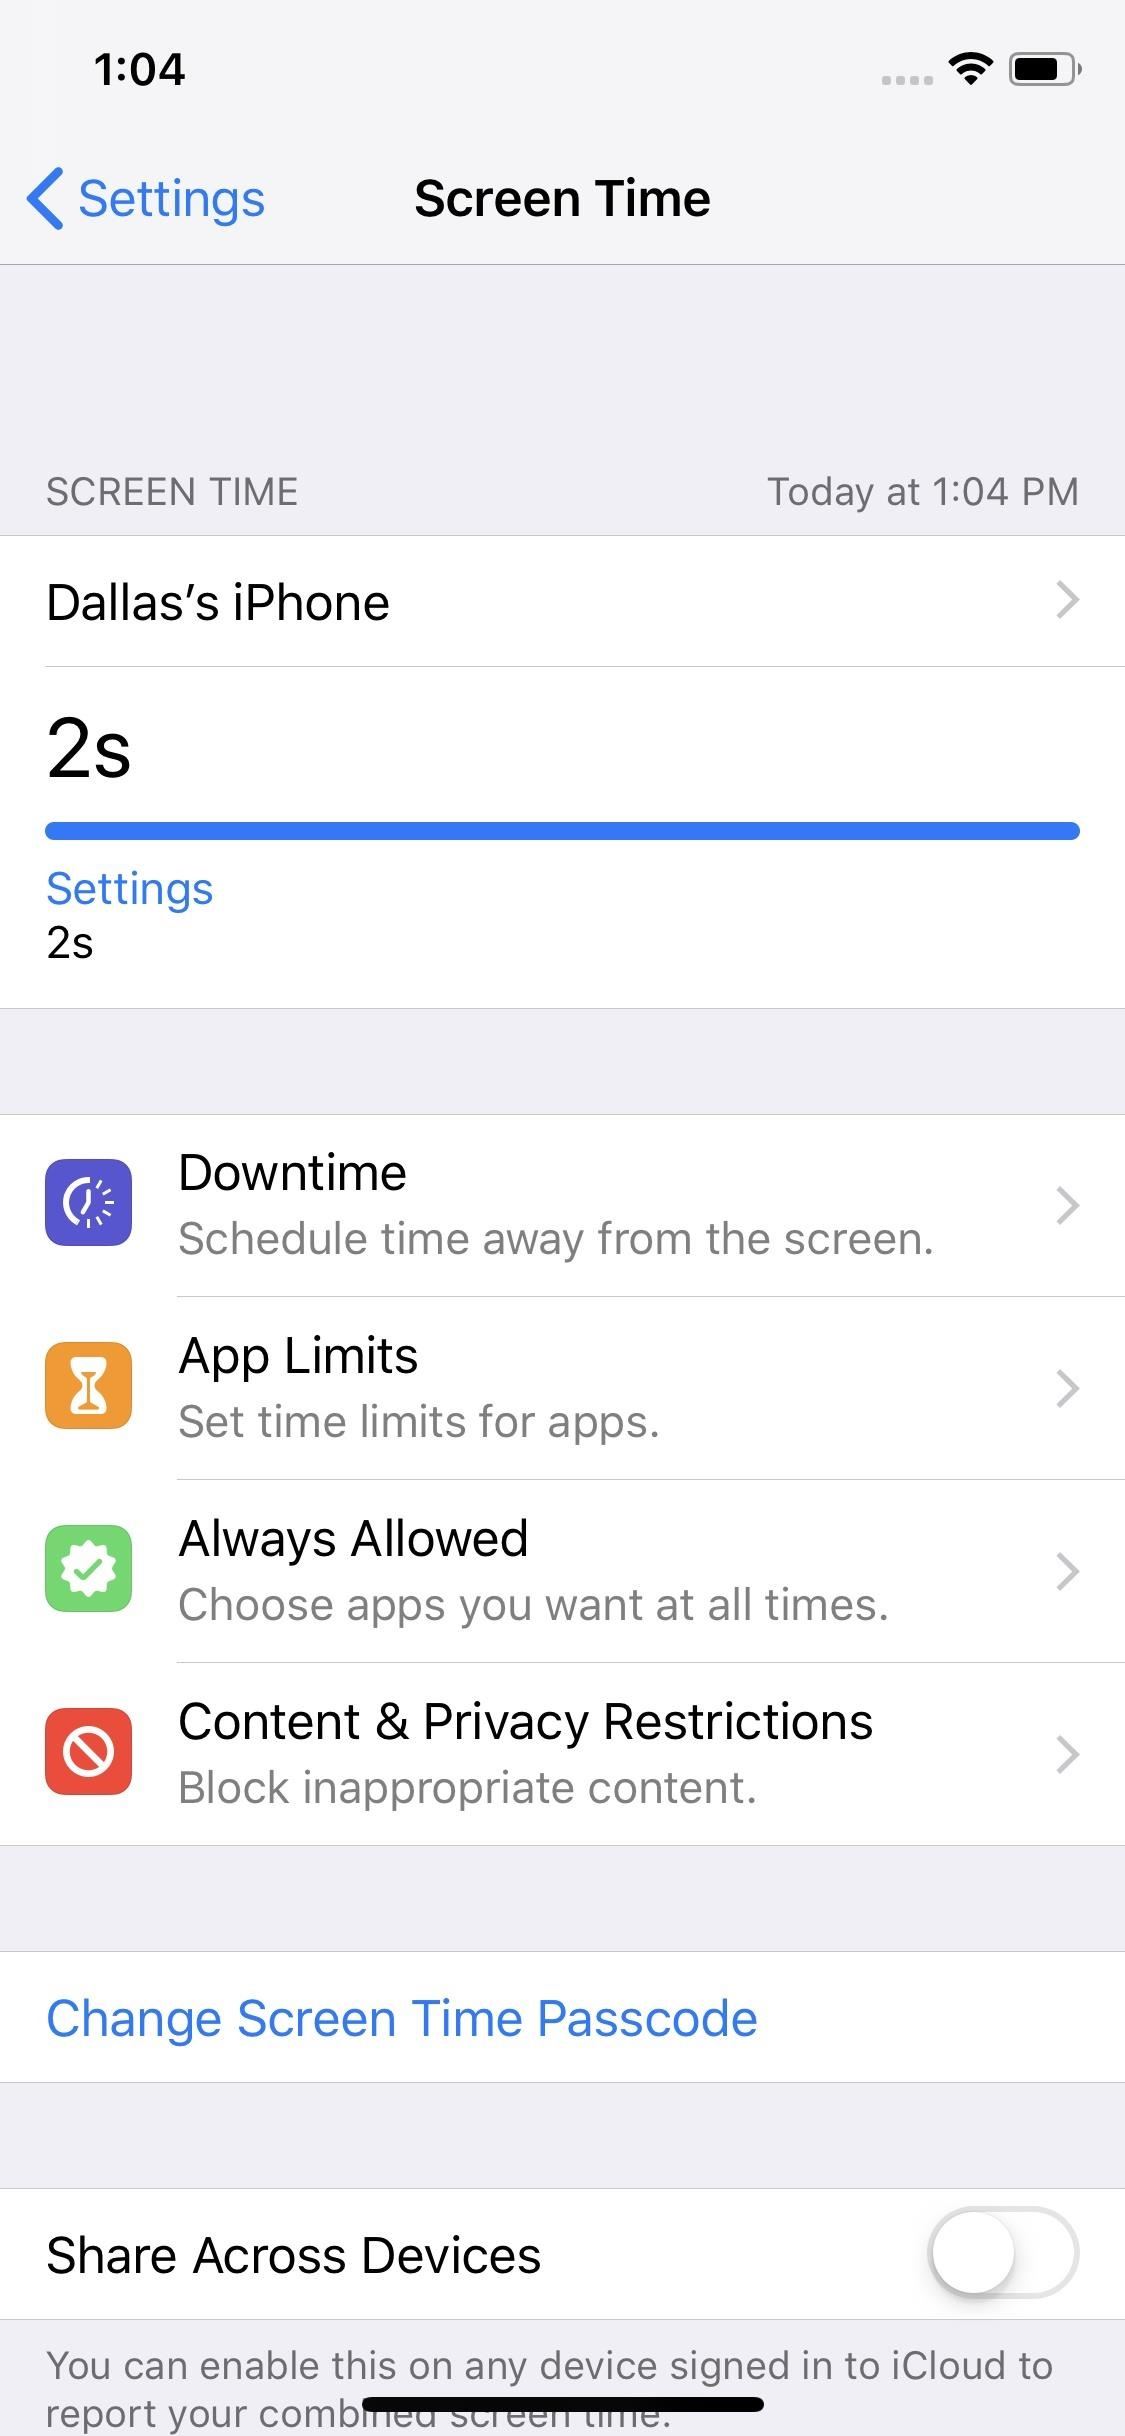
Now, you’ll be prompted to enter a four-digit “Parent Passcode” (or “Screen Time Passcode” if you’re setting up your own phone) to secure your Screen Time settings and prevent unwanted access, so enter your desired PIN twice to wrap things up. Once done, you’ll be taken to the settings page for Screen Time.
Step 2: Choose Which Apps to Allow
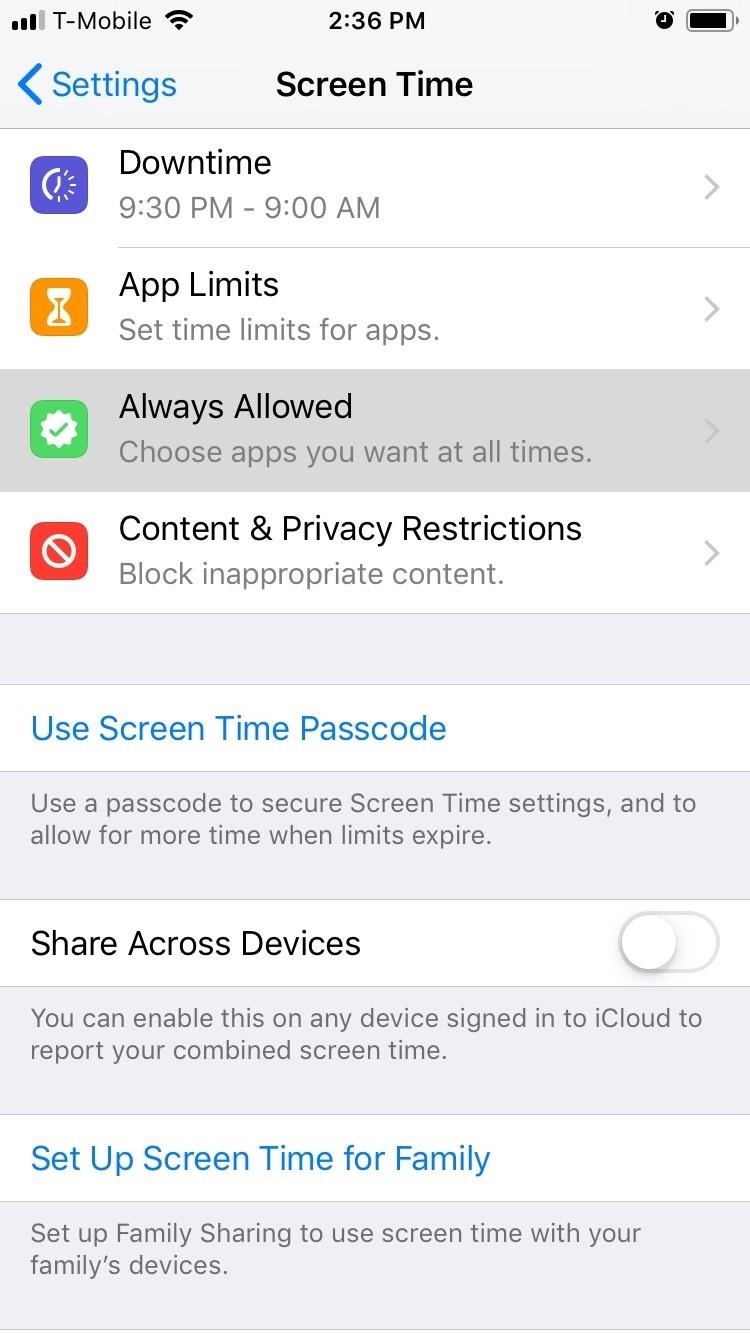
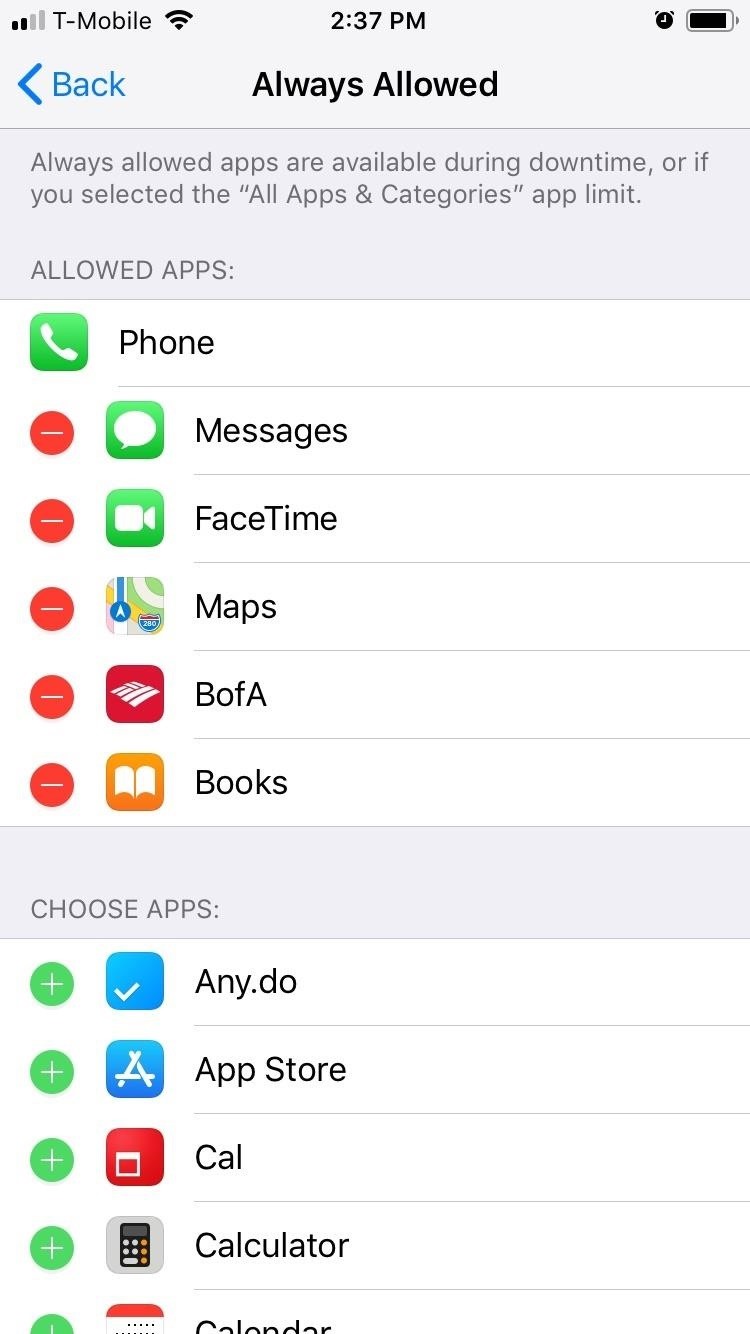
With the initial setup for Downtime out of the way, you should take this time to choose which apps you want to limit for either yourself or your child. To do so, open the Settings app, select “Screen Time,” then tap on “Always Allowed” on the following page.
By default, only the Phone, Messages, FaceTime, and Apple Maps apps can be used during Downtime hours. You can set other apps to “Always Allowed” by tapping on the plus button next to the desired apps, and you can remove apps (except for the Phone app) by hitting the minus button and tapping on “Remove.”
Step 3: Change How Apps Are Unblocked (Optional)
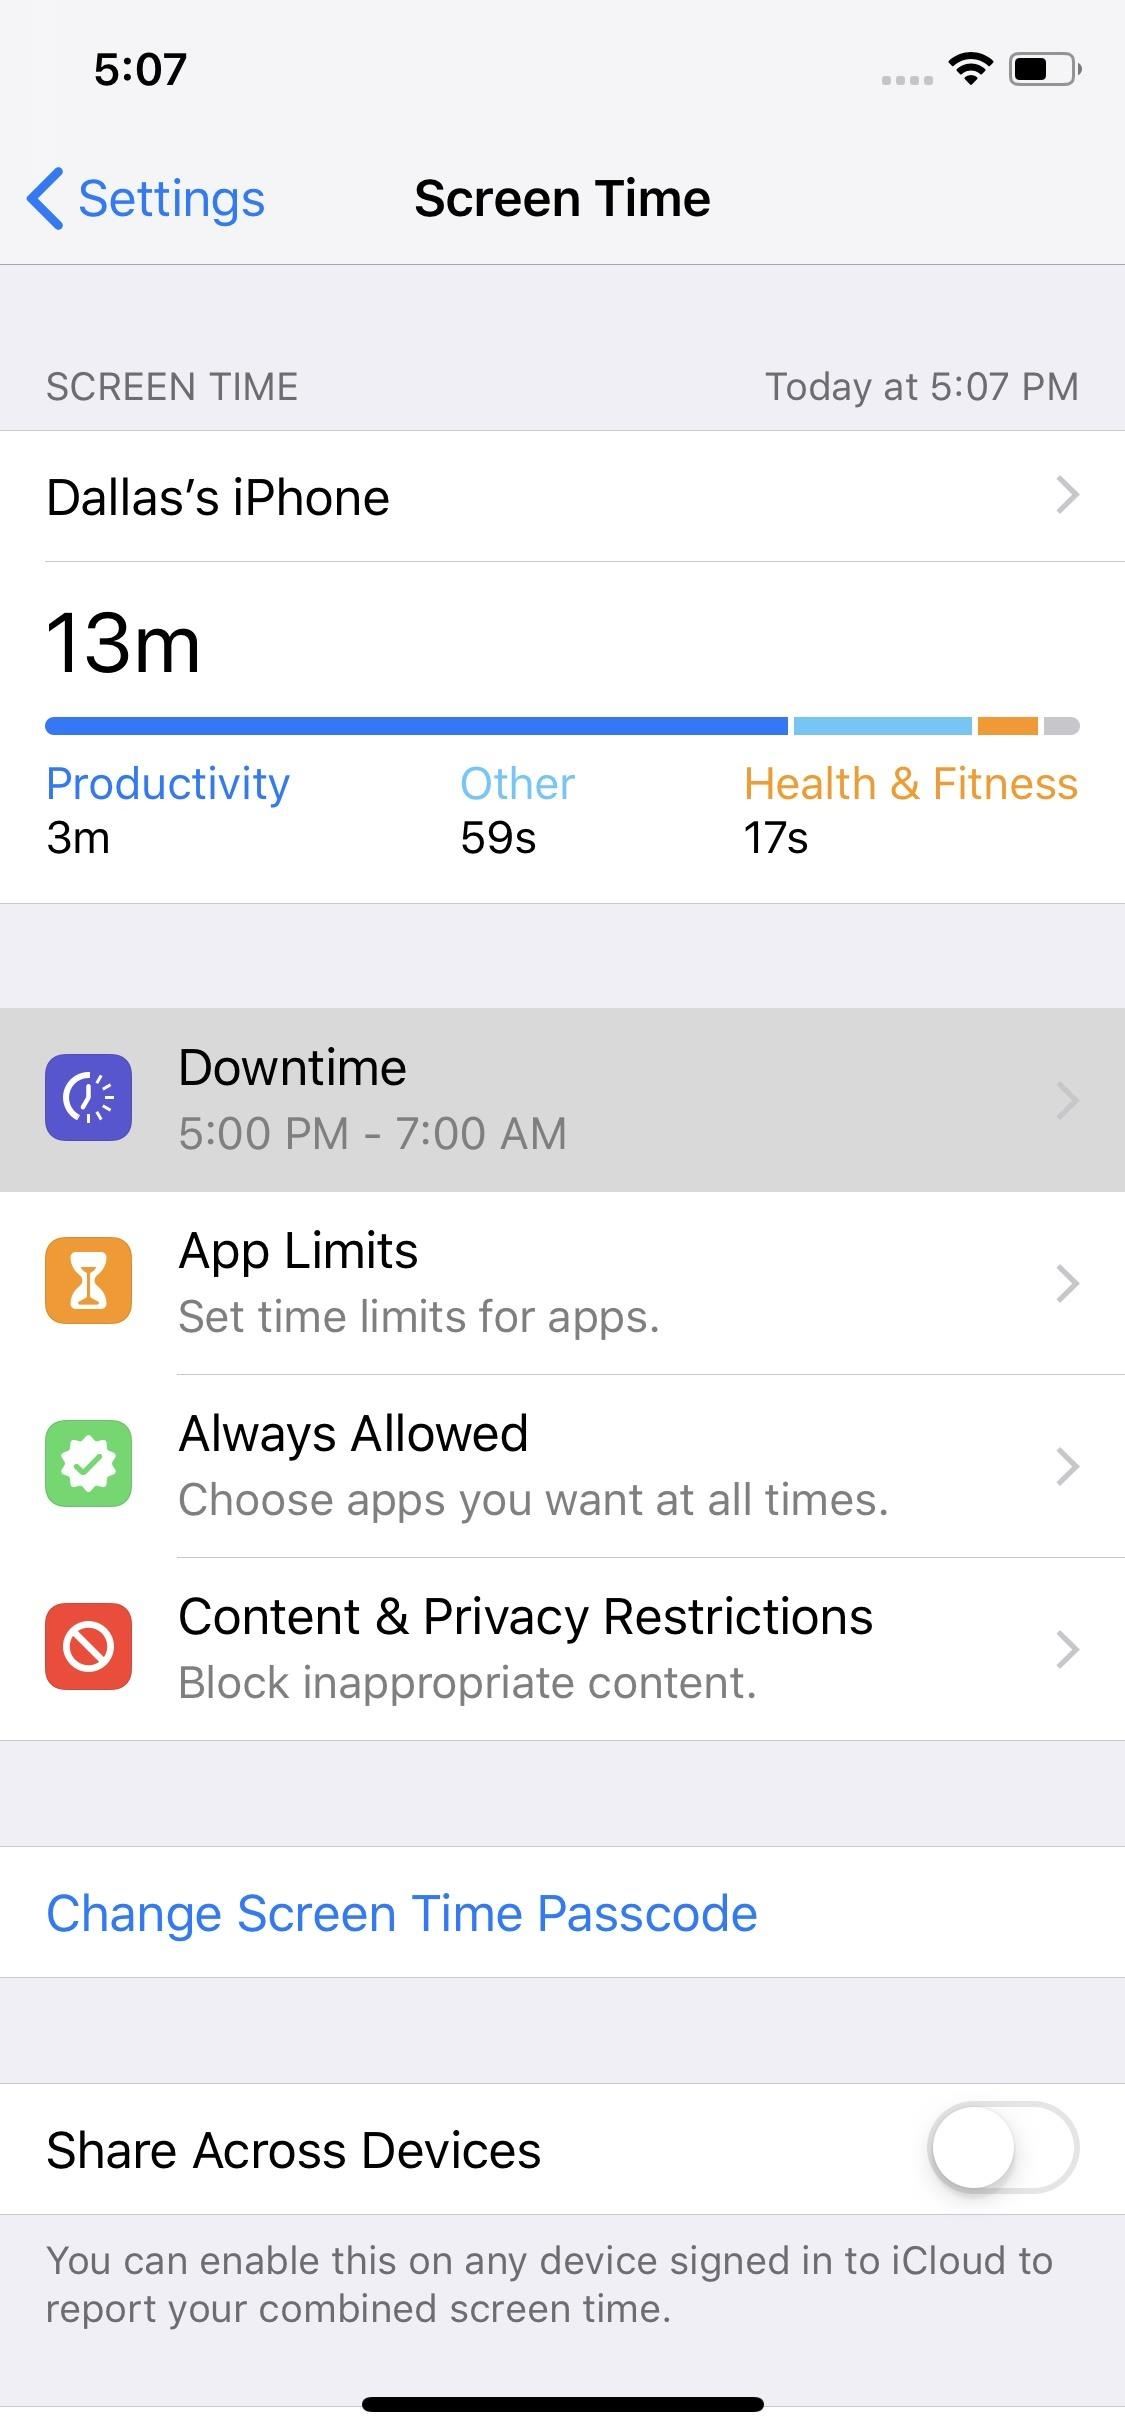
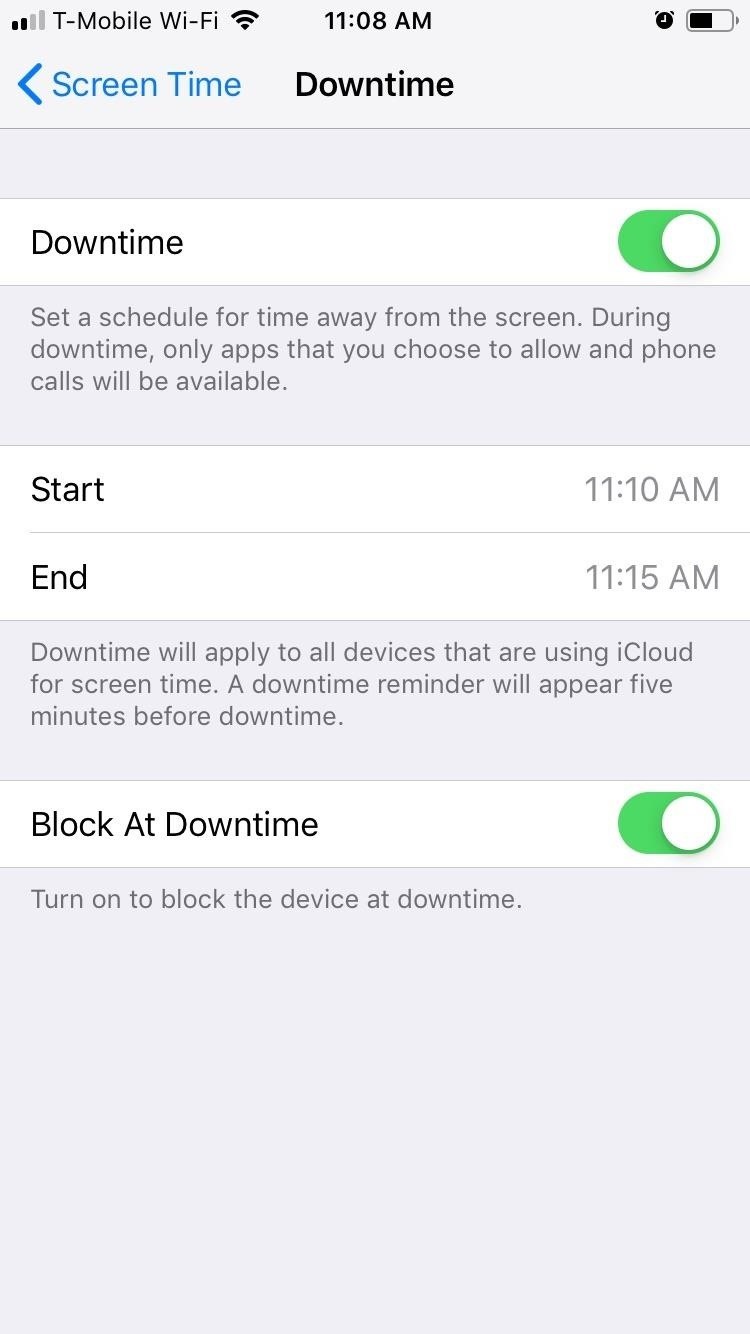
By default, Downtime will require that the passcode be entered when you or your child attempts to open an app that isn’t allowed during the scheduled hours. If you’d like, you can soften these rules a bit by heading to the Screen Time menu in Settings, selecting “Downtime,” then entering the passcode and disabling “Block At Downtime.”
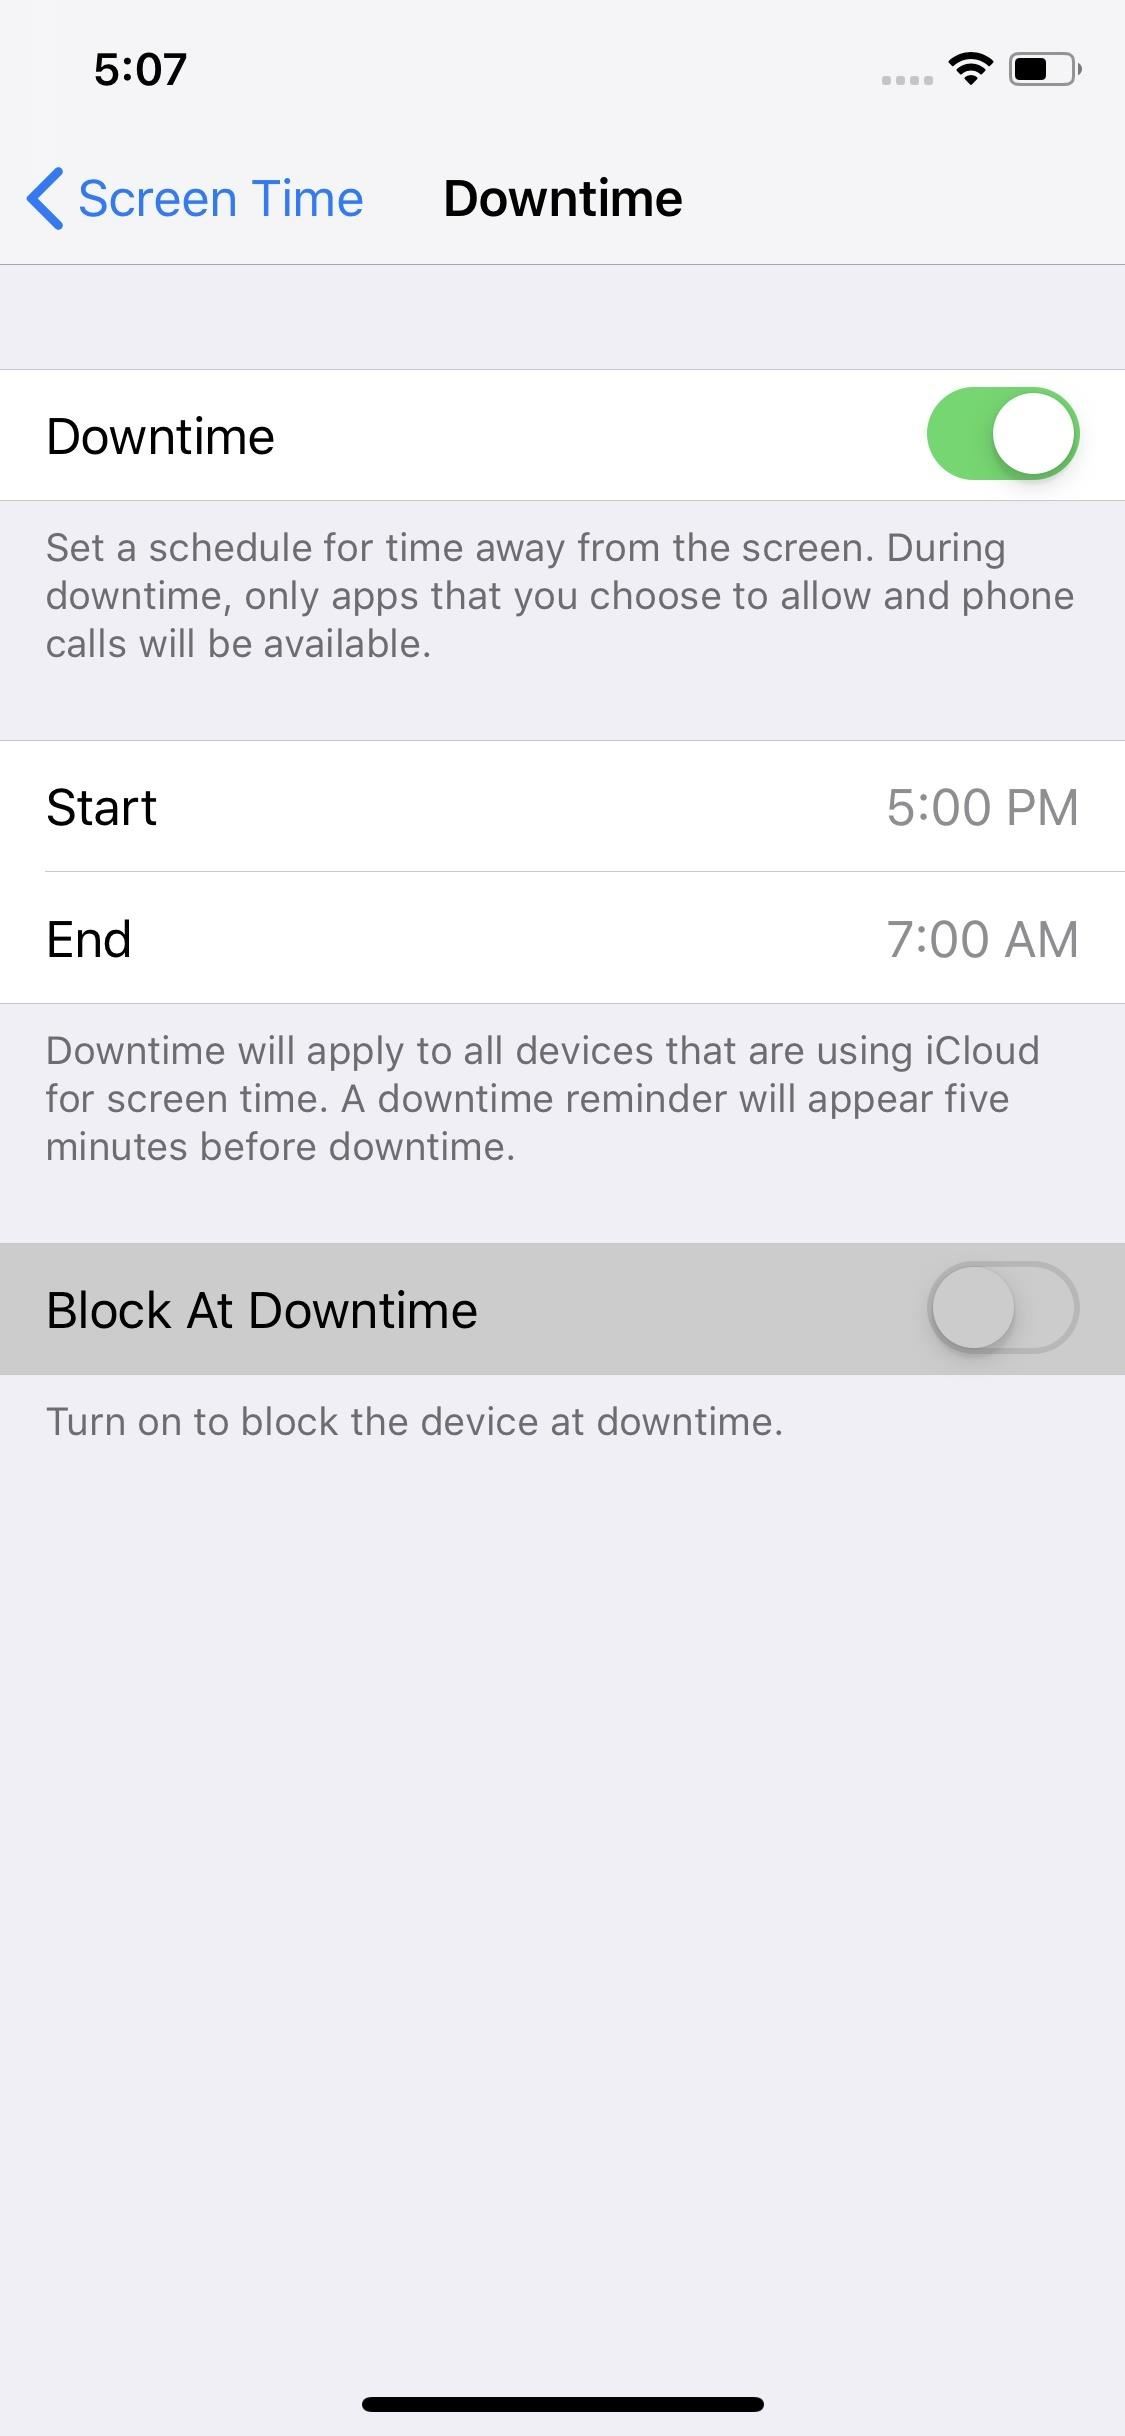
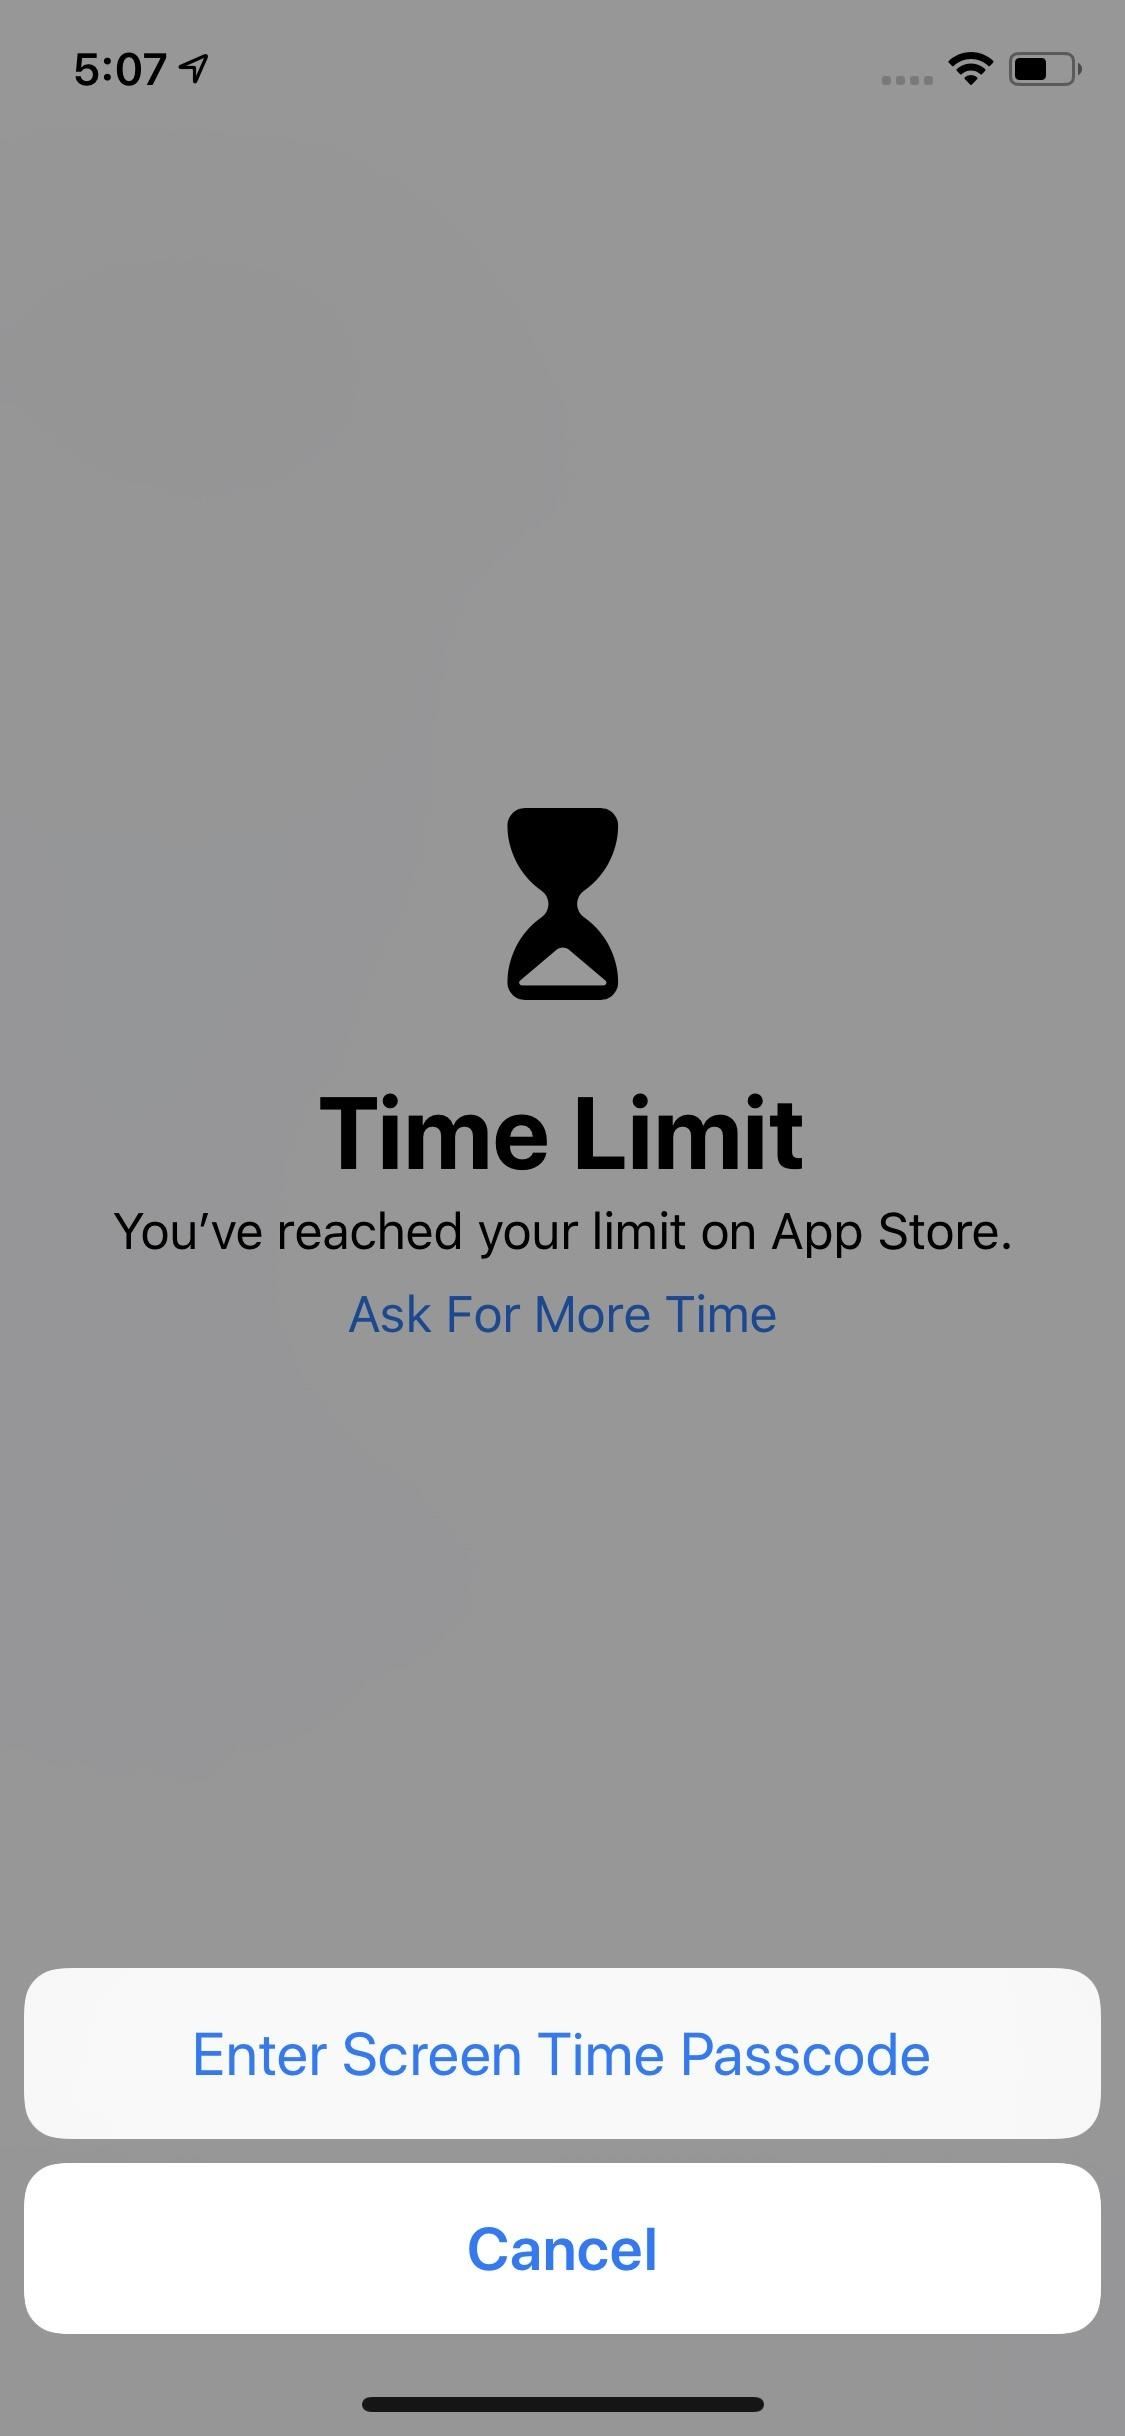
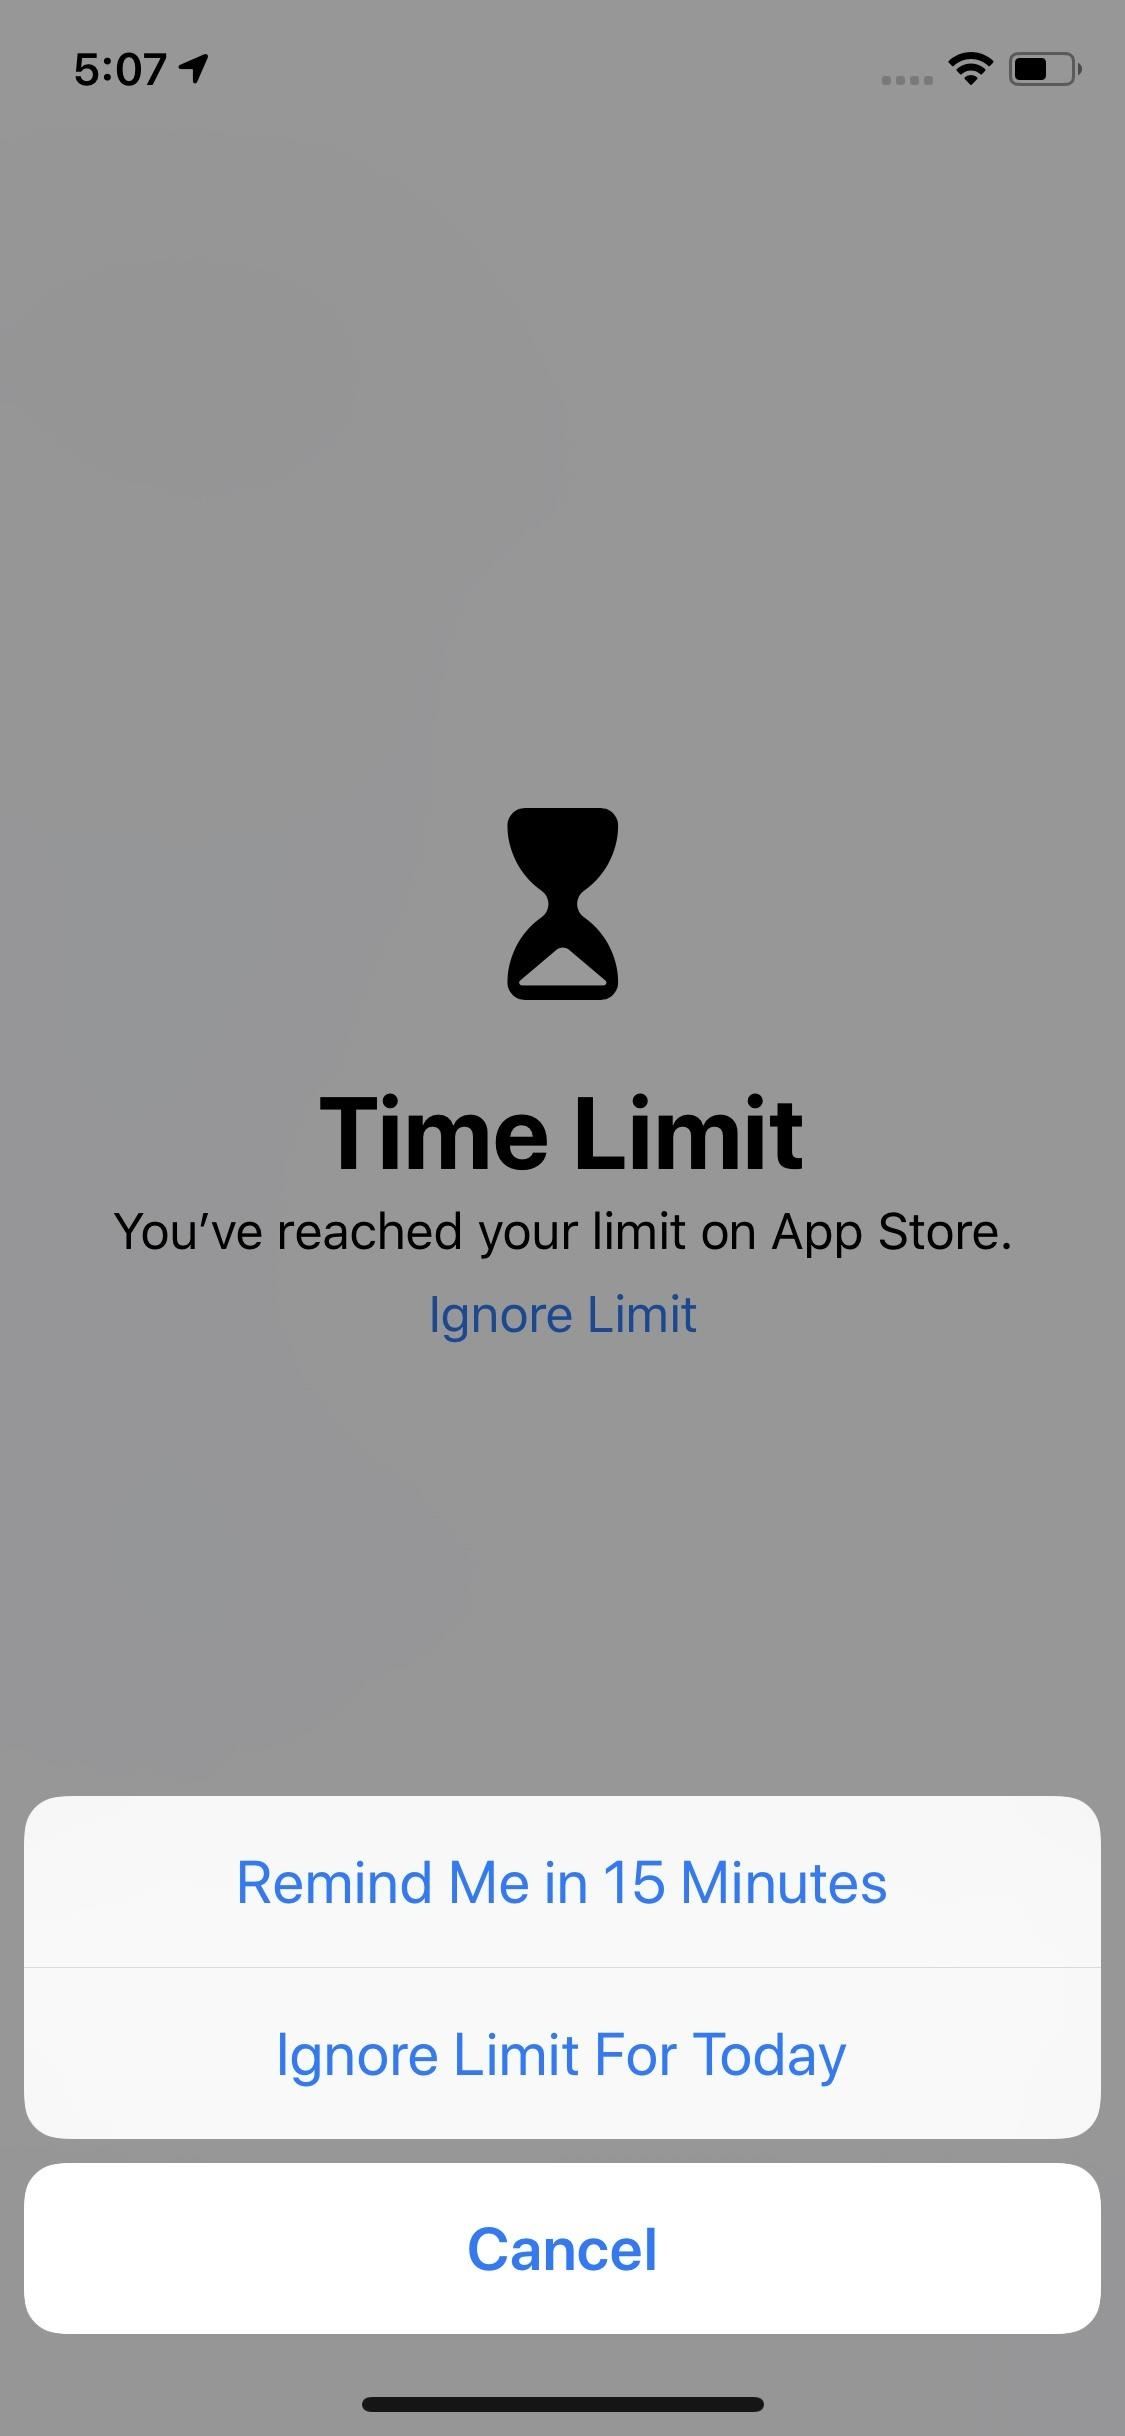
If you turn off this toggle, the next time a restricted app is opened during Downtime hours, the message overlaid on the app will change from “Ask For More Time” to simply “Ignore Limit.” Where the former would prompt you to enter the passcode, the latter will let you choose from “Remind Me in 15 Minutes” (which gives you another 15 minutes before the overlay reappears in this app) or “Ignore Limit For Today” (which lets you use this app freely until tomorrow’s Downtime hours).
Step 4: Adjust the Passcode (Optional)
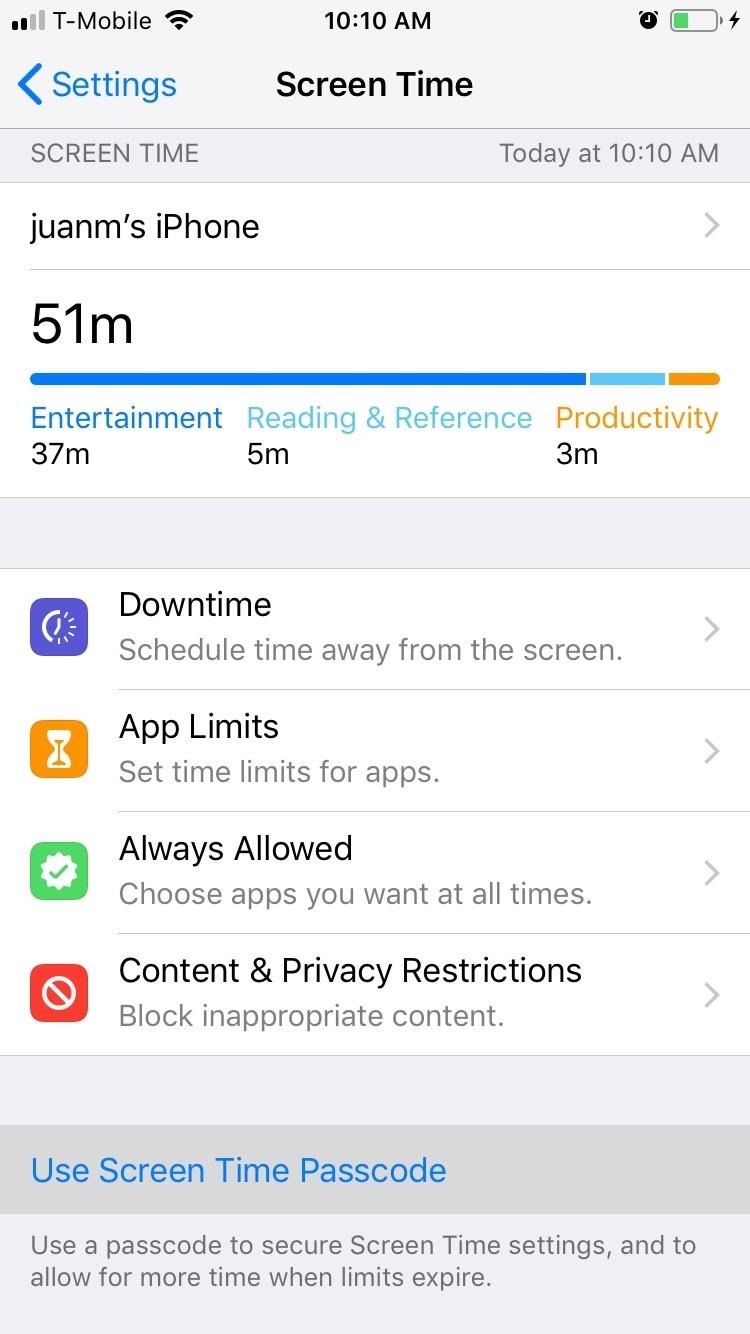
If you ever need to adjust the Parent Passcode or Screen Time Passcode, you can easily accomplish this within the same Screen Time menu in Settings. If you didn’t set a passcode during initial setup, you can also set a passcode for the first time in this menu.
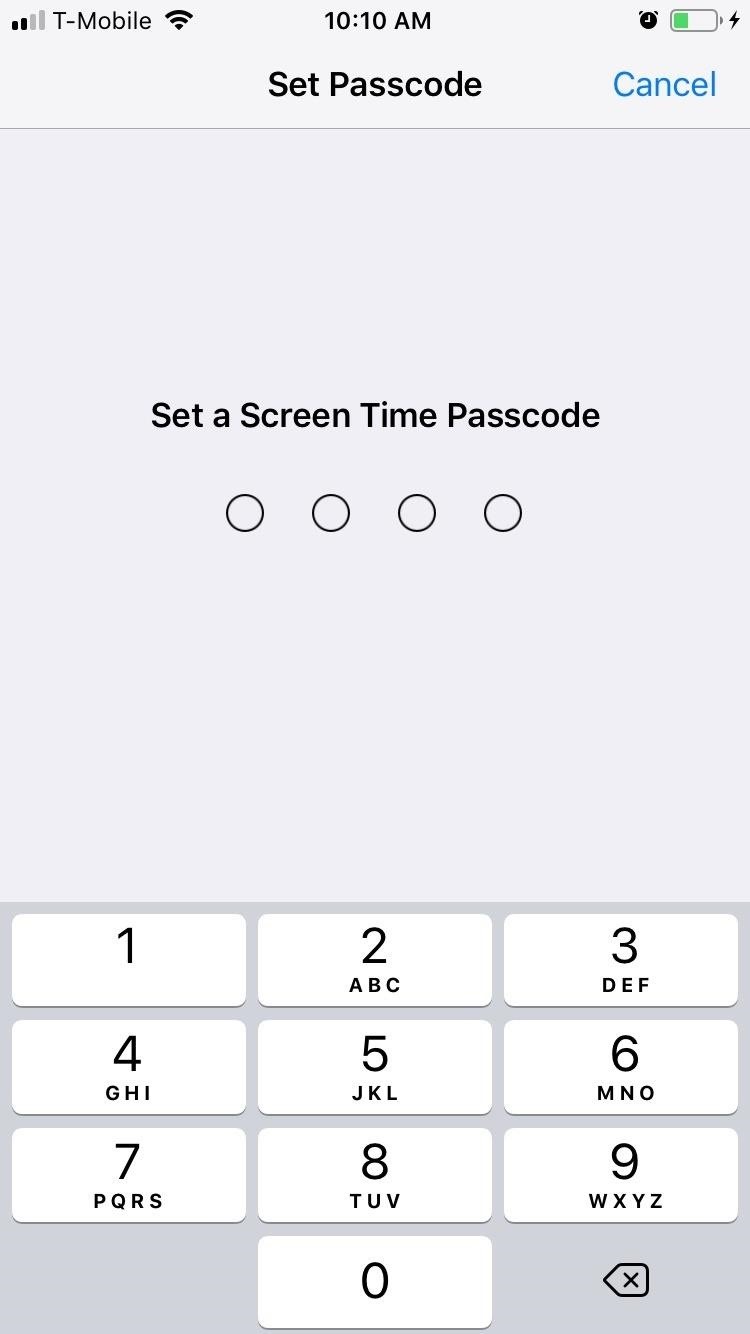
To do so, simply tap on “Use Screen Time Passcode” (if a passcode wasn’t previously set) or “Change Screen Time Passcode.” If you previously had a passcode set, you’ll be asked to enter it now. Otherwise, you can now set your desired PIN by inputting it twice.
Step 5: Adjust Downtime Hours (Optional)
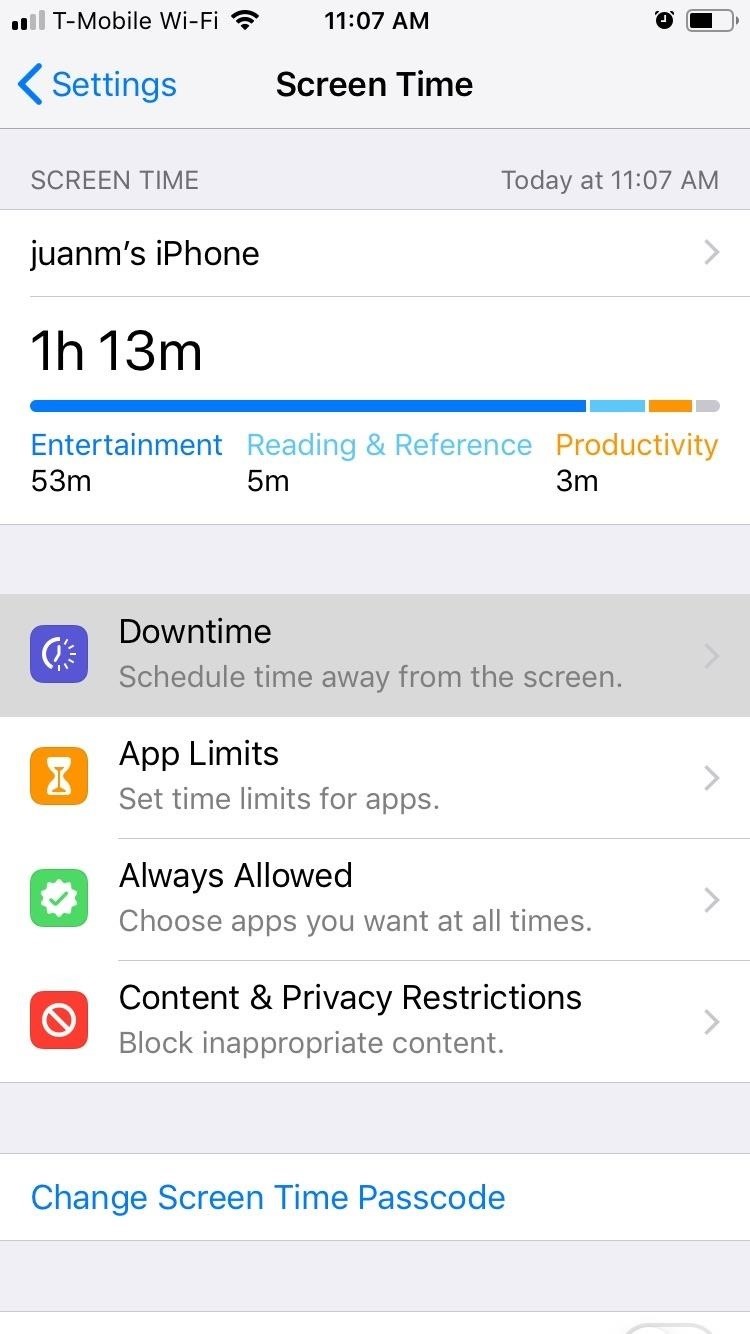
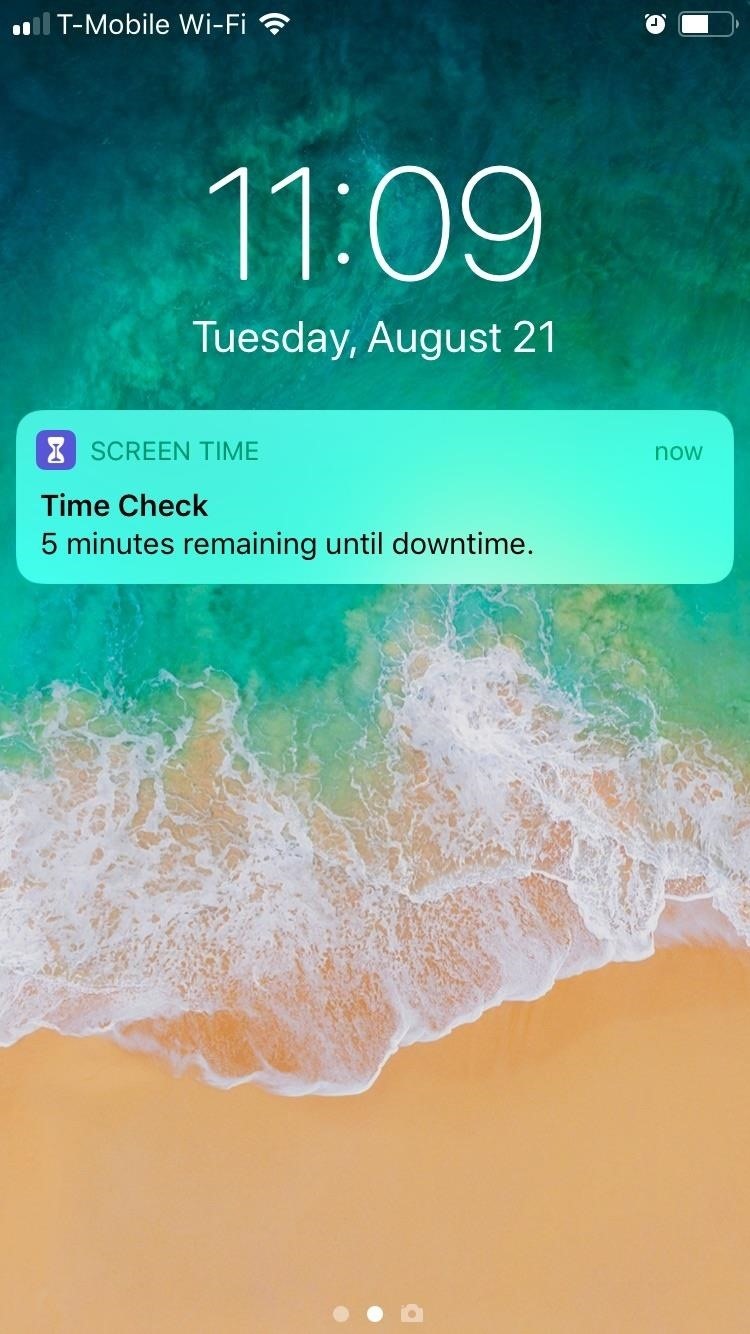
If you ever want to adjust Downtime hours, tap on “Downtime” from within Screen Time’s settings page. Input your security PIN when prompted, then set the desired “Start” and “End” times by tapping on their corresponding tabs. Once Downtime is set, your iPhone will receive a notification five minute before the feature kicks in.
- Follow Gadget Hacks on Facebook, Twitter, YouTube, and Flipboard
- Follow WonderHowTo on Facebook, Twitter, Pinterest, and Flipboard
Just updated your iPhone? You’ll find new features for Podcasts, News, Books, and TV, as well as important security improvements and fresh wallpapers. Find out what’s new and changed on your iPhone with the iOS 17.5 update.
“Hey there, just a heads-up: We’re part of the Amazon affiliate program, so when you buy through links on our site, we may earn a small commission. But don’t worry, it doesn’t cost you anything extra and helps us keep the lights on. Thanks for your support!”


