Widget toggles, or “power toggles” as they’re often called, have been around for quite a while. They serve their purpose nicely as an easy way to add switches to your home screen or notification area for functions that don’t come with the stock software on your device.
As functional as this may sound, such apps are limited by Android’s own permissions system. If a widget toggle app can’t request access to a certain function, it’s incapable of toggling this action. In the end, this means that only a few useful actions such as Wi-Fi or screen rotation can be toggled with a traditional widget toggle app.
But developer Le Duc Bao has a new widget toggle app that skirts Android’s limited permissions system and instead utilizes the Xposed Framework. With system-level access to almost every function that your device is capable of, this app brings the term “power toggles” to a whole new level.
Requirements
Step 1: Install & Activate Action Widgets
Bao’s app is one of those rare Xposed modules that can be downloaded directly from the Google Play Store. Search “Action Widgets” to get it installed, or head directly to the install page here.
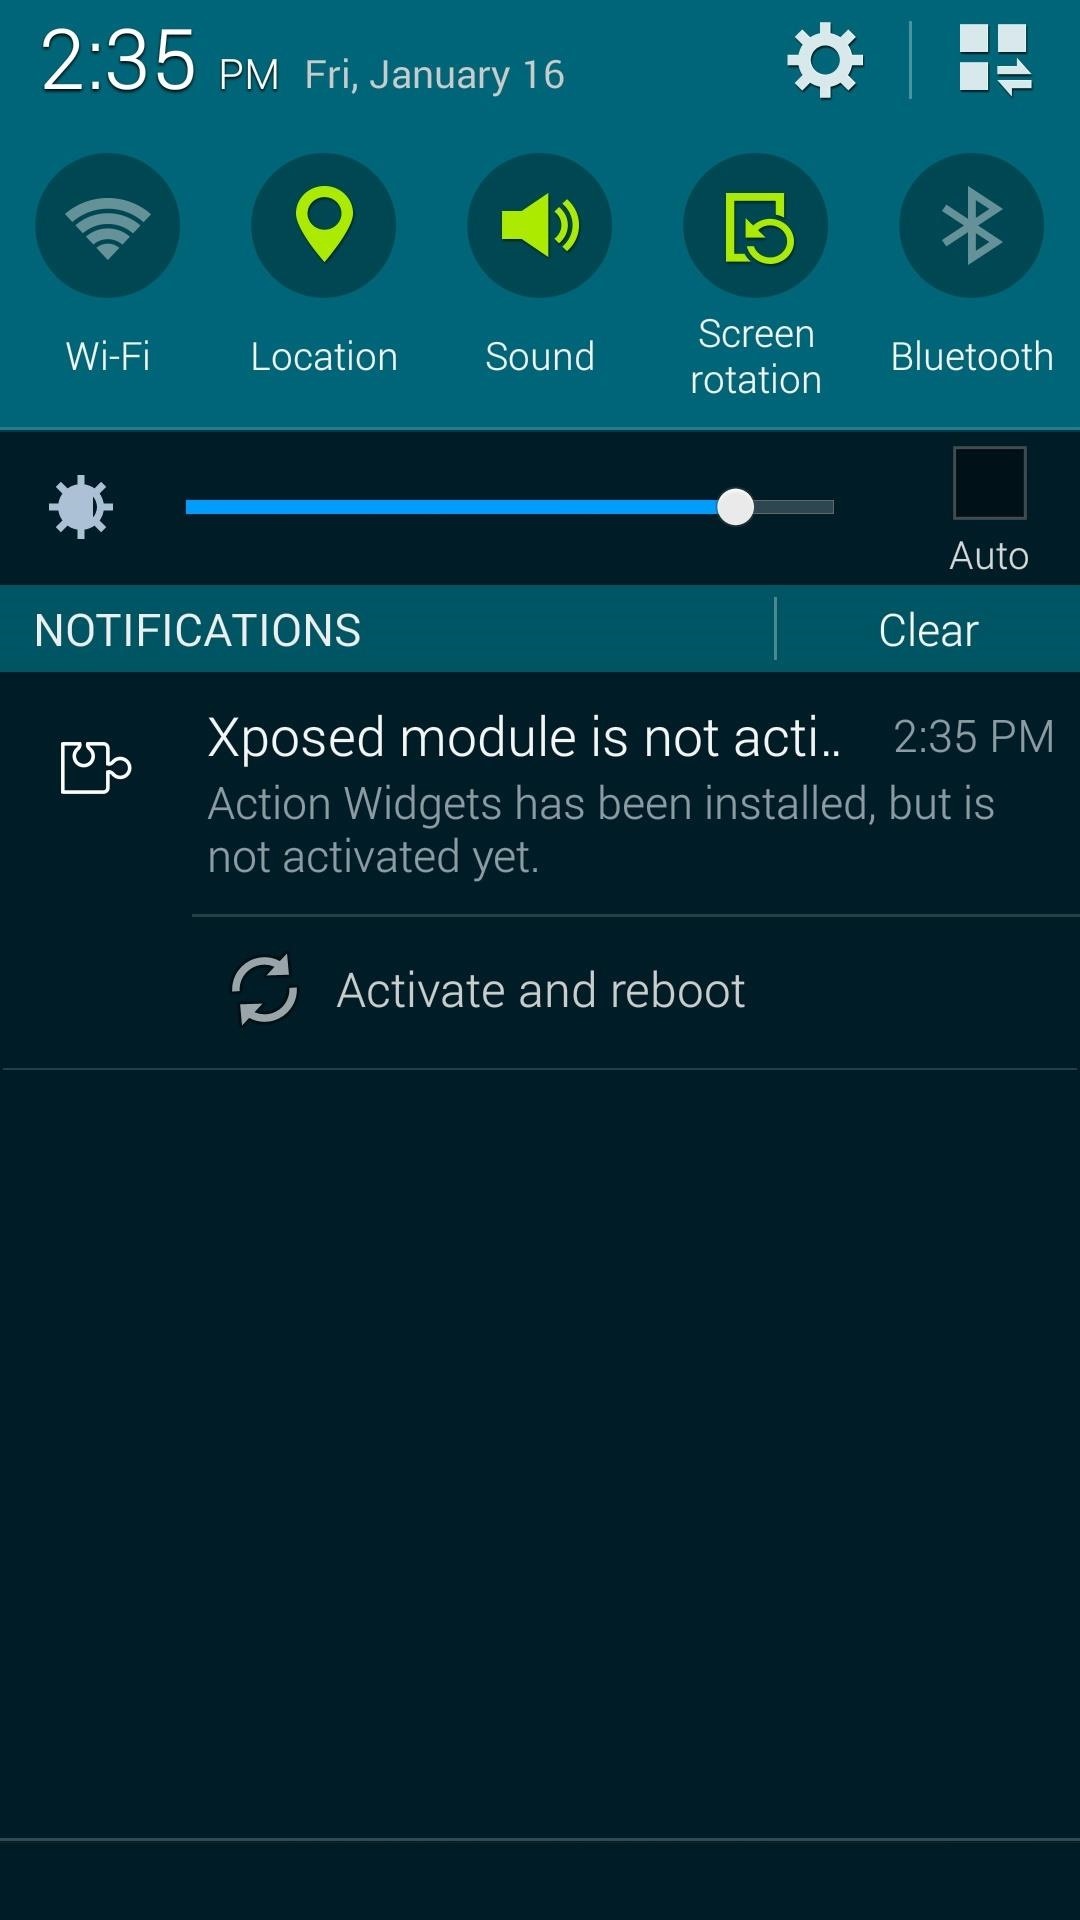
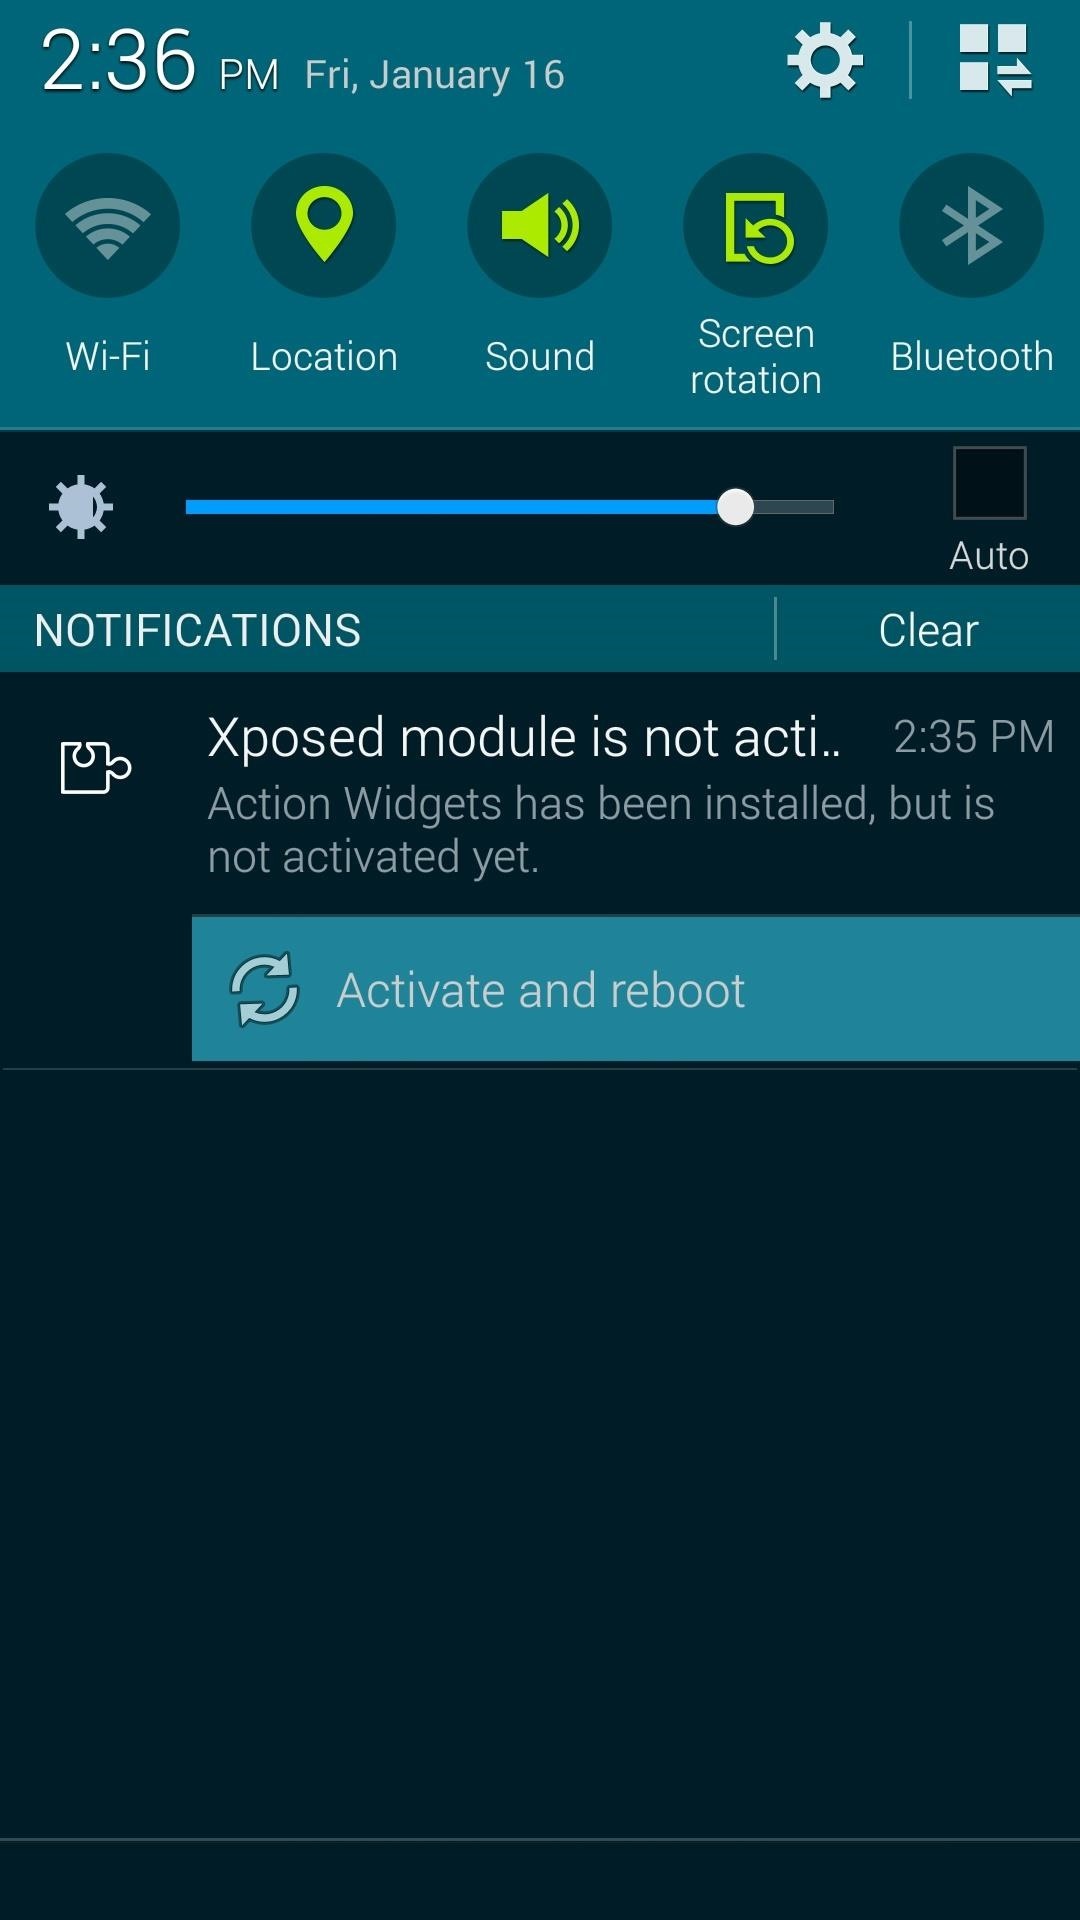
Within a few seconds of installing the app, you’ll get a notification from the Xposed Installer letting you know that the associated module hasn’t been activated yet. Tap the “Activate and reboot” button on this notification and Xposed will take care of the rest for you.
Step 2: Install the Action Widgets Helper App
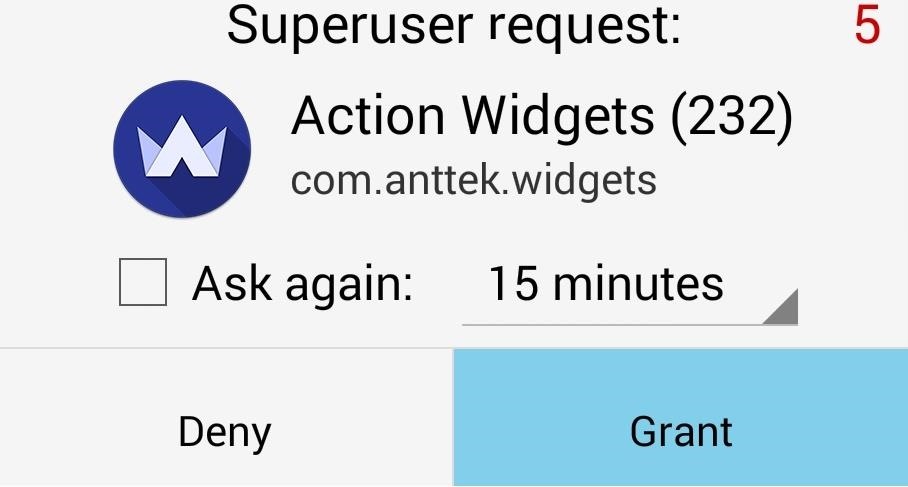
Once you get back up, go ahead and open Action Widgets from your app drawer. At this point, the app will ask for Superuser privileges, so tap “Grant” on the popup.
From here, there are several cards that give you status reports on the Action Widgets install process. Tap “Got it” on the first card to dismiss it.
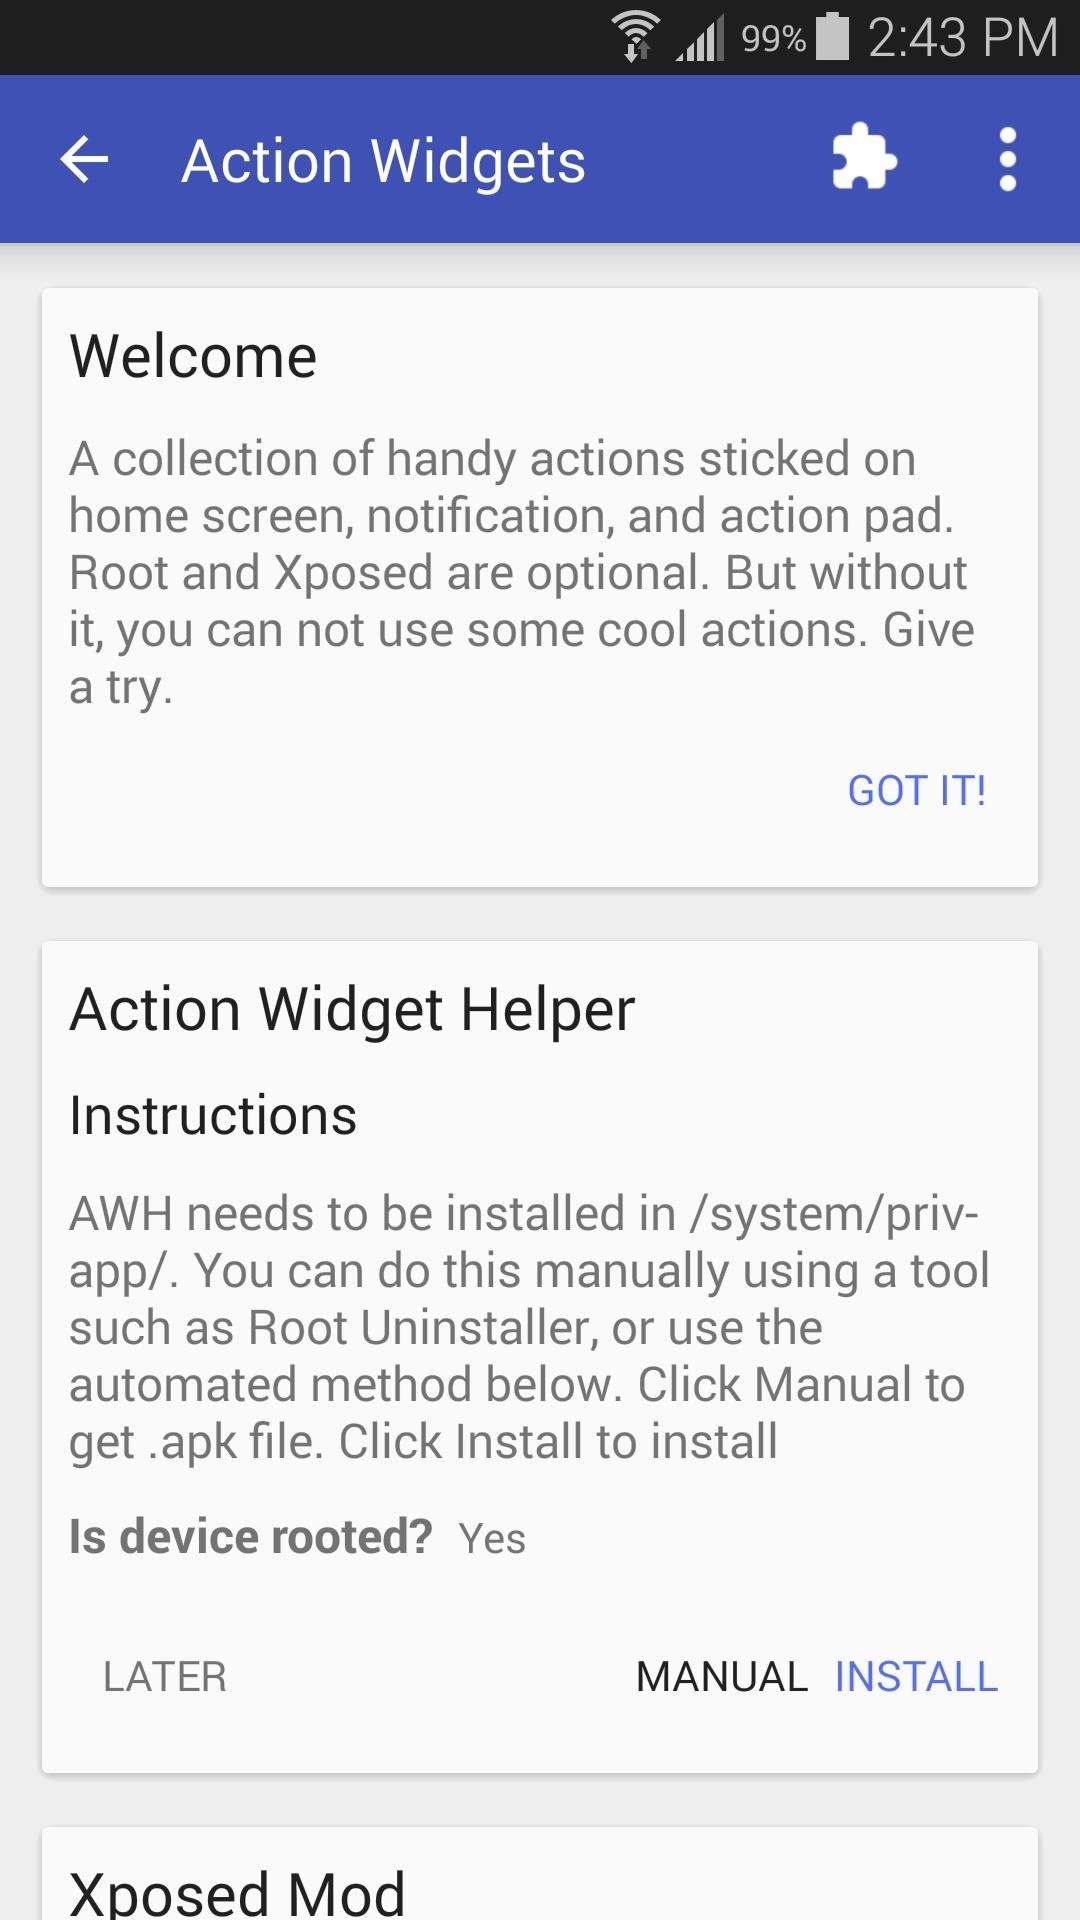

Next, Action Widgets uses a “helper” app to give it access to several system-level functions. Tap “Install” on the second card to get the helper on your system, then hit “Yes” to reboot your phone so the changes will become active.


Step 3: Set Up the Notification Widget
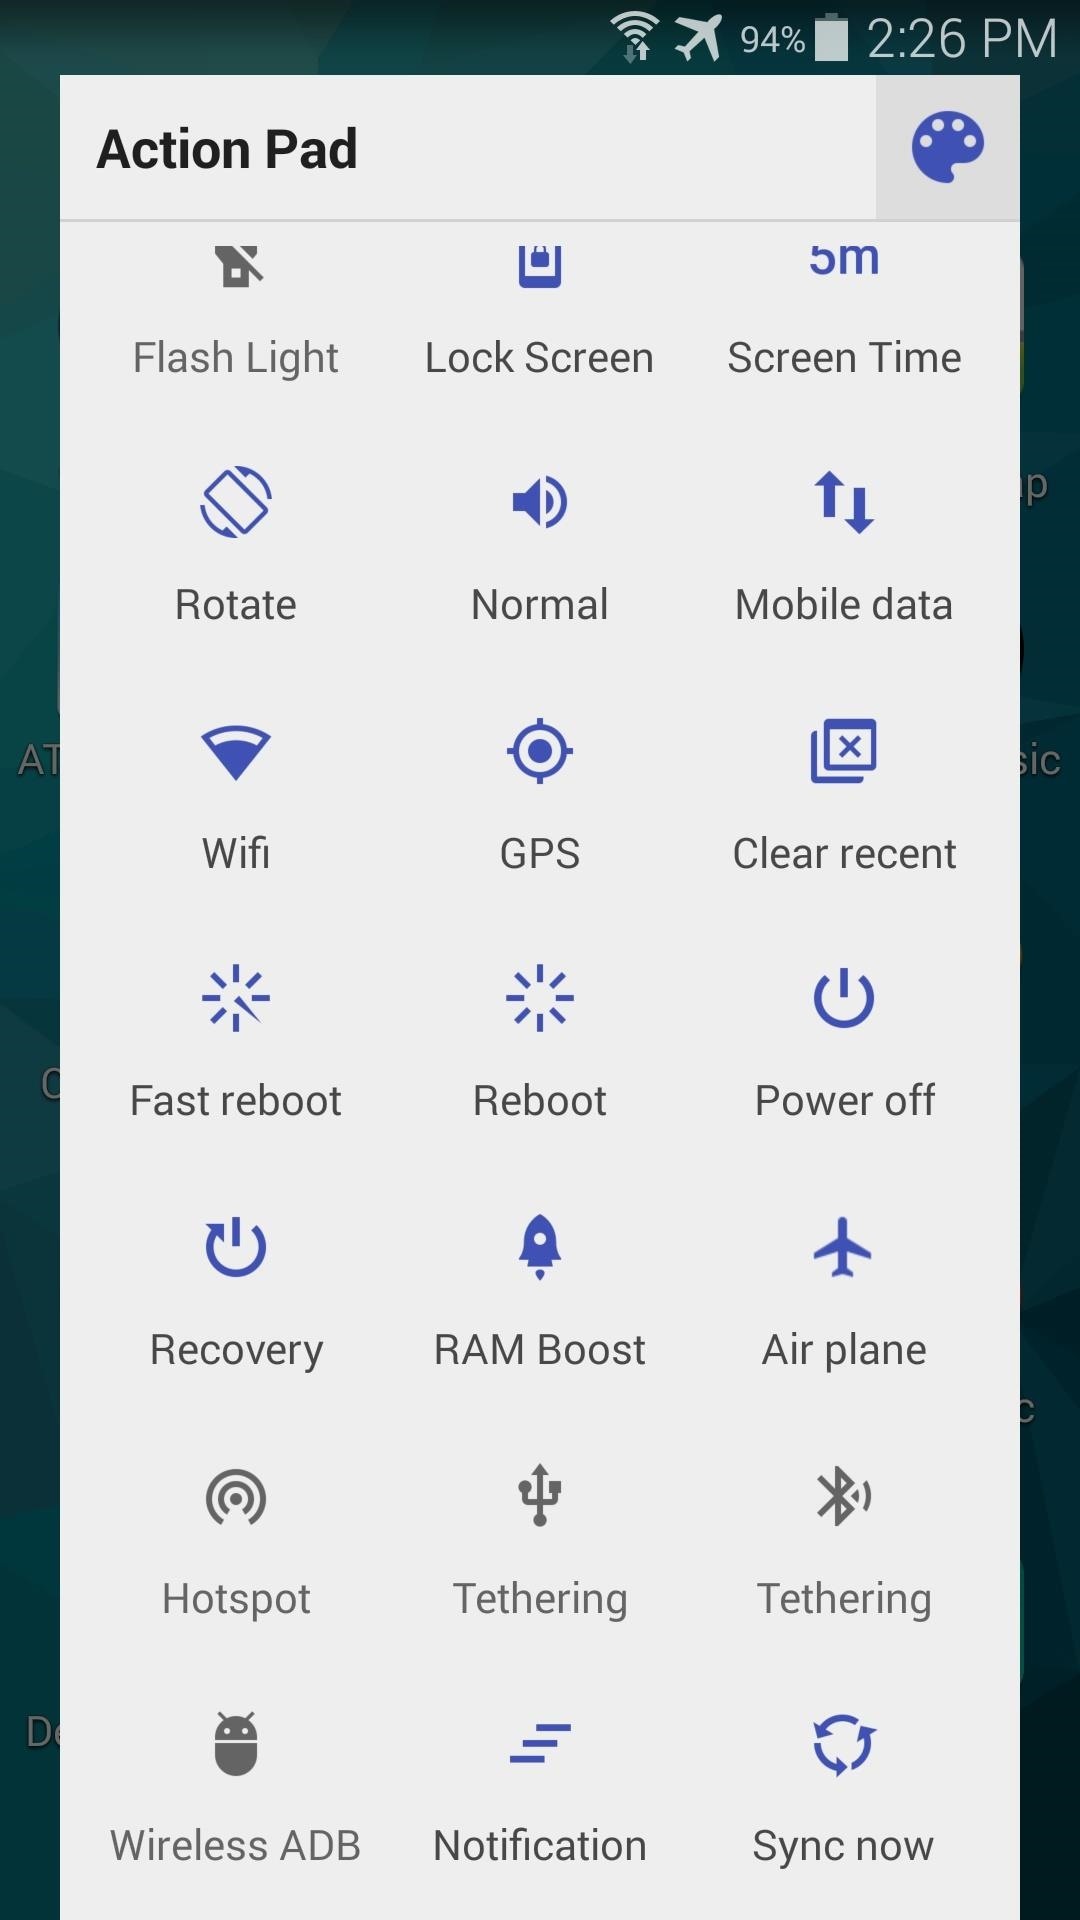
When your phone finishes booting back up, launch Action Widgets again and you’ll see the app’s post-setup interface. The developer calls this screen the “Action Pad,” and it basically gives you quick access to all of the toggles that Action Widgets has to offer.


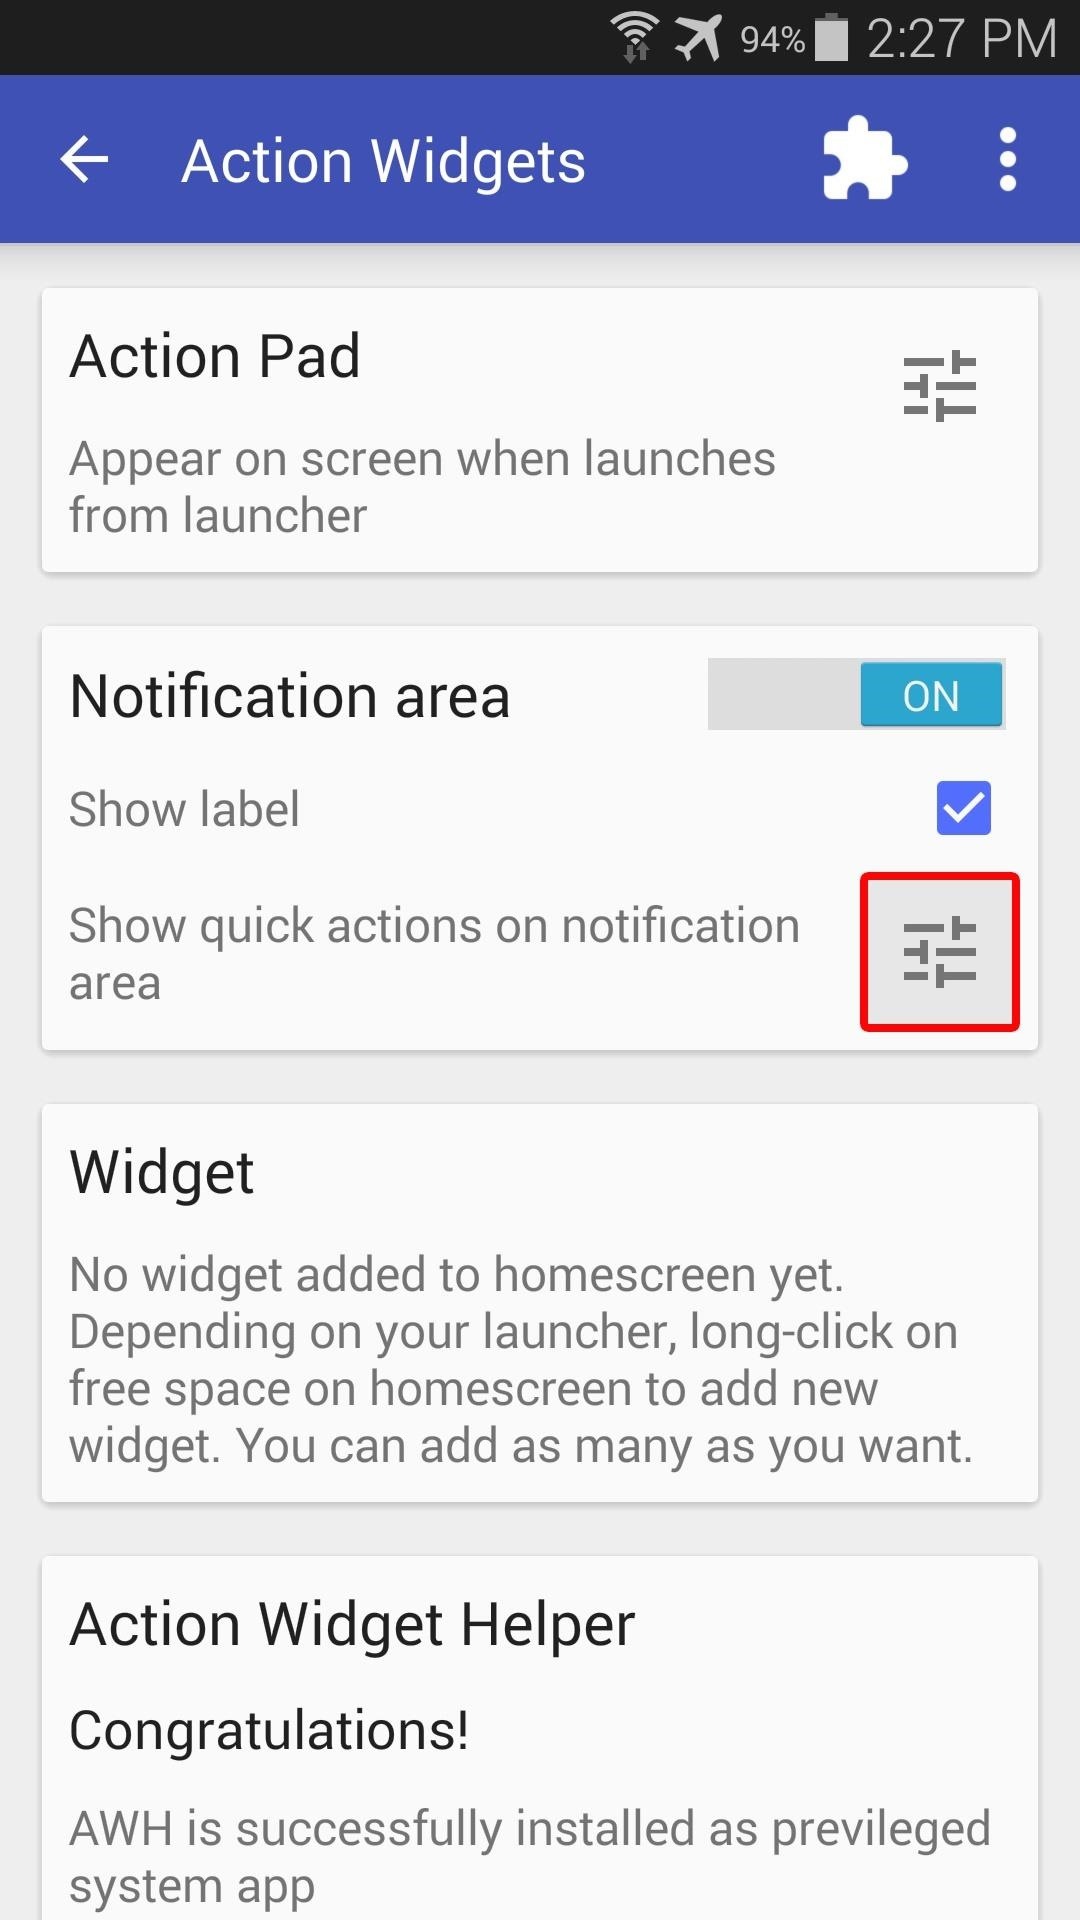
From here, tap the icon in the top-right corner to configure your notification widget. The “Notification area” card contains all of the options for this widget, which can even be turned off altogether using the toggle switch.

If you opt to leave the notification widget enabled, tap the settings icon on this card to customize it a bit. From here, you can select any toggle for your widget, then you can use the “Themes” tab to change the look and feel.


After you make your changes, tap “OK” at the bottom of the popup. The results should be in effect immediately; just pull down your notification tray to see your new widget.


Step 4: Create a Home Screen Widget
If you’d like to add a set of toggles to your home screen, just use your device’s regular widget-picker menu to select one of the three options that Action Widgets provides.


From here, you’ll see the same interface that allows you to select toggles for your widget and even theme it. The results are beautiful, as Action Widgets provides many free themes.


Did you go with the notification widget, the home screen widgets, or a combination of both? Let us know in the comment section below, or drop us a line on Facebook, Google+, or Twitter.
Just updated your iPhone? You’ll find new emoji, enhanced security, podcast transcripts, Apple Cash virtual numbers, and other useful features. There are even new additions hidden within Safari. Find out what’s new and changed on your iPhone with the iOS 17.4 update.
“Hey there, just a heads-up: We’re part of the Amazon affiliate program, so when you buy through links on our site, we may earn a small commission. But don’t worry, it doesn’t cost you anything extra and helps us keep the lights on. Thanks for your support!”


