Your iPhone has a safety feature that makes it easier to call 911 in the U.S. and other emergency services abroad. Instead of fumbling with your iPhone’s dialer, you can call someone for help in various ways — with or without your hands.
Emergency SOS has been around since iOS 11, but it’s undergone a few changes, including new features available only for specific iPhone models. The following options are shown on iOS 16.0 and later for iPhone 8 and newer. Here are a few quick notes before continuing:
- If Location Services is turned off on your iPhone, Emergency SOS will temporarily turn it on during and after an emergency call. It’s better to keep it turned on, though; go to Settings –> Privacy & Security –> Location Services –> System Services, then toggle on “Emergency Calls & SOS.”
- If you’re not connected to your carrier’s cellular network or Wi-Fi Calling via an Internet connection, you can still make emergency calls if you see SOS or SOS Only in your status bar.
- You’ll need an eSIM or SIM card for most auto-calling options below.
1. Call via the Emergency SOS Slider
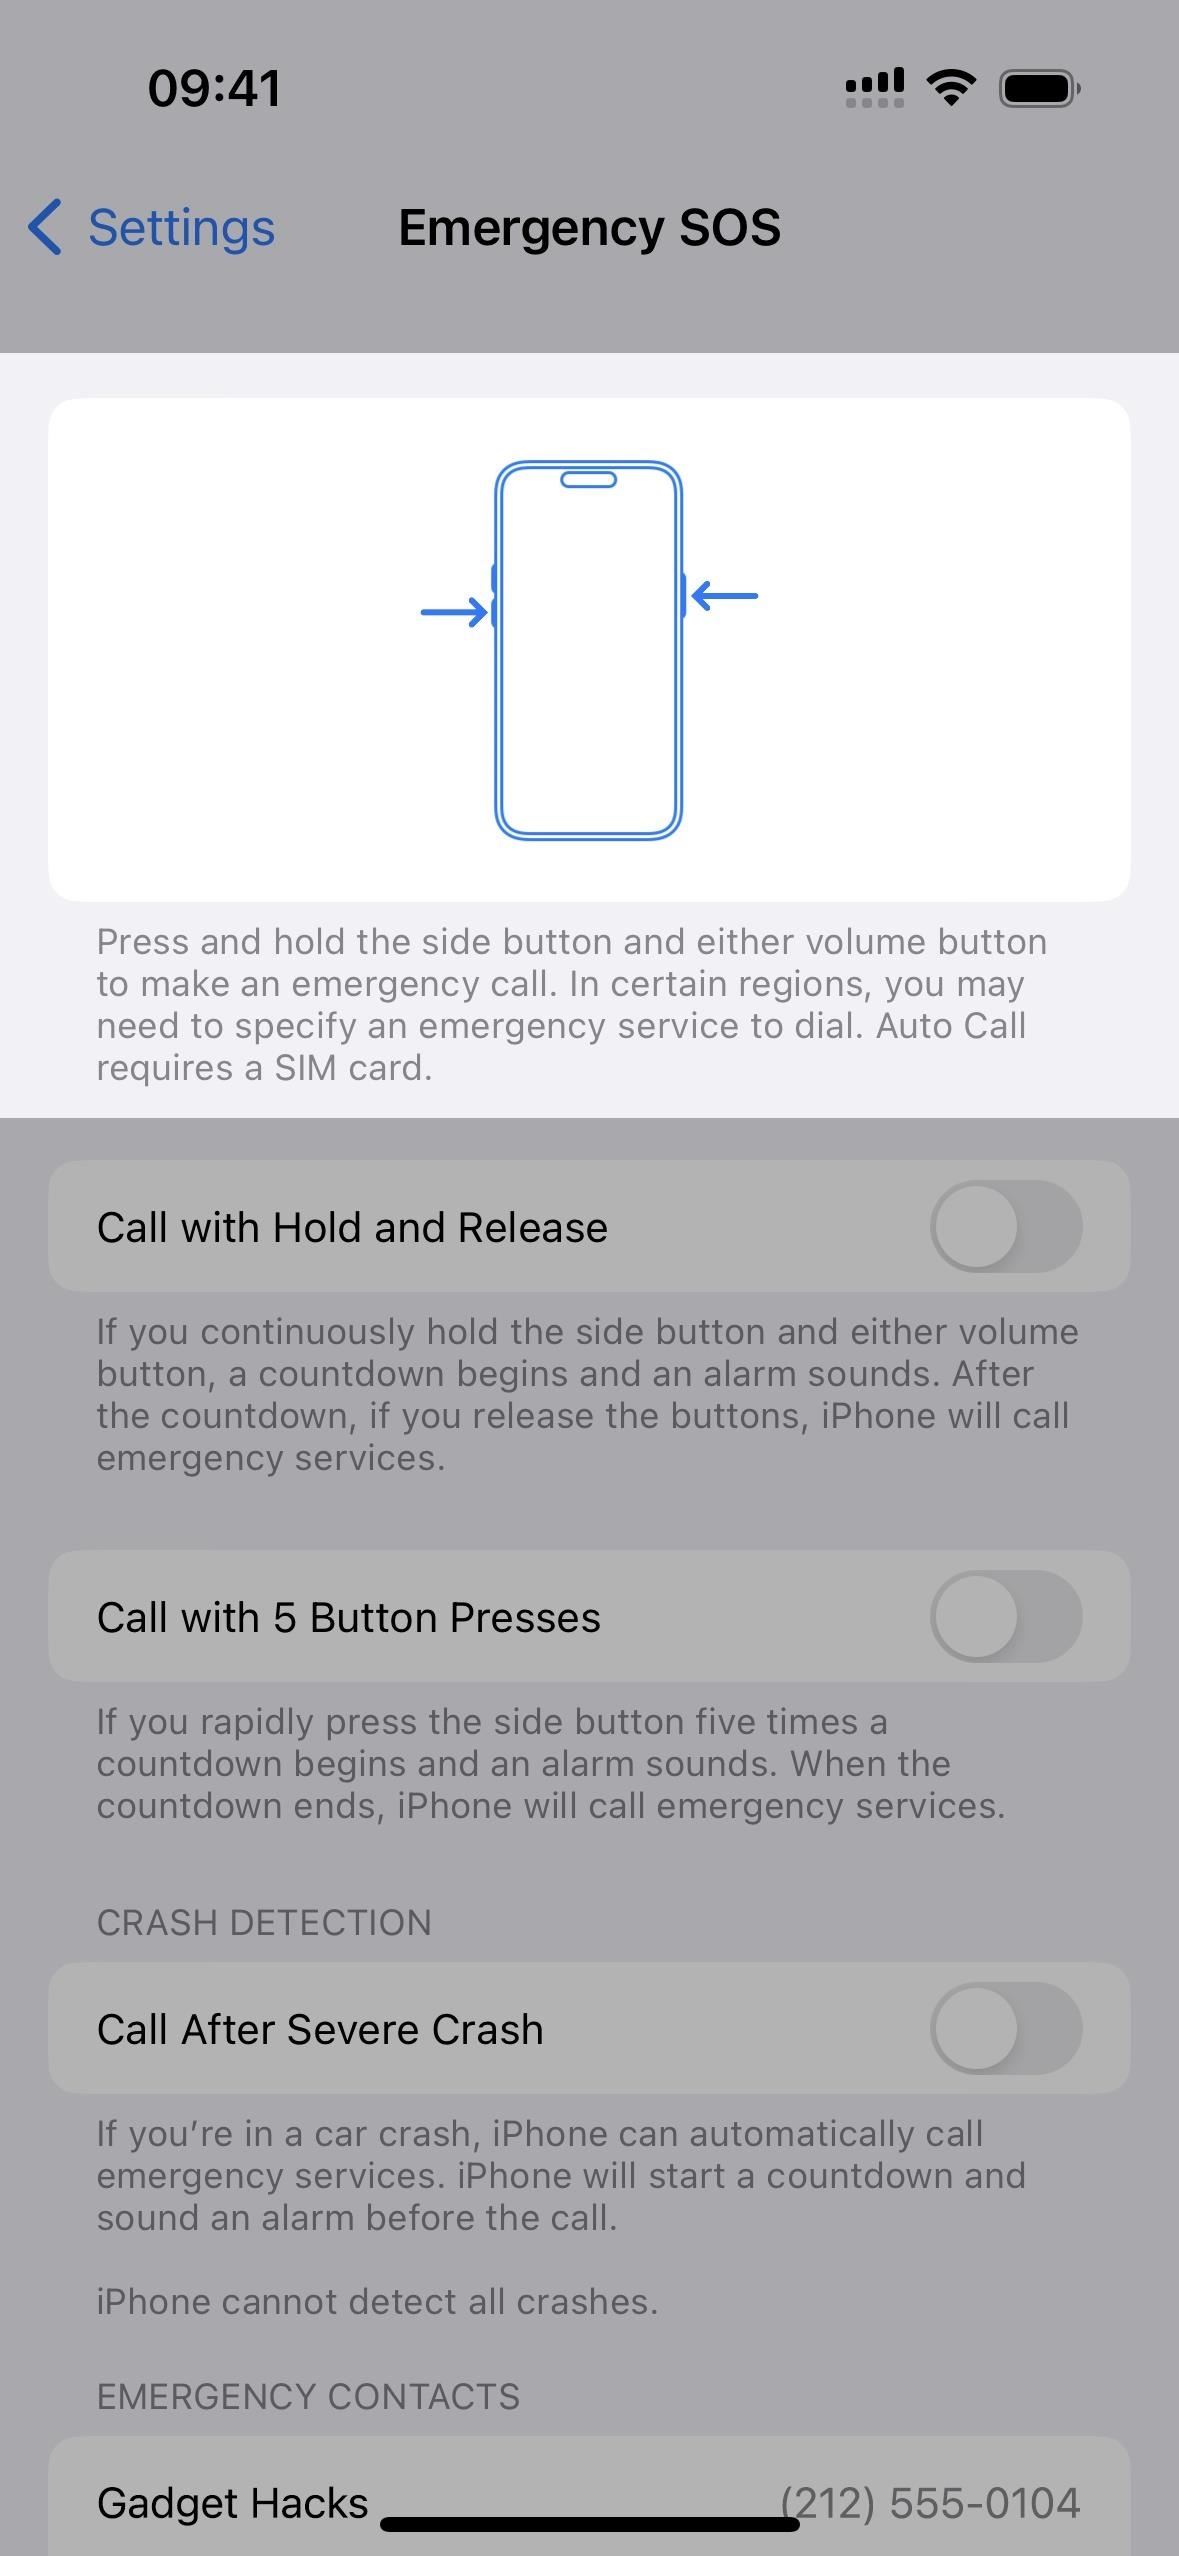
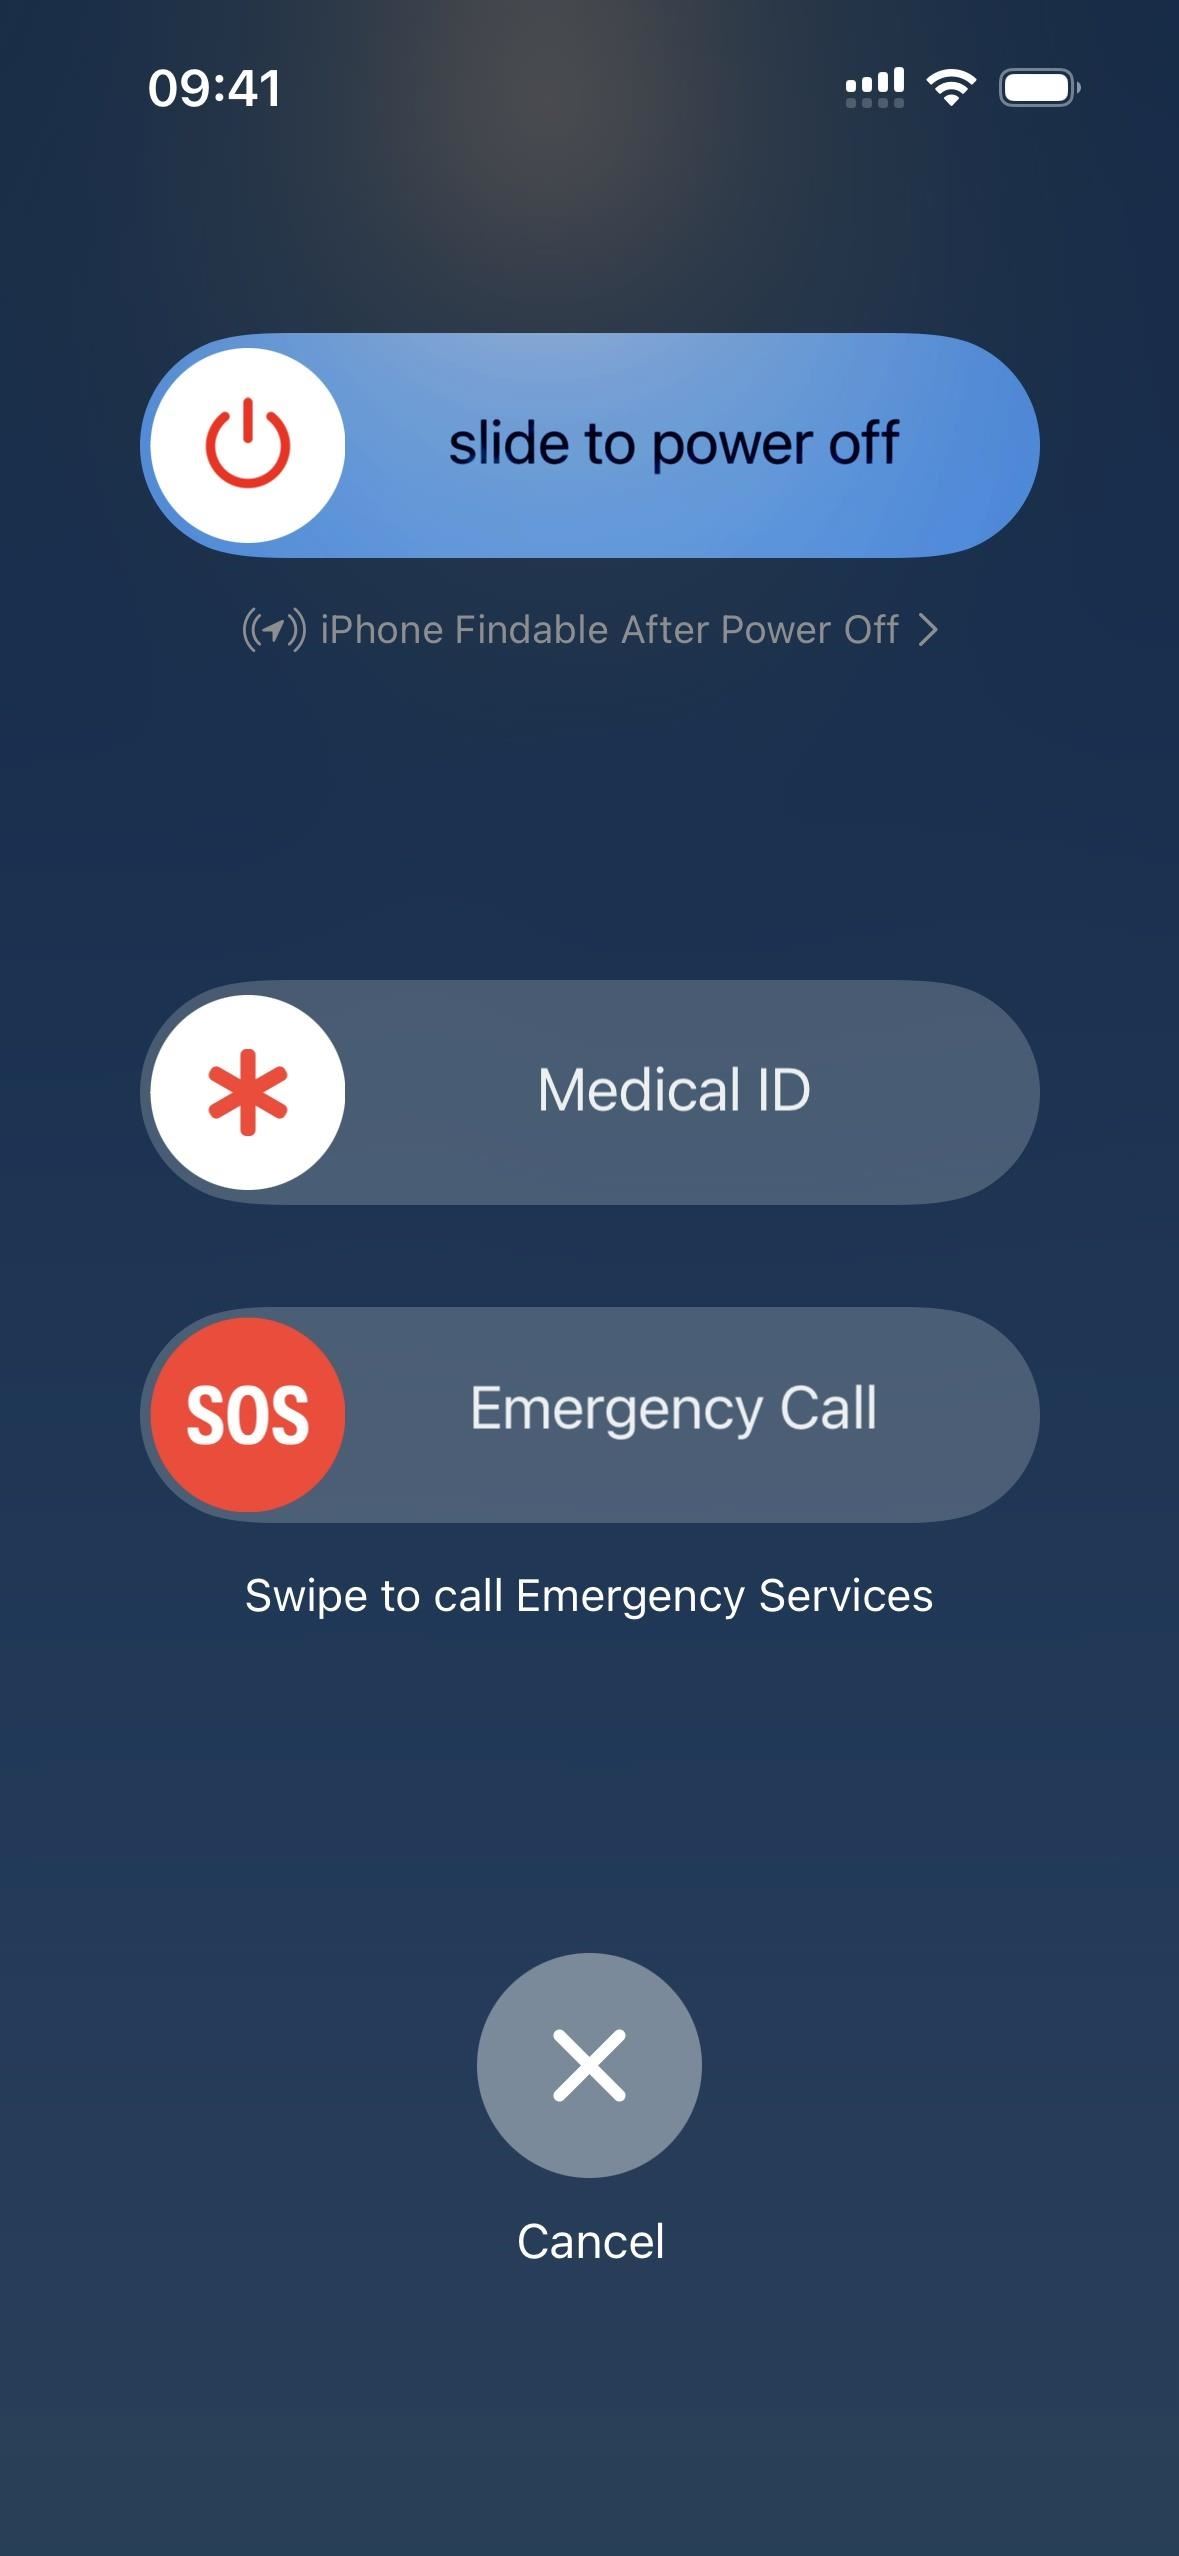
By default, you’ll see the Emergency Call slider whenever you press and hold the side and either volume buttons together to access the power off menu. To make an emergency call, slide the SOS button to the other side.
During the call, your location information is shared with the call center if supported in your area. When the call ends, your iPhone sends your emergency contact or contacts a text message with your current location (see below).
2. Call with Hold and Release
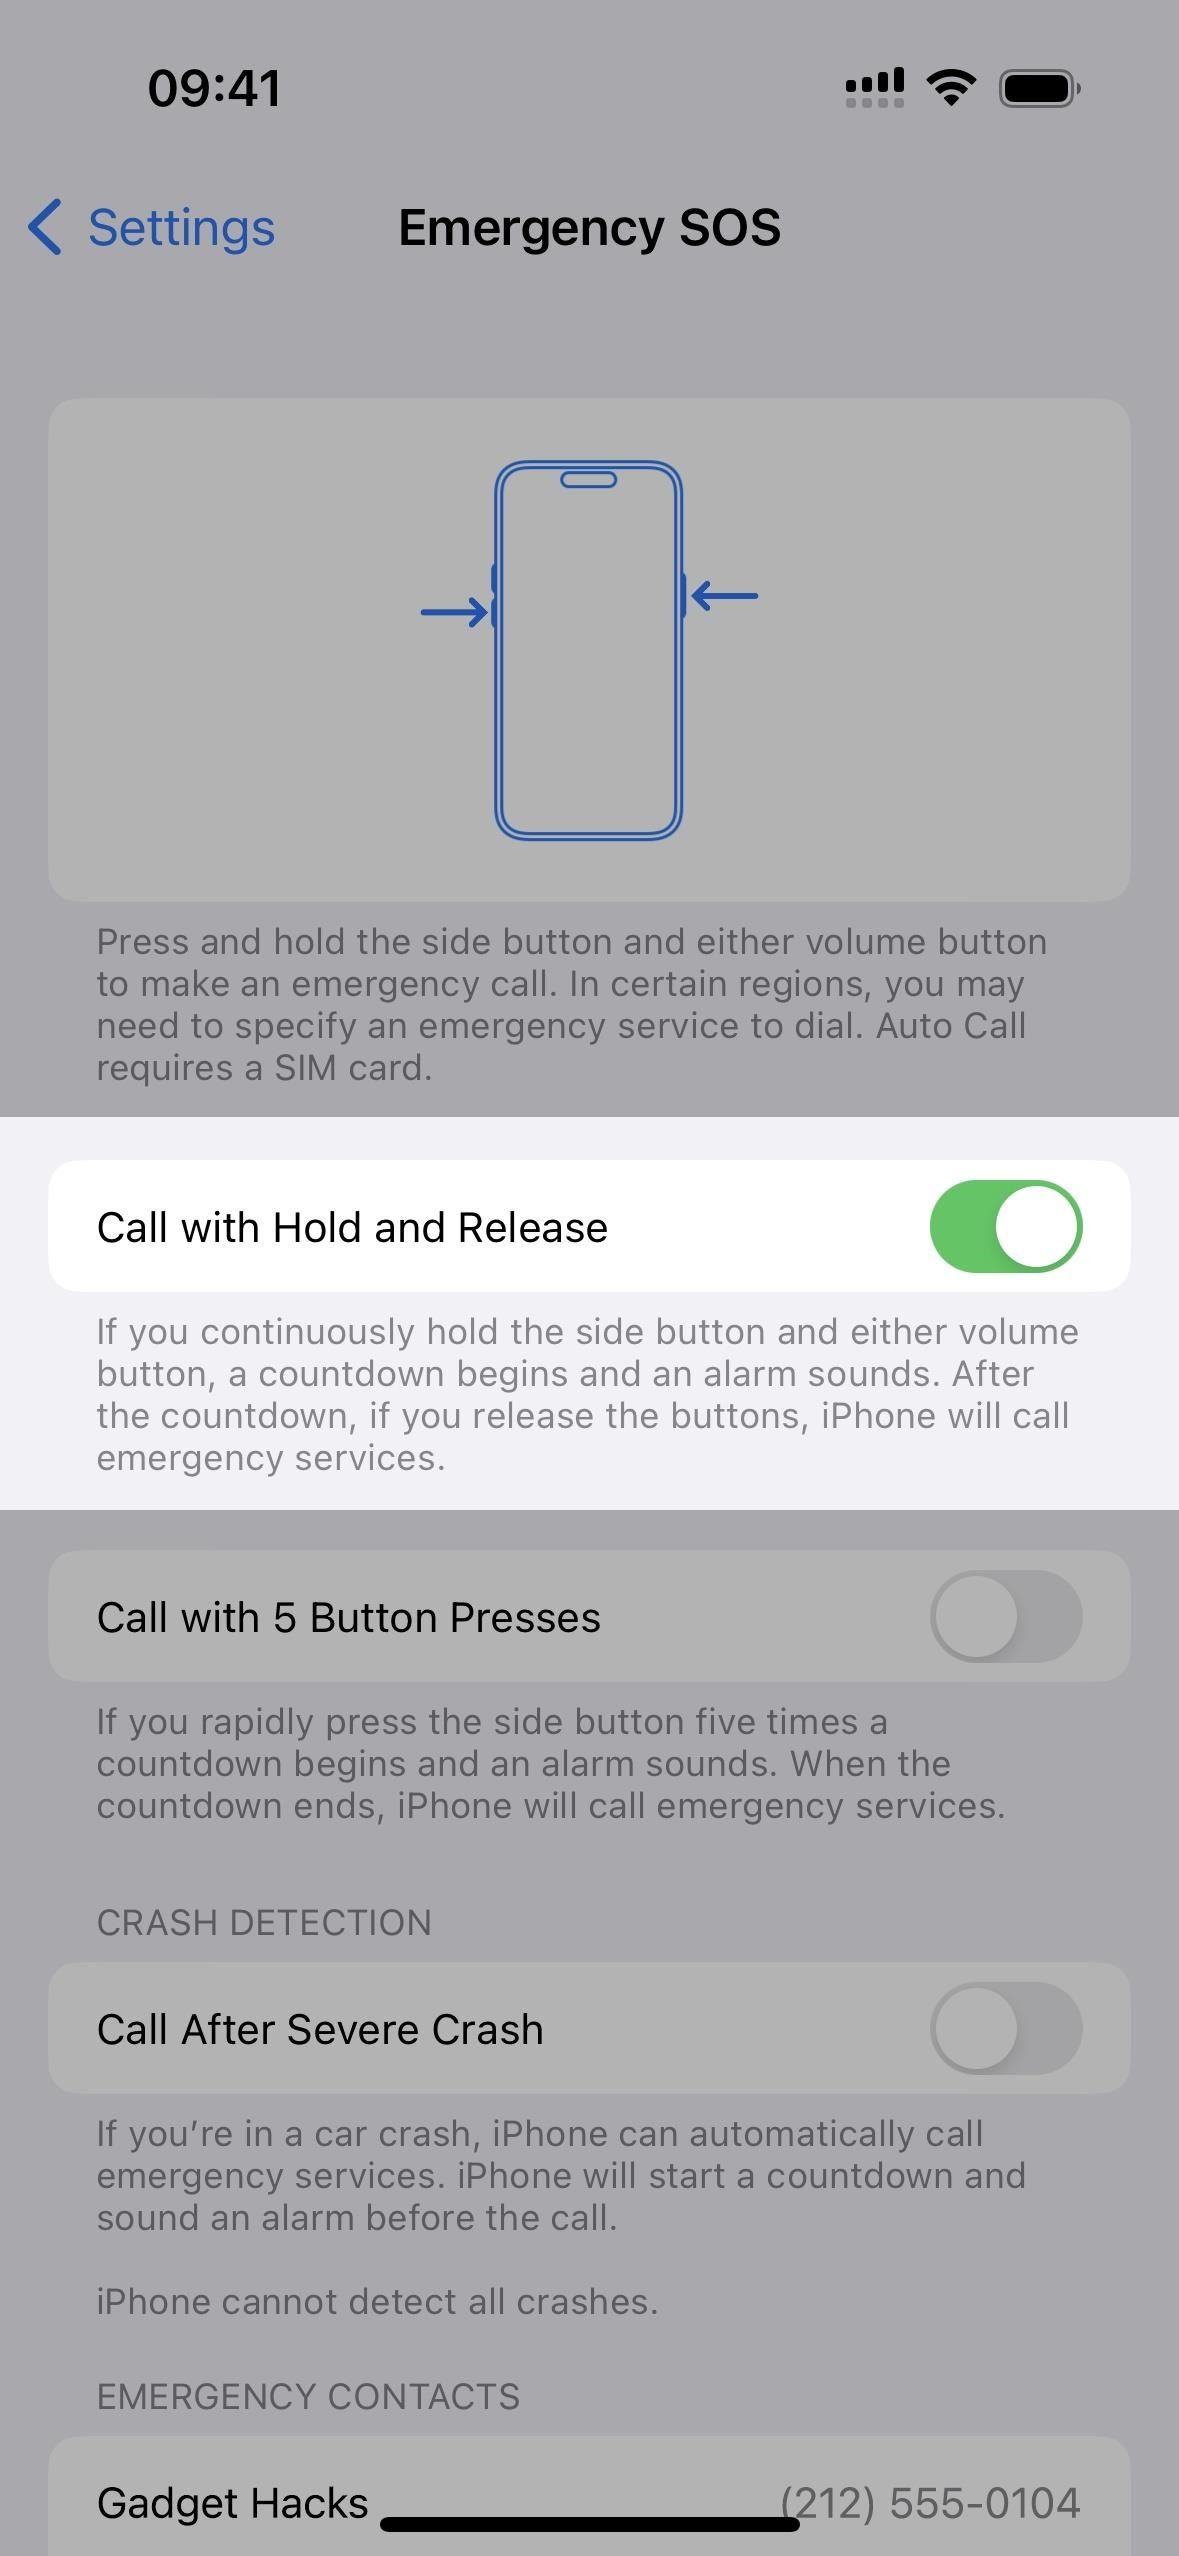
Go to Settings –> Emergency SOS, and you’ll find the “Call with Hold and Release” option on iOS 16.3 and later or “Call with Hold” on earlier versions.
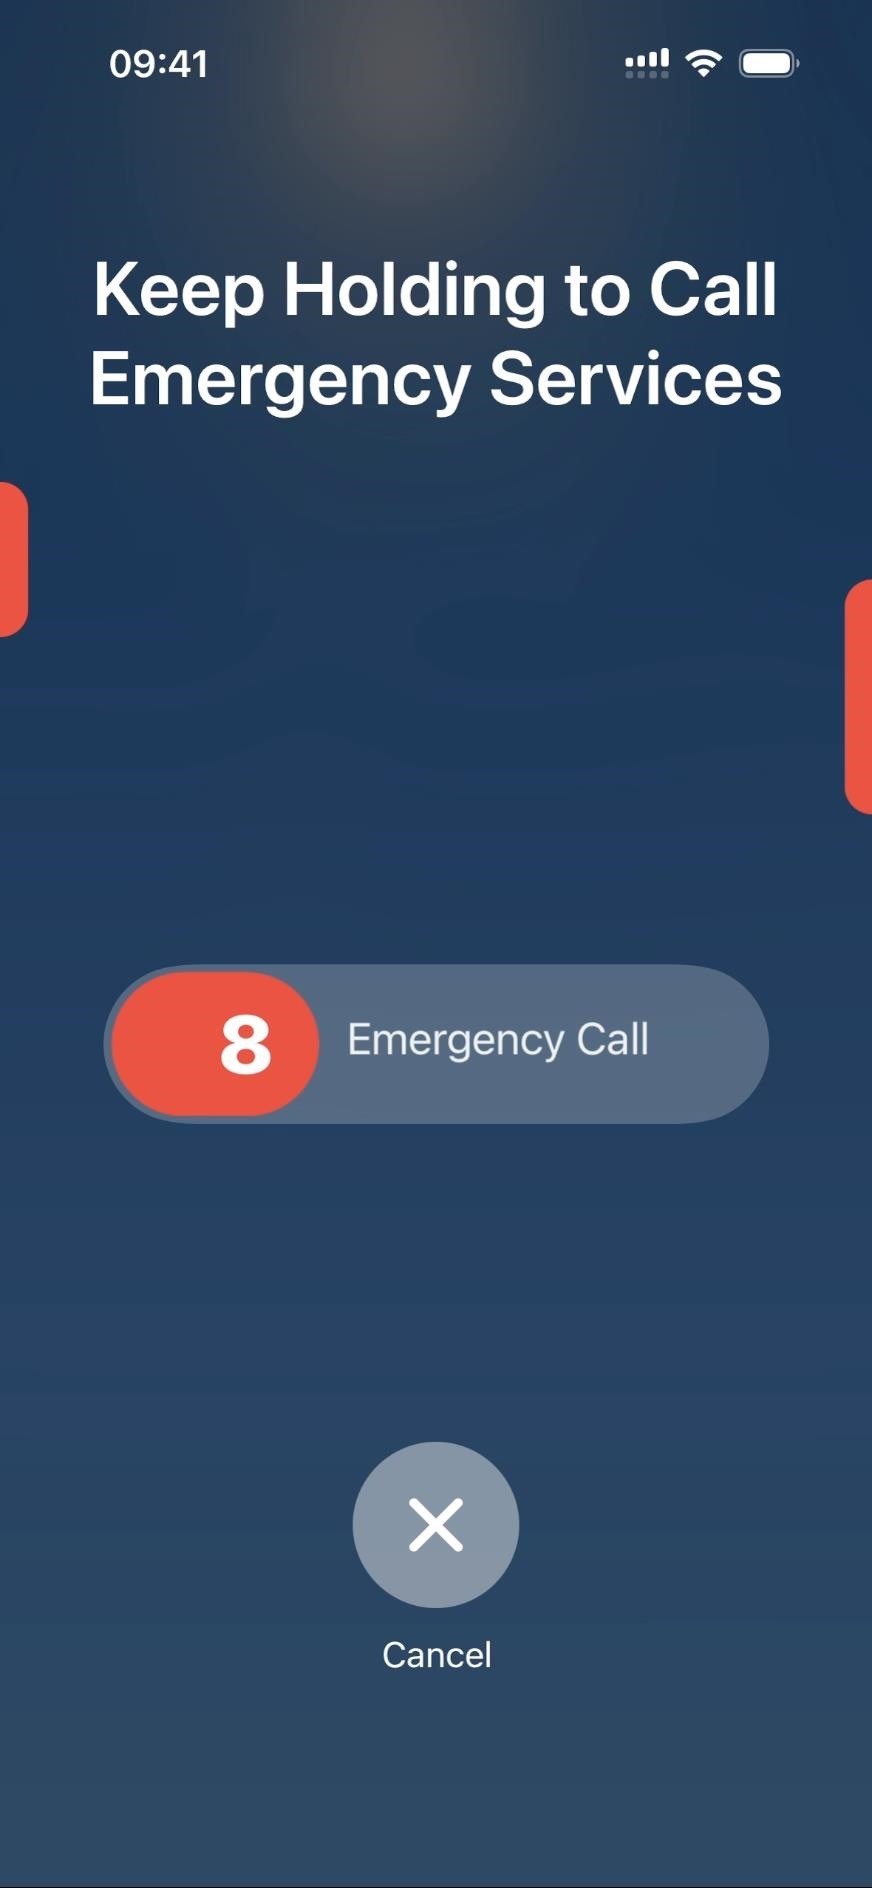
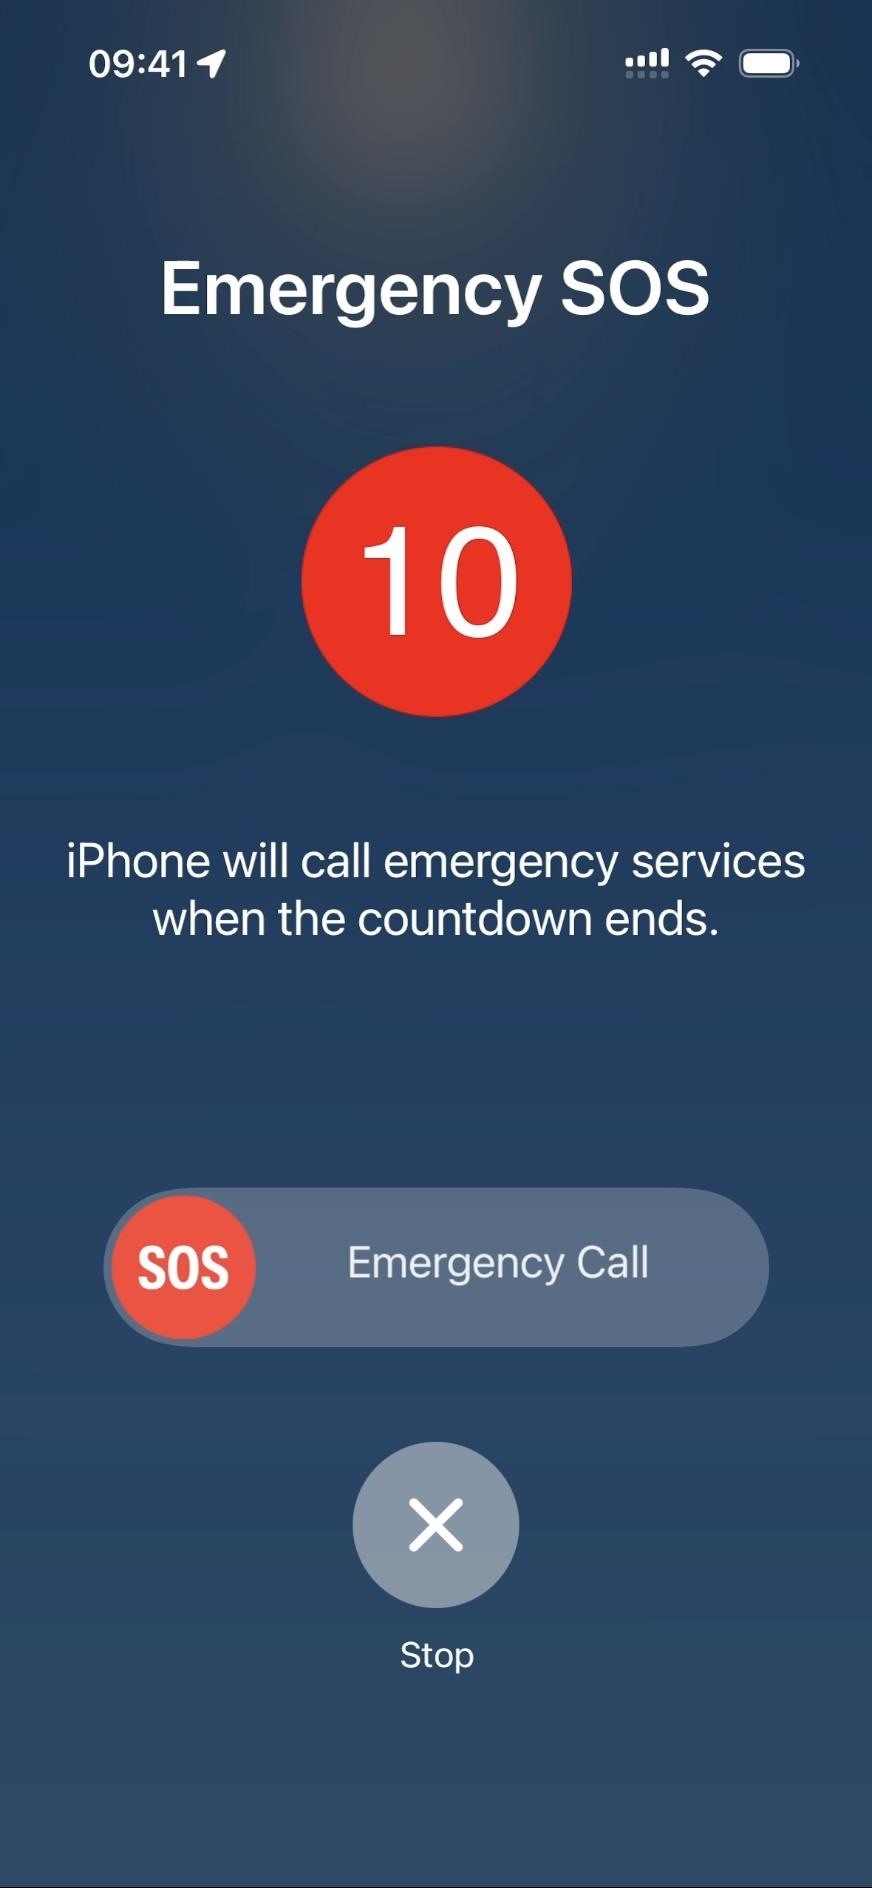
When toggled on, you can continuously press and hold the side and either volume buttons together. A countdown will appear on your screen, accompanied by an alarm sound, with instructions to keep holding the buttons down to call emergency services. When the countdown ends, release the buttons to make the call.
During the call, your location information is shared with the call center if supported in your area. When the call ends, your iPhone sends your emergency contact or contacts a text message with your current location (see below).
To cancel, let go of the buttons before the countdown finishes.
3. Call with 5 Button Presses
Go to Settings –> Emergency SOS, and you’ll find the “Call with 5 Button Presses” option on iOS 16.3 and later or “Call with 5 Presses” on earlier versions.
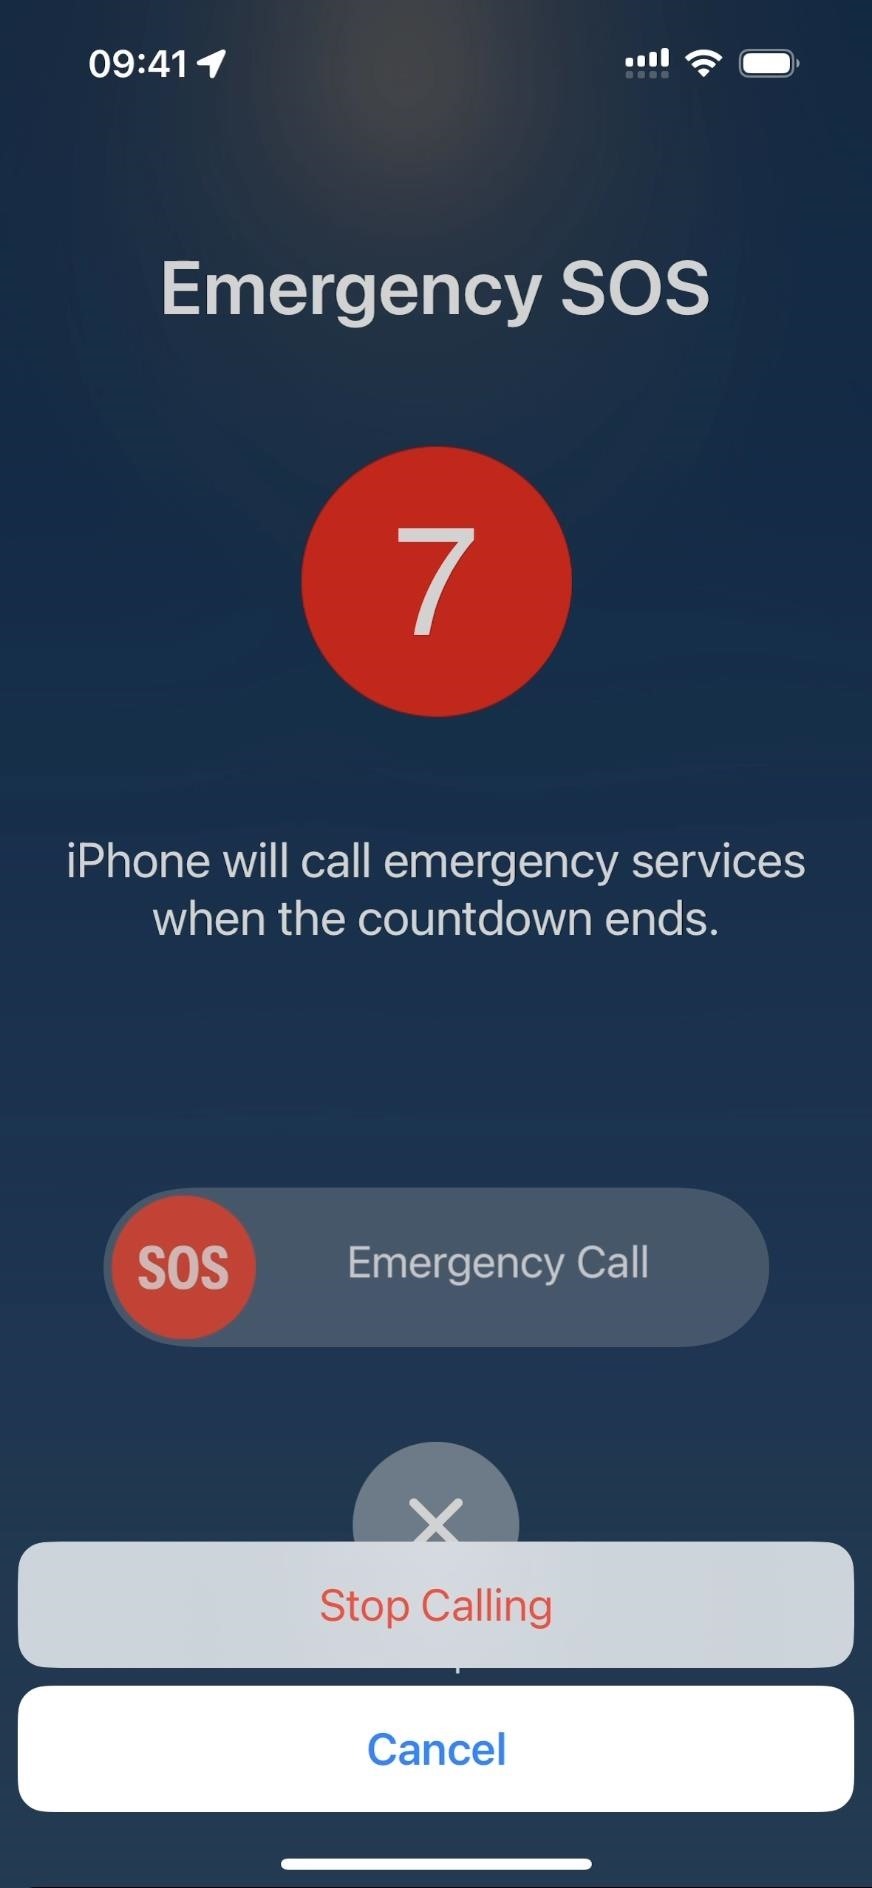
When toggled on, you can click the side button five times in a row to initiate the call. A countdown will appear on your screen, accompanied by an alarm sound. When the countdown ends, release the buttons to make the call. You can also slide the SOS button on the Emergency Call slider to the other side if you want the call to connect sooner.
During the call, your location information is shared with the call center if supported in your area. When the call ends, your iPhone sends your emergency contact or contacts a text message with your current location (see below).
To cancel, tap the stop (X) button before the countdown finishes.

4. Call Quietly
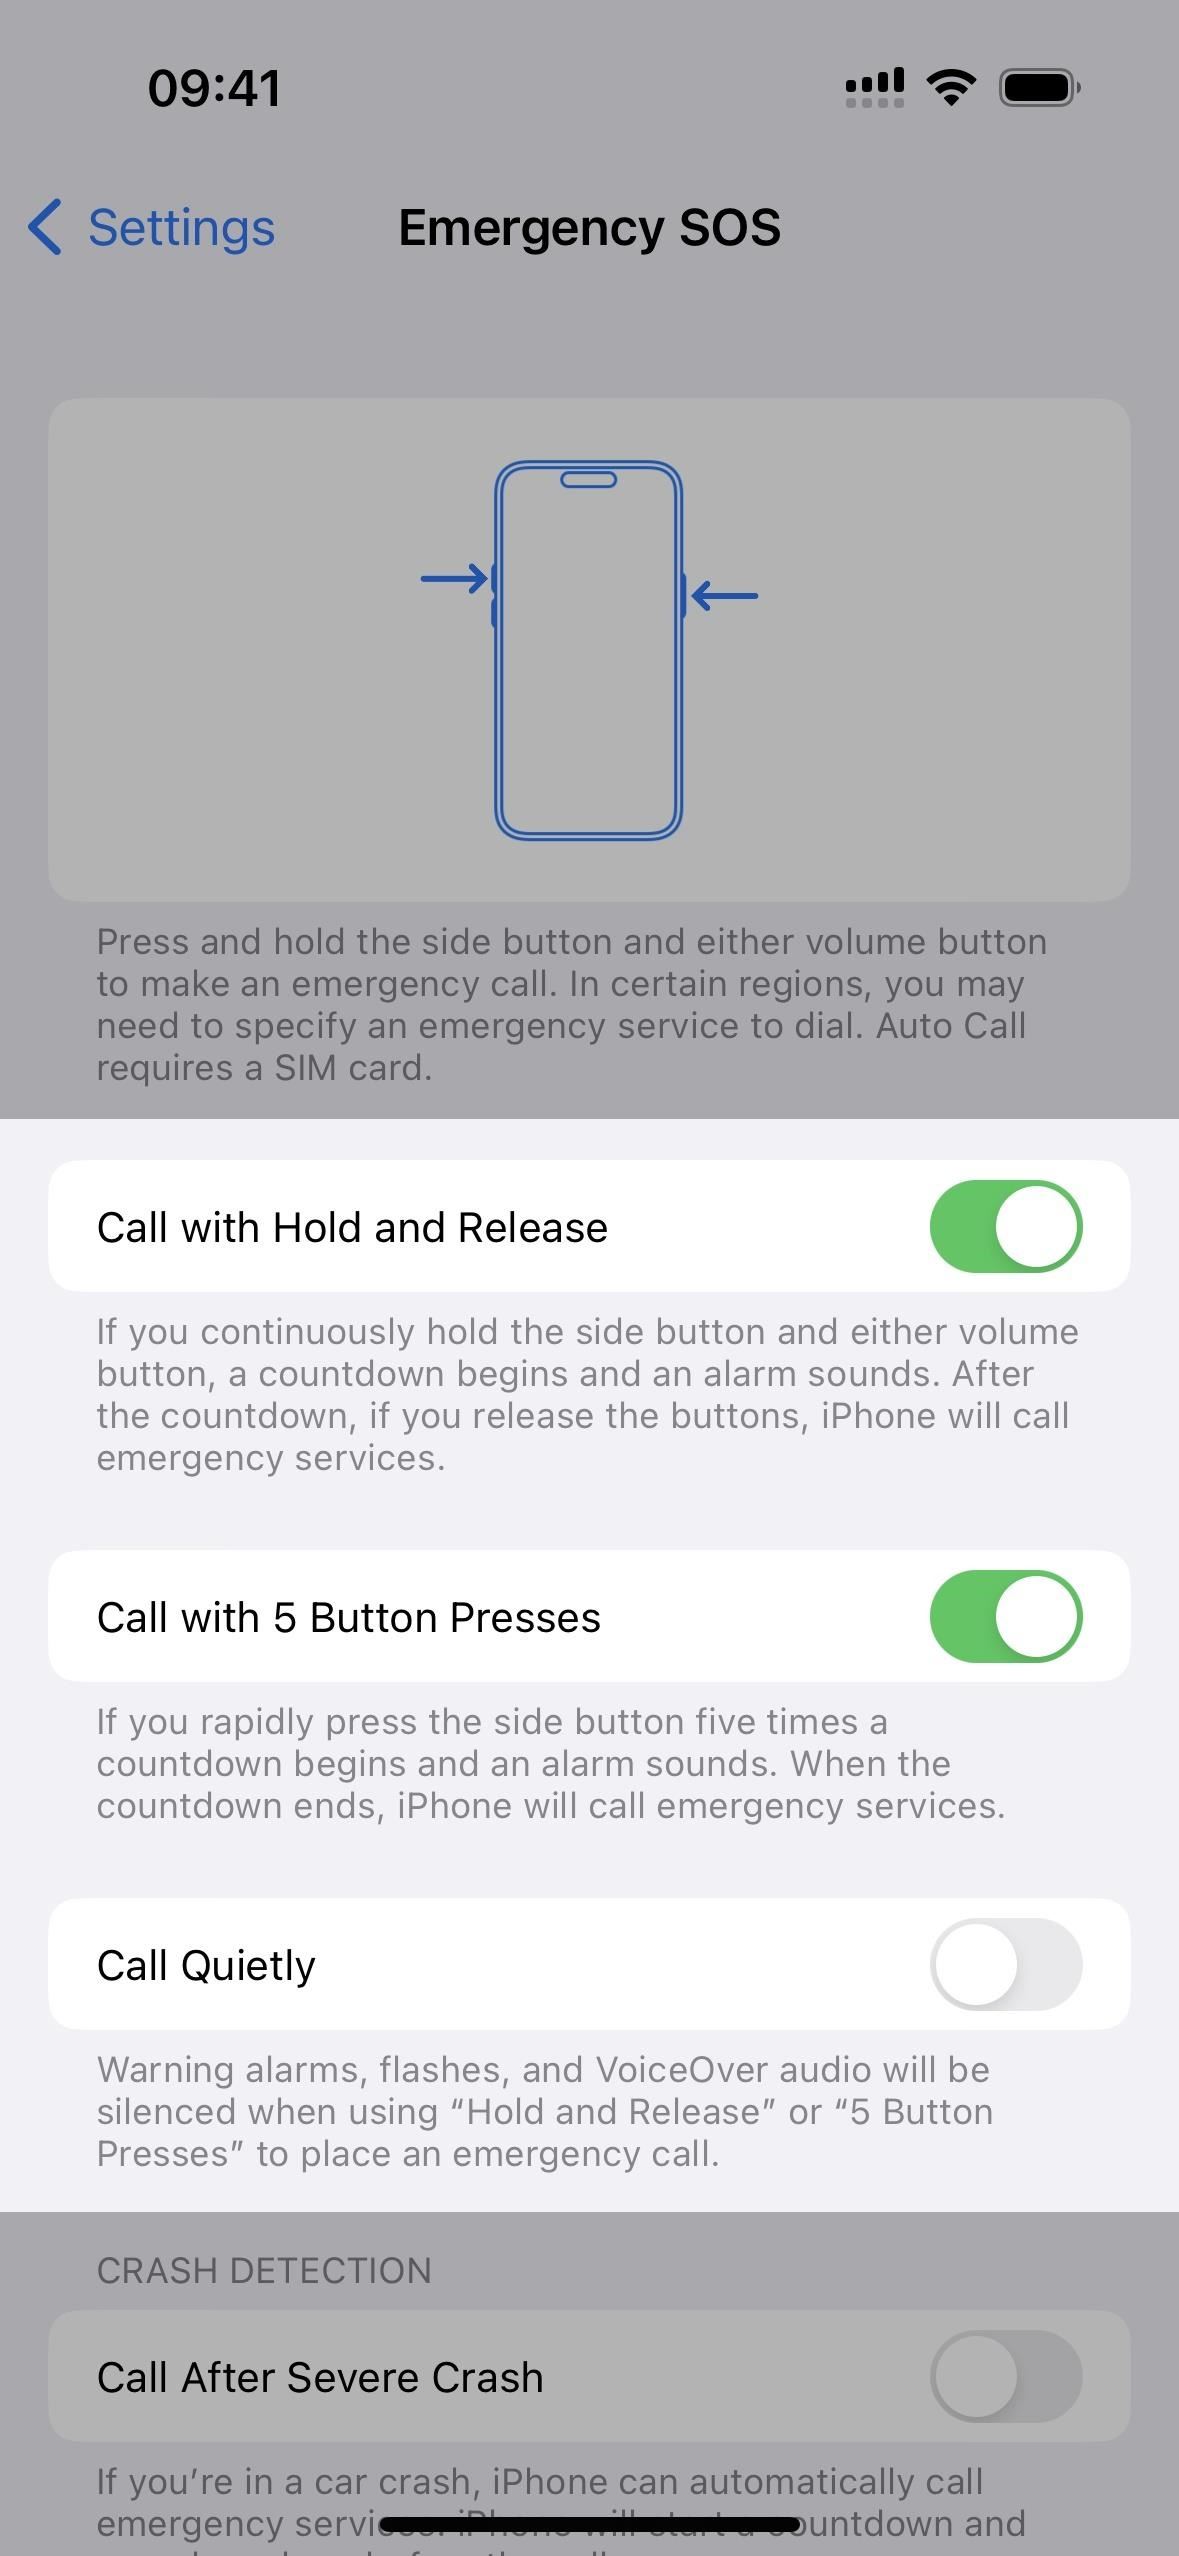
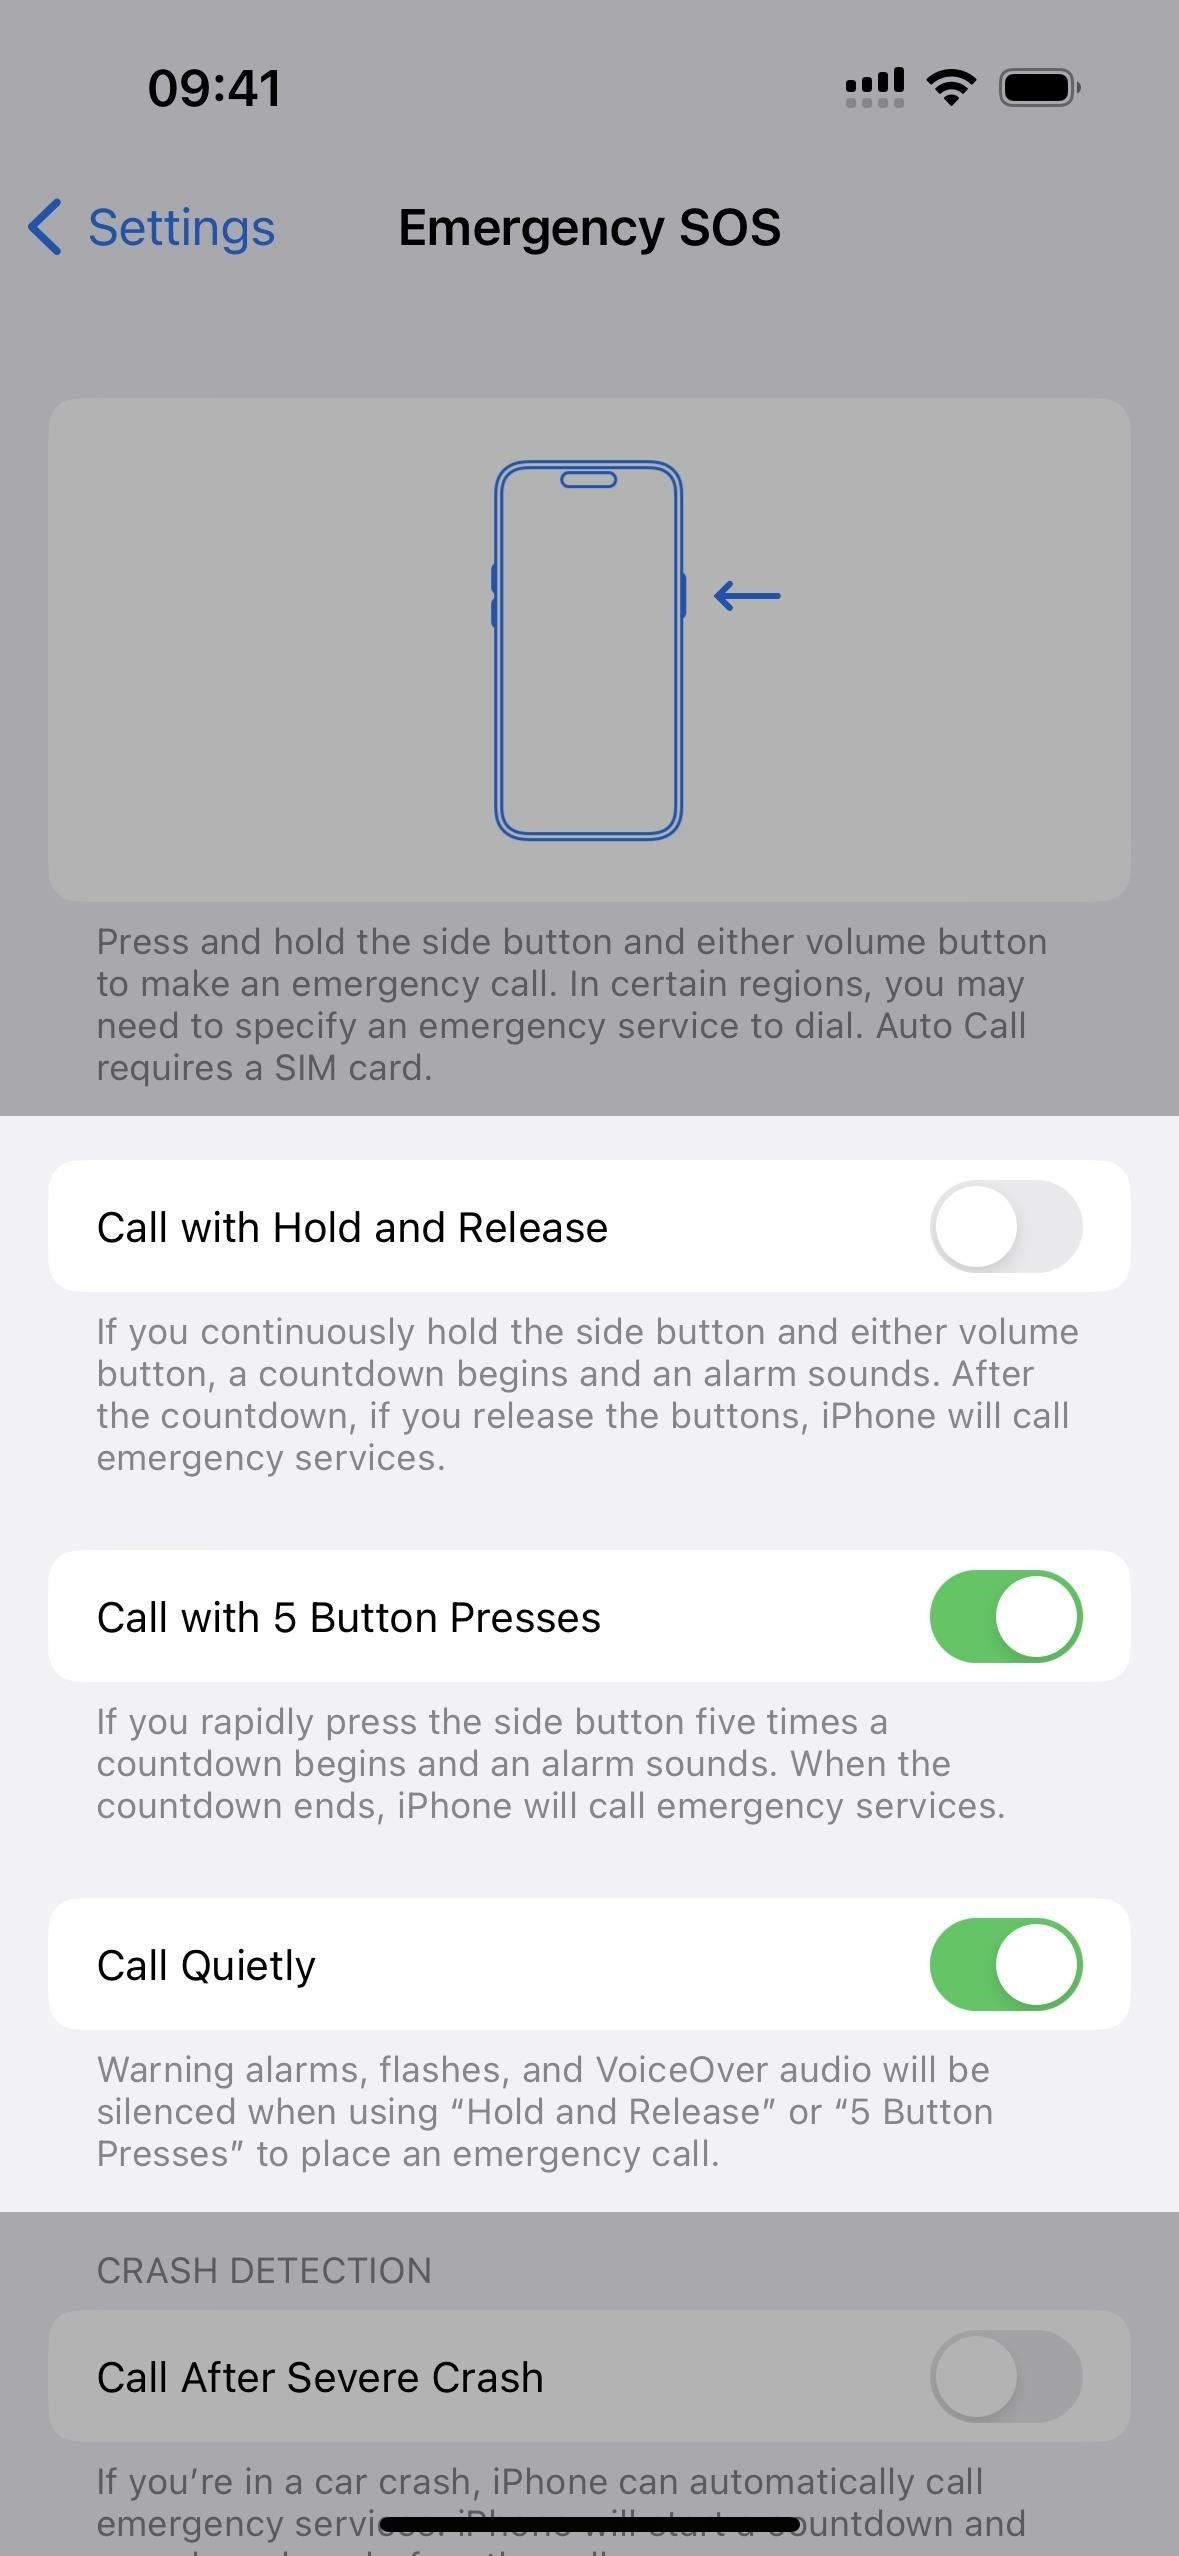
When “Call with Hold and Release” and/or “Call with 5 Button Presses” is enabled in Settings –> Emergency SOS, a new “Call Quietly” toggle appears on iOS 16.3 and later. It was called “Countdown Sound” on earlier versions and did the opposite of “Call Quietly.”
When toggled on, flashes, alarm sounds, and VoiceOver audio will be disabled when using either “Call with Hold and Release” or “Call with 5 Button Presses” to call emergency services.
5. Call After Severe Crash
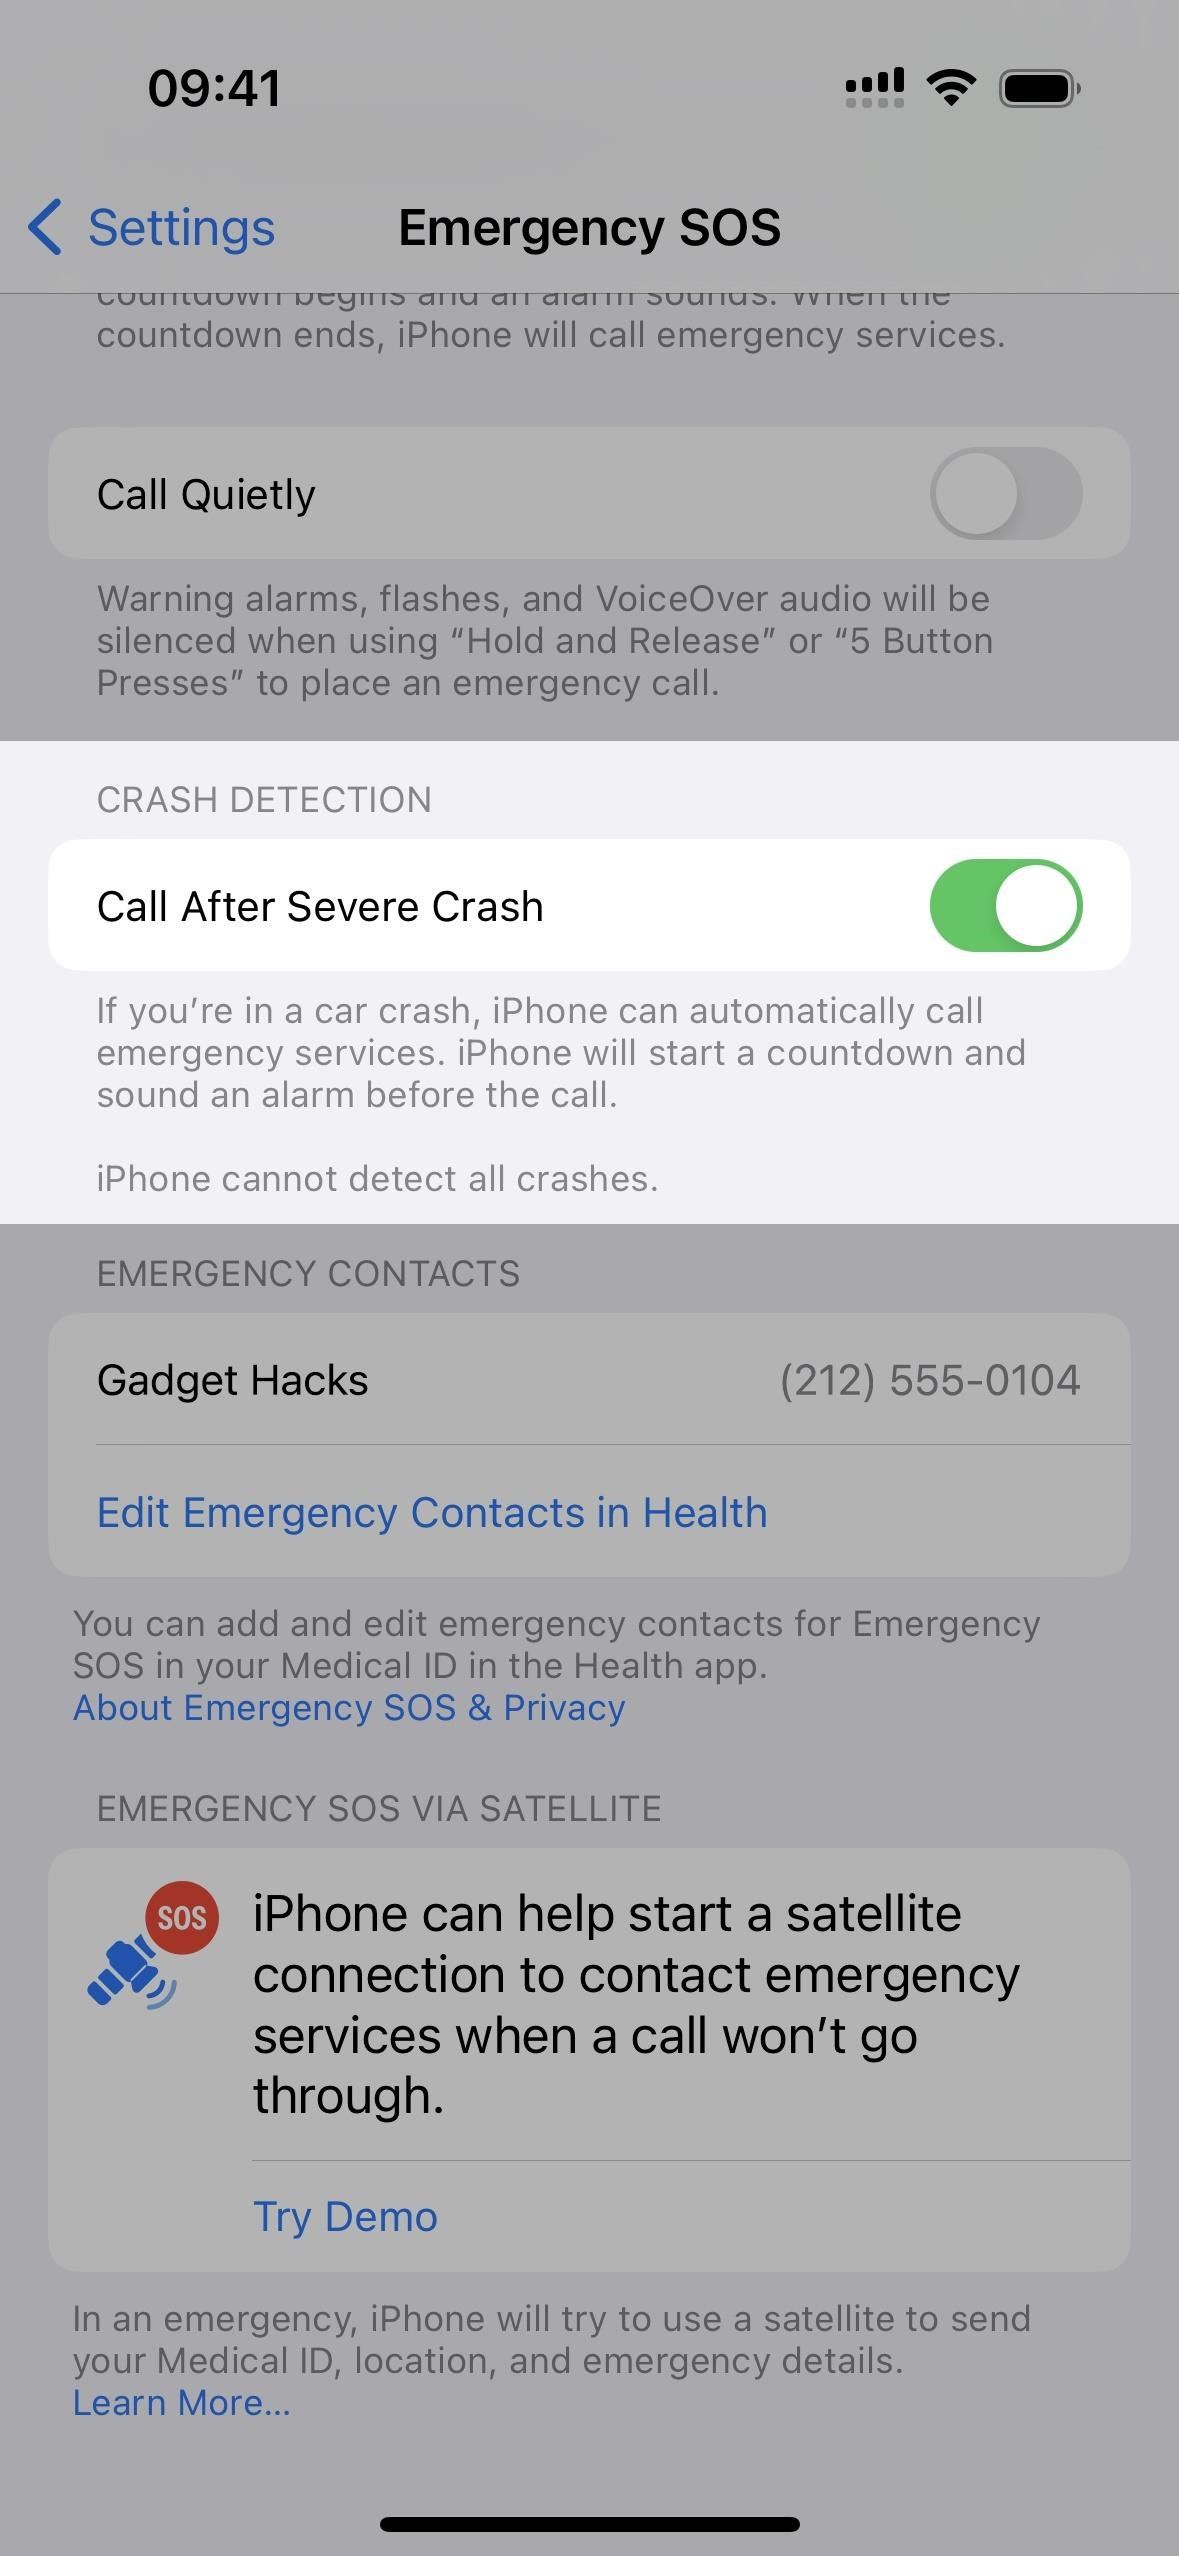
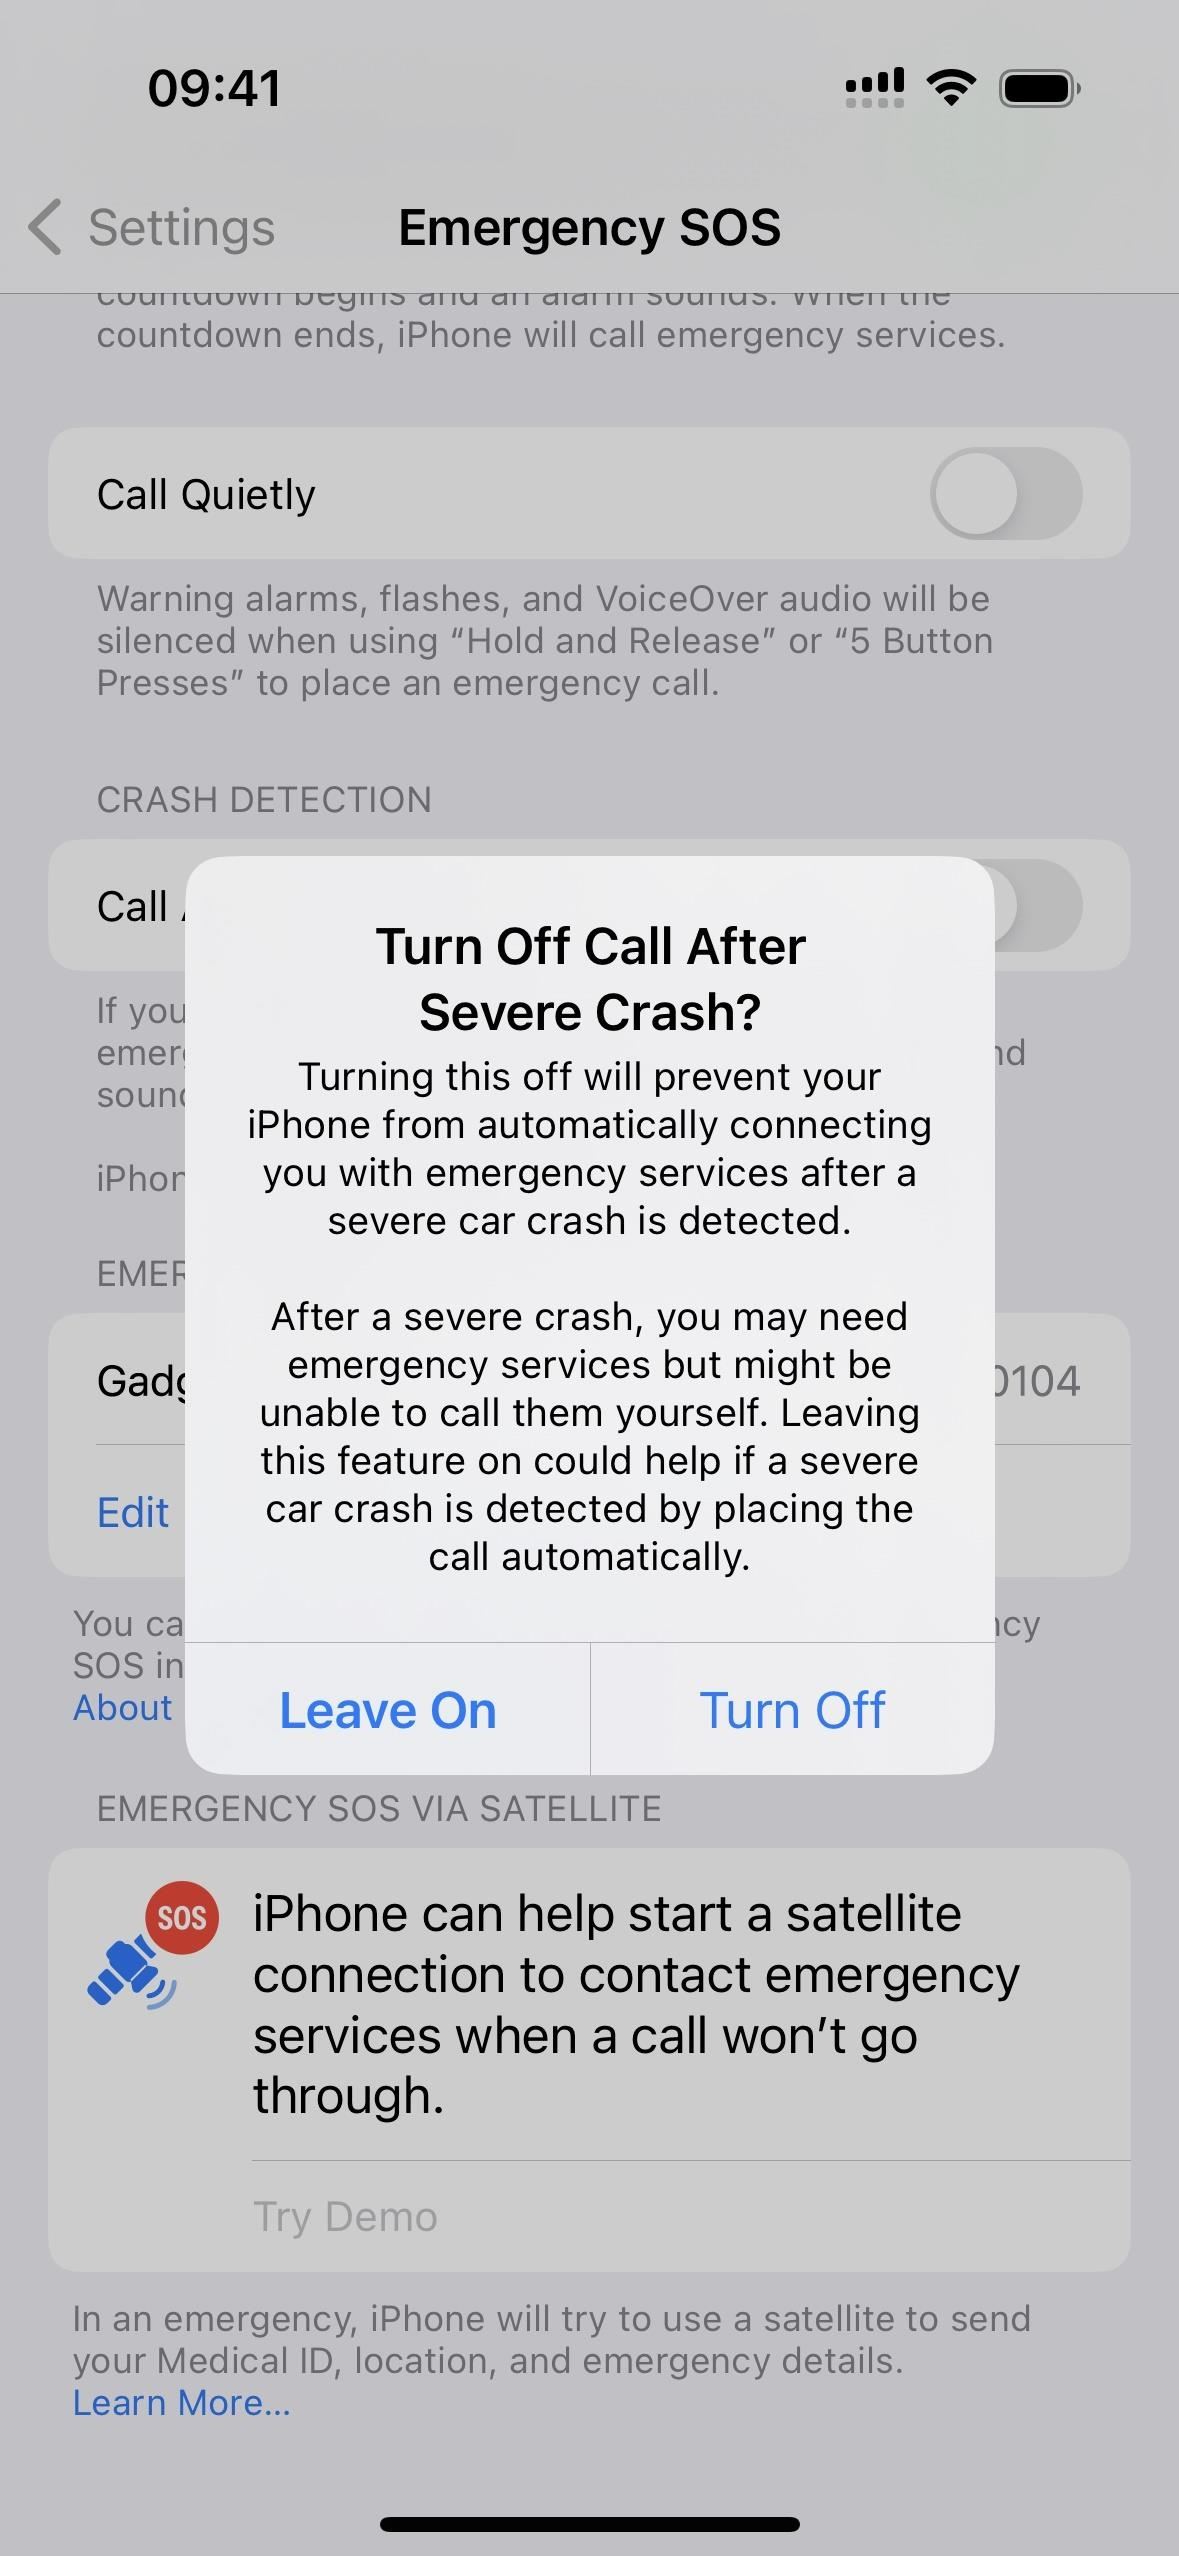
Back in Settings –> Emergency SOS, you will only find a “Call After Severe Crash” option on the iPhone 14, 14 Plus, 14 Pro, and 14 Pro Max models. These models have a dual-core accelerometer that can detect G-force measurements up to 256 G-forces, as well as a high dynamic range gyroscope that helps recognize vehicle impacts.
With it toggled on, your iPhone will call 911 automatically when its Crash Detection feature detects that you’ve been in a major car accident.
Apple states, “Crash Detection is designed to detect severe car crashes — such as front-impact, side-impact, and rear-end collisions, and rollovers — involving sedans, minivans, SUVs, pickup trucks, and other passenger cars. When a severe car crash is detected, your iPhone or Apple Watch* sounds an alarm and displays an alert.”
The onscreen alert says, “It looks like you’ve been in a crash. iPhone will trigger Emergency SOS if you don’t respond.” Loud whooping sounds will help you notice the alert. You can then cancel the call, call immediately via the Call Emergency slider, or wait 10 seconds for your iPhone to call 911 automatically.
To learn more about Crash Detection on iPhone and Apple Watch, visit Apple’s website.
*Only the Apple Watch Series 8, SE (2nd generation), and Ultra with the latest watchOS version will work with Crash Detection.
6. Use Emergency SOS via Satellite
Also exclusive to the iPhone 14 series models is Emergency SOS via Satellite. This service can help you send texts to emergency services when you don’t have cellular or Wi-Fi coverage. According to Apple:
Emergency SOS via satellite can help you connect with emergency services under exceptional circumstances when no other means of reaching emergency services are available. If you call or text emergency services and can’t connect because you’re outside the range of cellular and Wi-Fi coverage, your iPhone tries to connect you via satellite to the help that you need.
When you use a satellite connection, the experience is different than sending or receiving a message via cellular. In ideal conditions with a direct view of the sky and the horizon, a message might take 15 seconds to send, and over a minute to send under trees with light or medium foliage. If you’re under heavy foliage or surrounded by other obstructions, you might not be able to connect to a satellite. Connection times can also be impacted by your surroundings, the length of your message, and the status and availability of the satellite network.
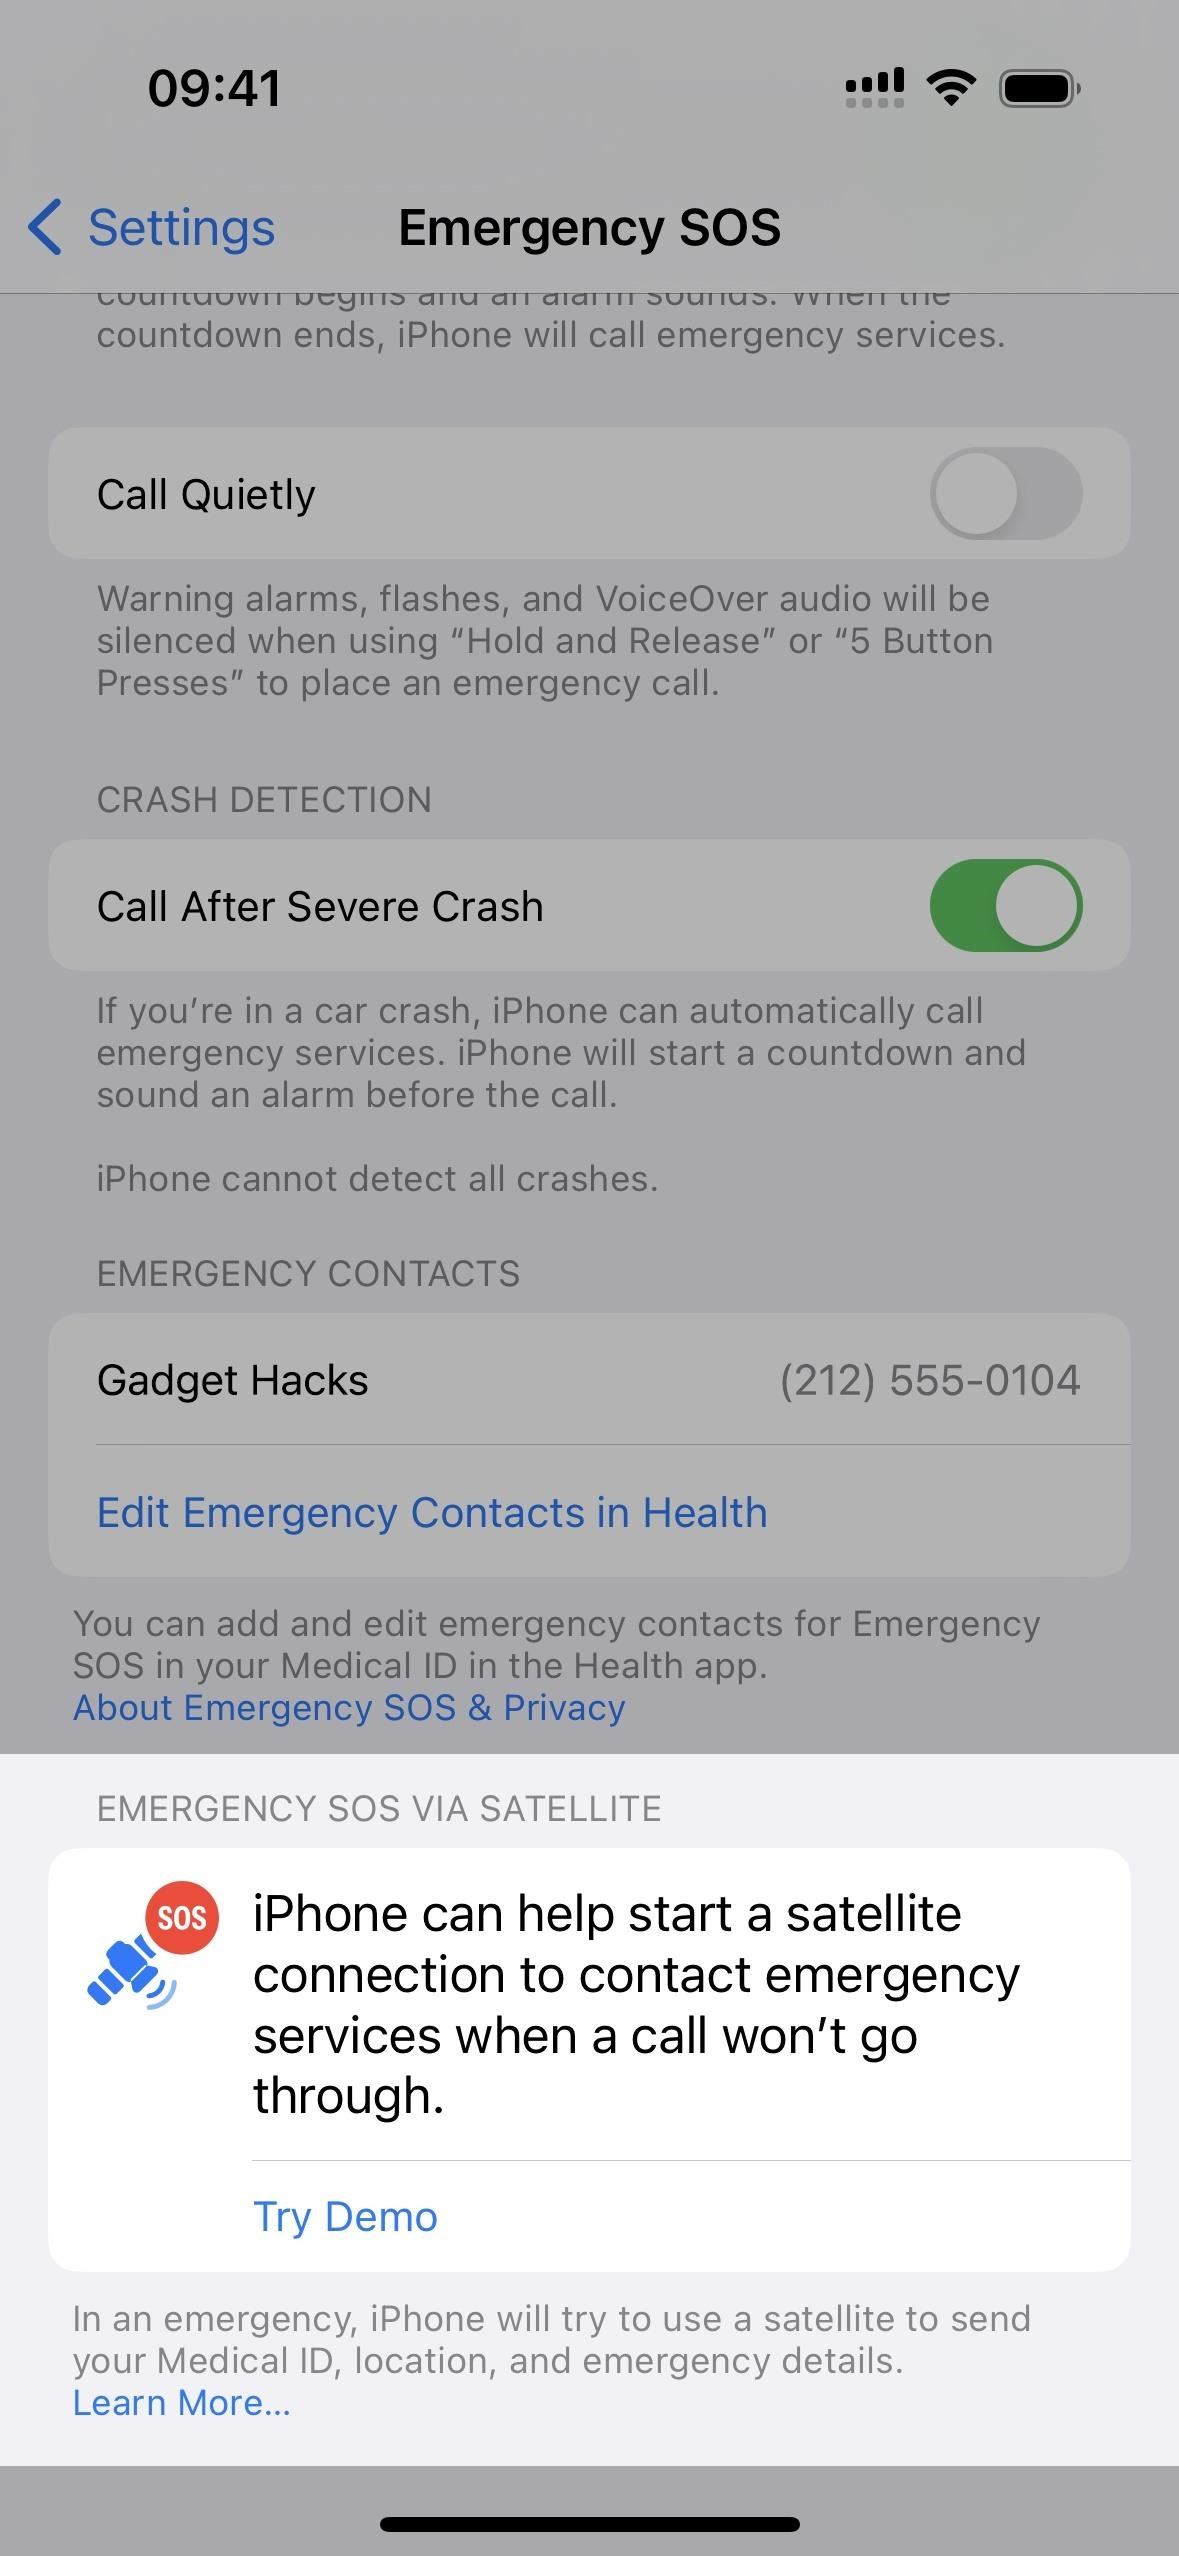
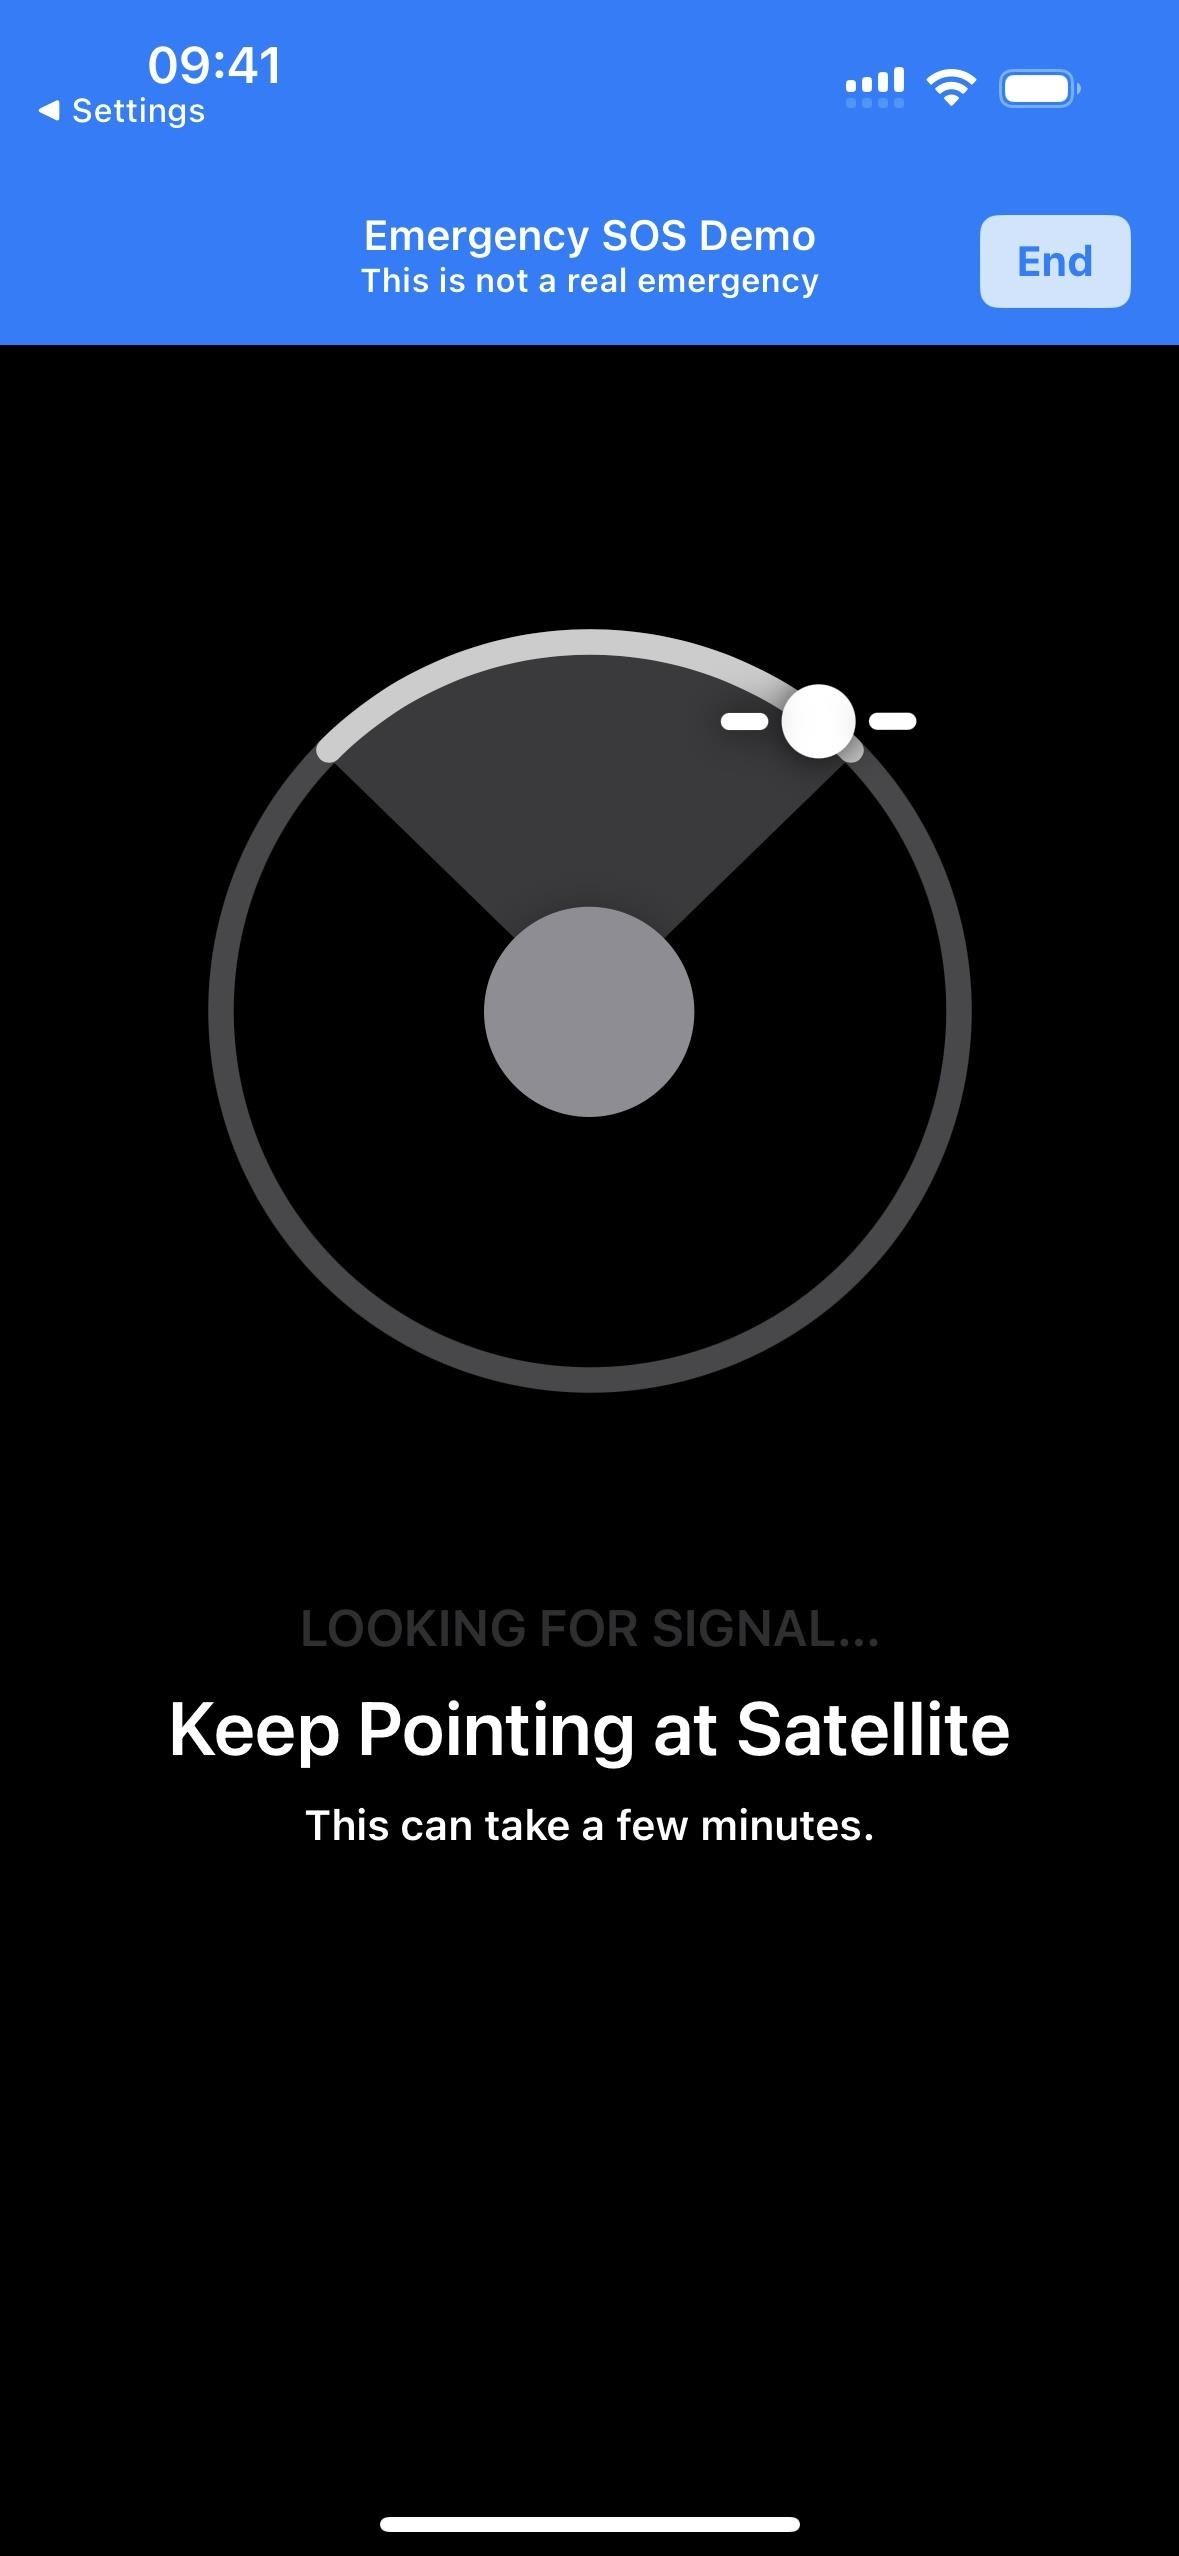
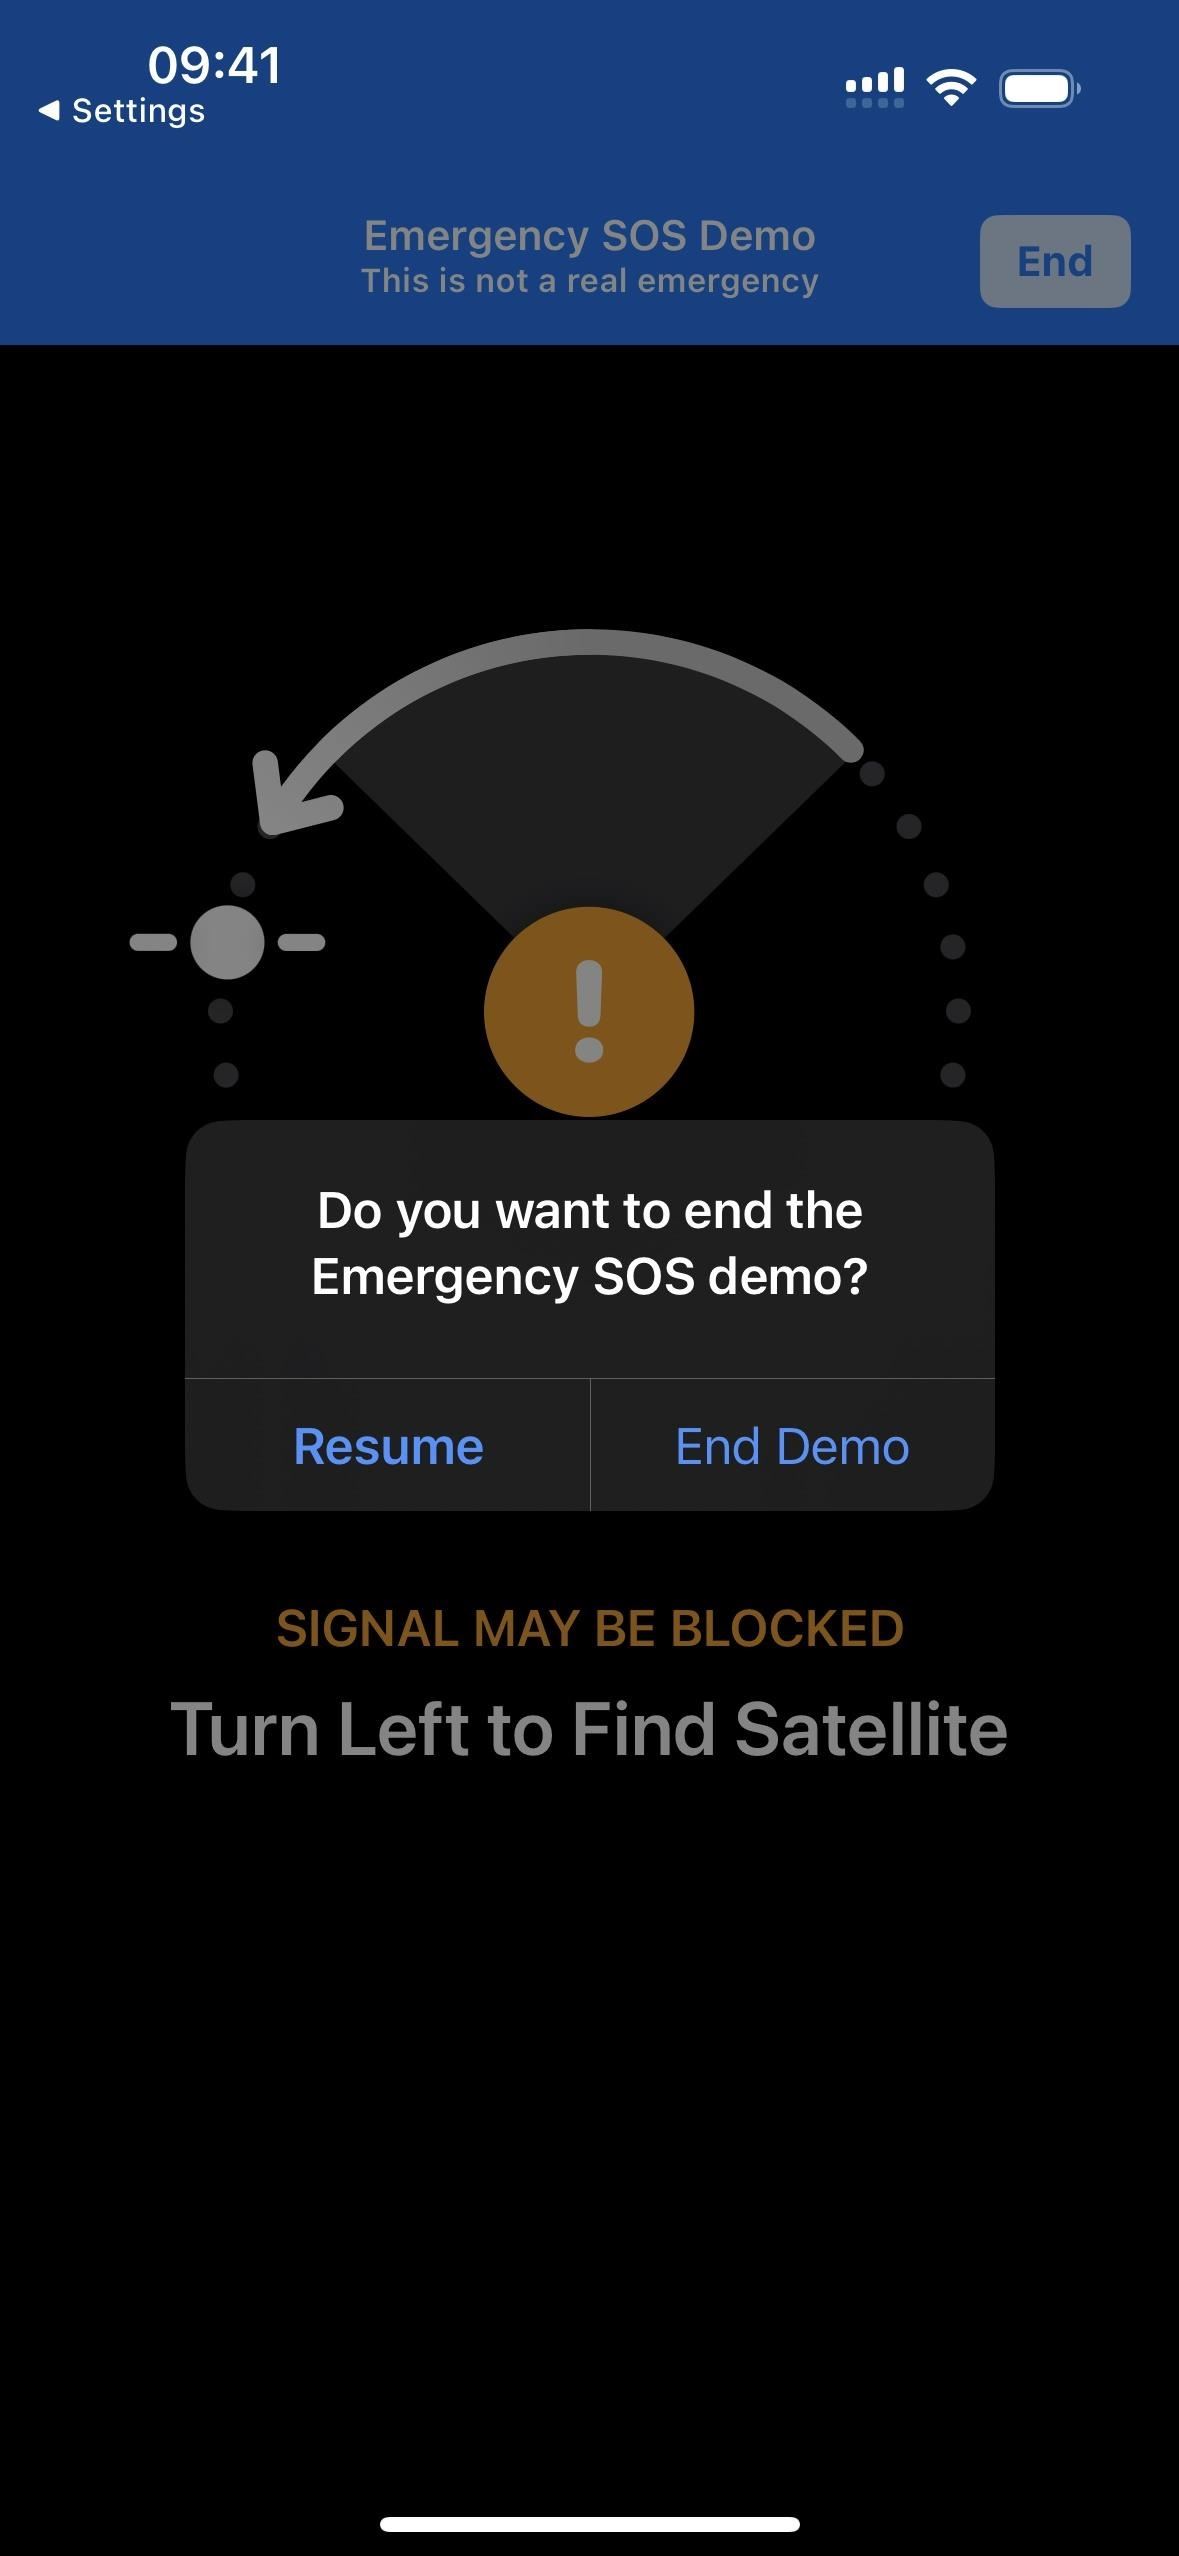
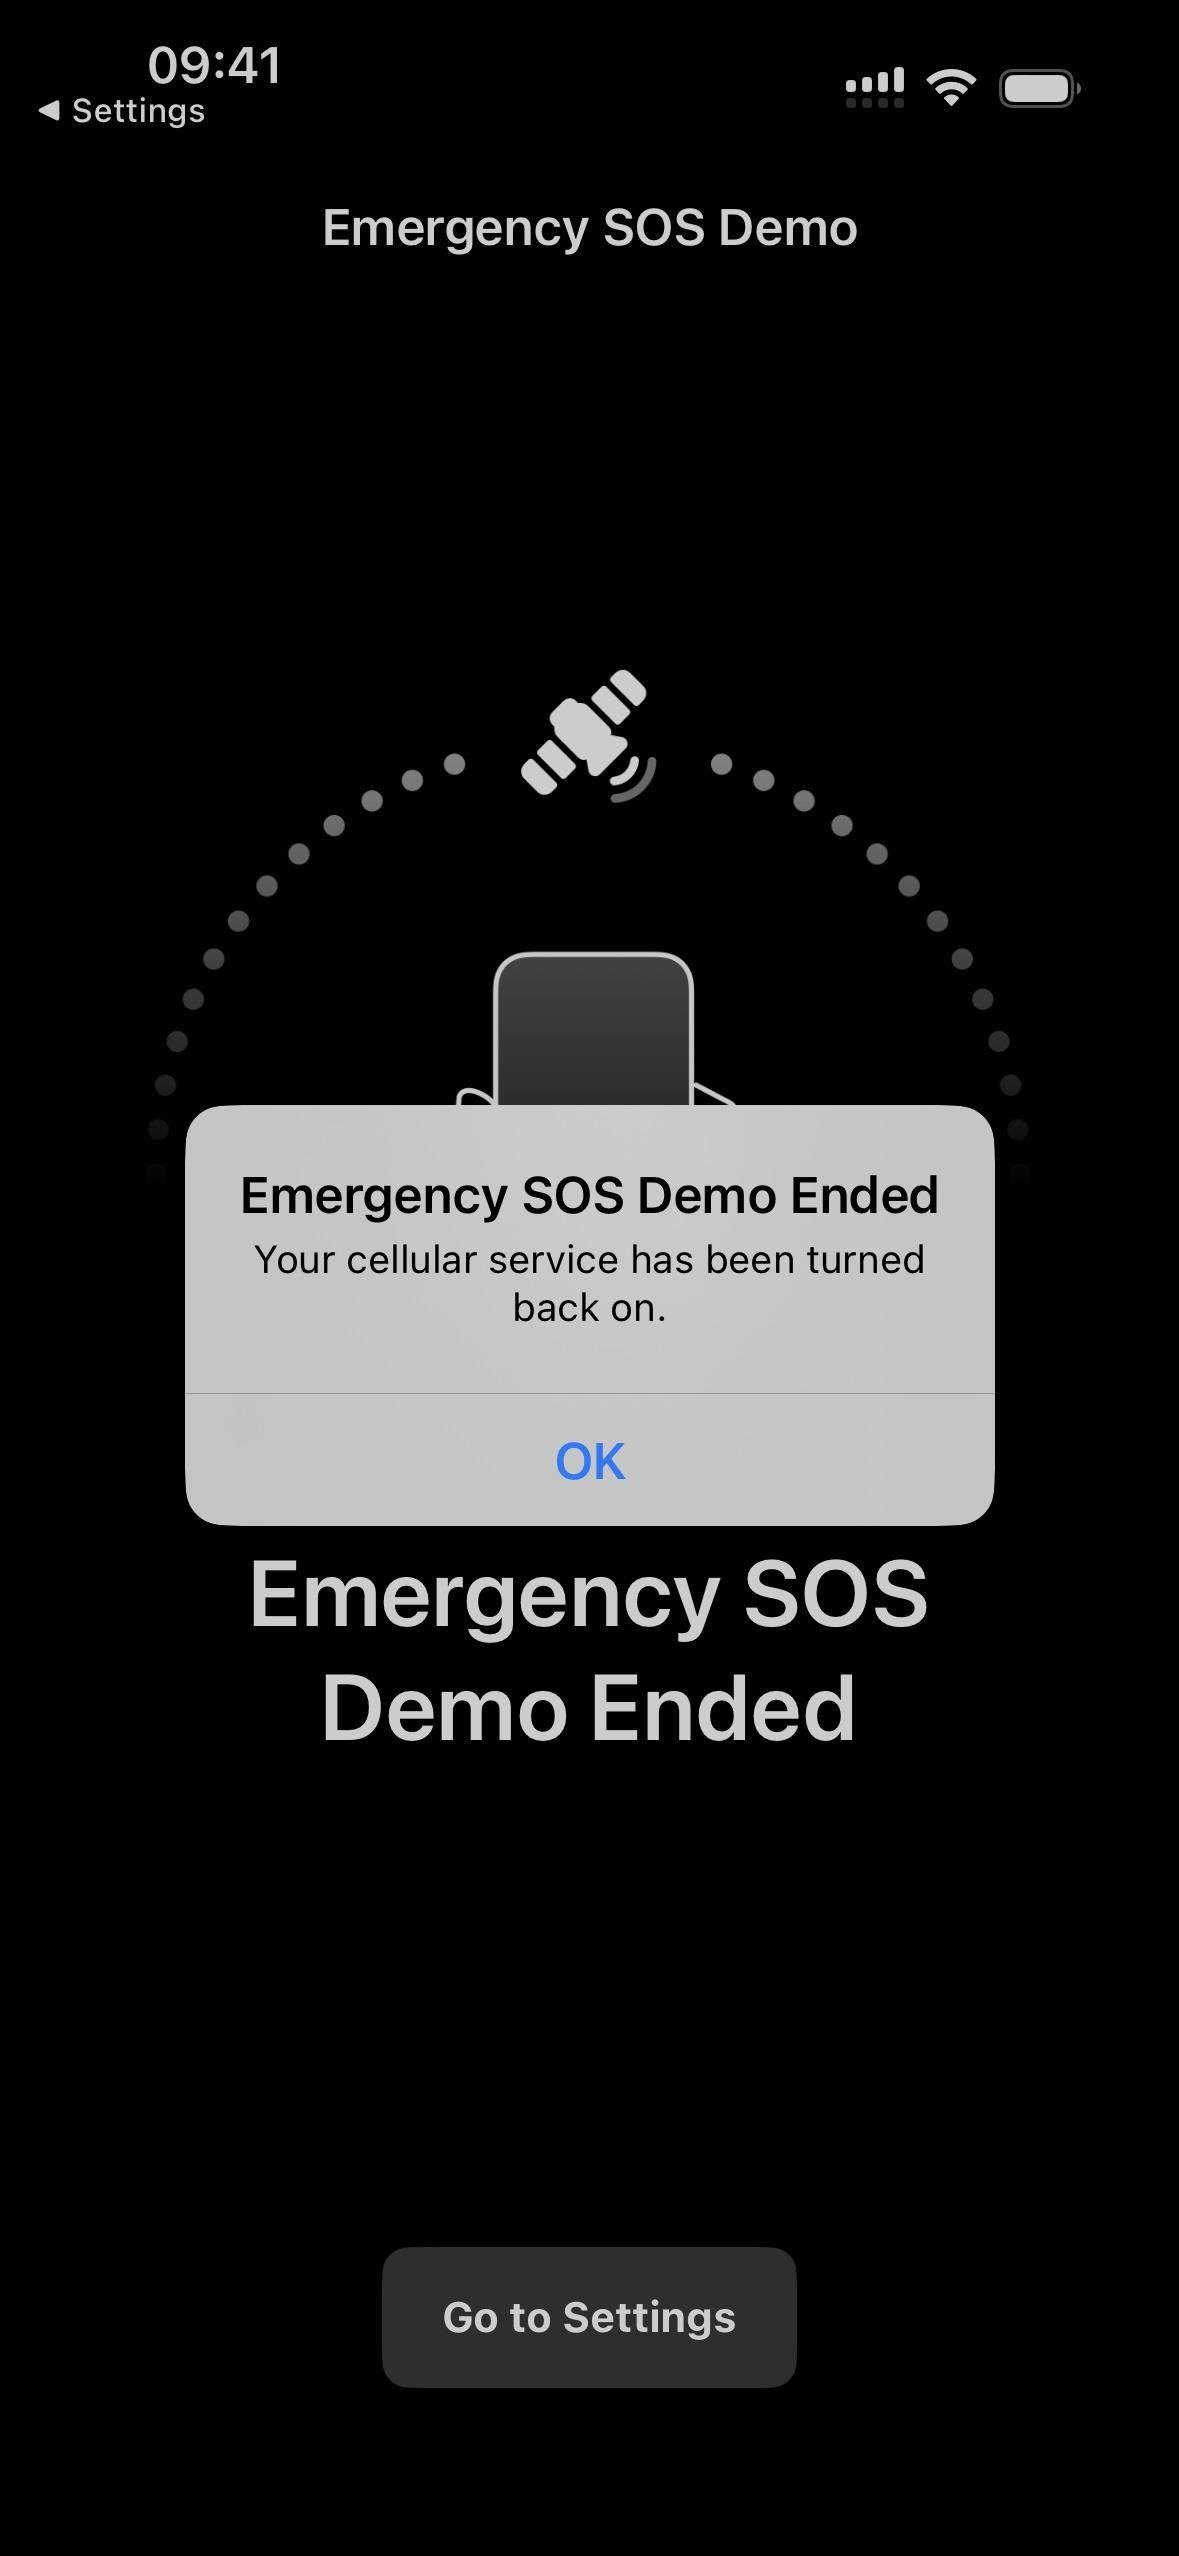
You can try a demo out in Settings –> Emergency SOS. The demo will walk you through the process of finding and connecting to the closest satellite.
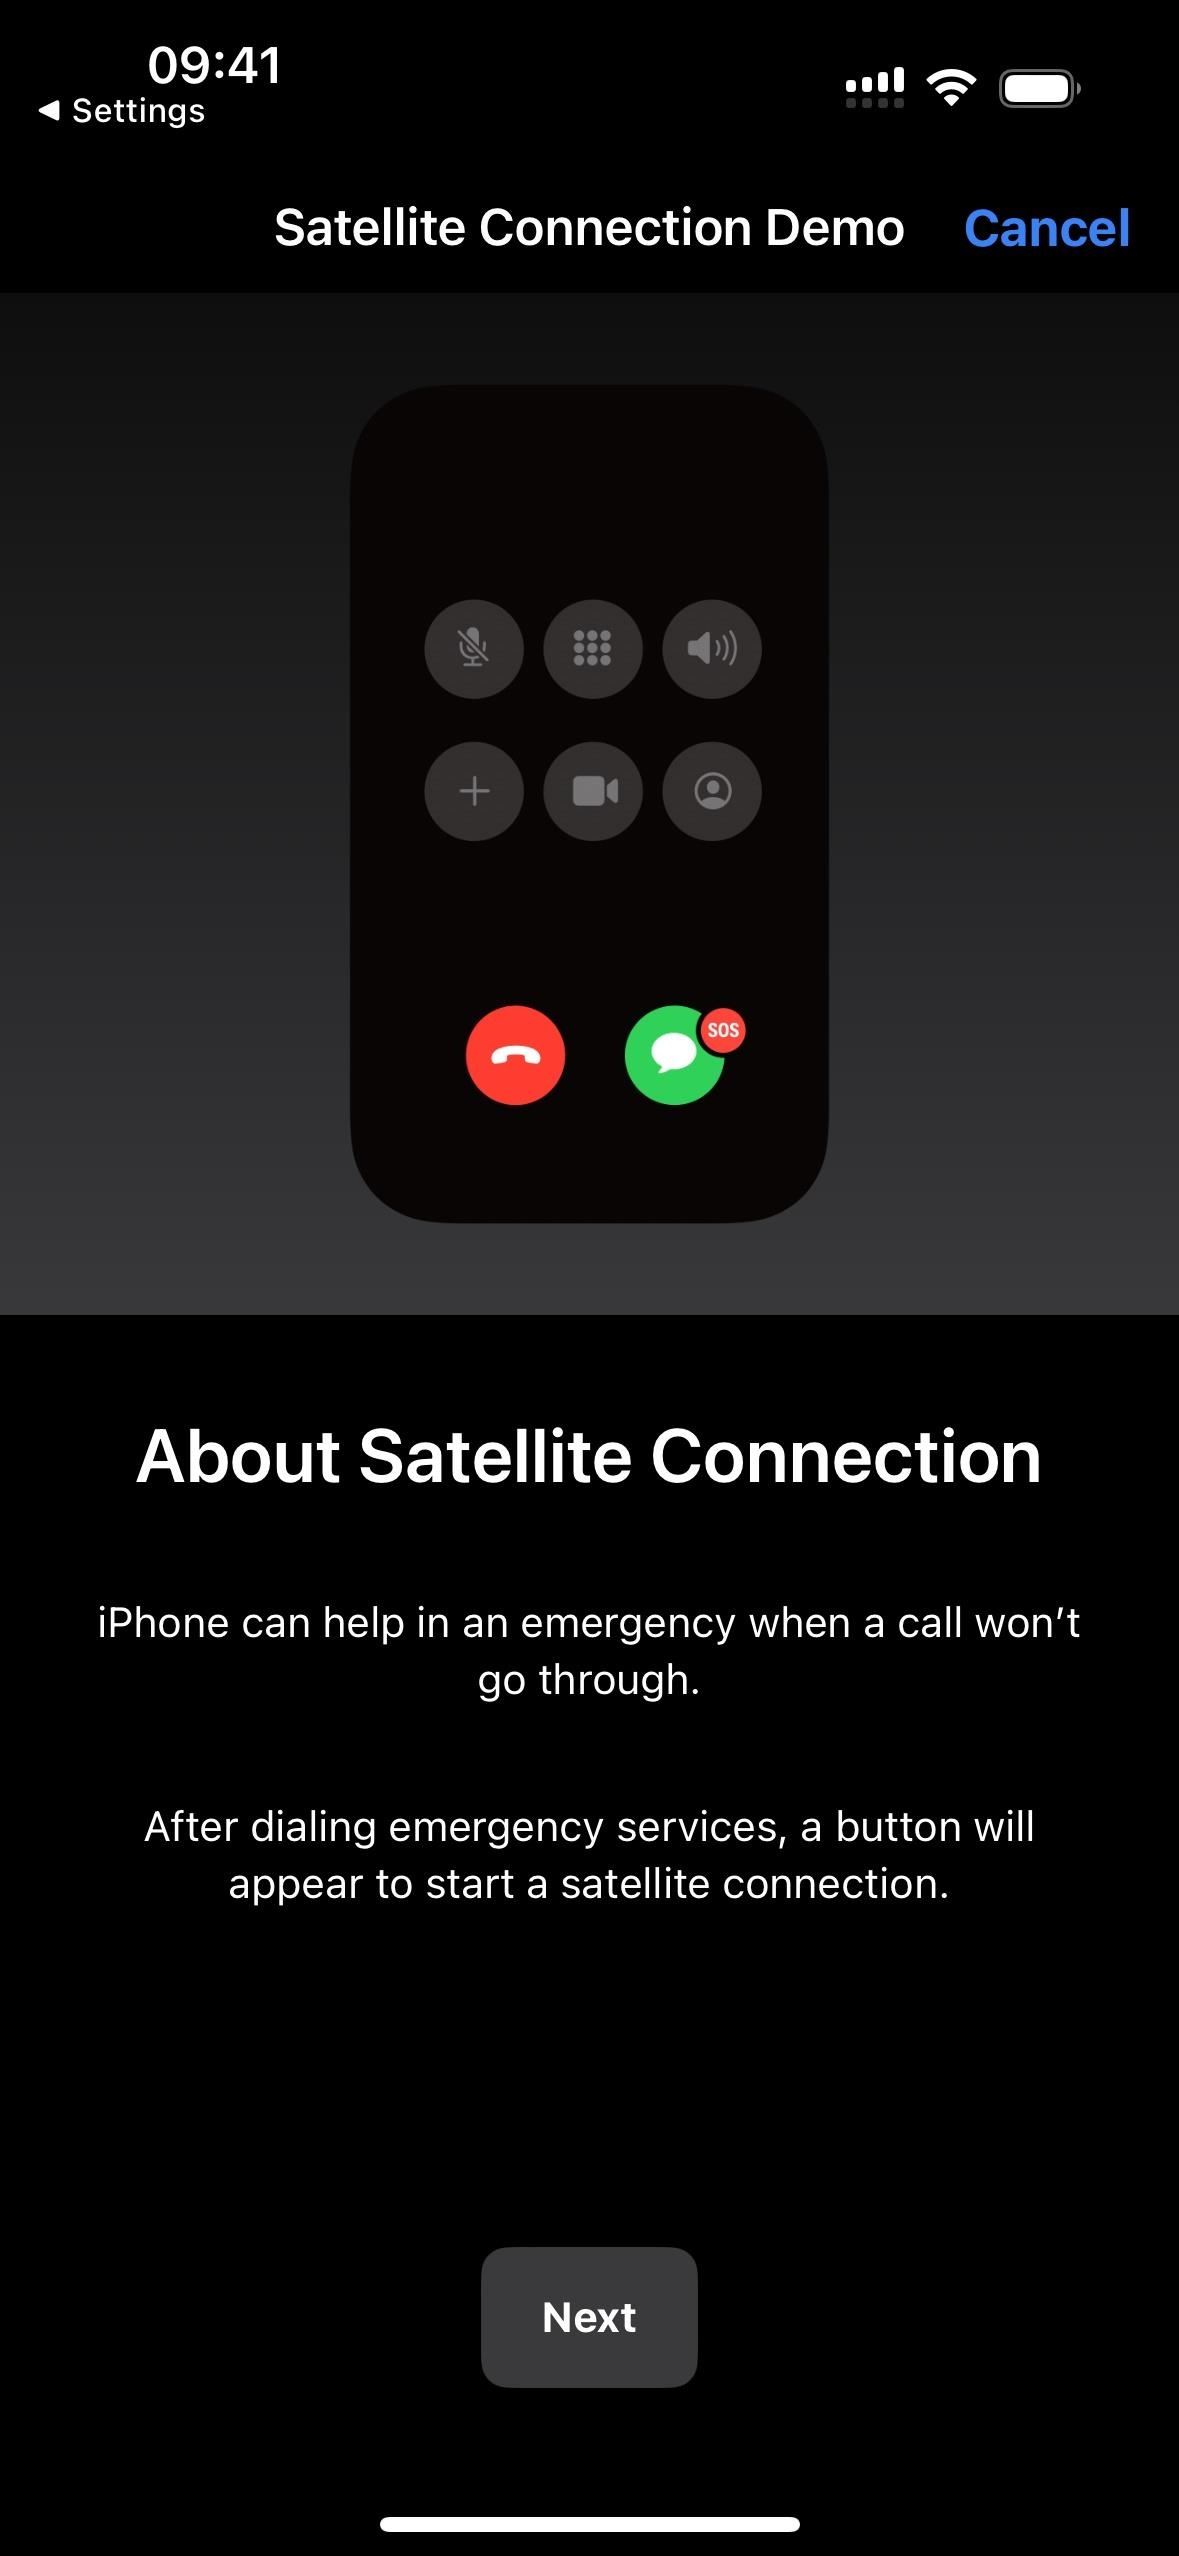
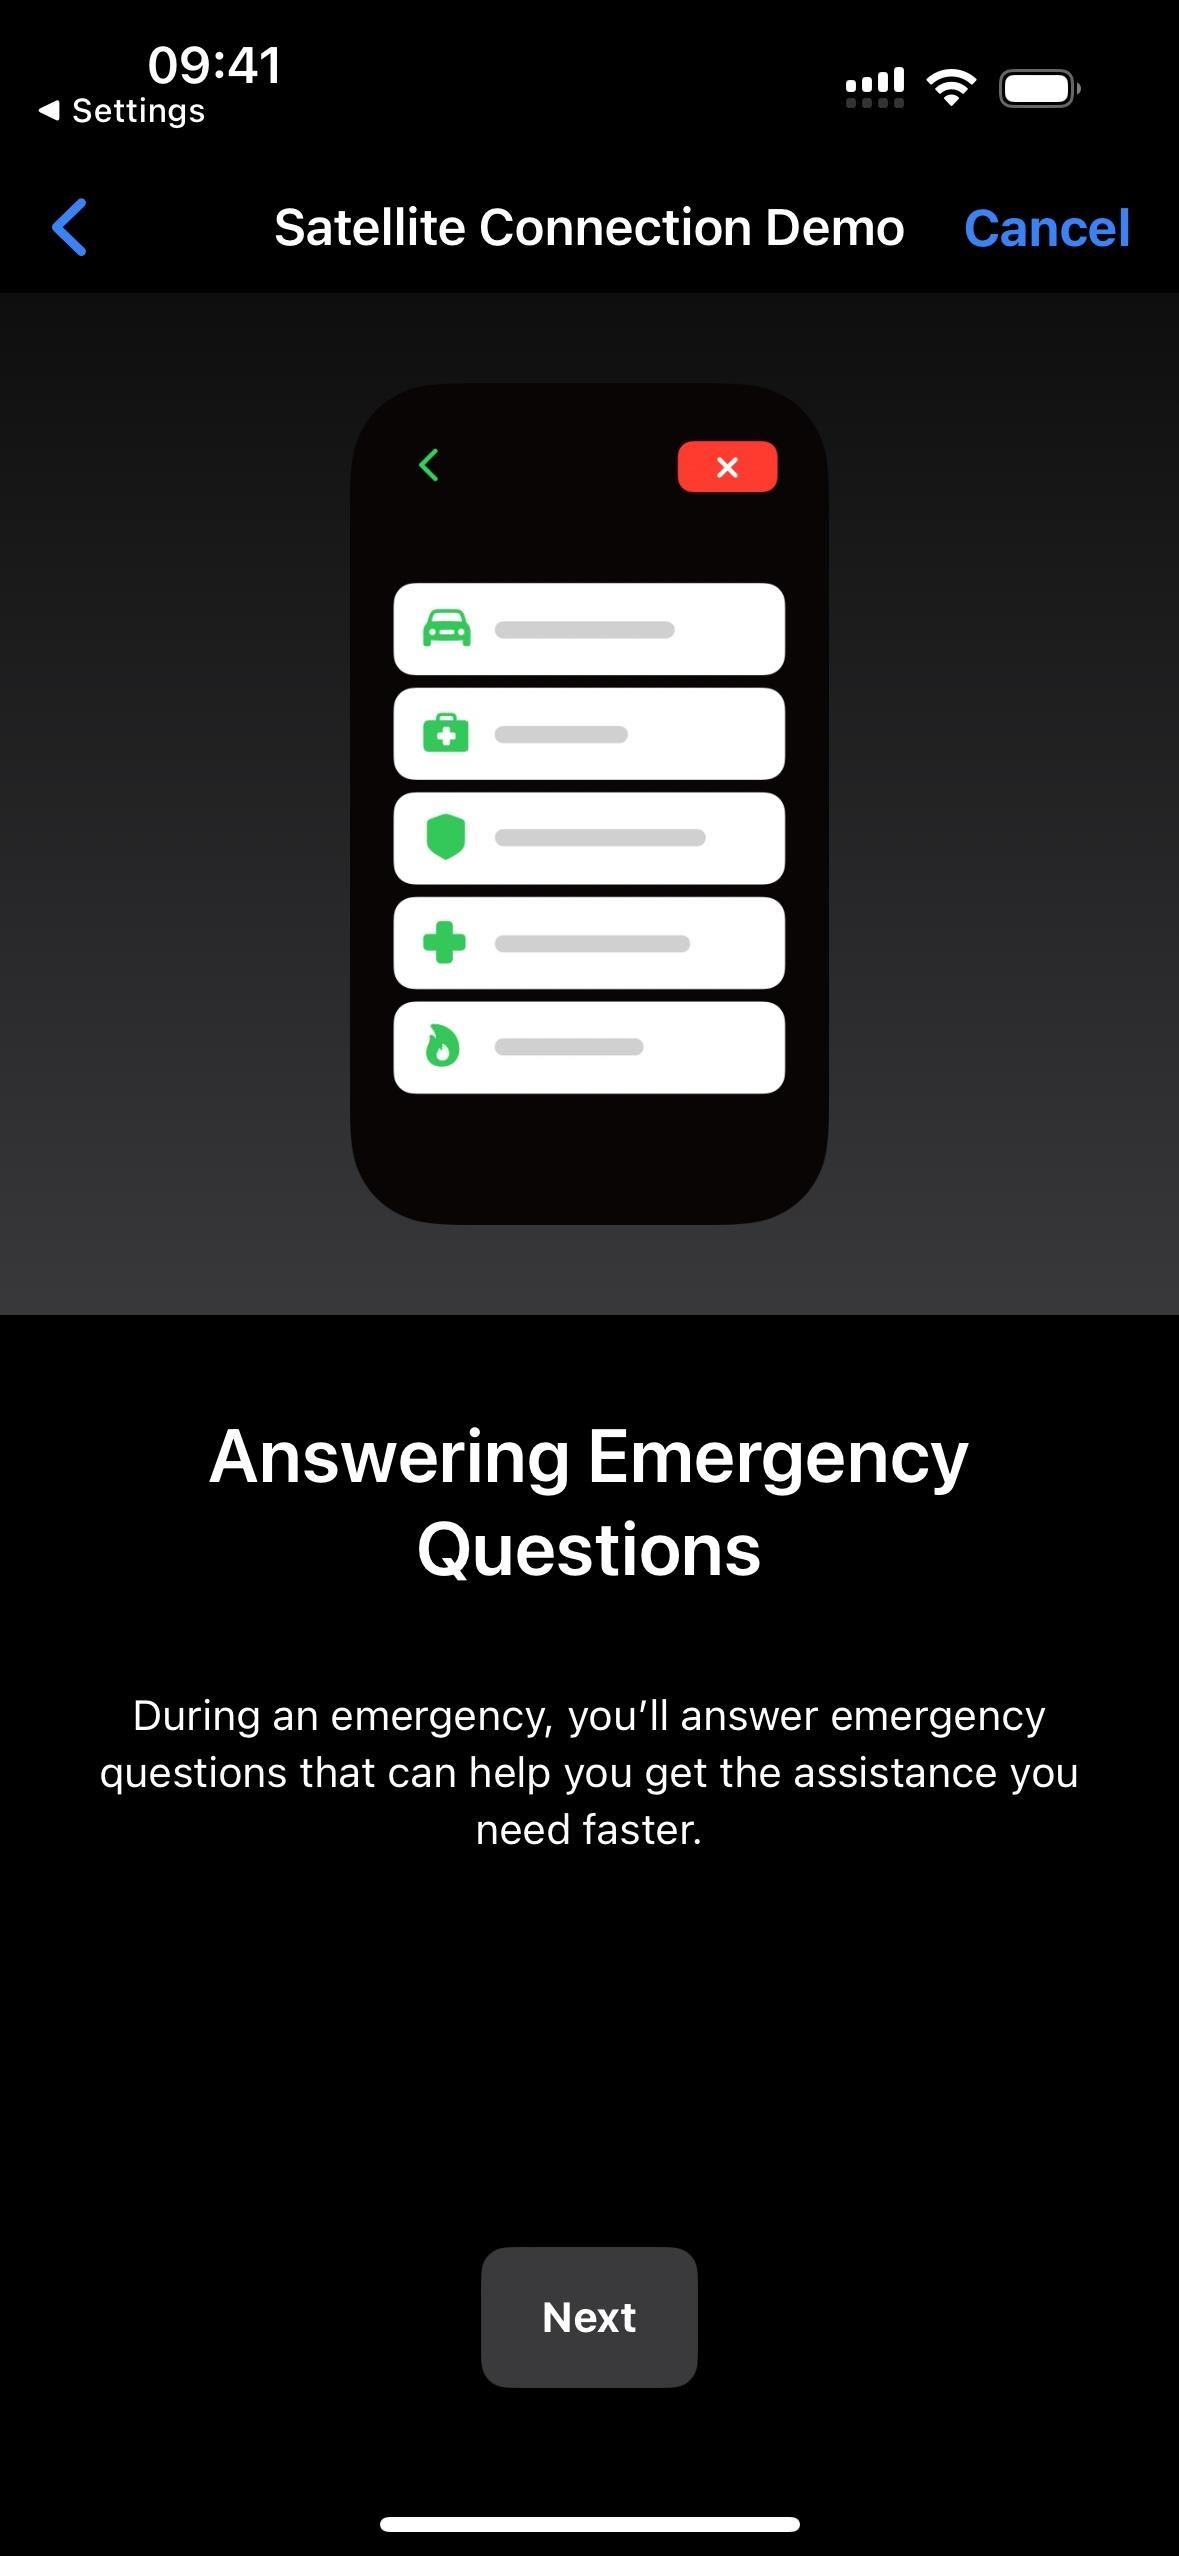
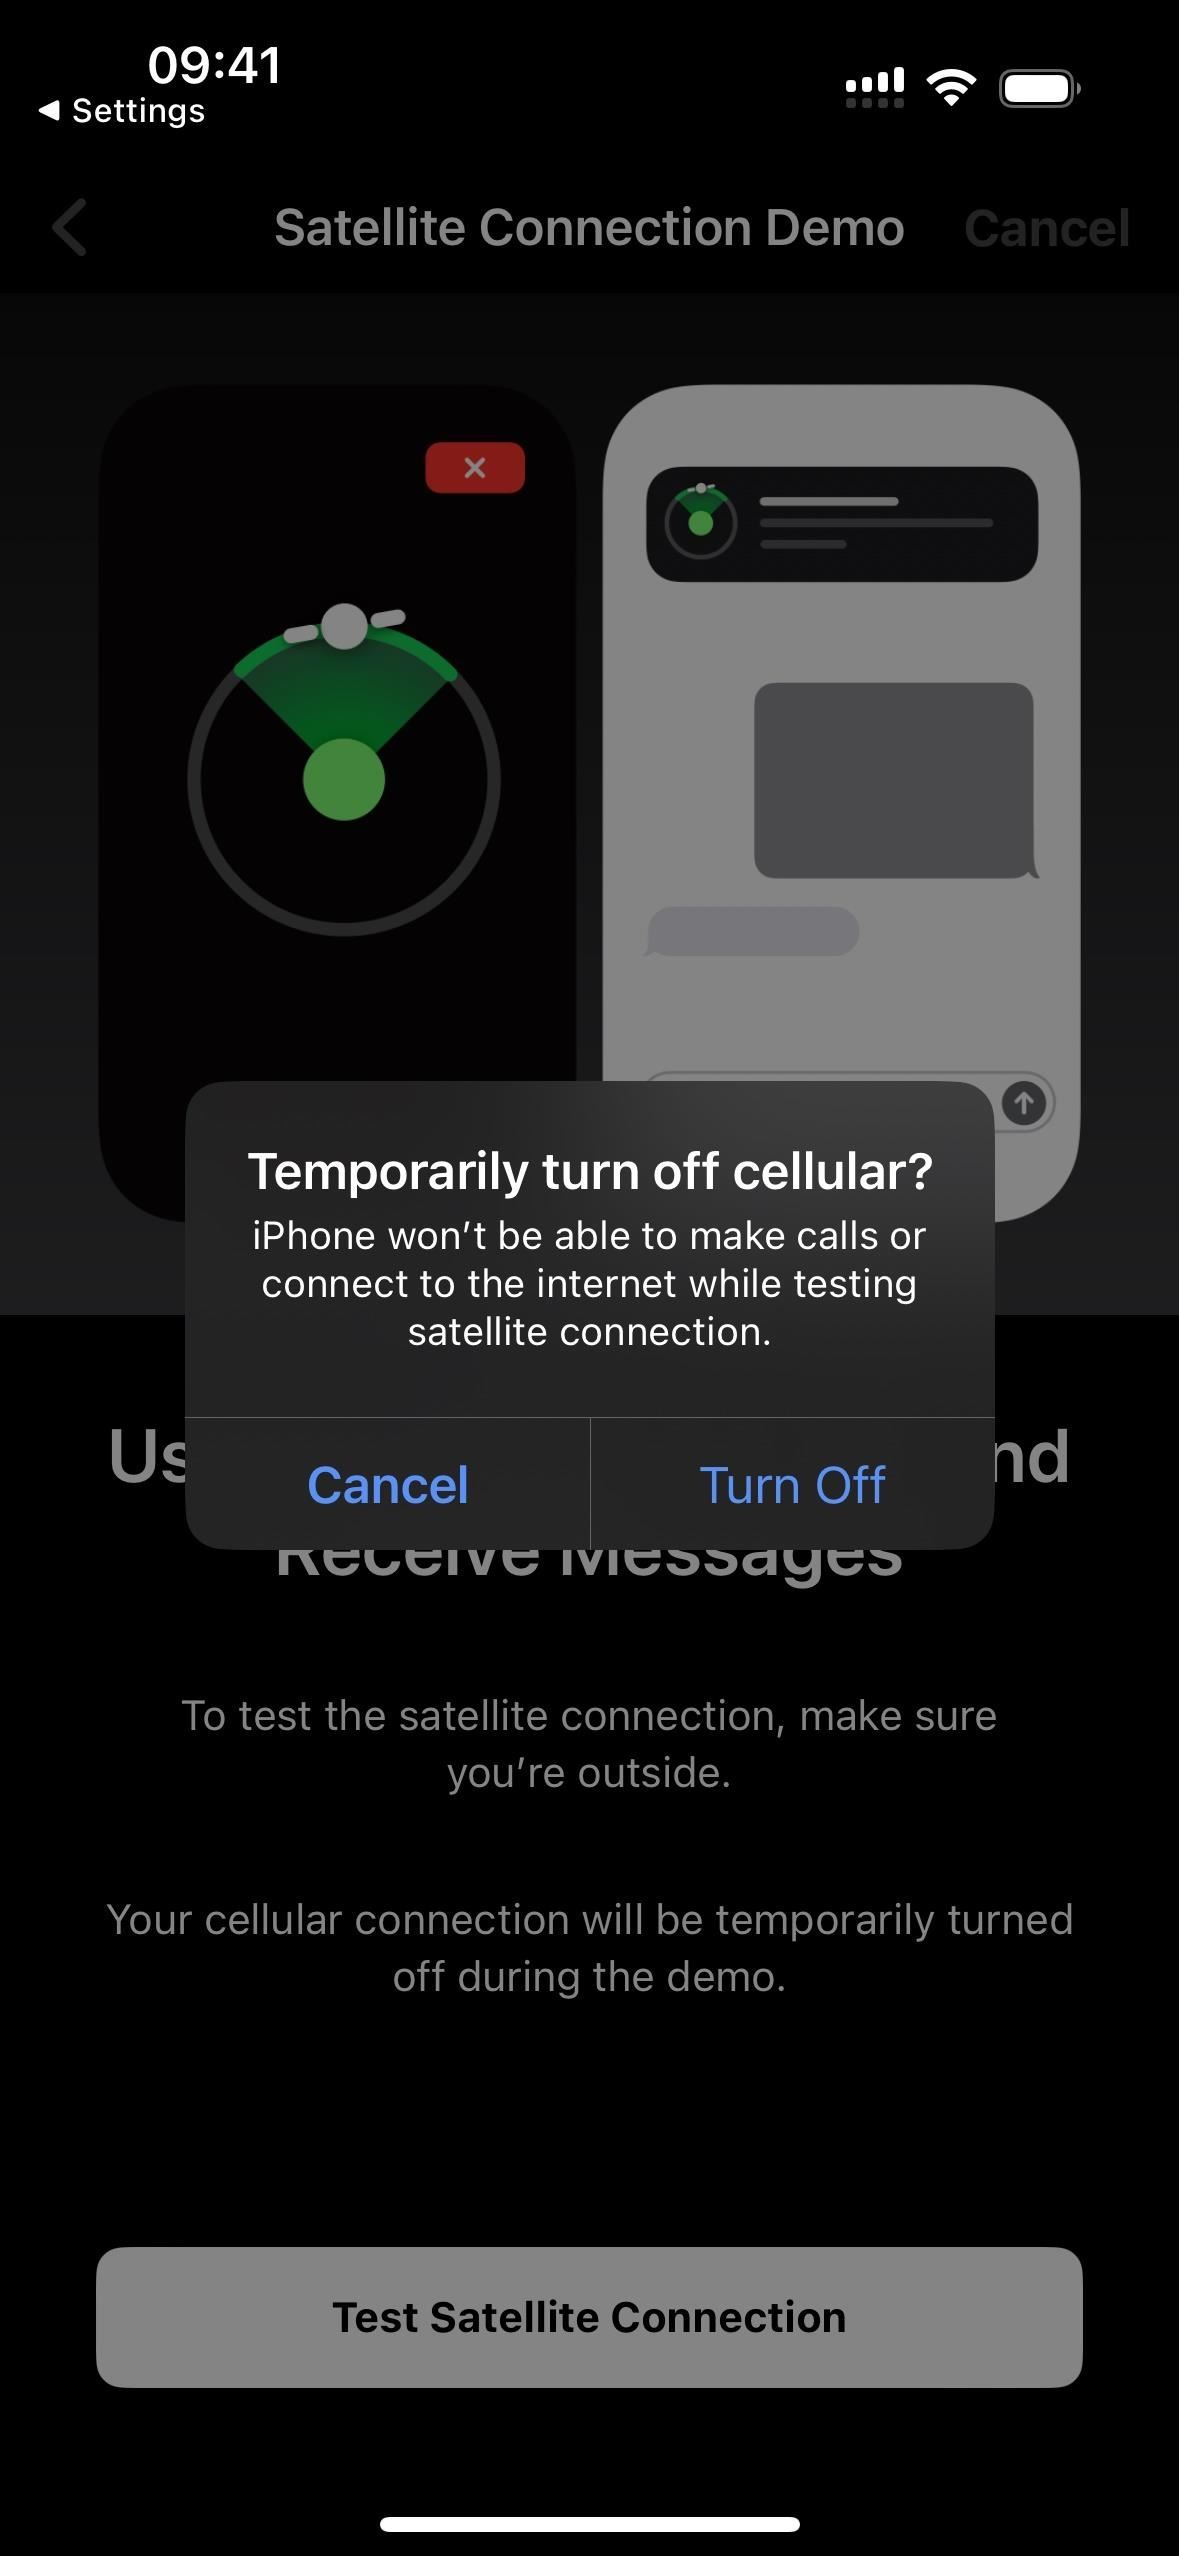
To run the test, your cellular connection will be disabled. To find a satellite, you’ll need a clear view of the sky, as buildings, certain terrain features, and trees can block the path.

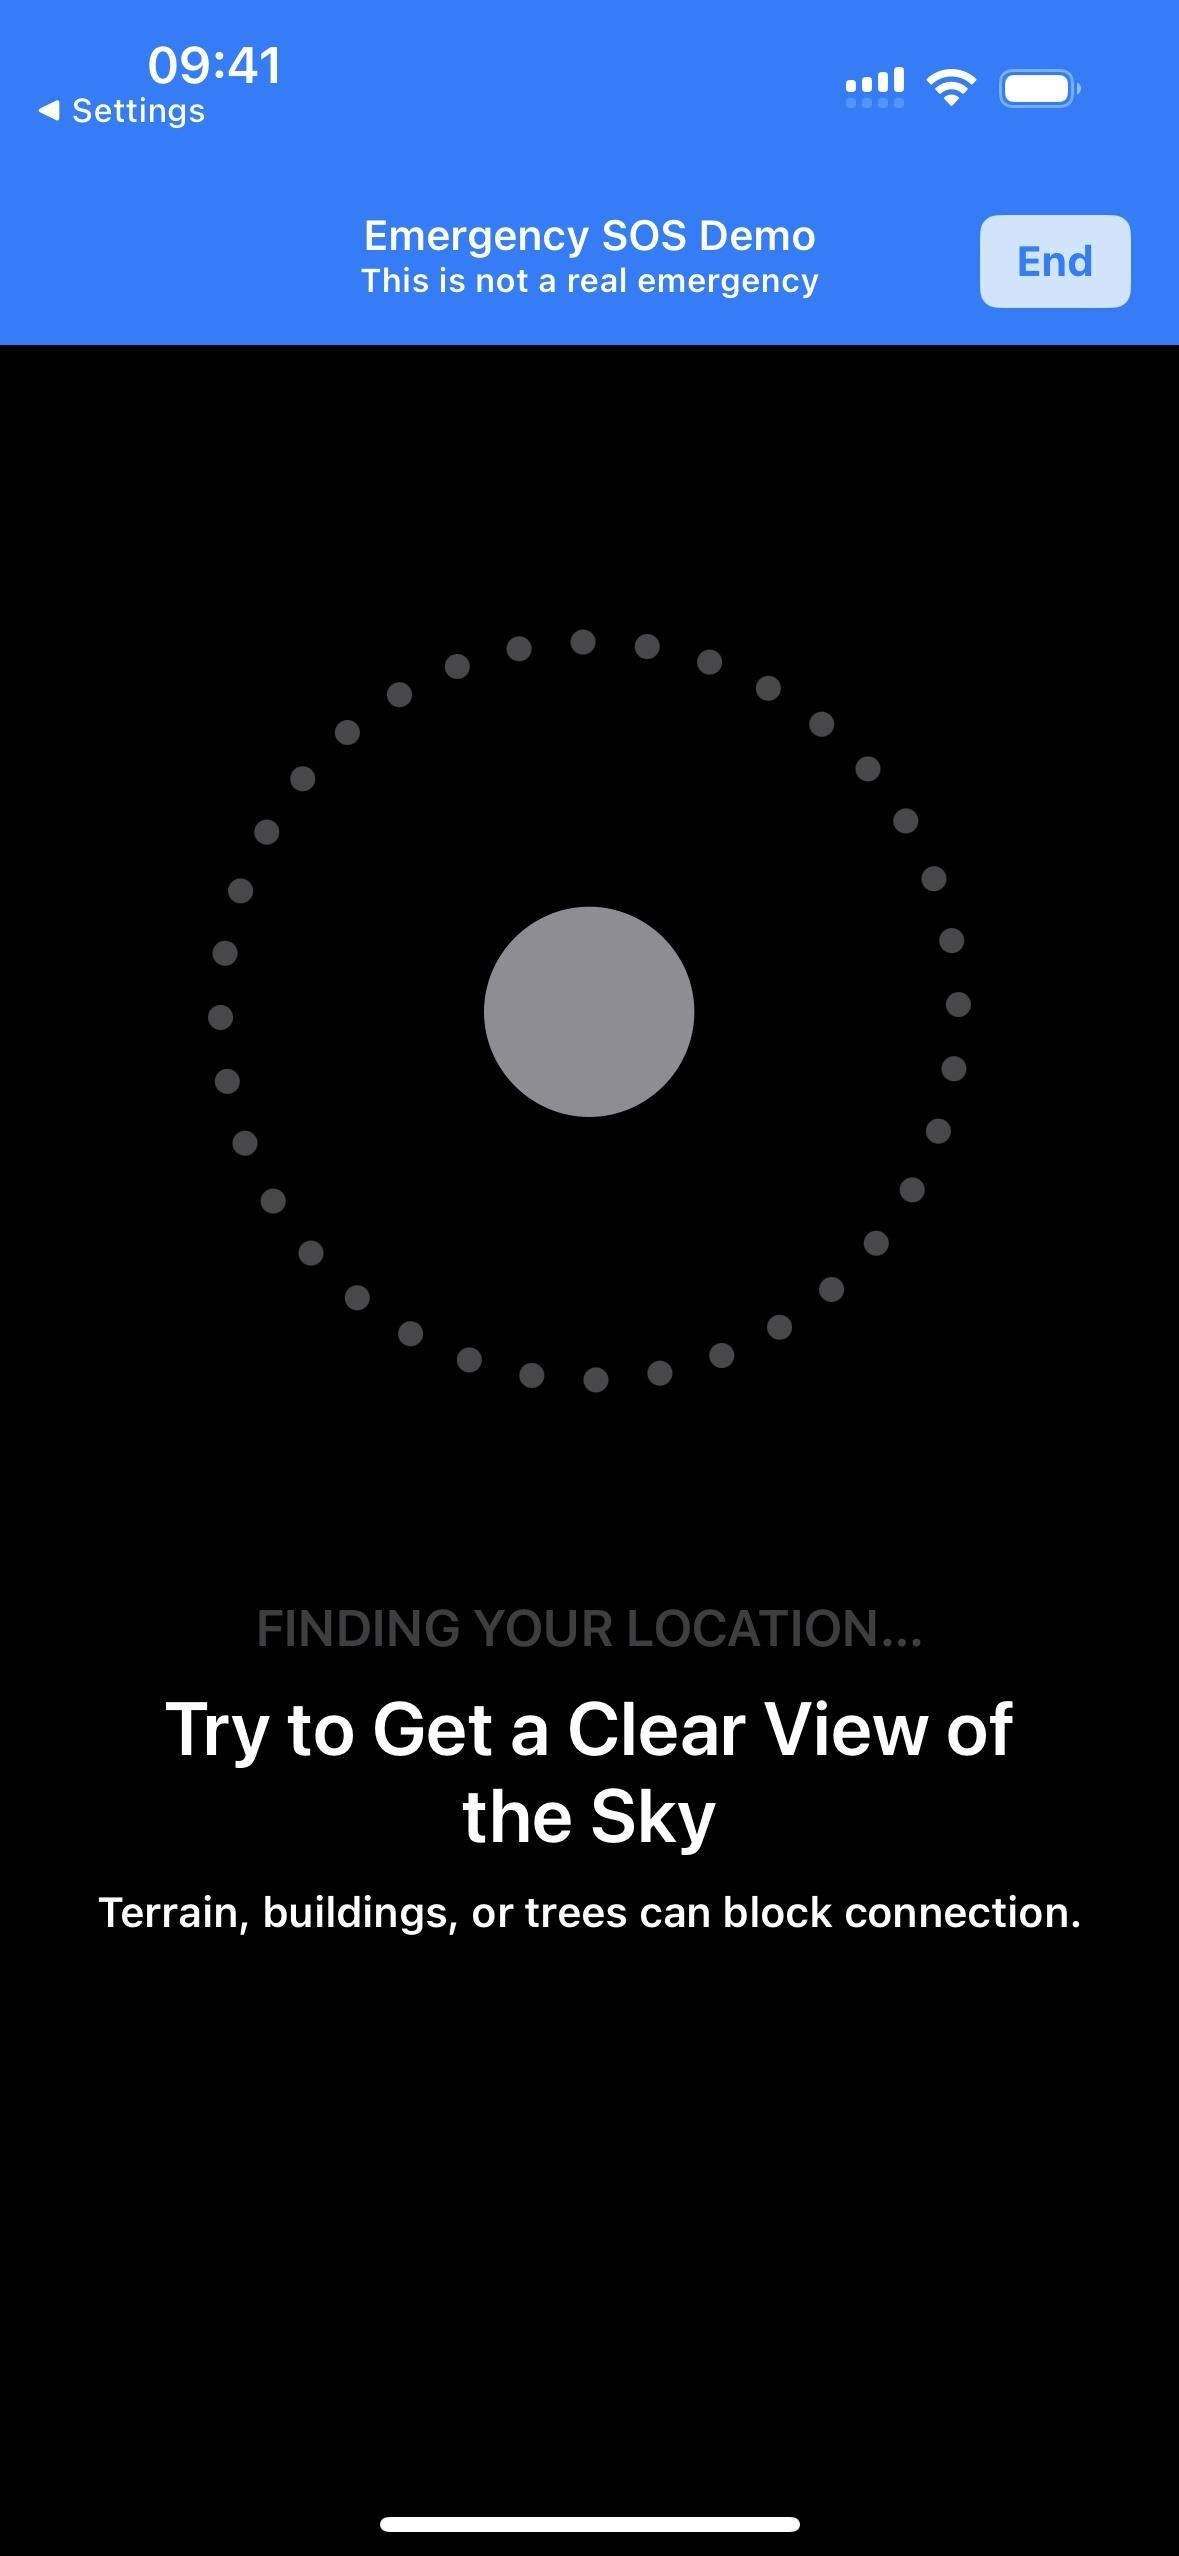
While locating the satellite, you may need to turn your iPhone to point in the right direction.
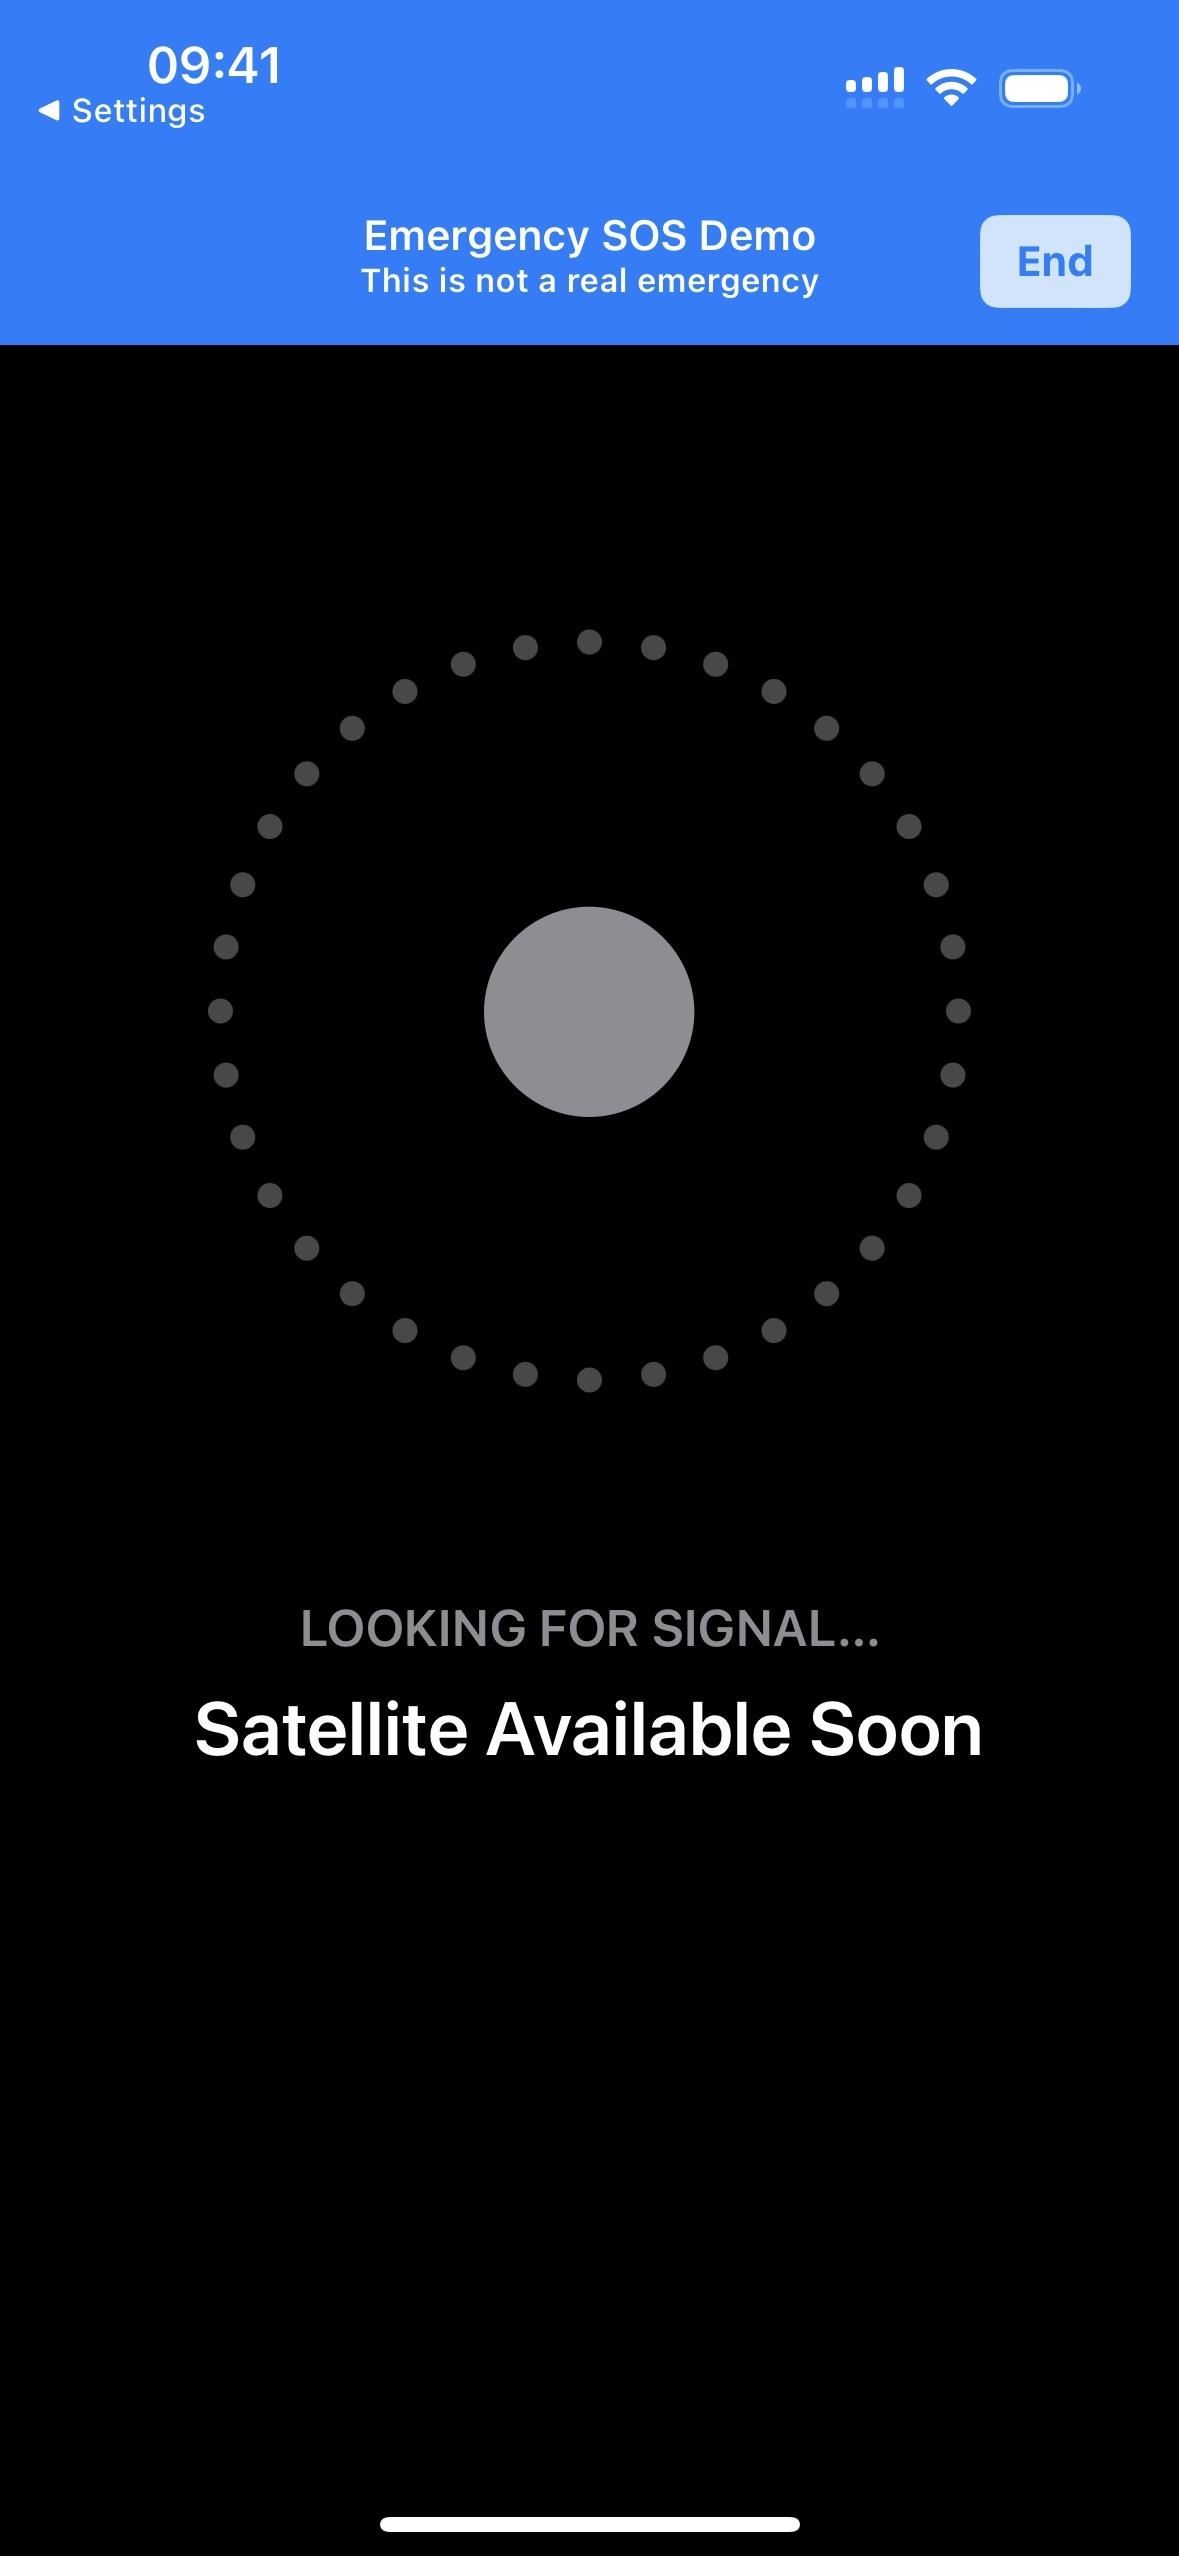
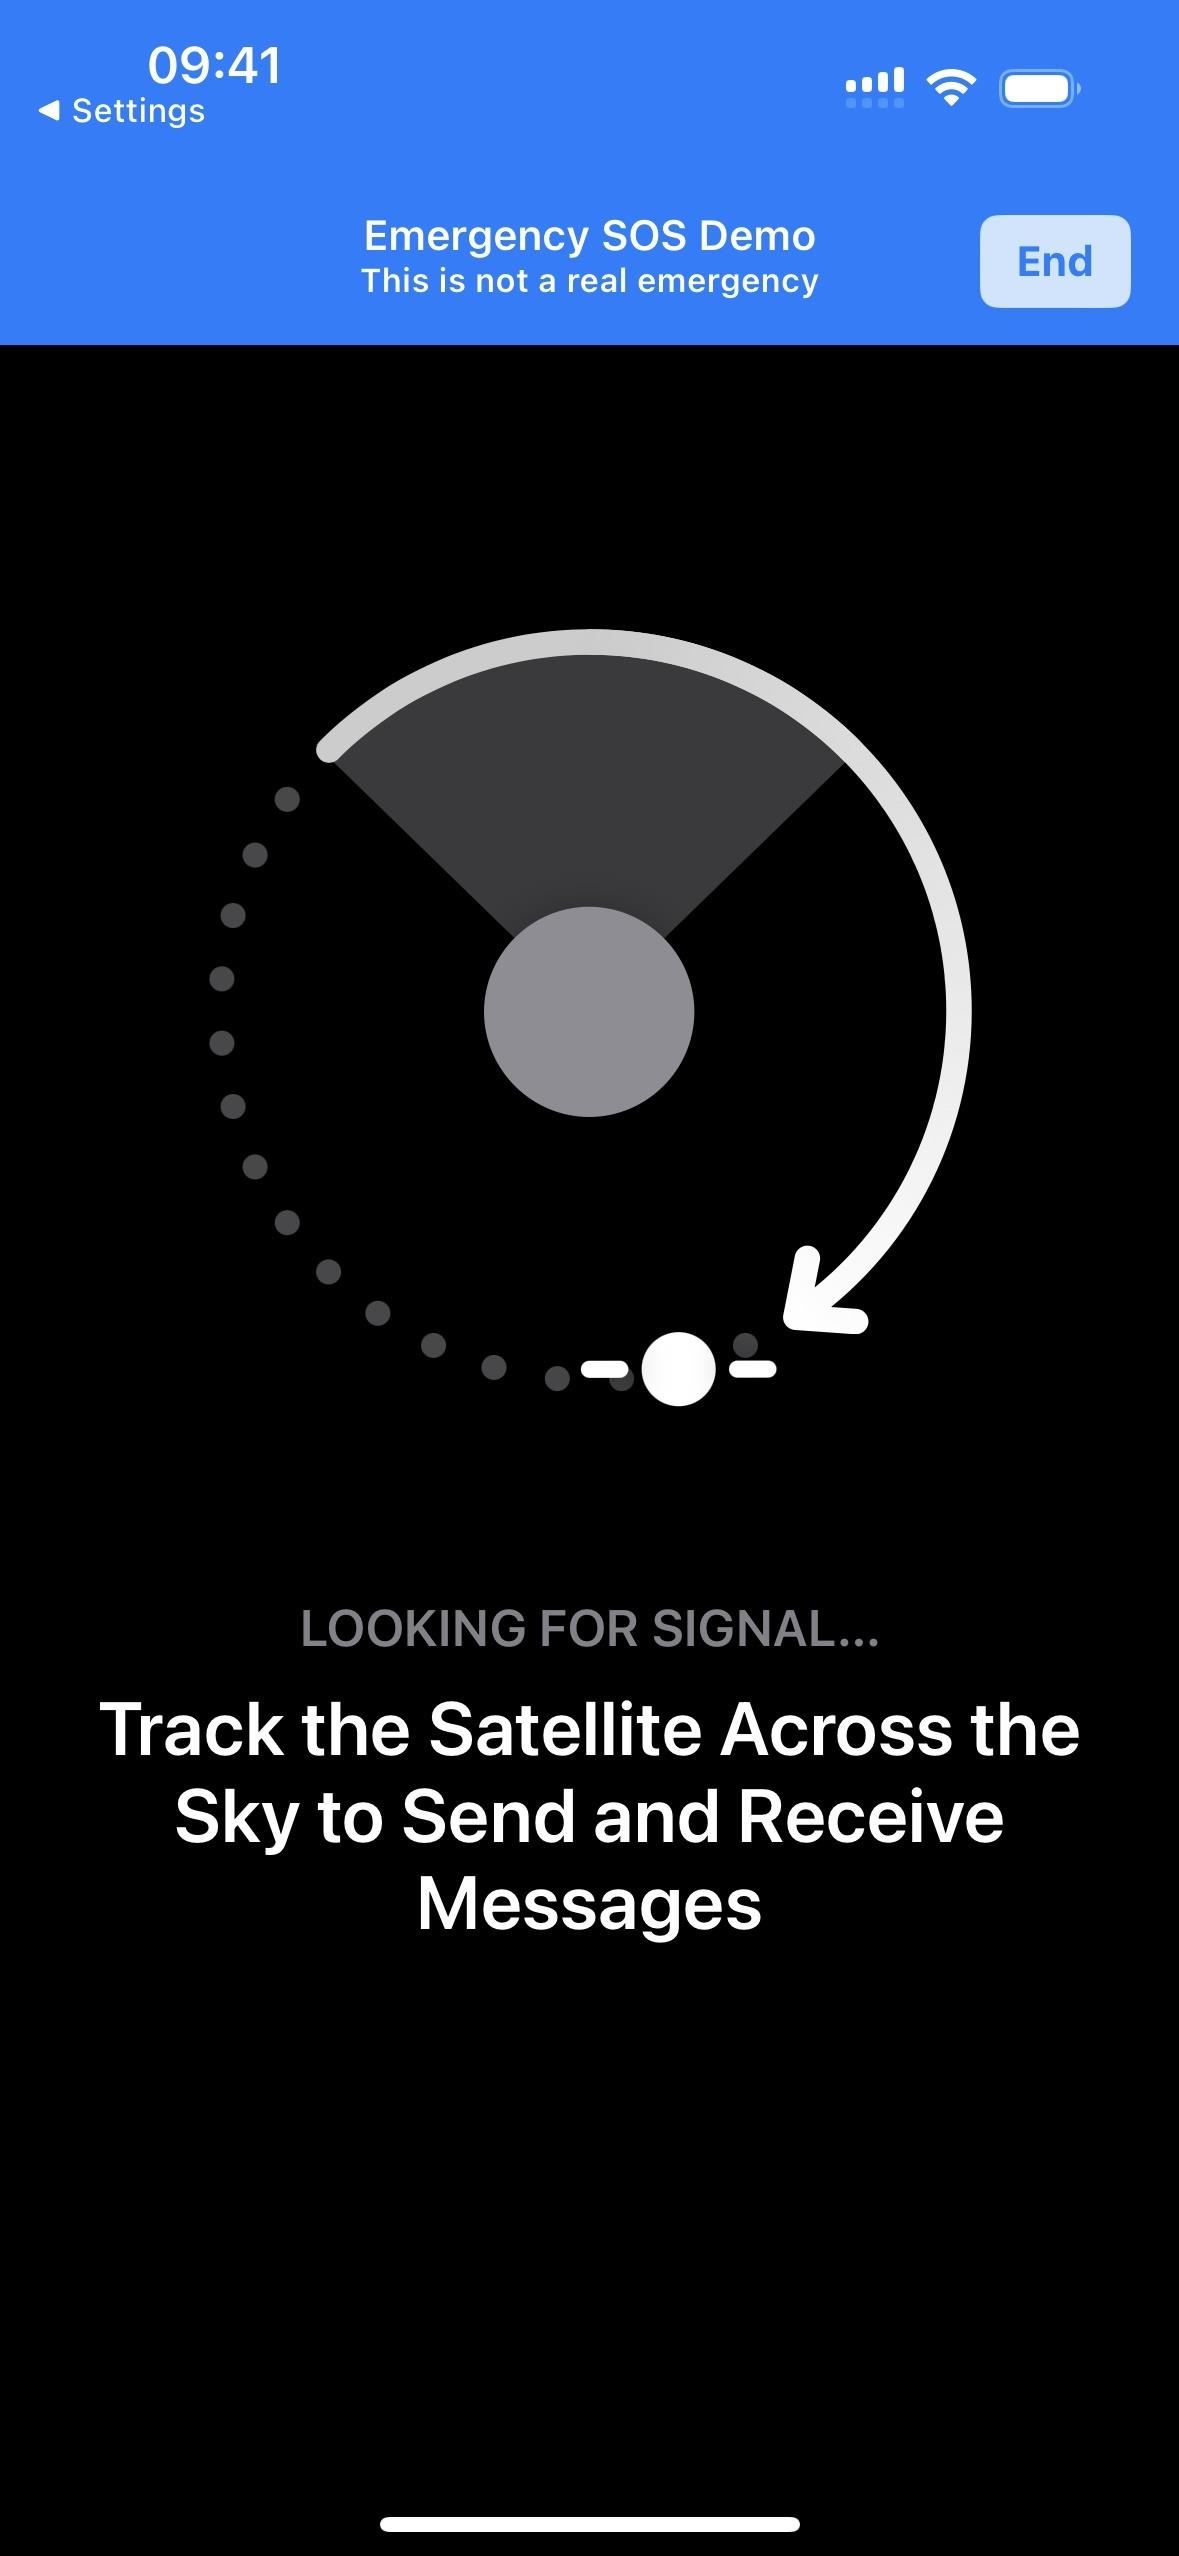
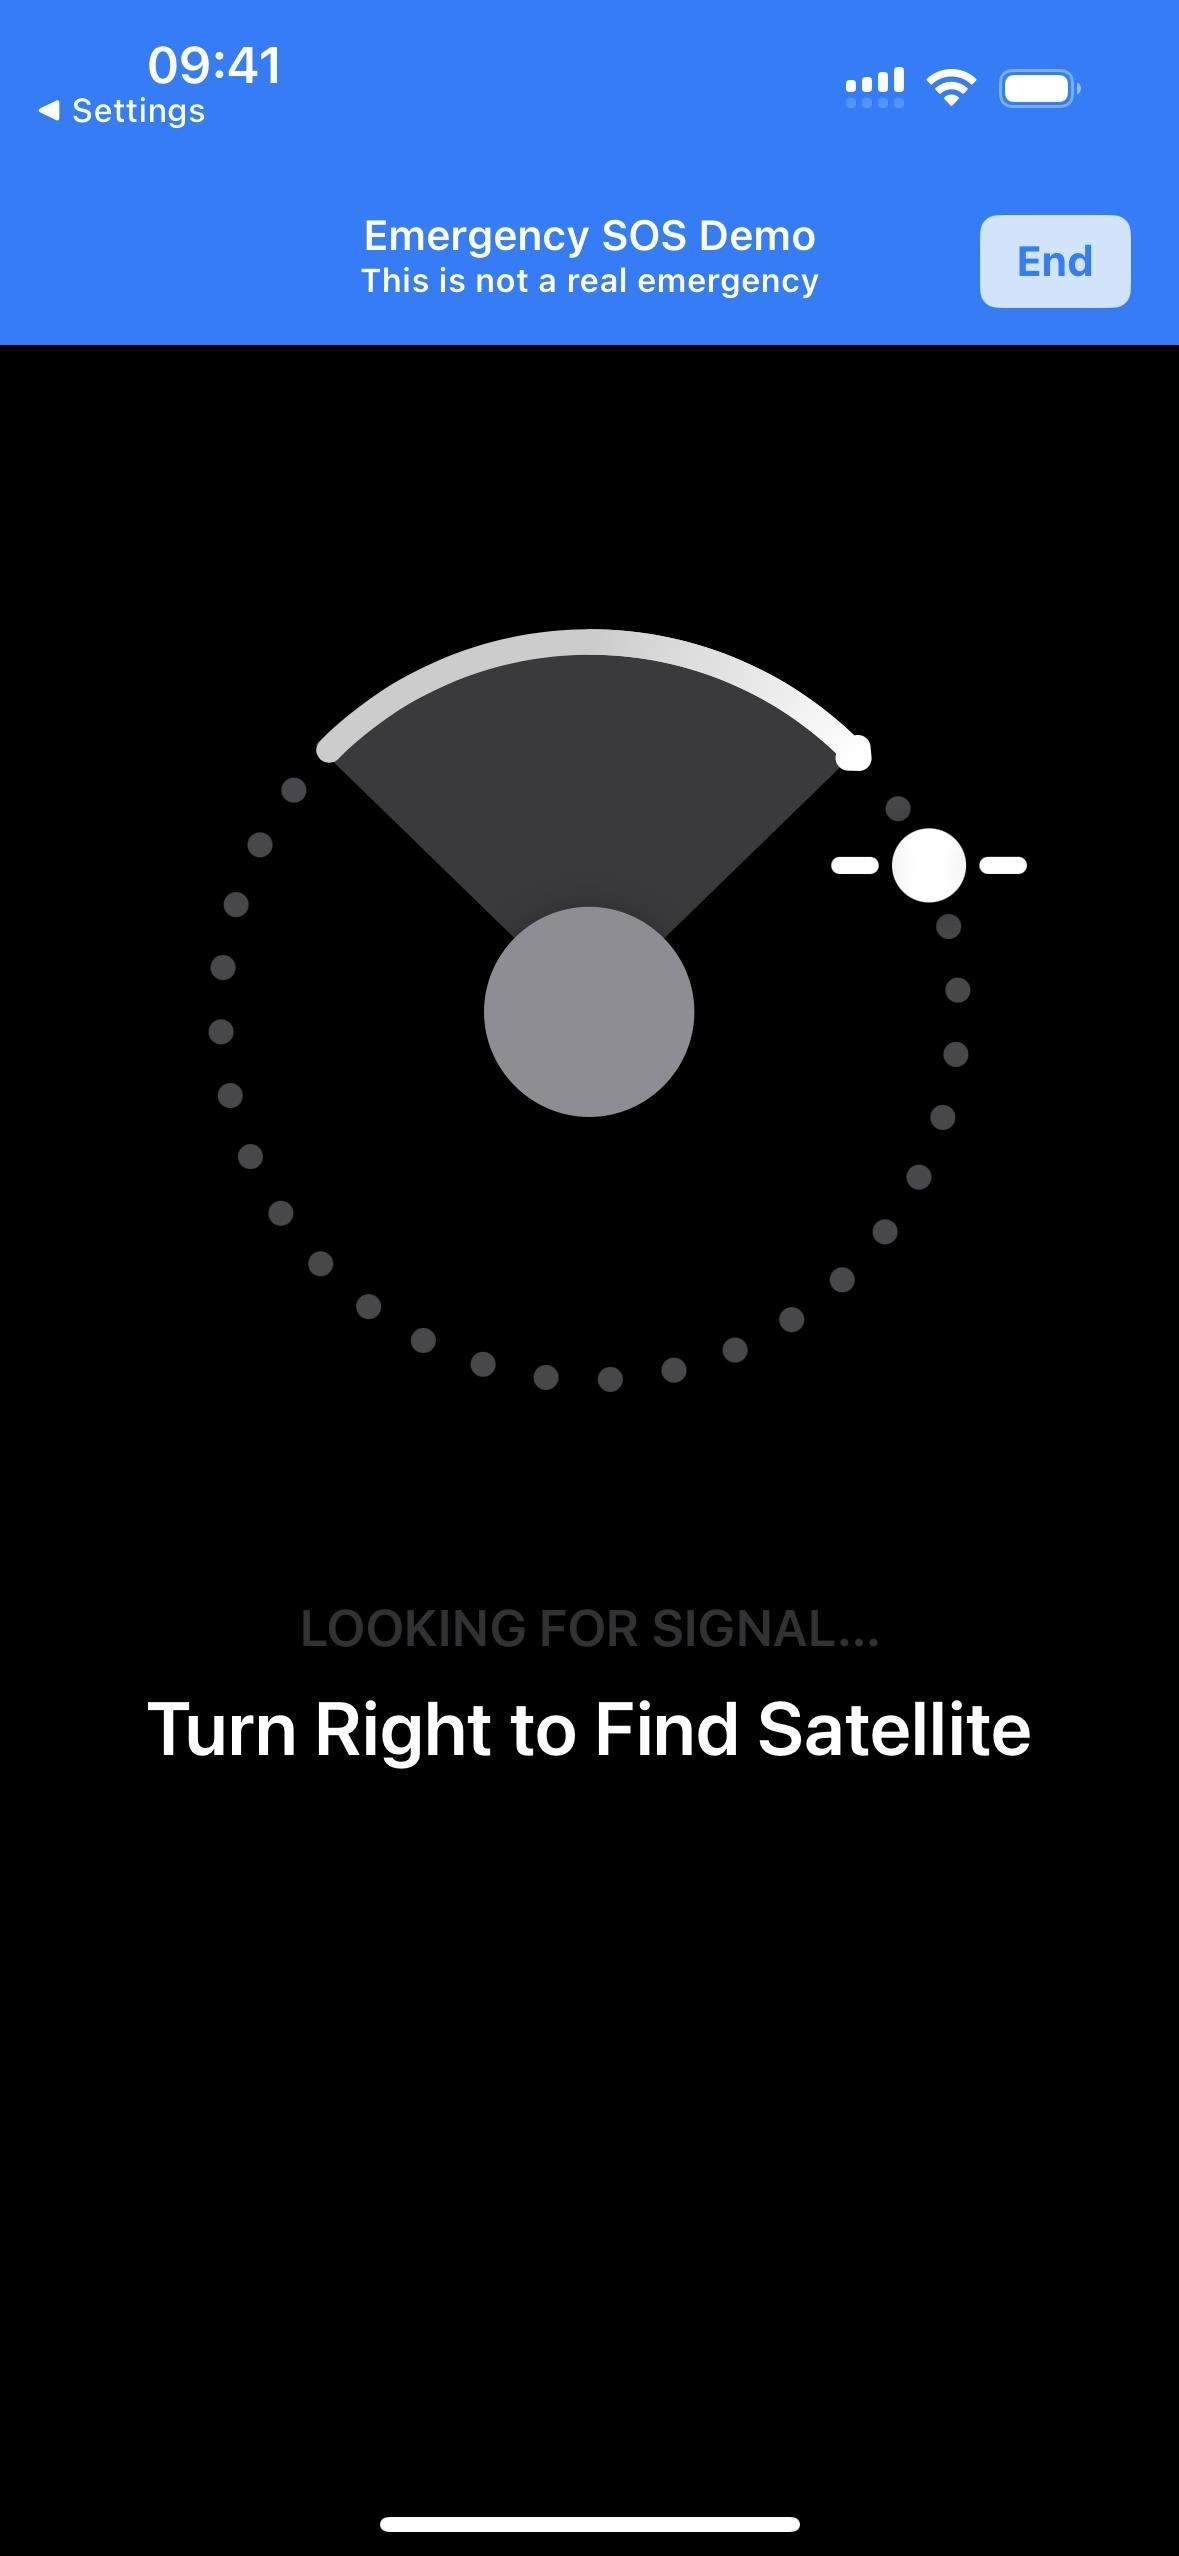
Tap “End” to stop the demo and re-enable your cellular connection.
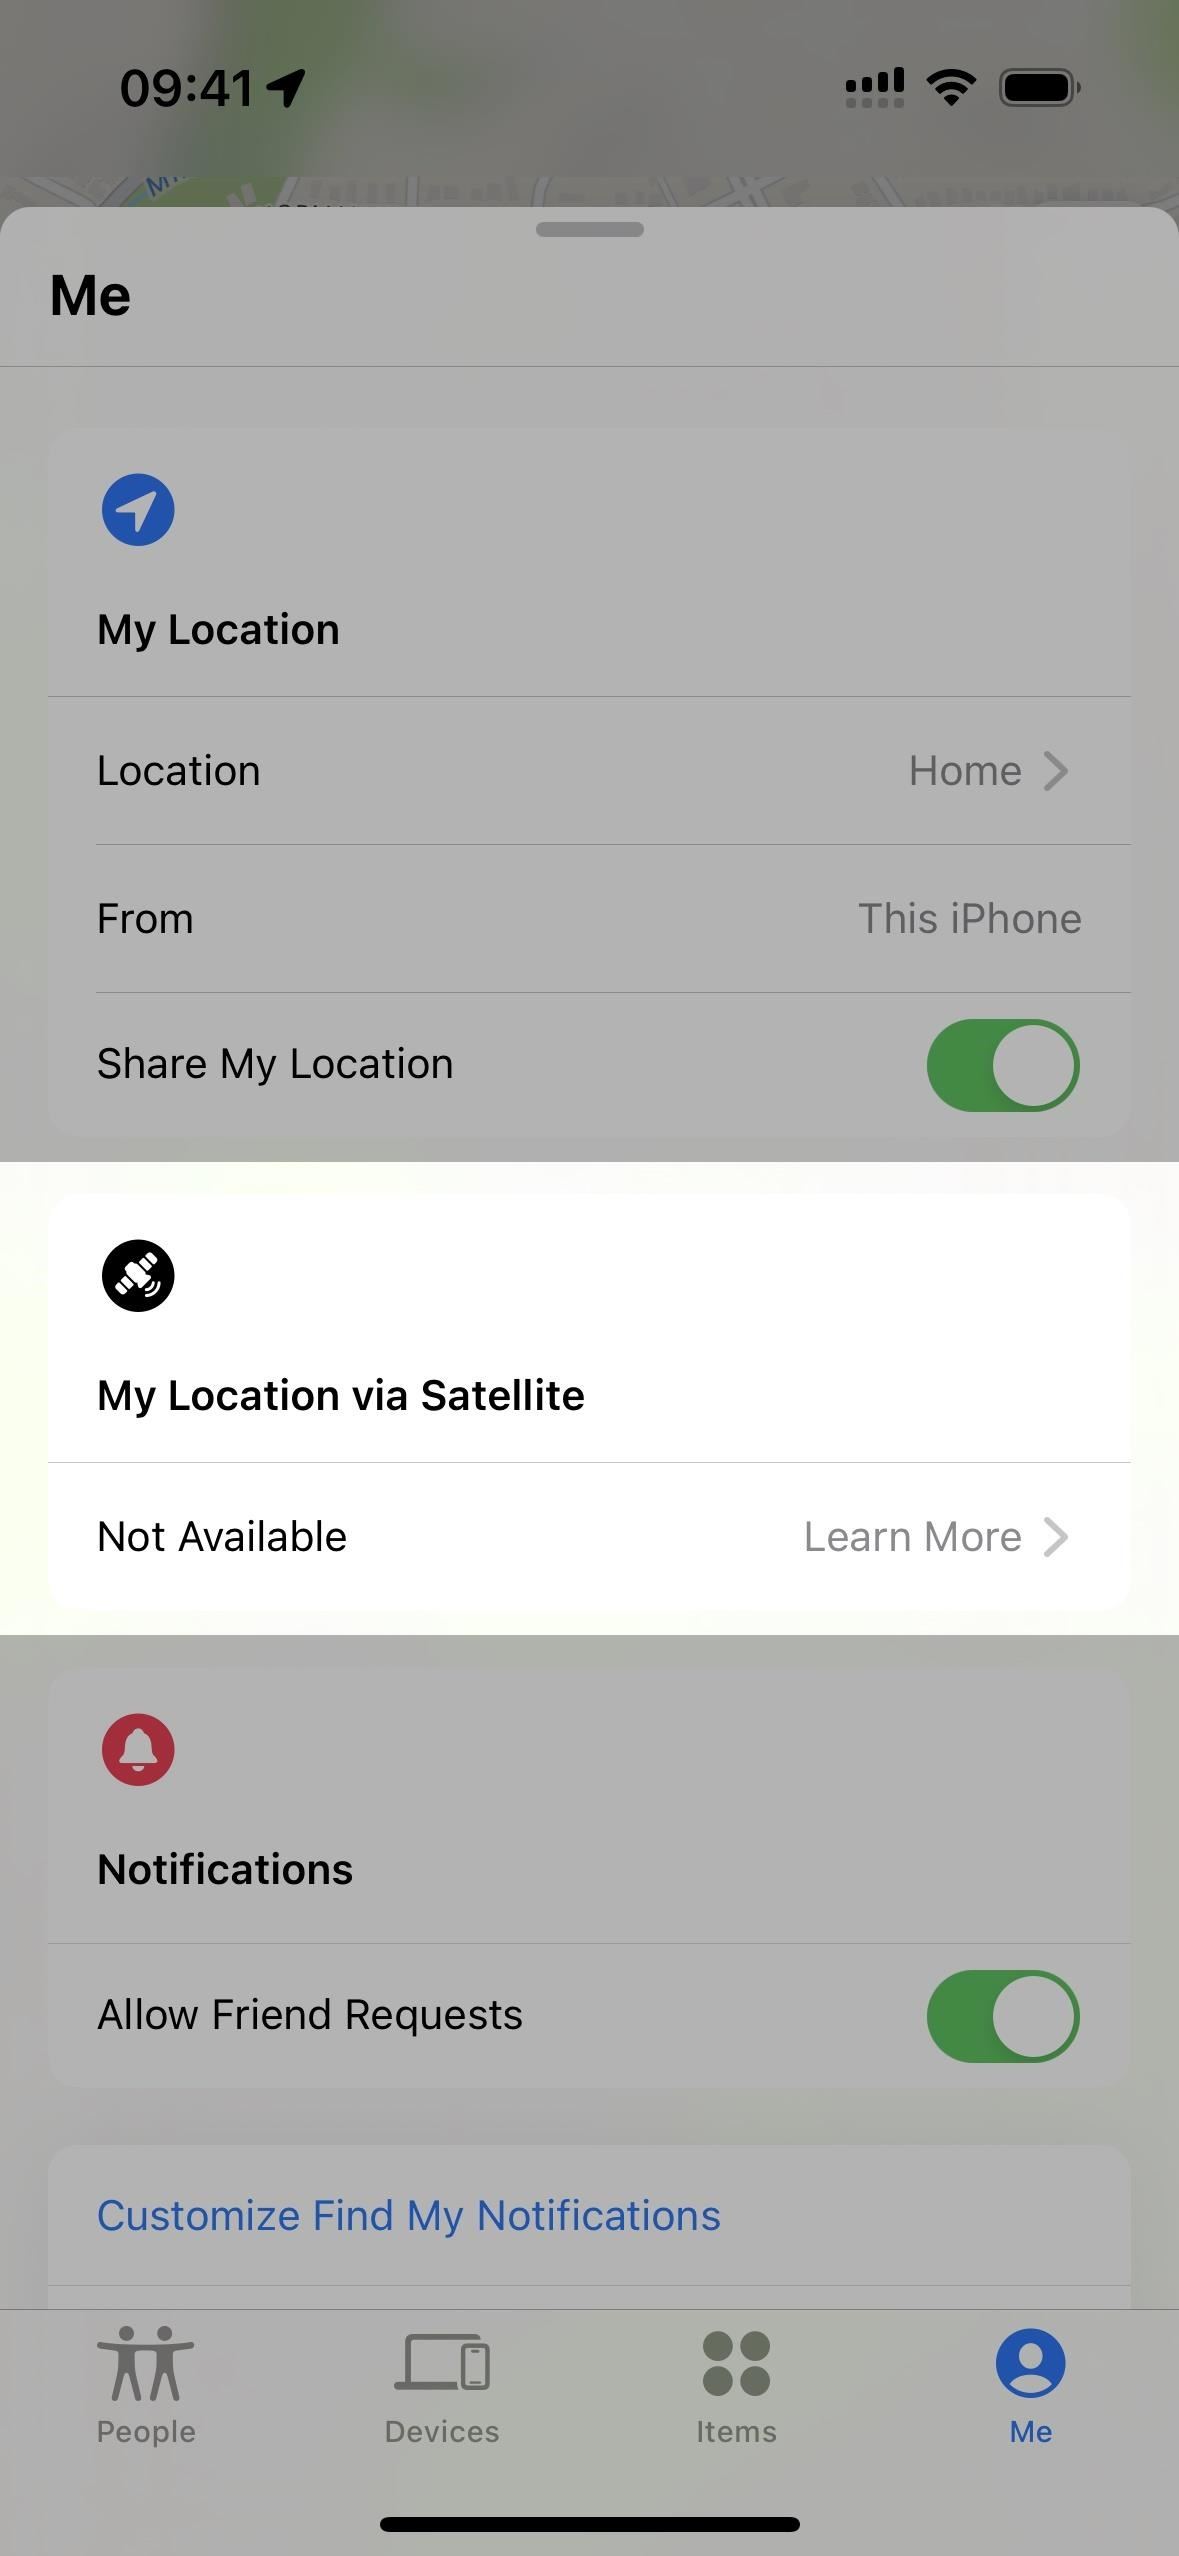
You can also share your location with family and friends via the Find My app. From the Me tab, you’ll find the option under “My Location via Satellite.”
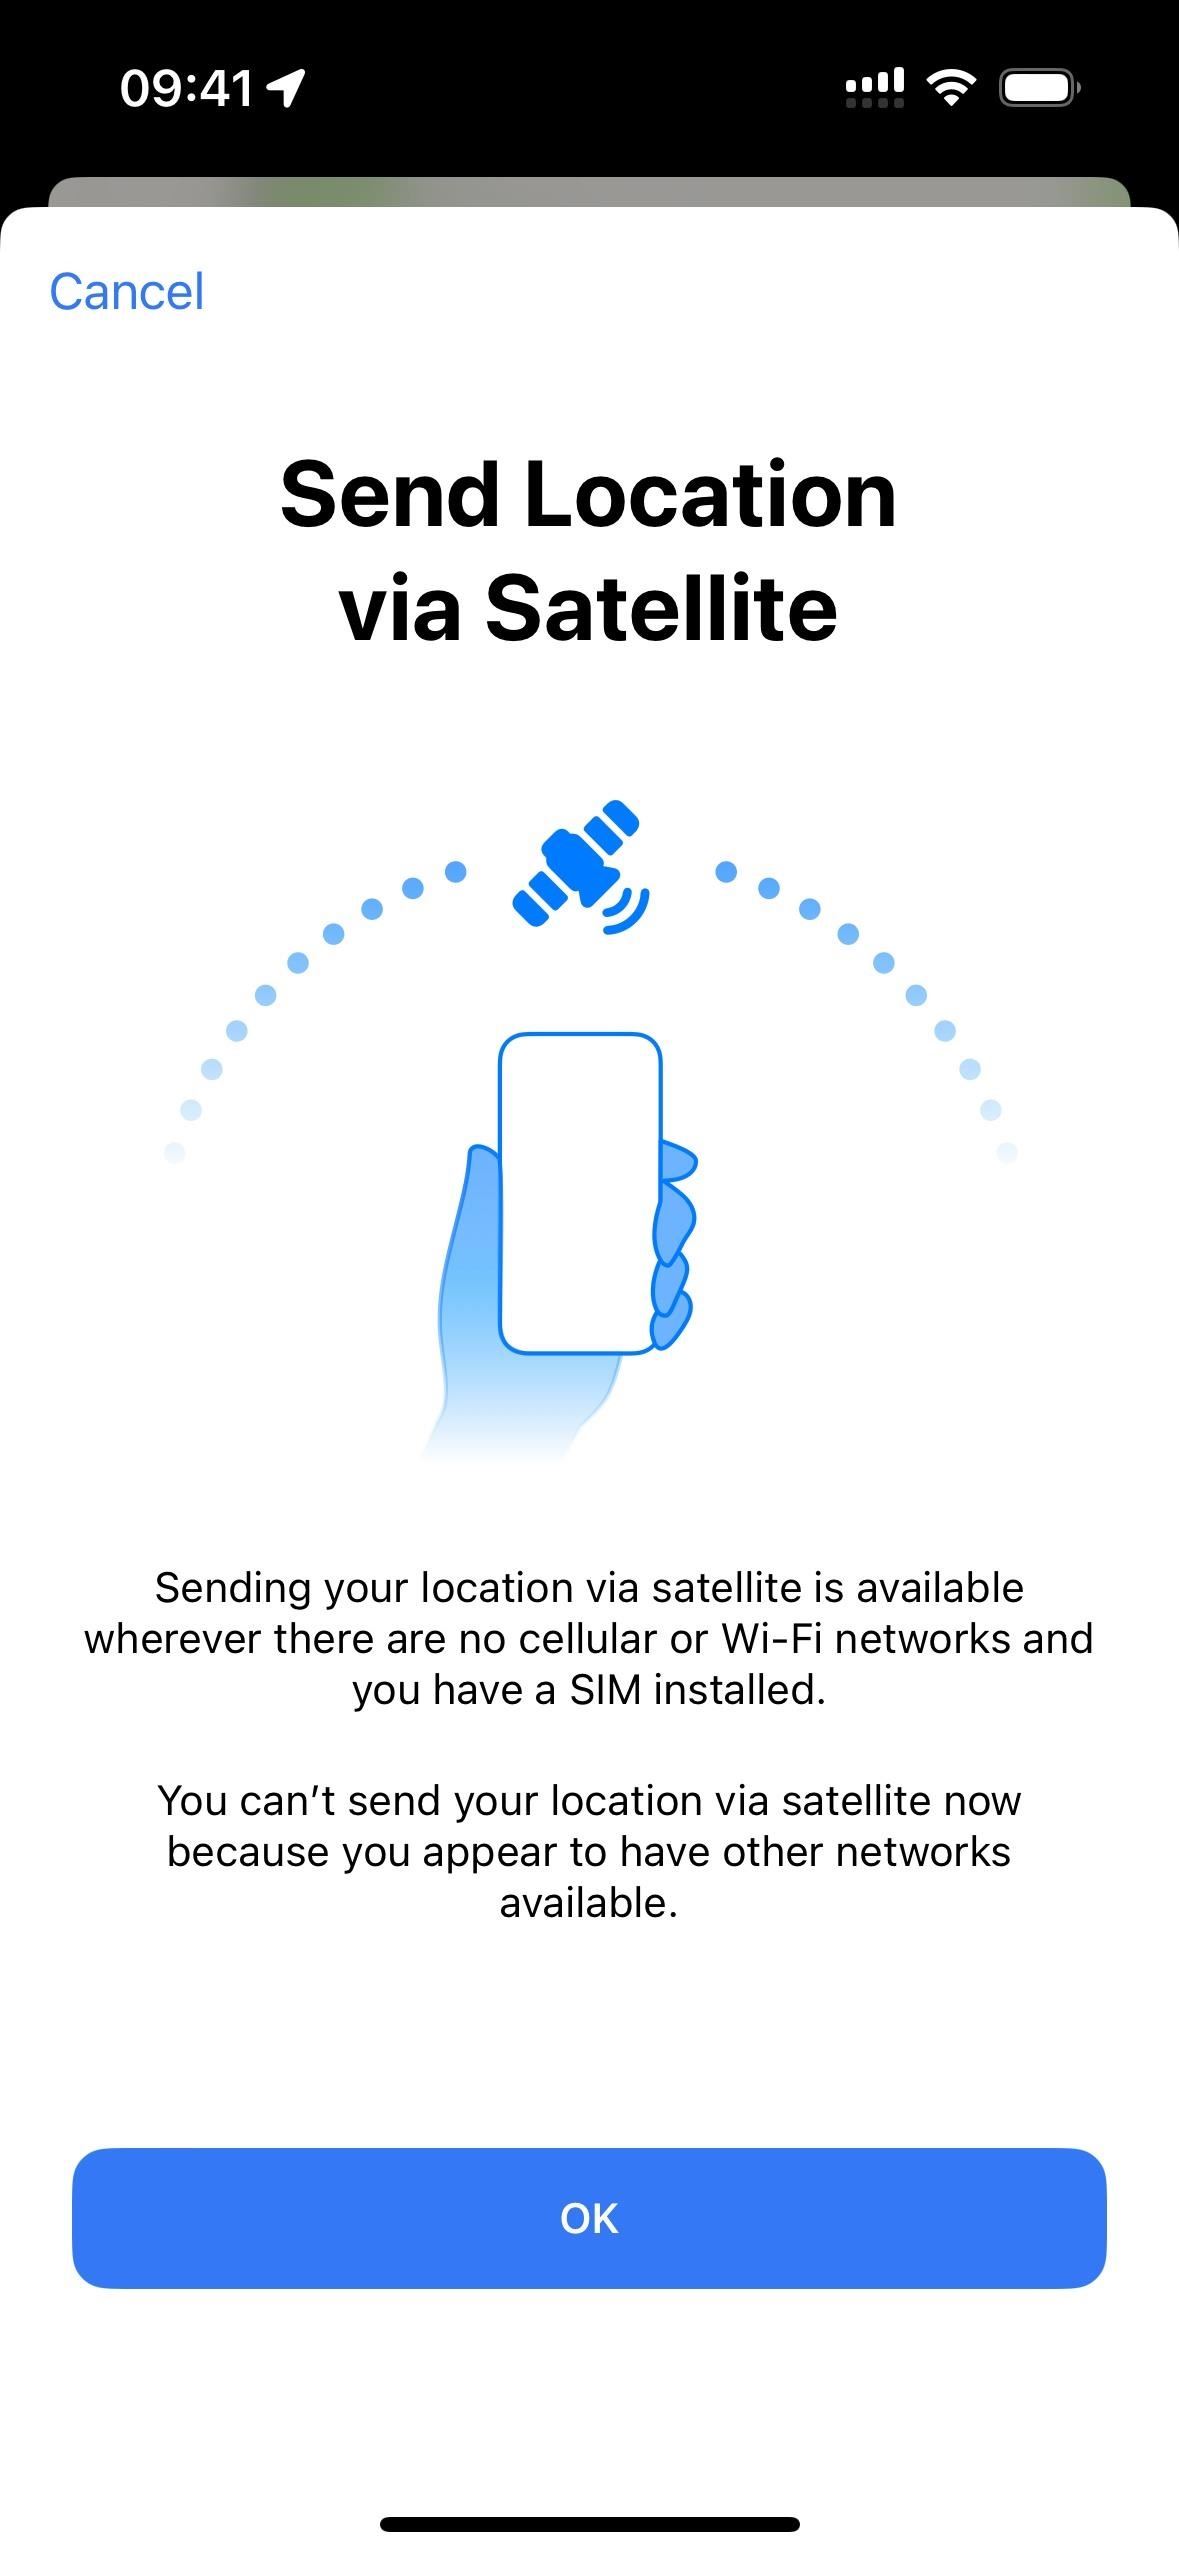
Emergency SOS via Satellite is a paid service, but the first two years after first activating your iPhone 14 series model. Since no one has hit the two-year mark — the iPhone series was just released in September 2022 (October for the Plus model) — the price of the service is yet unknown.
For more about Emergency SOS via Satellite, including real-world examples, visit Apple’s website.
7. Call with Siri
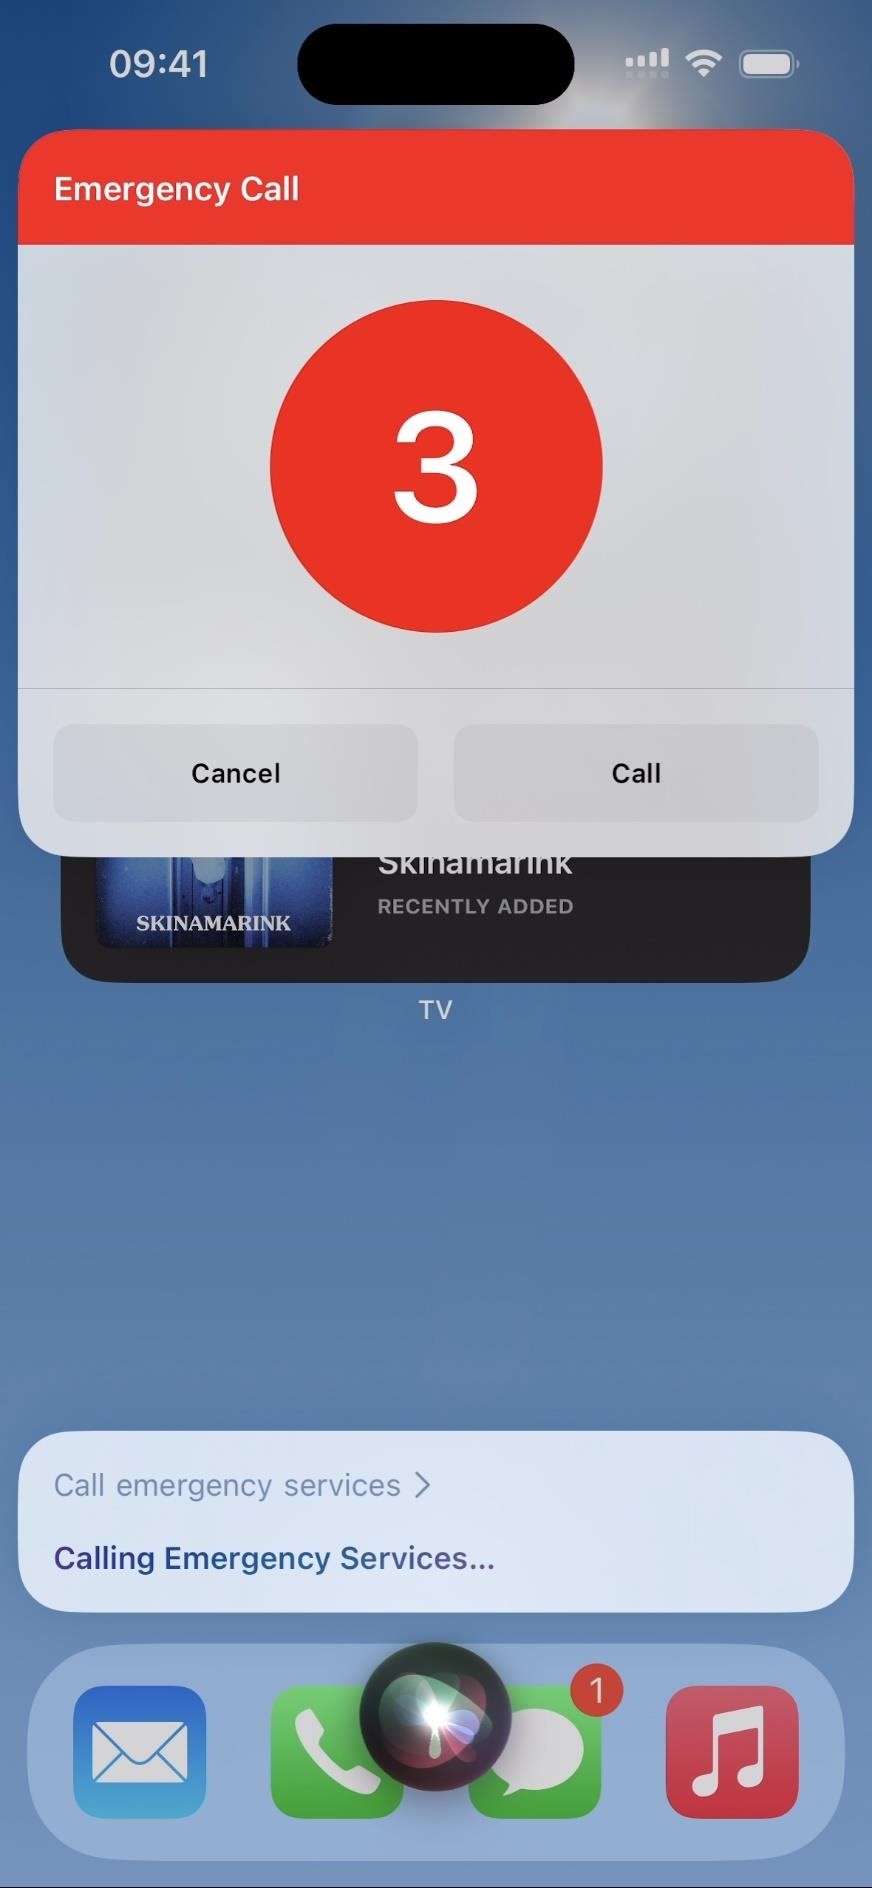
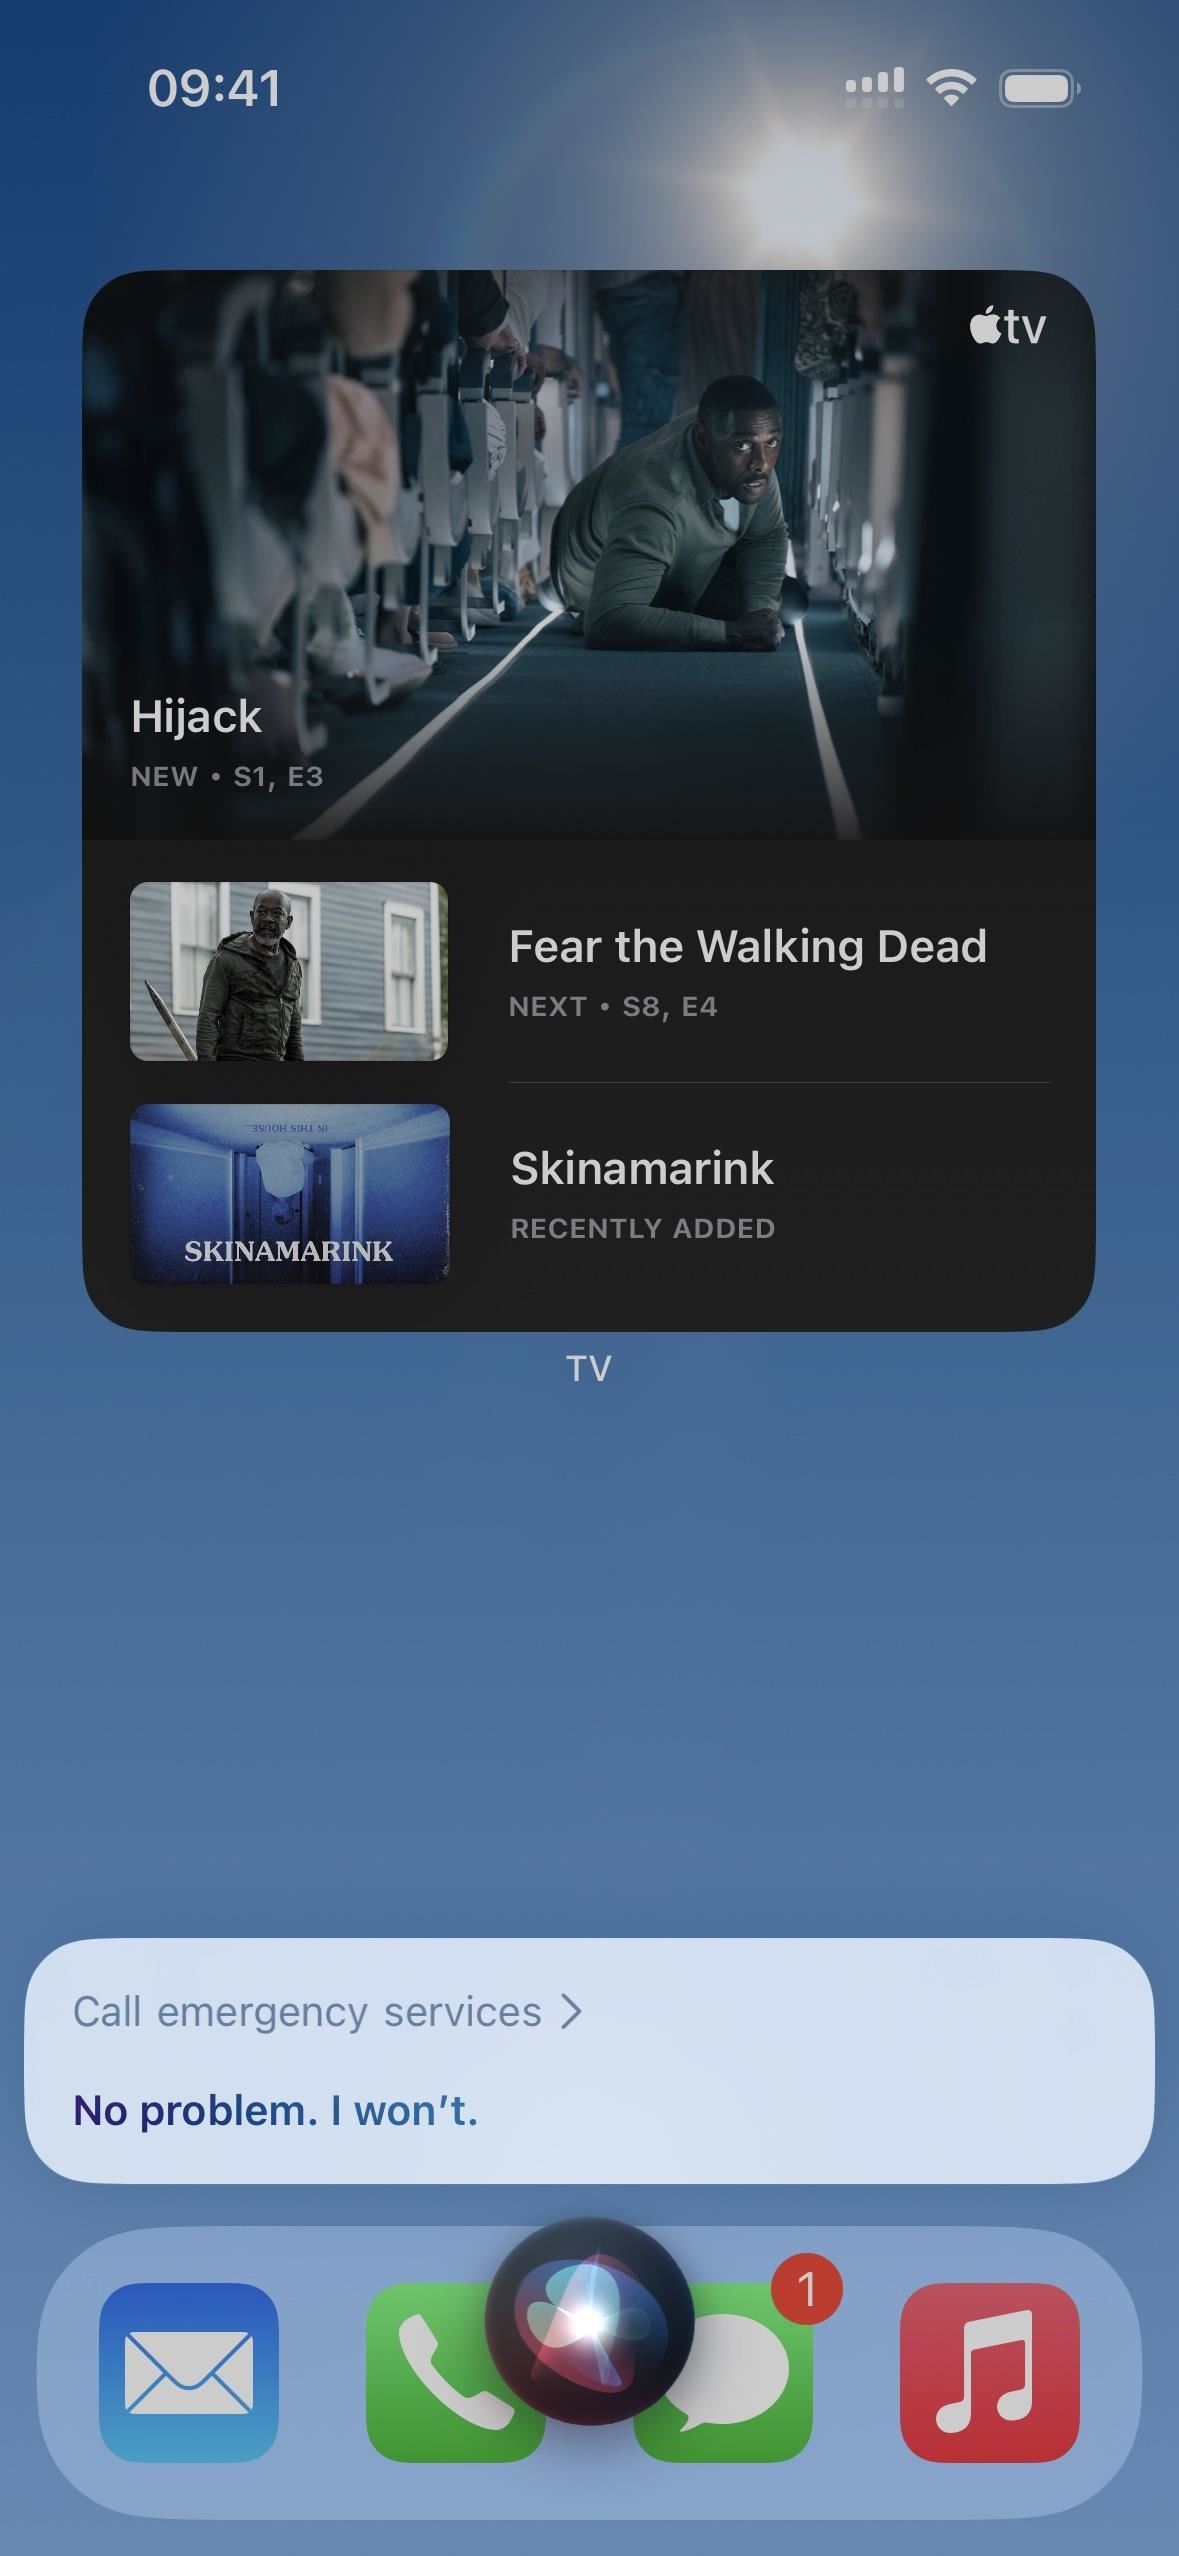
While not a specific feature of Emergency SOS, you can still use Siri or Hey Siri to call 911 for you. When you do, a three-second countdown will appear, giving you a chance to cancel the call. Some of the phrases that work include:
- “Call emergency services”
- “Dial 911”
- “Phone 911”
- “Call an ambulance”
During the call, your location information may be shared with the call center if supported in your area. When the call ends, your iPhone may also send your emergency contact or contacts a text message with your current location (see below).
- Don’t Miss: 18 Siri Commands Every iPhone Owner Should Know
8. Call with Voice Control
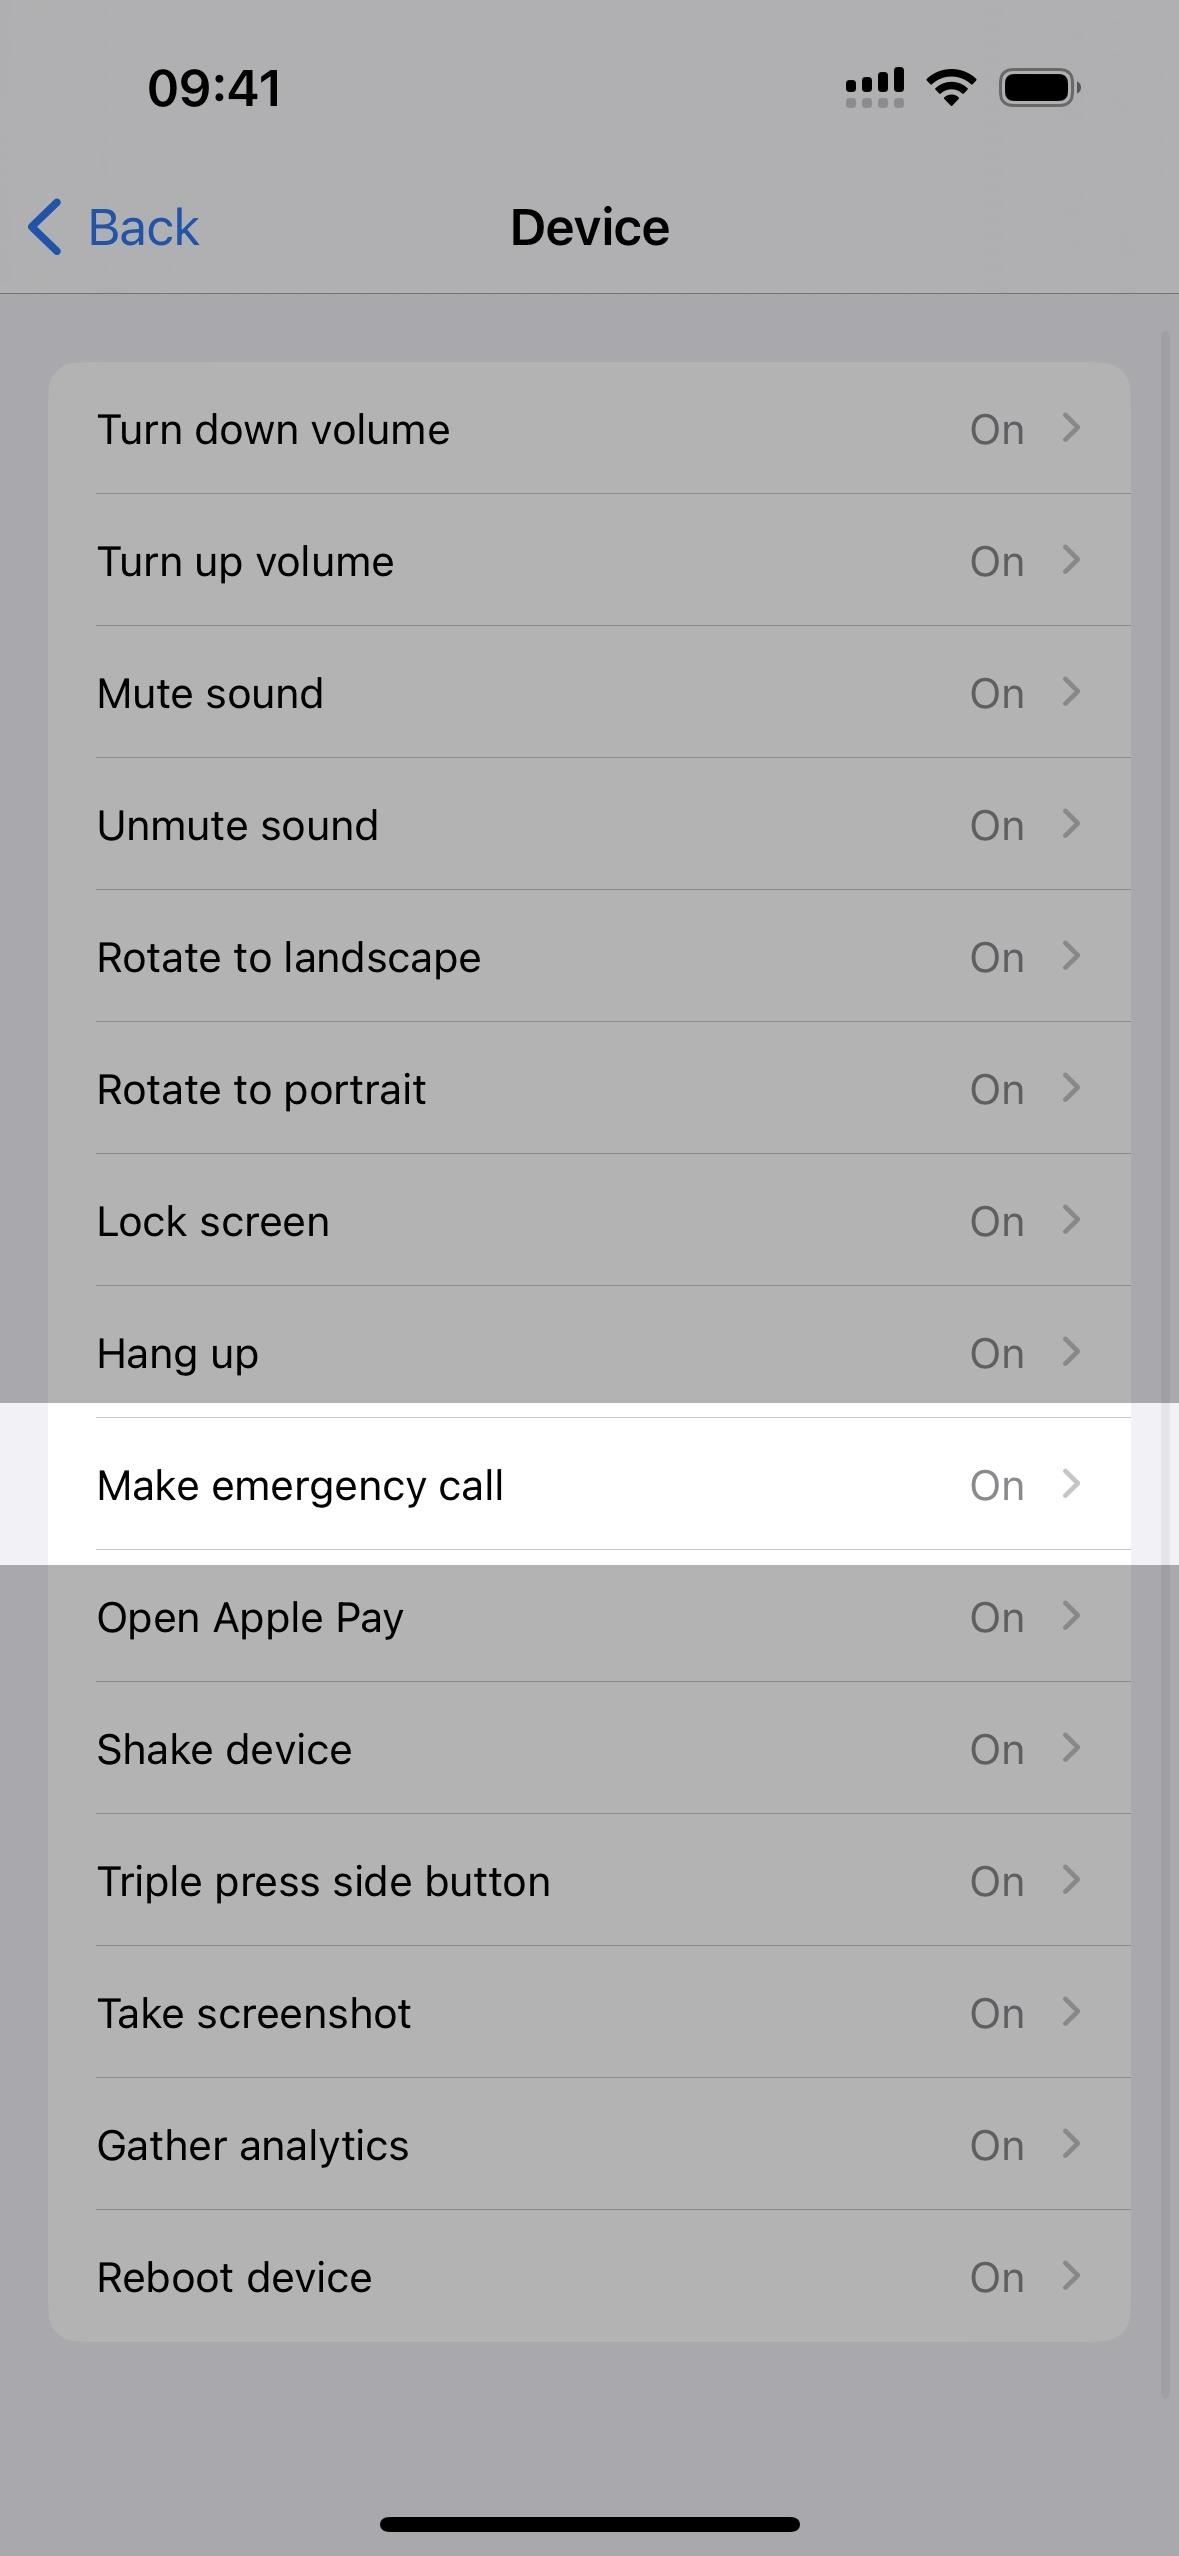
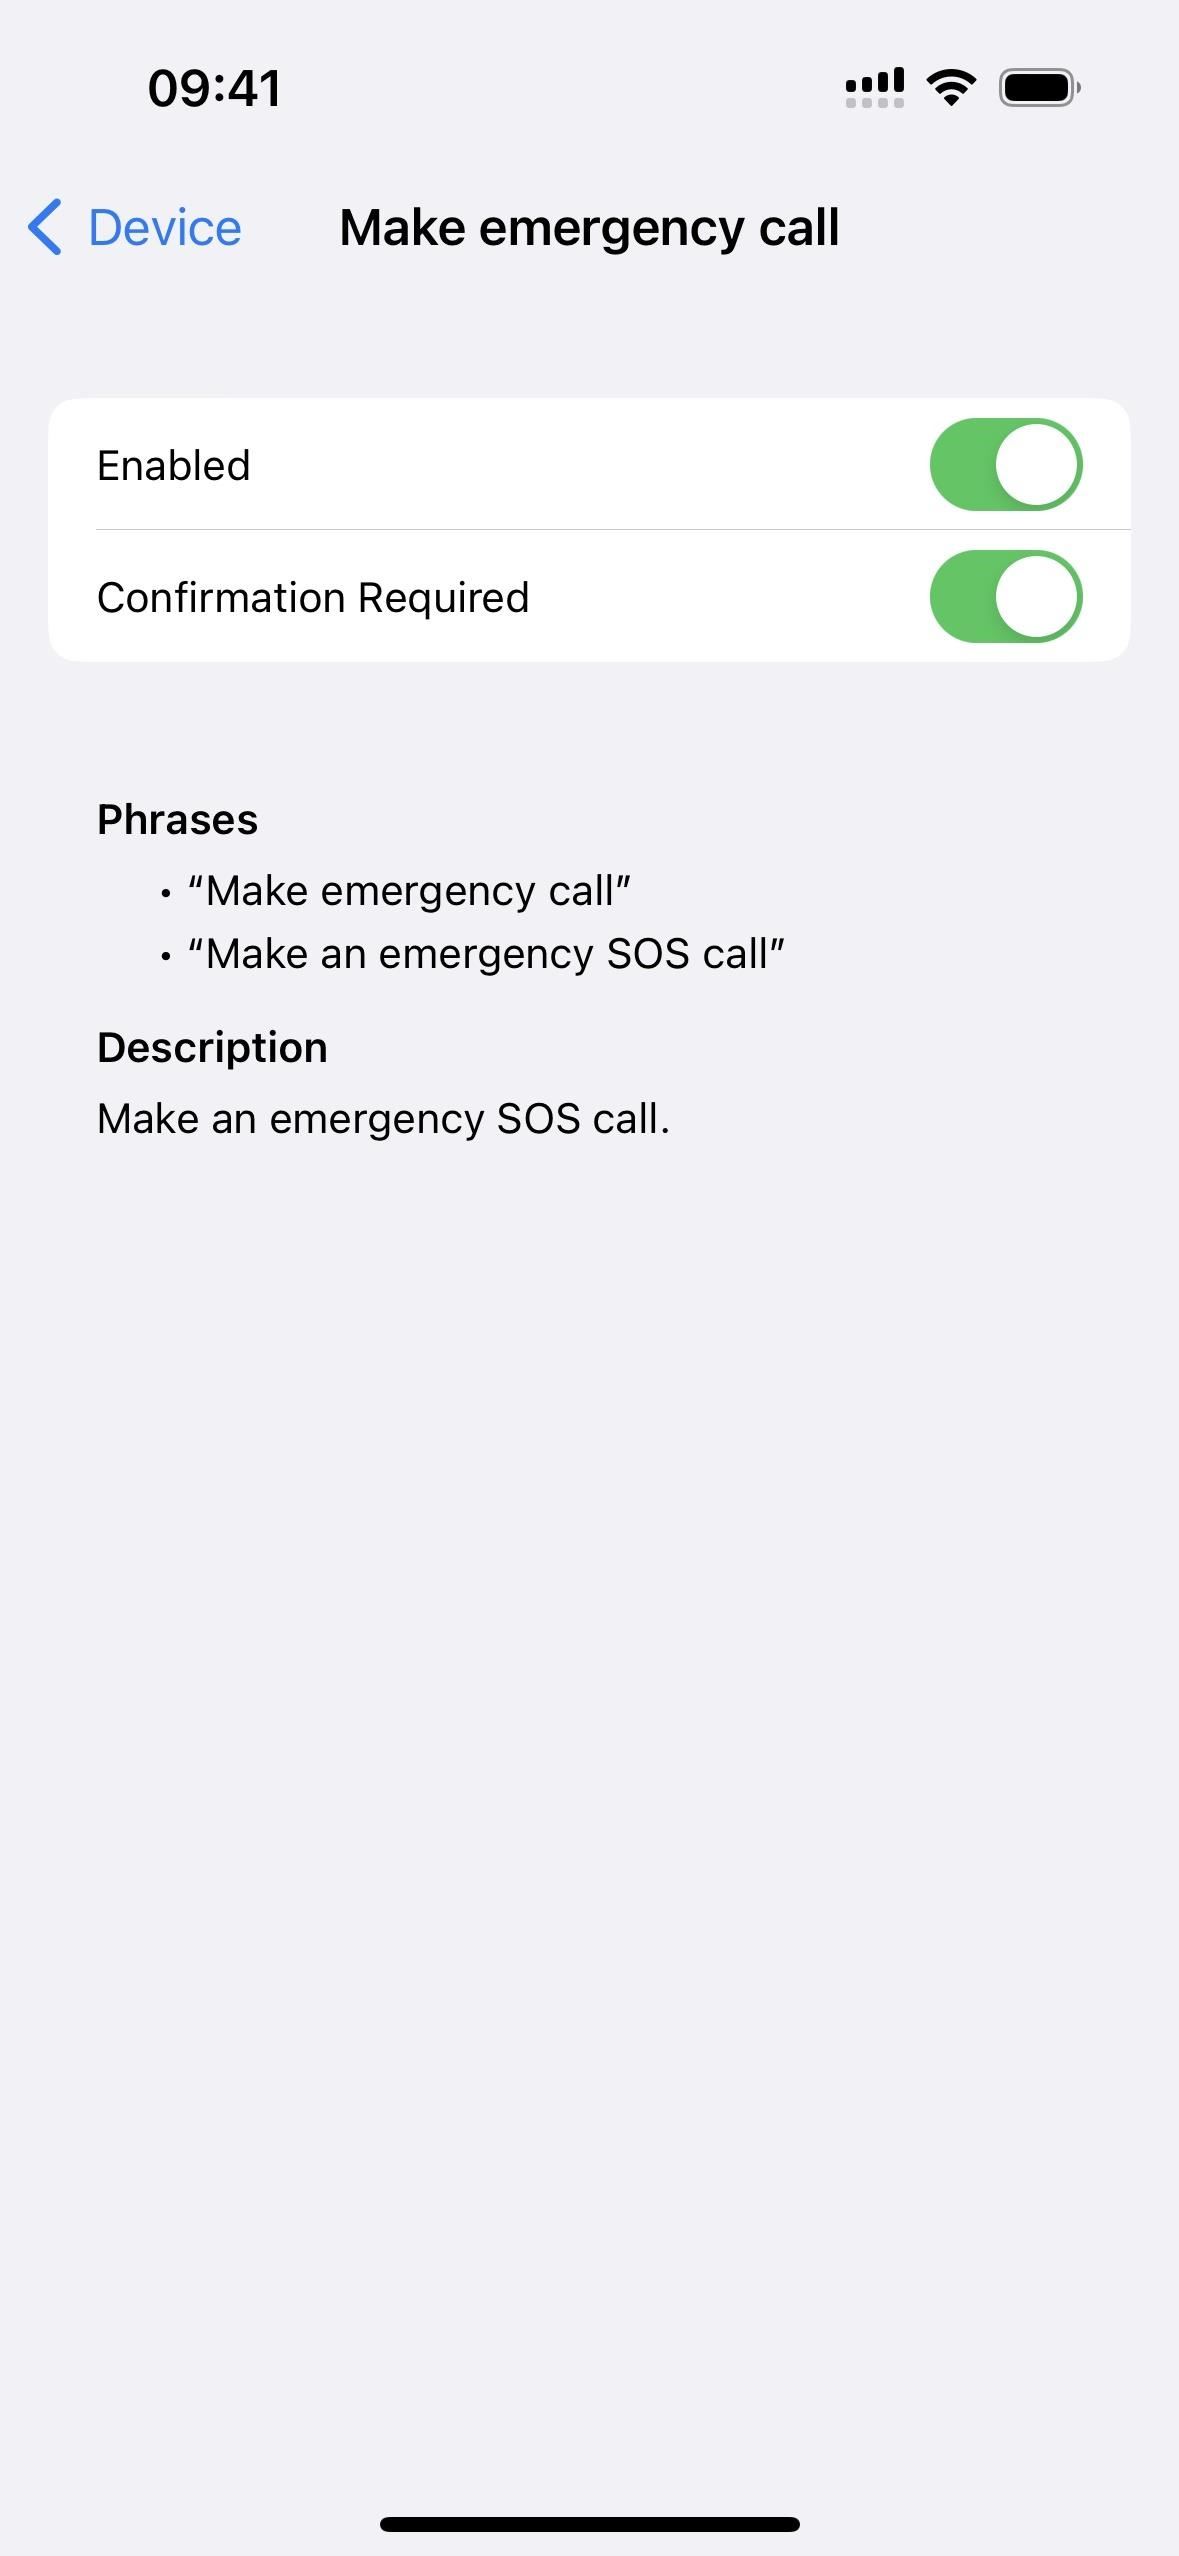
If you use Voice Control to navigate your iPhone, you can use a command to call emergency services, similar to using Siri. The specific phrases that work include the following, but other variations may also be supported:
- “Make emergency call”
- “Make an emergency SOS call”
During the call, your location information may be shared with the call center if supported in your area. When the call ends, your iPhone may also send your emergency contact or contacts a text message with your current location (see below).
Add Emergency Contacts
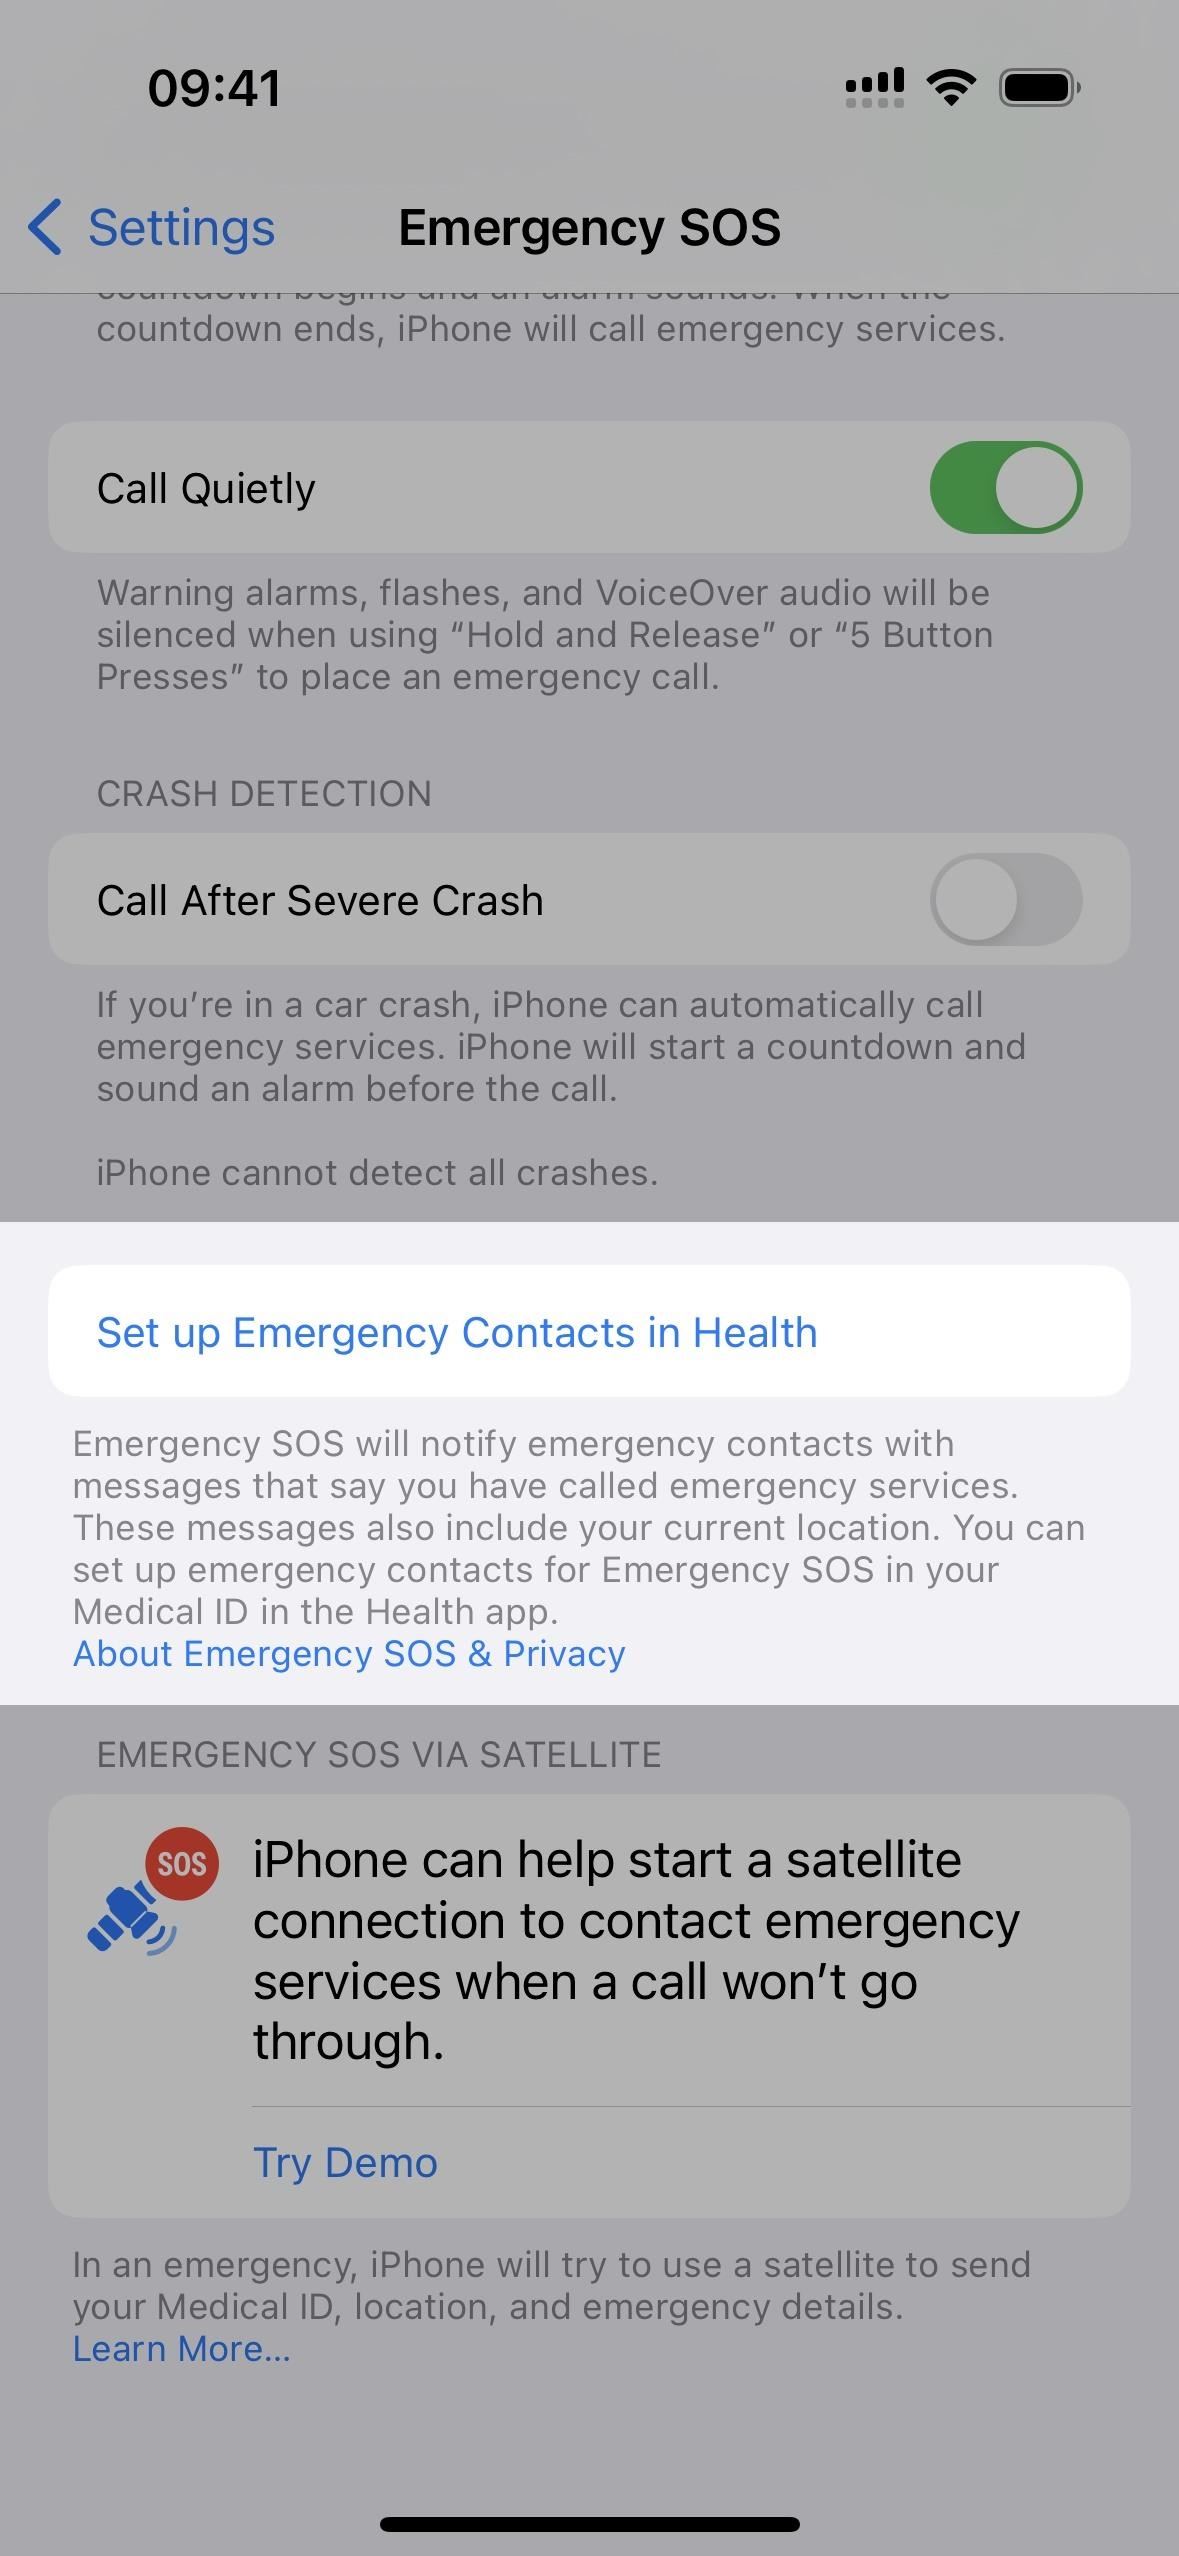
If you want your location sent to one or more contacts after a successful emergency call has been made, go to Settings –> Emergency SOS and select either “Set up Emergency Contacts in Health” if you have none currently or “Edit Emergency Contacts in Health.”
You can also get to the same place via Settings –> Health –> Medical ID; and you can open Health directly, tap your profile image in the Summary or Browse tab, and choose “Medical ID.”
Tap “Edit” on the Medical ID page, then “add emergency contact.” If you have one already, you can remove them if you no longer want to send your location to them automatically after a 911 call.
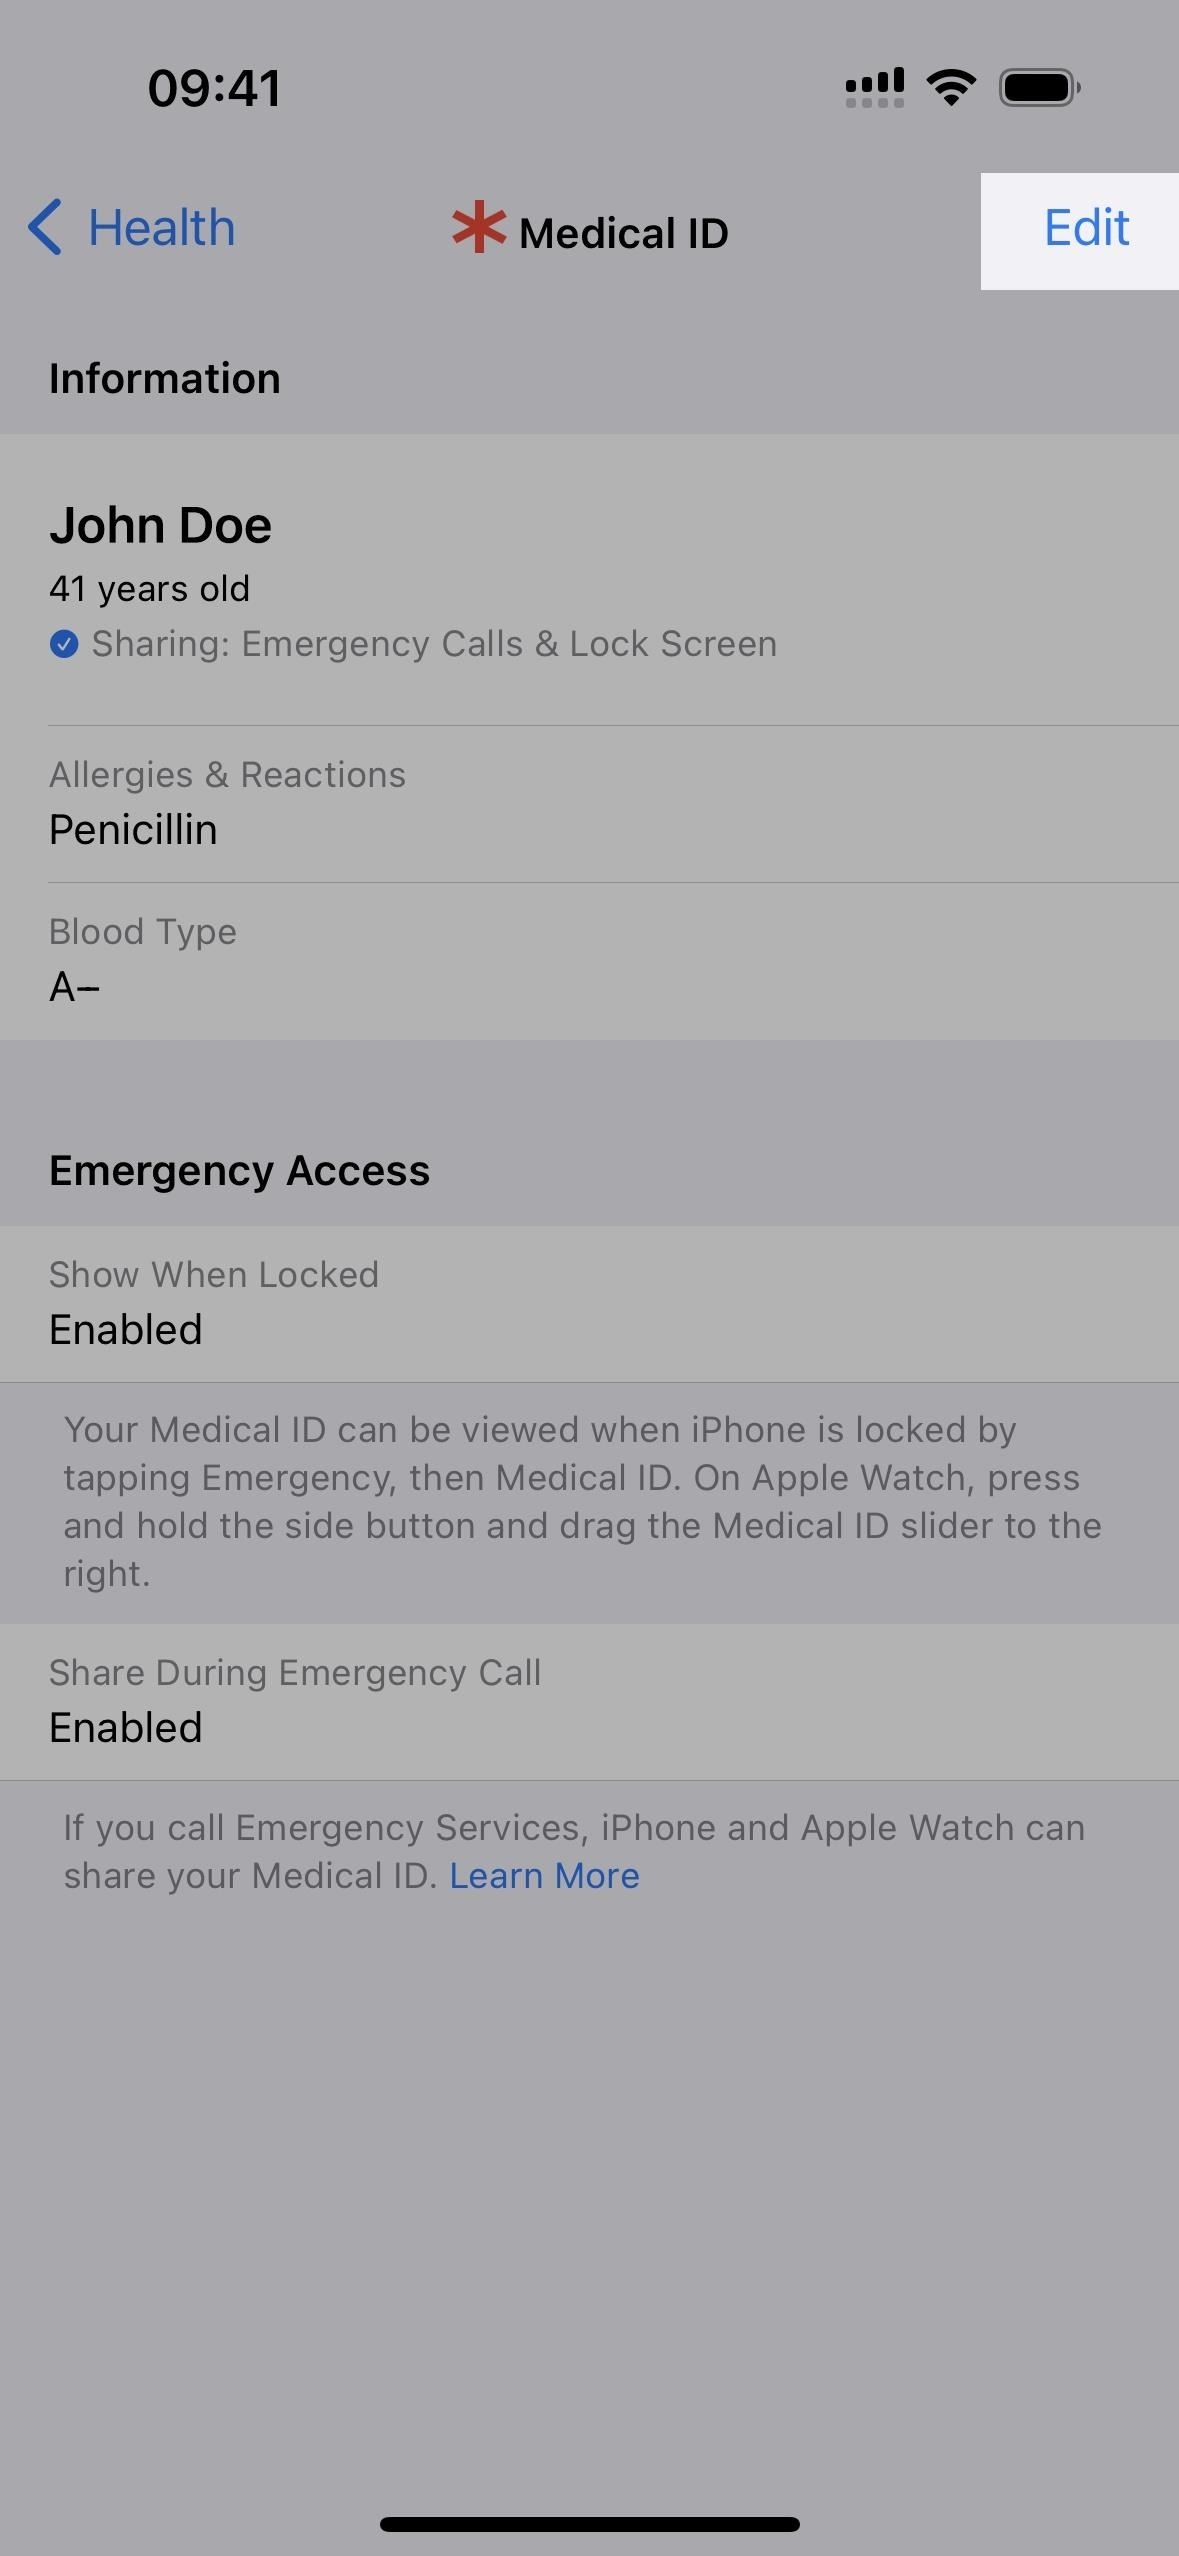
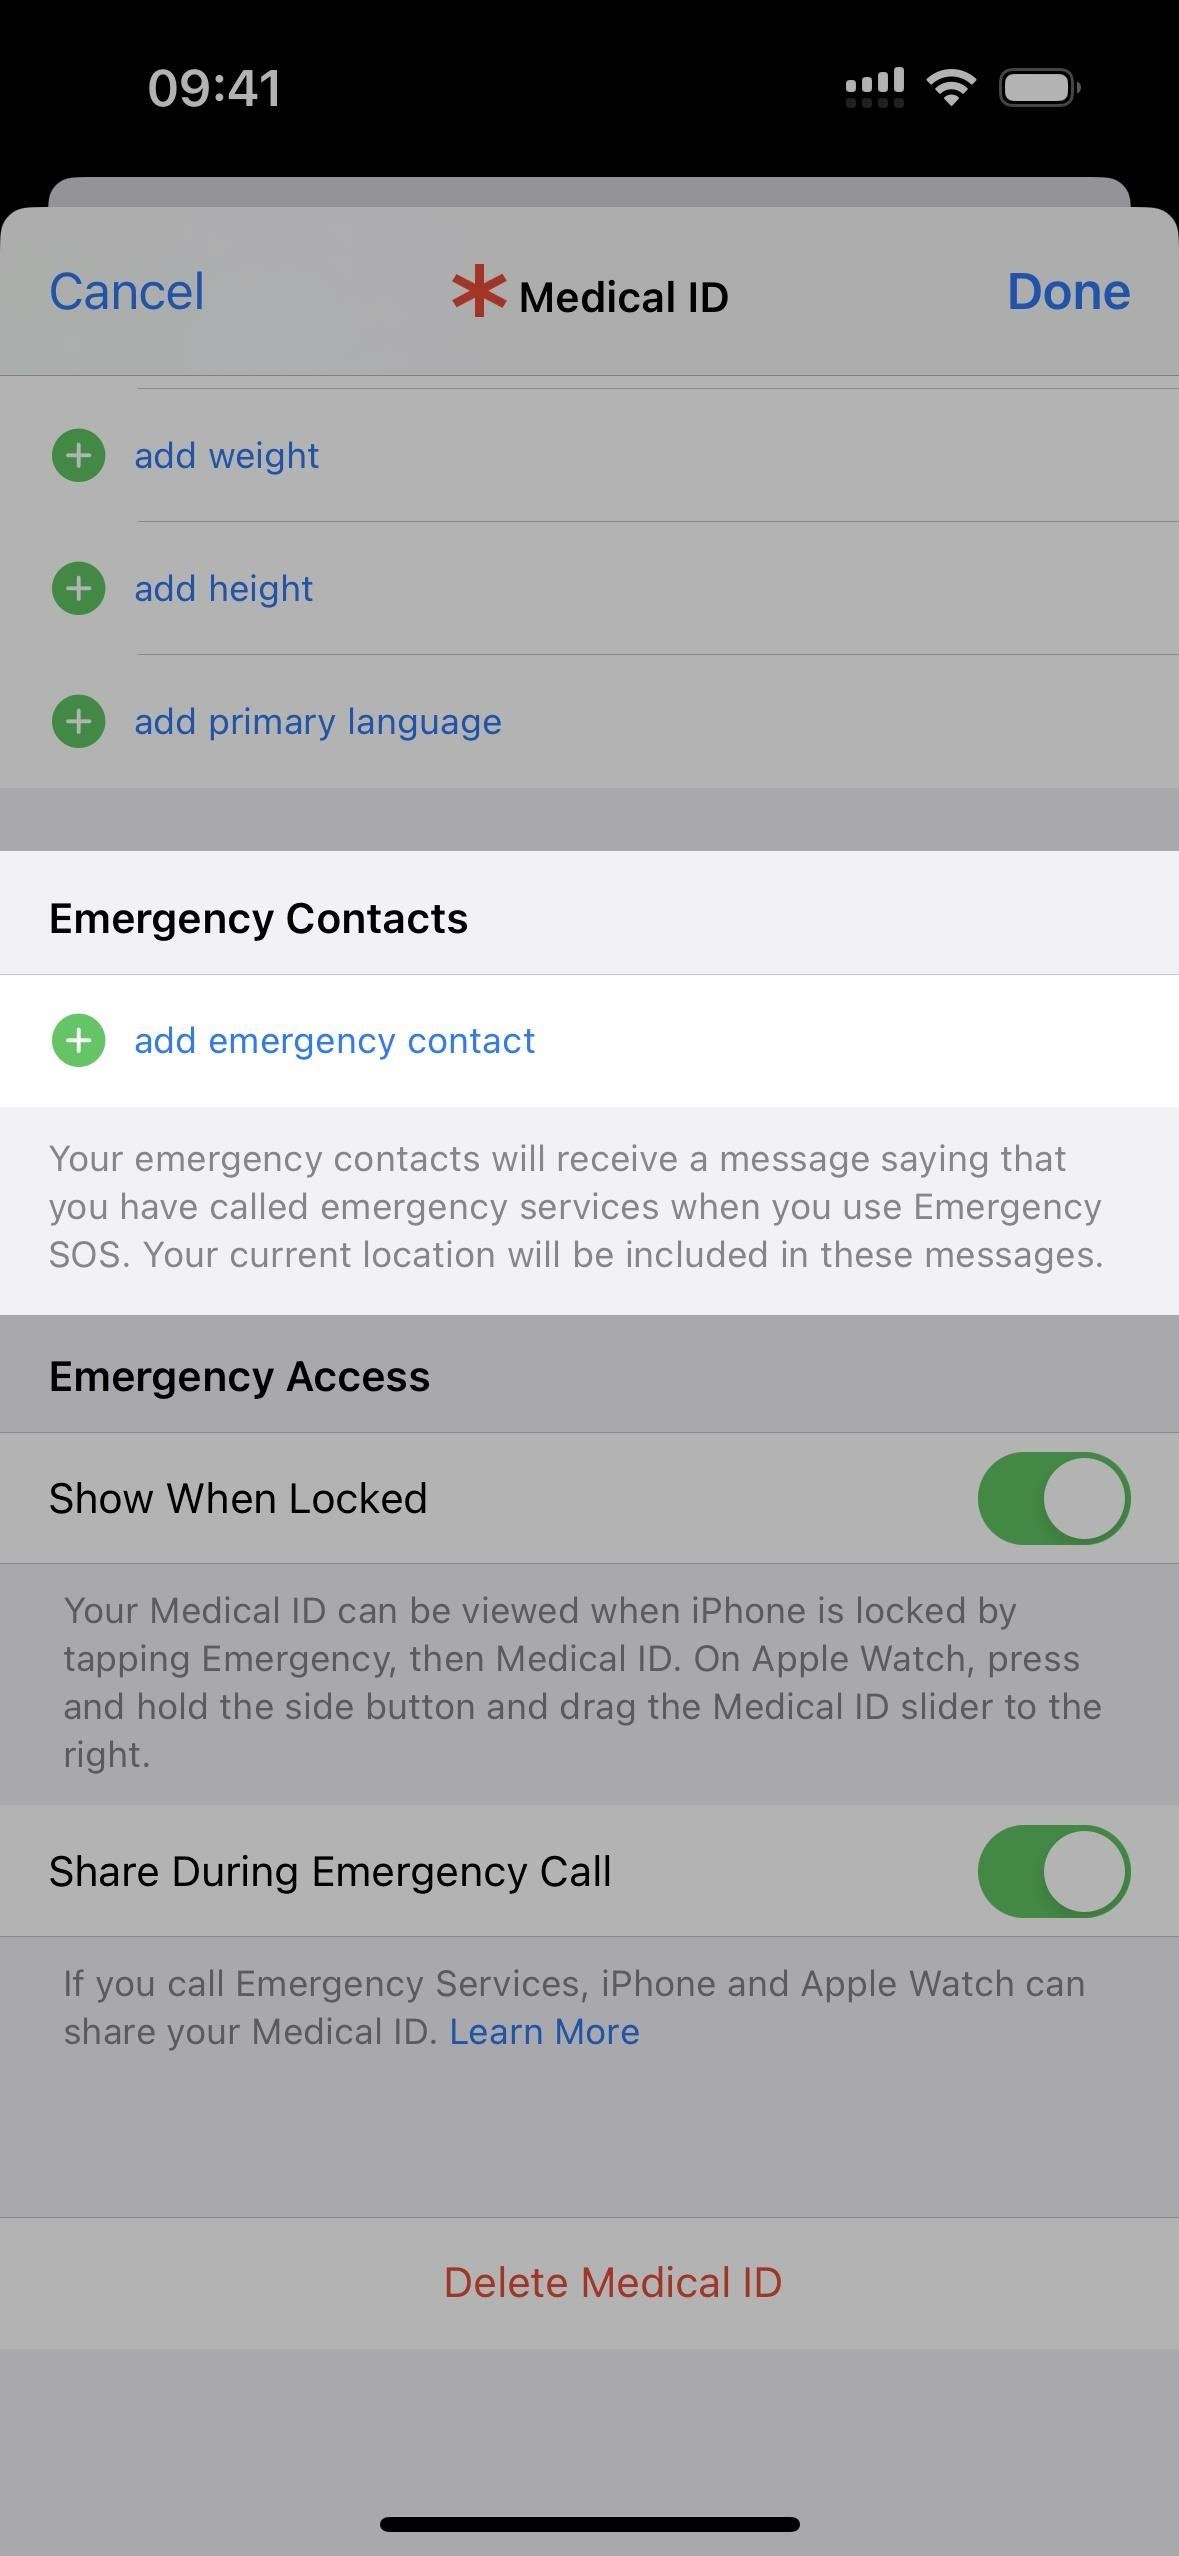
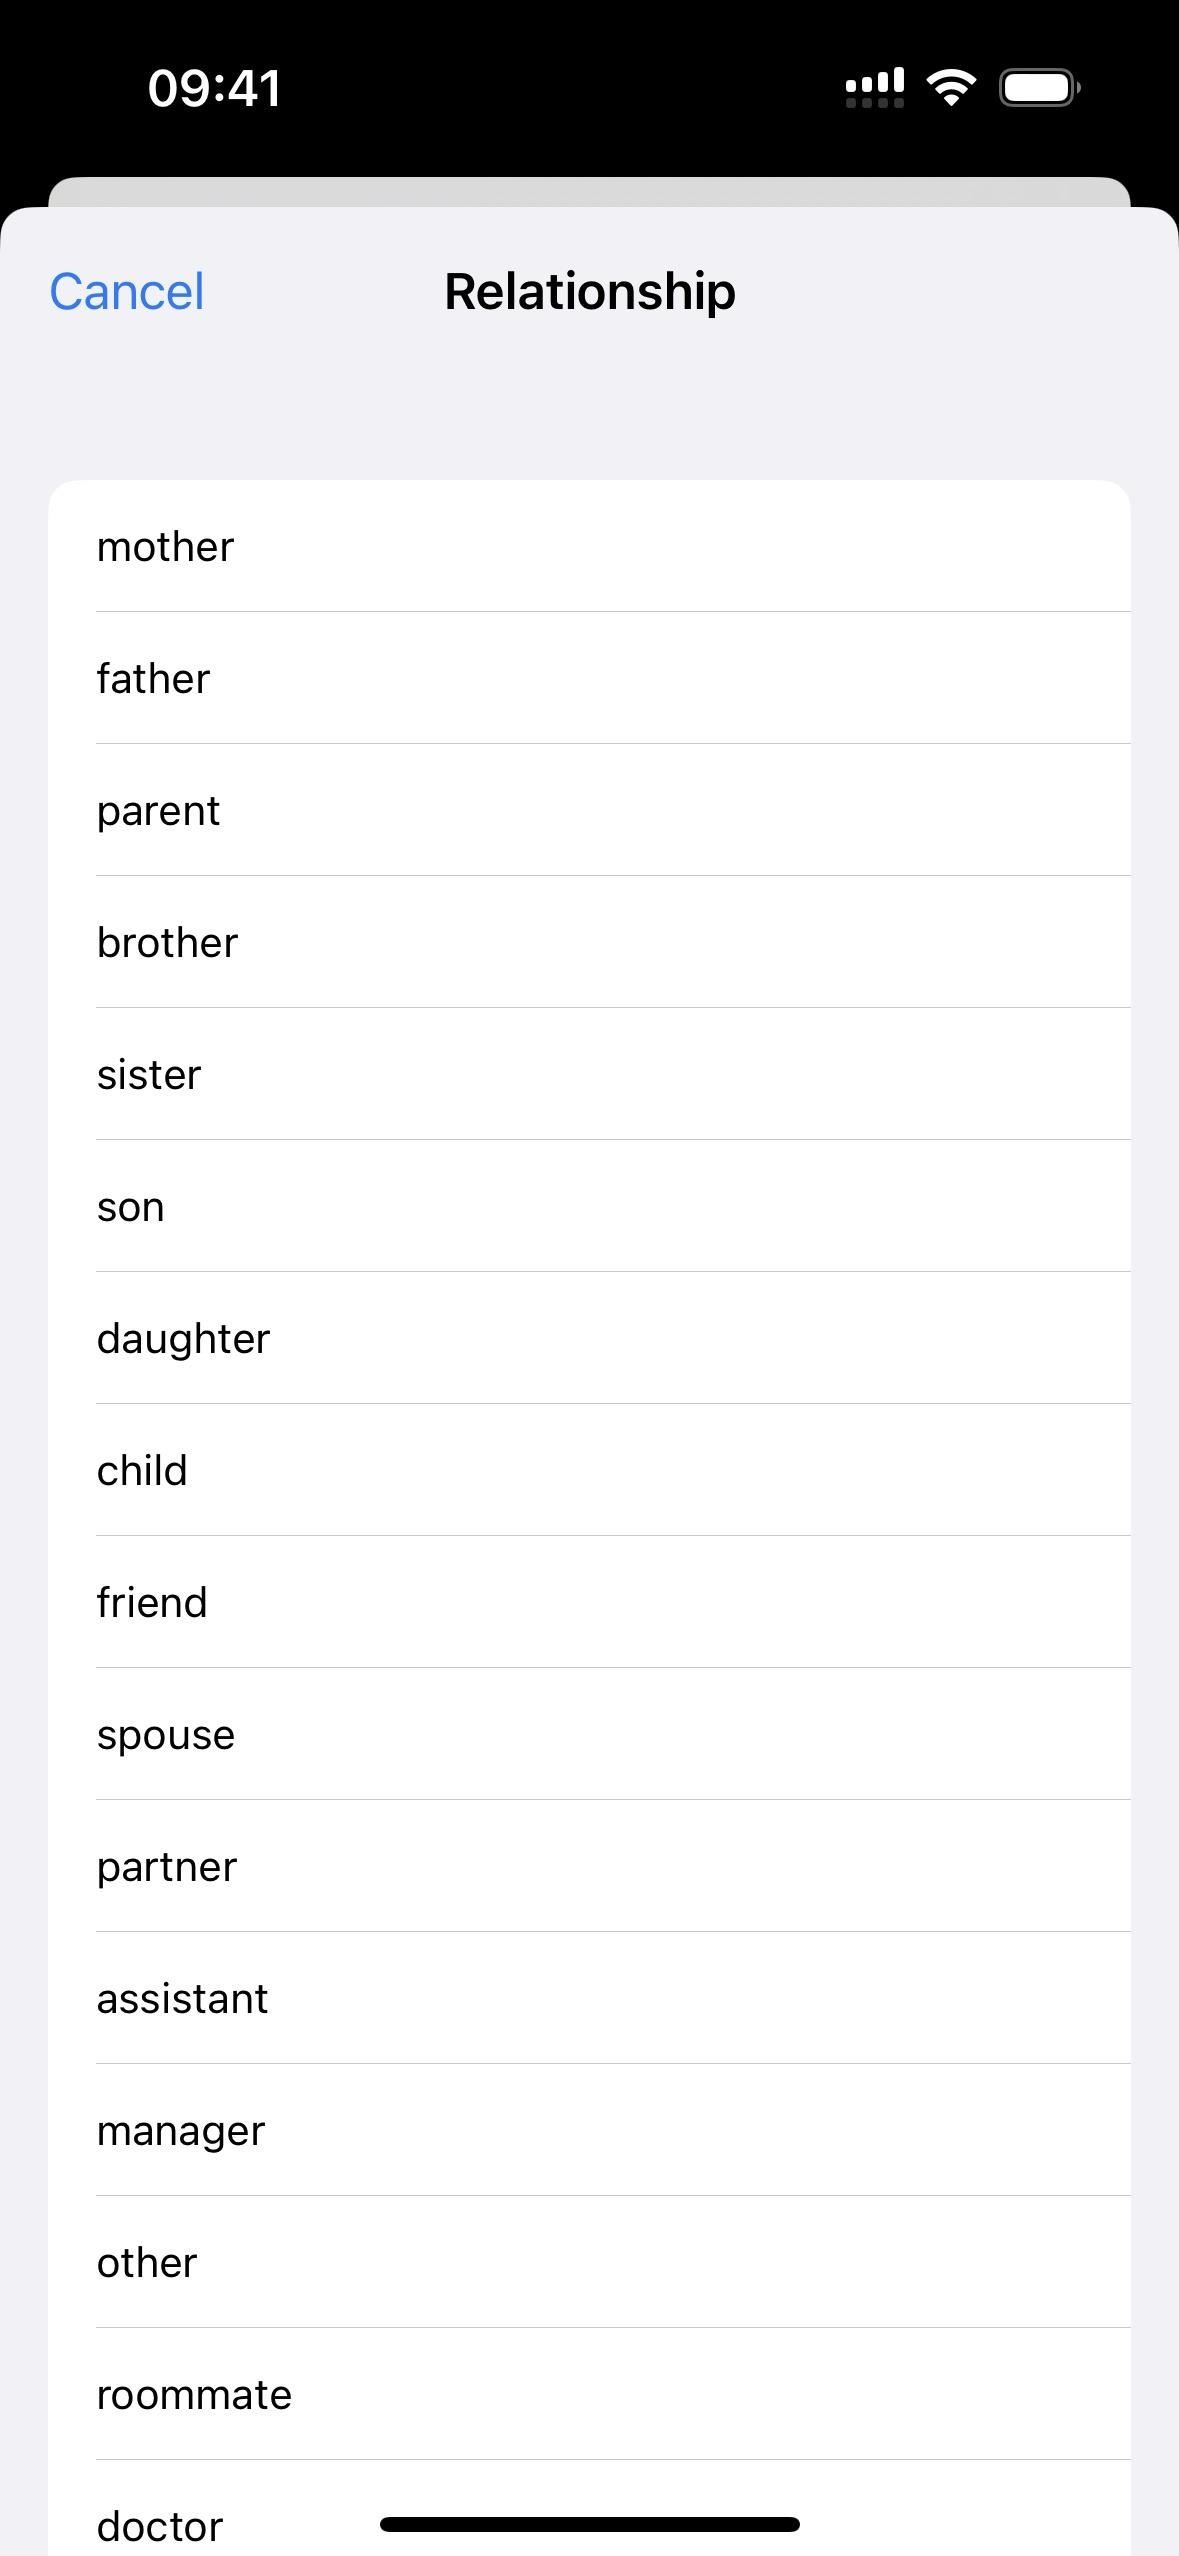
After you choose a contact, select their relationship to you, and hit “Done” to finalize it.
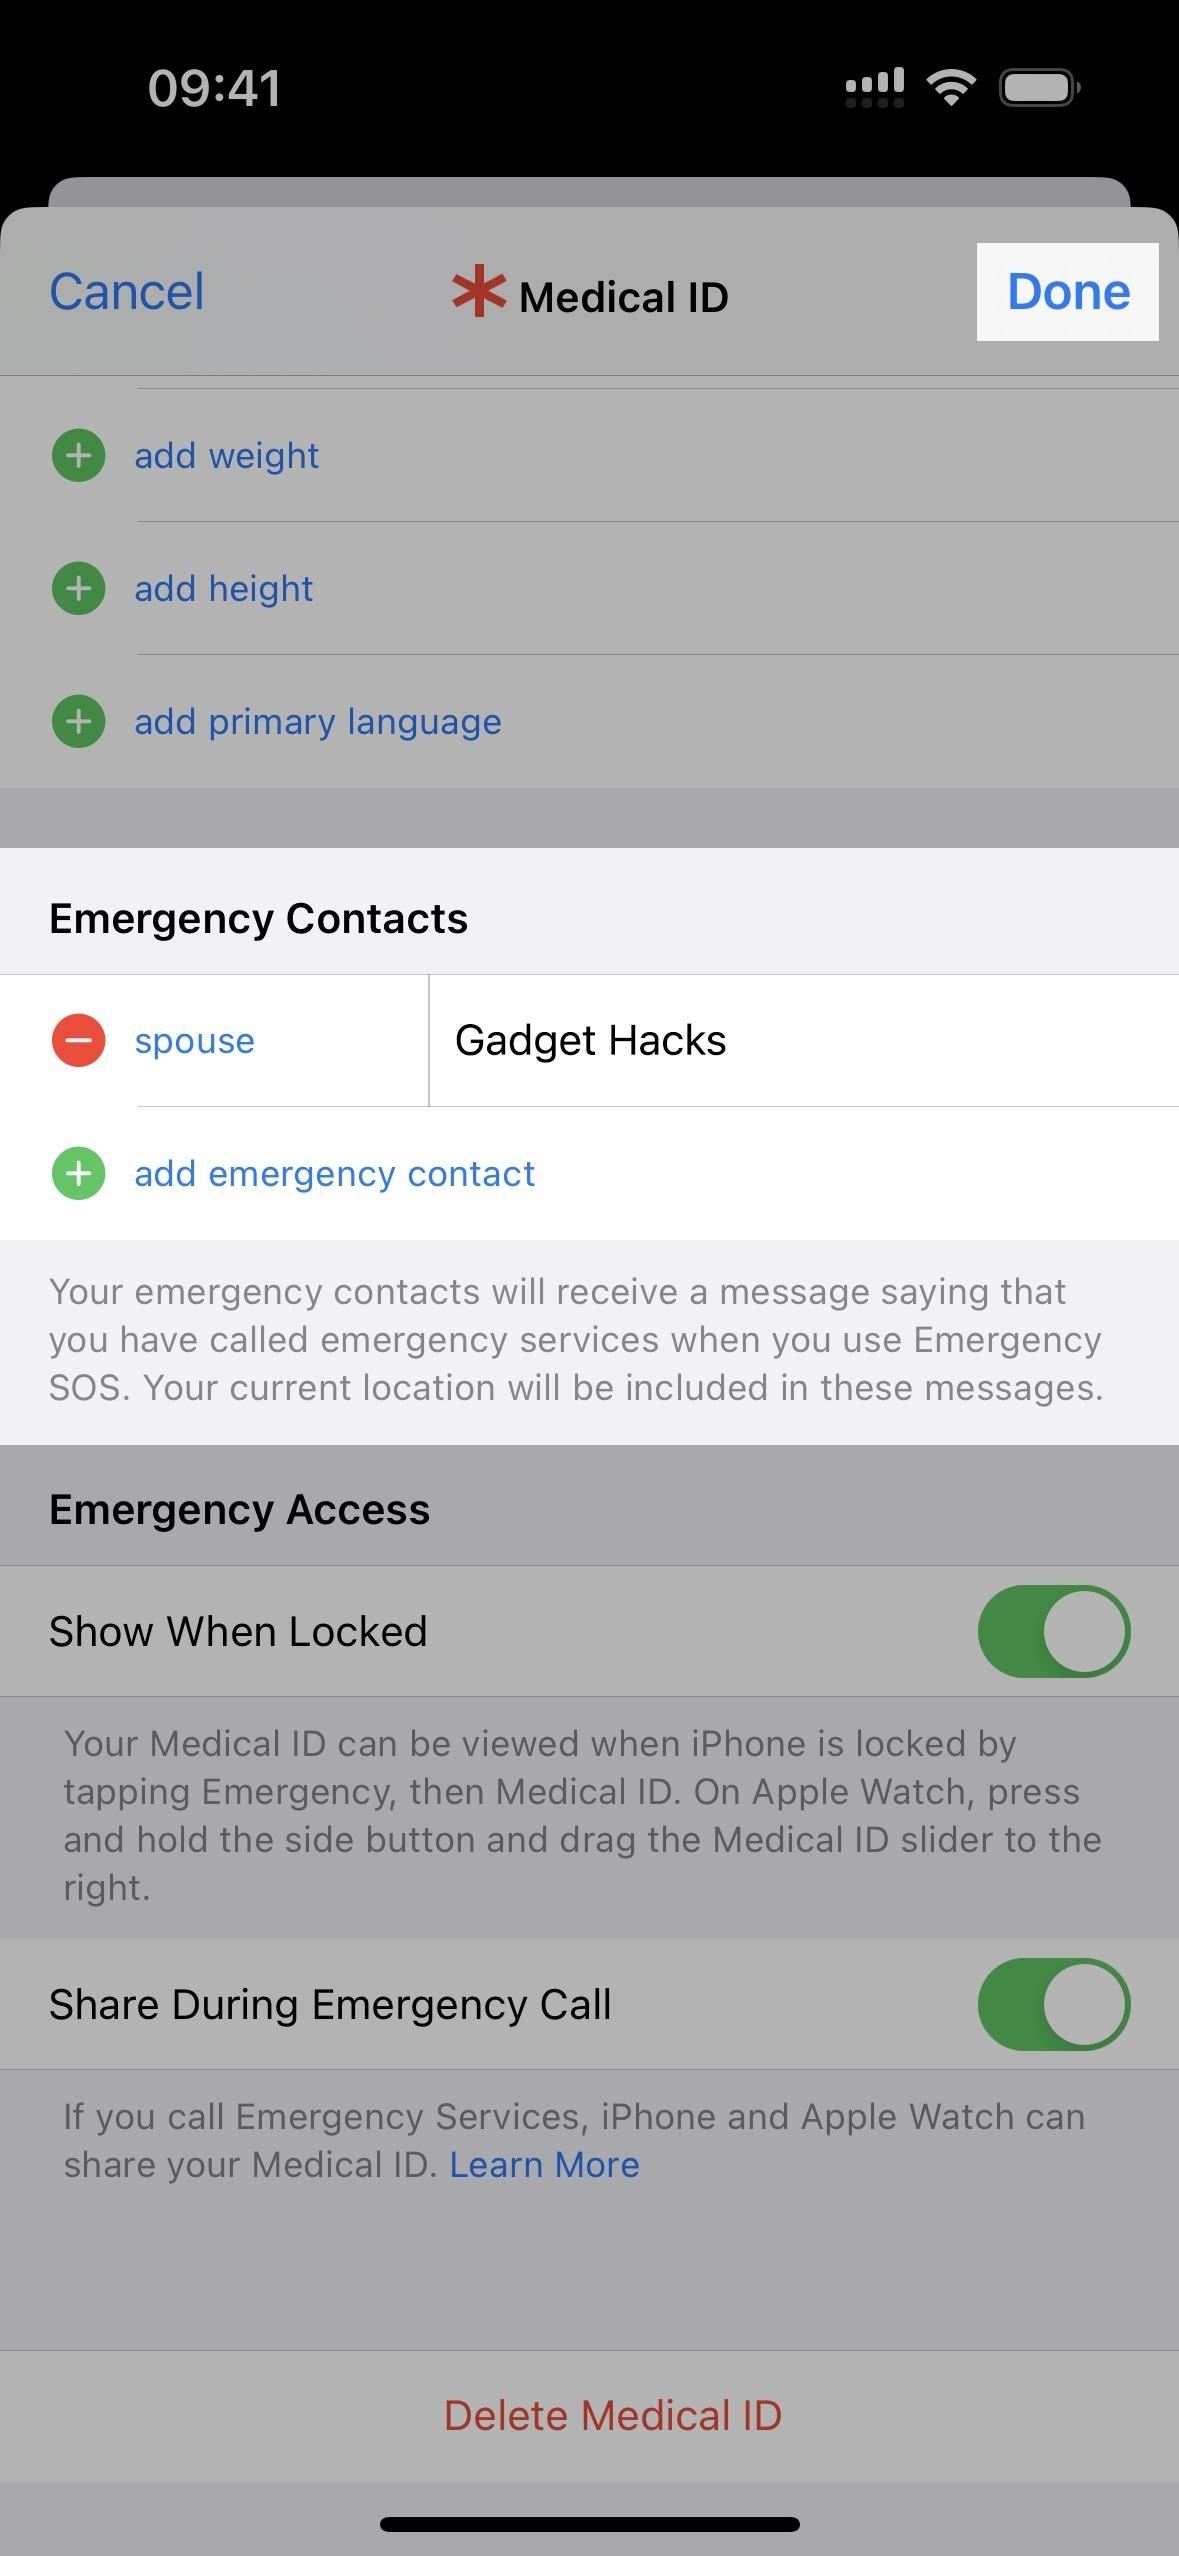

From now on, anyone listed as an emergency contact will be automatically texted “Emergency SOS. [Your name] called emergency services. [Your name] has listed you as an emergency contact.” A second message will share your current location. Before the messages are sent, a countdown on the screen allows you to stop your iPhone from sending these texts.
If the first messages are sent, Emergency SOS will continue to send texts for a “period of time” to update your contacts when your location changes. You can stop sharing this information by tapping the status bar on your iPhone and selecting “Stop Sharing Emergency Location.” You should also receive a reminder every four hours for 24 hours to stop sharing your location.
Just updated your iPhone? You’ll find new emoji, enhanced security, podcast transcripts, Apple Cash virtual numbers, and other useful features. There are even new additions hidden within Safari. Find out what’s new and changed on your iPhone with the iOS 17.4 update.
“Hey there, just a heads-up: We’re part of the Amazon affiliate program, so when you buy through links on our site, we may earn a small commission. But don’t worry, it doesn’t cost you anything extra and helps us keep the lights on. Thanks for your support!”


