
Google’s has expanded ARCore support to numerous Android flagships like the Galaxy S10, so if you have a compatible device, you get access to all the cool new apps that can augment the world around you. One of ARCore’s most sought-after features, AR Stickers, is normally exclusive to Google’s Pixel lineup, but by sideloading the Google Camera app, you can try it on any ARCore device.
Now known officially as Google Playground, Google’s AR Stickers can made to work on most ARCore devices with a little bit of tinkering. Developer Arnova8G2 has done all the hard work beforehand (as covered by XDA), so the process is as simple as installing a few apps. Simply put, after a few quick taps, you’ll be recording interactive videos with cool AR characters like Marvel’s Avengers!
Note: If you’re a Pixel user, skip ahead to Step 4 to see how to use the Playground feature built into your phone.
Step 1: Install ARCore
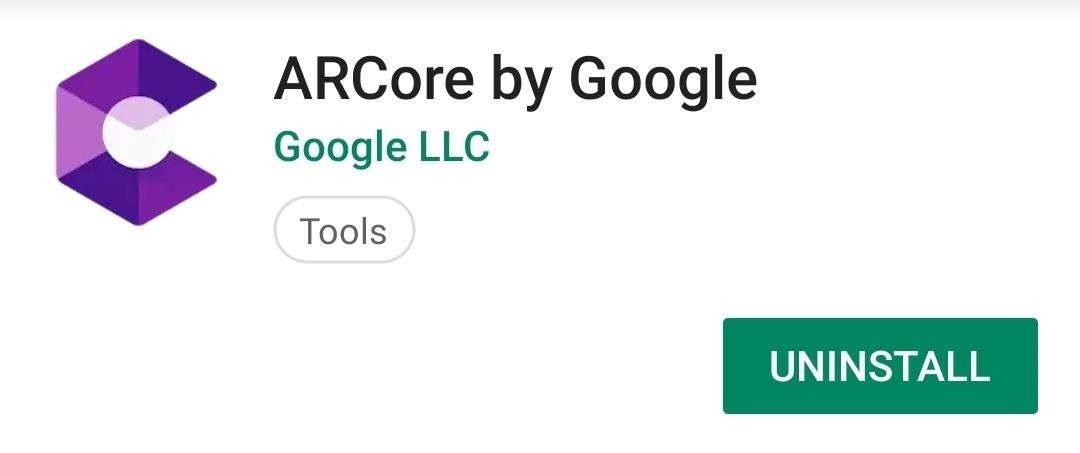
To get started, you’ll need to download ARCore if you don’t already have it. The app can be installed directly from Google Play Store, so either head over there or simply tap on the link below to install ARCore.
- Play Store Link: ARCore by Google (free)
Step 2: Install Google Playground
With ARCore on hand, you’ll now need to get the modded Google Playground app, which serves as a framework for the AR stickers. Since the file is 467 MB, it may take a few minutes to download. If you have a limited cellular plan, we recommend using Wi-Fi for this part.
- Download Link: Google Playground for ARCore
After downloading the modded app, install the file by tapping on the notification alert for the completed download, then follow the prompts and press “Install.” Alternatively, you can install the app at a later time by opening the APK from your Download folder with a file manager app.
Step 3: Install Google Camera
With both the ARCore platform and the Google Playground mod installed on your device, you’ll now need to install the ported Google Camera app. You’ll need this app to interact with the Playground stickers.
If you’re familiar with sideloading, you can head to XDA’s Google Camera port hub and install the APK that corresponds with your device. If you’d like more help, we have a full guide on this subject that you can check out below:
Once the process is done, don’t open the app just yet, as Google Playground might fail to register and not show up as an option. So to play it safe, restart your device first to ensure everything works as it should.
Step 4: Open Google Camera & Enjoy!
After installing all the necessary files, you’re free to try out your new AR Stickers. So open Google Camera and tap on “More” along the bottom of the screen, then select “Google Playground” from the list of options that appear.
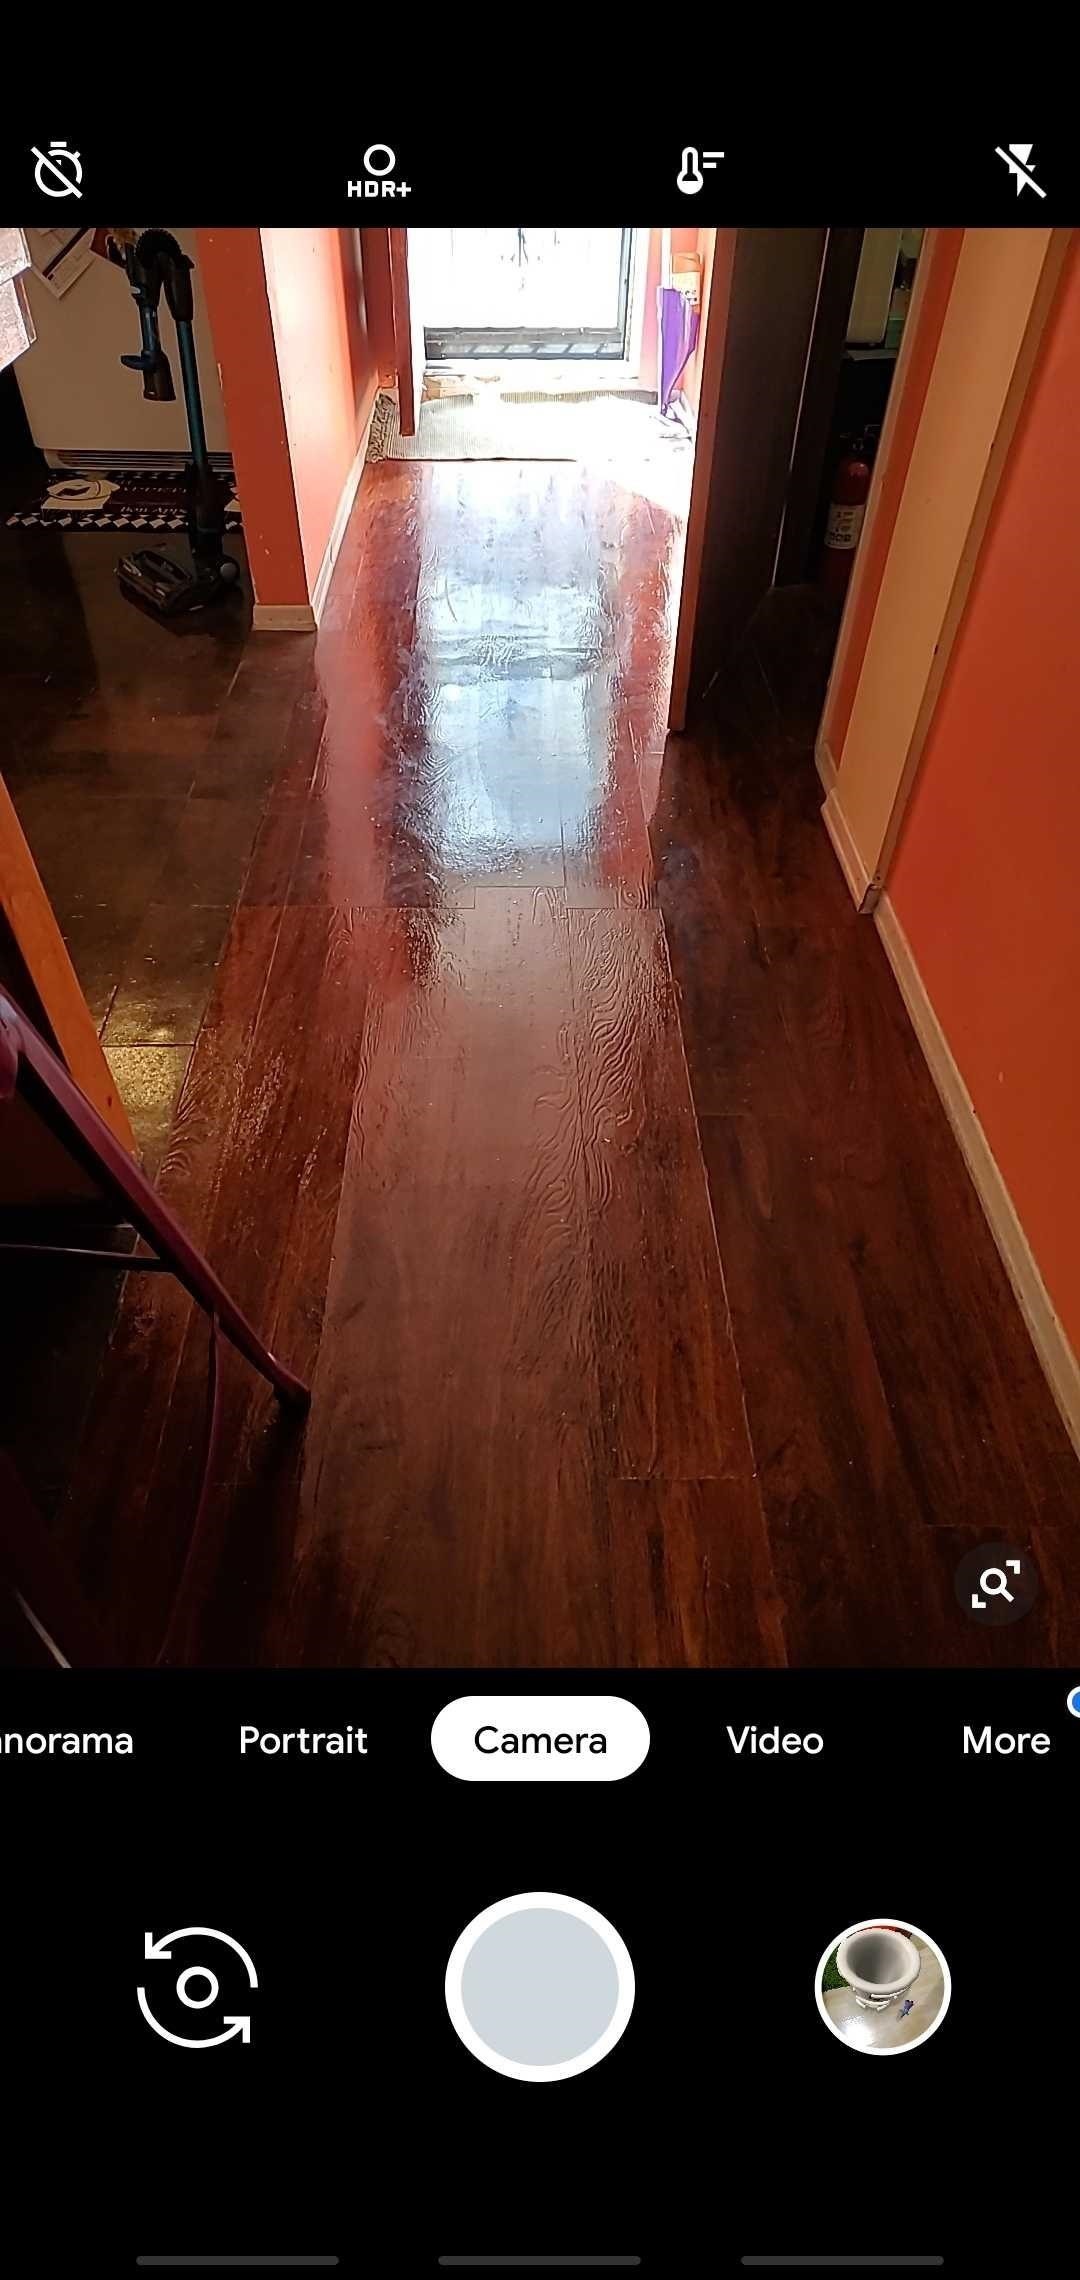
As you can see from the GIF below, there’s a ton of animated stickers you can paste onto your photo or video, which are separated in various categories under the “Recent,” “Featured,” “Playmoji,” and “Stickers” tabs. These stickers come in all sorts of shapes and sizes, and range from popular themes like the Avengers, Star Wars, Stranger Things, to weather-related stickers, cute pets, and more.
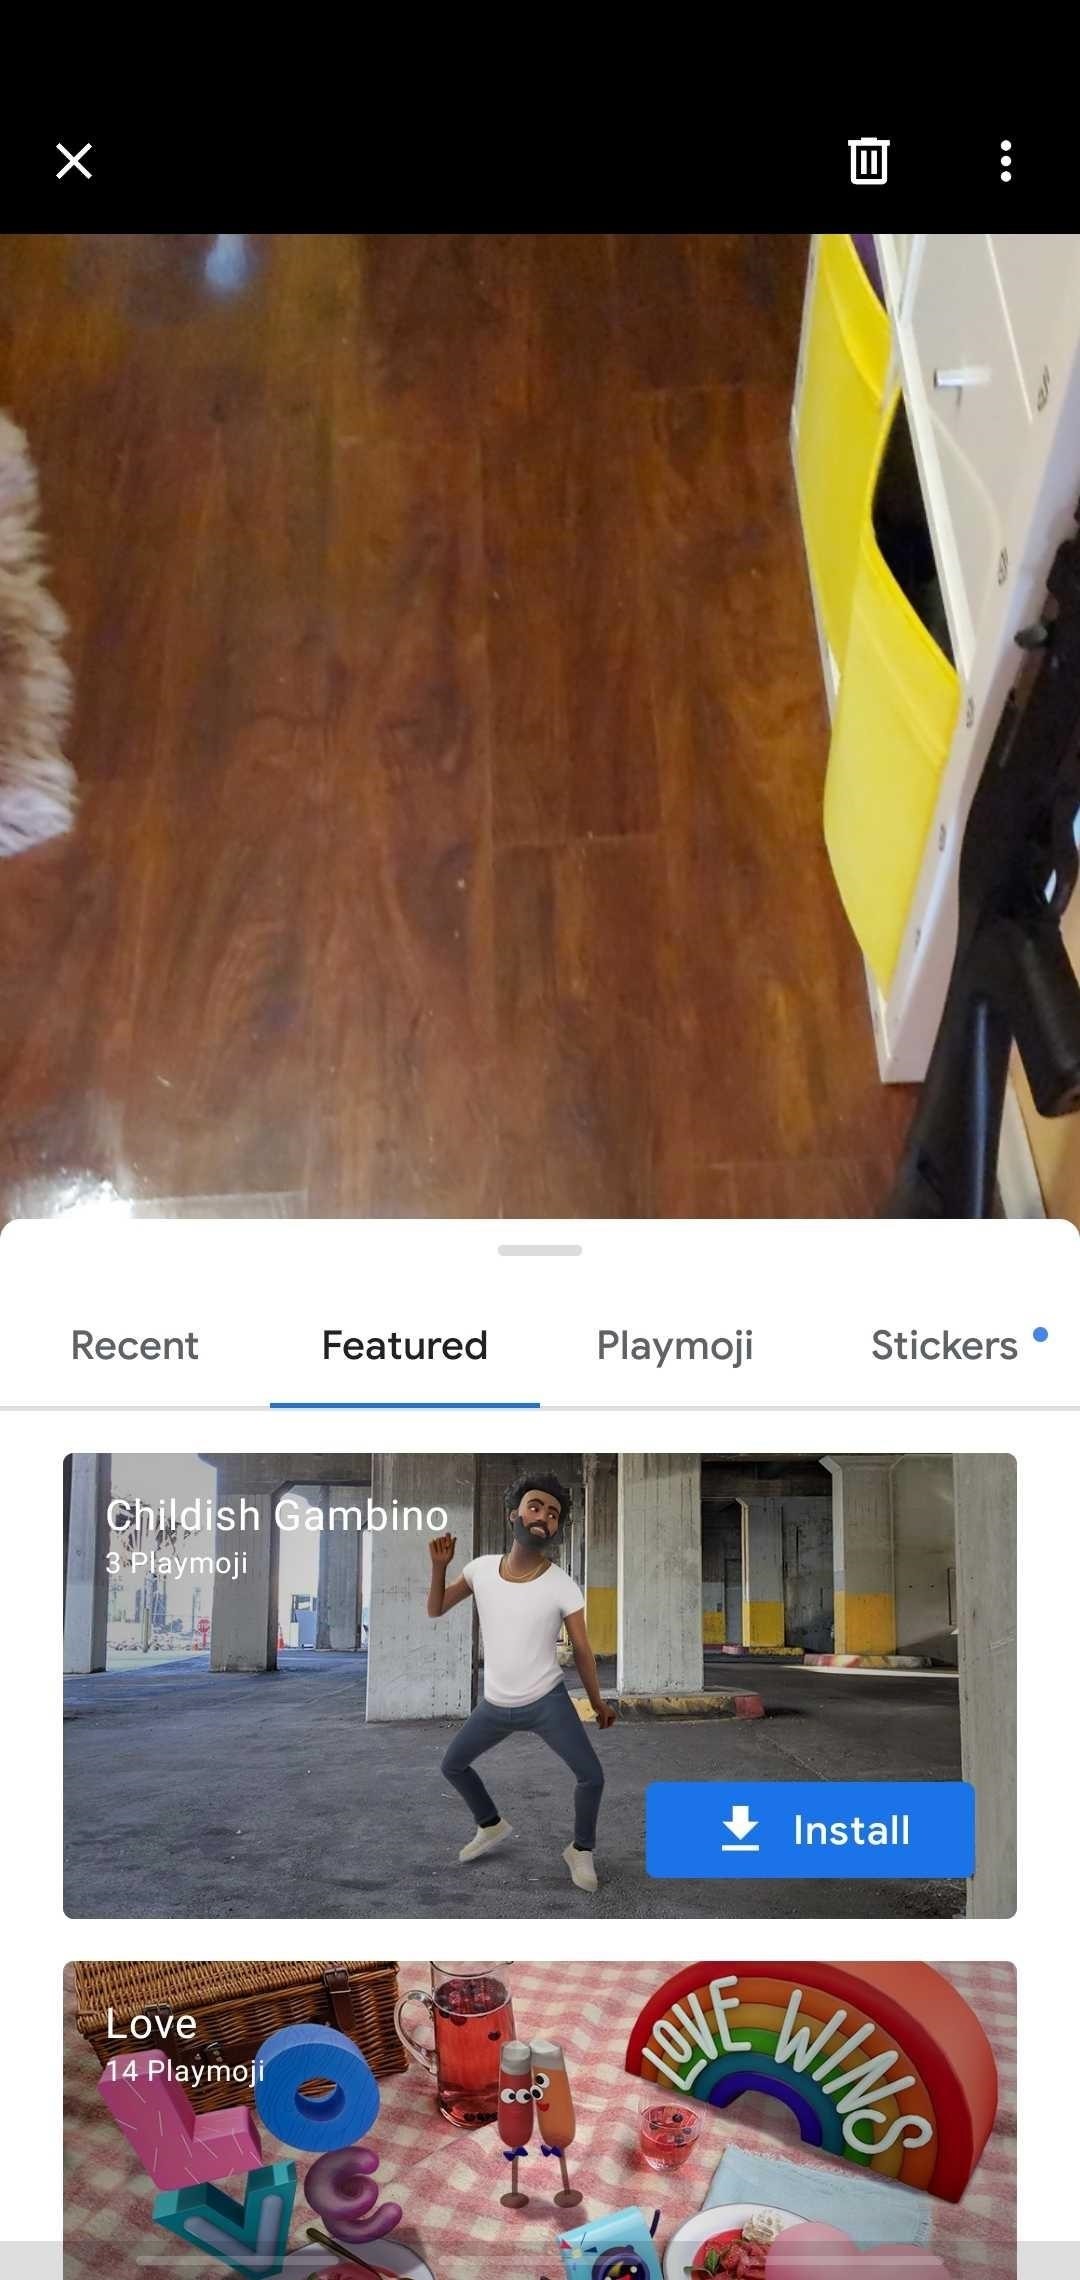
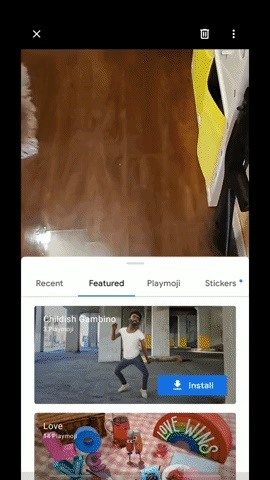
If you want more stickers, you have the option of installing extra packs like the new Avengers: Endgame characters. Simply tap on the “Install” button within the the sticker pack to do so, then wait a brief moment for the stickers to download and become available.
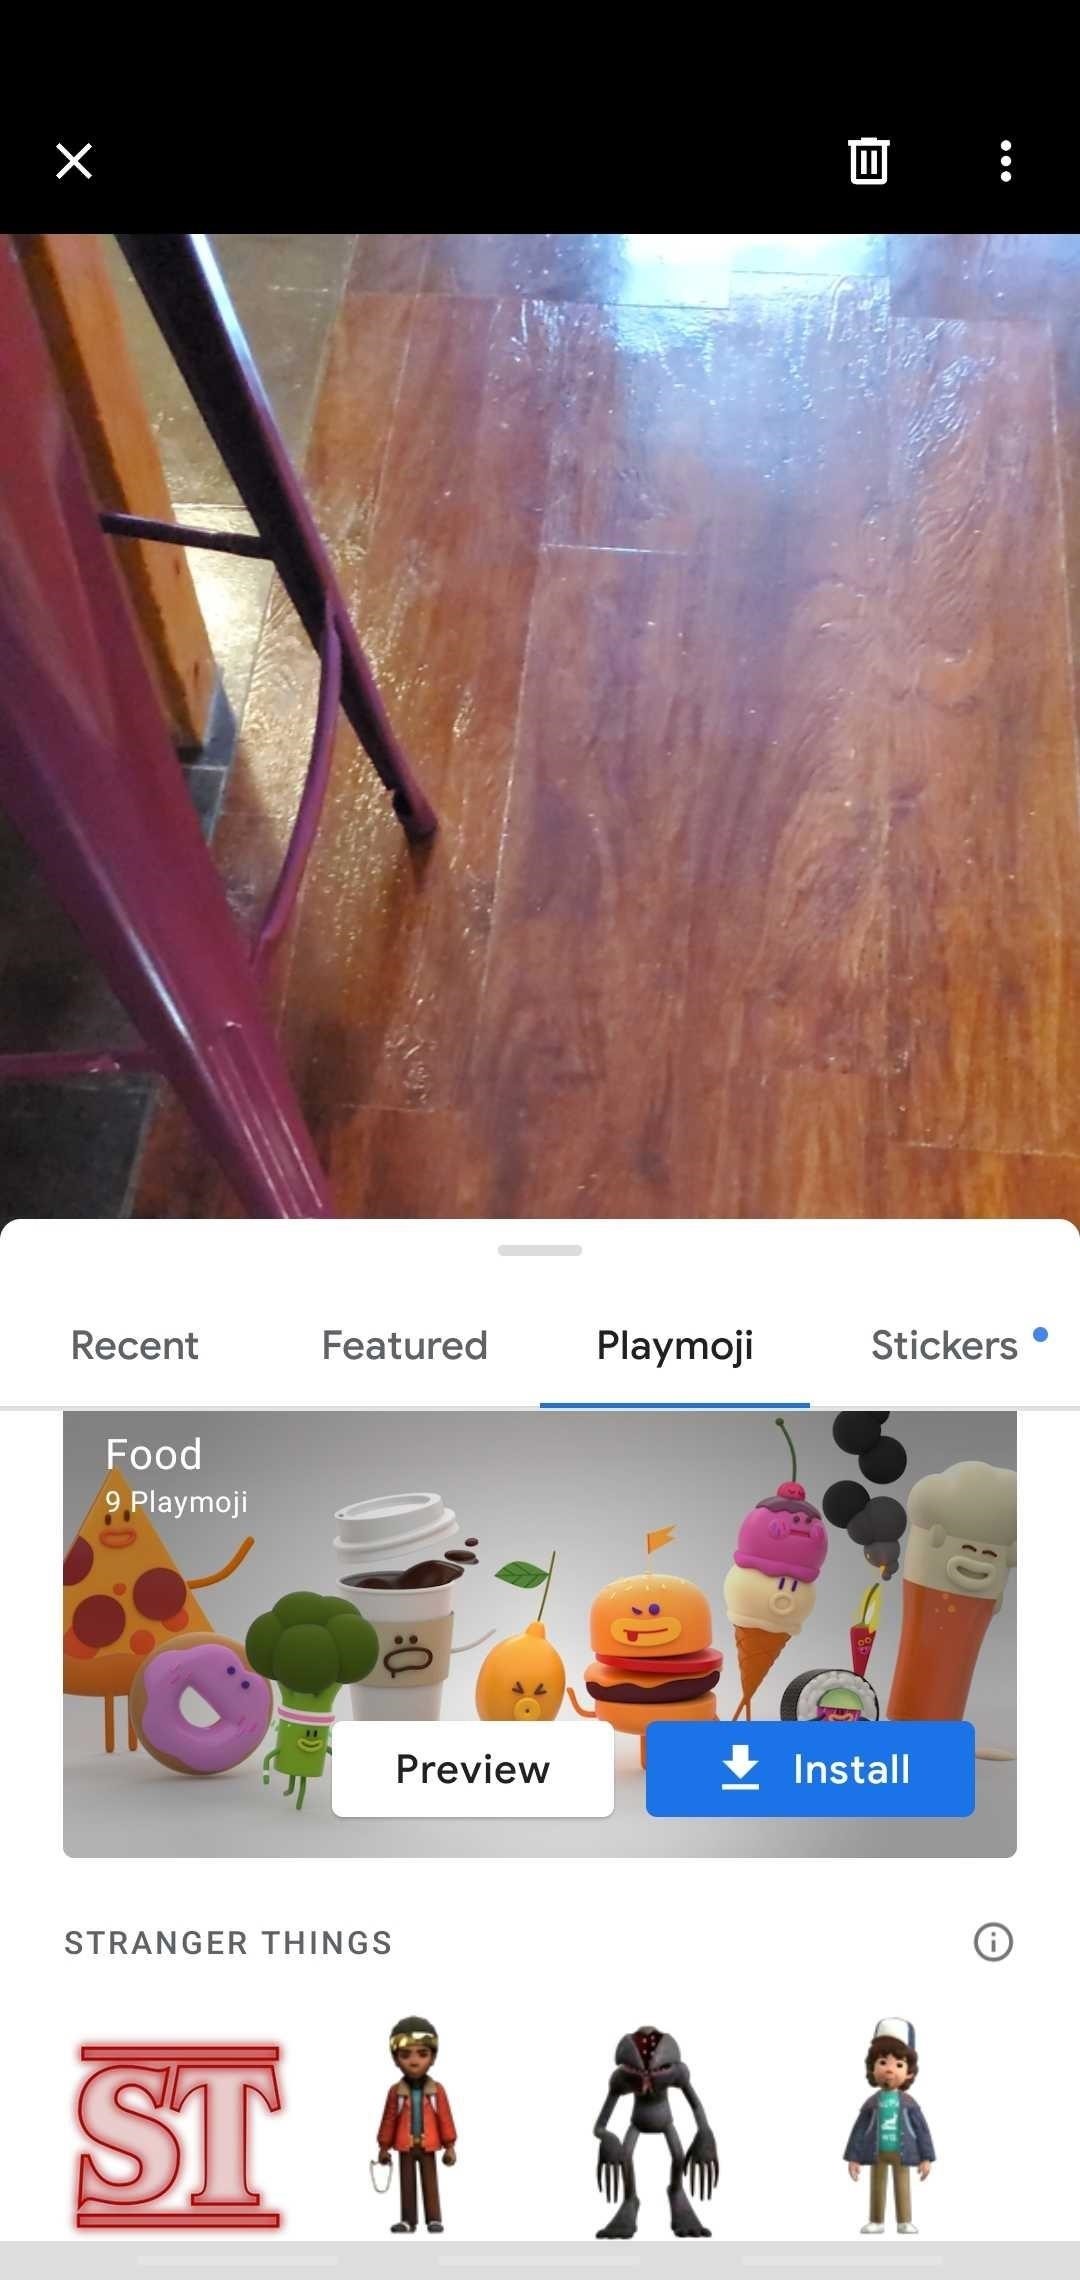
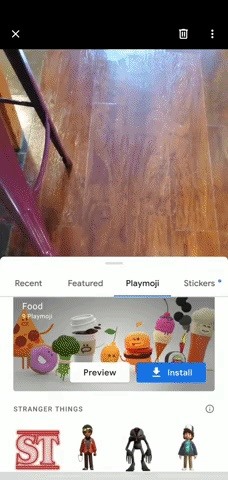
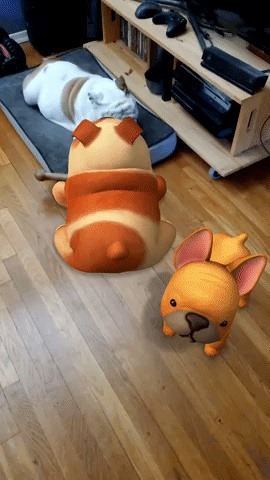
You can slap as many AR stickers as you’d like onto the screen, which will interact with each other in turn, and even totally change the scene. Pinch to zoom if you want to resize a character, and you can move your stickers around by selecting them and dragging them to a more ideal location.
When you’re satisfied with your stickers’ placement, you can easily record a video by tapping and holding onto the shutter button for as long as you want to record, which you can stop at any time by letting go of the button. Doing so will seamlessly integrate your AR stickers with your film, and the characters will realistically stay in place thanks to ARCore’s advanced surface detection, which even lets you move around while filming.


Step 5: Remove Stickers (Optional)
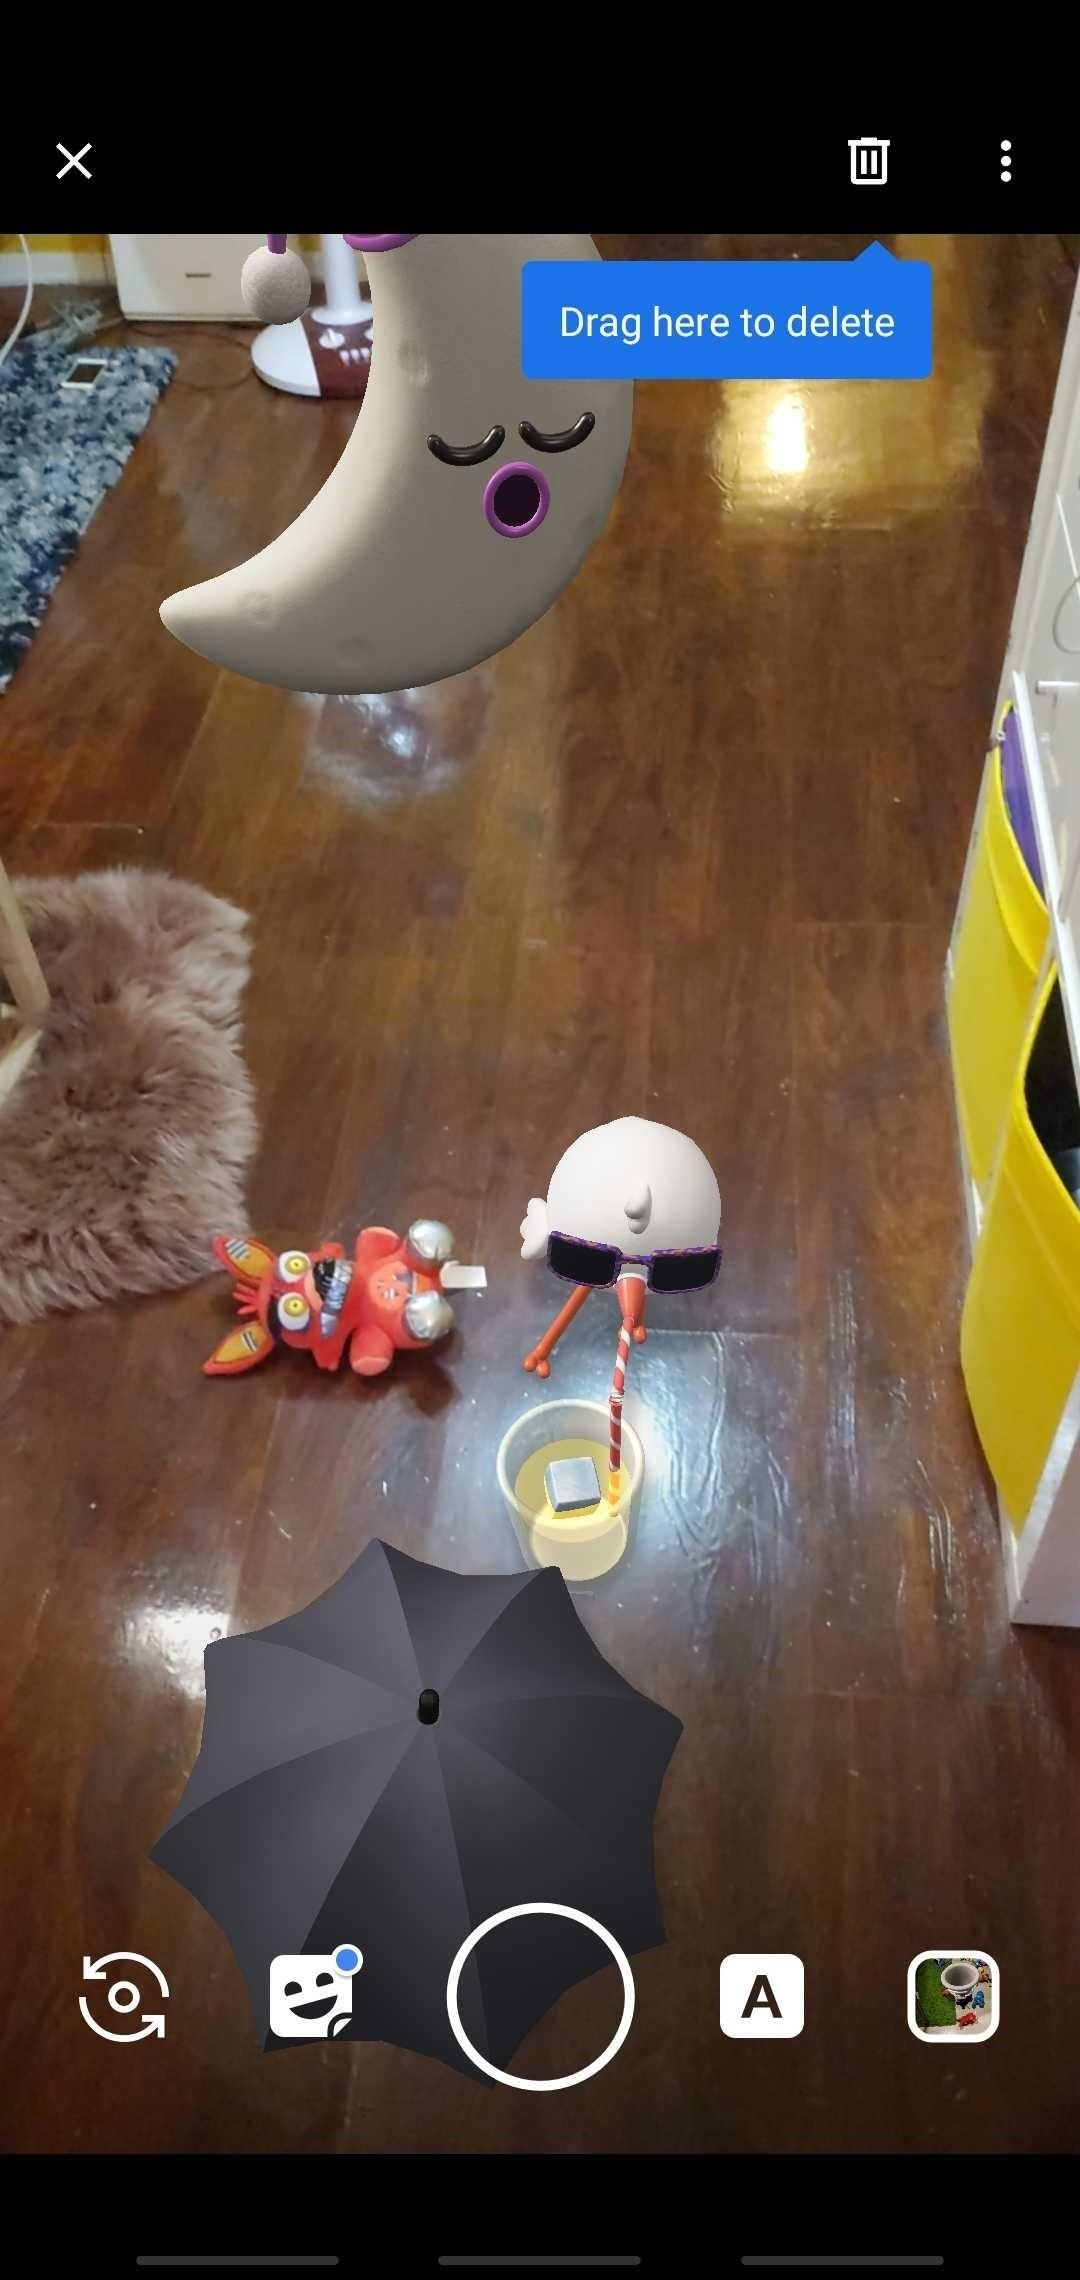
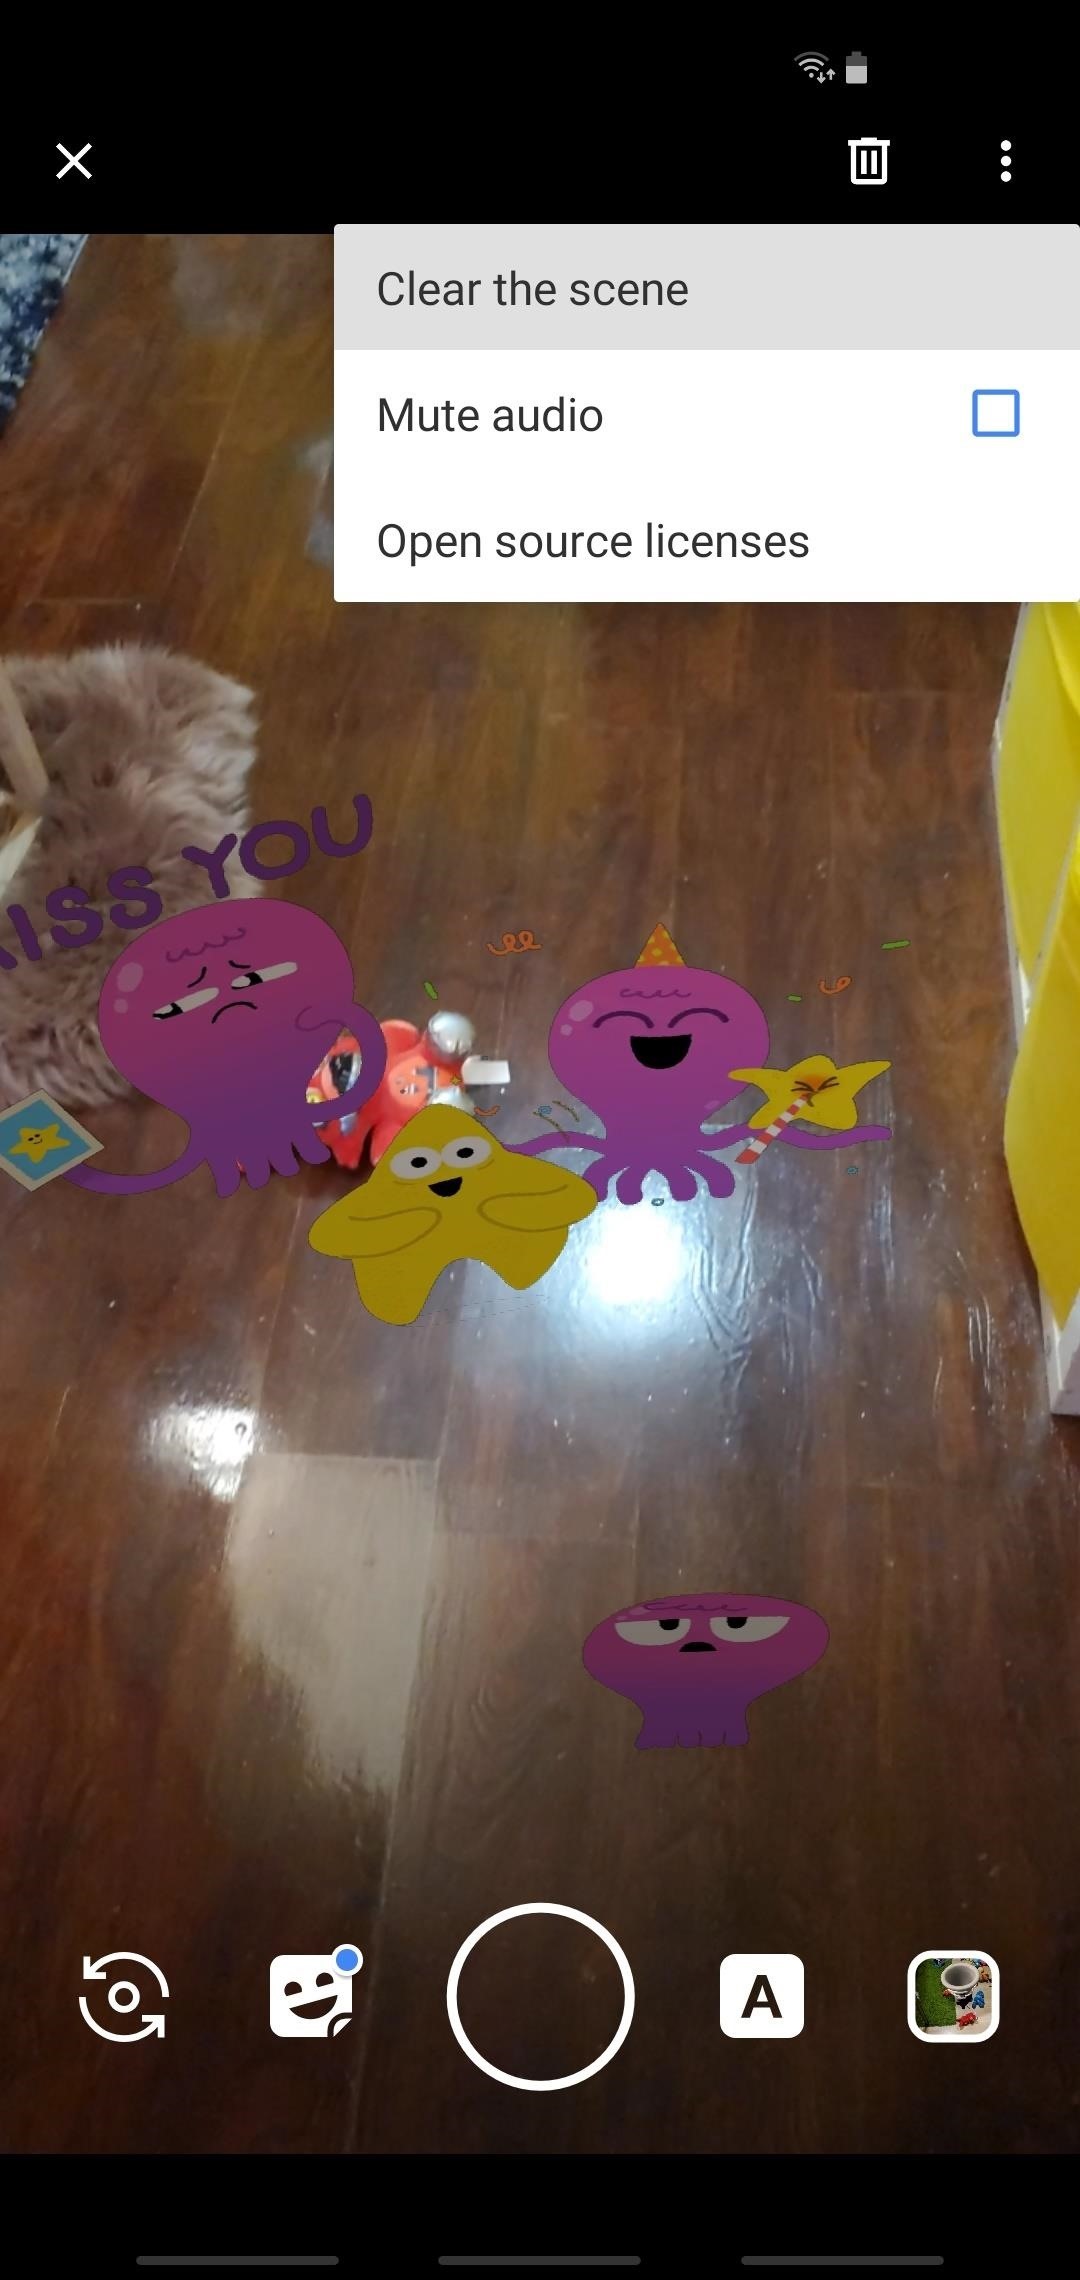
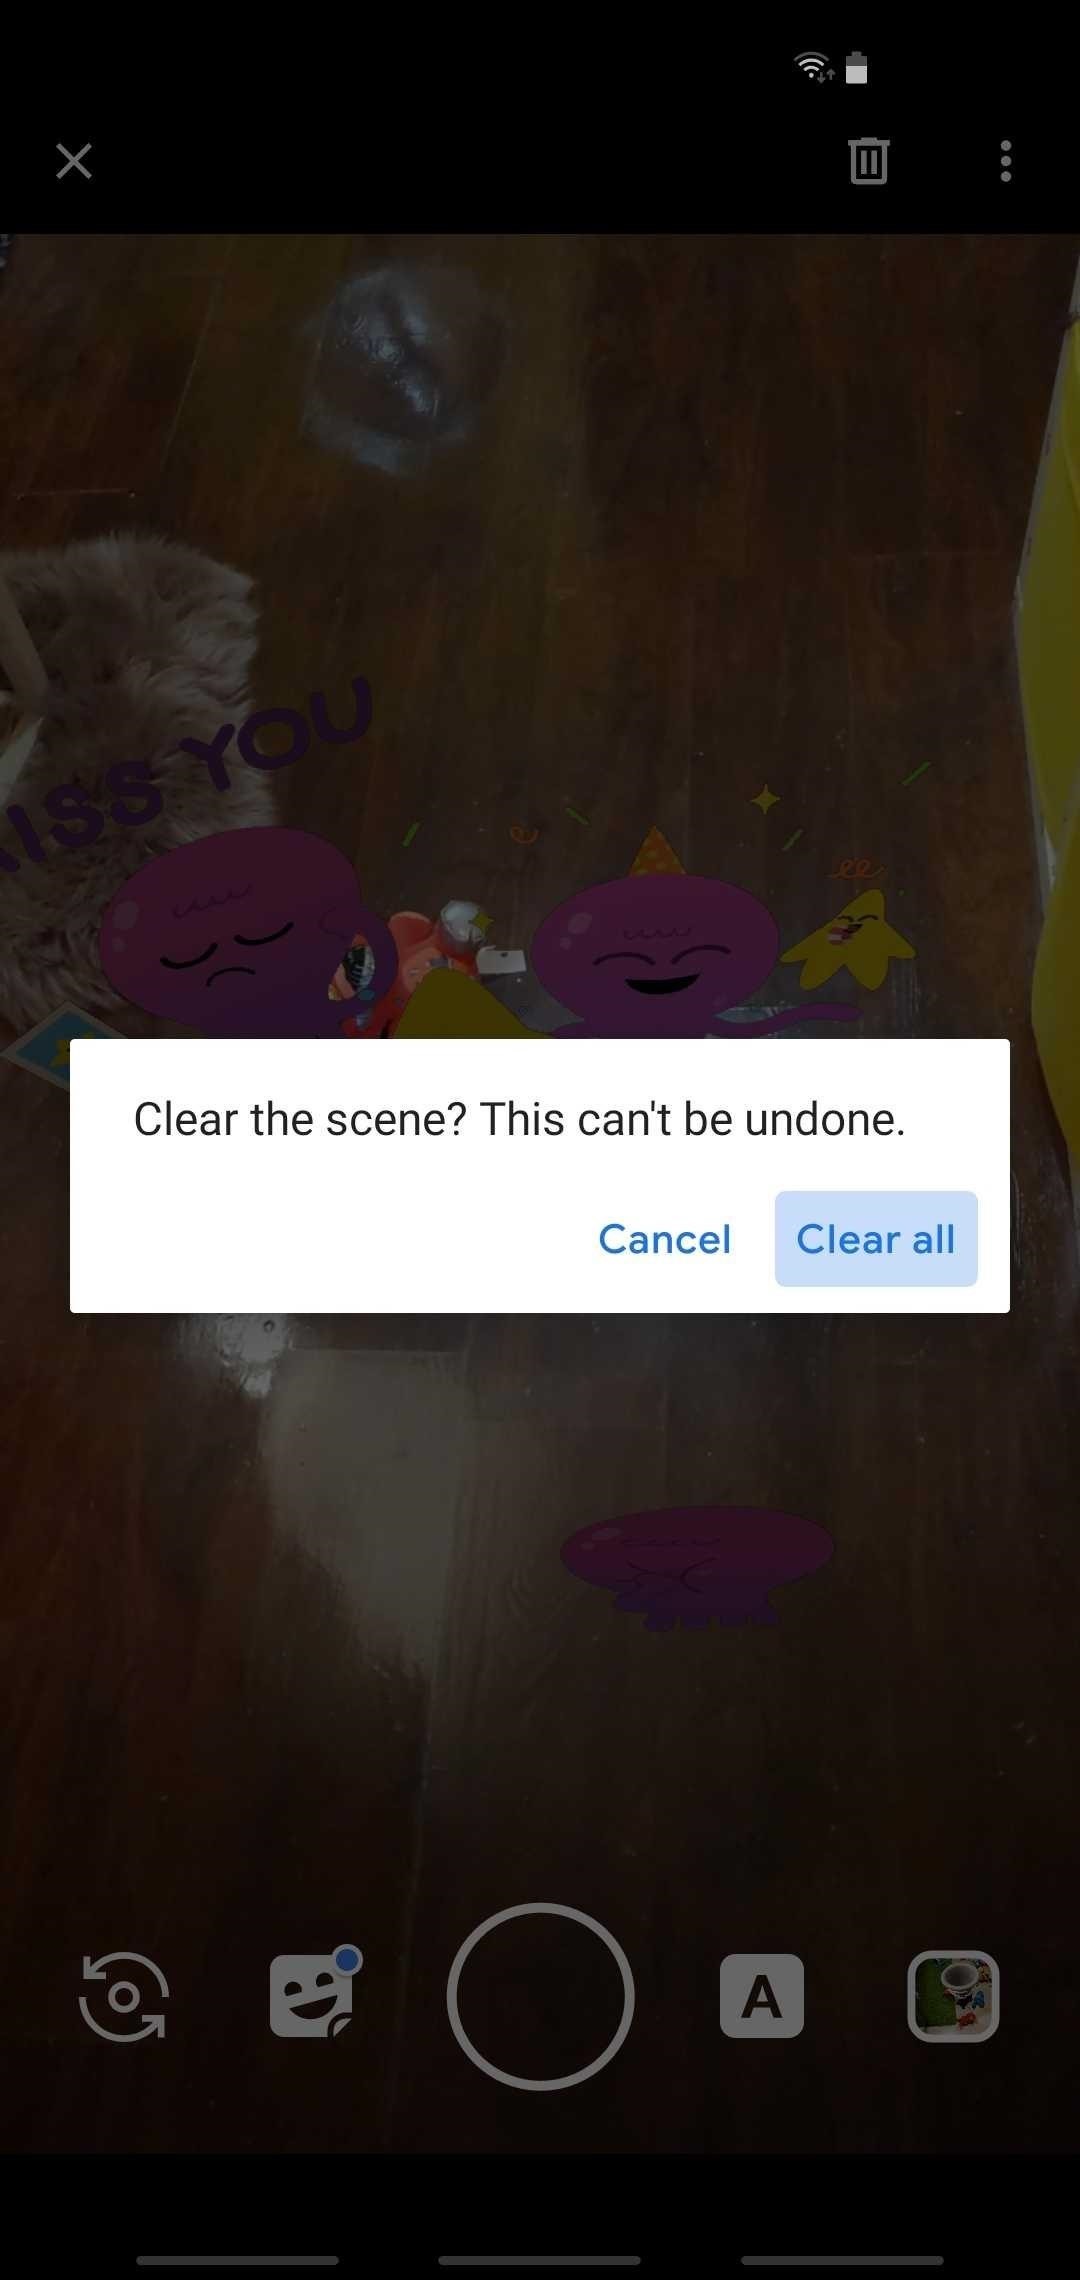
If you feel like you got carried away with slapping too many stickers onto your photo or video, you can easily remove them in one of two ways. To erase stickers individually, simply drag the sticker you want to delete to the trash button on the upper-right. If you want to remove them all in one go, tap on the three-dot menu button next to the garbage can, then select “Clear the scene” to start again from scratch.
This article was produced during Gadget Hacks’ special coverage on smartphone-based video creator tips for filming and editing. Check out the whole Videography series.
- Follow Gadget Hacks on Pinterest, Reddit, Twitter, YouTube, and Flipboard
- Sign up for Gadget Hacks’ daily newsletter or weekly Android and iOS updates
- Follow WonderHowTo on Facebook, Twitter, Pinterest, and Flipboard
Hot Deal: Set up a secure second phone number and keep your real contact details hidden with a yearly subscription to Hushed Private Phone Line for Android/iOS, 83%–91% off. It’s a perfect second-line solution for making calls and sending texts related to work, dating, Craigslist sales, and other scenarios where you wouldn’t want to give out your primary phone number.
“Hey there, just a heads-up: We’re part of the Amazon affiliate program, so when you buy through links on our site, we may earn a small commission. But don’t worry, it doesn’t cost you anything extra and helps us keep the lights on. Thanks for your support!”


