An average of 140,000 hard drives crash in the United States each week, according to online backup service Mozy. Additionally, 70 percent of Americans have lost a laptop, smartphone, or tablet, and the average person now loses 1.24 devices each year—less than half of which are ever recovered.
Unfortunately, the statistics are way worse for me. My laptop is currently in the shop due to a hard drive failure, and I don’t have enough hands to count the times I’ve had all the information wiped from my smartphone.
This is why backing up your data is important. Trust me.
Contacts, pictures, videos, notes, saved game data—all gone—if you don’t back up your shit. If your device wasn’t lost or stolen, you may be able to restore all of your precious files, but don’t count on it.
We here at SoftModders have stressed the importance of backing up your device manytimes before. You need to be prepared for anything. Malware, bricked phone, toilet water—whatever. Back up your device!
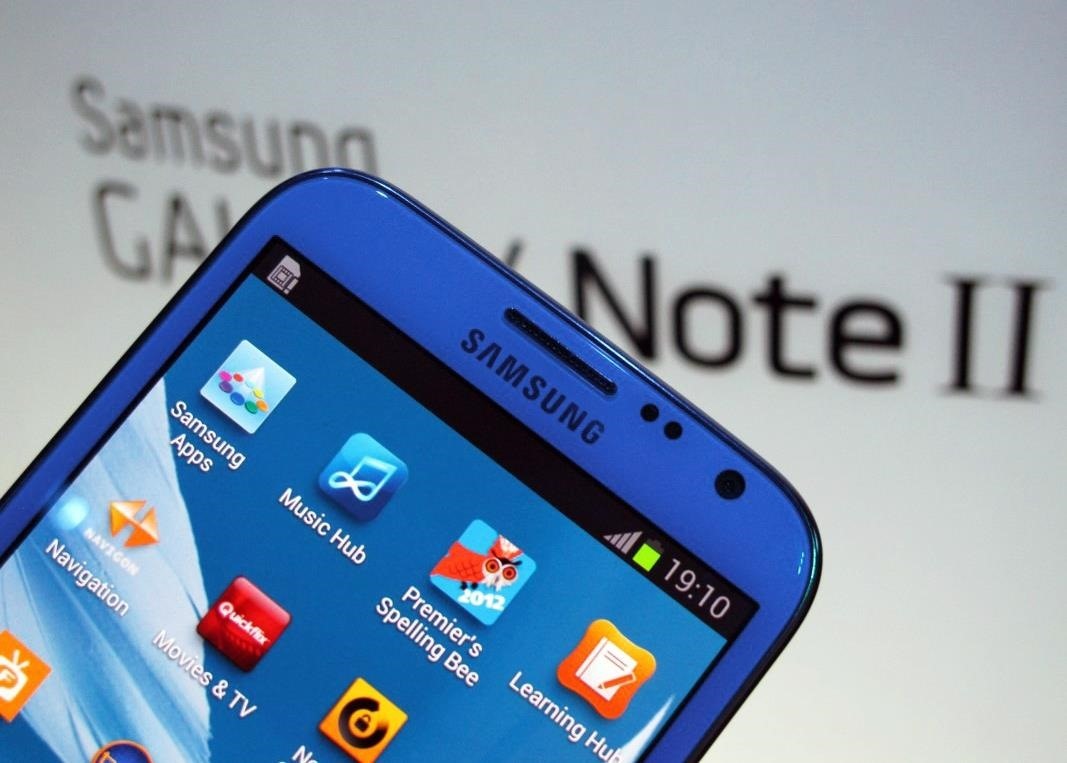
If you have a Samsung Galaxy Note 2, I’m going to cover the steps to creating a backup, so you’ll never have to feel the pain that I have.
Back Up Your Note 2 with Kies (Windows/Mac)
The easiest and most common way to backup any Samsung device is through Kies, Samsung’s personal desktop software. It not only allows you to transfer music, contacts, and photos, and perform device updates, but it also works as a great and simple backup tool.
In order to backup your data using Kies:
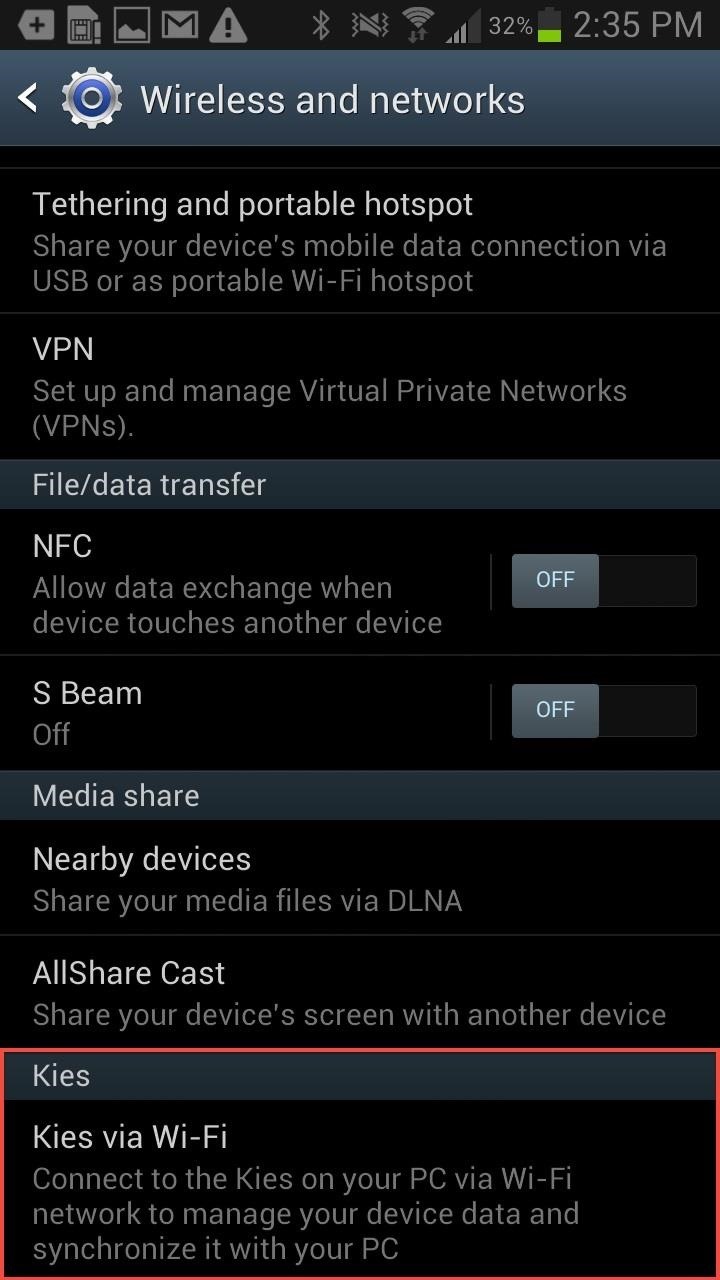
- Connect your device—either wirelessly or via USB—to your computer. If you want to connect wirelessly, you’ll need to go to Settings -> More Settings -> Kies via Wi-Fi. From there, you’ll have to scan for your computer (both devices have to be on the same wireless network).
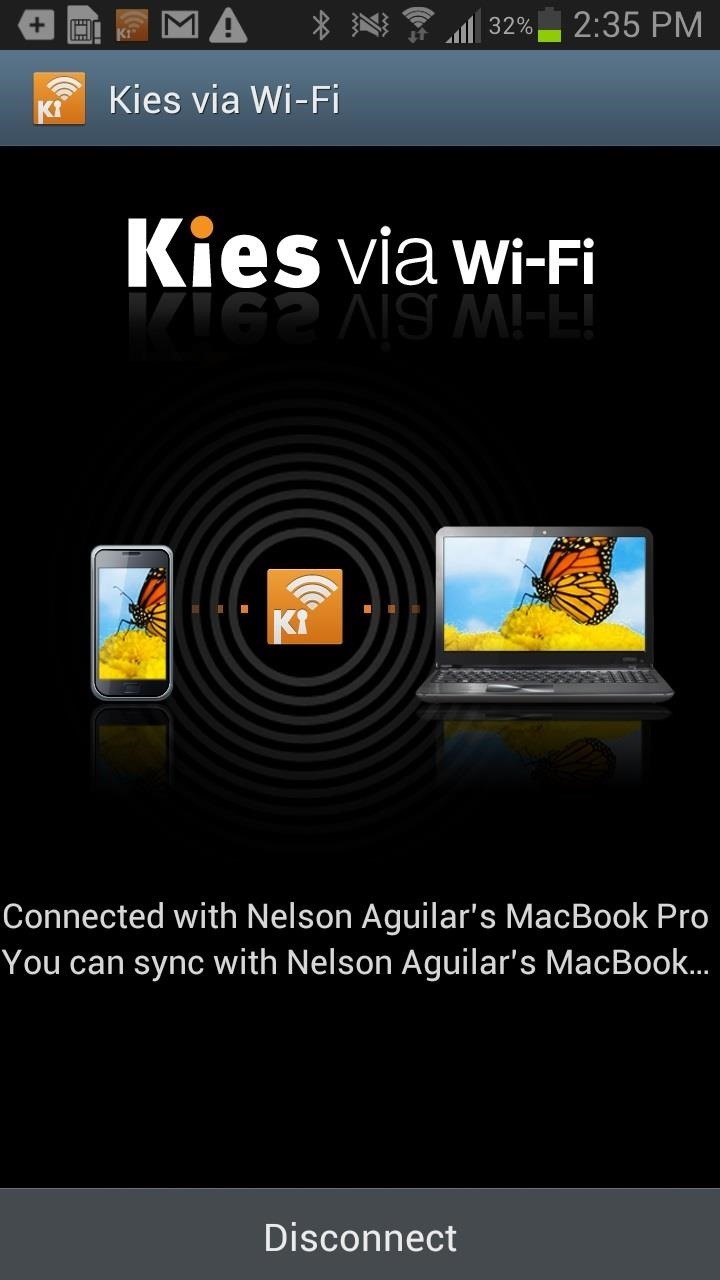
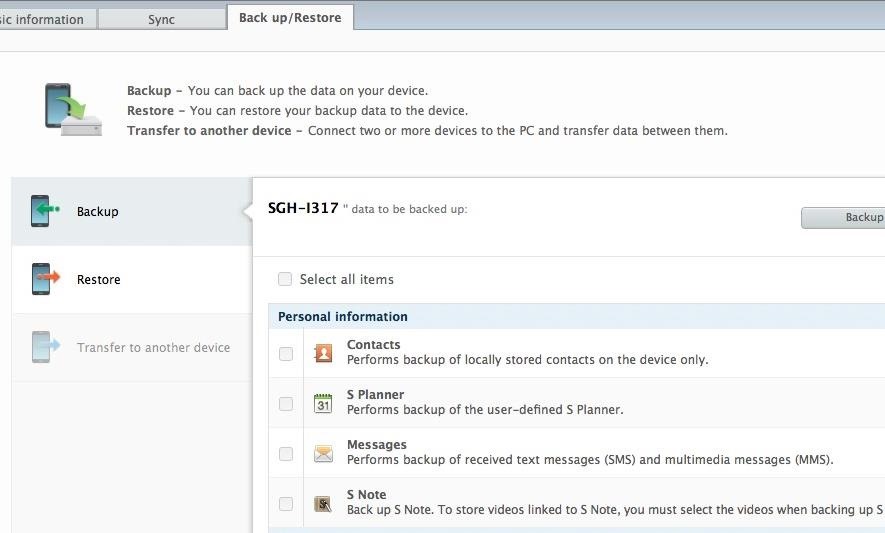
- Once Kies is open on your computer—and your Galaxy Note 2 is recognized—click on the tab that says Back up/Restore. Go through the data and select which information you want to backup—contacts, text messages, music, photos, etc.
Create a Nandroid Backup (Windows)
If your phone is rooted, a Nandroid backup is your best bet.
A Nandroid backup is a complete backup of your phone in its current state, making it one of the best things you can do before installing any kind of modifications and/or new ROMs. Issues with a new ROM you installed? Just revert back to your saved Nandroid backup!
To make a Nandroid backup:
- Download the Samsung Galaxy Note 2 Toolkit (Windows only).
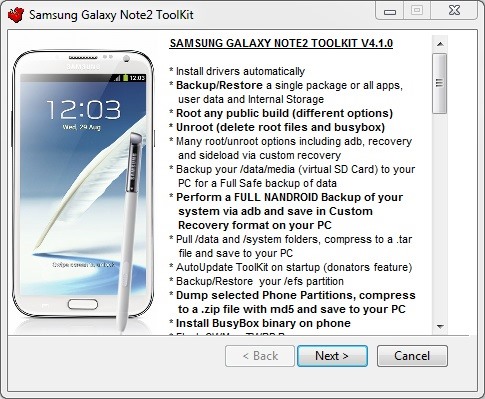
- Once you open the application, you’ll go through a few screens, until you reach one that allows you to pick your specific device. Click the corresponding number to continue.
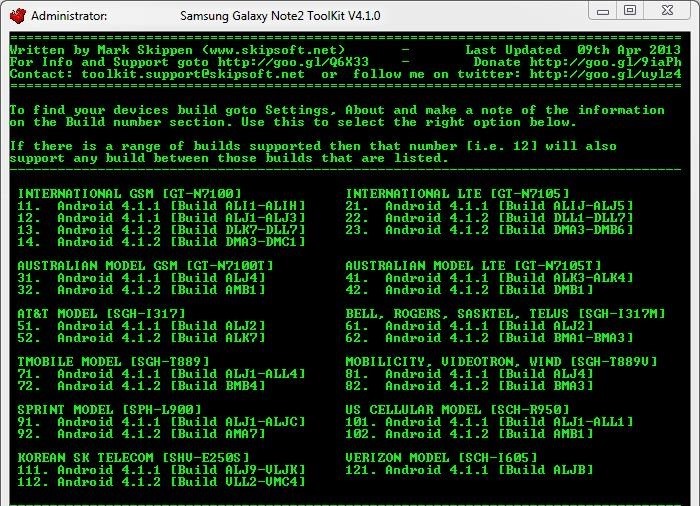
- After selecting your device, you’ll want to install any drivers before you continue—press 1 to do this.
- Once the drivers are installed, you can press 7 in order to select the option for Backup/Restore your Device.
Note: If your phone isn’t rooted yet, press 2 in the main menu to root your phone. It’s pretty simple.

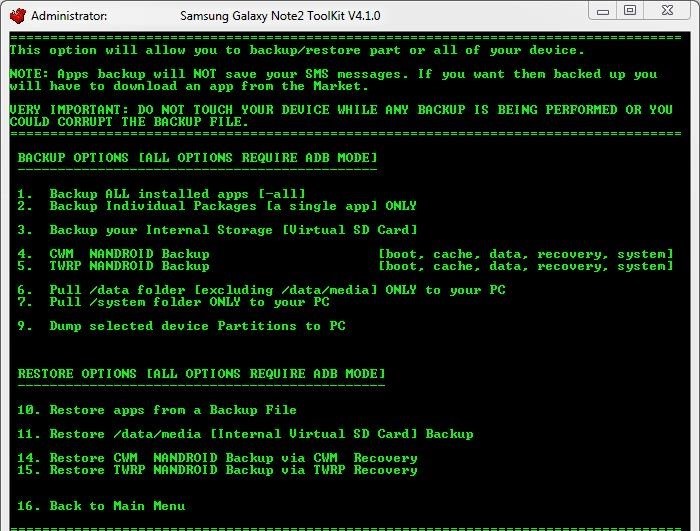
- From the Backup Options, you’ll want to either press 4 or 5 for a NANDROID backup.
Note: If your Note 2 is not rooted, you’ll only be able to select option 1, 2, or 3, allowing you to backup your device as Kies would.
If you want to check out more detailed instructions on how to use this Toolkit, check out fellow SoftModder Faisal‘s article on backing up the Samsung Galaxy S3, which uses the same toolkit (only specifically for the GS3).
Use an Android App
If you don’t want to go through any of the computer programs in order to back your phone up, you can do it directly through your Note 2. While there are many backup apps in Google Play, most of them require root. Helium, an app by Clockworkmod, does NOT require root and lets you to backup your apps and data to your SD card or cloud storage.
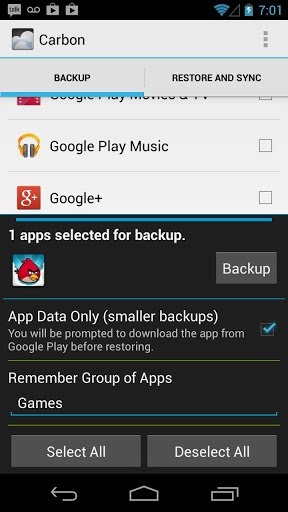
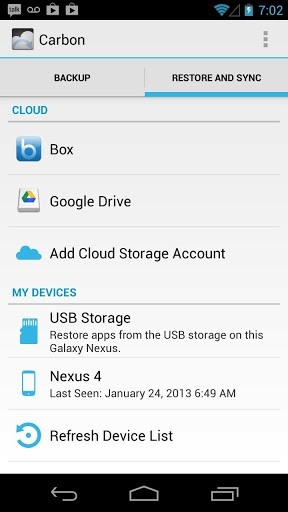
Helium Setup
- Install Helium on your Note 2 (if you’re rooted, that’s all you have to do. If not, continue with the steps below).
- Install and run Helium Desktop on your computer (Linux, Mac, and Windows).
- Connect the Note 2 to your computer. This is the only time you will need to use the computer (in order to set everything up).
- You may need to set your USB Connection Mode to “PTP”.
- Helium on Note 2 should now be enabled!
Now, I don’t care which way you chose—just choose one! Back up your device. Seriously. If you have a better way to back up your Samsung Galaxy Note 2, let us know.
Just updated your iPhone? You’ll find new emoji, enhanced security, podcast transcripts, Apple Cash virtual numbers, and other useful features. There are even new additions hidden within Safari. Find out what’s new and changed on your iPhone with the iOS 17.4 update.
“Hey there, just a heads-up: We’re part of the Amazon affiliate program, so when you buy through links on our site, we may earn a small commission. But don’t worry, it doesn’t cost you anything extra and helps us keep the lights on. Thanks for your support!”


