It’s time to step up your selfie game, especially if all of your selfies tend to have the same vapid look and feel. There are plenty of techniques for better selfie-taking, and I’ve already shown you a few iPhone tricks, like making yourself look thinner and using hand gestures to get situated better. Now I’ll show you how to give your followers something to really “like”—celebrities.
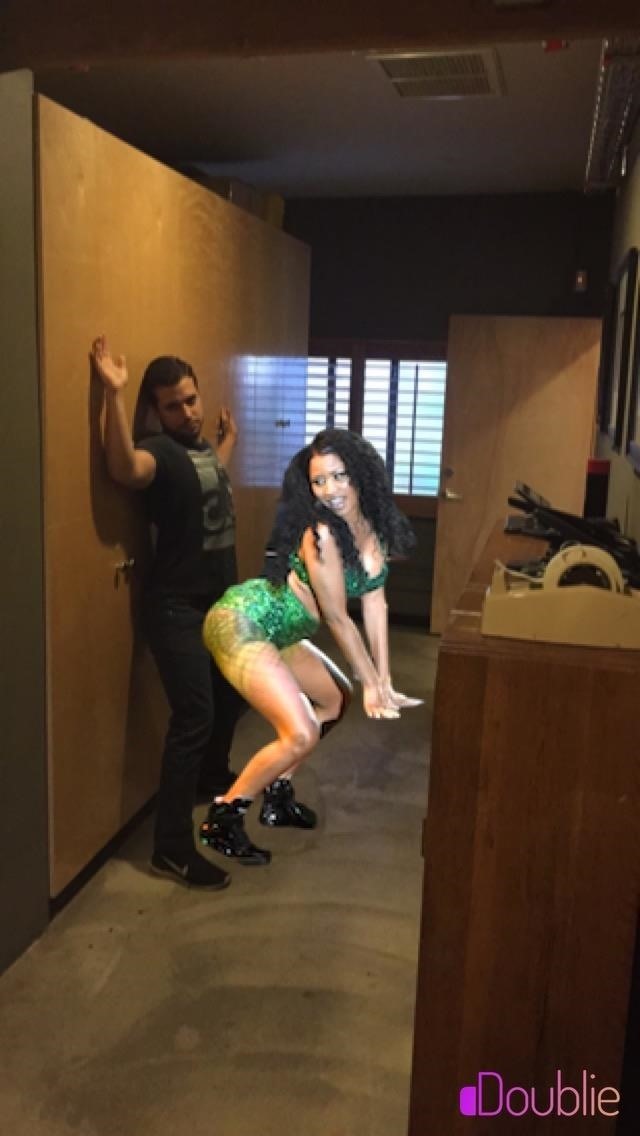
Using the free iOS app Doublie, you can add some comedic relief to selfies by adding celeb overlays (among other types)—without having to stalk any celebrities in real life. Just imagine you and Ryan Gosling, Jennifer Lawrence, or Nicki Minaj in a group selfie (aka “usie”) together.
Step 1: Download Doublie
Get started by downloading Doublie from developer Shane Walker. The app lets you choose from a gallery of ready-made celebrity and pop culture overlays to insert into your pictures.

Step 2: Choose an Overlay
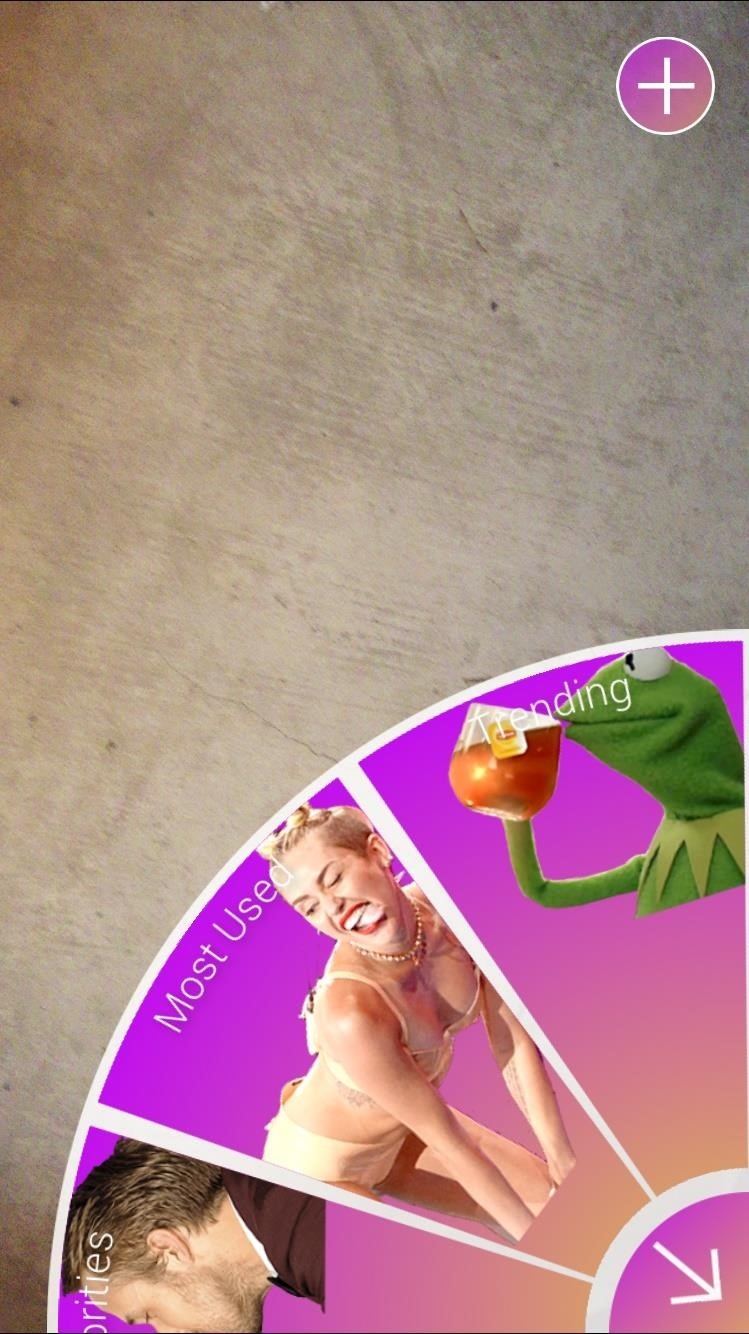
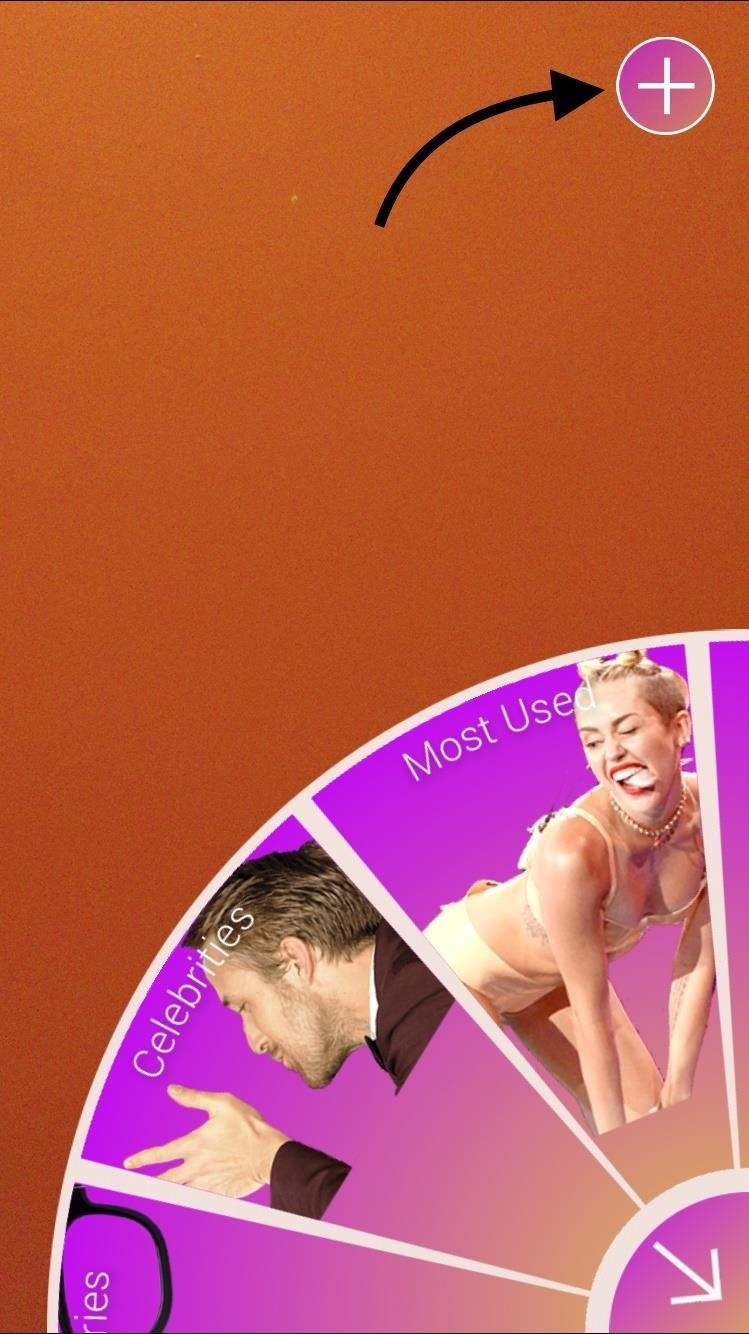
Open the app and tap on the overlay gallery icon. You can choose from various overlays, such as animals, athletes, celebrities, “thug life,” and “ratchet,” among countless others.
Step 3: Pimp Out Your Selfie
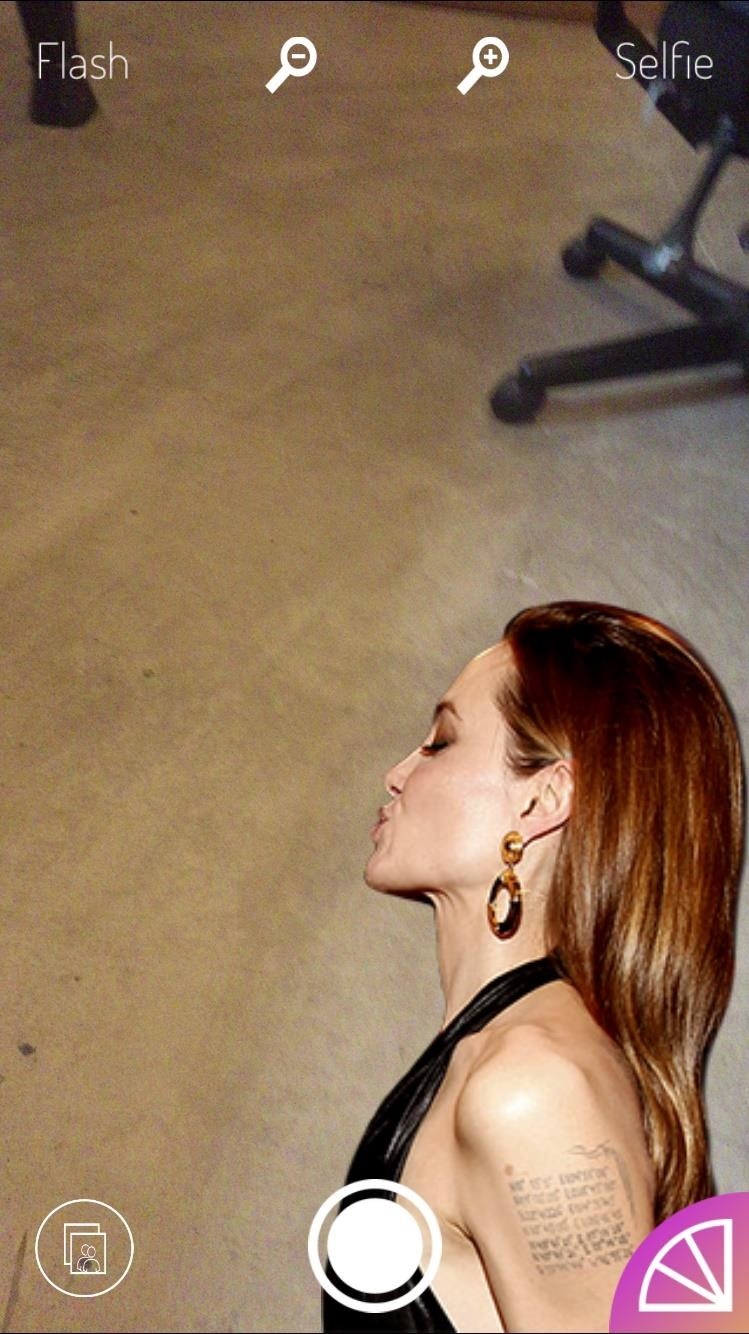
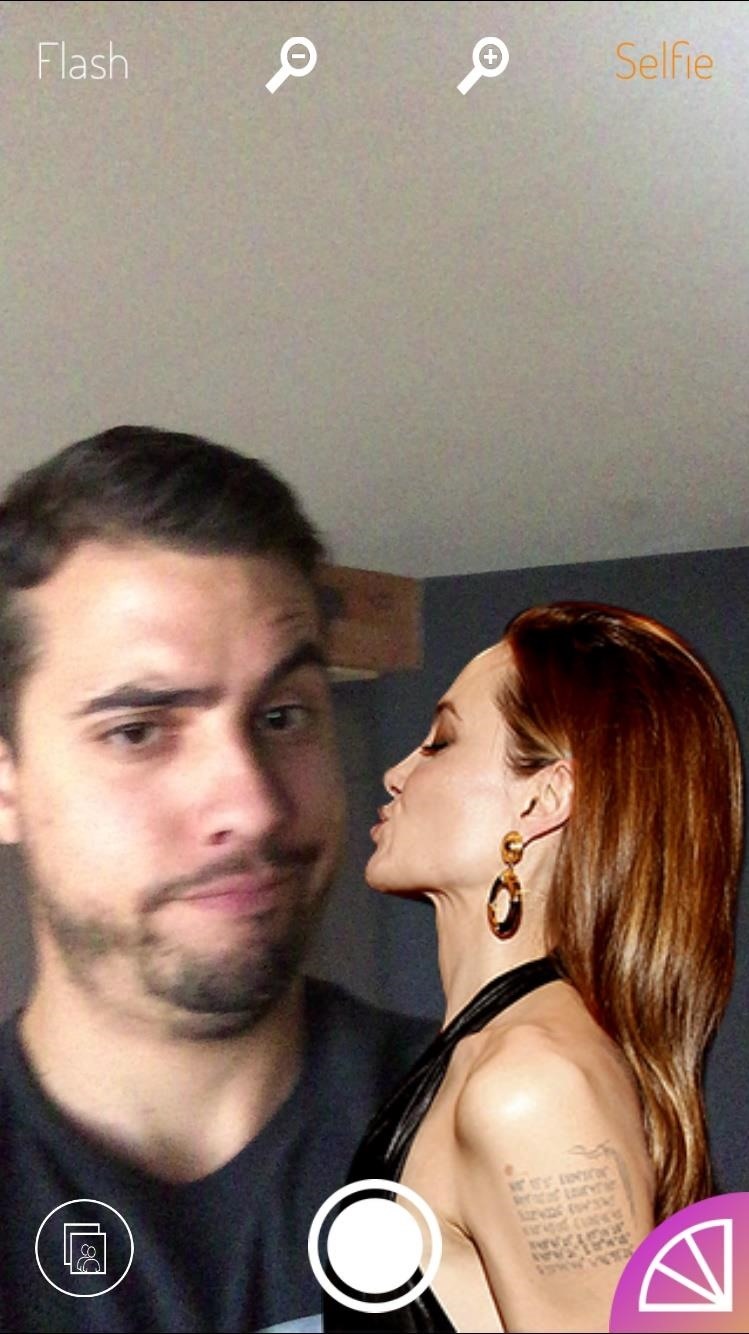
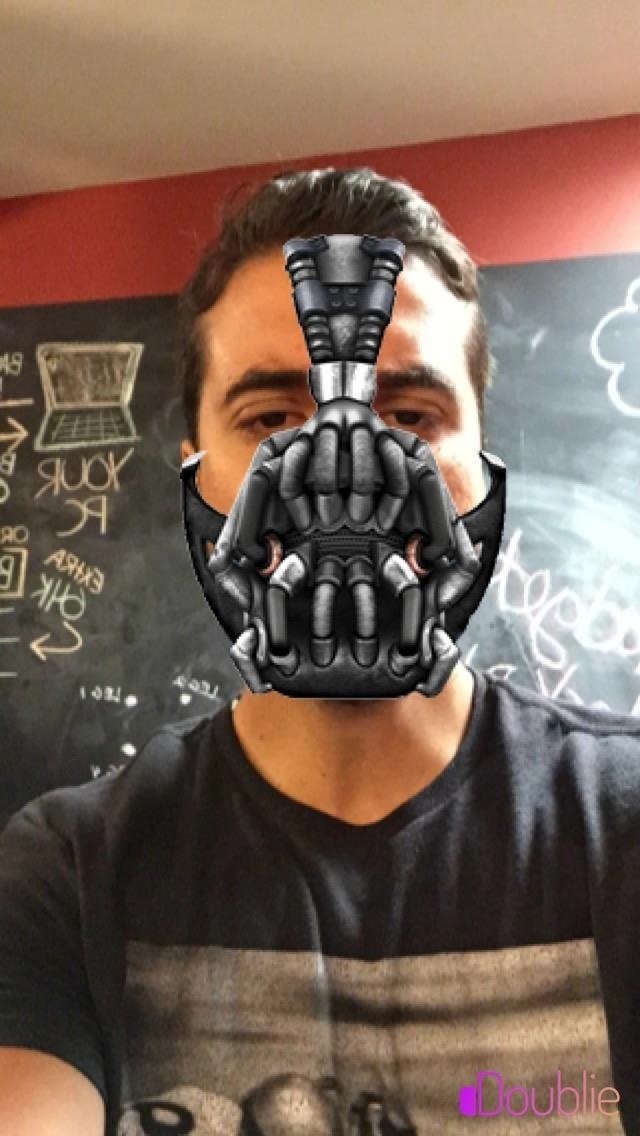
After you’ve chosen your overlay, take a picture (in portrait or landscape) with Doublie, or upload one from your Camera Roll. The Doublie camera interface comes with some basic tools for zooming in, flash, and selfies.
Don’t worry about making the image match perfectly with the overlay, you can edit the composition afterwards.
You can adjust the size of the overlay with pinching gestures, and you can rotate the overlay as well by placing two fingers on it and turning. To adjust the contrast or brightness of the overlay image, use the scales located on the left and right of the screen. With enough tinkering, you can make your selfies look pretty realistic.
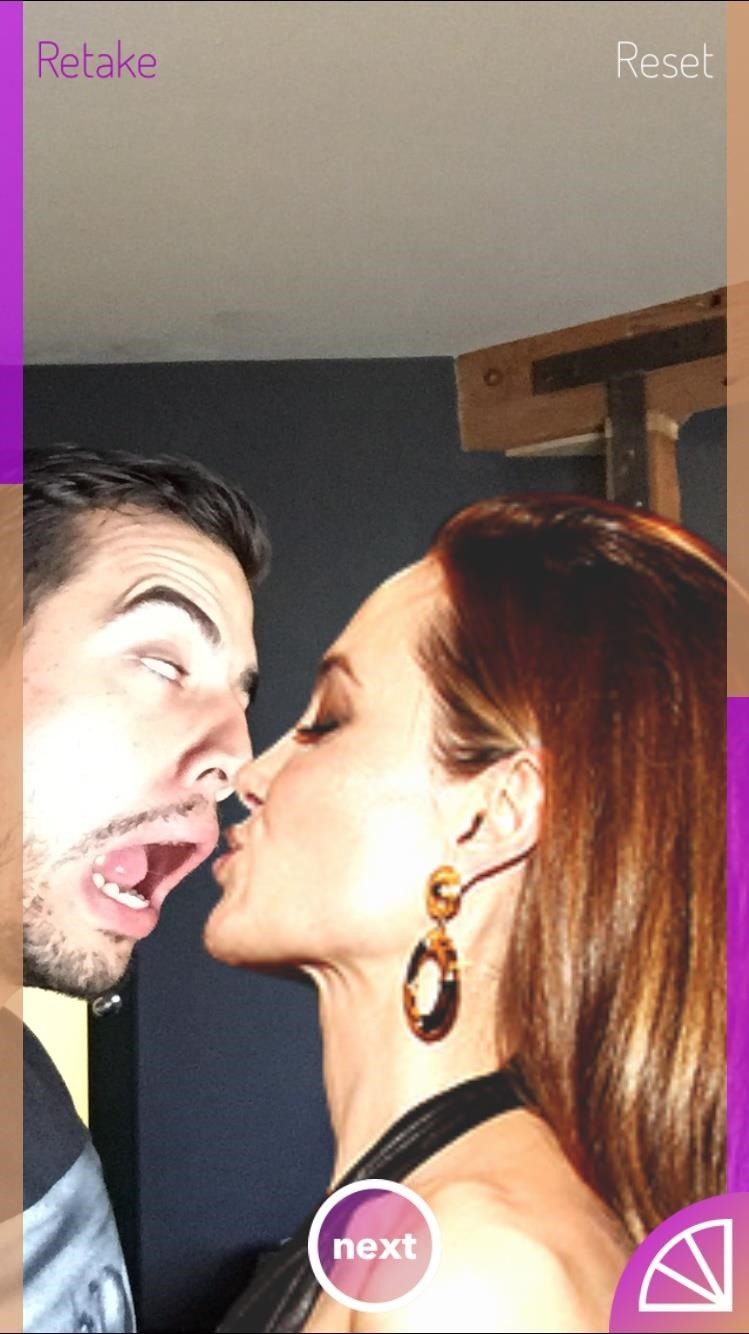
Once you feel confident with your image, select Next and choose where to share it. You can also just tap Done and save it to your Camera Roll.
Step 4: Create Your Own Overlay!
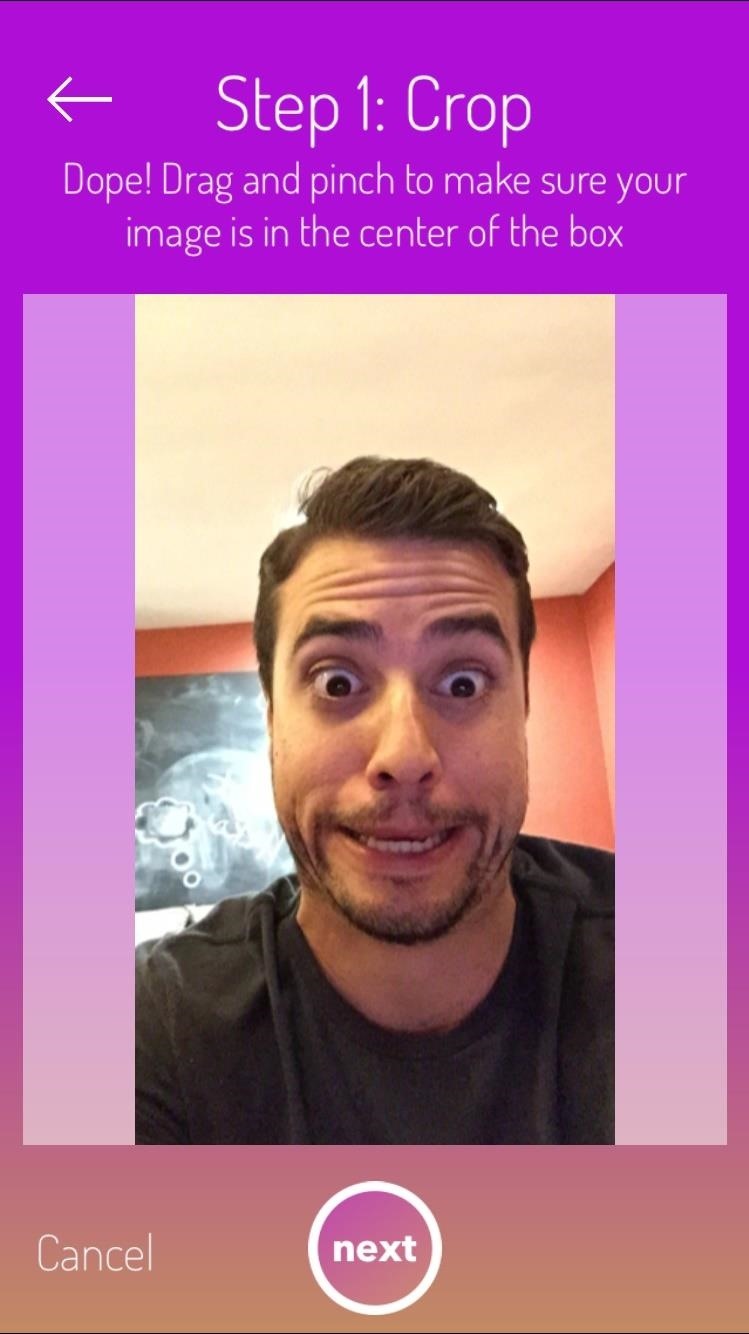
Not satisfied with the built-in options, or have a particular image in mind? It’s easy to create your very own overlay. Just tap the addition sign while the overlay gallery is open, choose an image, and follow the prompts that require you to crop and highlight areas of the chosen image.

The app doesn’t take itself too seriously—and neither should you. Create ridiculous images and share them with friends, as well as with us in the comment section below and on Facebook and Twitter.
Just updated your iPhone? You’ll find new emoji, enhanced security, podcast transcripts, Apple Cash virtual numbers, and other useful features. There are even new additions hidden within Safari. Find out what’s new and changed on your iPhone with the iOS 17.4 update.
“Hey there, just a heads-up: We’re part of the Amazon affiliate program, so when you buy through links on our site, we may earn a small commission. But don’t worry, it doesn’t cost you anything extra and helps us keep the lights on. Thanks for your support!”


