Here’s How to Fix AirPods That Are Too Quiet
Turn your AirPods up to 11.
Quick Links
- Adjust the Volume on Your AirPods
- Clean Your AirPods
- Take the Ear Tip Test
- Switch From ANC or Transparency to Regular Mode
- Turn Off Headphone Safety
- Check the Sound/Equalizer Settings
- Is One AirPod Quieter Than The Other? Here’s The Fix
- Recalibrate Your AirPods’ Volume
- Reset AirPods and Re-Pair With Your iPhone
Do your AirPods sound quieter than they used to? Is one AirPod louder than the other? Here are some tips that will help you turn things up and eliminate volume-related problems.
Adjust the Volume on Your AirPods
Before we dive into the more technical ways to fix your AirPods, let’s check whether they’re at the optimum volume levels and responding correctly when you try to change the volume. If your AirPods are connected to an iPhone, press the volume down button once to see if the earbuds’ volume decreases. Once they respond, try to increase the volume by pressing the volume up button until they’re loud enough for you.
On the off chance that your AirPods don’t respond to the volume button, make sure that your iPhone’s Bluetooth is enabled and that your AirPods have enough power. If you’re confident that your AirPods are charged up, consider rebooting your iPhone to see if it connects properly and if the AirPods start responding to the volume changes.
Given that there’s a possibility that your iPhone’s volume buttons have failed (like mine did), try adjusting the AirPods volume using Siri. Just call the voice assistant and ask it to turn the volume up or down. You can also use the Control Center to modify the volume levels. If you’re using the AirPods Pro (2nd Generation), try using the swipe controls on the stem to turn the volume up or down. On the AirPods Max, there’s a digital crown on the left ear cup that can help you adjust the loudness.
Checking whether your AirPods are responding to the volume buttons is important because it helps us understand whether it’s the volume buttons or the AirPods that aren’t working properly. If you have tried all the ways to increase the volume and yet your AirPods feel exceptionally quiet, here’s what you can do next.
Clean Your AirPods
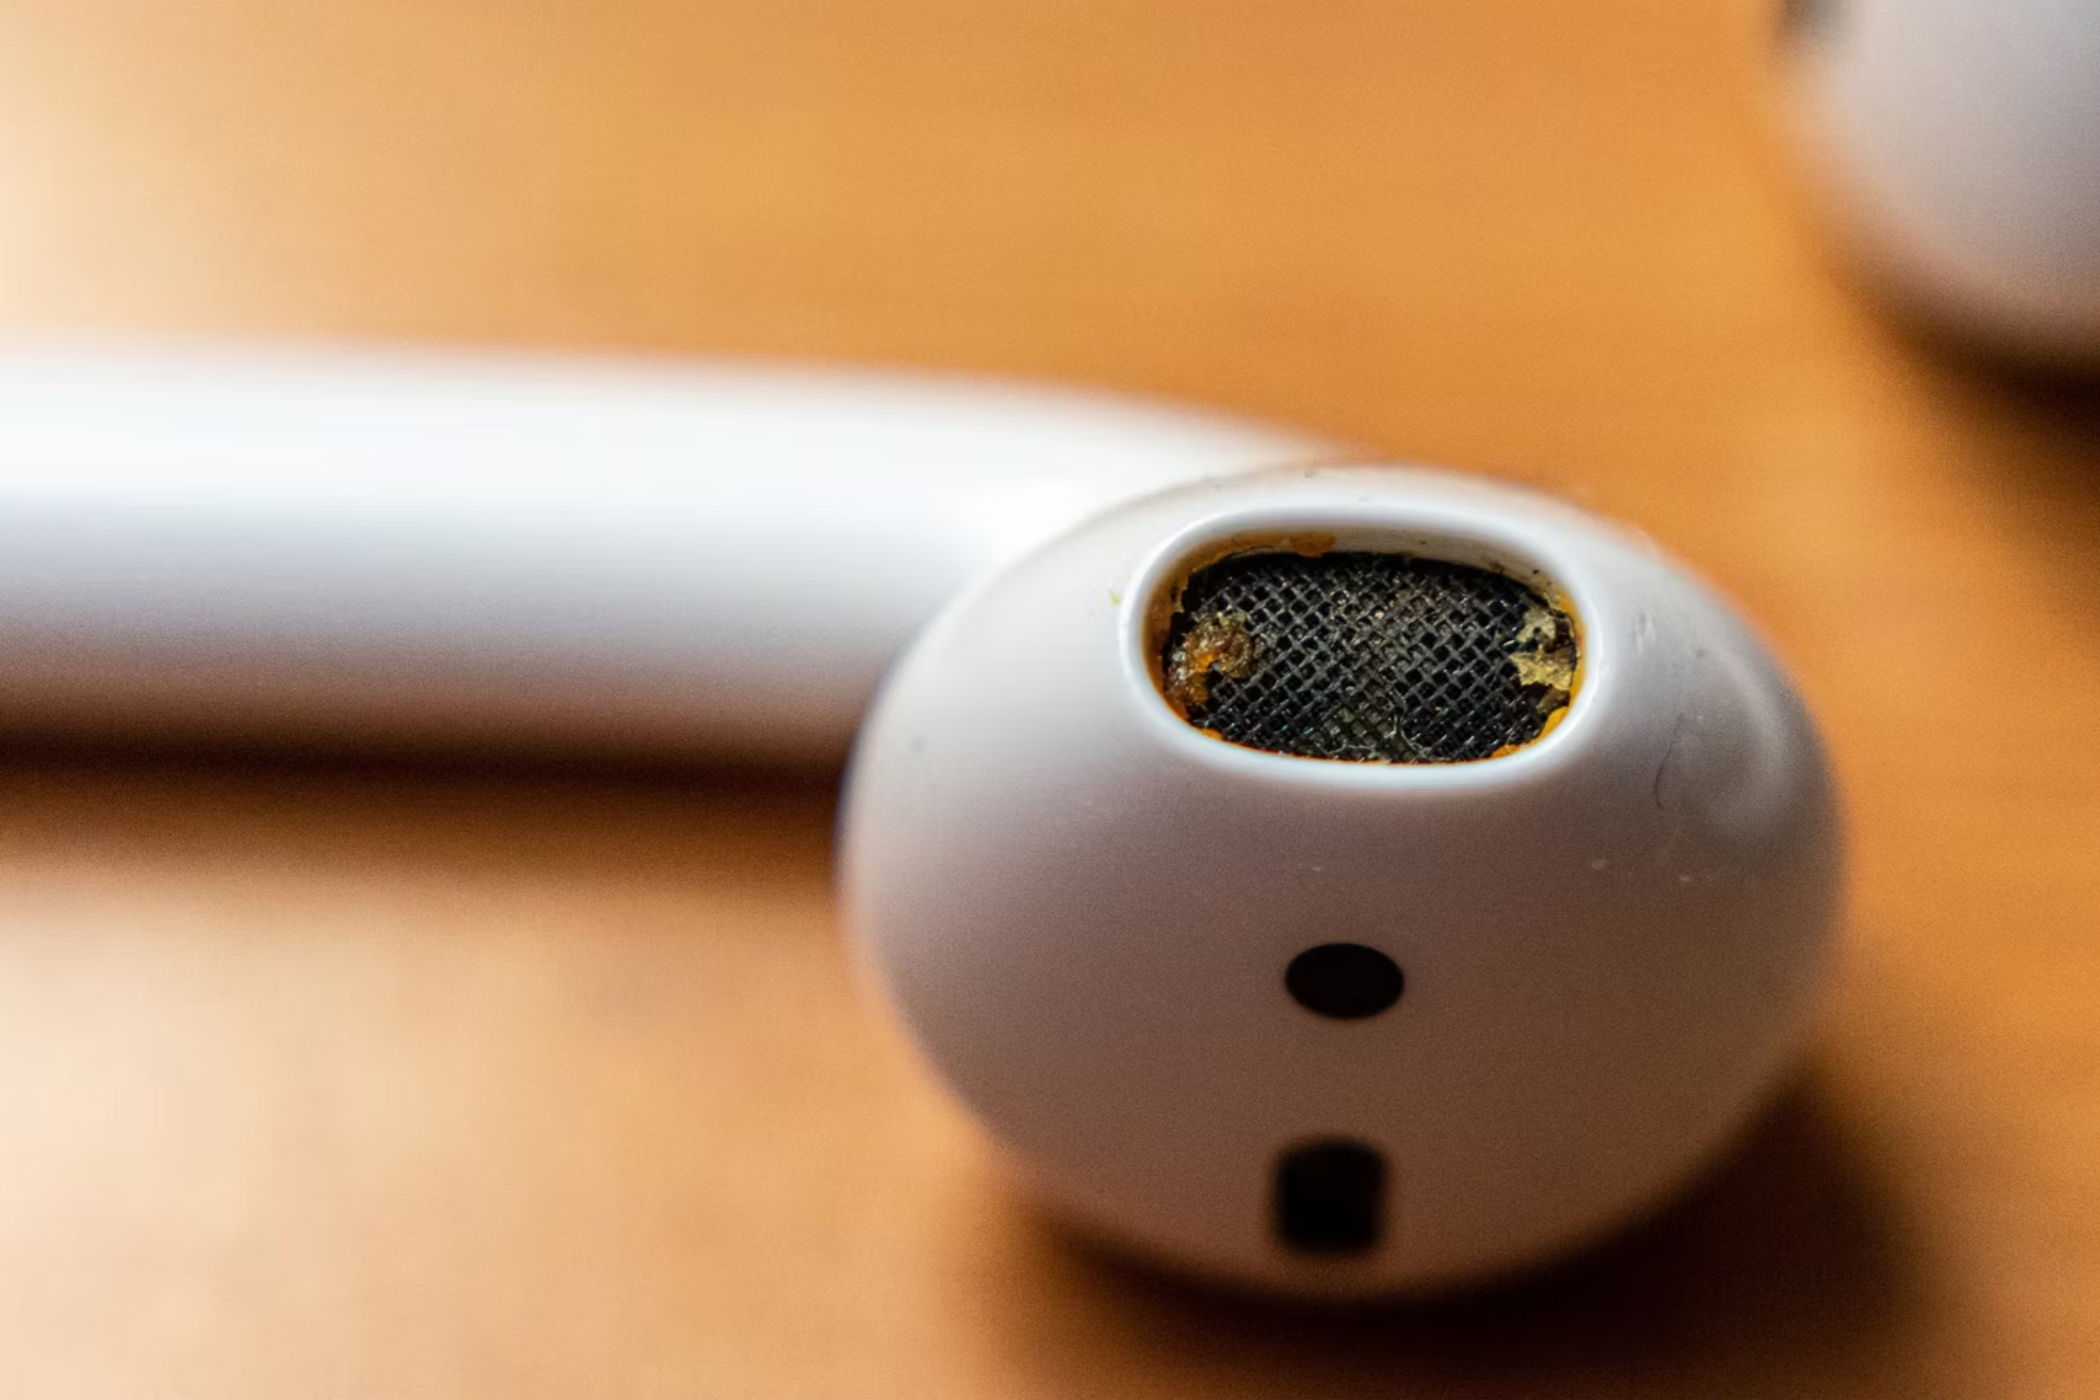
If you haven’t cleaned your AirPods in a while, this is the first thing you should do. Since your AirPods spend most of their time in your ears, they can accumulate earwax, dust, and dirt. While it might not affect the sound quality initially, excessive debris (in the openings through which the driver fires sound) can easily impact the loudness, resulting in AirPods that don’t sound as good.
First, wipe the exterior of the AirPods with a soft, dry, lint-free cloth. If you own the AirPods Pro, remove the rubber tip and clean both sides from the cloth. Use a dry cotton swab to remove any gunk from the speaker meshes and microphone. You can also clean the charging case that comes with the earbuds.
If you’ve exposed your AirPods to anything that might cause stains or other damage, use a 70% isopropyl alcohol wipe to clean the exterior surfaces of your AirPods (the regular version, AirPods Pro, or the AirPods Max). However, Apple advises against using alcohol wipes on the knit mesh canopy and ear cushions on the AirPods Max.
For the AirPods Max’s ear cushions, use a lint-free cloth dipped into a liquid detergent mixture to wipe them, along with the headband, for one minute each. However, if you’re doing this, make sure that you dry any excess moisture before you put back the cushions and start using the headphones.
A word of caution: do not submerge or run the AirPods under water. Unlike iPhones, they aren’t water-resistant, and you might damage the device permanently.
Take the Ear Tip Test
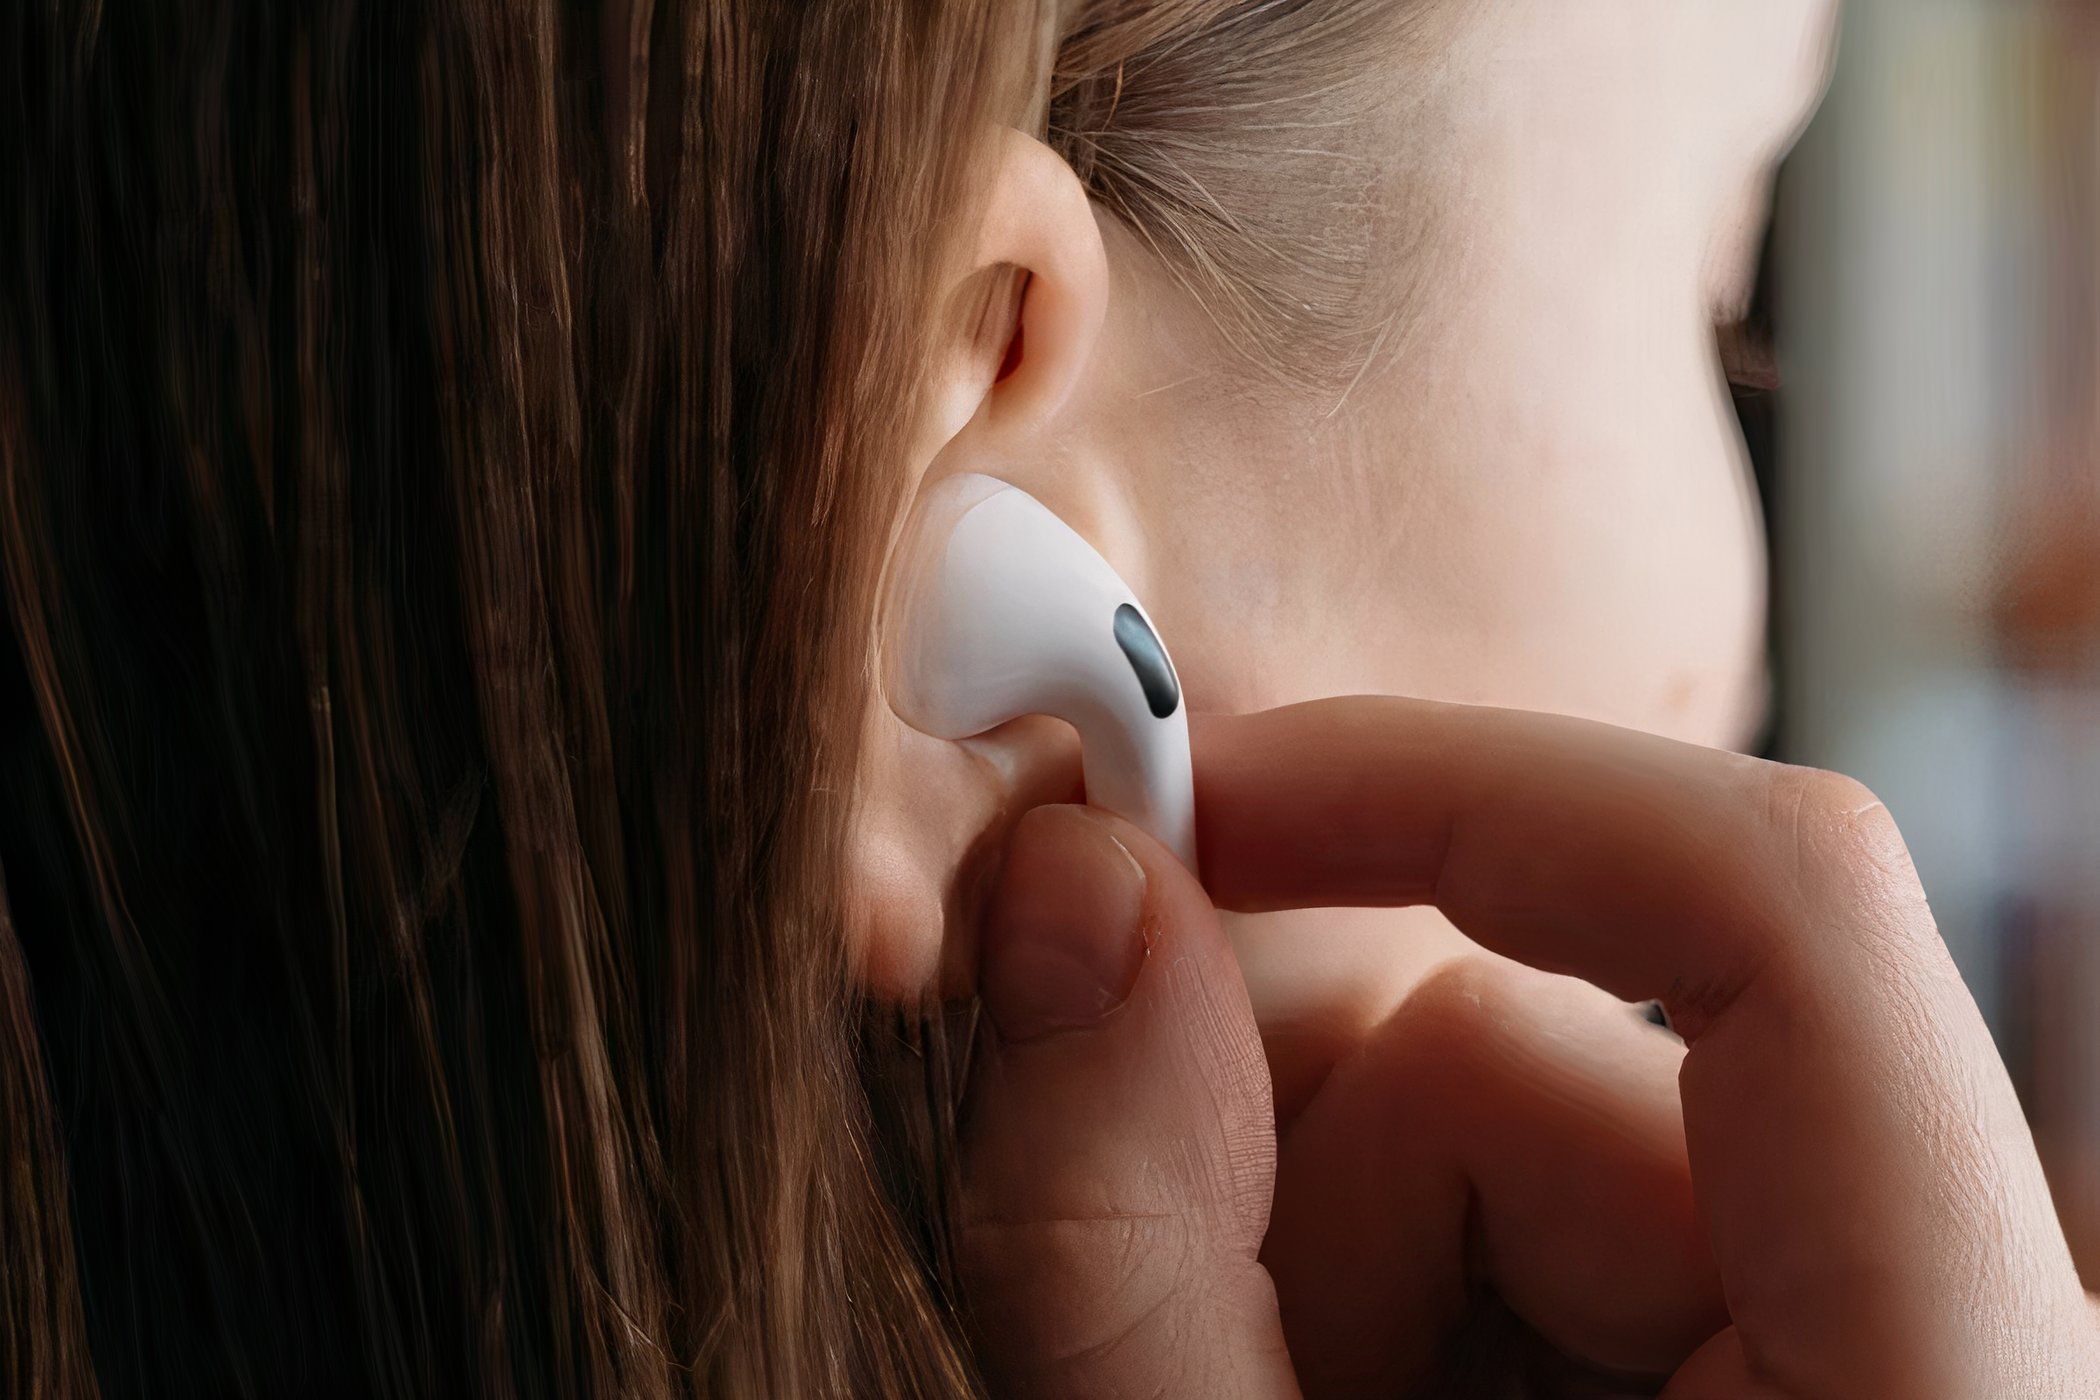
To ensure that you’re using the right ear tip and that there’s no sound leakage from your AirPods Pro, take the Ear Tip Test. You see, using the wrong ear tip can result in reduced sound quality, making you want to increase the loudness for a better listening experience.
Connect your AirPods Pro to your iPhone and put them in your ears. Go to Settings > [Your] AirPods and hit the info icon.
Swipe to the bottom of the page and tap on “Ear Tip Fit Test.”
Hit “Continue” and then hit the play button on the next screen.
If the test suggests that the ear tips you’re using are a good fit, that’s good. Otherwise, try using a different ear tip as per the recommendation.
Switch From ANC or Transparency to Regular Mode
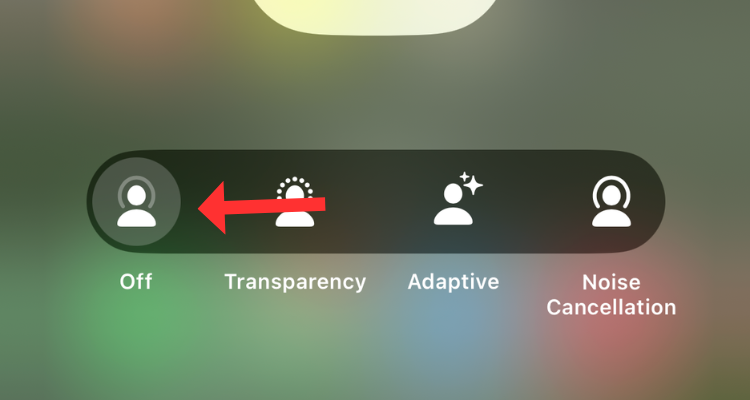
The AirPods Pro and AirPods Max feature three listening modes. First, there’s the noise cancelation mode that reduces the level of background noise. Then there’s the transparency mode that captures the environmental sound from the microphone and relays it in your ear. Last but not least, there’s the regular listening mode, which relies on passive noise cancelation and AirPods’ sound quality to deliver a balanced experience.
However, sometimes, the noise-canceling or transparency mode of your AirPods can degrade the overall sound quality, negatively impacting the loudness and clarity. Hence, if you’ve enabled ANC or Transparency Mode, try switching it off to see if the AirPods become any louder. For this, head to the Control Center by swiping down from the top-right corner of your iPhone and iPad, press and hold the volume slider, and select the required mode.
On a Mac you’ll find this option in the top-right corner of the screen, just click on your AirPods under “Sound” and choose which listening mode you want to use.
Turn Off Headphone Safety
Headphone Safety is enabled on all iPhones with iOS 14. It automatically measures audio levels to protect your hearing. If you exceed the recommended seven-day limit (based on the safe listening guidelines set by the World Health Organization), the feature sends you a notification. Along with the loudness alert, the feature also lowers the overall volume to a particular decibel level. By default, the audio level is reduced to 85 decibels, about as loud as heavy street traffic.
If your AirPods don’t sound as loud as they used to, you’ve probably already seen this alert in the notifications section. It’s possible that your iPhone has reduced the default volume levels to reduce your loudness exposure. While we’re with Apple on this, as constant exposure to loud noise can cause hearing loss, you might want to turn up the volume on certain occasions.
Here’s how you can disable the Headphone Safety feature and restore your AirPods’ loudness.
Go to Settings > Sound & Haptics.
Hit “Headphone Safety.”
Turn off “Headphone Notifications” and “Reduce Loud Audio.”
Check the Sound/Equalizer Settings
If you’ve started noticing lower loudness on your AirPods after fiddling with Apple Music’s EQ settings, you’ve probably set the equalizer to an unsuitable profile that’s distorting the audio or suppressing certain frequencies. In other words, you simply don’t like the equalizer setting, and turning it off would probably help.
Go to Settings > Apple Music.
Select “EQ” and, n the following menu, select “Off” (it’s the first option). Now check if the AirPods sound better.
If you’ve enabled Dolby Atmos, disable the setting and see if the AirPods feel louder than before.
In the same menu, turn off “Sound Check.”
If you’re using your AirPods with a Mac, go to Music > Settings > Playback and disable “Sound Enhancer” and “Sound Check.”
Is One AirPod Quieter Than The Other? Here’s The Fix
If one AirPod is quieter than the other, chances are that the audio balance isn’t at the center. This is one of the most common problems faced by AirPods users. More often than not, the problem stems from momentary glitches or unbalanced stereo settings. Luckily, there are two ways to fix this issue.
If the issue stems from a glitch, removing the AirPods from your ears and putting them back in can fix it. You can also try putting your AirPods back in the charging case, waiting for a few seconds, and then taking them out again to ensure a perfect sync.
If the problem is more stubborn you might need to manually fix the unbalanced audio. To do this, open the “Settings” app and select “Accessibility.”
Scroll down and tap “Audio & Visual.”
Check the slider’s position under “Balance.” If it isn’t at the center, drag it to the middle of the bar so that the value on top of it reads “0.00.”
Recalibrate Your AirPods’ Volume
Using your AirPods with different devices, such as your iPhone, iPad, and MacBook, might lead to a mismatch in the maximum and minimum volume levels. However, you can recalibrate your AirPods to get the maximum loudness.
When your AirPods are connected to your iPhone, play something on a music streaming app. As the audio track plays, press the volume down button until muted. Now, disconnect your AirPods by disabling Bluetooth through the Control Center. Now, replay the music (it should come from your iPhone’s speakers). Again, turn down the volume to zero. Now, open the Control Center, enable Bluetooth, and reconnect your AirPods.
Reset AirPods and Re-Pair With Your iPhone
If nothing works, it is time to reset your AirPods to factory settings. For this, insert your AirPods in their charging case and shut the lid. Wait for about 30 seconds, then take the AirPods out of their case and put them in your ears. Now, go to Settings > Bluetooth > [Your] AirPods, hit the info icon, and then select “Forget This Device.” Tap on Confirm to initiate the process.
Once you’ve removed the AirPods from the list of connected Bluetooth devices, put the AirPods back in their charging case, but this time, keep the lid open. Simultaneously, press and hold the setup button on the charging case until you see the status light on the case flash white. Finally, bring your AirPods (in the charging case) close to your iPhone, and within seconds, you should see a pop-up appear on the phone’s screen. Follow the on-screen instructions to connect the AirPods with your iPhone.
Hopefully, your AirPods are now sounding louder. If resetting your AirPods doesn’t fix the issue either, I suggest you book an appointment with Apple Support and have the device diagnosed professionally. Apple can test your AirPods and let you know what steps you can take to fix the issue.


