A few months ago, LlabTooFeR leaked a full system dump from Google’s then-unreleased Pixel and Pixel XL smartphones. That may not seem like a big deal at first glance, but the system dump contained all of the preinstalled apps and services from Google’s new flagships—including the much-anticipated Google Assistant.
Once they had this information, it didn’t take long for the tinkerers on XDA to find a way to get Google Assistant working on other devices. As it turns out, you only need to make a simple build.prop edit to get Google Assistant working on almost any device running Android Nougat, so you can try the latest in AI tech right now.
UPDATE: We found a method that should work on devices running Android 6.0 Marshmallow, so if that’s you, skip ahead to the “Method 2 Requirements” section below.
Method 1: Requirements
- latest version of the Google App installed (6.5.35.21 or higher)
- Android 7.0 or higher
- rooted Android device
- root-enabled file browser
Step 1: Edit Your Build.Prop File
For this first part, you’ll need a root-enabled file browser with text editing capabilities. Aside from that, start by heading to the /system/ folder from the root directory of your device, then make sure to mount it as read/write so that you can make changes to the files it contains. From there, long-press the build.prop file, then choose “Open with text editor” or similar from the context menu.
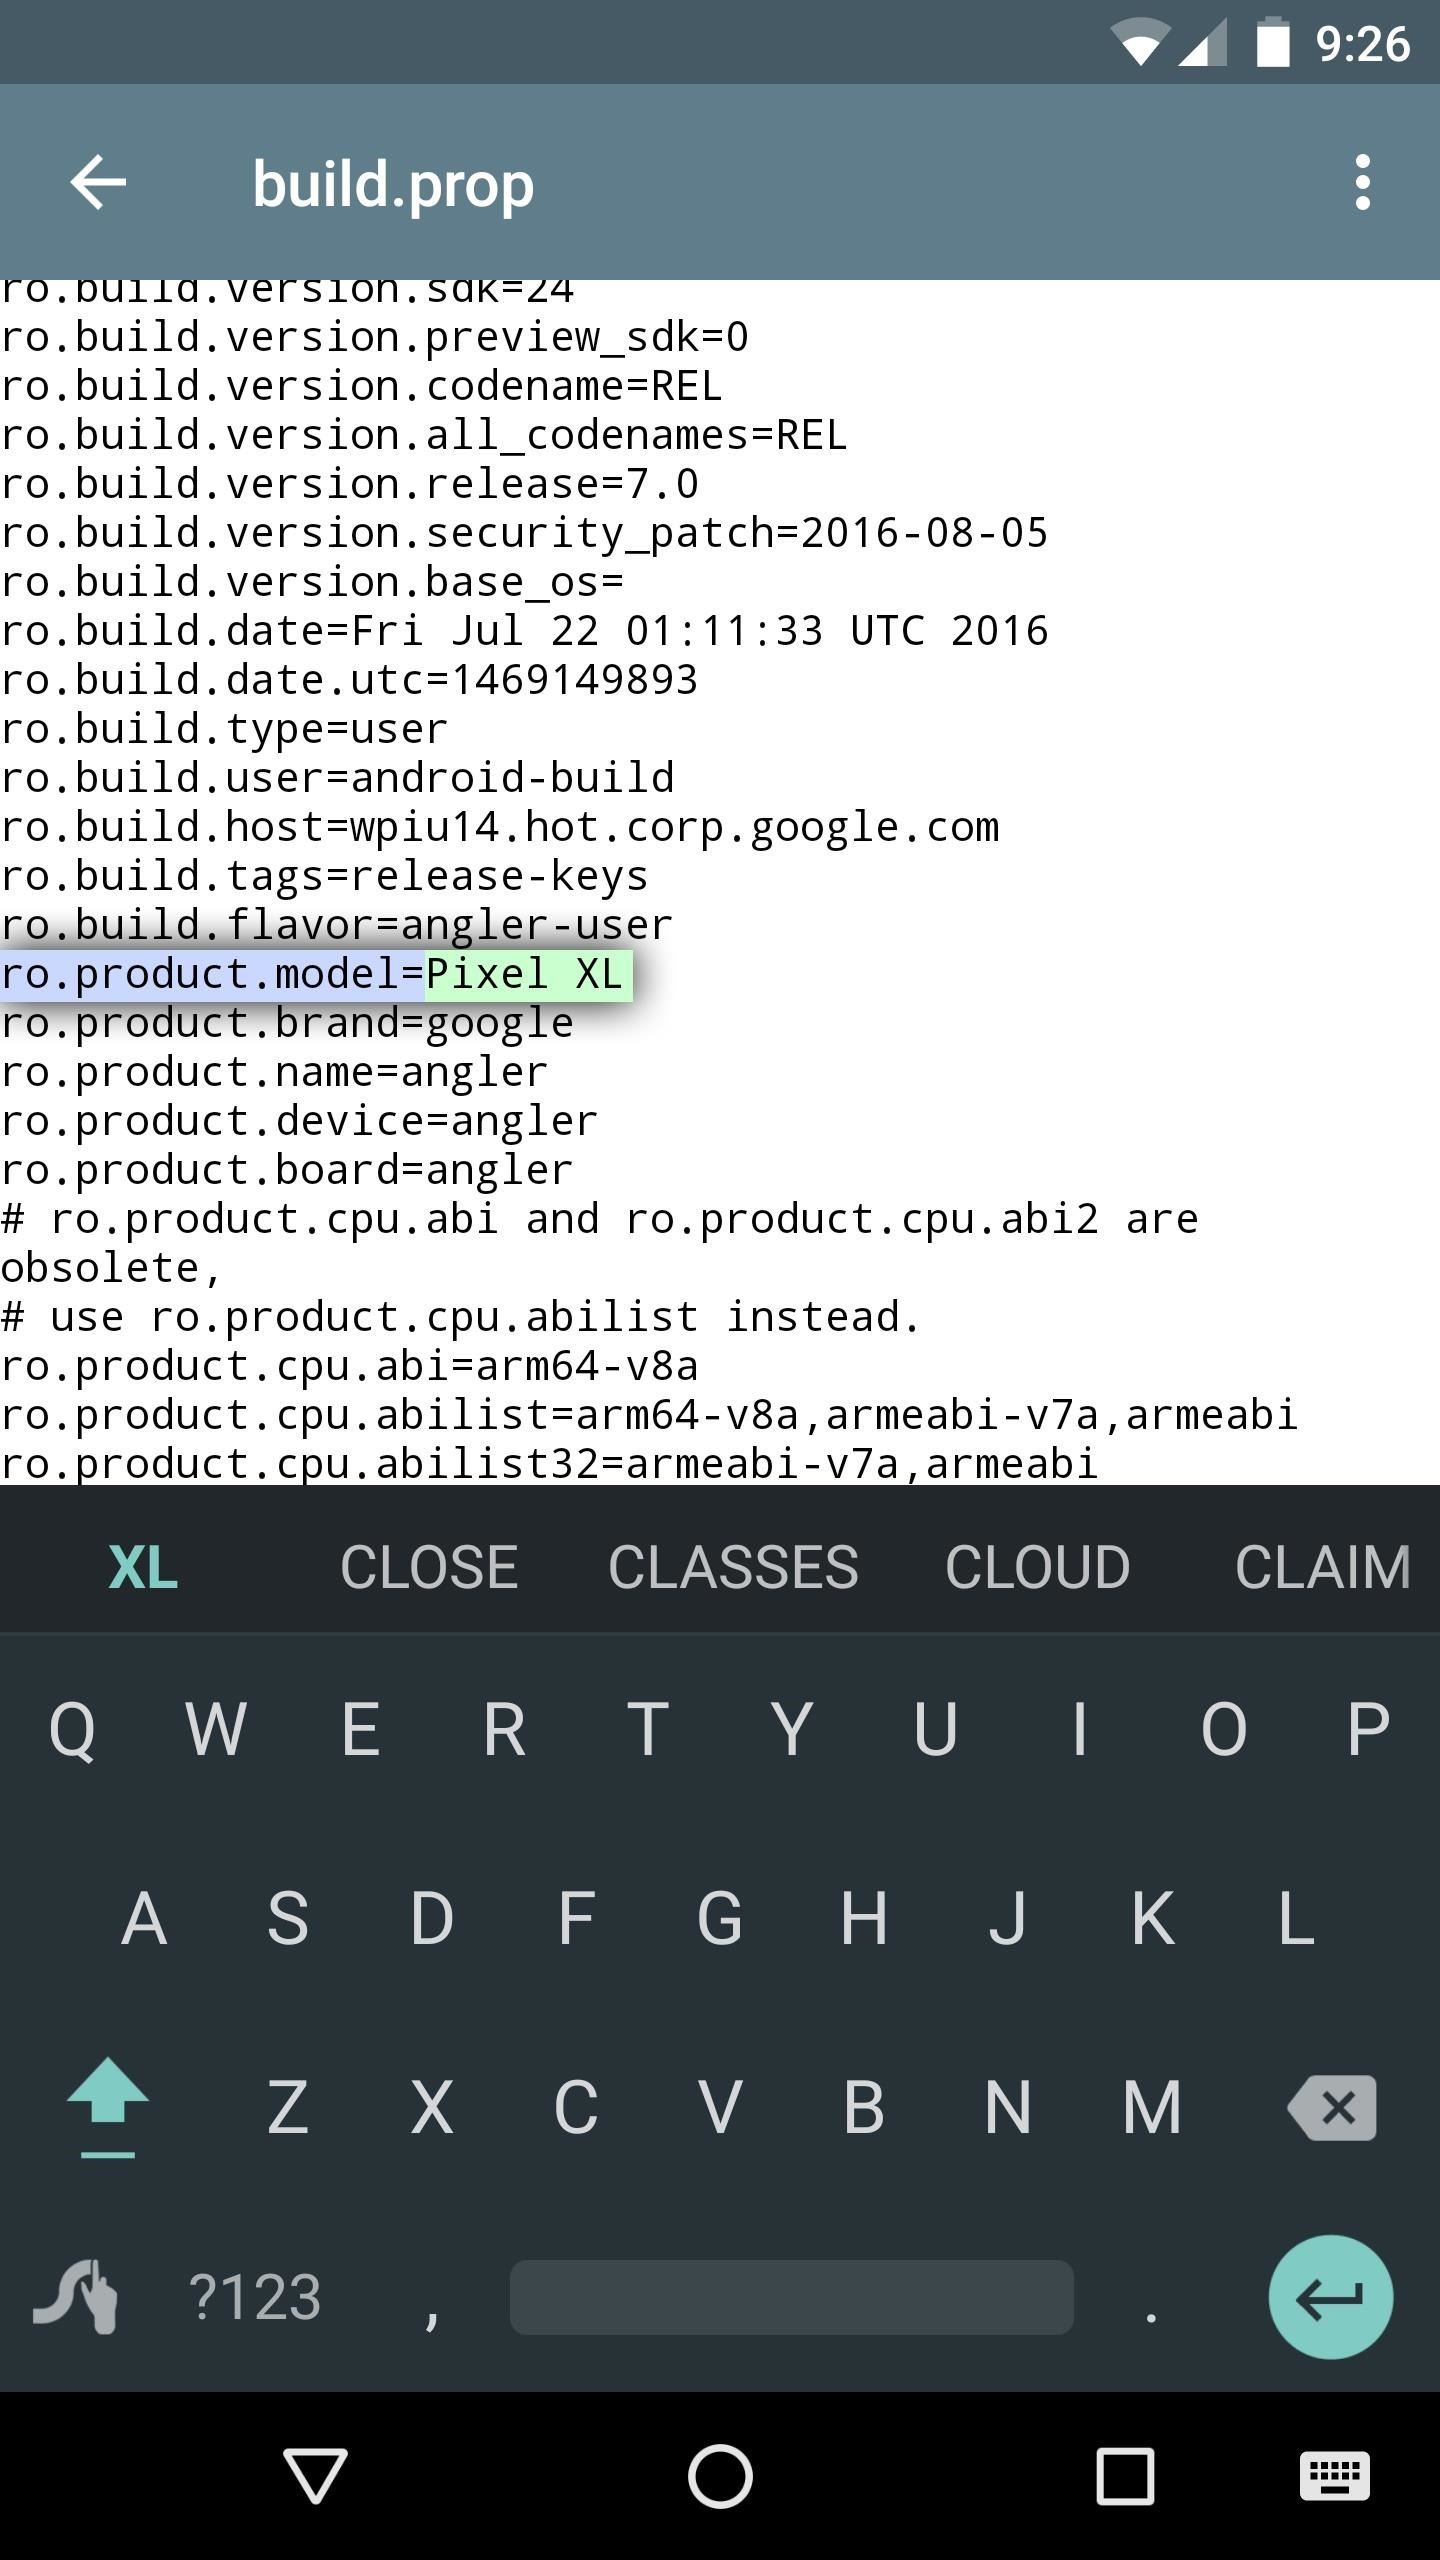
Next, scroll through until you find a line that starts with ro.product.model=. Delete everything after the = sign, then replace it with “Pixel XL.” In the end, this line should read:
- ro.product.model=Pixel XL
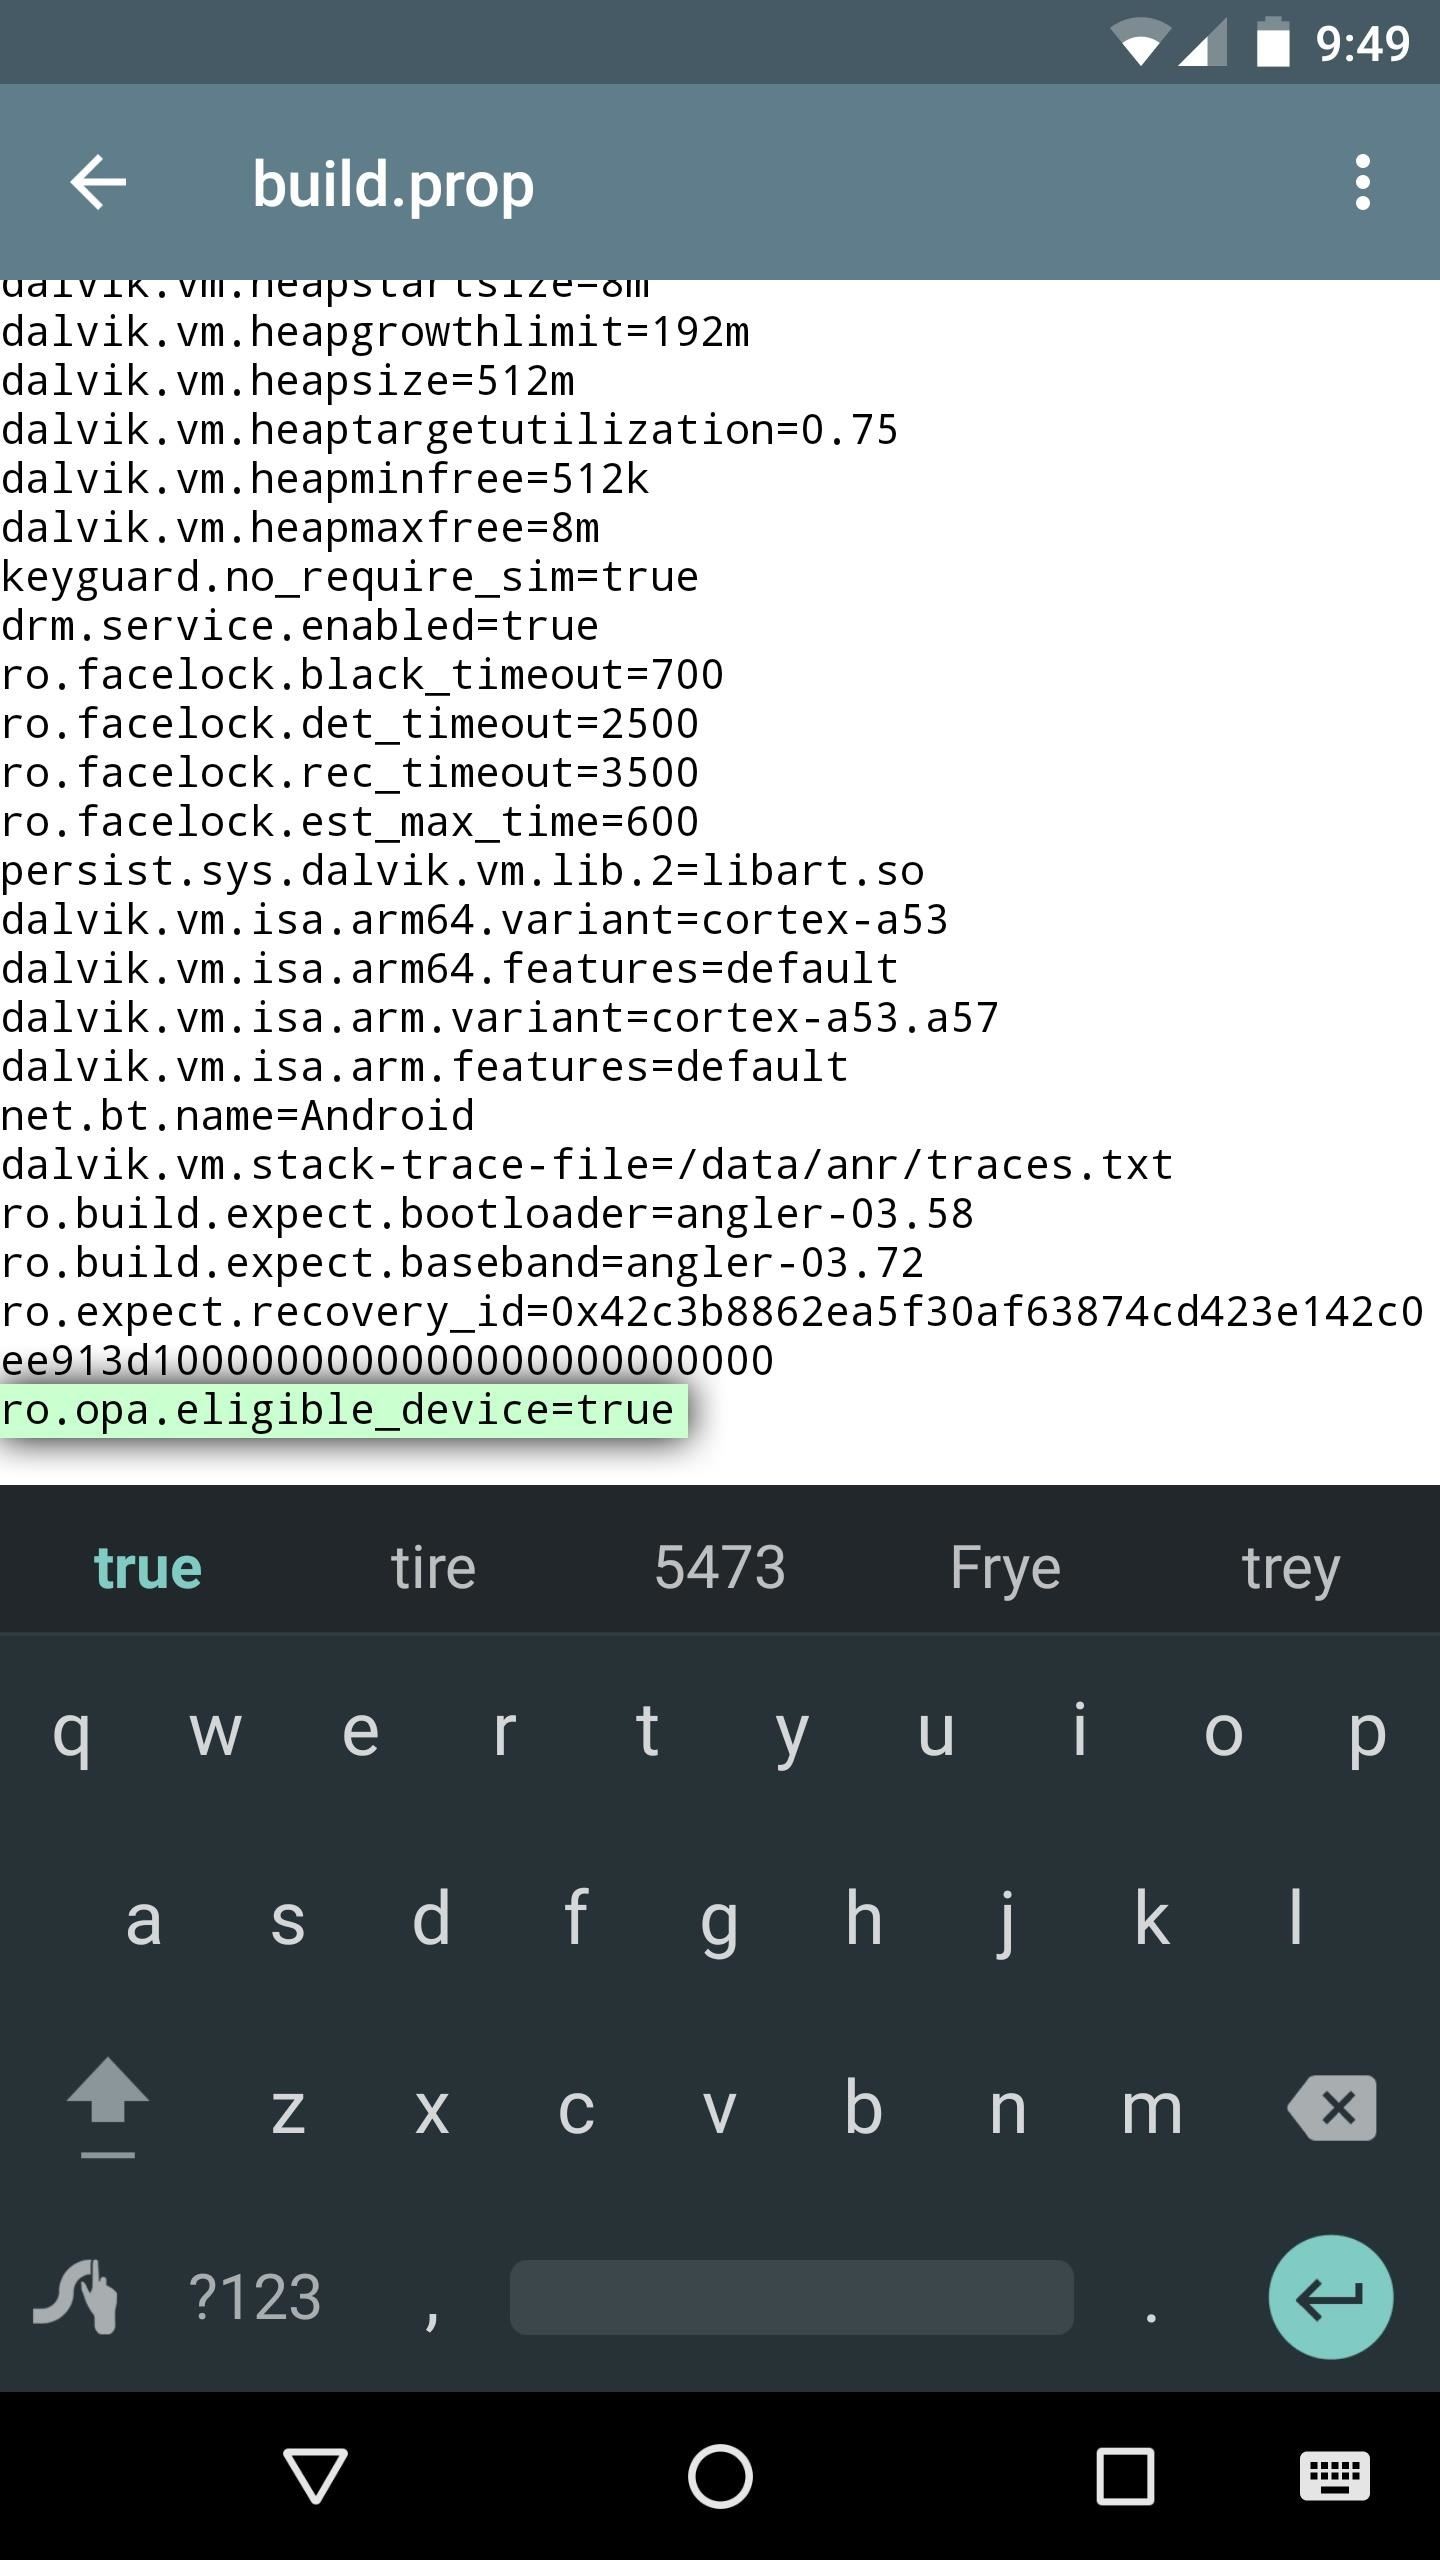
With that out of the way, scroll down to the bottom of the list and add a new line. From here, type the following text:
- ro.opa.eligible_device=true
Once you’ve added that, make sure to save the updated build.prop file.
Step 2: Reboot & Clear Data on the Google App
After editing your build.prop file, reboot your device so that the changes will take effect. When you get back up, you can try accessing Google Assistant by long-pressing your home button, but chances are, you’ll still see the old Now on Tap screen.
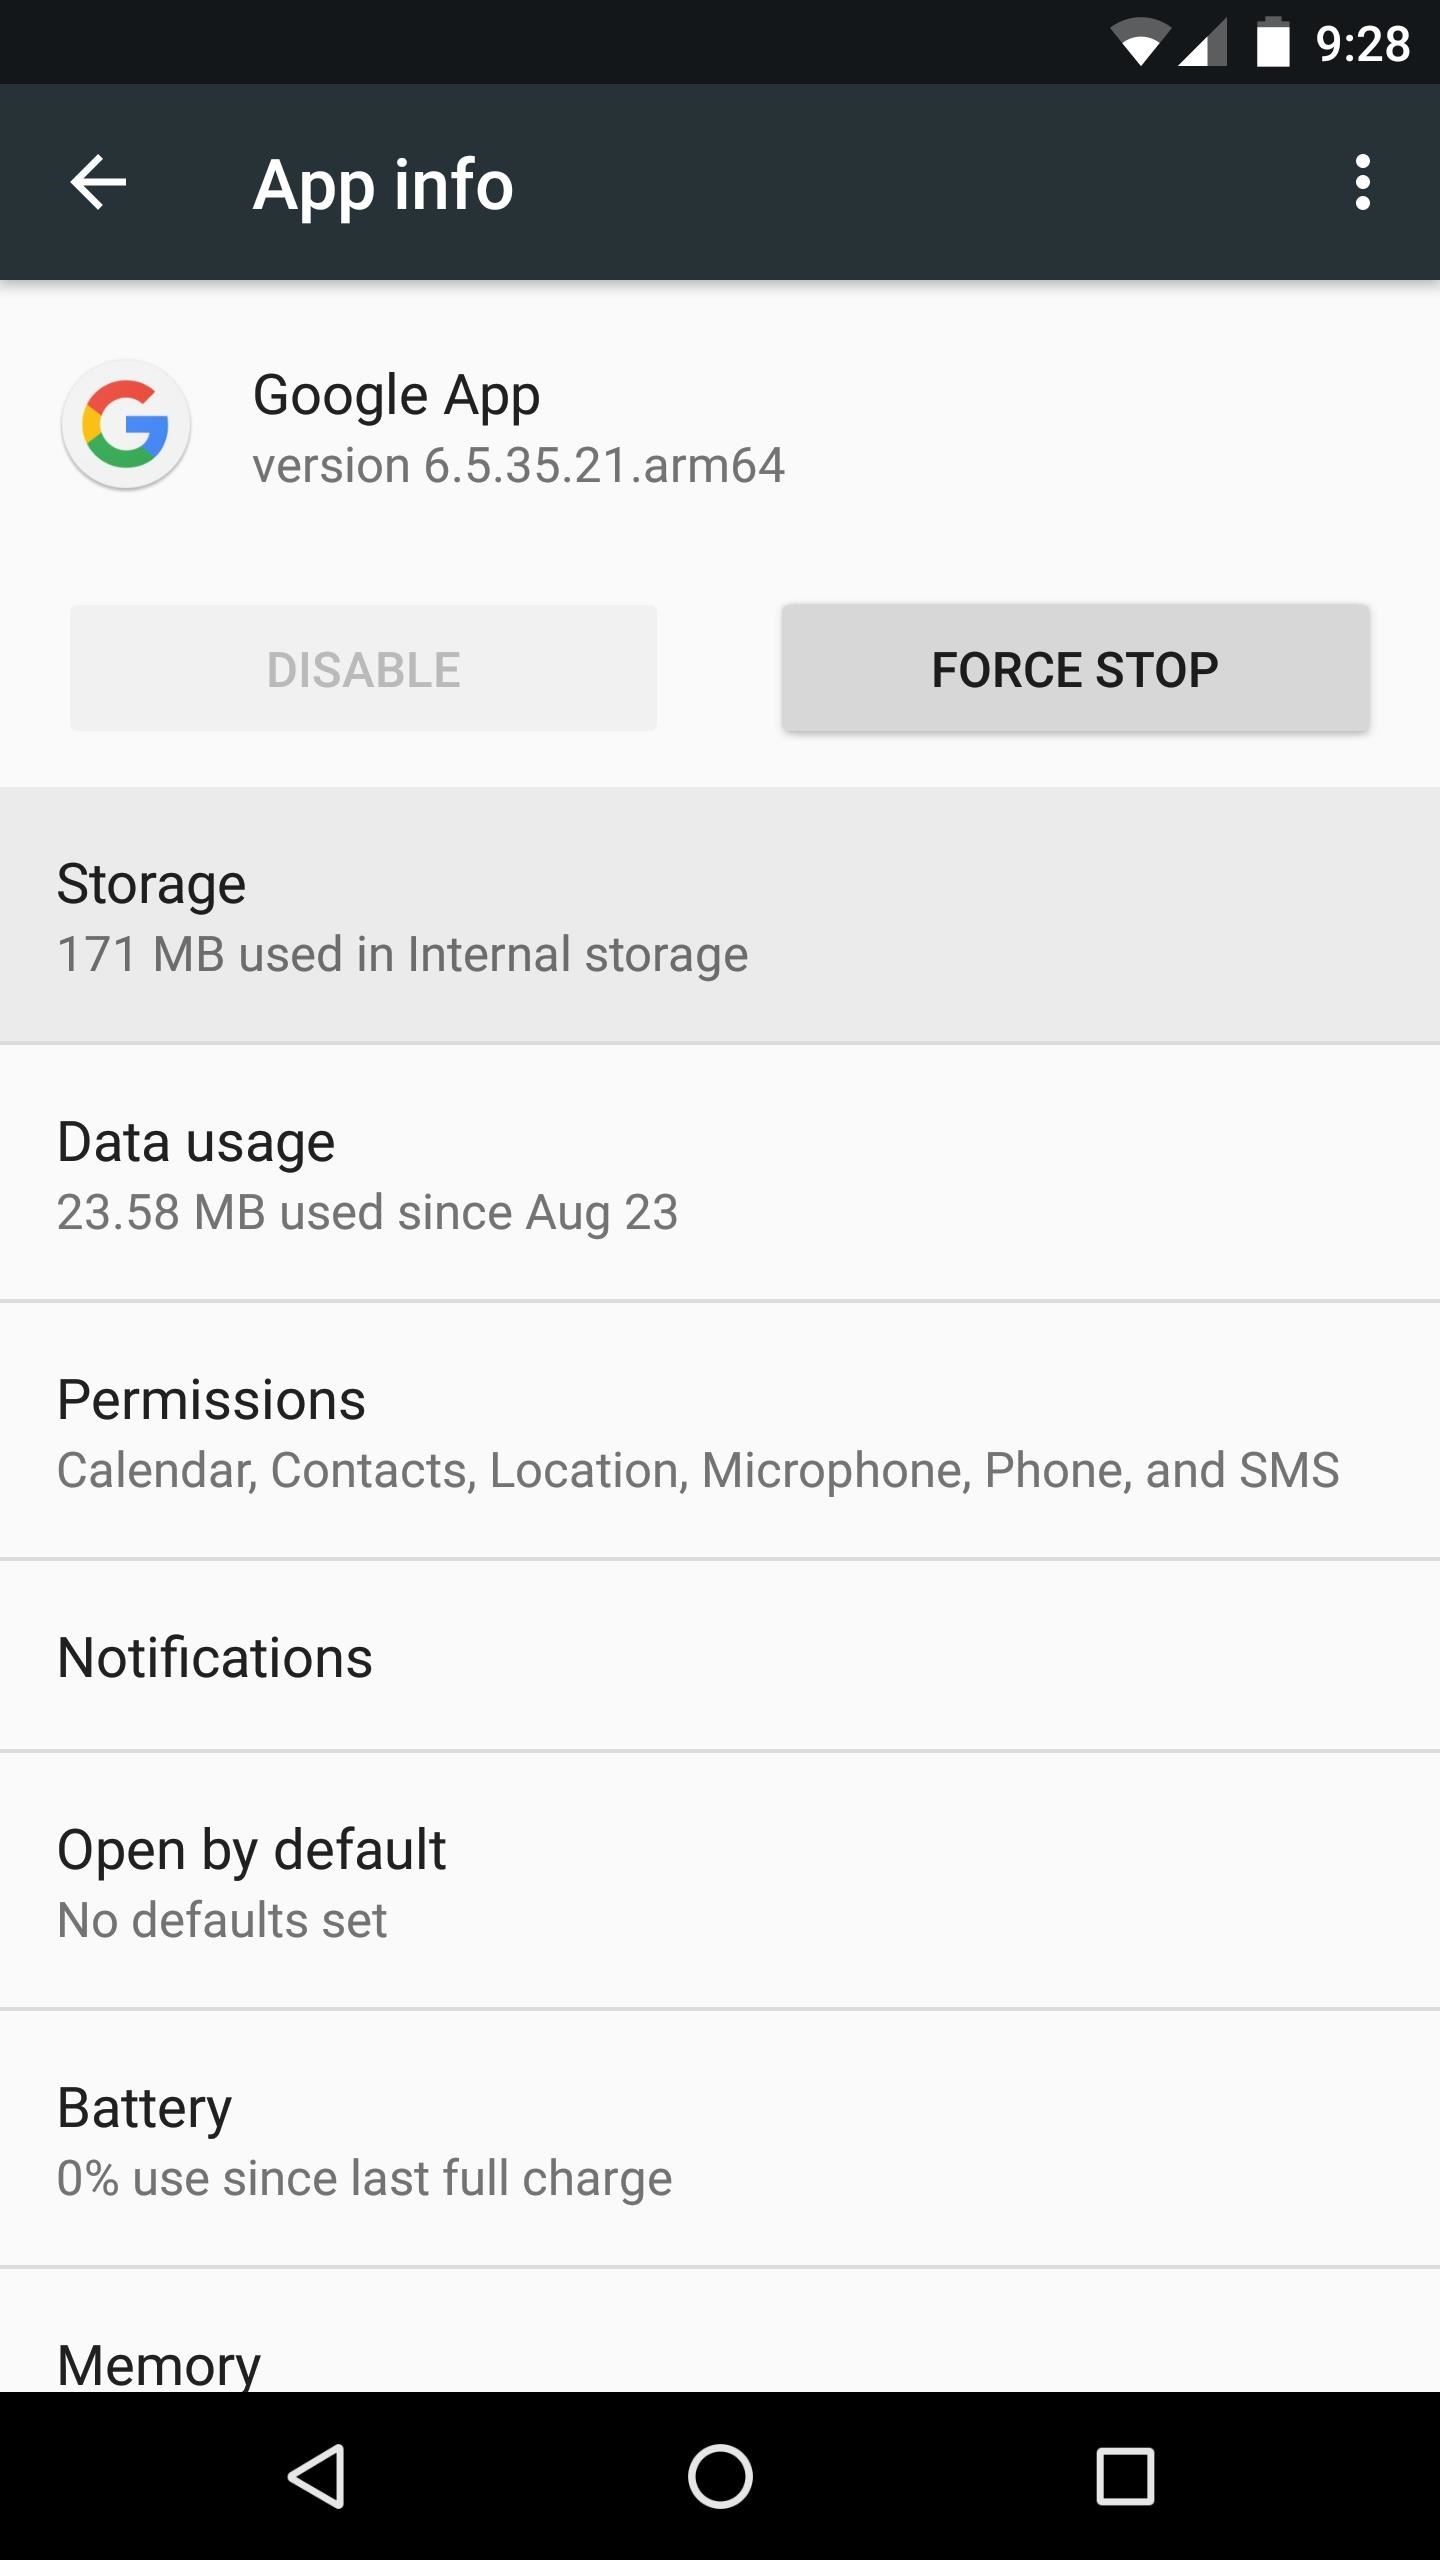
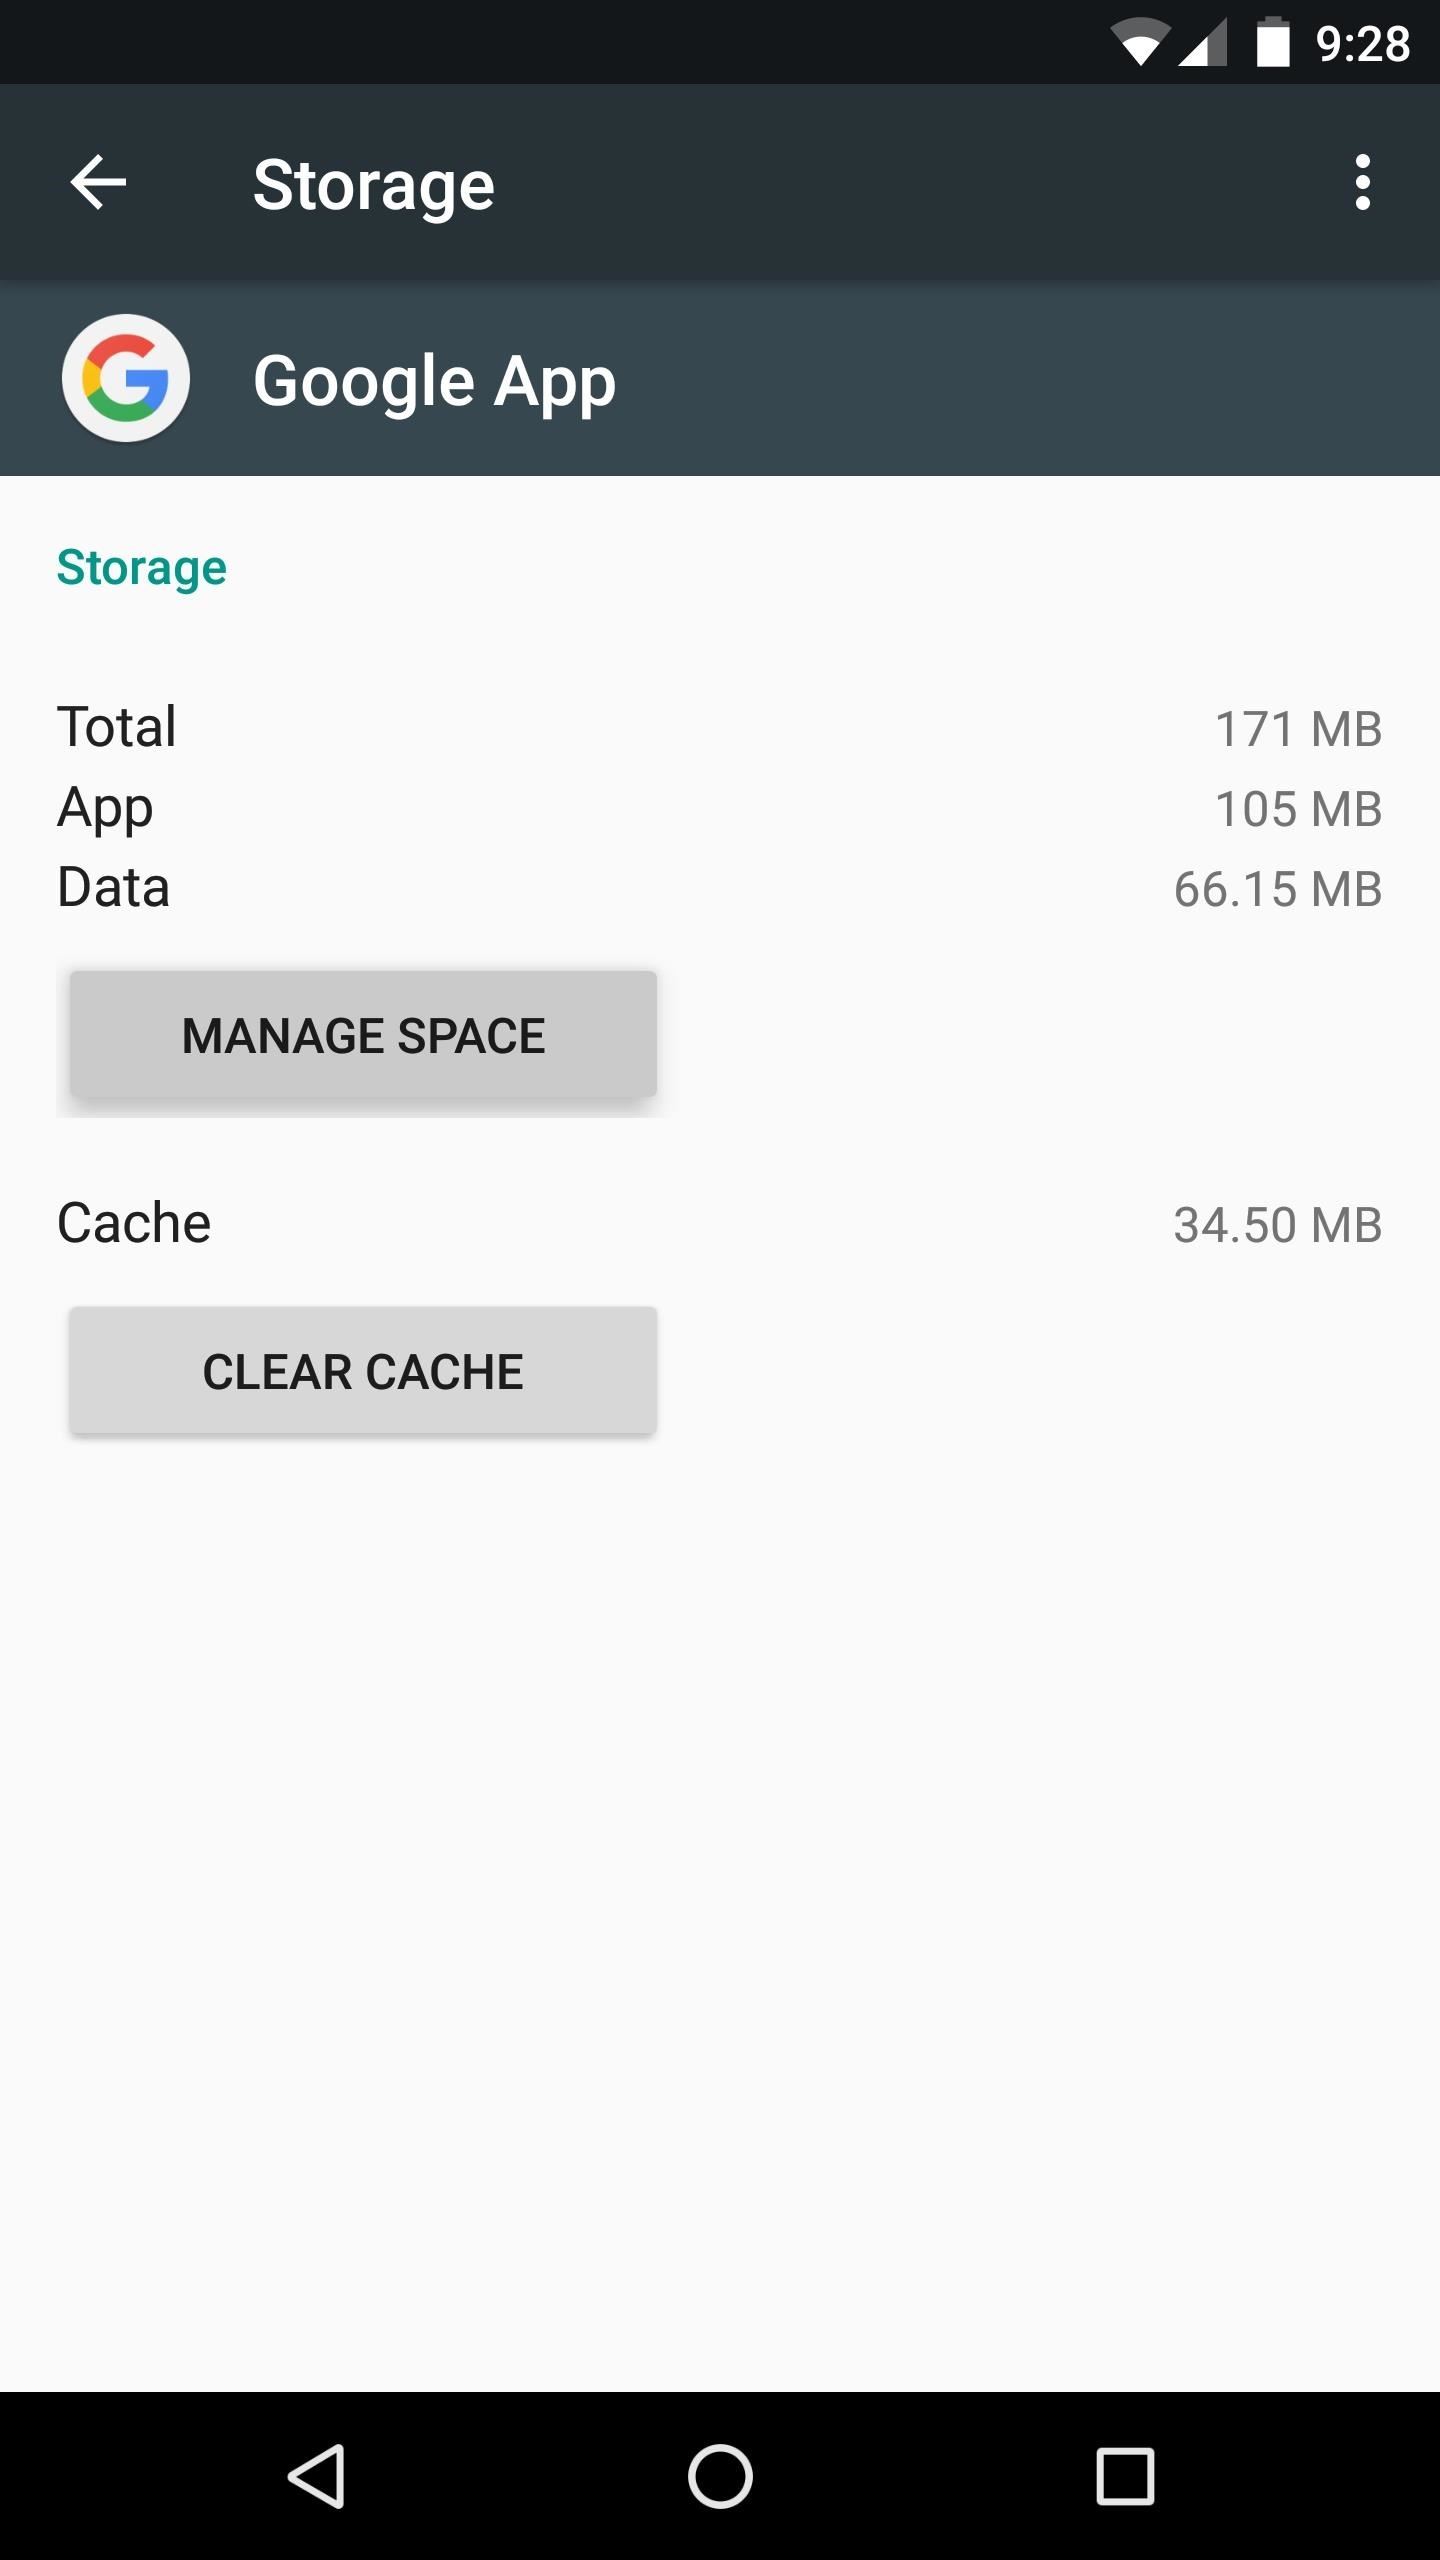
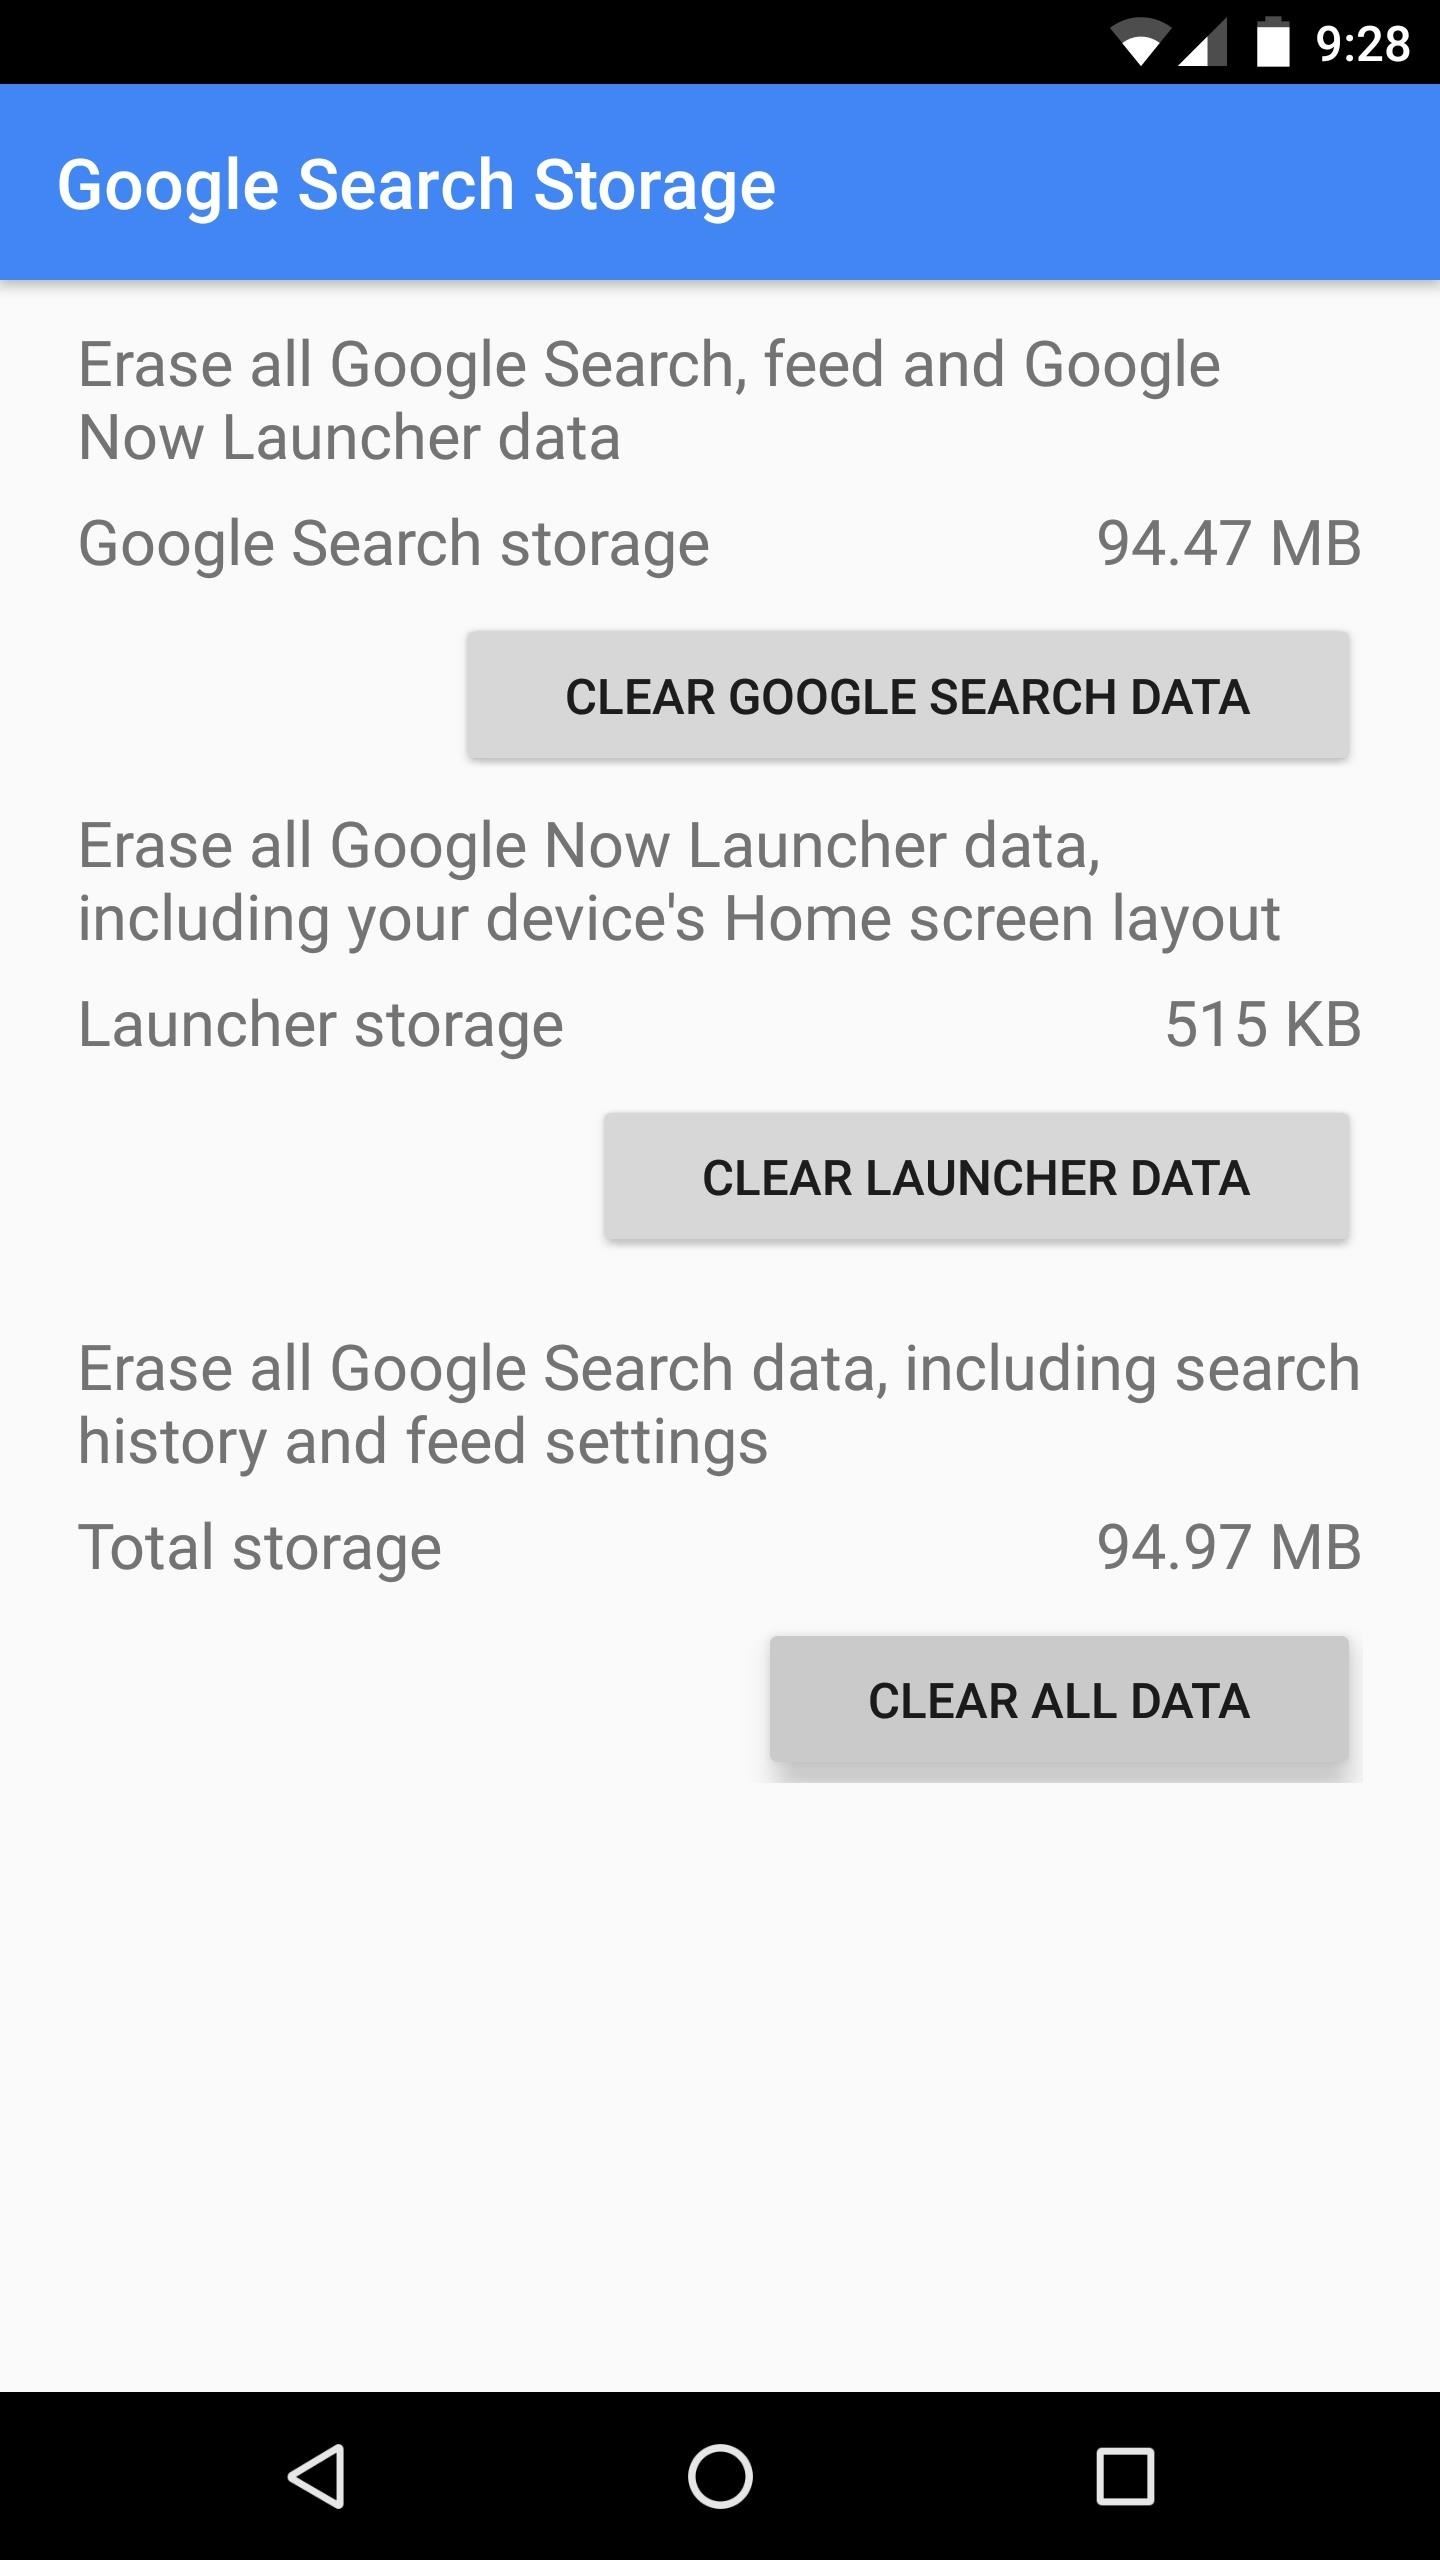
So if you’re still not seeing Google Assistant yet, head to the Apps menu in Settings, then select “Google App” from the list. From here, select “Storage,” then tap “Manage Space” on the following screen. Finally, tap the “Clear All Data” button, then you’ll be all set to go.
Step 3: Enjoy Google Assistant
At this point, you should be all set to try out the new Google Assistant. To start, simply long-press your home button from any screen. If you had to clear data on the Google app in Step 2, you’ll need to run through initial setup again. This includes setting up the “OK Google” hotword and granting a few permissions, so make sure to follow the on-screen instructions carefully.
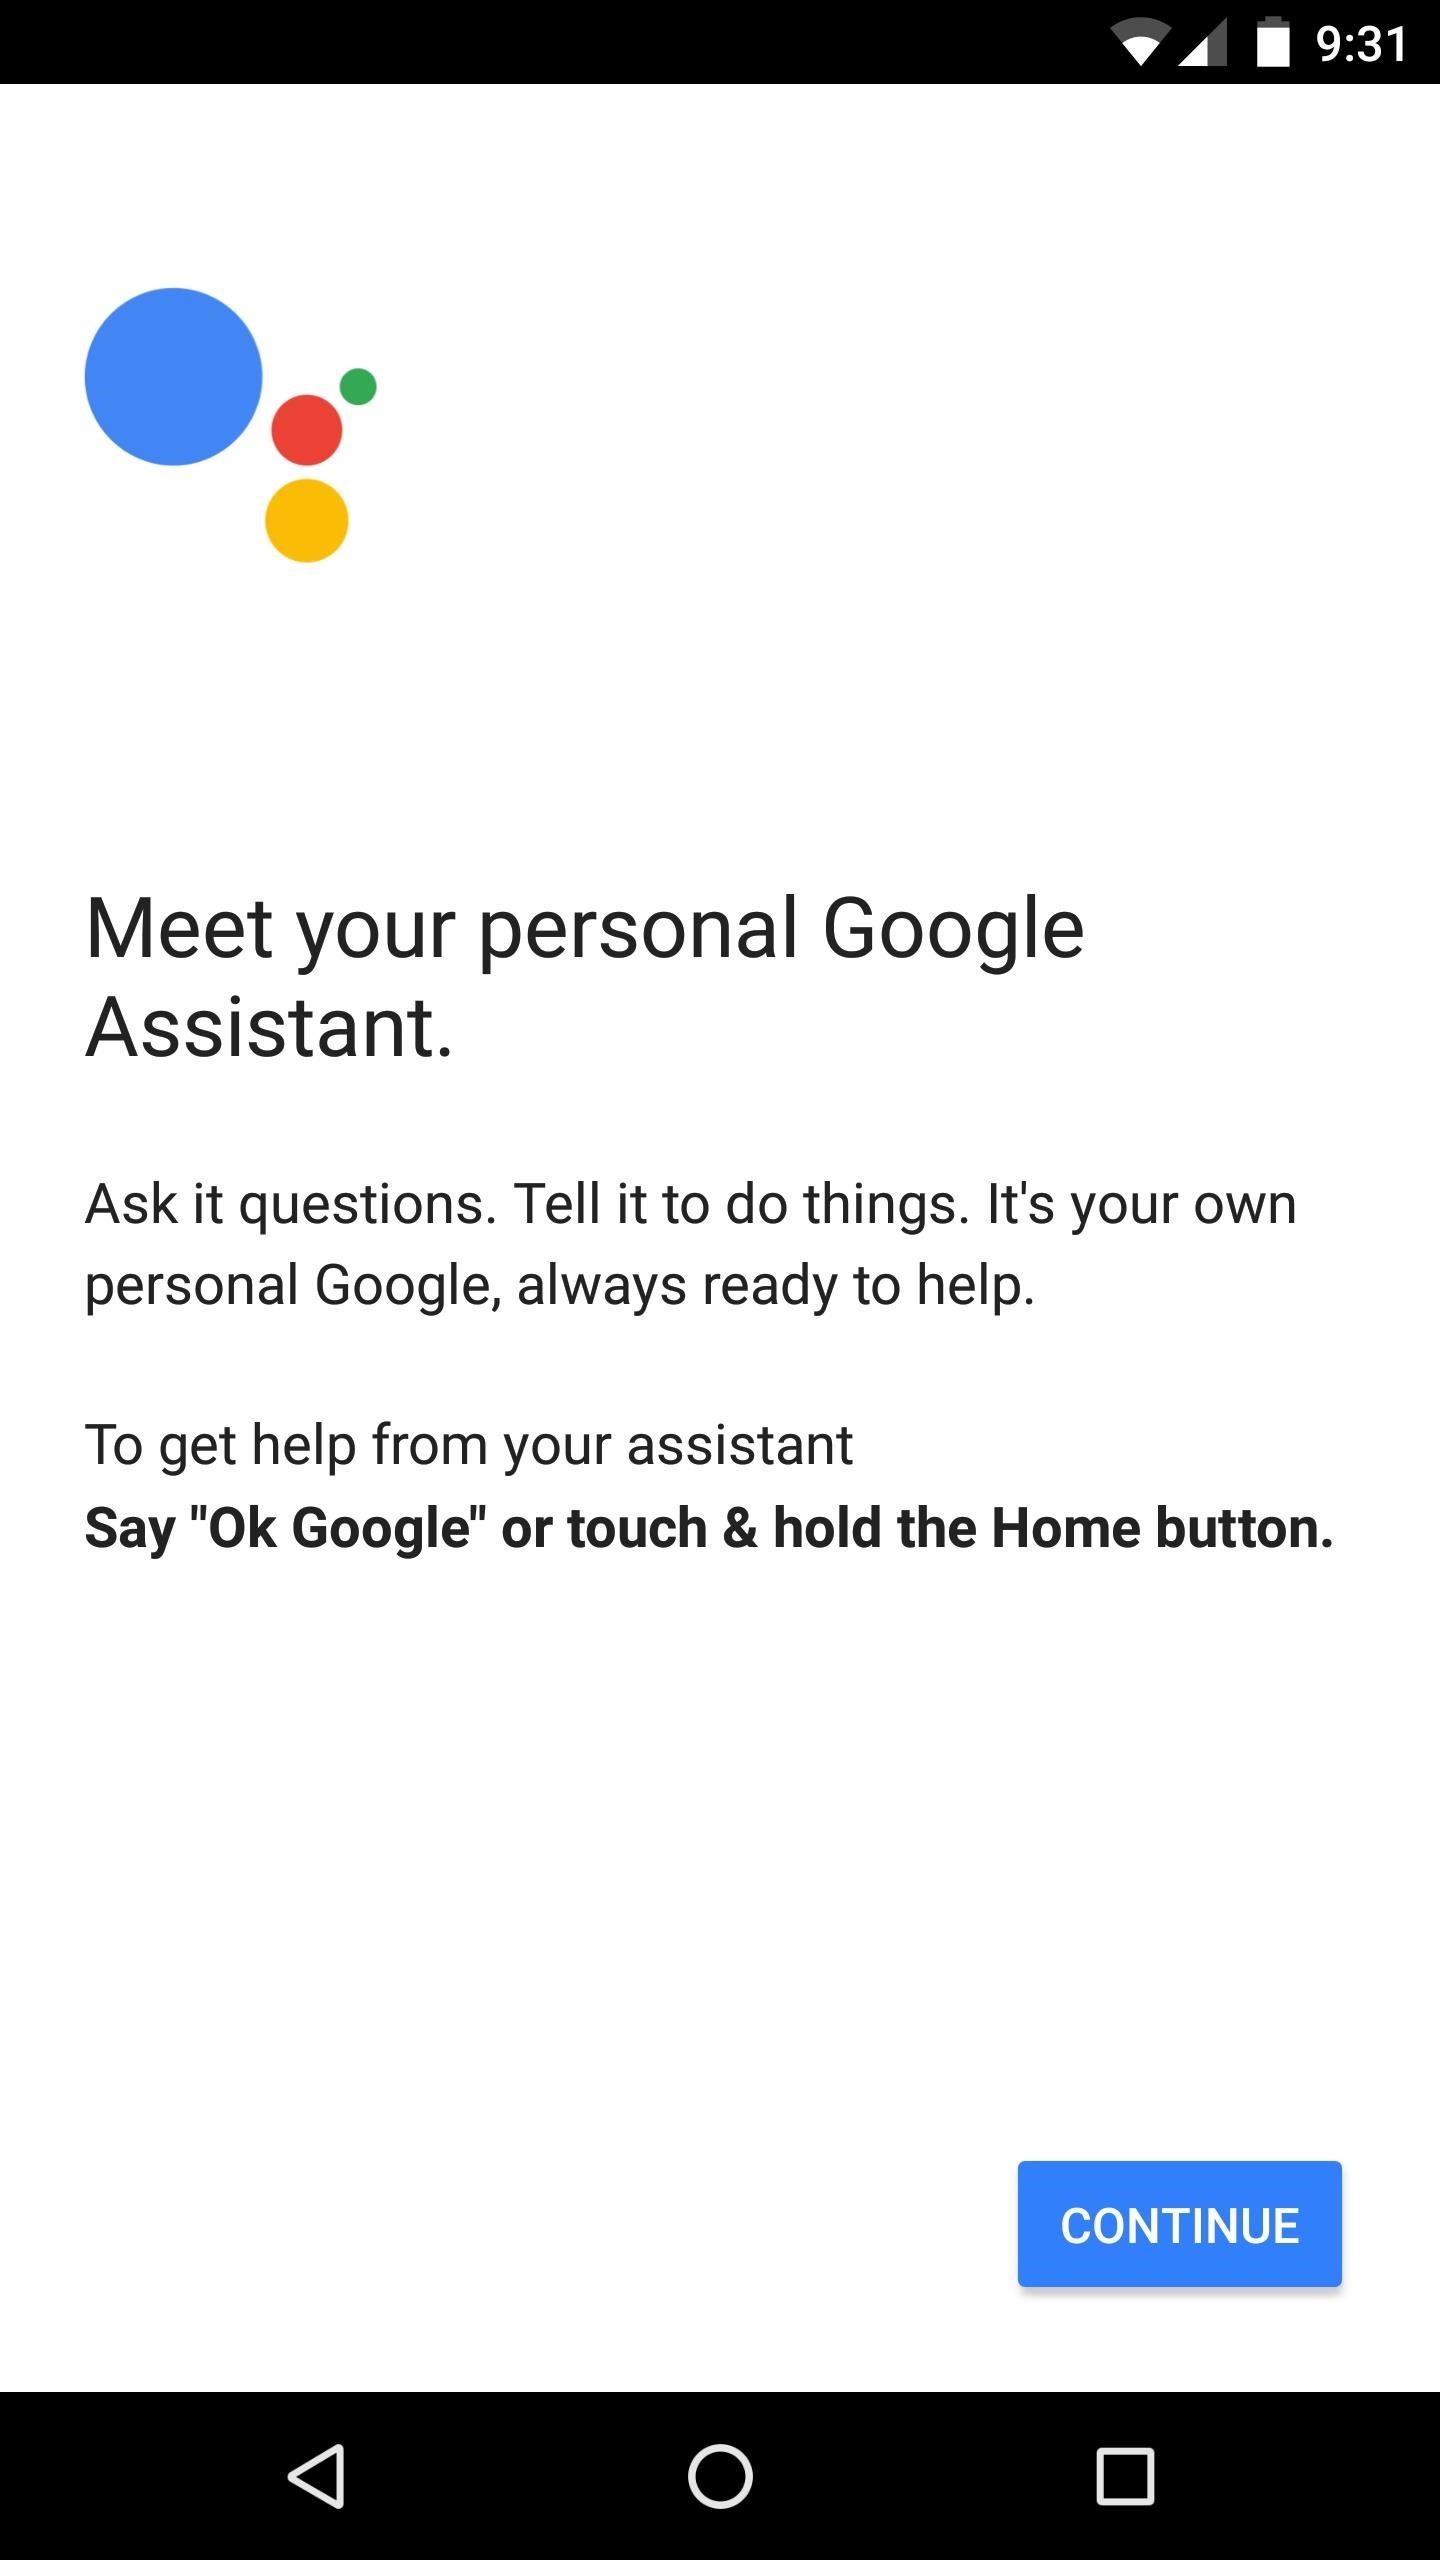
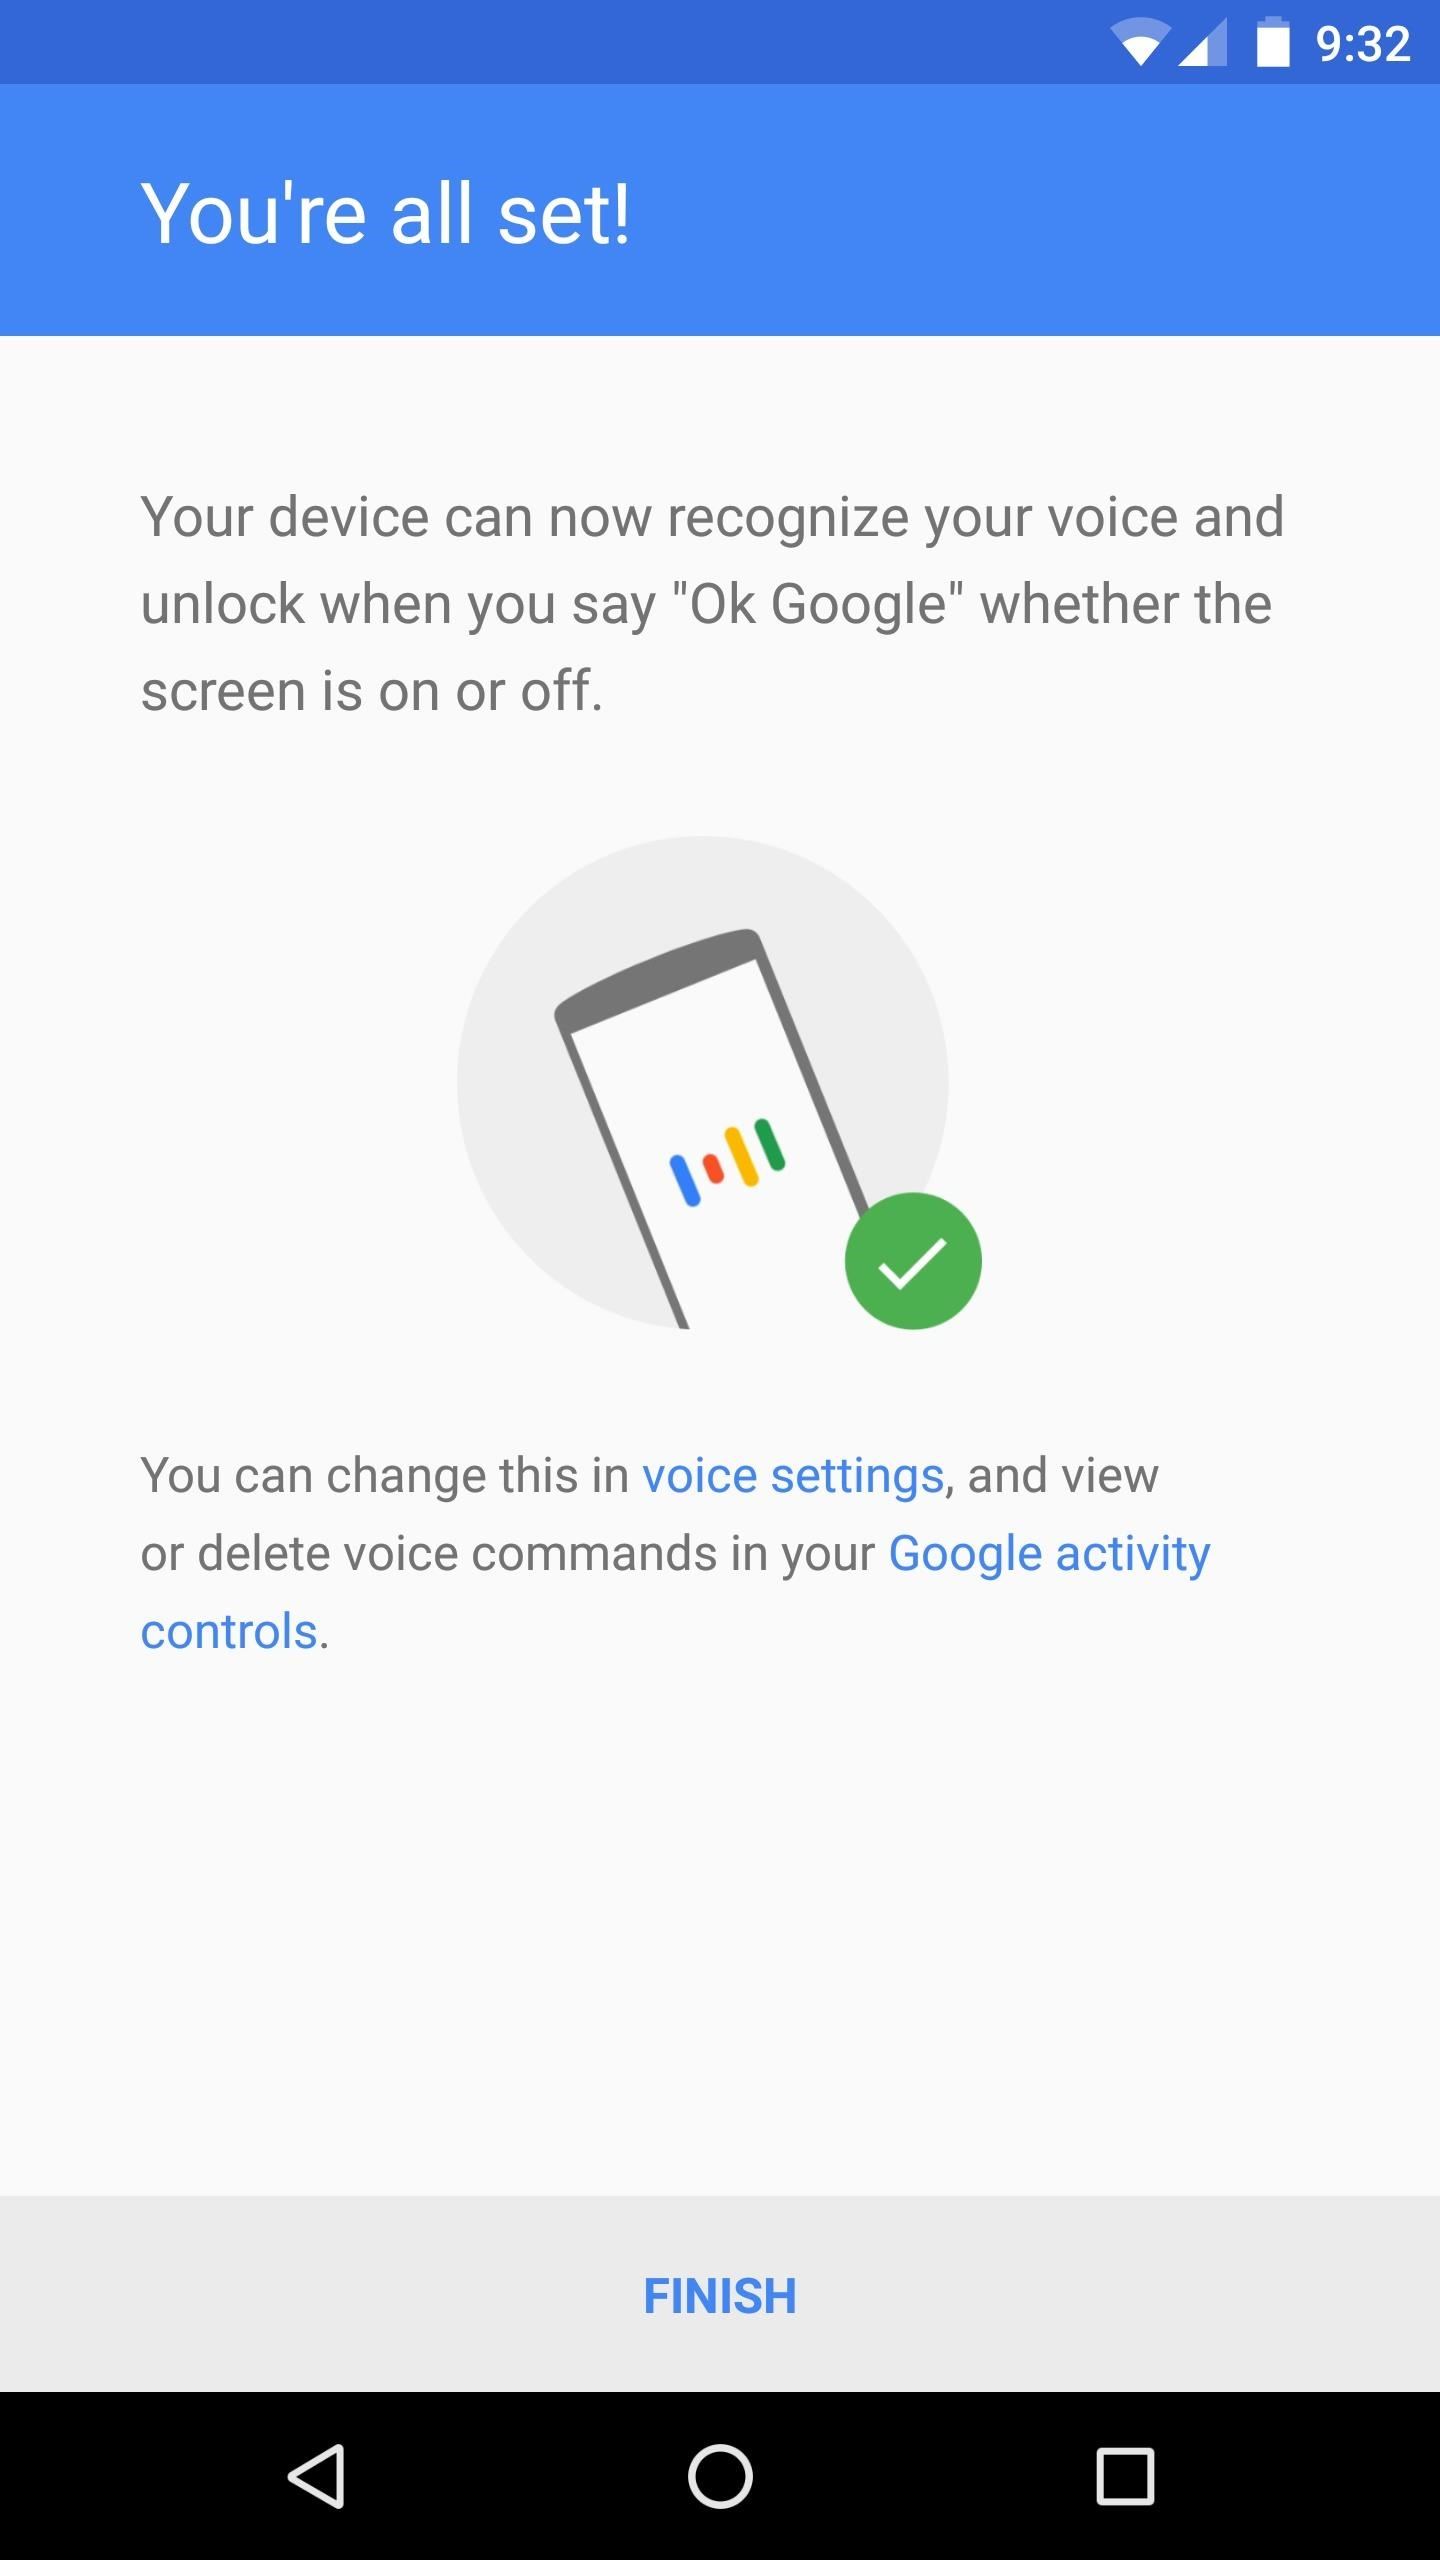
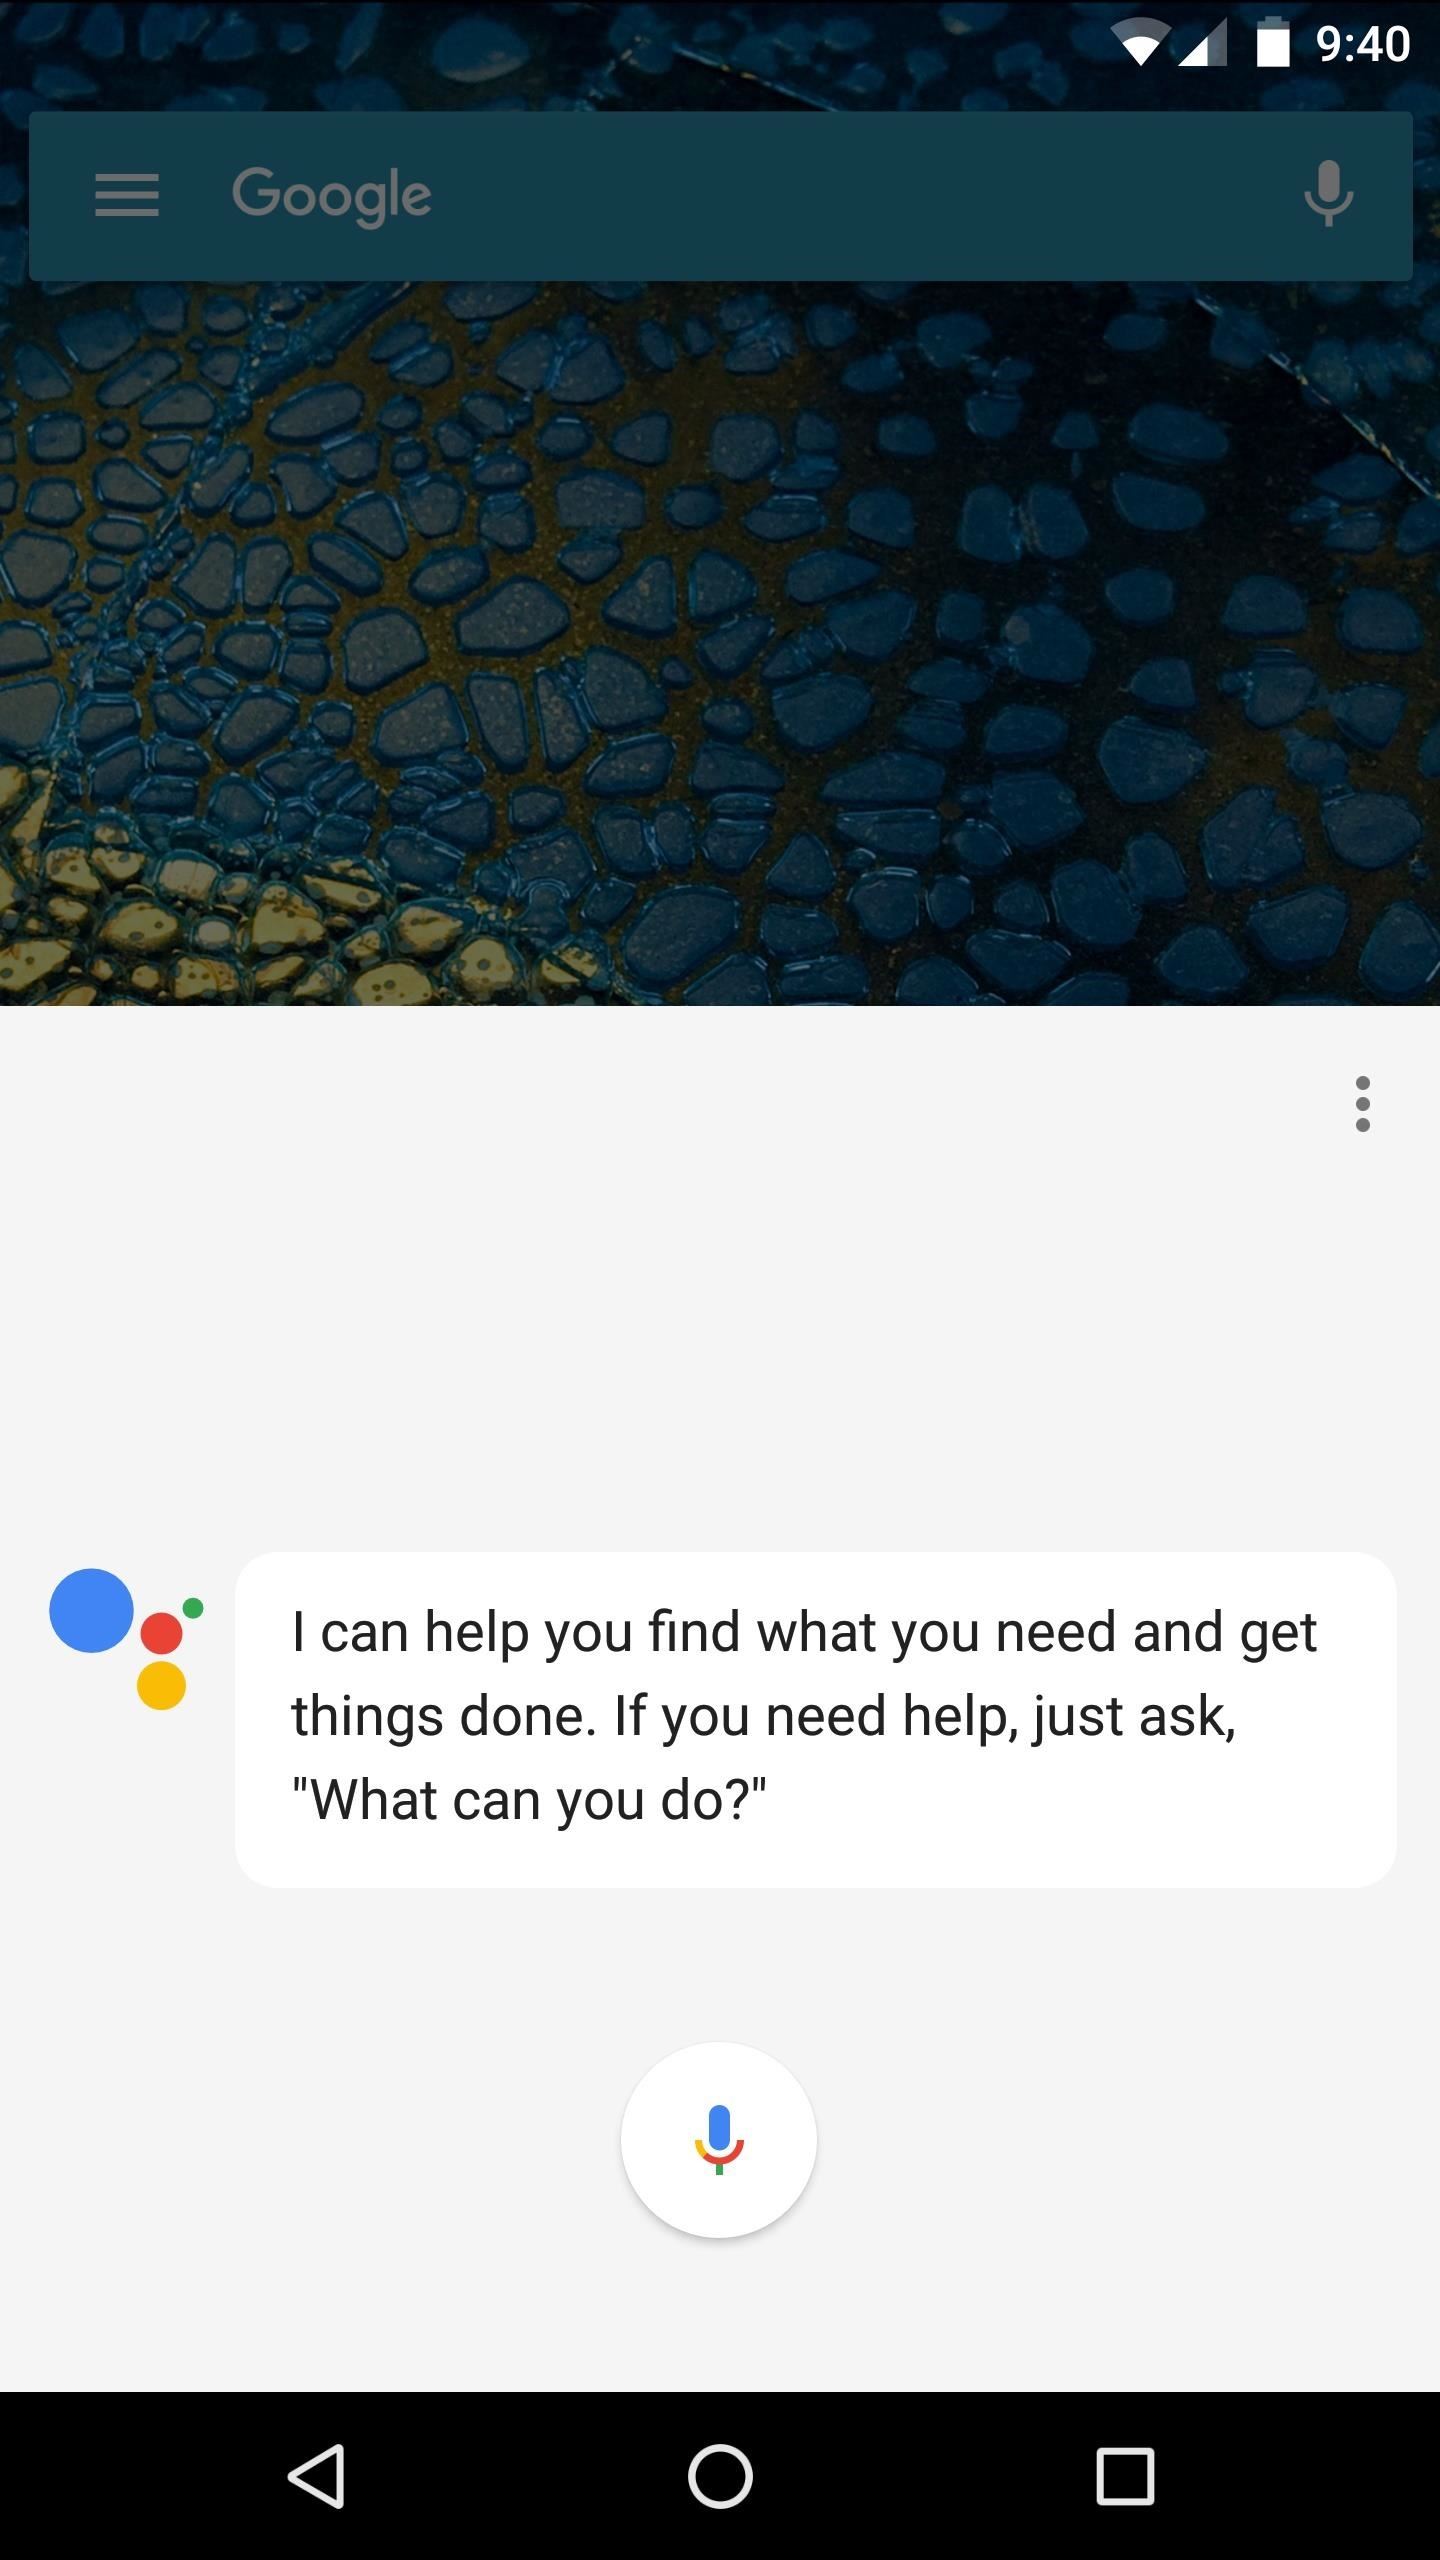
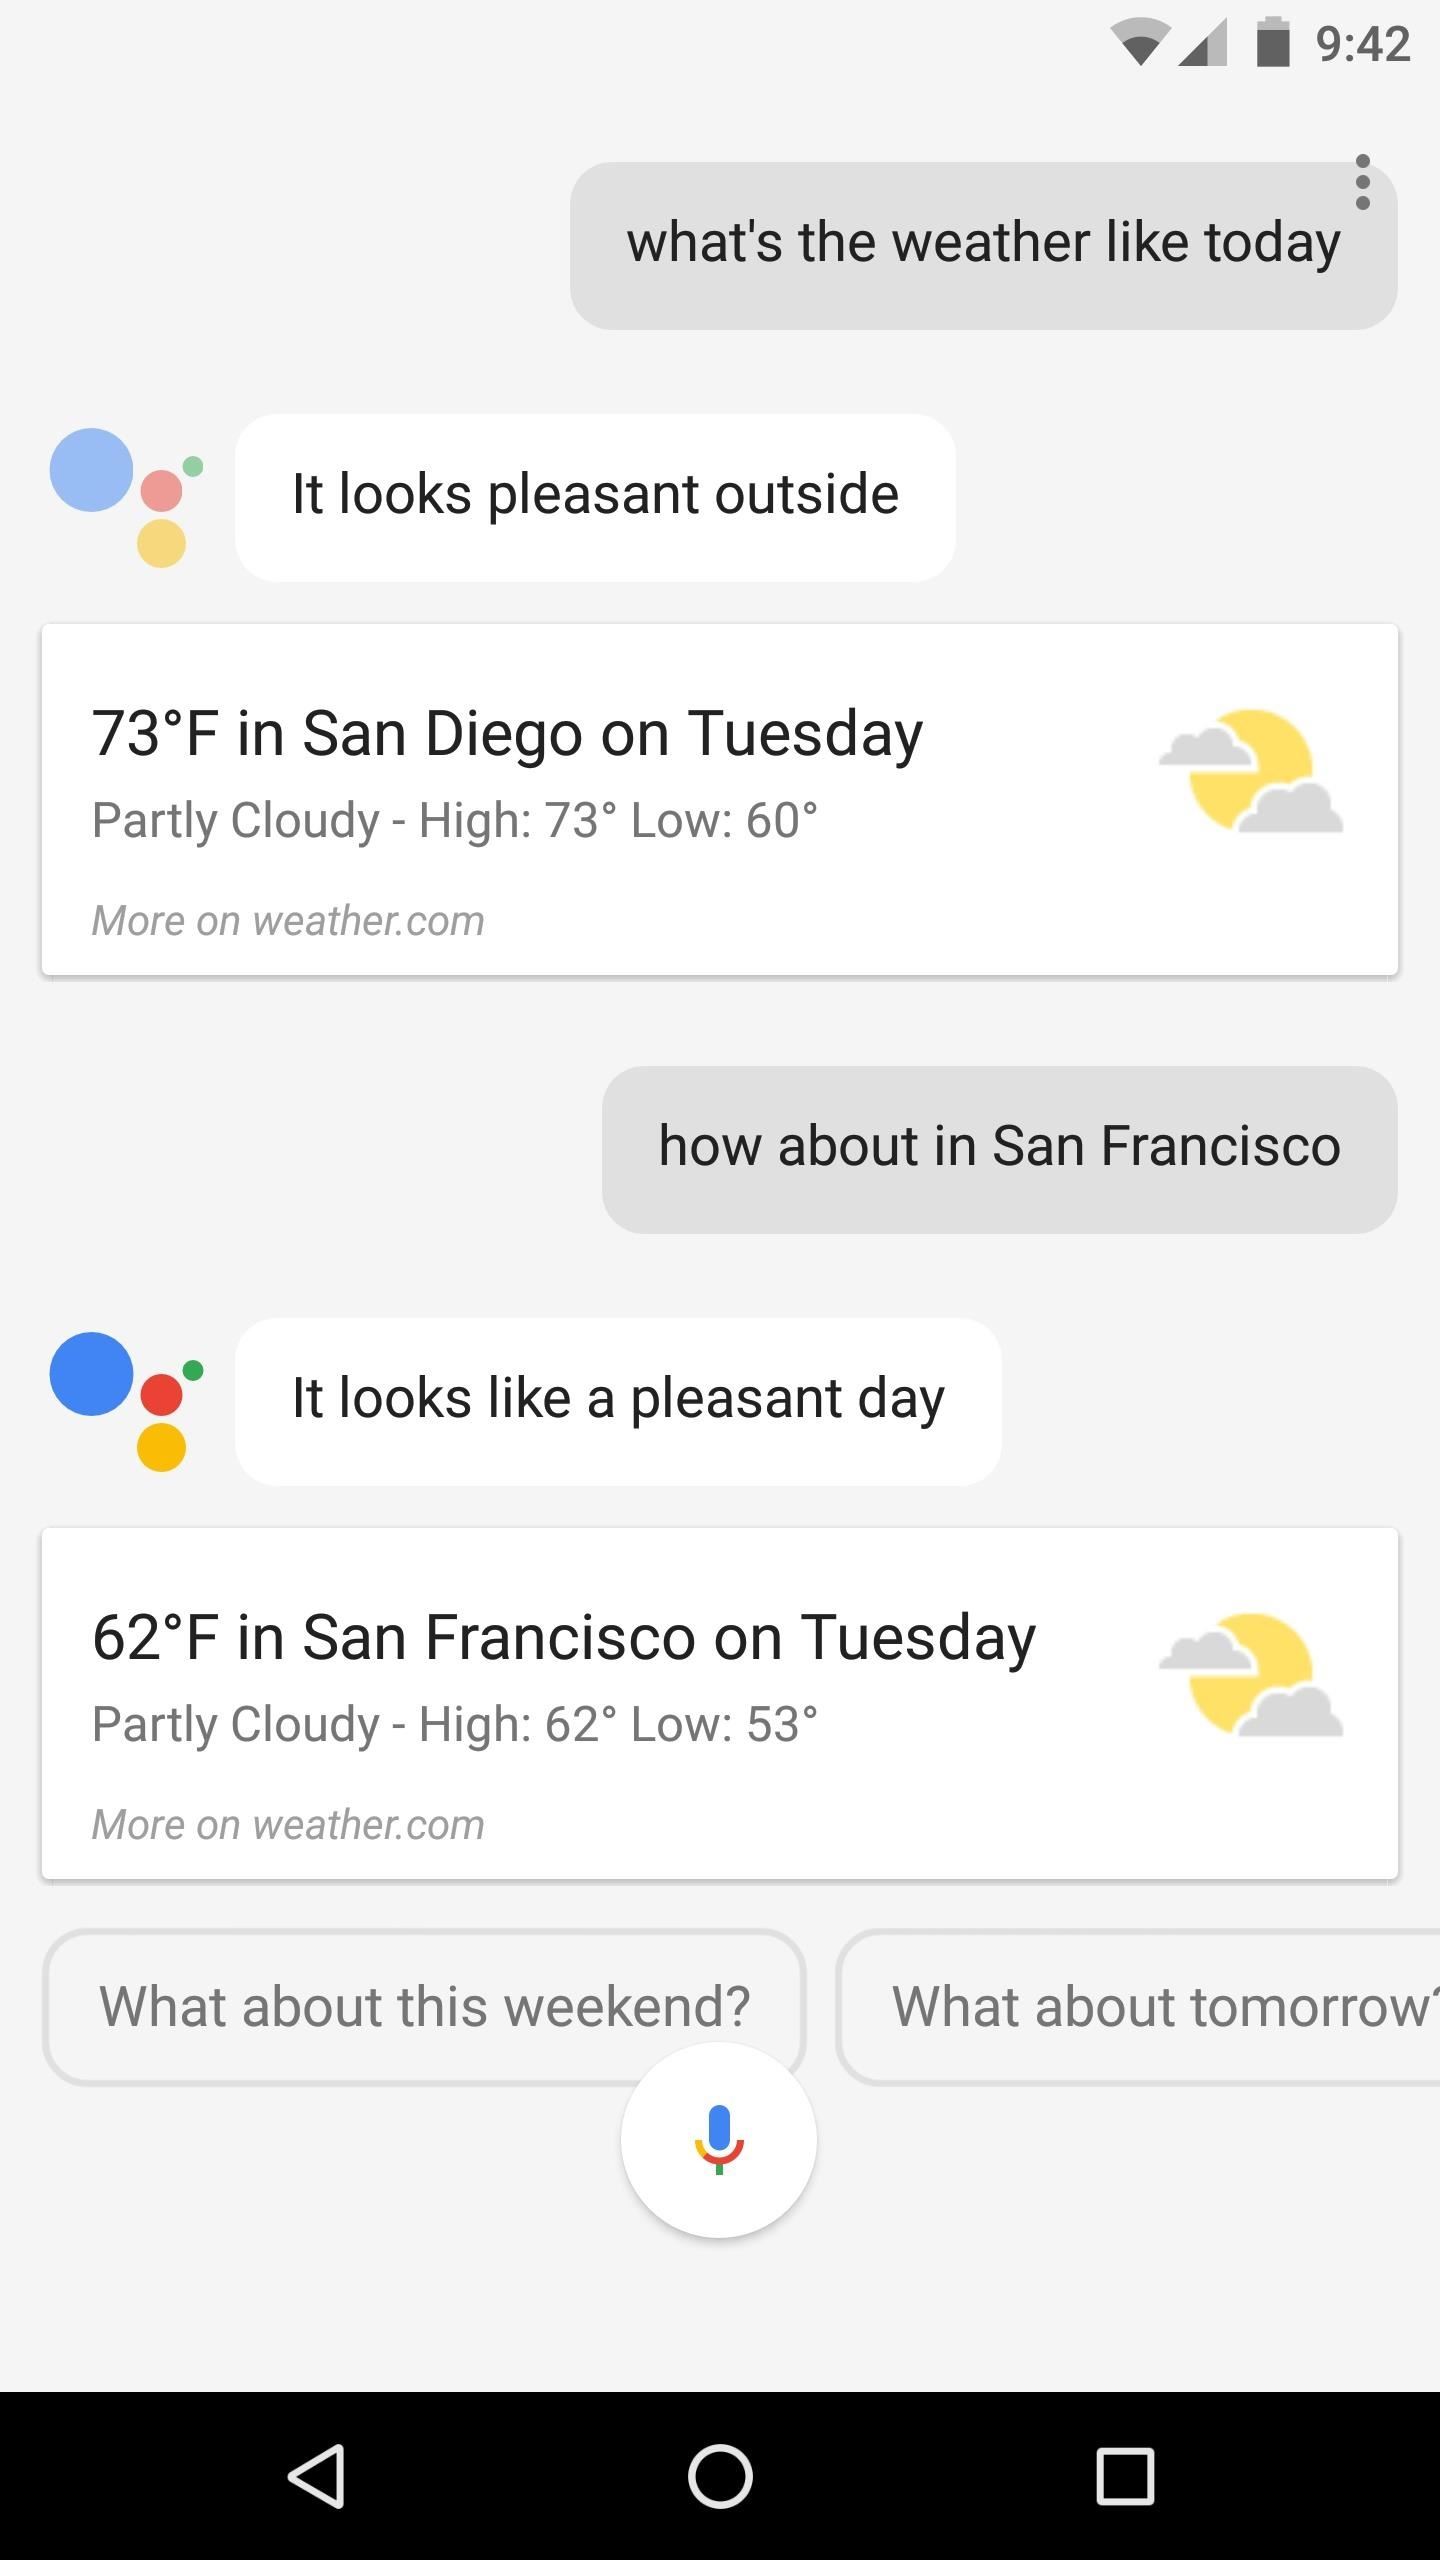
Once you’ve taken care of that, your new Assistant will be ready to use. When you long-press the home button, Google Assistant will already be listening, so just say what’s on your mind. The Assistant is very conversational, and there are many cool things it can do, so make sure to read our Google Assistant article below to get the full rundown.
Method 2: Requirements
Step 1: Update to the Google Search Version 6.6.14.21 Beta
This second method should work on any device running Android 6.0 or higher, and it comes courtesy of developer Max Rumpf. Rumpf modified the Android N-ify Xposed module to get Google Assistant working, but it requires the latest beta version of the Google App (6.6.14.21).
So to start, head to APKMirror at the link below, then grab the version for your particular device. You’ll have to know your processor type to make sure you’re getting the right version.
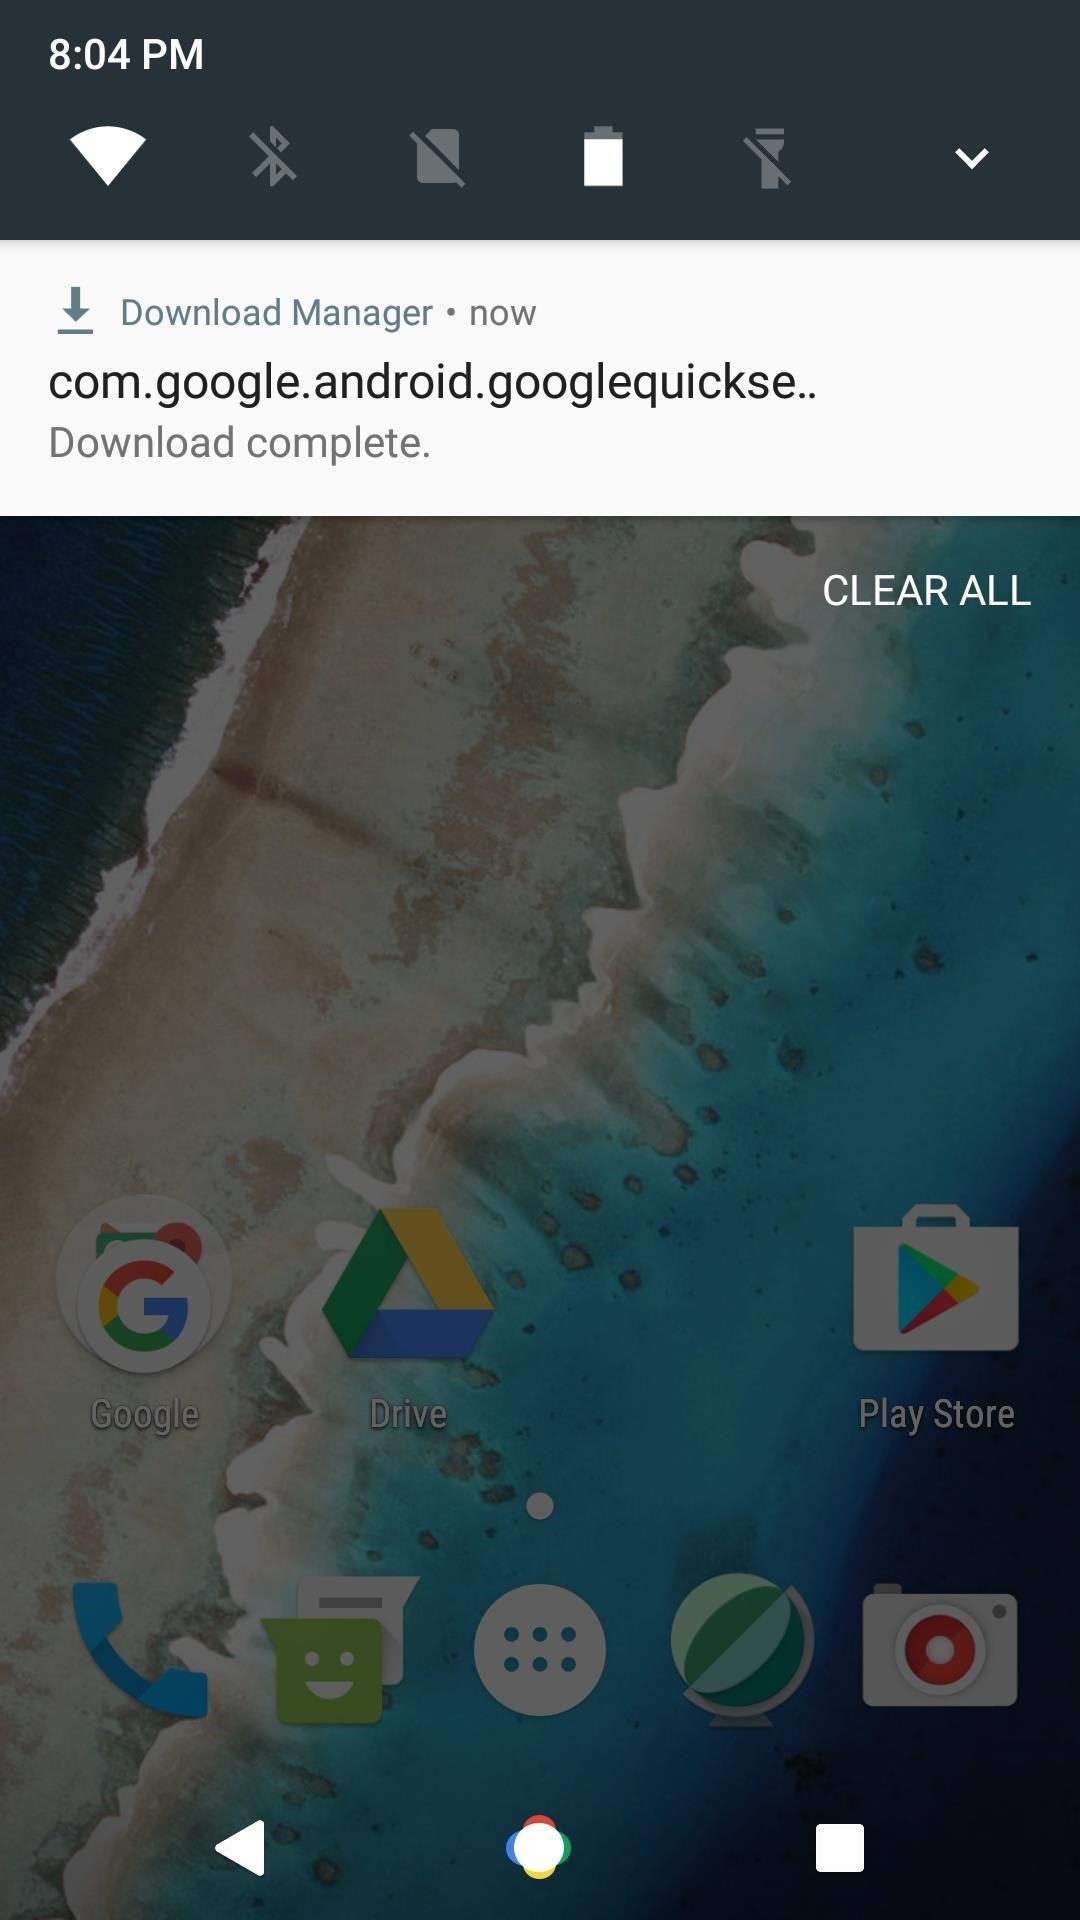
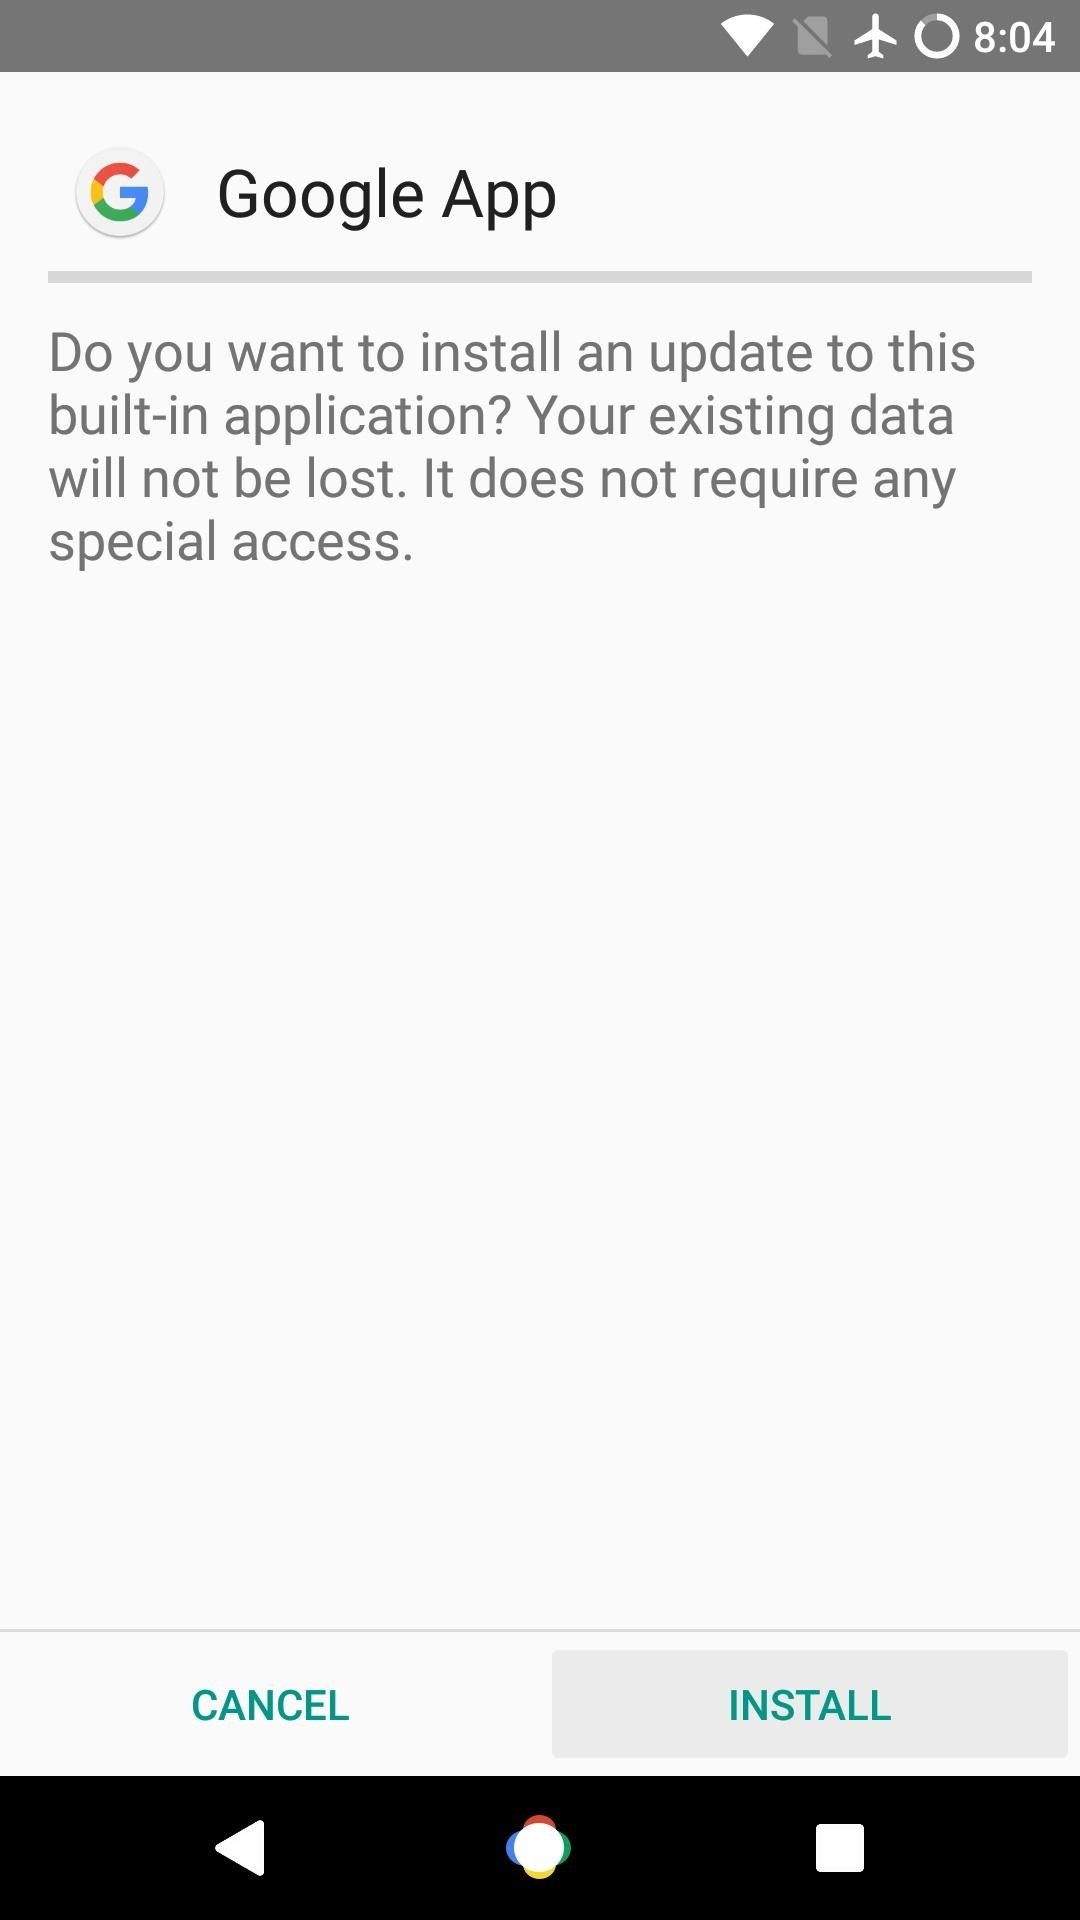
Once you’ve done that, just tap the Download complete notification to launch the APK, then press “Install” when prompted.
Step 2: Install the Modded Version of Android N-Ify
Next up, you’ll need to install Rumpf’s modded Android N-ify module, so grab the following APK:
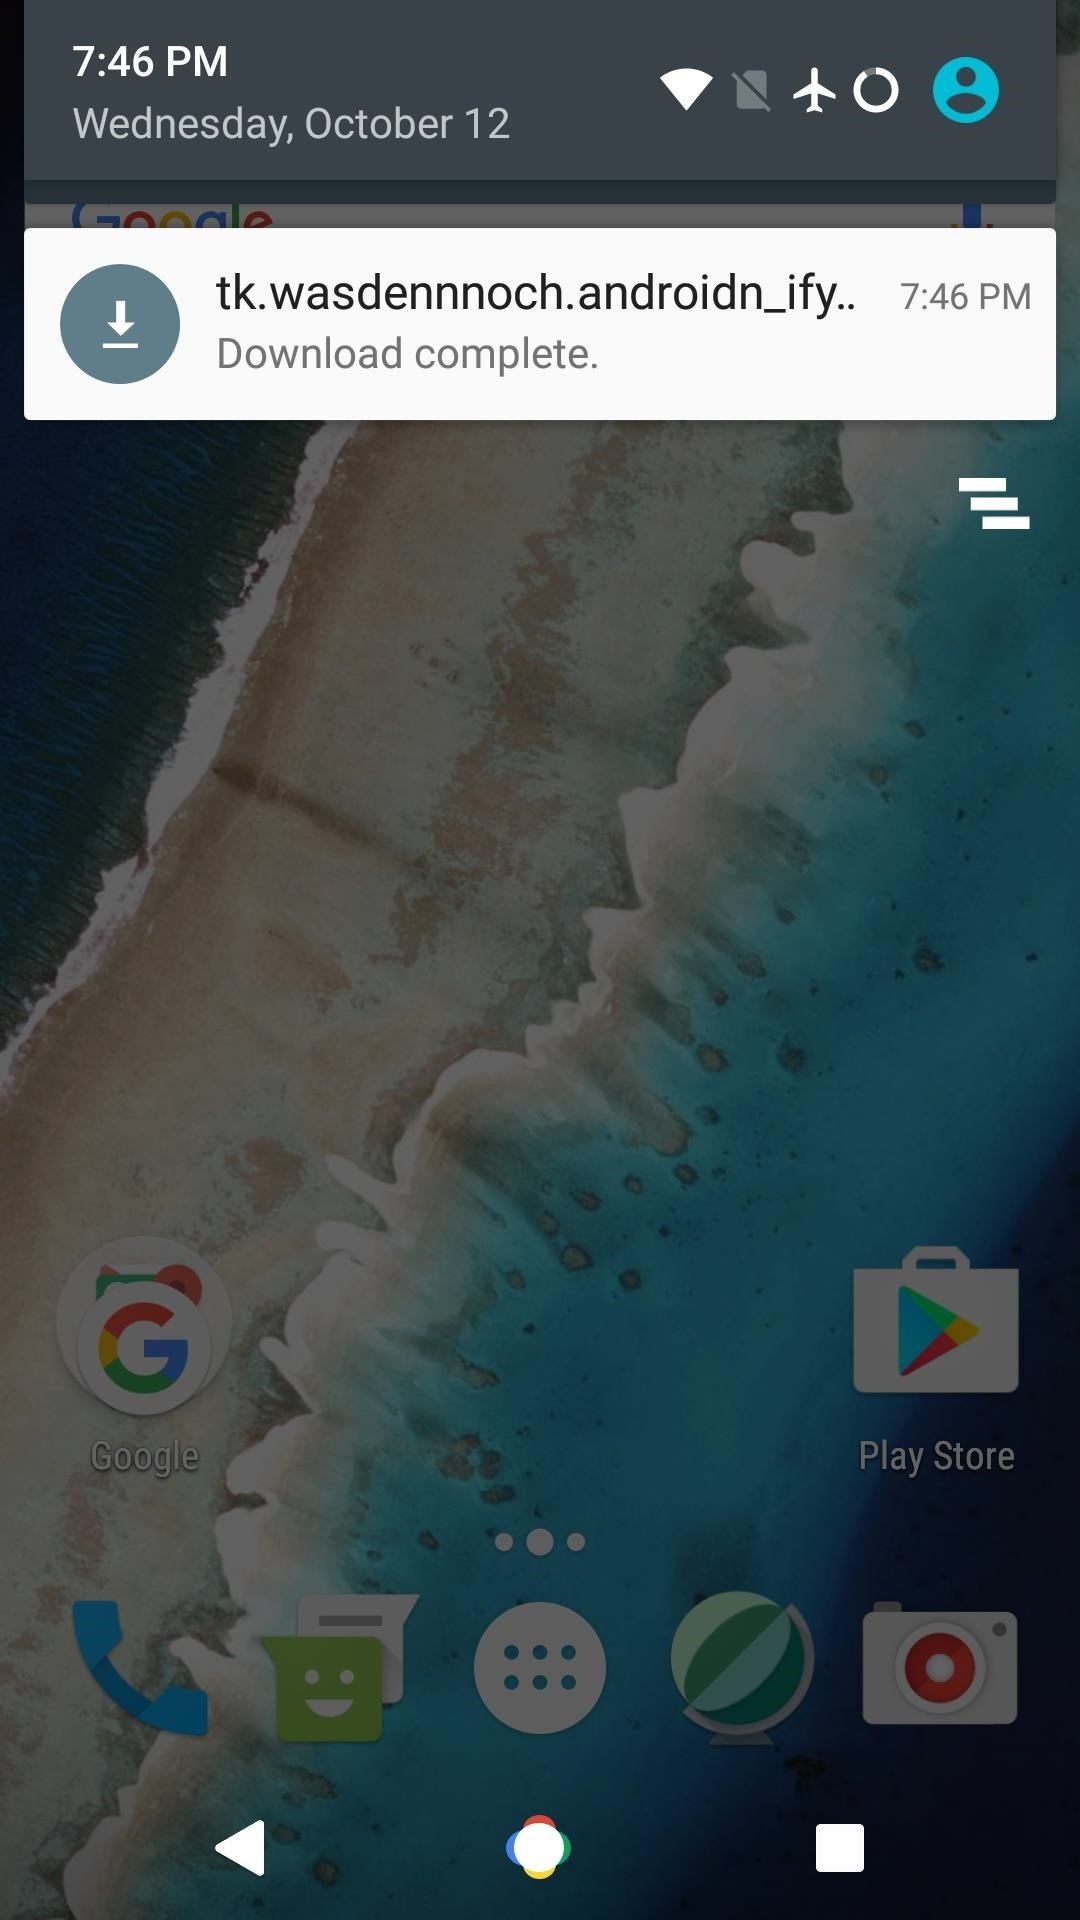
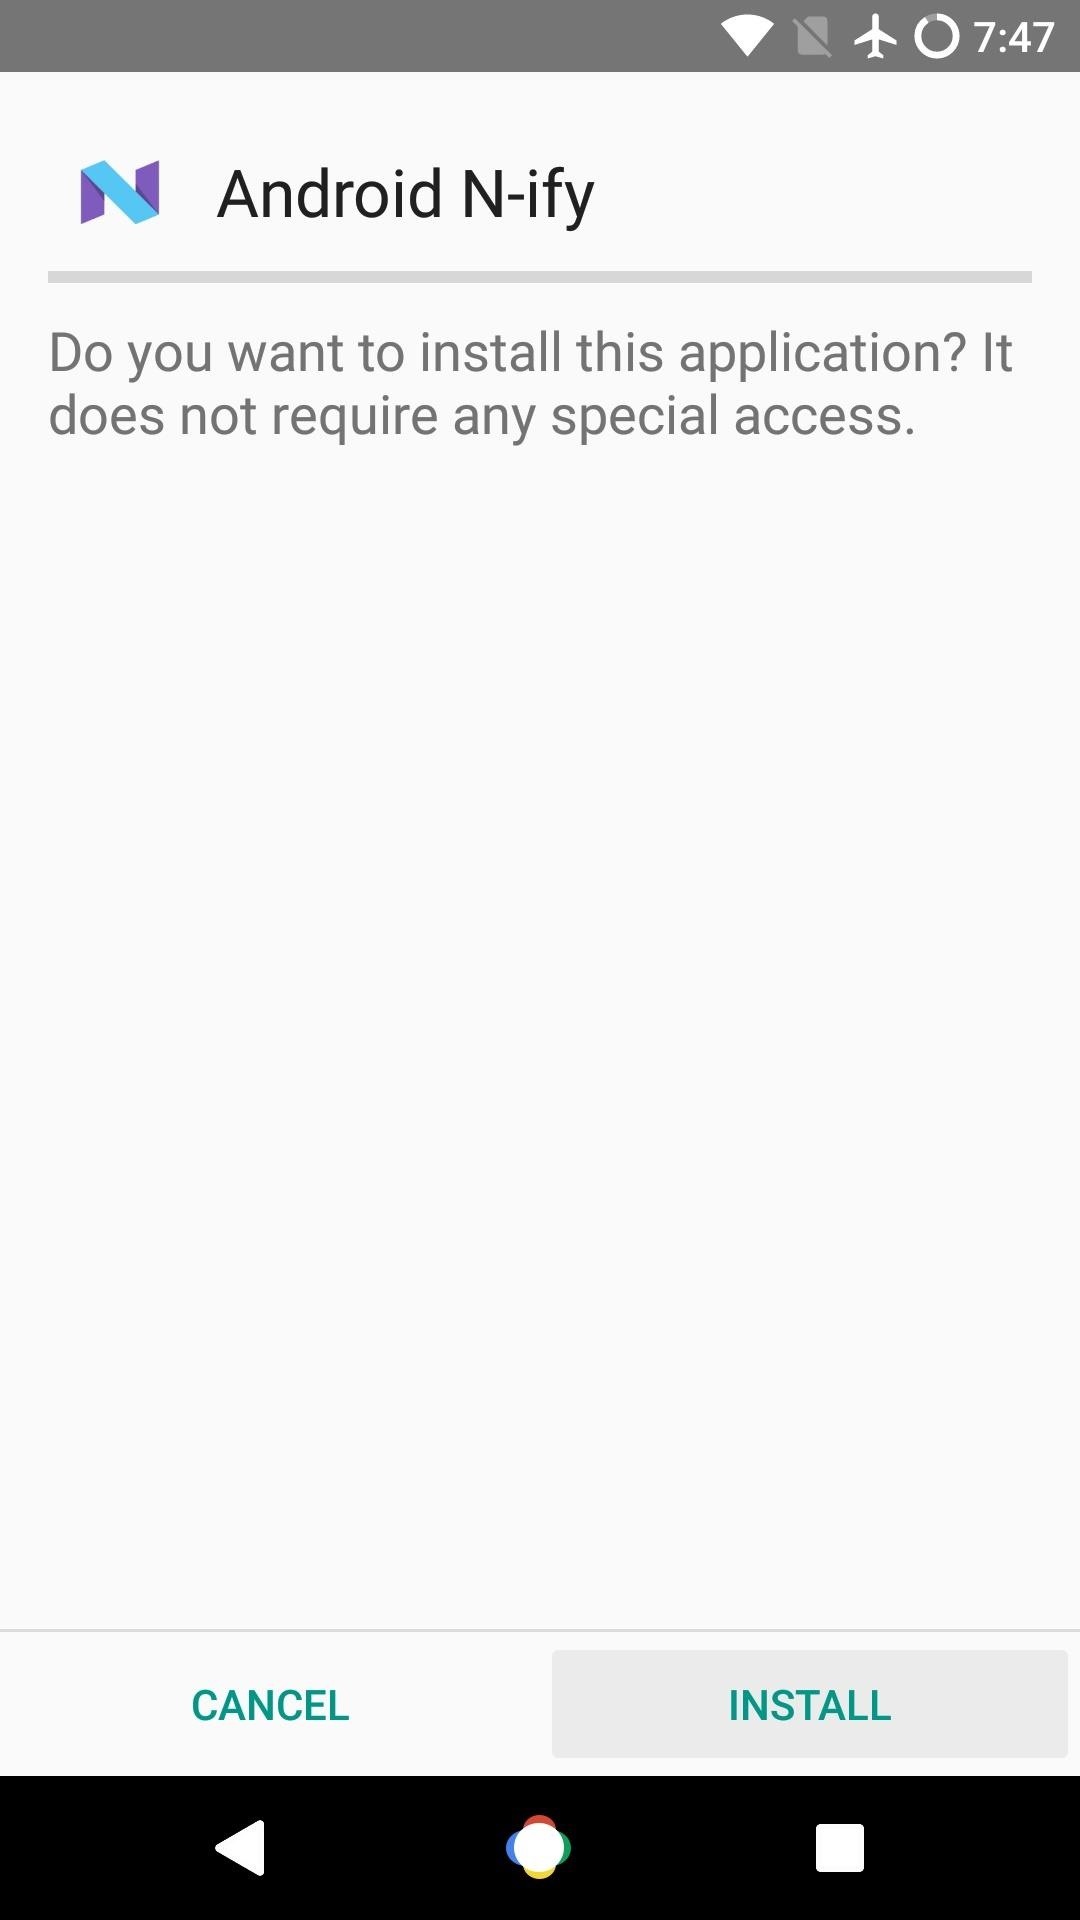
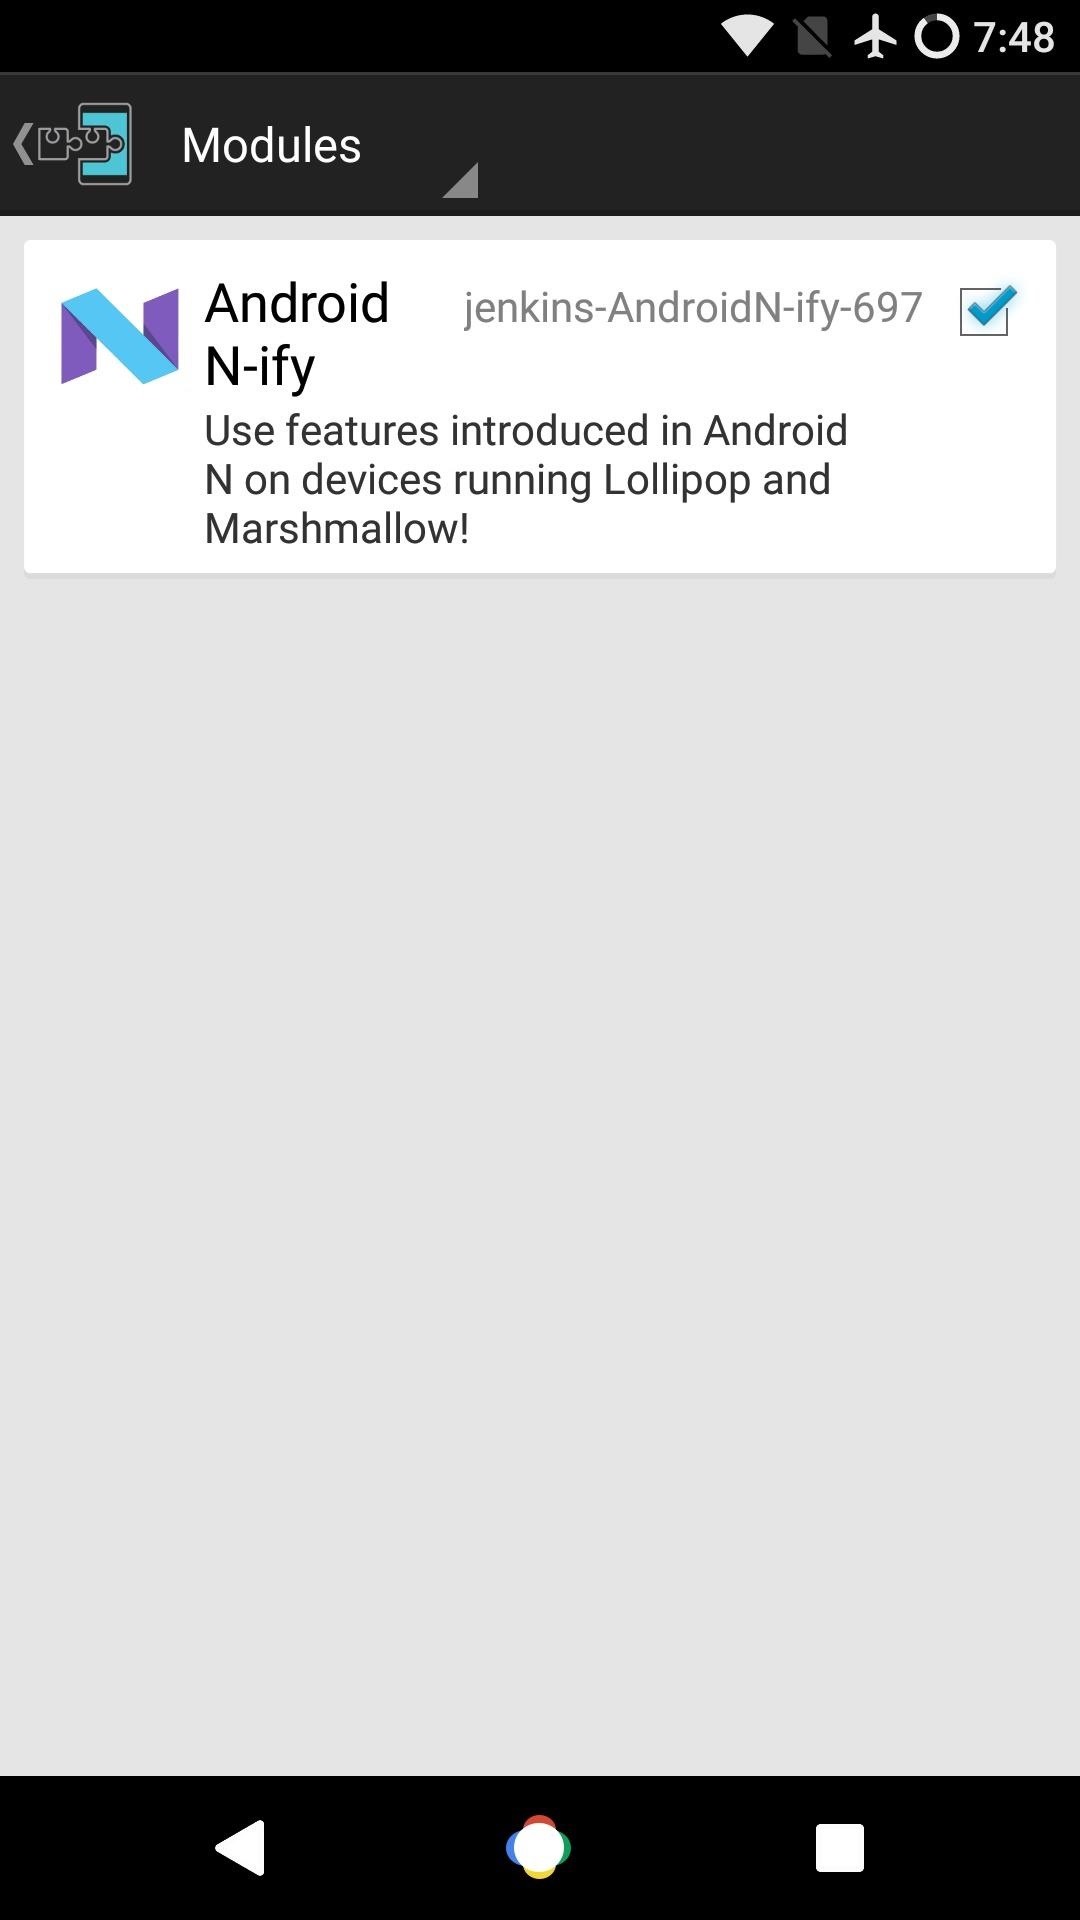
Once you’ve done that, tap the Download Complete notification, then hit “Install.” From there, head to the Modules section in your Xposed Installer app, then make sure to activate the module and reboot.
Step 3: Enjoy Google Assistant
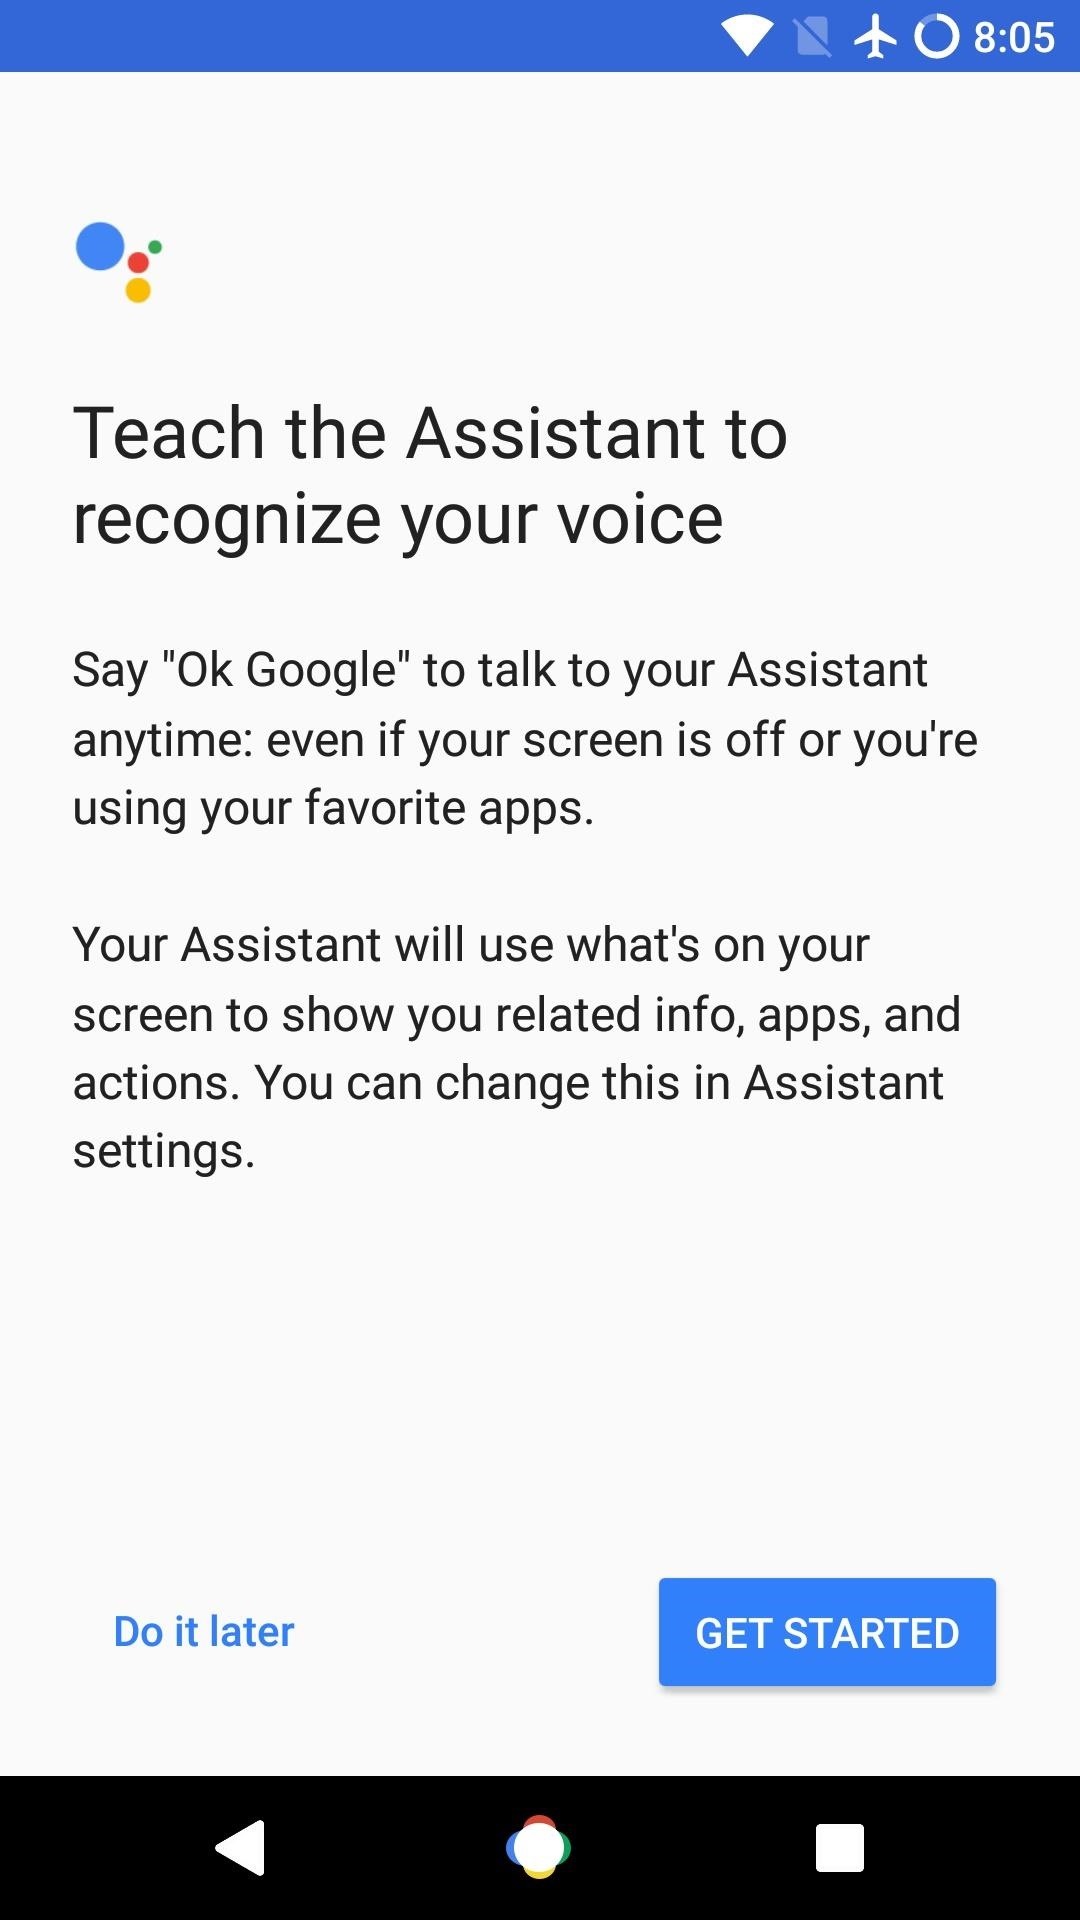
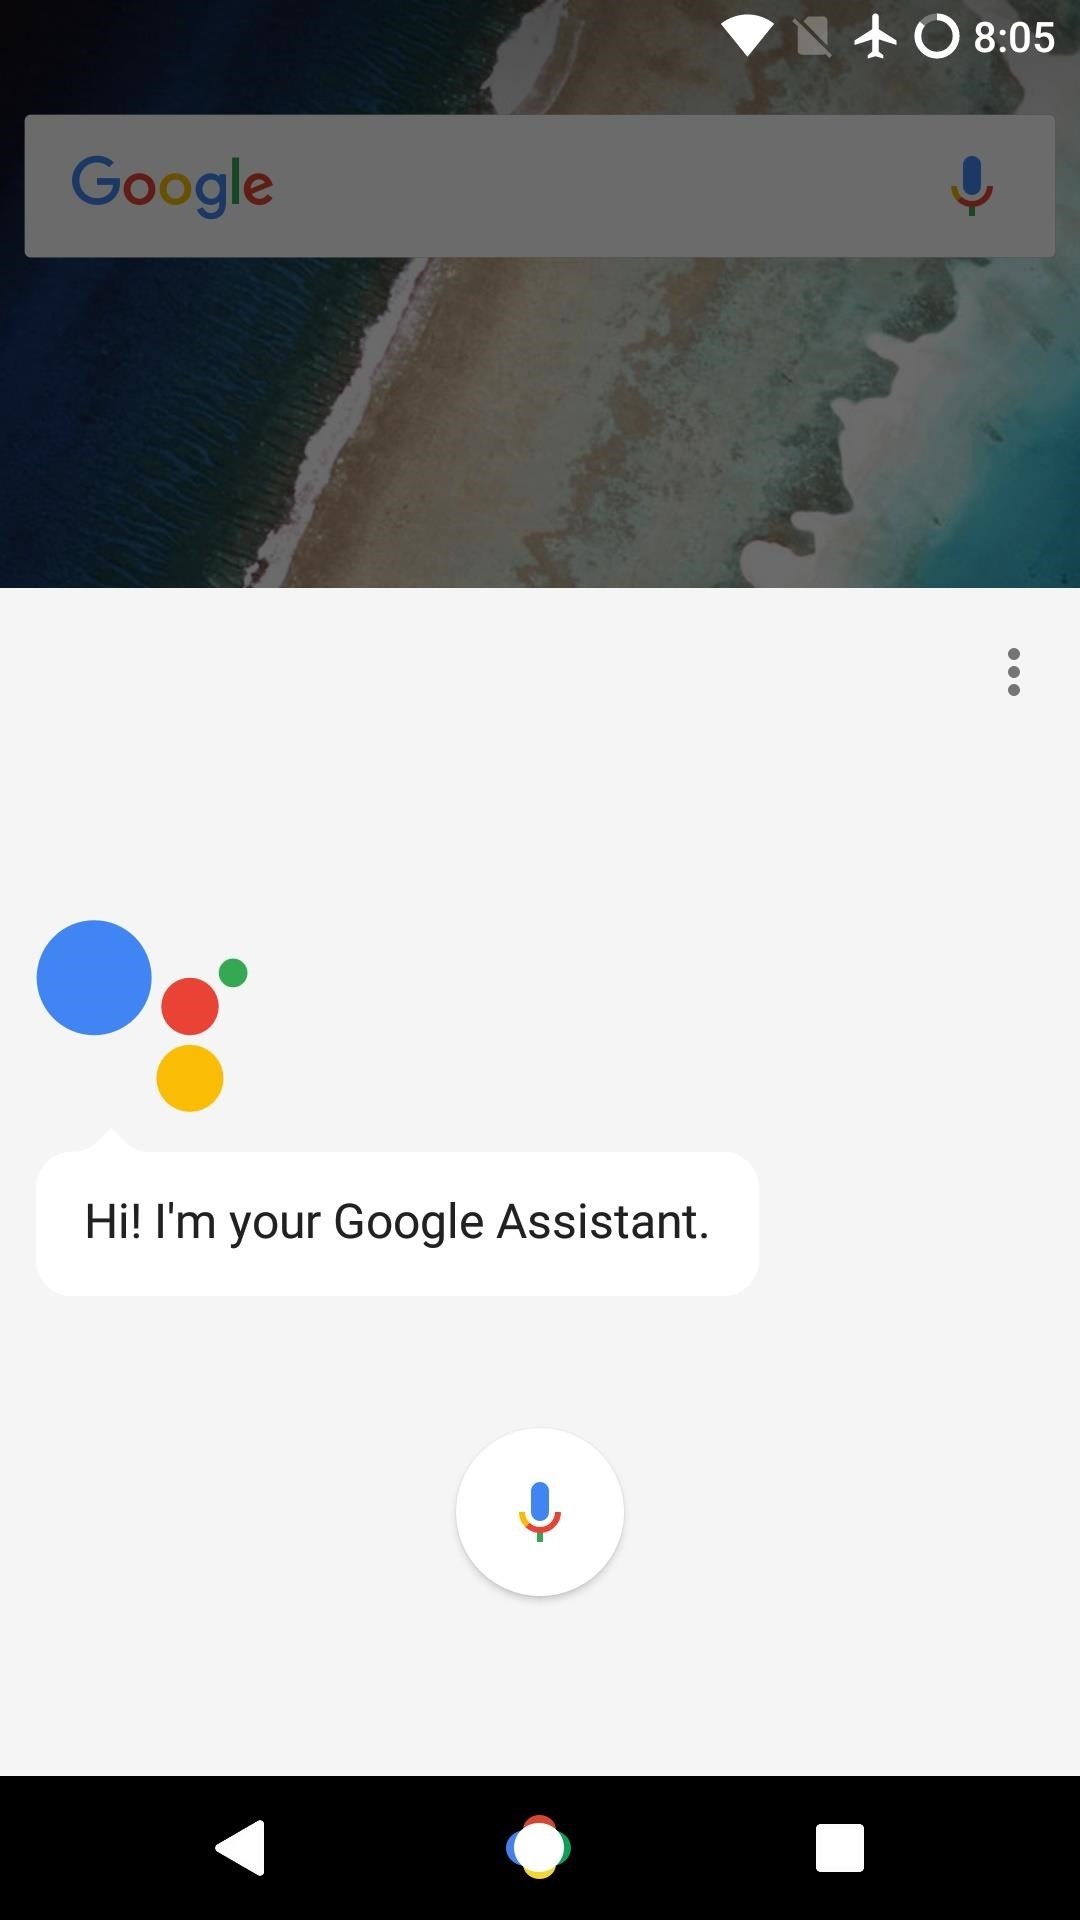
When you get back up, go ahead and long-press your home button to trigger the Google Assistant. You’ll be asked to set up the new service and train the “OK Google” hotword detection, but when you’re done there, you should have full access to the brand new Google Assistant.
Hot Deal: Set up a secure second phone number and keep your real contact details hidden with a yearly subscription to Hushed Private Phone Line for Android/iOS, 83%–91% off. It’s a perfect second-line solution for making calls and sending texts related to work, dating, Craigslist sales, and other scenarios where you wouldn’t want to give out your primary phone number.
“Hey there, just a heads-up: We’re part of the Amazon affiliate program, so when you buy through links on our site, we may earn a small commission. But don’t worry, it doesn’t cost you anything extra and helps us keep the lights on. Thanks for your support!”


