Easily Run Linux Virtual Machines for Free On Your Mac With UTM
Mac
Quick Links
-
What Is UTM?
-
Creating Custom Virtual Machines With UTM
-
UTM Settings
Key Takeaways
- UTM for Mac makes it easy to test out various OSes like Linux in an easy to use package that’s great for newbies or more experienced users.
- Browse the UTM gallery for prebuilt images to avoid having to create VMs yourself; simply download and start.
- Building your own or customizing VM settings in UTM is relatively simple and allows you to tailor VMs to your needs by allocating memory, CPUs, and storage.
Are you ready to explore new operating systems from the comfort of your Mac? With UTM, you can easily test out a variety of Linux distros for free! Whether you’re a curious beginner or a seasoned pro, UTM makes it simple and fun to dive into the world of virtual machines.
What Is UTM?
UTM (Universal Turning Machine) is a powerful virtualization tool for Mac. It can run various operating systems including Windows 11 on ARM, macOS, and Linux. UTM is built on QEMU, an open-source emulator, to provide robust performance and compatibility in a simple package, making it easy for novice users to try out different OSes.
Trying Out Prebuilt Images
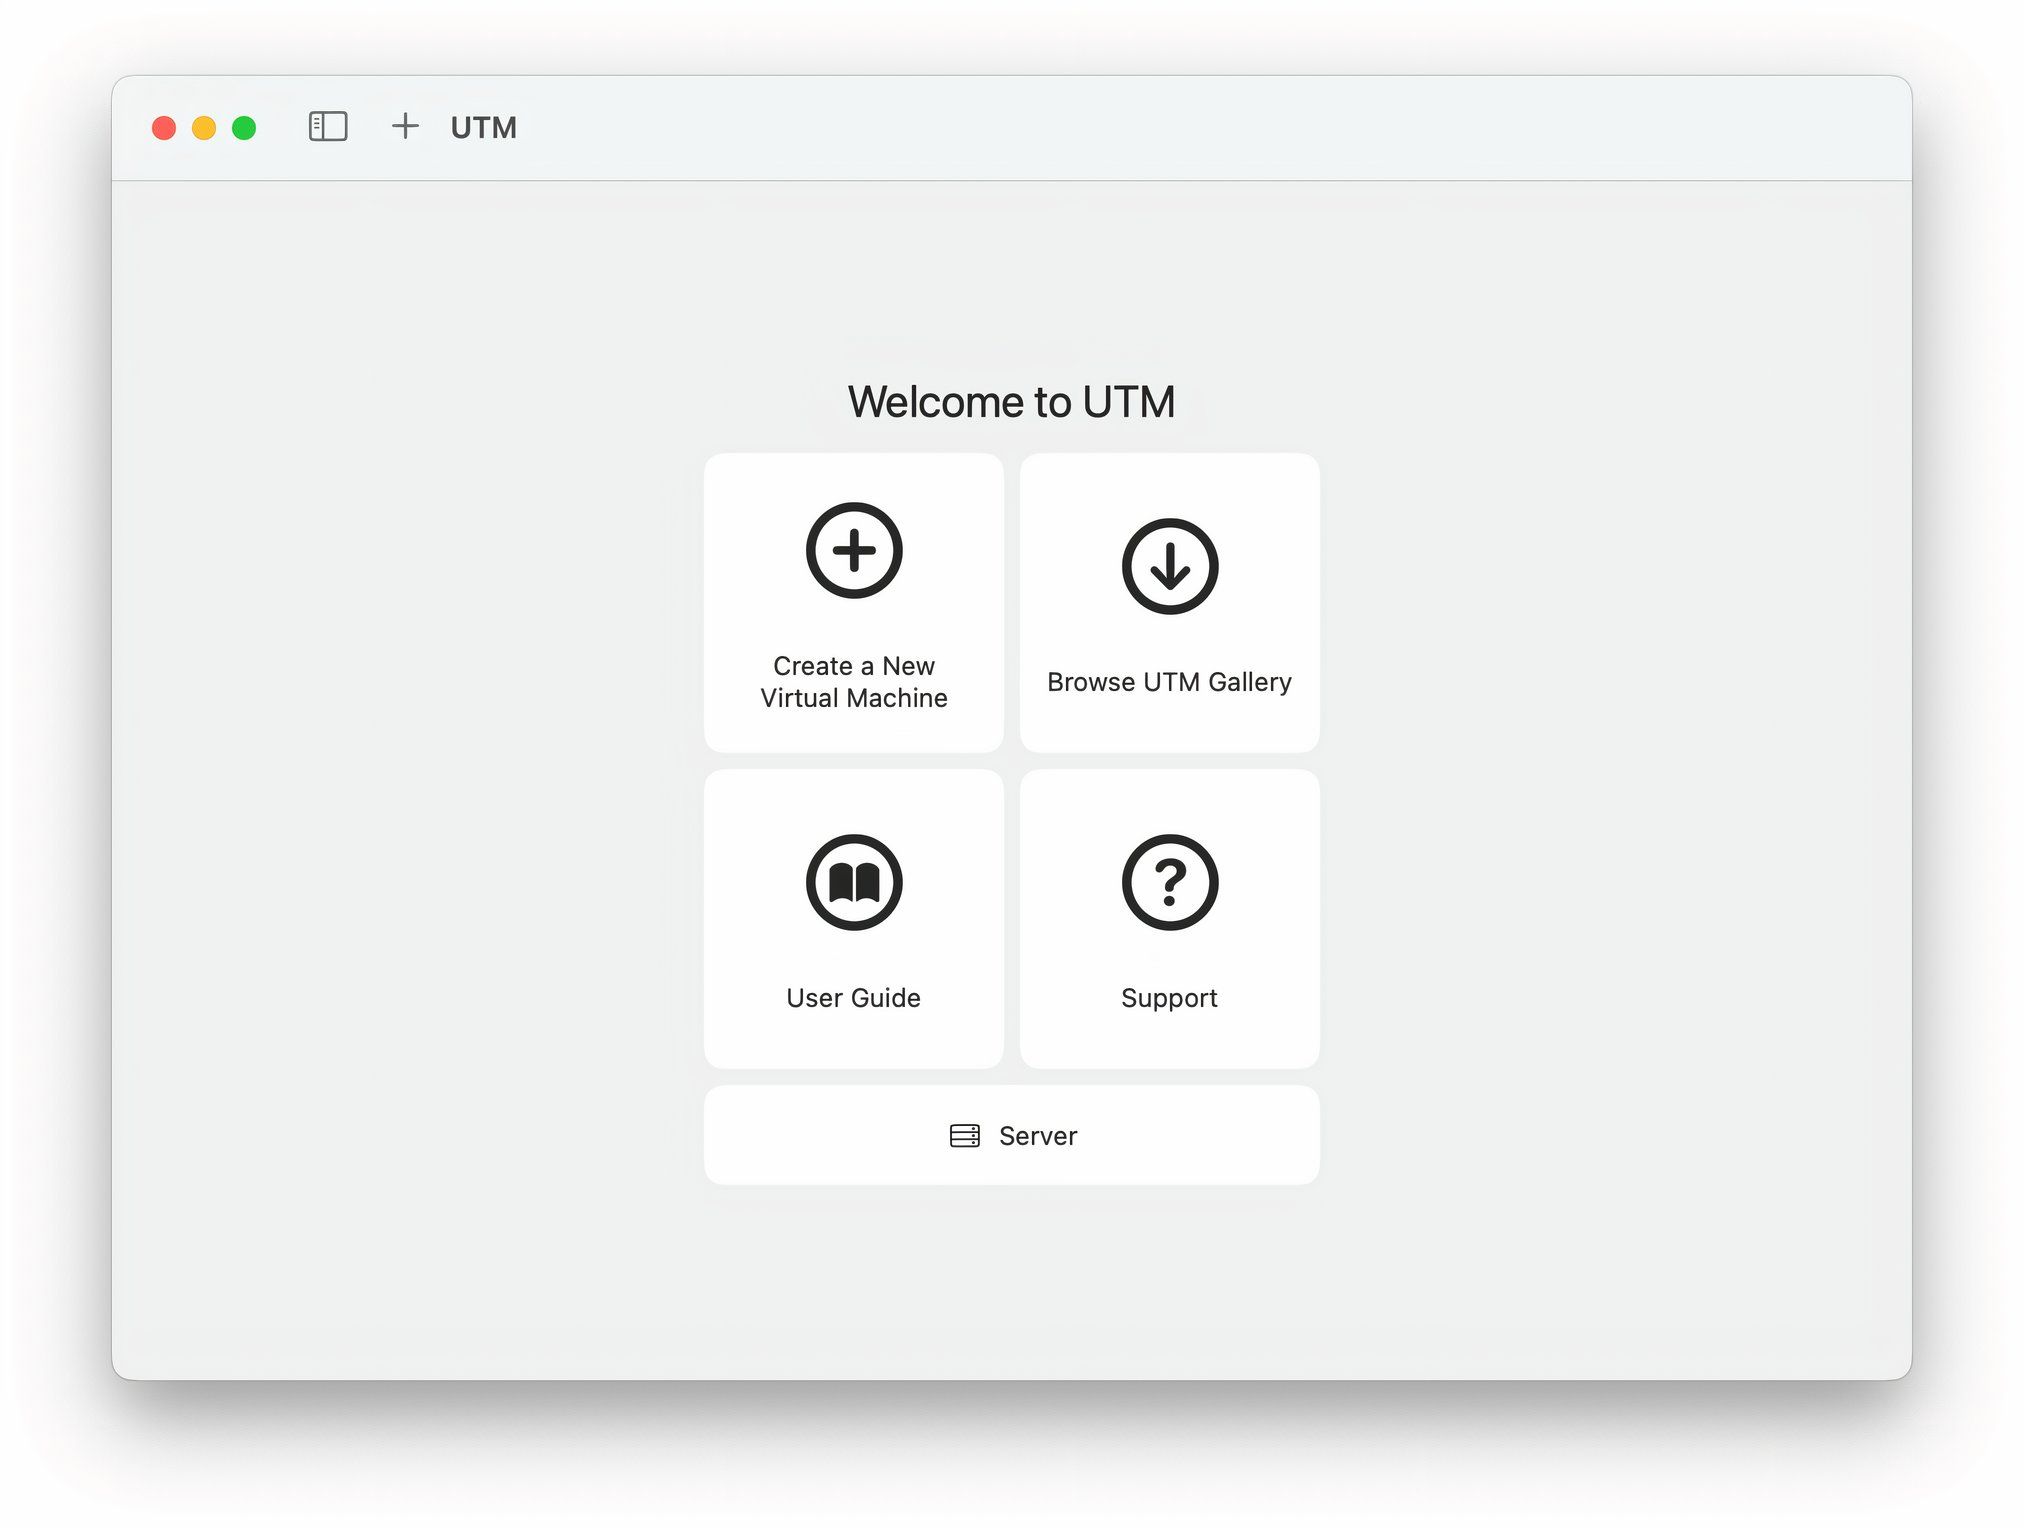
Install UTM by downloading the DMG file and placing it in your Applications folder (alternatively you can buy the Mac App Store version for $9.99 to support the project and get access to automatic updates. Start UTM and you’ll be greeted with the welcome screen where you can select whether to create a new virtual machine or to browse the UTM gallery’s prebuilt images.
Select Browse UTM Gallery and your web browser will open to a small but well-rounded selection of prebuilt images that you can try instead of creating your own. When you select an image, you can download it or open the VM directly in UTM.
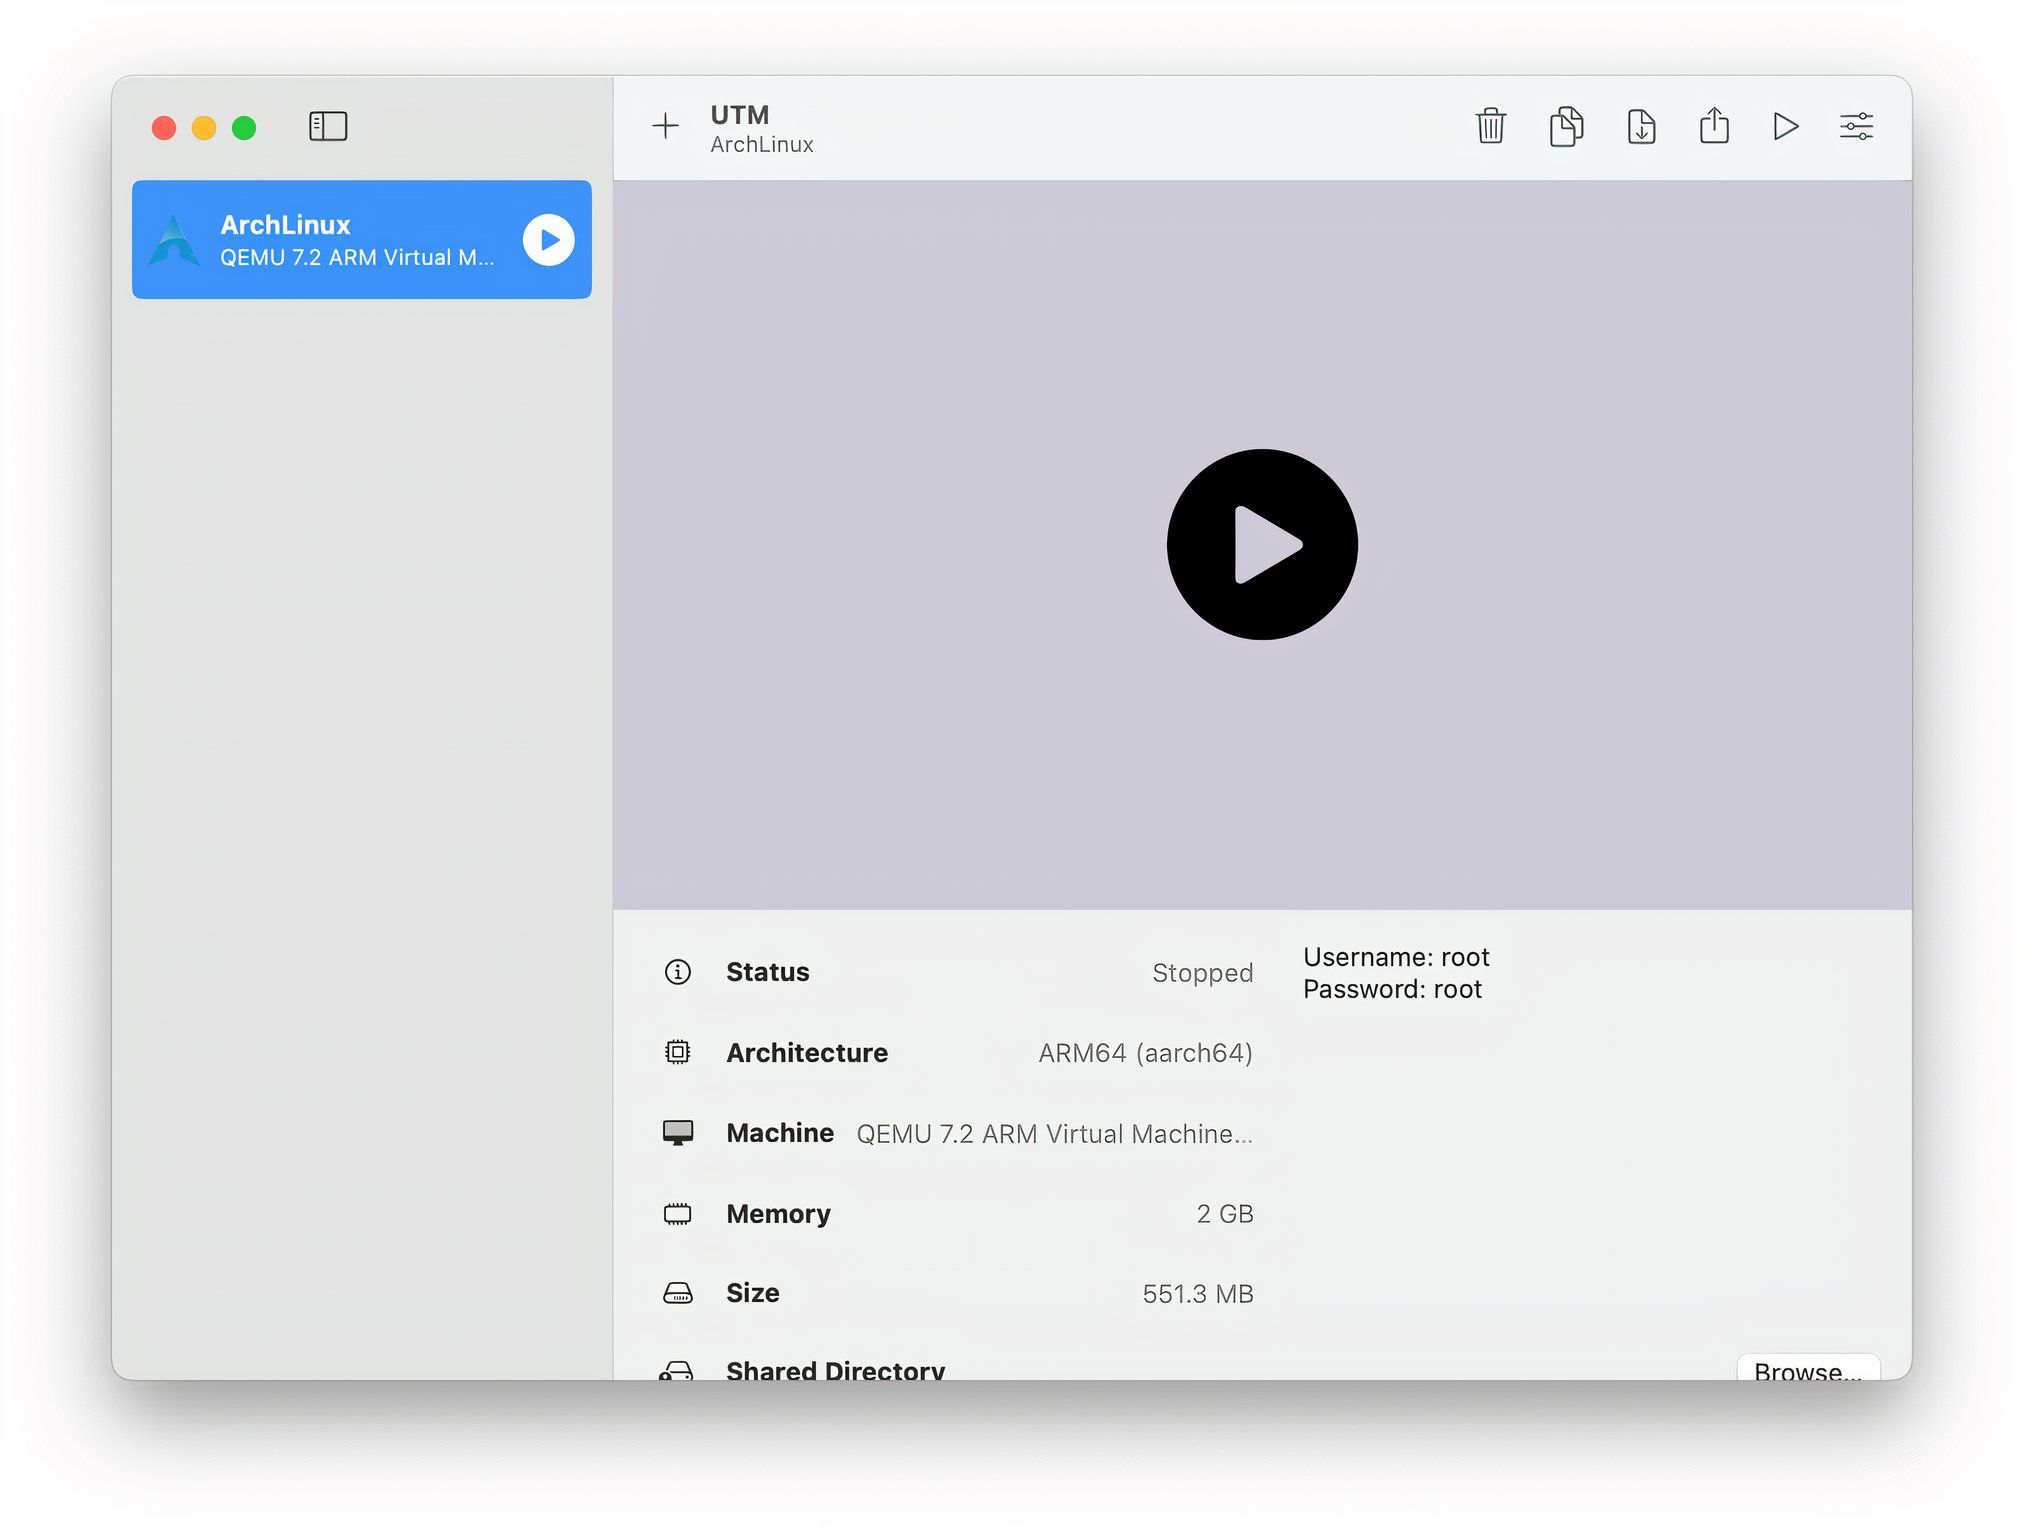
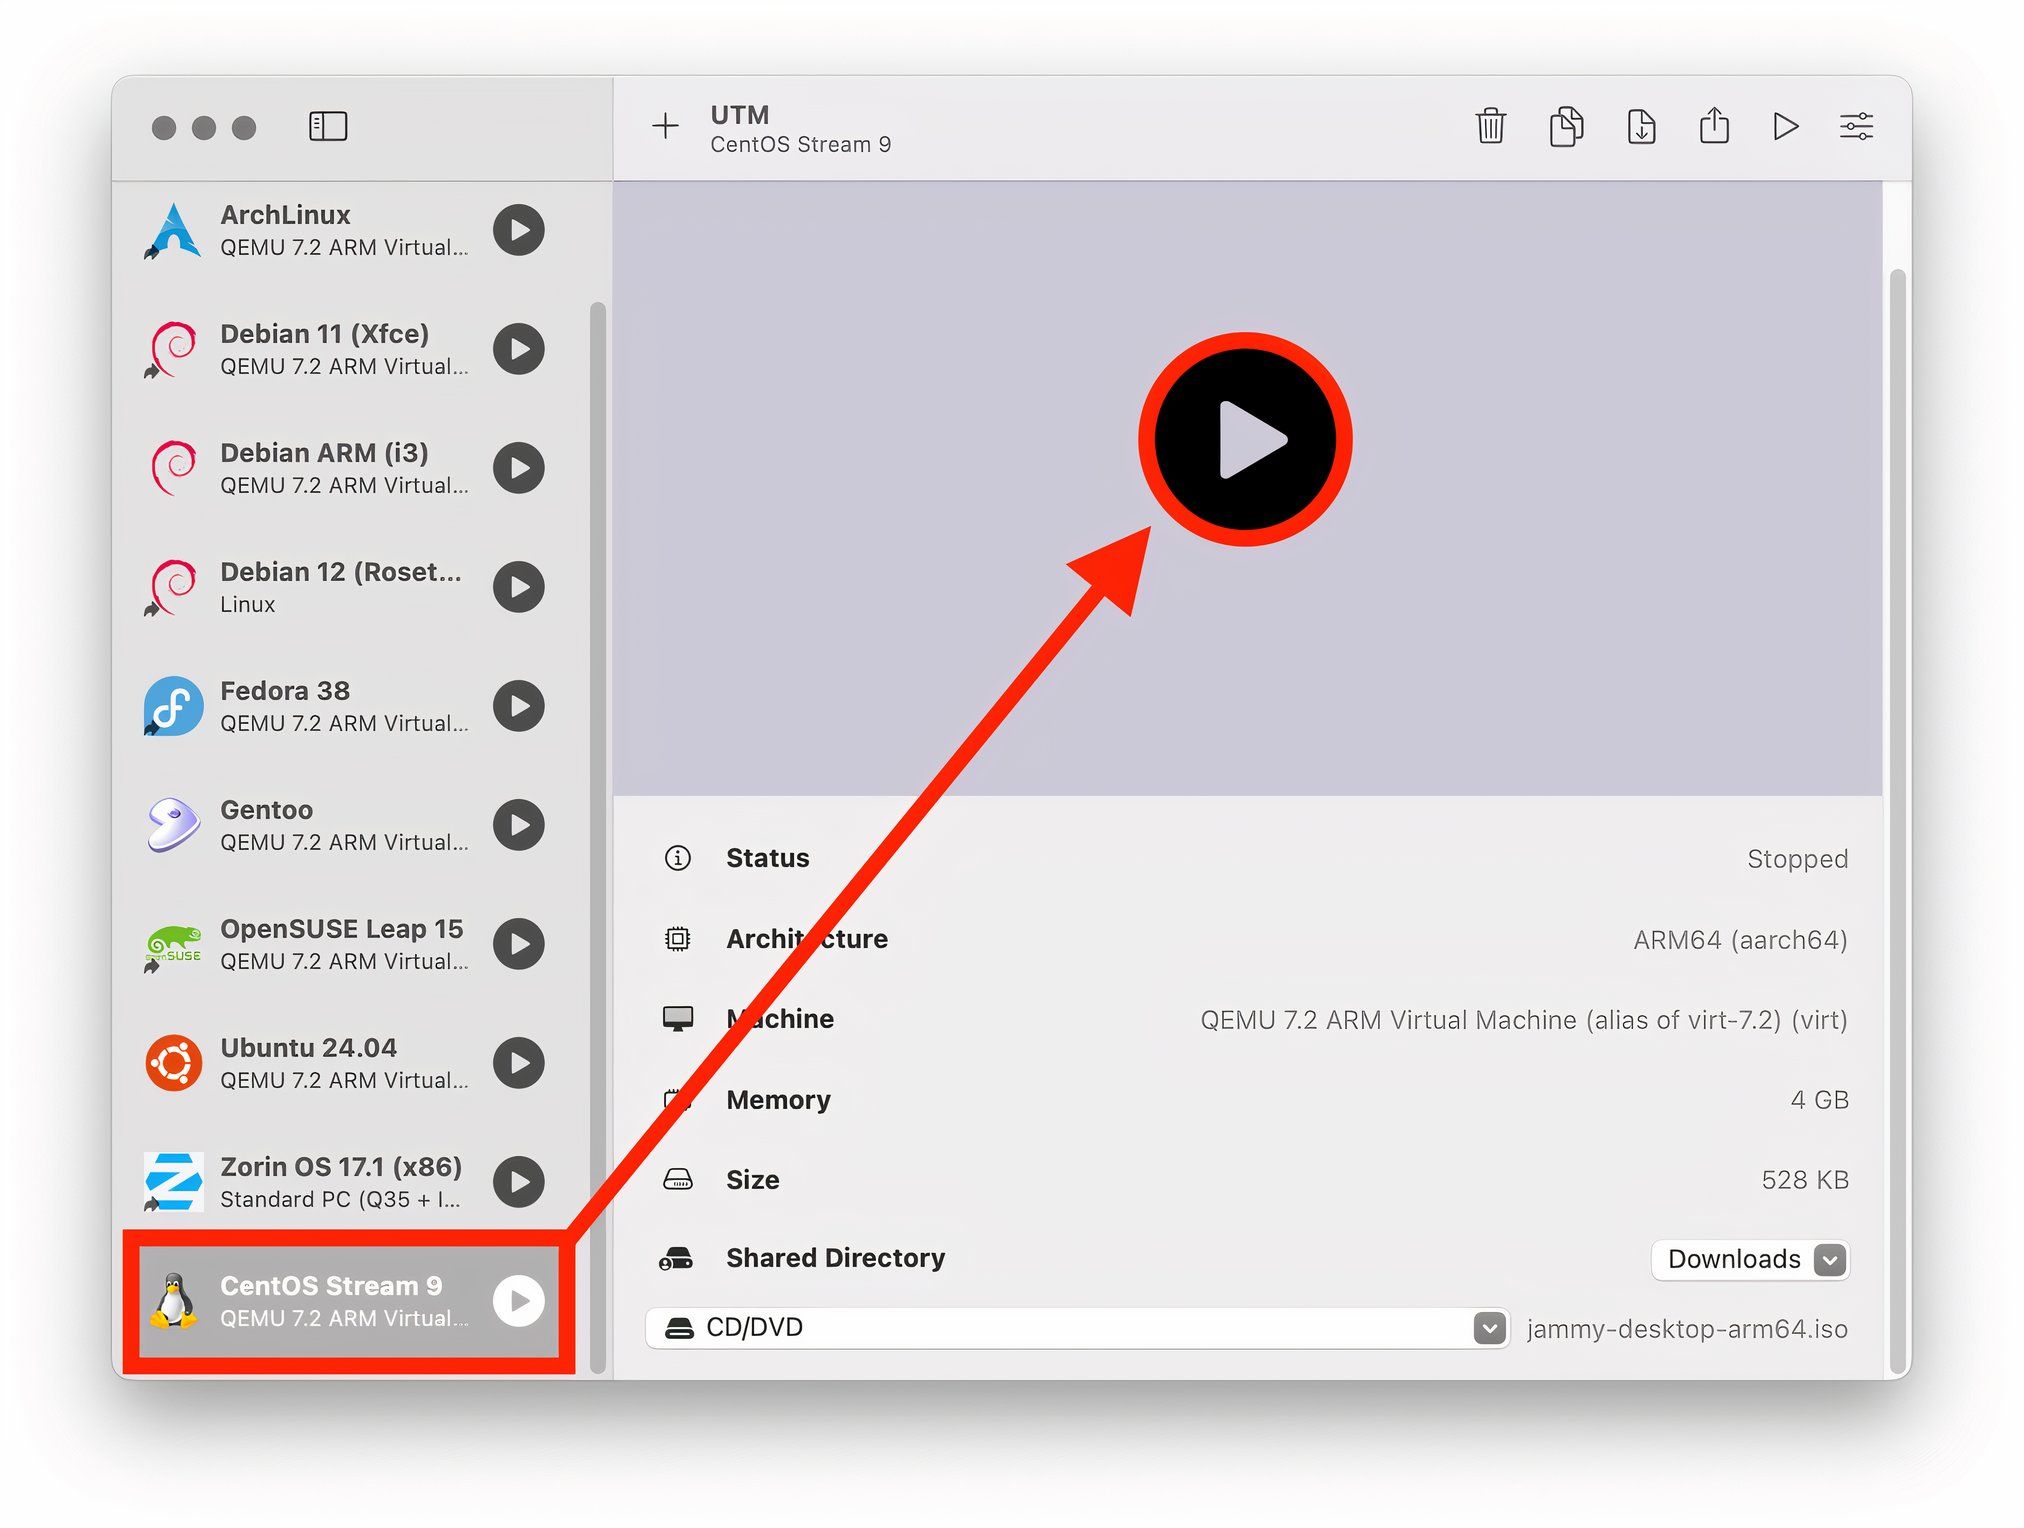
If you choose Open in UTM, it will download, and you can select the play button to start the VM.
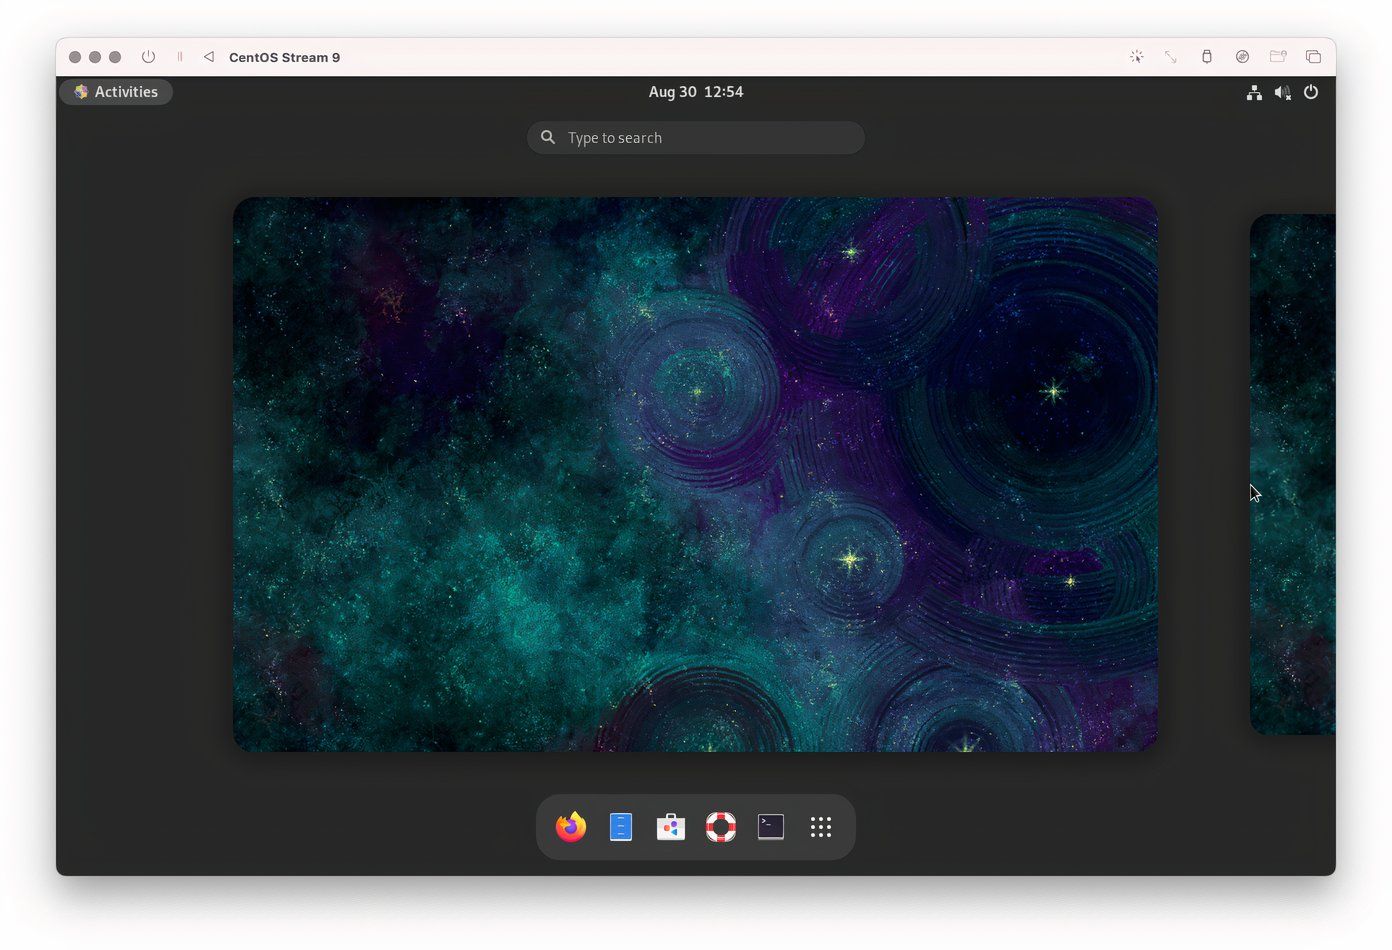
And there you have it! A fully-functioning Linux virtual machine with which you can customize and experiment without fear of breaking anything important.
VM Controls
The VM’s title bar offers controls to shut down, start, pause, or restart the VM. If you shut down or restart, you’ll lose any unsaved progress. However, if you pause a running VM, you’ll pick up where you left off the next time you start it up.
On the right side of the title bar, you can use Capture Input Devices to ensure exclusive use of the cursor and keyboard, Send Console Resize Command for display scaling, and USB Devices to manage USB connections. The Shared Folder button allows access to a WebDAV share directory, and the Windows button helps switch between displays, such as if you need to use a dedicated terminal window.
VM Configuration Options
You can configure every VM you download or create with a variety of configuration options. Let’s go through some of the more important things you should know about.
On the UTM main screen, right-select any VM, then select Edit.
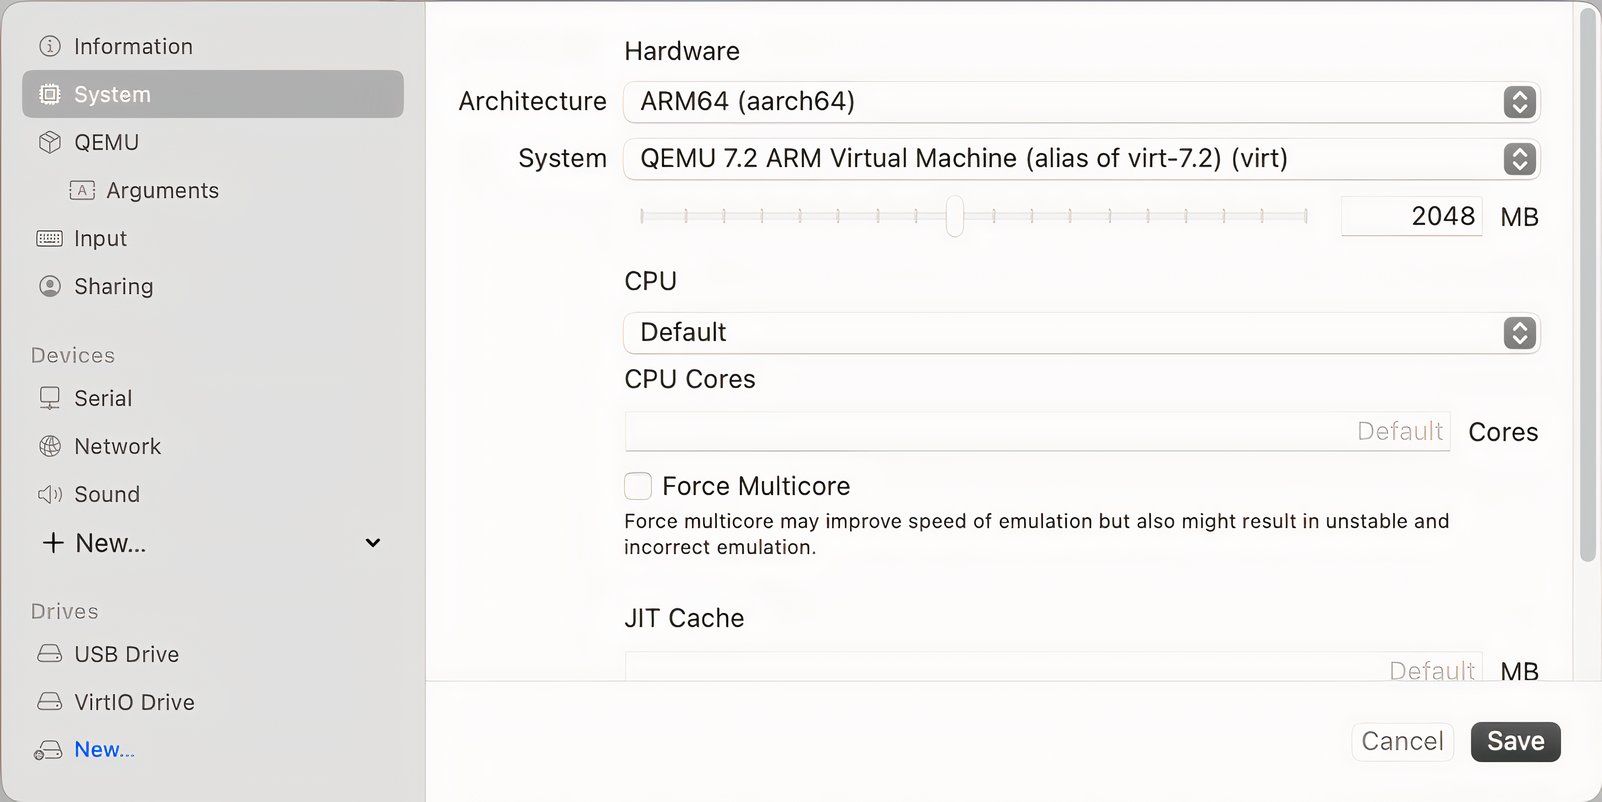
The Information pane lets you change the name of your VM image, add important notes, and customize the icon. The System options let you adjust things like architecture, RAM, and number of CPU cores (we’ll talk a little more about this when we create a VM).
When you start creating custom virtual machines, especially with graphical desktops, you might need to make changes to the Emulated Display Card in the Display options.
If you do run a Linux desktop, you can always use the Terminal app, but sometimes you just need the real thing. In this case, you want to add a Serial device. Usually, you won’t have network issues, but every so often, you might need to change the Emulated Network Card in the Network options.
One thing about creating new VMs is that you’ll need to clear the path to the ISO install media before you can boot the VM for the first time (after the initial installation).
Otherwise, your VM will just continue to boot into the installer. If you forget, you can clear the path in the USB Drive options.
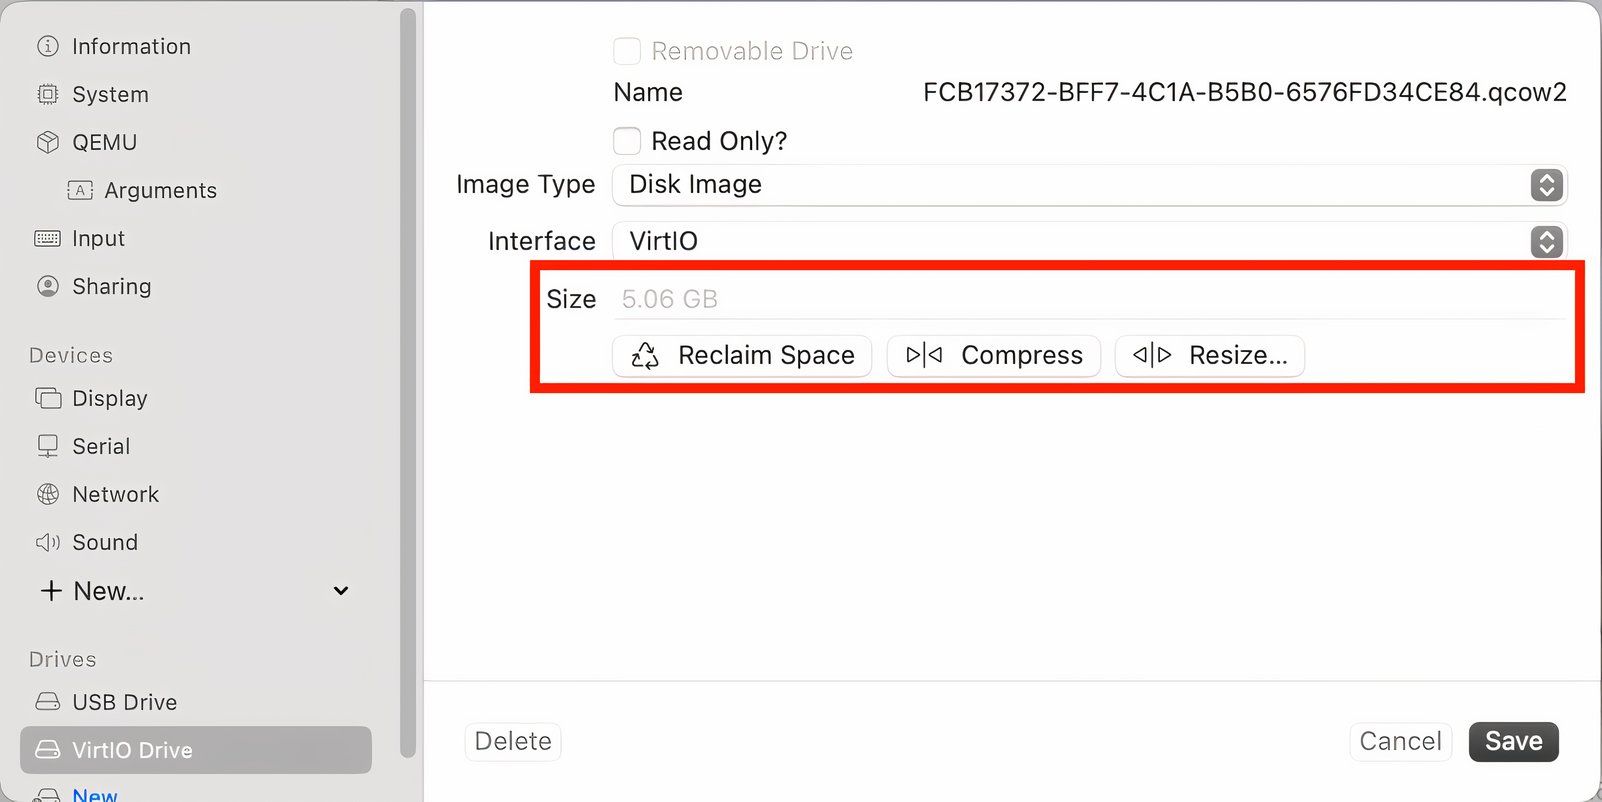
Finally, if you find that your newfound VM obsession is consuming too much drive space, you can use the size options in the VirtIO Drive options to try to reclaim some of that space.
Another space-saving solution is to use another storage device. If you’re concerned about performance, you can keep one or two of the VMs you use most often on your system drive and offload the rest to external drives.
Creating Custom Virtual Machines With UTM
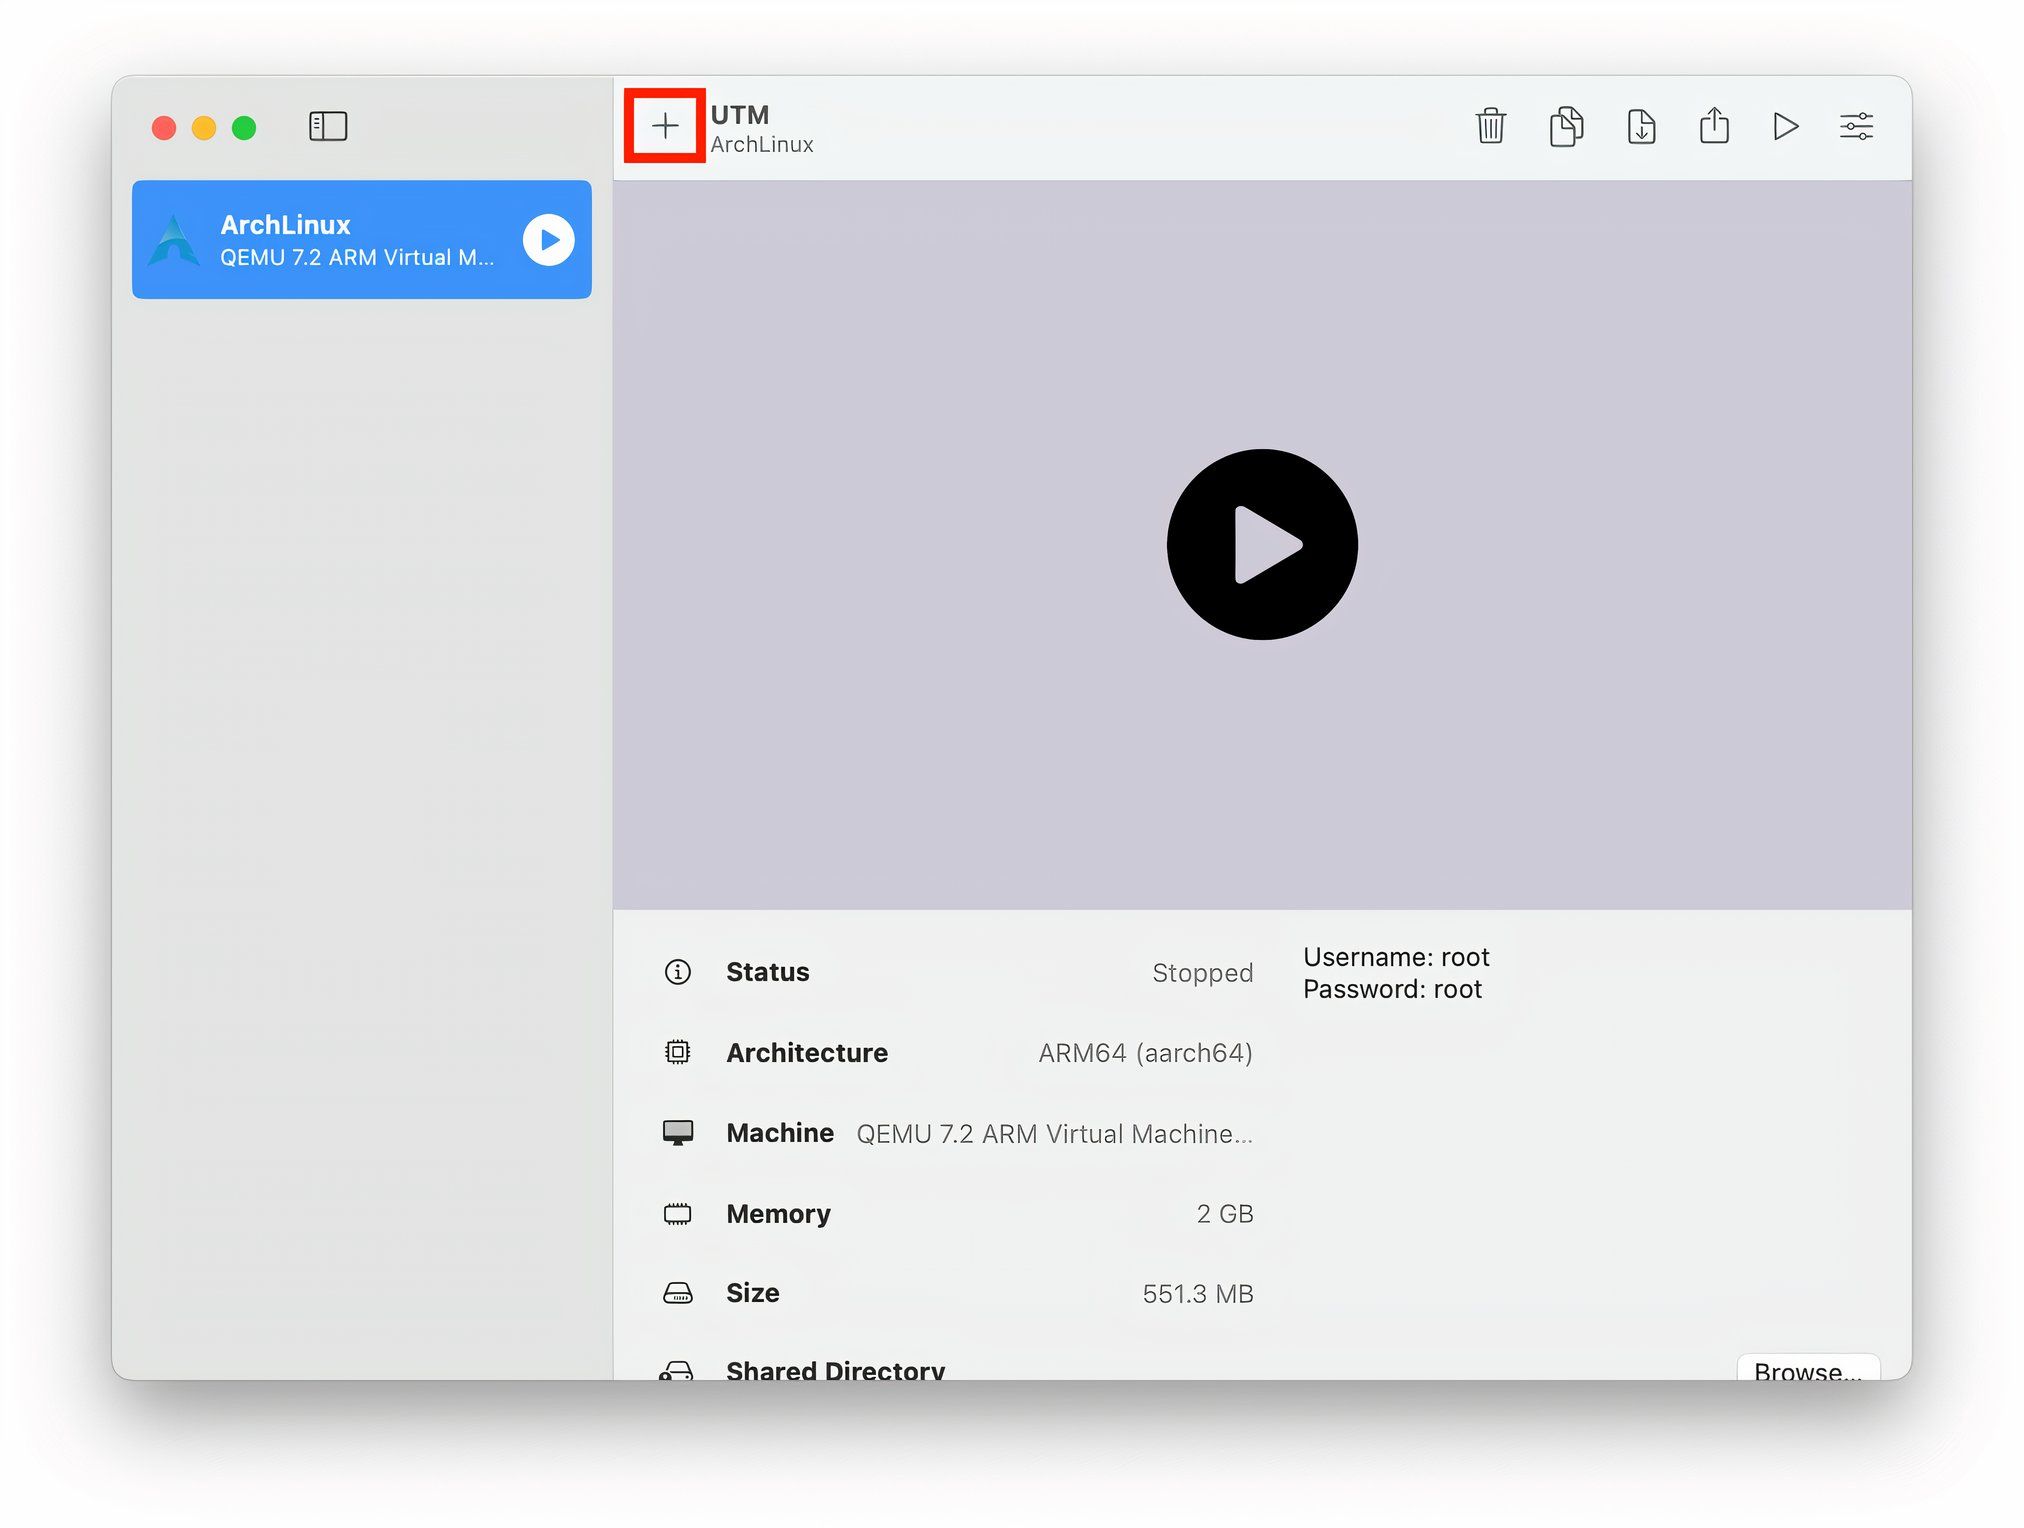
Without further ado, let’s create a virtual machine and show you how easy it is! To get started, select the + button on the UTM main window.
The two primary choices here are virtualization or emulation. If your ISO is ARM-based, then select Virtualize. If it is anything else (typically x86 though), select Emulate. You should be able to get this information from wherever you downloaded the ISO, and you’ll often get to choose between them.
For best performance on an ARM-based Mac (with an M1 chip or later), choose ARM-based distributions and use the “Virtualize” option when creating a new VM.
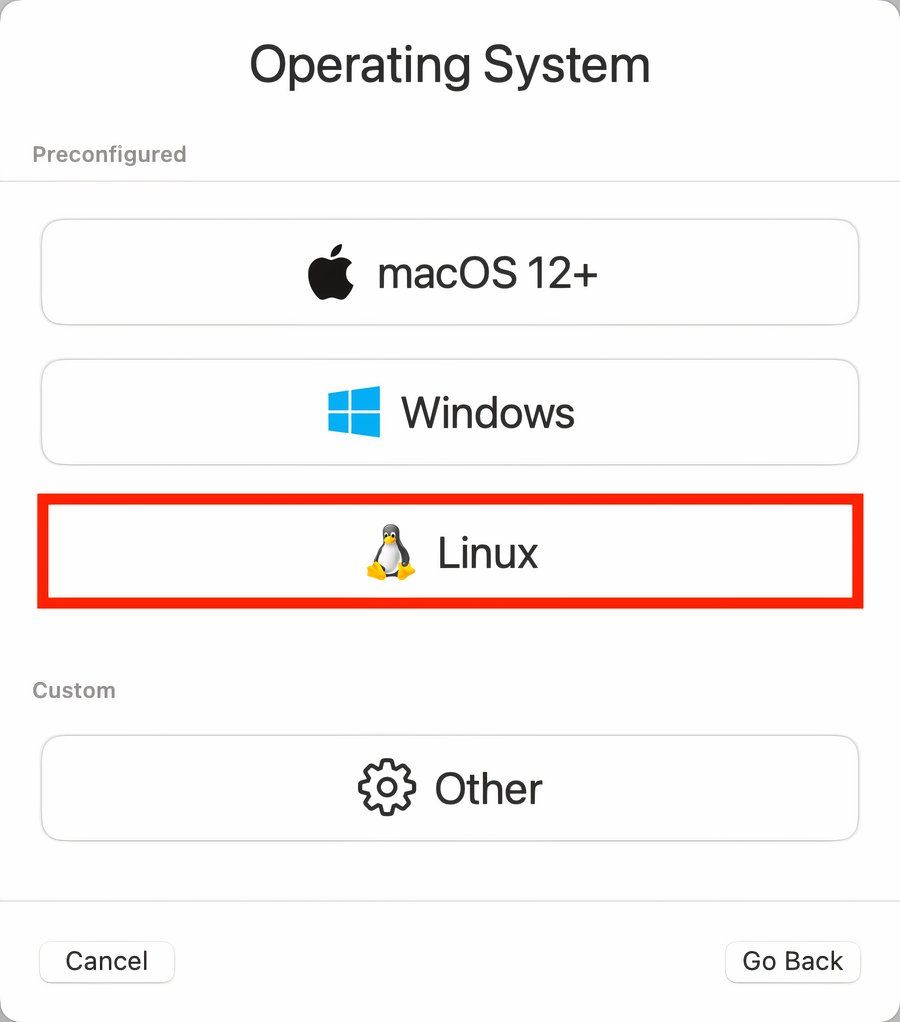
You can install other versions of macOS, Windows, and custom operating systems, but we’re just going to select Linux.
The only thing you need to do on the next screen is locate your ISO image and select “Continue.” You’ll next need to select how much memory you need and CPUs to allocate to your VM. A basic rule of thumb to follow is:
- 2-4 GB and 1-2 cores for lightweight distributions and command-line-only environments.
- 4-8 GB and 2-4 cores for medium-weight distributions and desktop environments.
- 8+ GB and 4+ cores for heavier distributions and developer-centric environments.
When you select your storage size, remember it isn’t how big the VM will be when you create it, it’s how large the VM can expand to as you make changes such as installing software and adding files. Some really minimal distributions can get by with less than 10 GB, but a general rule of thumb for most everything else is as follows:
- 20-30 GB for lightweight distributions and CLI-only environments.
- 40-60 GB for medium-weight, full-featured Linux distributions and Windows/macOS installations.
- 60+ GB for heavier distributions with larger software installations, gaming, and developer environments.
Selecting a Shared Directory is completely optional. With it, you can access a location on your Mac in the VM. This is useful for adding files such as documents, configuration files, and software.
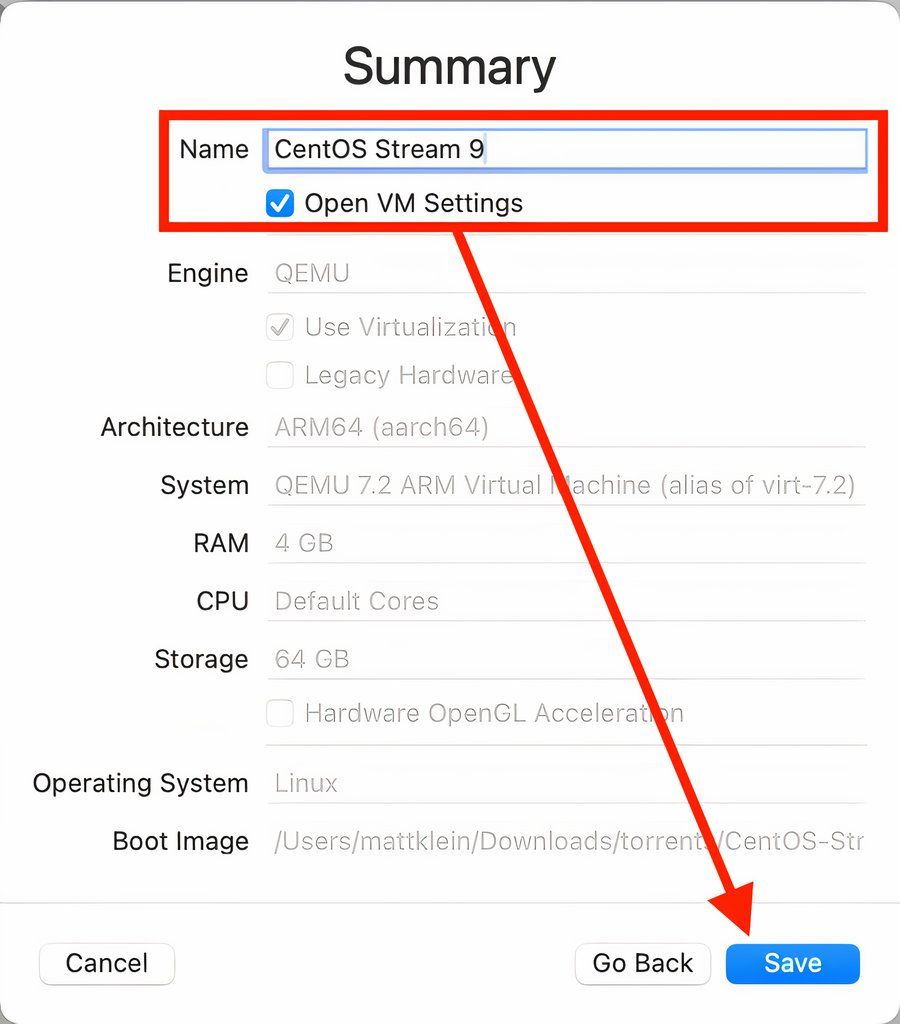
Finally, the Summary screen shows you all your previous selections and provides the option to give your VM a descriptive name. You can also select “Open VM Settings” to make any last-minute adjustments.
Once you select Save, the newly-created VM will show in the main window. Select the play button to start it, and you’ll go through the distribution’s installation.
Keep in mind that when you’re installing different Linux distros, they may not all proceed as smoothly as others. If you find yourself running into issues, you may have to search for an answer or consult the distribution’s support channels. Once you succeed in creating your first (or 50th) VM, it can feel very rewarding!
UTM Settings
Before we wrap up, let’s briefly explore UTM’s application settings, just so you know what your options are. As settings go, there’s not a lot to dig into and they are pretty self-explanatory.
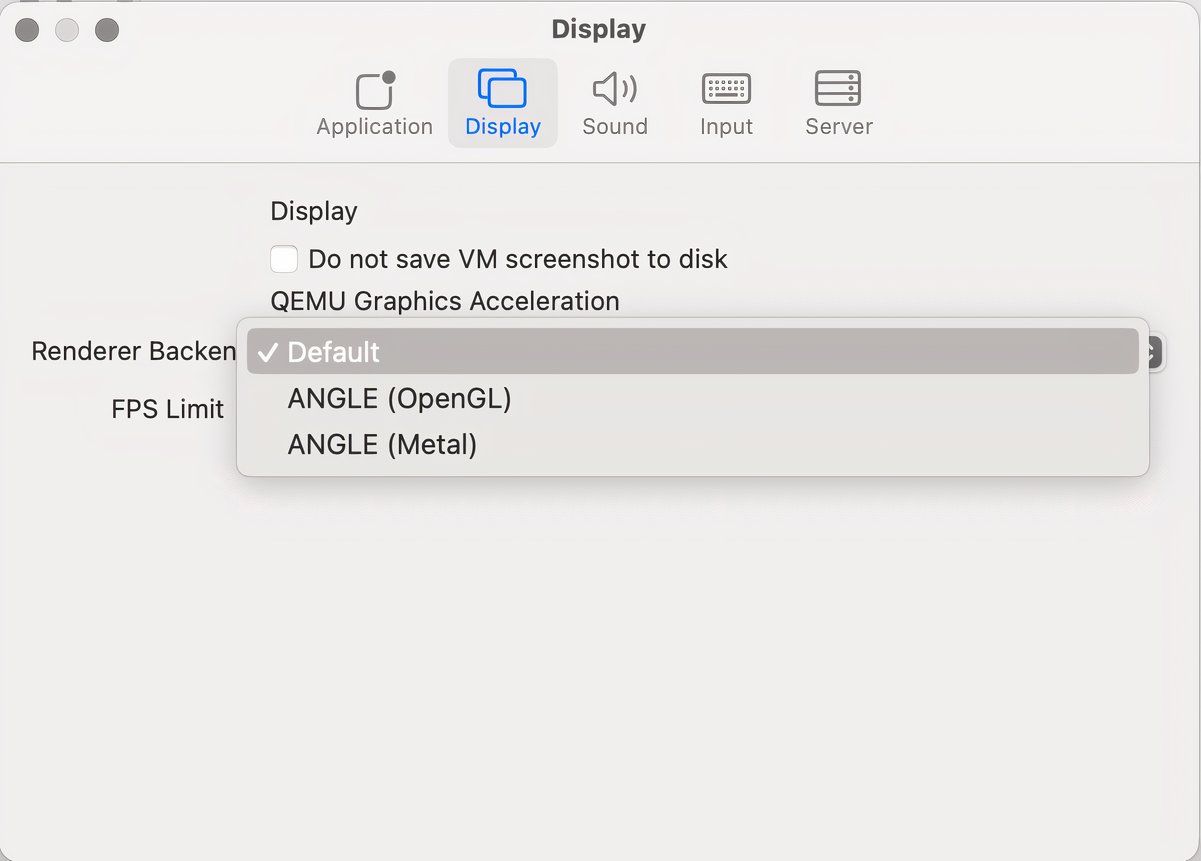
The Display options let you adjust the renderer backend between OpenGL and Metal, which is useful for resolving performance issues. You probably won’t need to touch this unless you experience some serious problems.
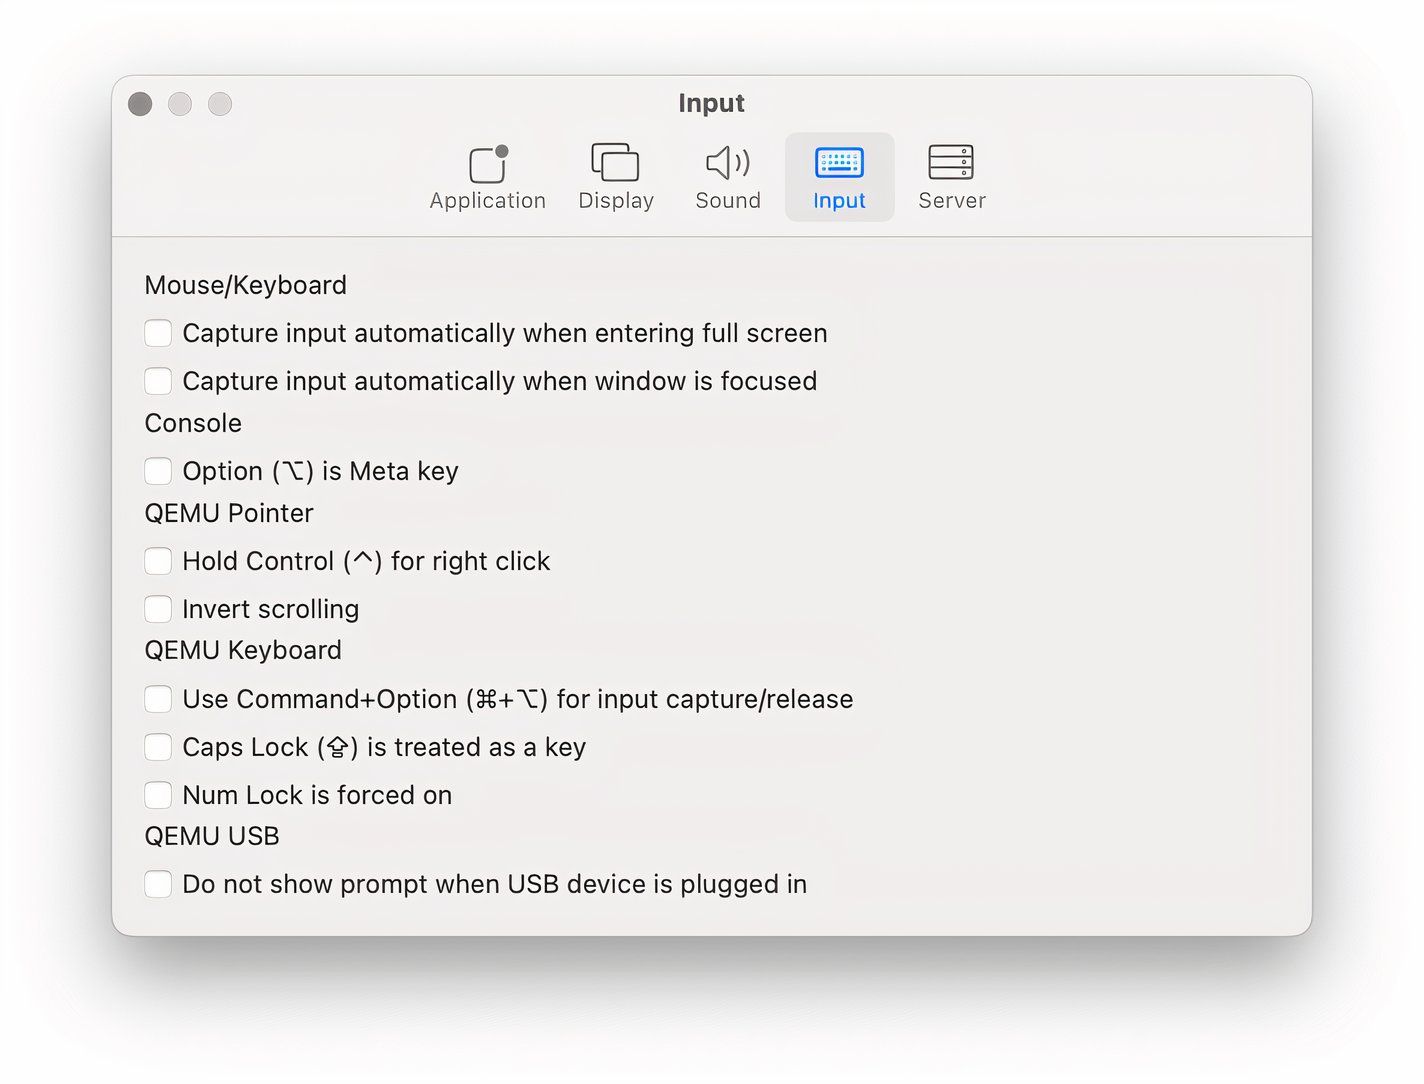
For sound, use CoreAudio for local VMs or Spice with GStreamer for remote VMs. Check the input options to manage how devices are captured and by the VM and behave within it.
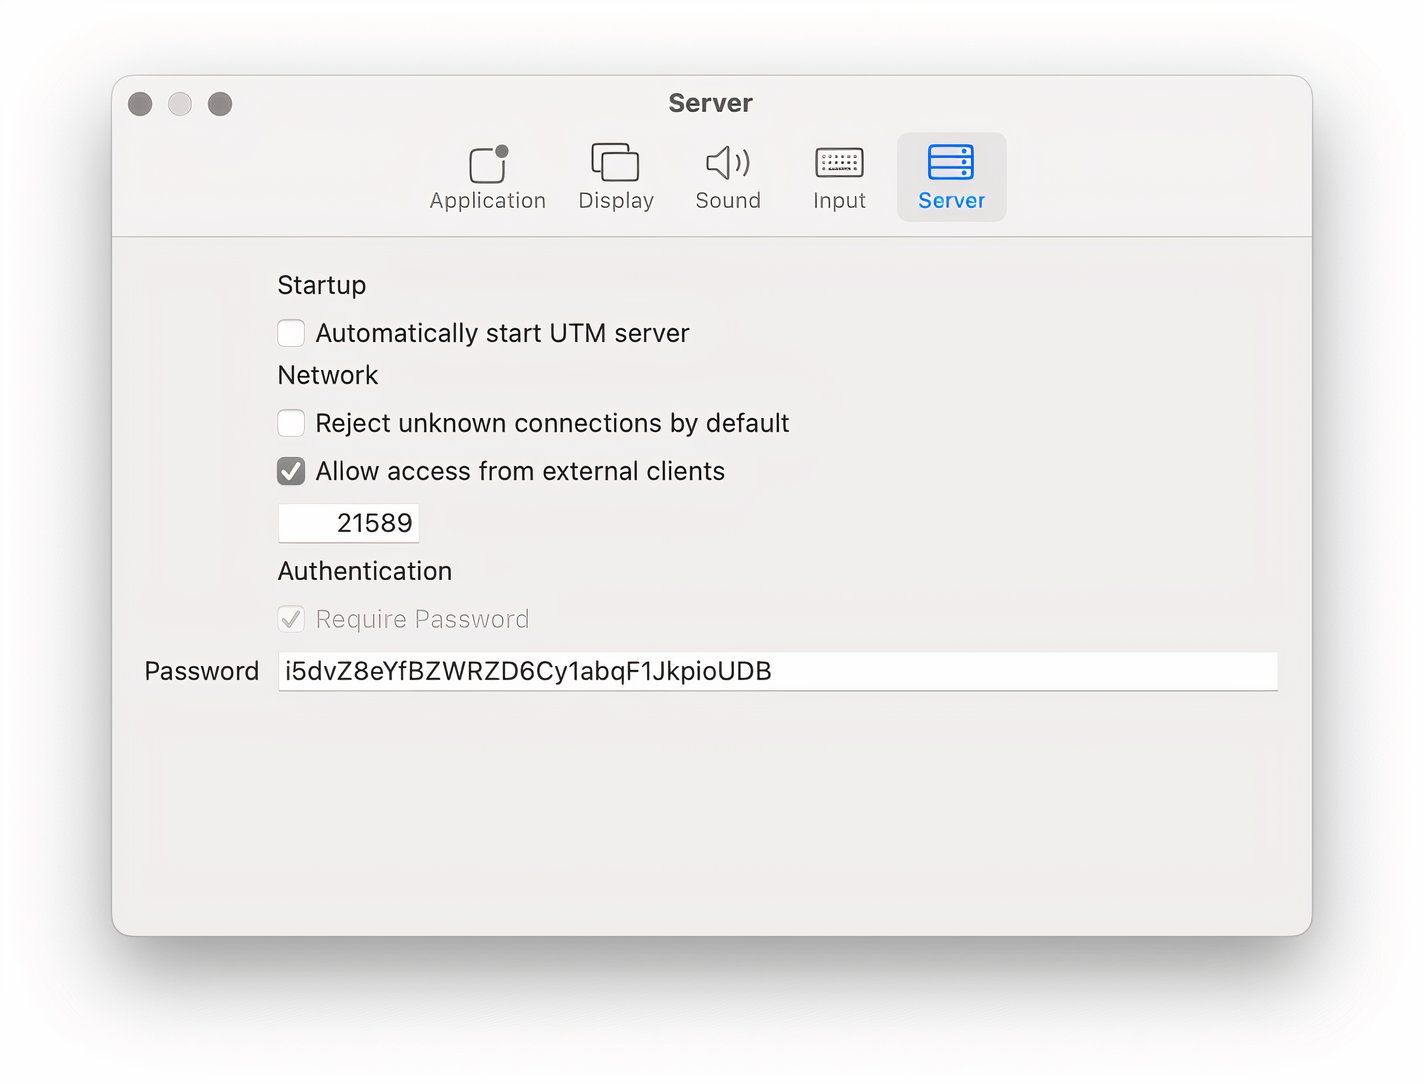
Lastly, the server options let you set up your Mac as a UTM Server, enabling remote access to your VMs via the UTM Remote app on iOS devices.
You are now ready to explore the world of virtual machines with UTM! With its user-friendly interface and robust capabilities, UTM makes experimenting with various Linux distros and other operating systems on your Mac an enjoyable and seamless experience. If you’re wondering where to start, Ubuntu is still one of the easiest distributions to learn Linux, but there are other flavors like Mint and Fedora that are beginner-friendly too.
Best of all, it’s free, which means you get the benefit of a powerful tool that opens up endless possibilities for learning and exploration without negatively impacting your wallet.


