Don’t Throw Out That Old Keyboard, Fix Up It Up Instead
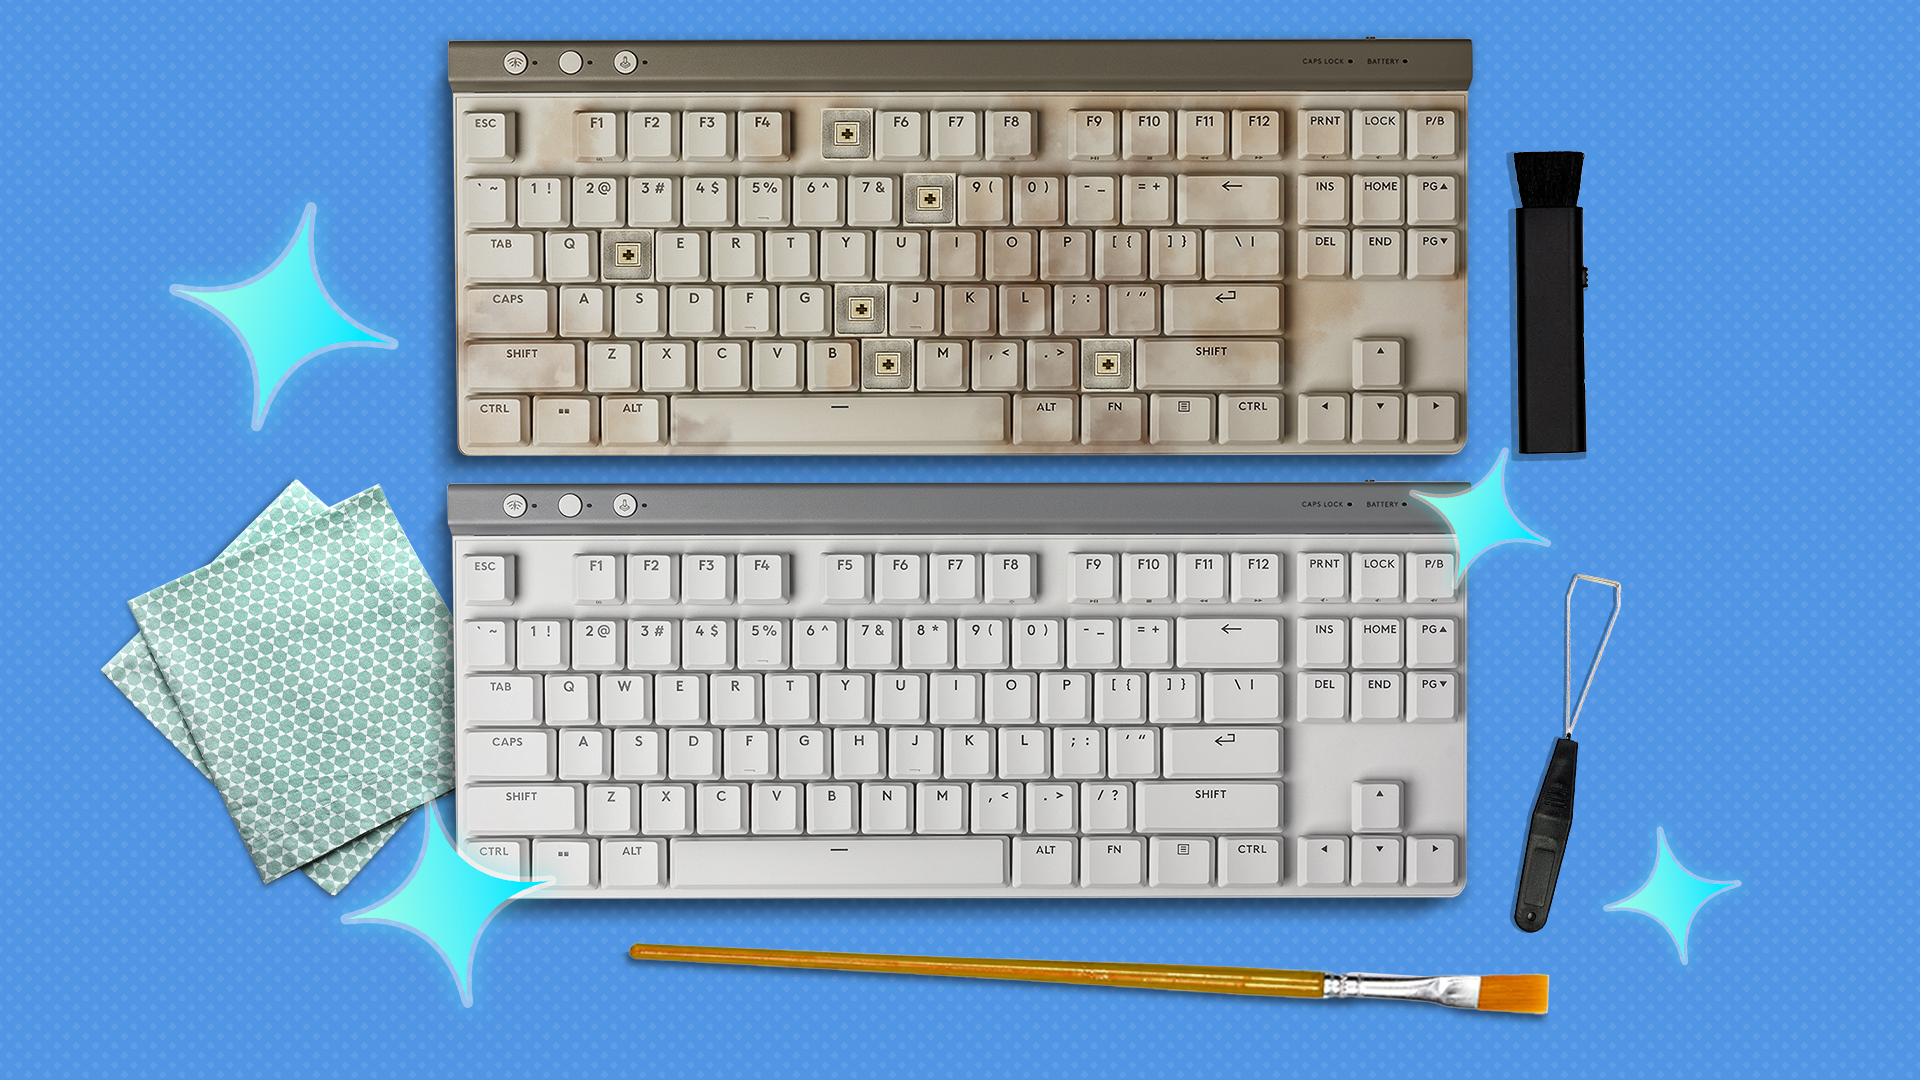
There is no sense in throwing away something that might just need a little TLC to get in tip-top shape again. Keyboards are no exception—most of the time a little rubbing alcohol and a Q-Tip will get the job done. Here are the steps to take and troubleshoot that old keyboard you’ve got.

Determine How Dirty or Damaged the Keyboard Is
Before I get started working on any PC parts, there are a few things I always have on hand.
- A precision screwdriver set
- Q-Tips
- Isopropyl alcohol
- A magnetic bowl
In this case, the precision screwdriver set is a must-have item, and you’ll also want some mild dish soap, toothpicks, canned air, and a keycap puller on hand too.
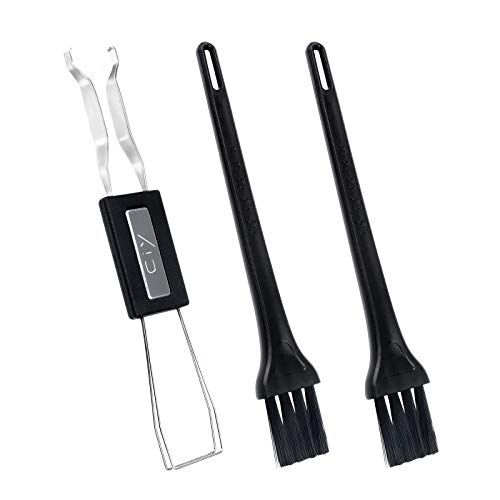
Stainless Steel Keycap Puller
Assists with pulling out keycaps more easily
See at amazon
Once you have your materials on hand, the first thing you need to do is determine just how dinged up the keyboard is. Always check the cable for damage before anything else. Is it just gummed up with soda and dust? Is something mechanically broken? Is there an electrical problem?
The easiest first step to diagnosing the problems is just to open up Notepad (or other plain text editor) and push every key on the keyboard, making sure that it shows up in Notepad like it should. Make note of any keys that aren’t working, that are difficult to press, or are sticking.
Be sure to check all the Ctrl, Alt, and Shift keys on the keyboard too. I usually use Ctrl+Shift+Esc and Ctrl+Alt+Delete to check those, since those shortcuts are burned into my memory.
A Quick Cleanup
If the keyboard you’re fixing only has cosmetic problems, you’re in luck: you only need a bit of elbow grease and time.
Start by using your keycap puller to remove all the keys on the keyboard.
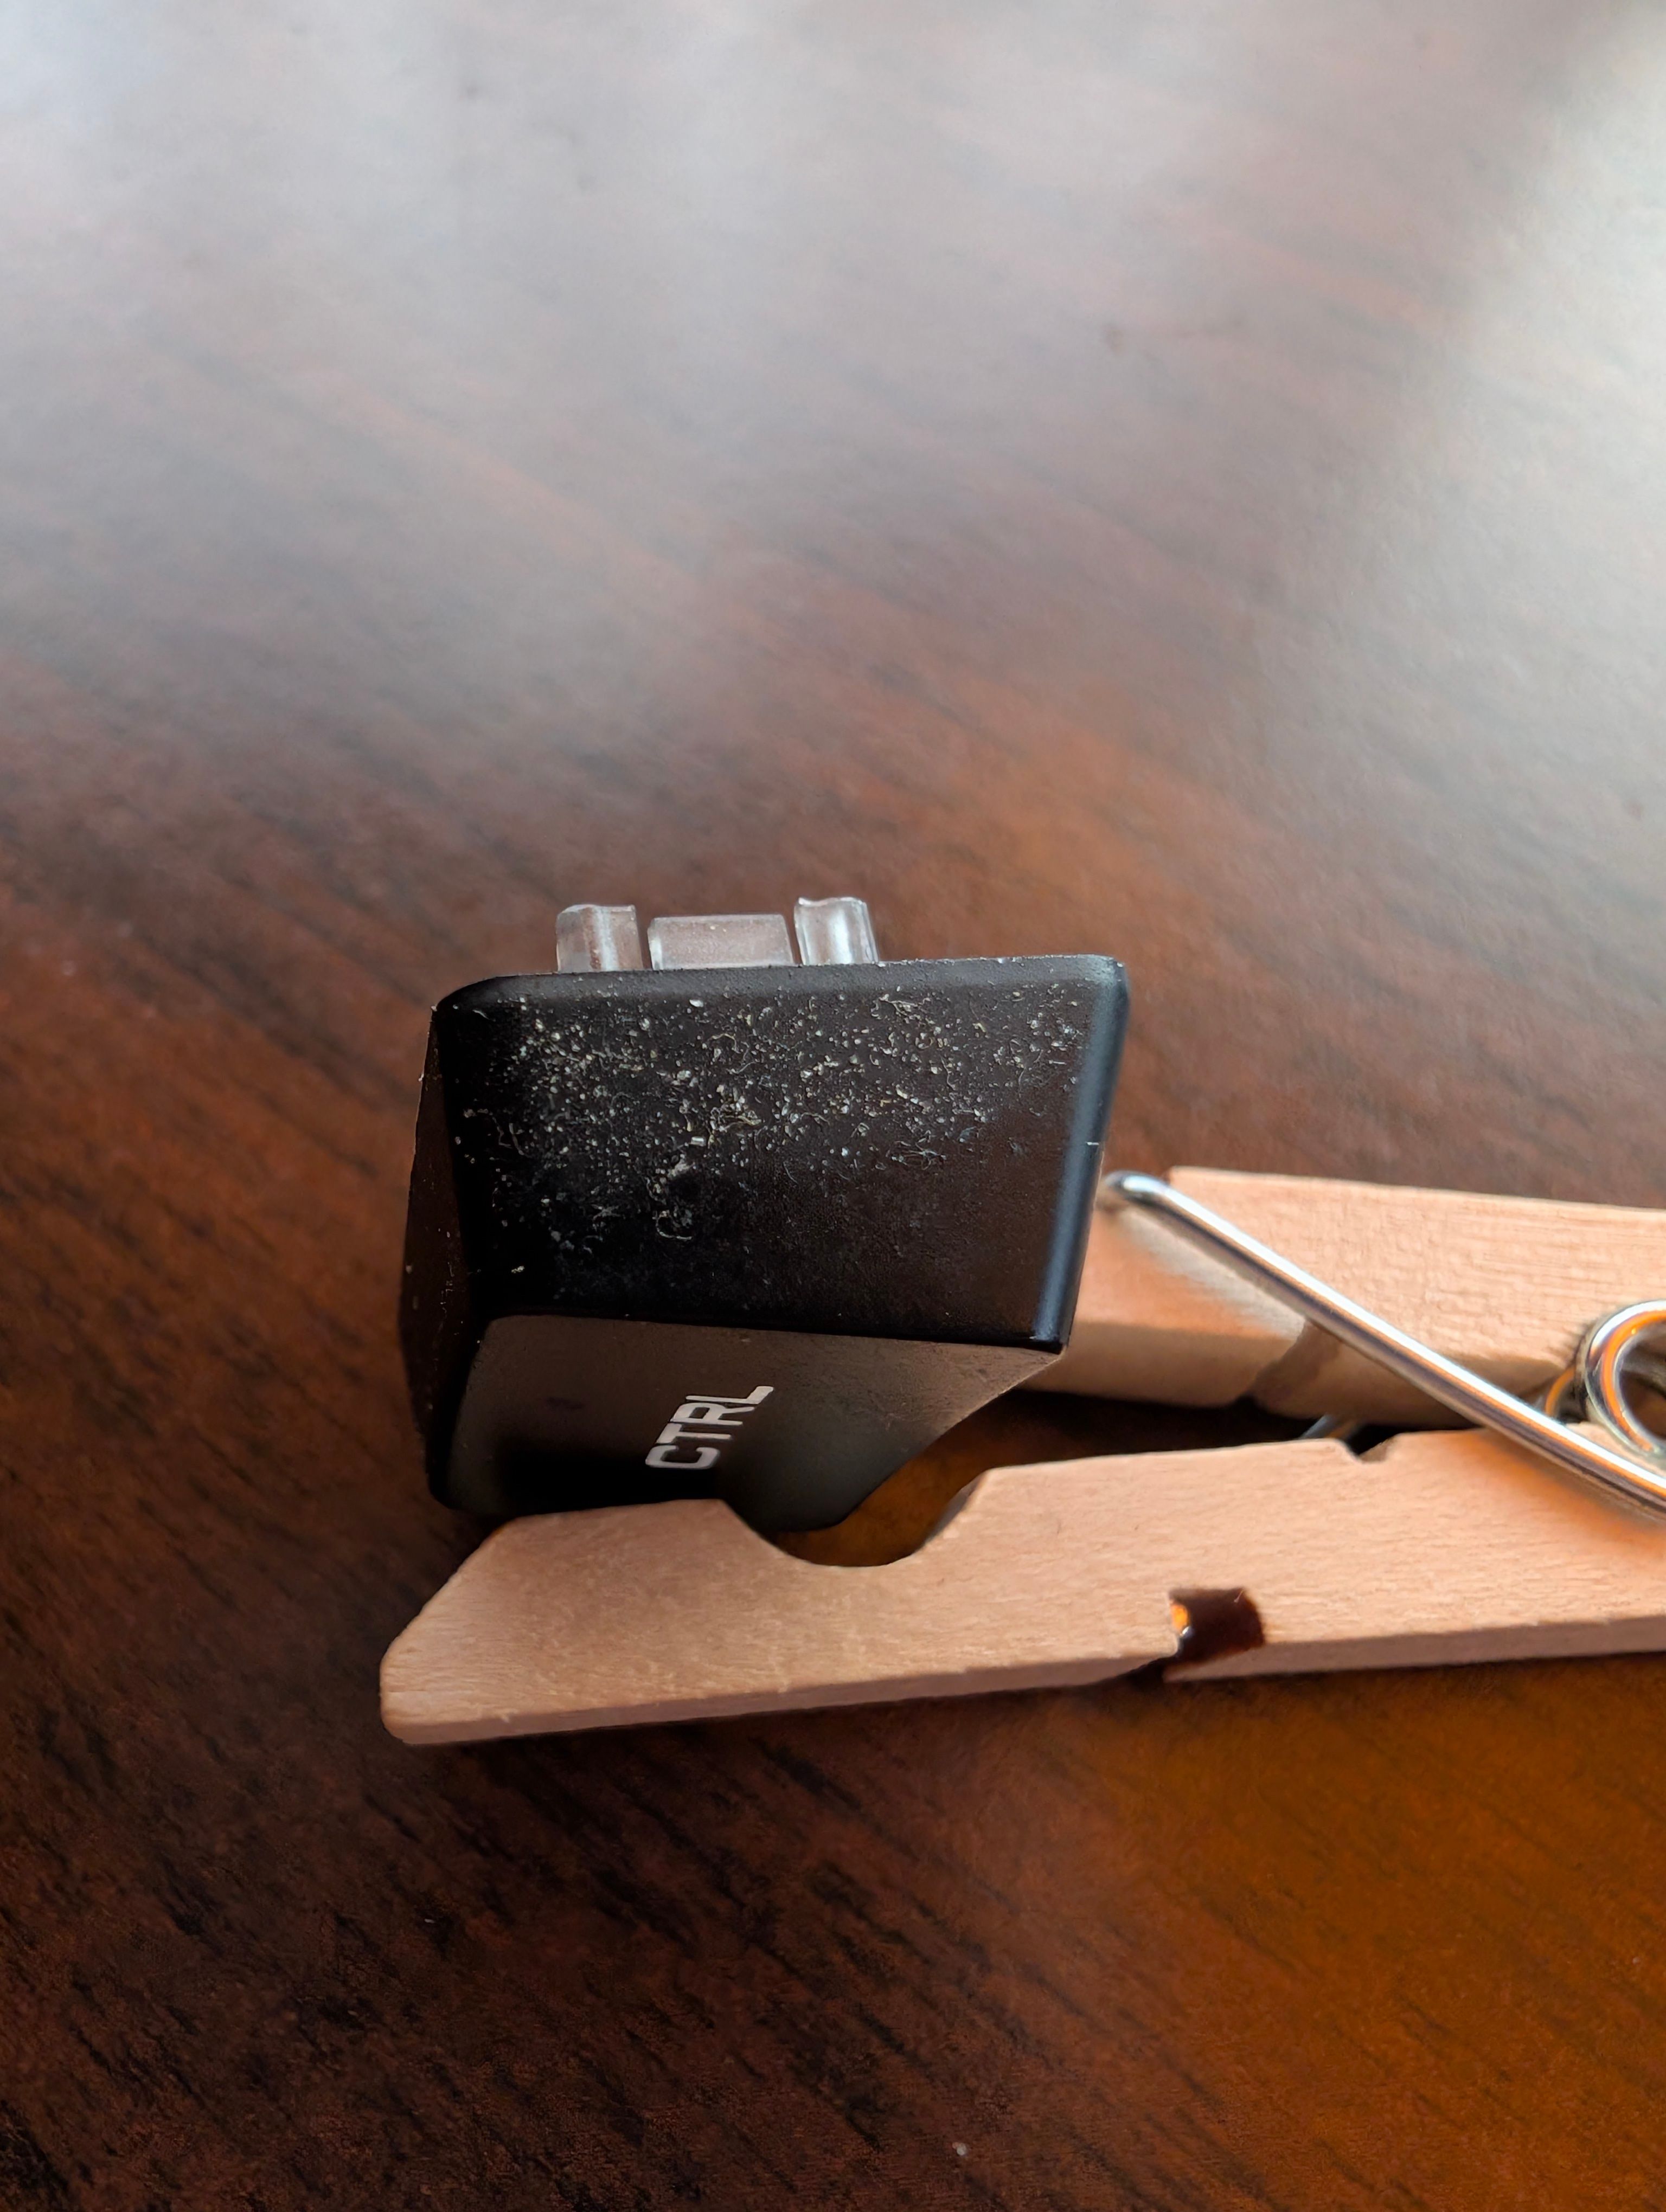
If the keys have a ton of gunk stuck on them (usually the sides), toss them in a bowl with a bit of dish soap and warm (not hot!) water. The dish soap and water will loosen up the stuff stuck to the sides of the keys while you finish cleaning out the rest of the keyboard.
On the keyboard I was refurbishing, the keys all had some stuff stuck to the side.
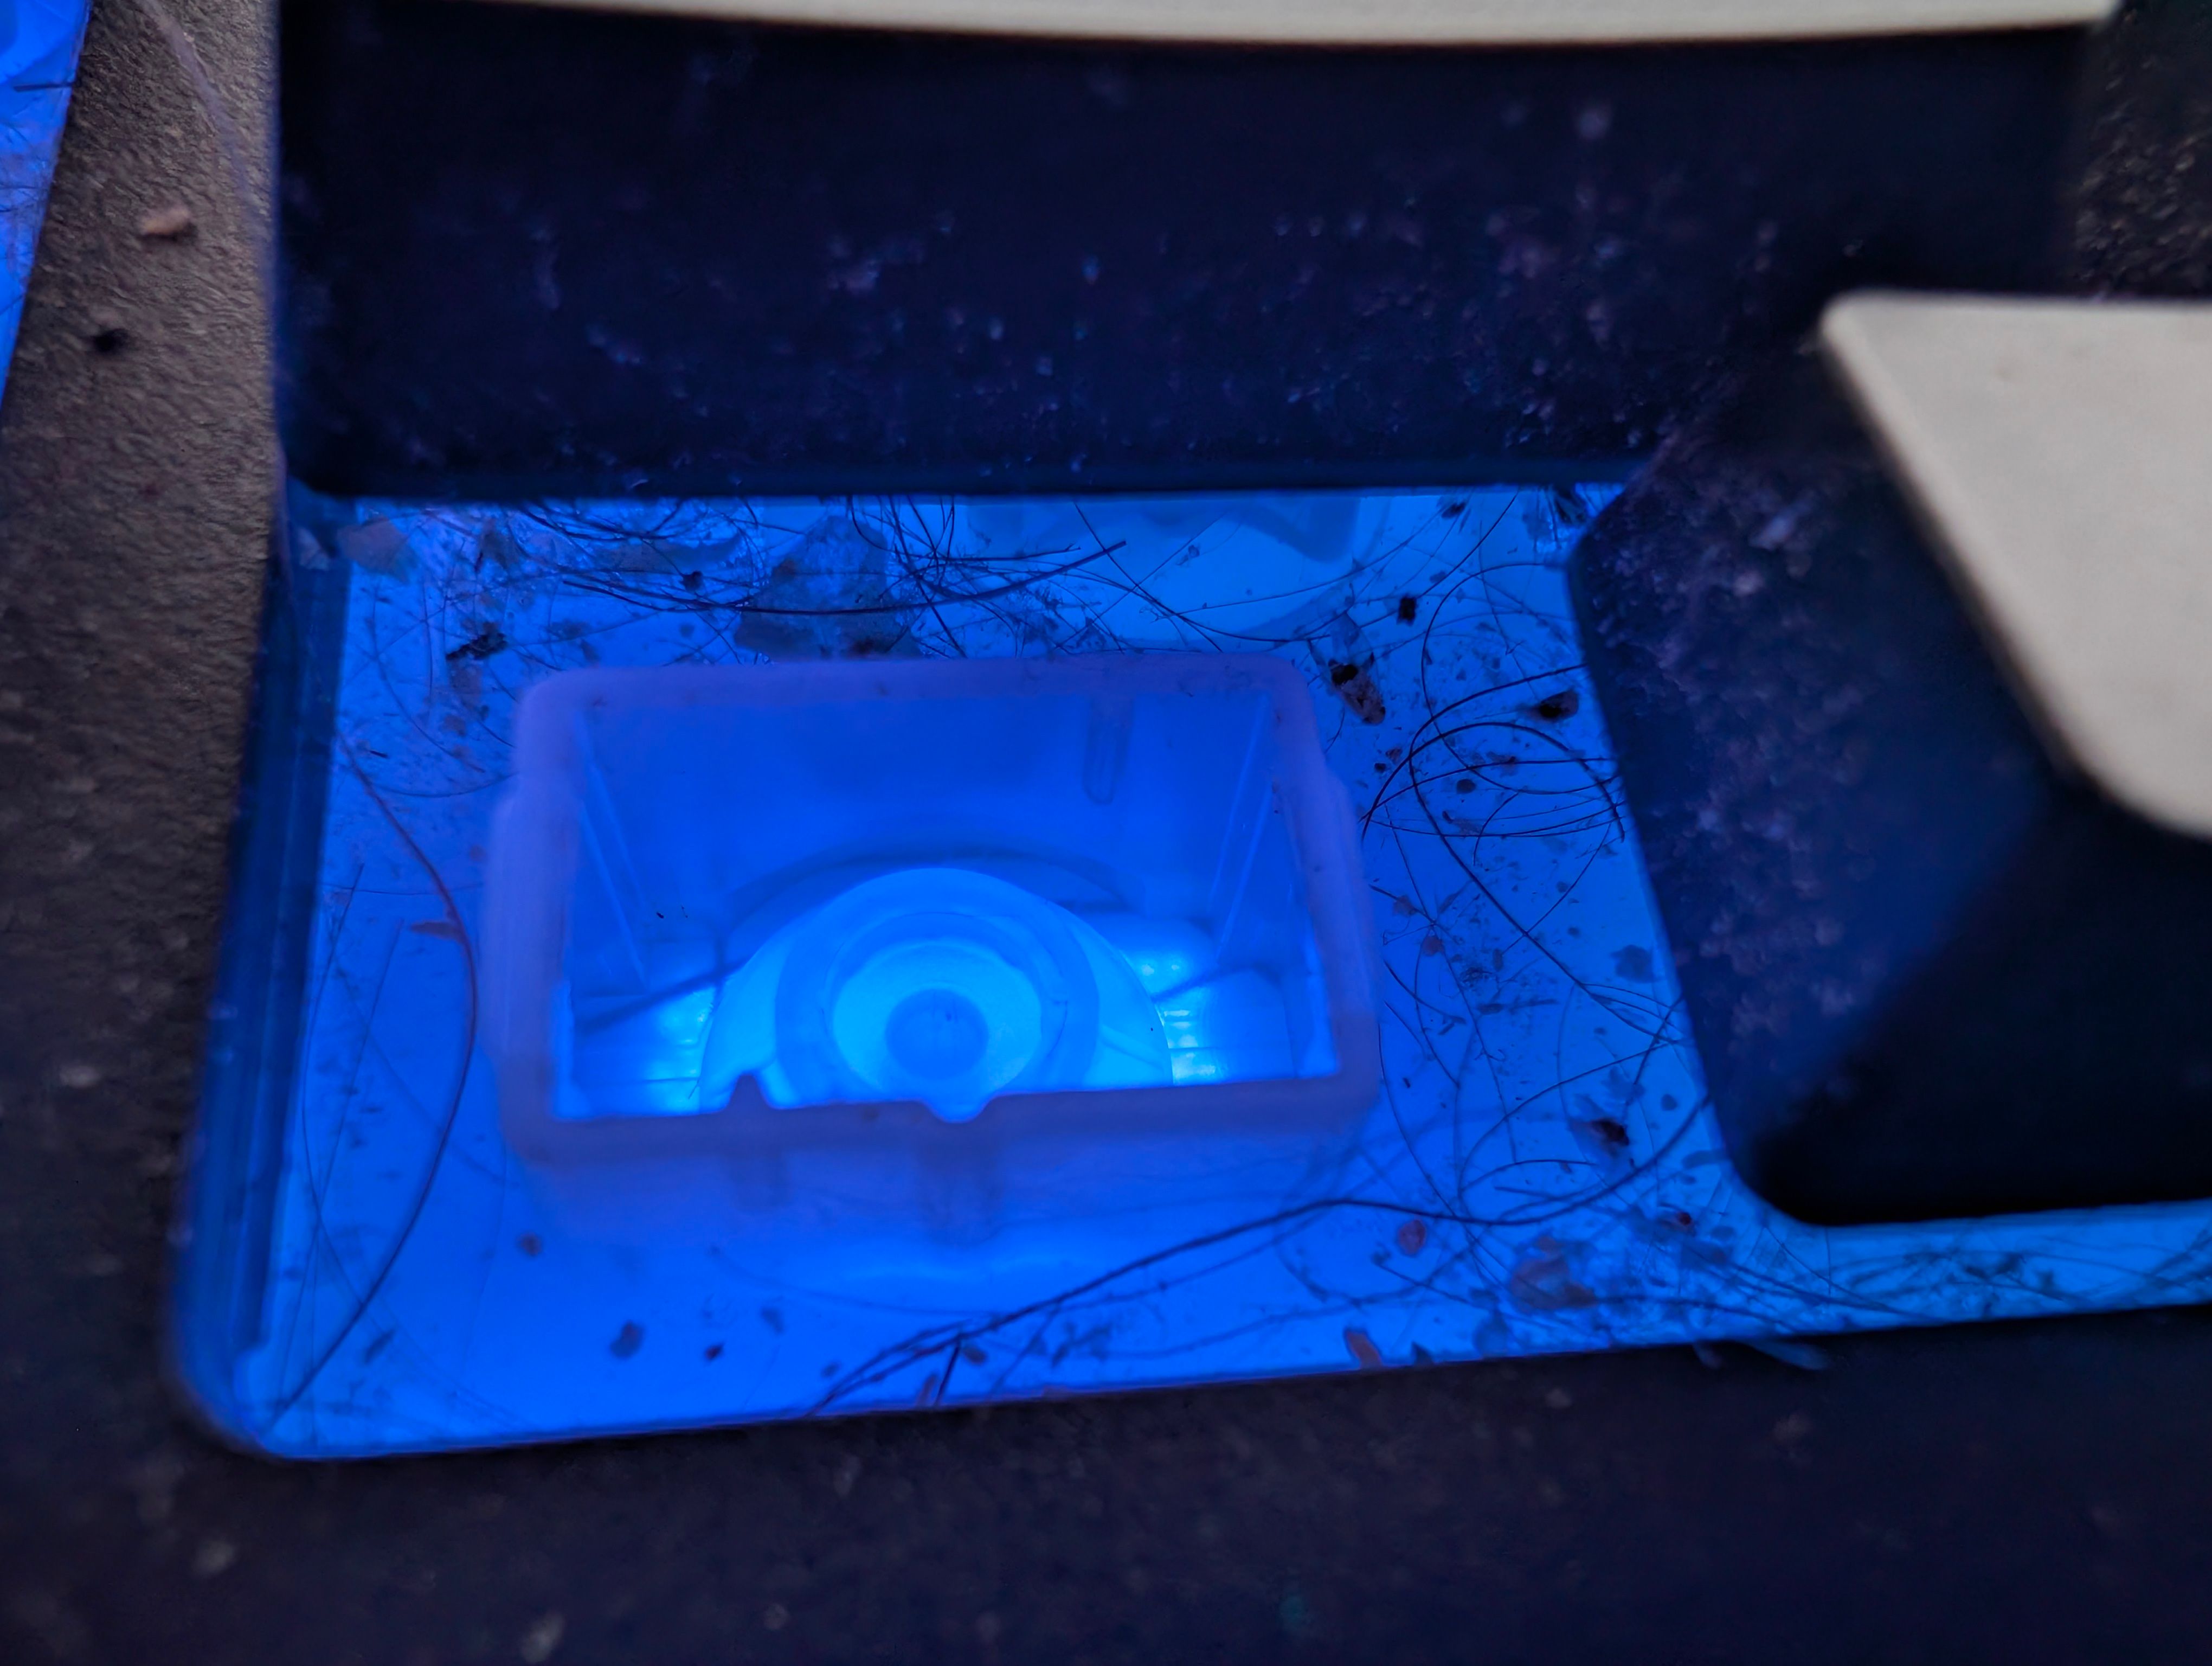
Once all the keys are off, you have to deal with the rest of the keyboard. It is important to remove dry debris before you apply any liquids, otherwise you’ll just make a paste. I usually just take it outside, turn it upside down, and give it a few good smacks to remove any loose debris that was stuck under the keys. You could use a vacuum, but if you’re cleaning a mechanical keyboard with removable switches, you might vacuum one off. Be careful if you try it.
Once that has been done, I usually use Q-tips dipped in water or isopropyl to remove any stuff that is still stuck. If you had any keys that were difficult to press or sticking, pay careful attention to cleaning around them too. Just be sure not to use too much liquid—you don’t want anything dripping down int o the keyboard.
If anything is tough to remove, just use a toothpick to gently scrape it off.
Once that is all done, give the keys you had soaking a gentle stir, rinse them, then lay them out to try. Avoid using direct heat (like a hairdryer) to speed up the drying process—you could melt them. A fan is fine, though.
The Cleaning Deep-Dive
If you had keys that weren’t working at all, you’re going to have to dig in a bit deeper. Follow the same basic steps you would if you were just cleaning it to start, but what you do from there varies a bit depending on your keyboard.
Hot Swappable Mechanical Keyboards
Some mechanical keyboards are “hot swappable,” which just means that you can easily replace a switch. In some cases, corrosion or gunk around the contact on either the switch or the keyboard PCB could result in a key not working.

Buying a New Keyboard? Get a Hot-Swappable Model
Of all the features you could want in a mechanical keyboard, make sure this is one of them.
Fully remove the switch and examine the contacts. Ideally, the contacts on both the PCB and the switch will be shiny. If the contacts on the switch are bent, gently bend it back into position. If it has snapped off, you’re out of luck. You’ll need to replace the switch.
The contacts of swappable switches are usually gold, which is extremely resistant to corrosion, but I have seen non-gold contacts before. Additionally, even though gold is resistant to corrosion, a sticky liquid (like Mountain Dew) could dry and act as an insulator.
In any case, if they aren’t shiny, use rubbing alcohol to clean the contacts on the switch, then try it again. If it still doesn’t work, use the tiniest amount of rubbing alcohol possible to clean the contact on the keyboard’s PCB—you want to minimize how much gets into the keyboard itself
Cleaning Every Keyboard
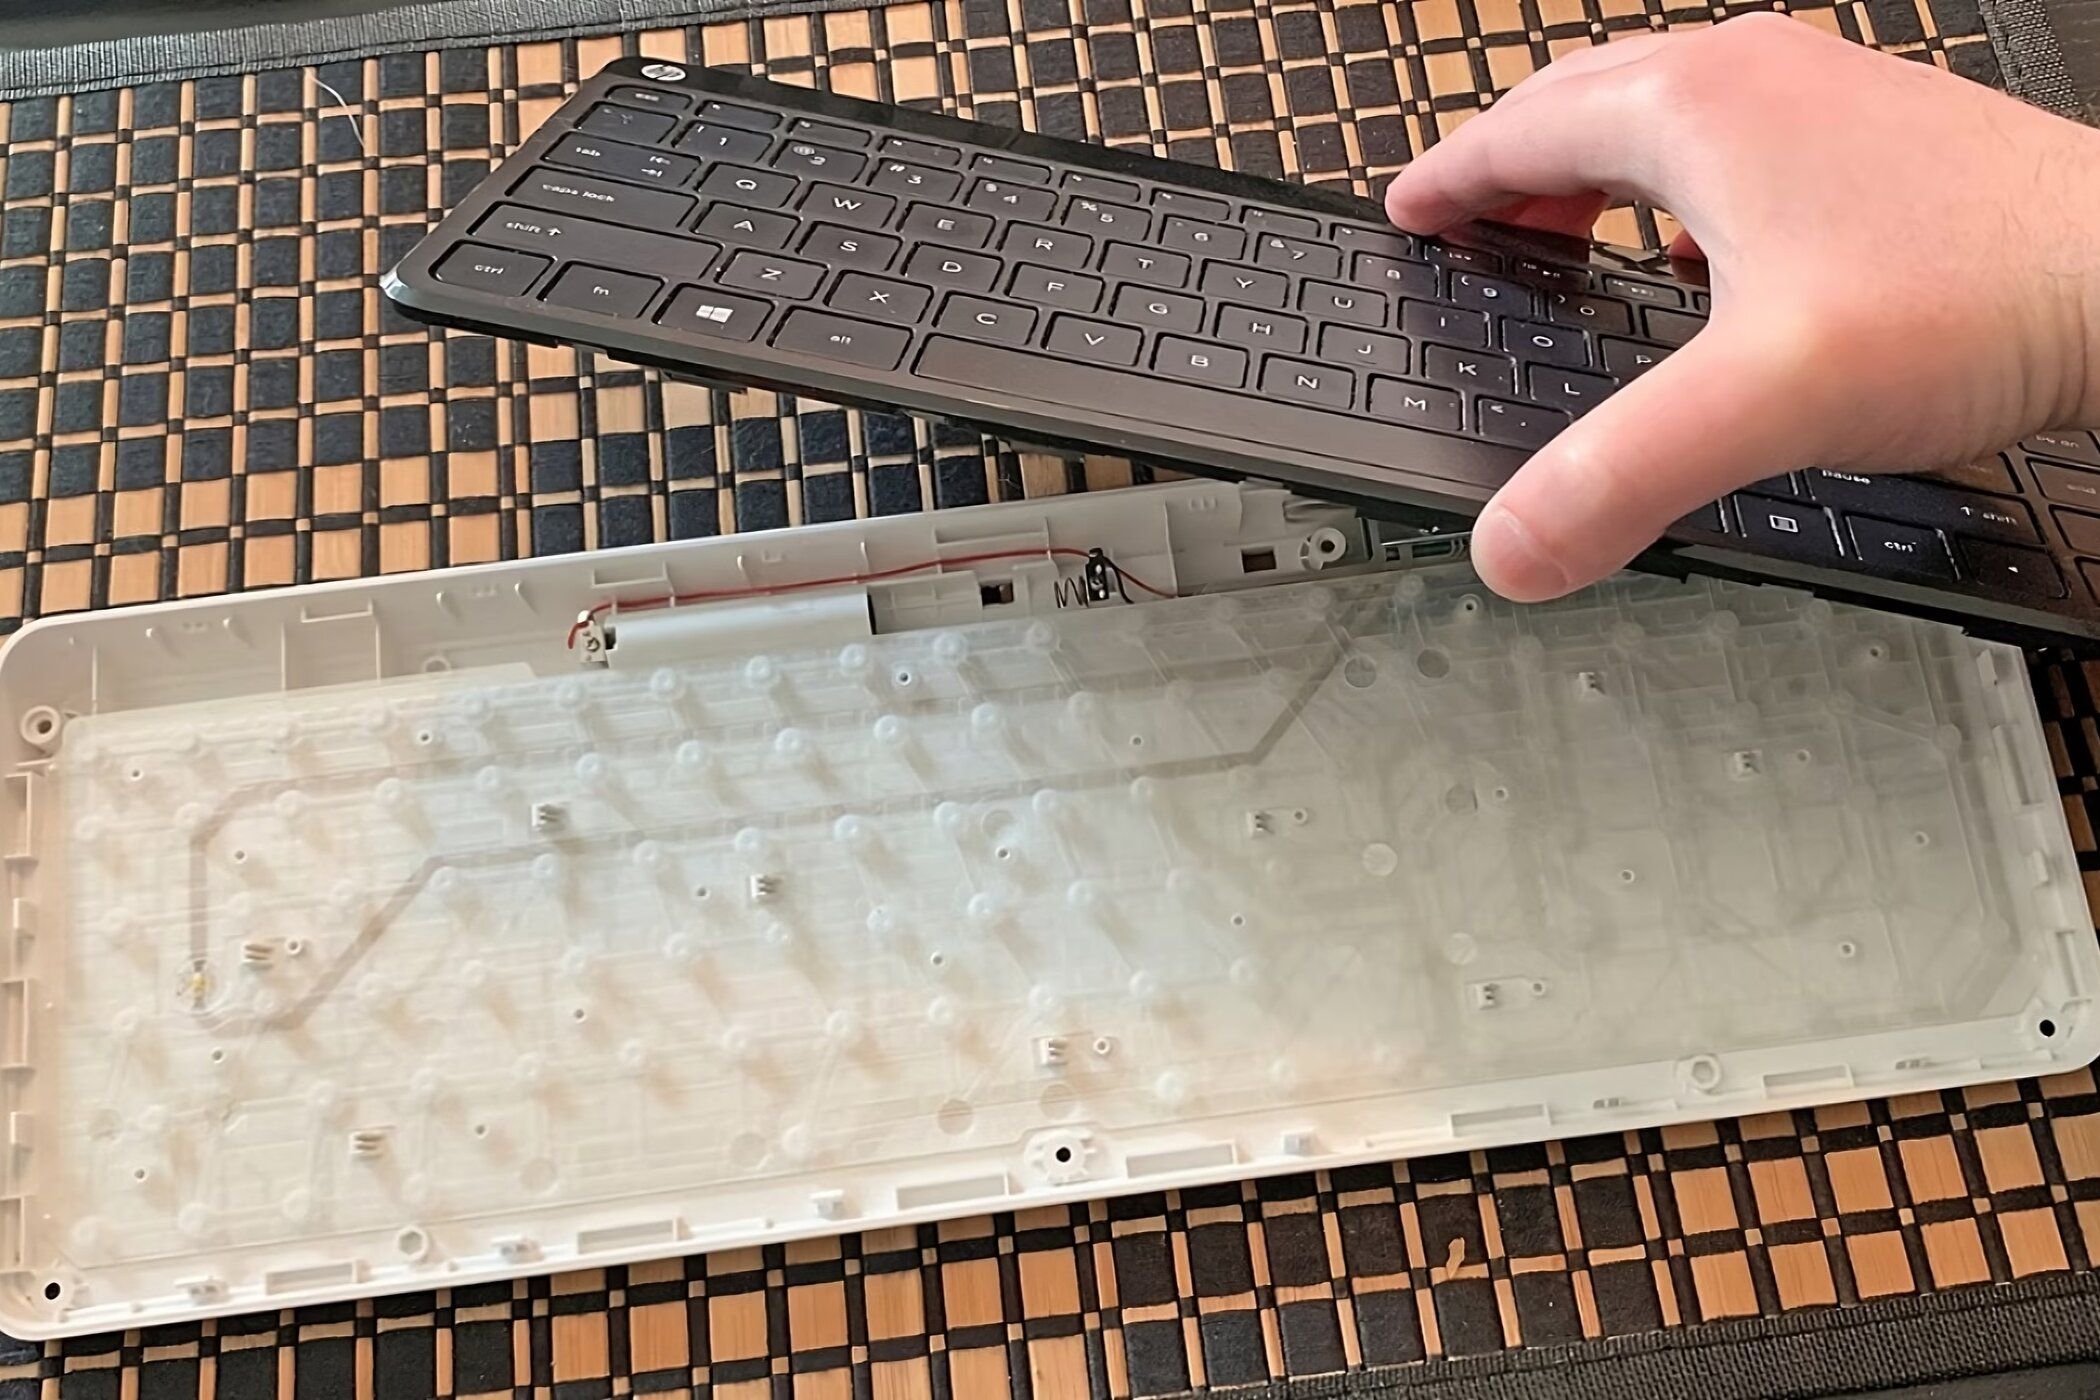
Unfortunately, if nothing has worked so far, you’re going to have to take the whole thing apart.
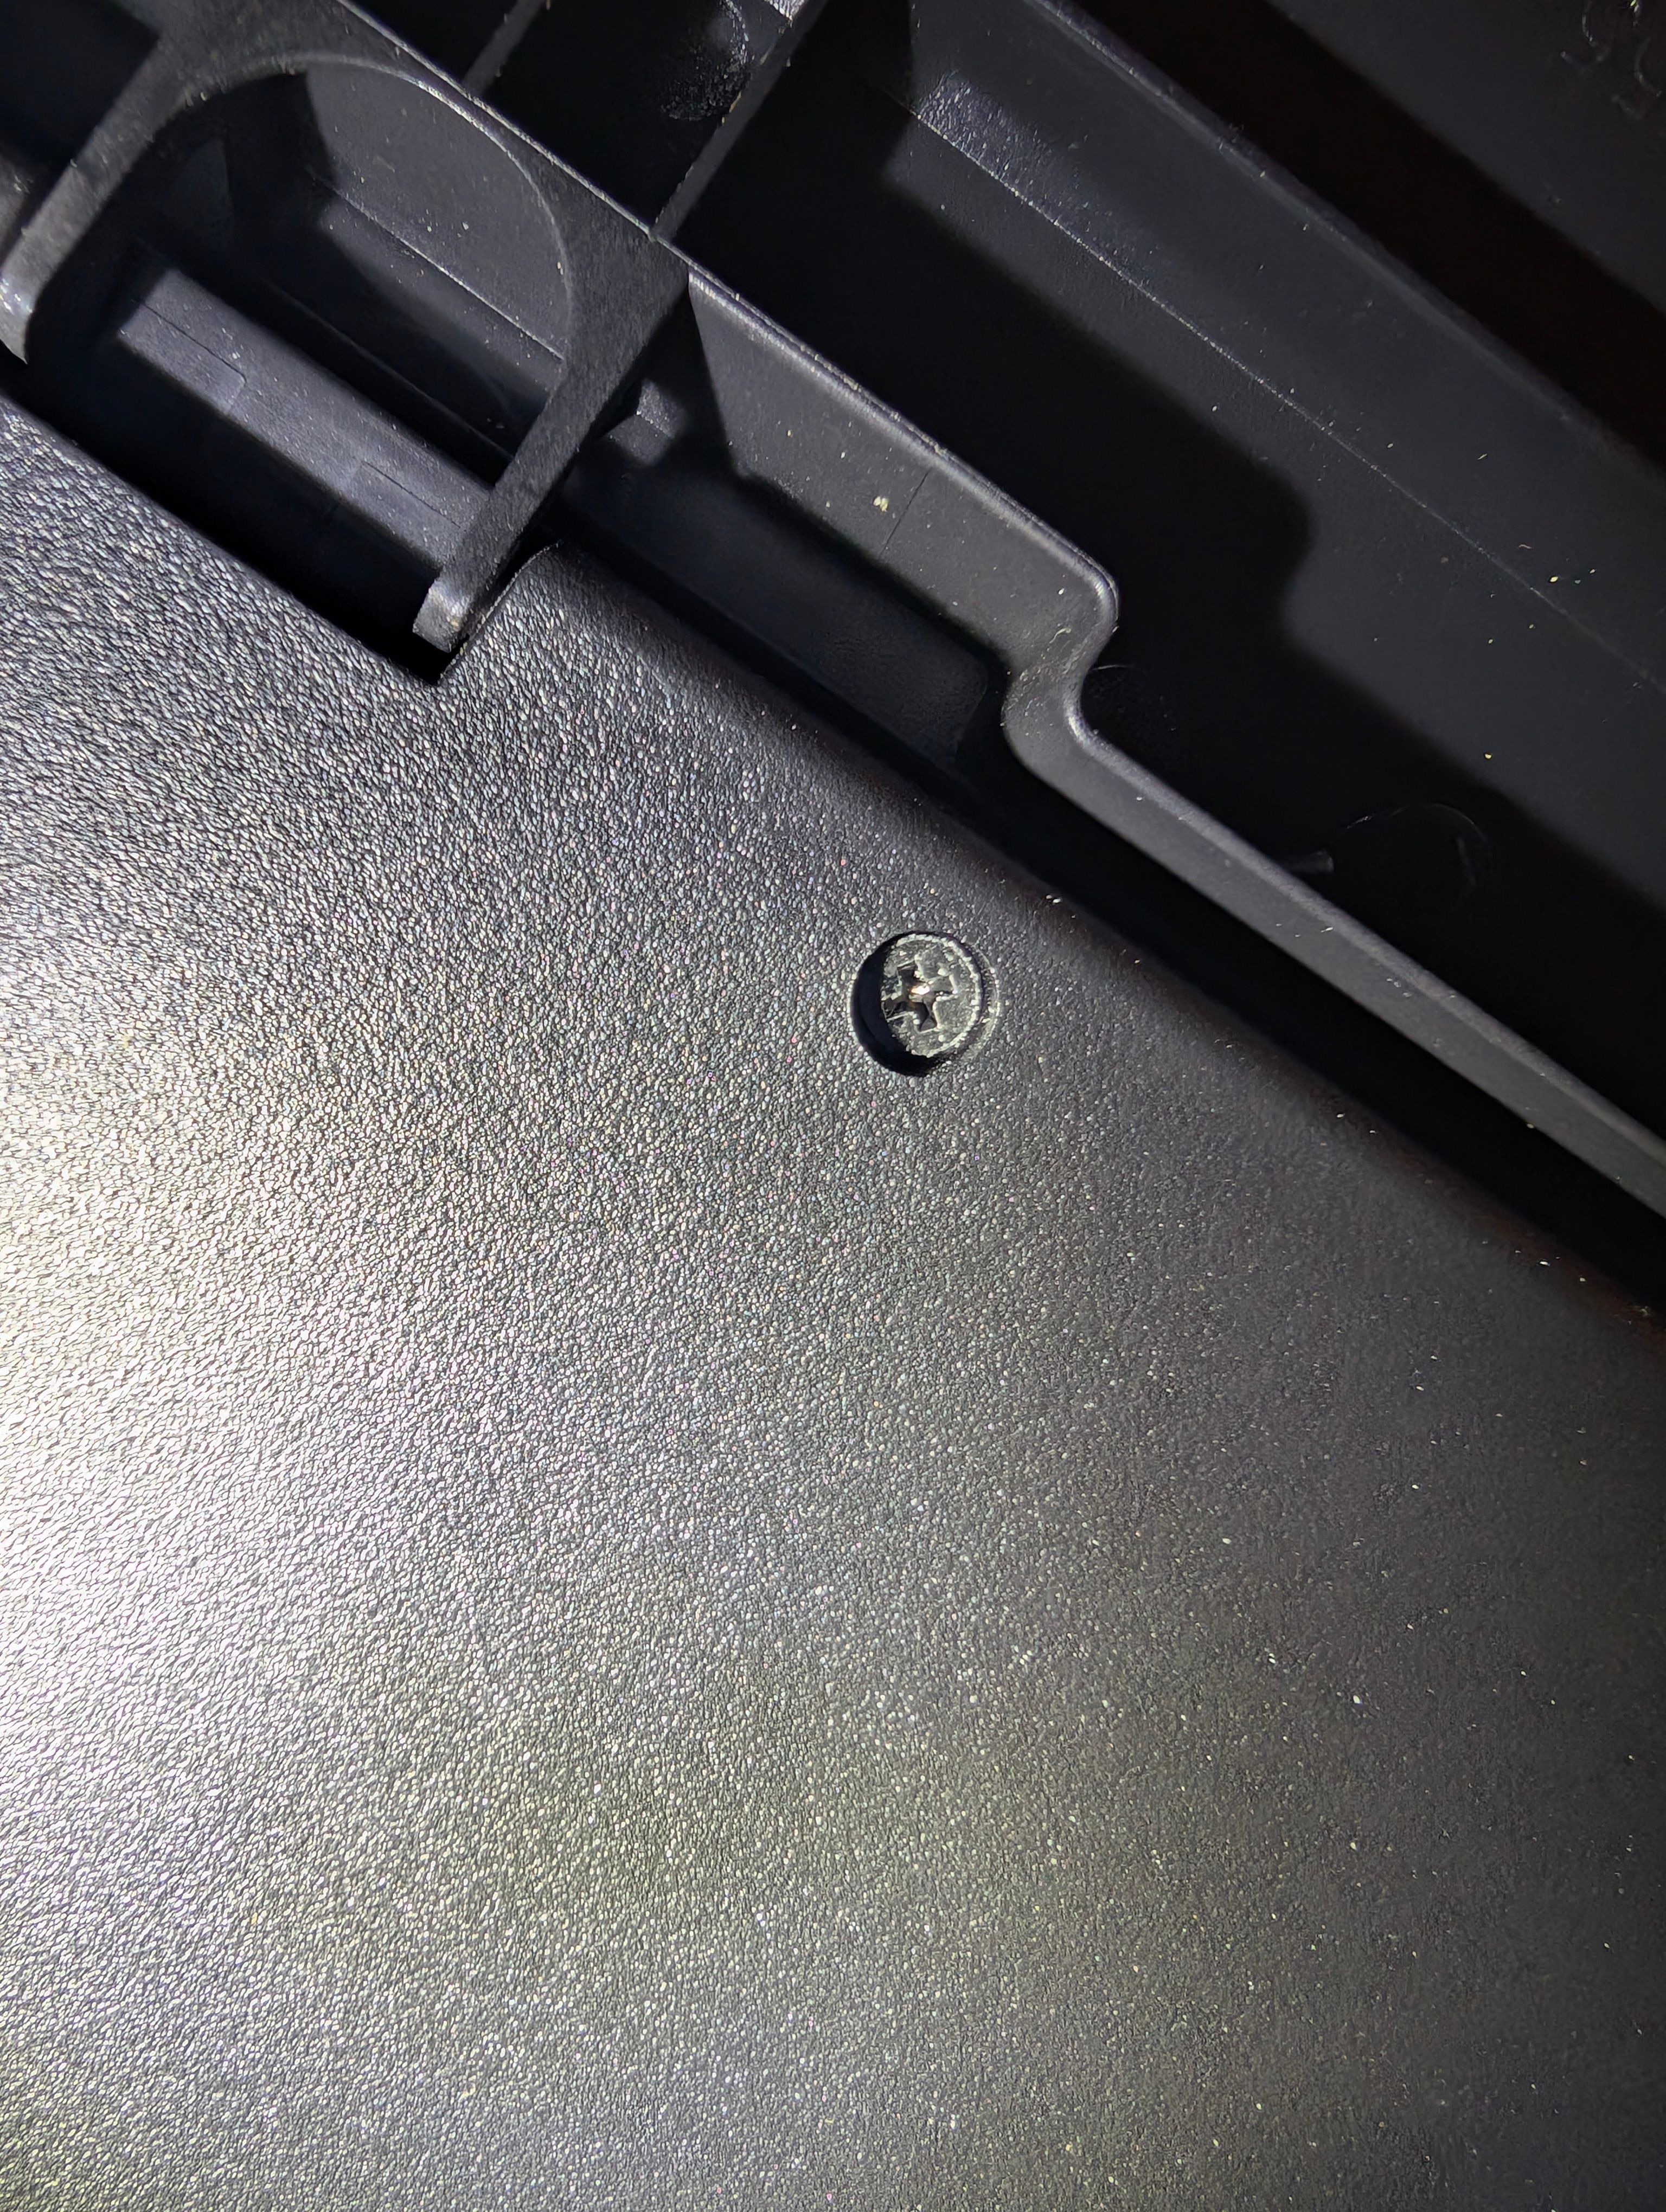
To disassemble the keyboard, flip it over and look for small screws. You should expect to see at least 8 screws. Use the precision screwdriver set to remove them and place them somewhere that you won’t lose them. I have a magnetic bowl from Radio Shack, but anything like that will work.
If there are screws of different sizes (and there very well may be) make sure you note where they came from.
Take pictures at every step. It will make it so much easier to put everything back together again.
Sometimes screws are concealed under rubbed feet or stickers, so if you can’t find any, check there. Other times, the keyboard body just snaps together. In that case, you must use plastic (not metal) tools to pry the keyboard apart. Be careful. They’re easy to crack.
Once you have everything apart, you’re looking for obvious signs of damage: broken traces, bad solder joints, or dried liquids blocking contacts.
Membrane keyboards have a soft (usually white or translucent) membrane that sits under the keys. Gently pull it off and clean both sides with isopropyl alcohol.
You should also gently wipe down the area where the membrane makes contact with the PCB. If sticky liquid got this far into the keyboard, the membrane might actually be sticking to the PCB, which would make the key act strangely.
Repairing Broken Keyboards
If you’ve cleaned everything thoroughly and your keyboard still isn’t working, the odds of fixing it aren’t great.
The USB cable is the easiest thing to fix, since you can usually buy a replacement online somewhere. One end will be a USB plug, while the other will be some smaller connector that connects to the PCB. If it is soldered, you’ll need to buy an unterminated USB cable.
If something has gone wrong with the electrical components on the PCB or the traces themselves, repairing the keyboard would probably be far more expensive than simply replacing it.
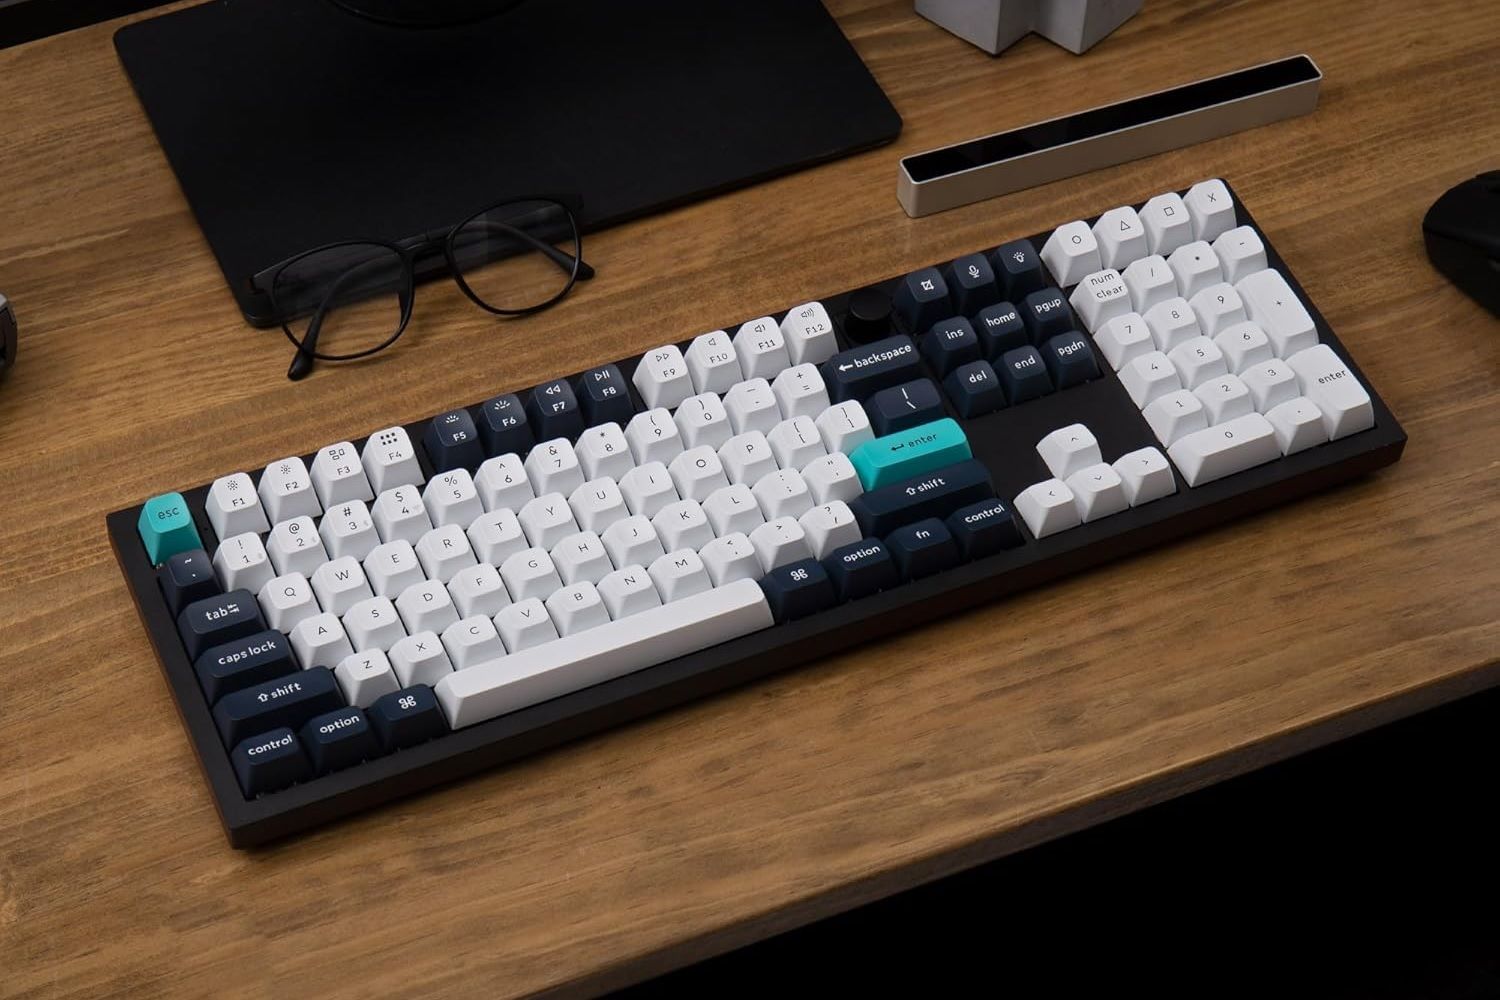
The Best Keyboards of 2025
You’re going to use your keyboard a lot, so it’s only natural to want the best.
In those situations, it is best just to cut your losses. However, keyboards are relatively simple, and an electronics repair shop should be able to fix almost anything wrong with one if you’re willing to pay for it.


