Kindle users love reading. But let’s face it—nothing compares to the feel of a book in your hands.
Sure, Amazon’s Kindle makes it possible to read more books, clears up a lot of shelf space, fits snugly in anyone’s baggage and can actually be cheaper in the long run. But each reading feels the same. The only difference is the words you read and your reaction to them. You begin to miss that sometimes rough feel of a hardback book, along with the slick, almost slippery design of a paperback. Each book seems to have a smell of its own, something unique. And getting your hands dirty with ink from the finely written words was half the journey.
 The Kindle erases that part of your reading experience. It feels the same, smells the same and even looks the same. Instead of turning pages, which is different sizes, thicknesses and colors from book to book, you’re pressing the same button over and over again. In some ways, reading a classic on your Kindle actually devalues its adventure. But the eBook reader is convenient, practically weightless and serves up immediate literature consumption.
So where’s the compromise?
Well, you can have the best of both worlds—sort of…
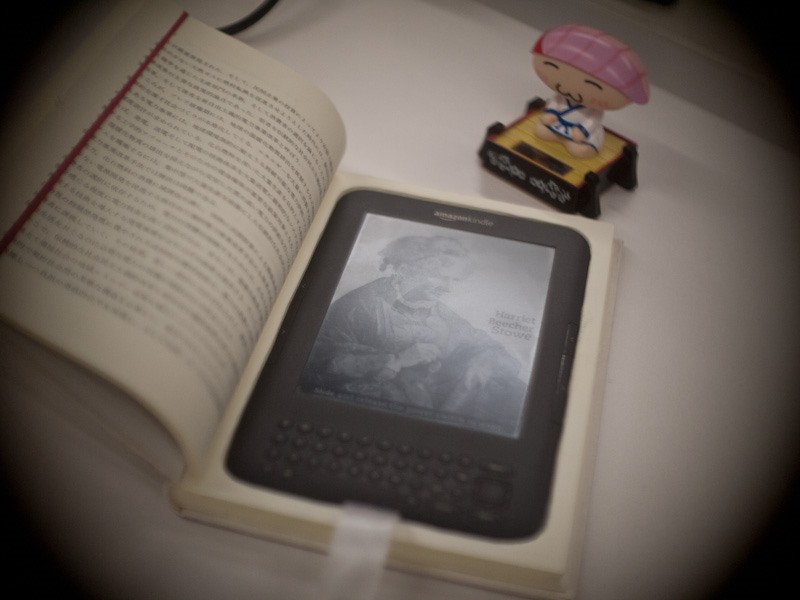
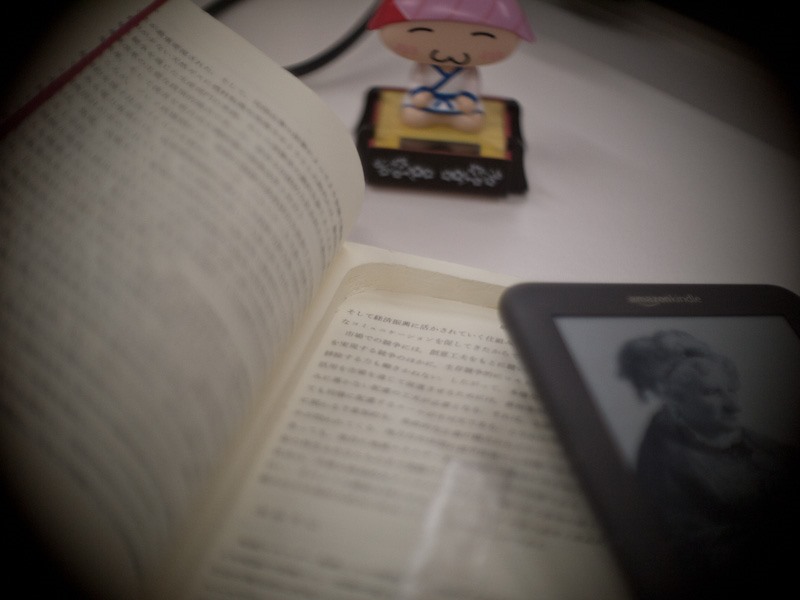
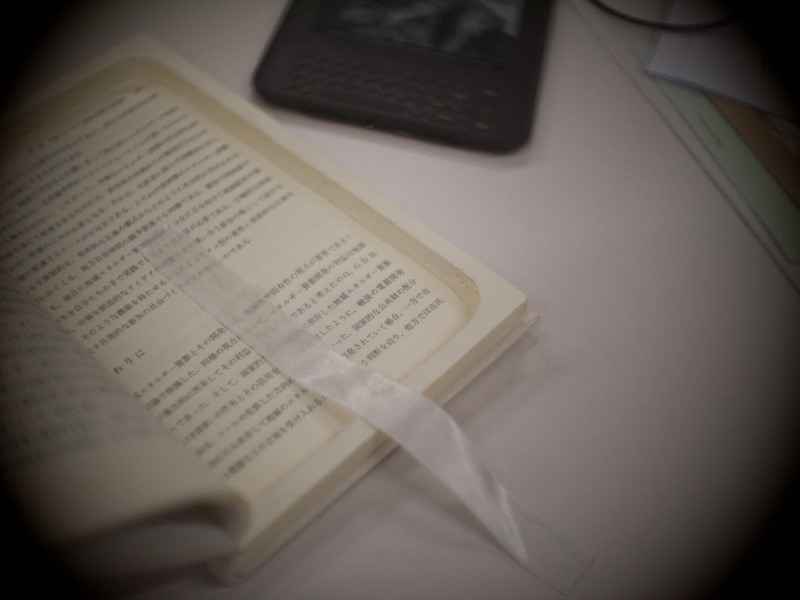
ebonical has crafted the perfect Kindle case—out of a hardcover book. Kindle cases can be expensive, so making a homemade Kindle cover is the perfect weekend project. And chances are you already have the perfect book for your Kindle collecting dust on your bookshelf. If not, you’ll need to shop the local bookstores.
“I decided to carve out the pages of a printed book and thus complete the poetic circle of digital book readers destroying the printed word.
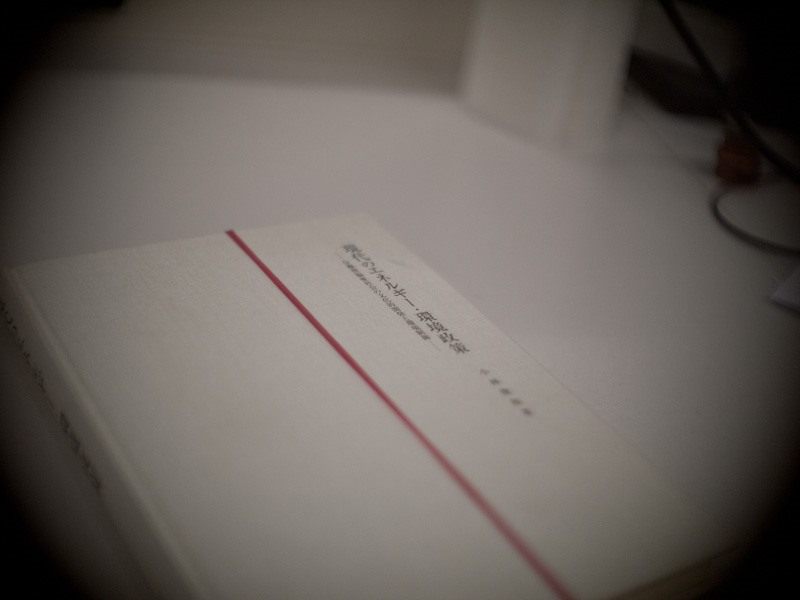
“Getting the right book turned out to be harder than I thought as most hardcover books are designed to be a particular size and variance is slight. Too small and the edges would be brittle. Too large and it would just become a hassle and ruin the point of having the small digital reader in the first place. With some time spent scouring thrift shops and second hand book stalls I managed, with some luck, to find what seemed to be the right book.”
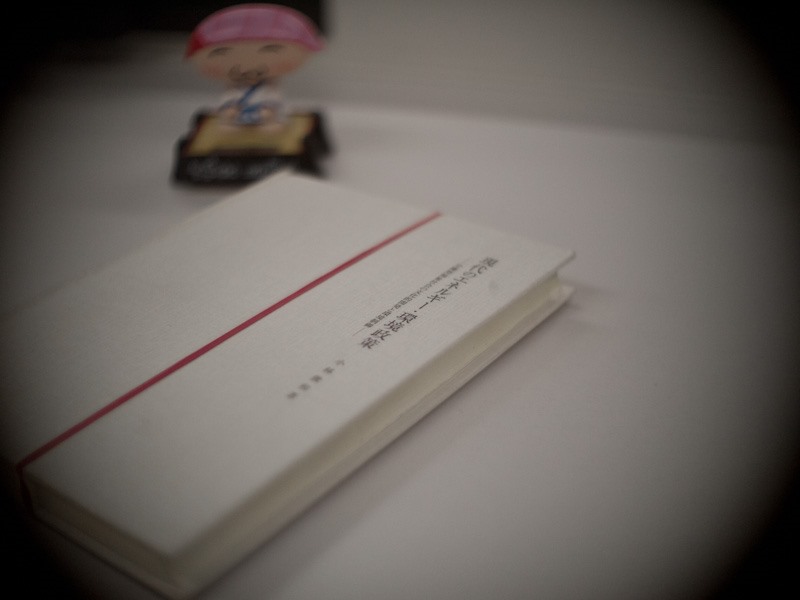
So, then how do you actually make the Kindle book cover?
Step 1 Gather the Materials
- Your perfectly-sized hardcover book
- Hobby PVA glue (polyvinyl acetate) or Elmer’s white glue
- Paintbrush
- Scalpel, box cutter or other sharp utility knife
- Ruler
- Pencil
- More books (for use as weights)
Step 2 Crafting Your Kindle Case
Getting your book ready for you Kindle is an easy process, though a lengthy one.
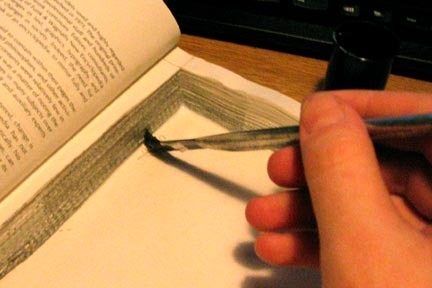
You begin by choosing where you want your hole to start. Once you have your spot picked, you use the paintbrush to spread the glue onto the edges of the pages where the hole will be cut. Use your extra books to weigh it down during the drying process.
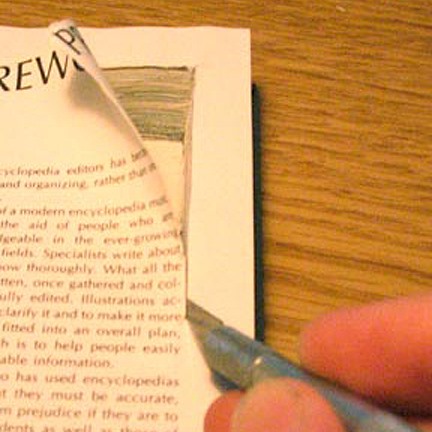
When dry, open the book back up to your chosen starting point. Use the ruler and pencil to mark your hole the size of the Kindle. Once all marked, use your utility knife to start cutting on the outline. It’s probably best to use your ruler as a straight edge to help guide the blade along, for a better, straighter cut. This is the longest step, because you have a lot to cut through. The time will vary depending on how deep your book is. I wouldn’t recommend War and Peace.
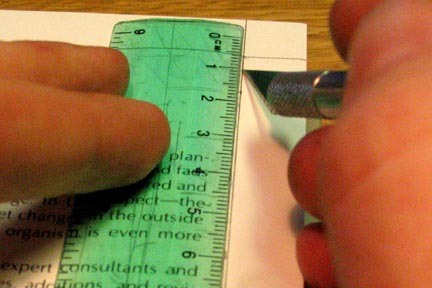
Once you’ve gotten all the way to the back cover, the rest is easy. Just clean up the edges of your cuts as best you can, then use your paintbrush again to spread some glue along the cut edges.
Tip
- When choosing your first page to cut, it’s good to actually save it for later. Don’t cut with the rest of them. When you have your hole fully cut open and have applied the glue, apply another thin line on the top border of your actual first page cut (essentially, the second page). Then close the book and add the weights to the top and let dry. Saving the first page helps reduce the chance of you accidentally gluing unwanted pages to cut ones, causing you to have to cut the pages you didn’t want to cut to open the hole back up. Saving your first page makes it premeditated.
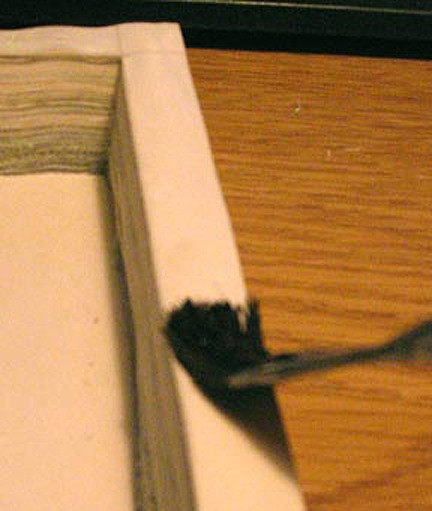
After fully dried, open it up and cut the final page (first page) to open the hole up. Then, you’ll need to let it dry again, with the book open. After dried, that’s it. You’re done!
For a more detailed article with step-by-step instructions and more pictures, check out the article “How to Make a Hollow Book” on WonderHowTo. To learn more about how ebonical made his, check out his website, which also includes a video showcasing his Kindle book cover in action.
Just updated your iPhone? You’ll find new emoji, enhanced security, podcast transcripts, Apple Cash virtual numbers, and other useful features. There are even new additions hidden within Safari. Find out what’s new and changed on your iPhone with the iOS 17.4 update.
“Hey there, just a heads-up: We’re part of the Amazon affiliate program, so when you buy through links on our site, we may earn a small commission. But don’t worry, it doesn’t cost you anything extra and helps us keep the lights on. Thanks for your support!”


