In photography, stereographic projection is a geometric technique that projects a sphere onto a plane, which is mostly used in the mapping of spherical panoramas.
The most popular type of stereographic panorama is the “tiny planet,” where the center view of a panoramic image is the nadir (the ground) and the edges are the sky and tops of trees, buildings, etc. The effect creates the look of a miniature planet, which is opposite of the “tube” effect.
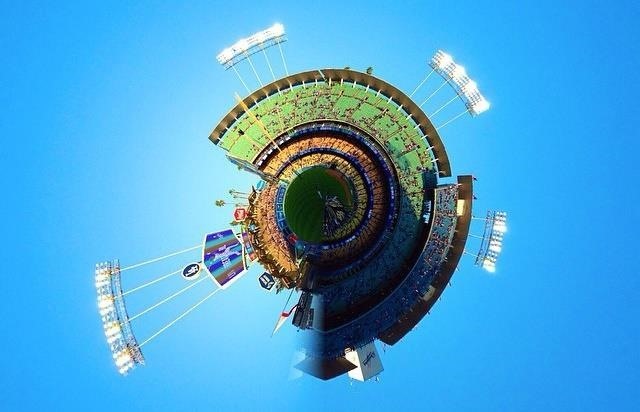
These photos can be taken with certain (and expensive) fisheye lenses, but it’s much easier to create one from a 360 degree panorama using Photoshop. However, customizing the size of the sphere and where the focal point should be could take some time, so why not just let your smartphone do most of the work for you?
Android devices can create tiny planets using the Google Camera and Photo Sphere, and for iOS, there’s a very popular app called Tiny Planet Photos from Infoding that’ll run you a buck. But now, there’s a free tiny planet app we can use, and it’s called Circular+ from Brain Fever Media.
Creating Tiny Planets with Circular+
Circular+ has several editing tools that lets you zoom in and out, resize the picture, change brightness and contrast, add professional effects, and more.
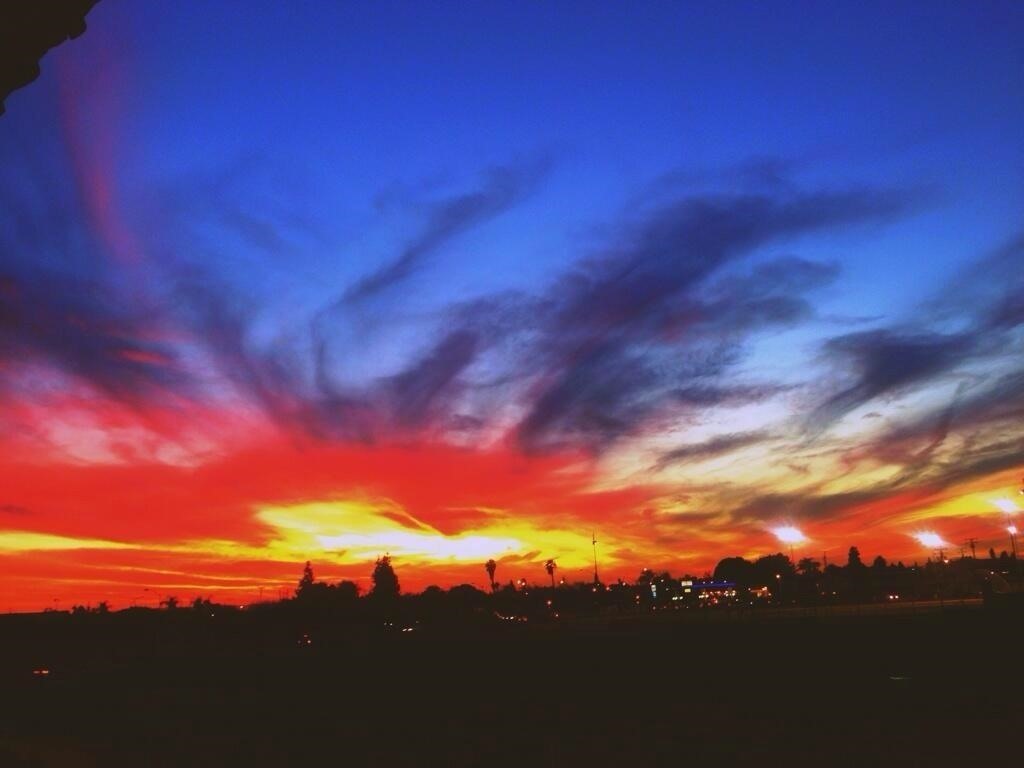
To start, either select a picture from your photo albums or take a new one. Circular+ works best with panorama pictures, but most landscape pictures should do just fine. I’m going to use the picture below, which I took with my iPhone 5 from the balcony of my apartment.
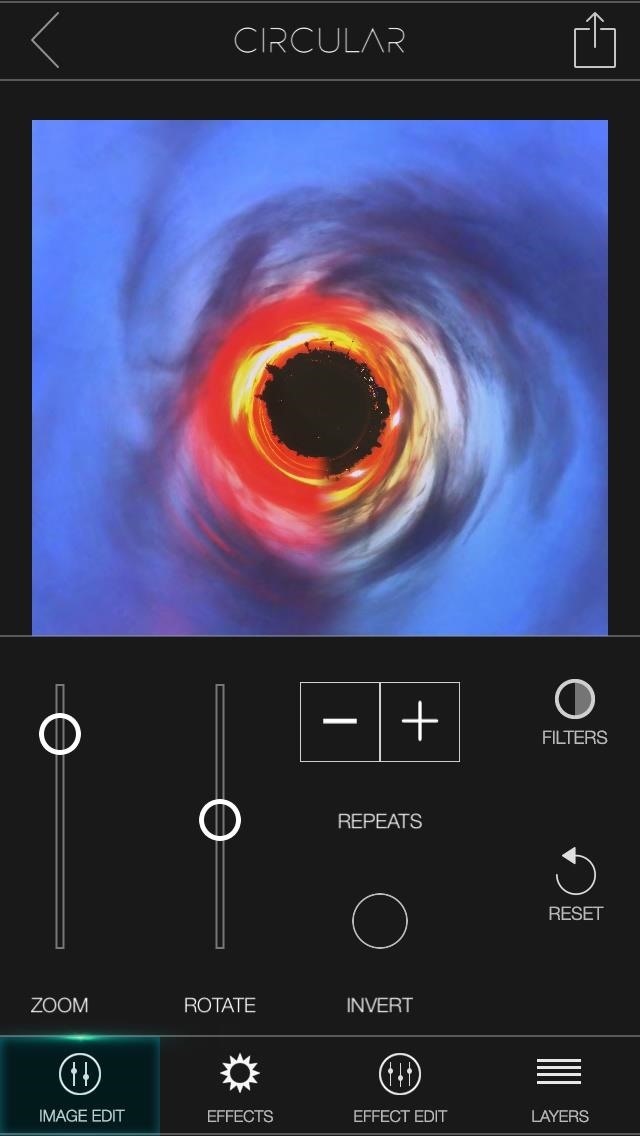
Once you start, you can edit the size of the center sphere, rotate the picture around, splice the picture into halves or thirds, invert it, and add a filter, all in the Image Edit portion of the application.
In Effects, you can add lens flares, sky objects (like moons and suns), and centers, which adds shapes to the center of your sphere.
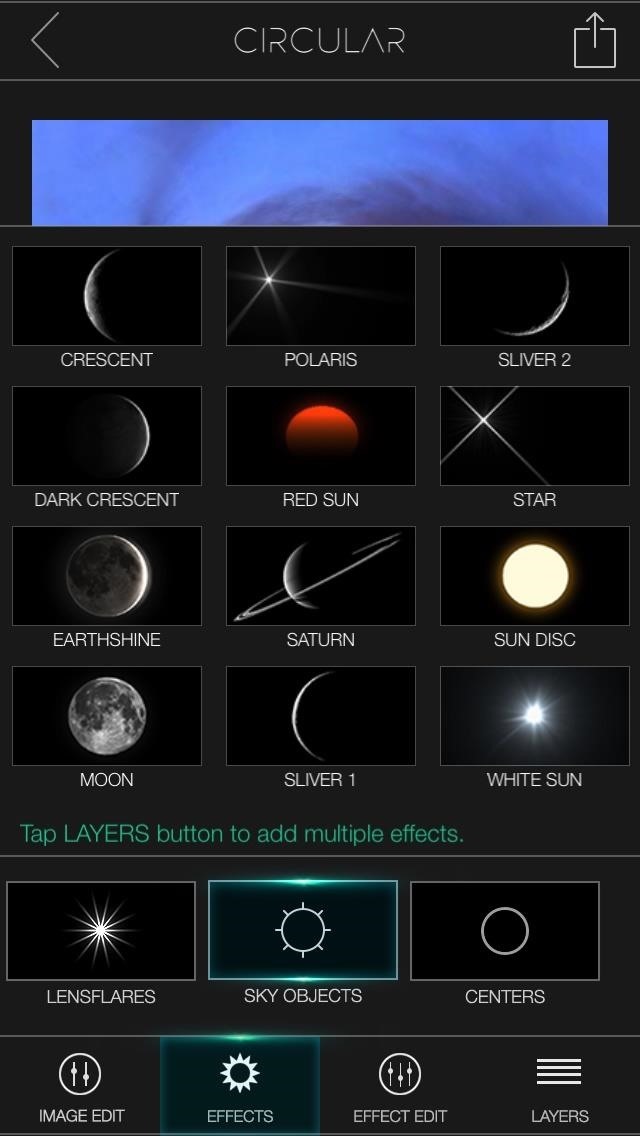
In Effect Edit, you can scale whatever effects you made onto the picture: change the size, brightness, and color. Finally, in Layers, you can remove any effects you made or add more by tapping the empty boxes.
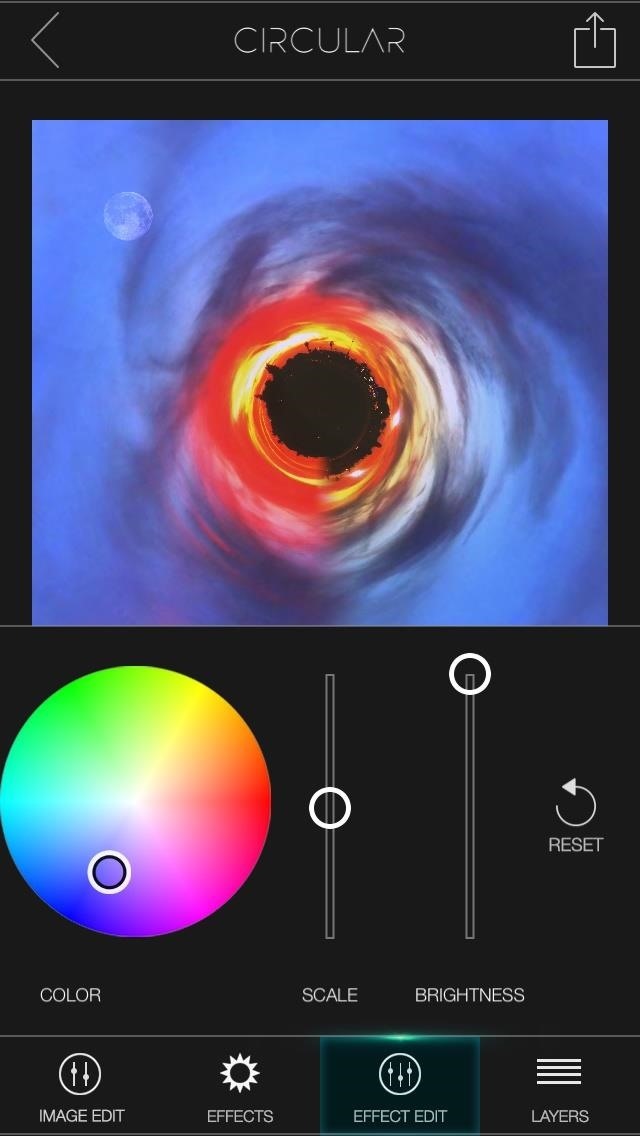
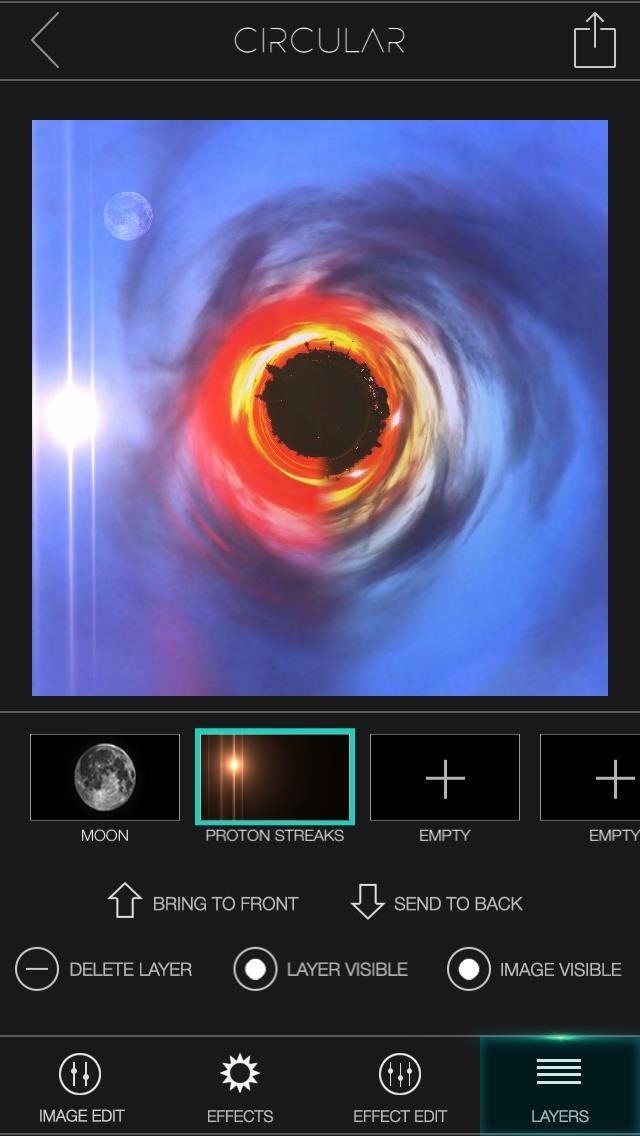
Once you’re done, tap on the share icon at the top right and save the picture onto your phone. Below, you can see my final product after adding a moon effect and adjusting the brightness of the picture.
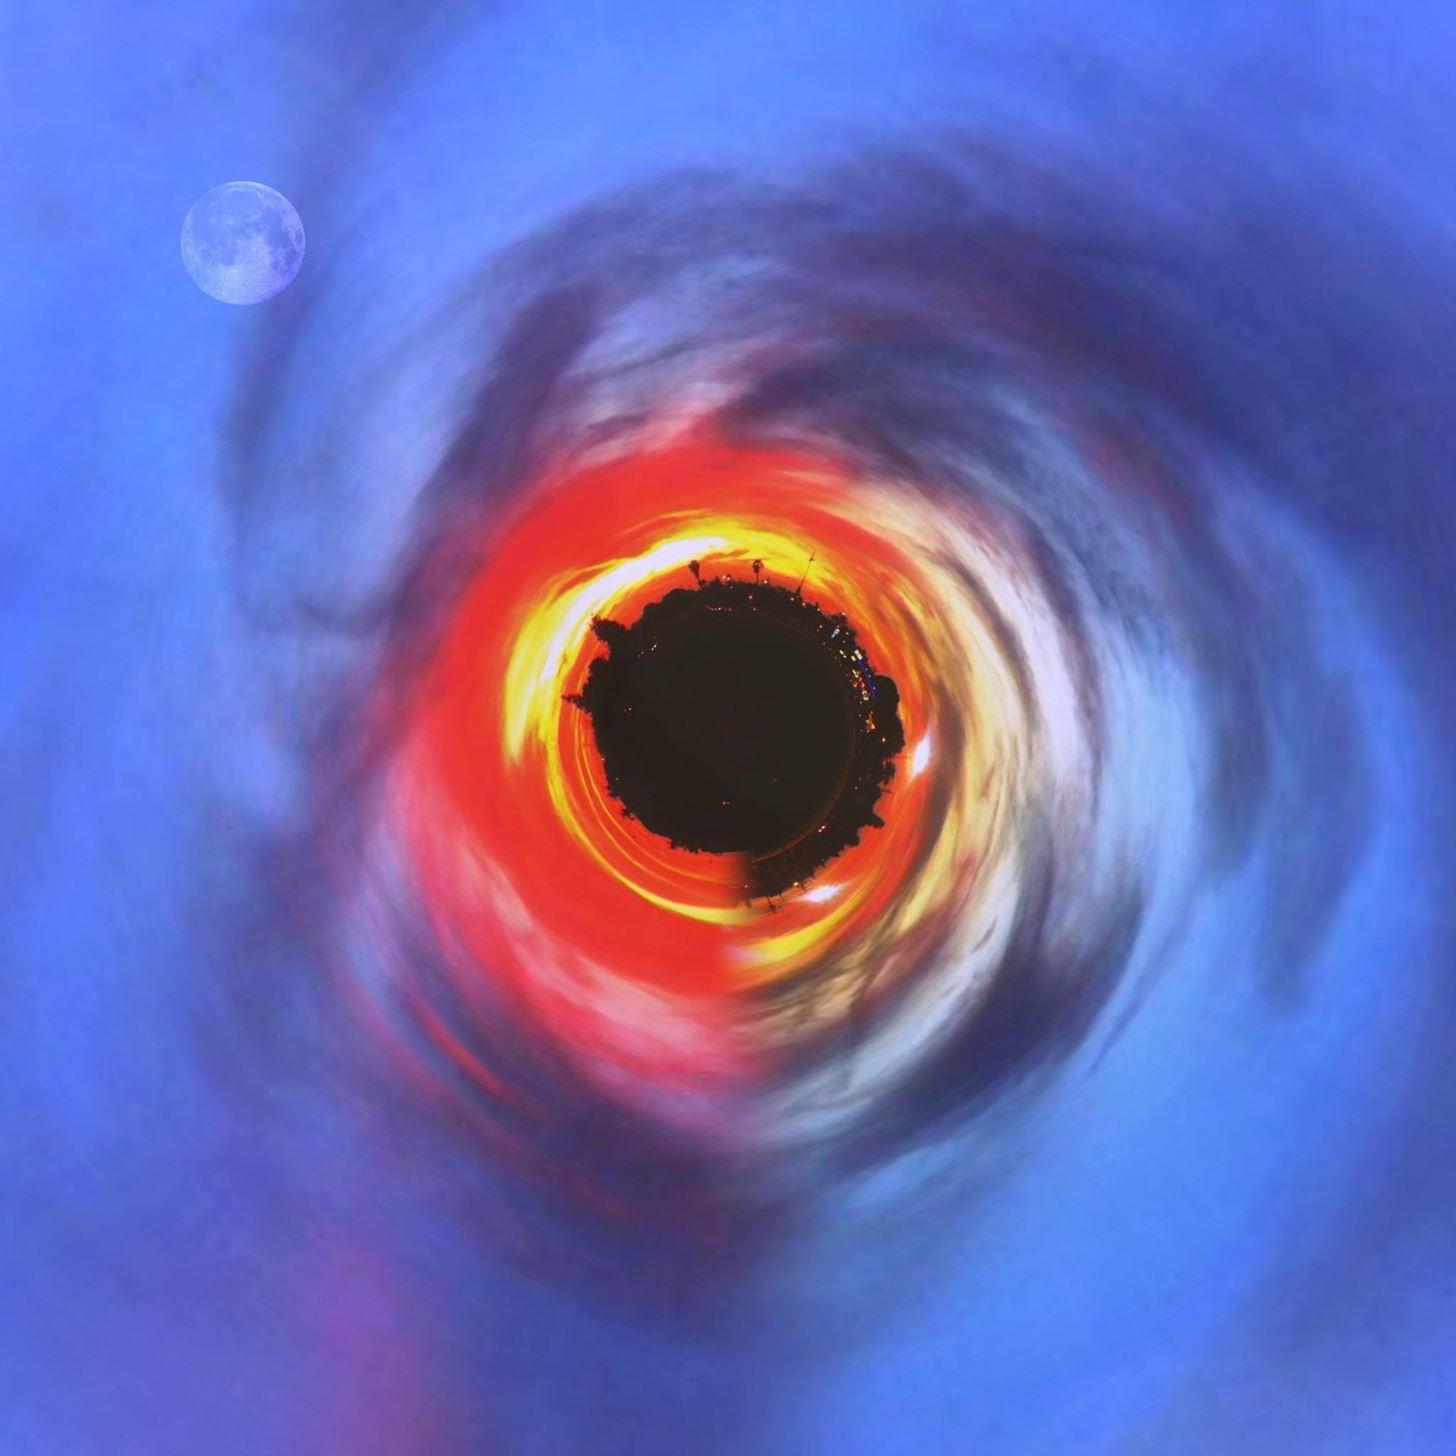
Seeing as Circular+ is a free application, you have nothing to lose in testing it out. Let’s see some of your creations! Post ’em in the comments below.
Just updated your iPhone? You’ll find new features for Podcasts, News, Books, and TV, as well as important security improvements and fresh wallpapers. Find out what’s new and changed on your iPhone with the iOS 17.5 update.
“Hey there, just a heads-up: We’re part of the Amazon affiliate program, so when you buy through links on our site, we may earn a small commission. But don’t worry, it doesn’t cost you anything extra and helps us keep the lights on. Thanks for your support!”


