Can’t Delete Files on Your Mac? Use This Trick to Unlock Them
macOS
Quick Links
-
What are Locked Files in MacOS?
-
Unlocking Multiple Locked Files in a Folder
MacOS is arguably the most user-friendly desktop OS, but it’s not perfect. There are a few things that can trip up users new and old, and one of them is unlocking multiple files in a folder so that they can be deleted. Here’s two quick and easy ways to do it.
What are Locked Files in MacOS?
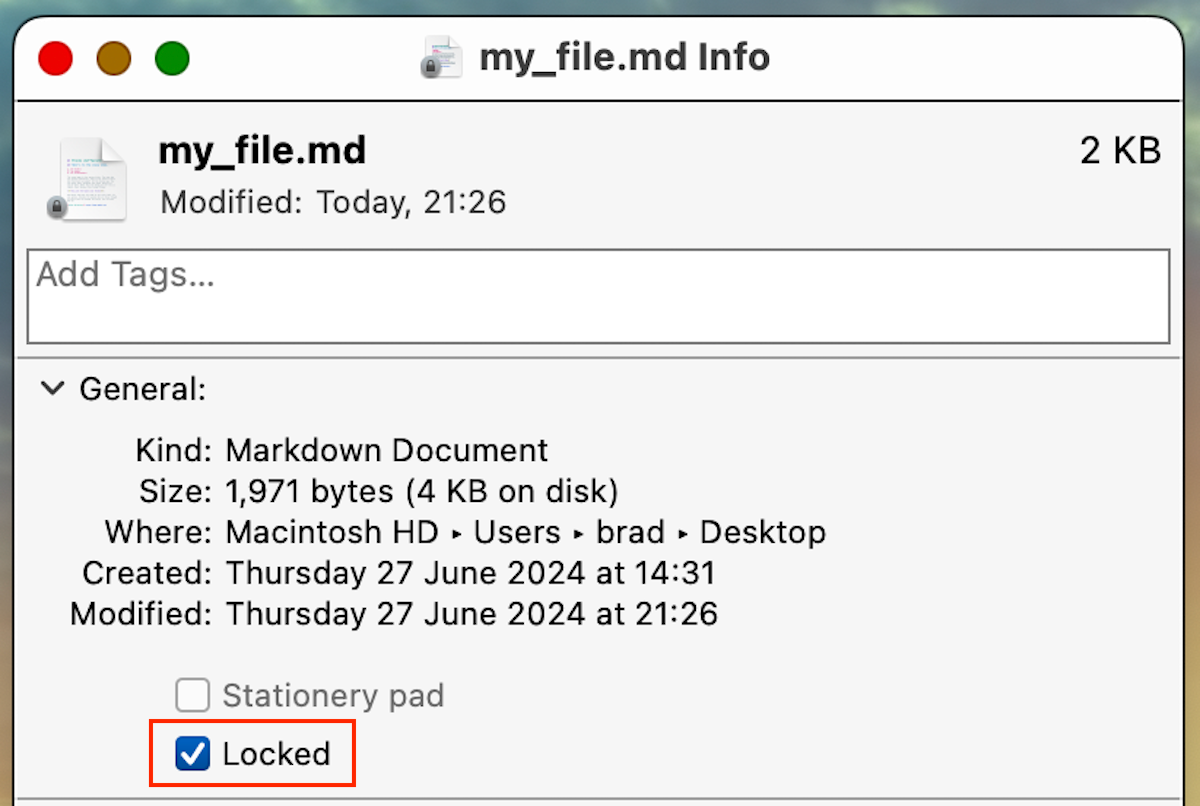
In macOS, you can lock a file by right-clicking on it, clicking “Get Info”, and checking the “Locked” checkbox.
Once locked, the file will display a little padlock on its icon, and you’ll be warned when you move it to the trash. While locked files can be deleted from the trash, folders containing locked files cannot, and macOS isn’t helpful in telling you where these locked files are actually located.
Unlocking Multiple Locked Files in a Folder
Unlocking multiple files isn’t difficult, you just need to un-check the “Locked” checkbox in the file info window, but doing this for multiple files in a folder is tedious. If you can search for the files and display all of them in a Finder window, you can press the Option-Command-I key combination to show their combined information, and toggle the locked status all at once, but this can still be cumbersome.
So, here’s a quick Terminal command that will unlock all files in a folder and its sub-folders:
chflags -R nouchg ~/path/to/folder
Launch the Terminal app on your Mac to run this command (you’ll find it under Applications > Utilities, or you can search for it with Spotlight).
The chflags command changes a file or folder’s properties, the -R option tells it to do so recursively (so, for all files, and files in folders inside the target folder), and the option nouchg tells the command to unlock files. The final part of the command is the path to the folder you want to unlock all the files in (you can get this by dragging the folder from Finder into the terminal window, and the path will be inserted for you).
It’s important to always fully understand exactly what a command will do to your computer before you run it. The terminal is a powerful tool that can be used to resolve a lot of problems, but it can also do a lot of damage if you don’t check your input carefully.
It’s wise to regularly back up your Mac so that if something does go wrong, you can quickly recover your important data.


