With the release of iOS 11, Apple promised to give us person-to-person transactions by way of iMessages. In the iOS 11.2 update, the new Apple Pay Cash system is now ready for you to send money to family and friends right from your iPhone — and there are multiple ways to get it done.
Before you start sending rent money to your roommate or paying your fair share of the dinner bill, you’ll need to make sure Apple Pay Cash is properly set up. If you plan on sending a lot of dough, make sure to check out all of the fees and limits associated with using Apple Pay Cash first so there are no surprises.
- Don’t Miss: What You Need to Get Started with Apple Pay Cash
And just to make it clear, you can’t send Apple Pay Cash via regular text messages, so make sure the discussion bubbles are in blue and not green. Also, both the sender and recipient need to be running iOS 11.2 in order for this to work. So, if you try to send money and get an alert saying that the recipient can’t receive Apple Pay currently, it’s because they haven’t updated yet.
Method 1: Paying Someone Directly from Messages
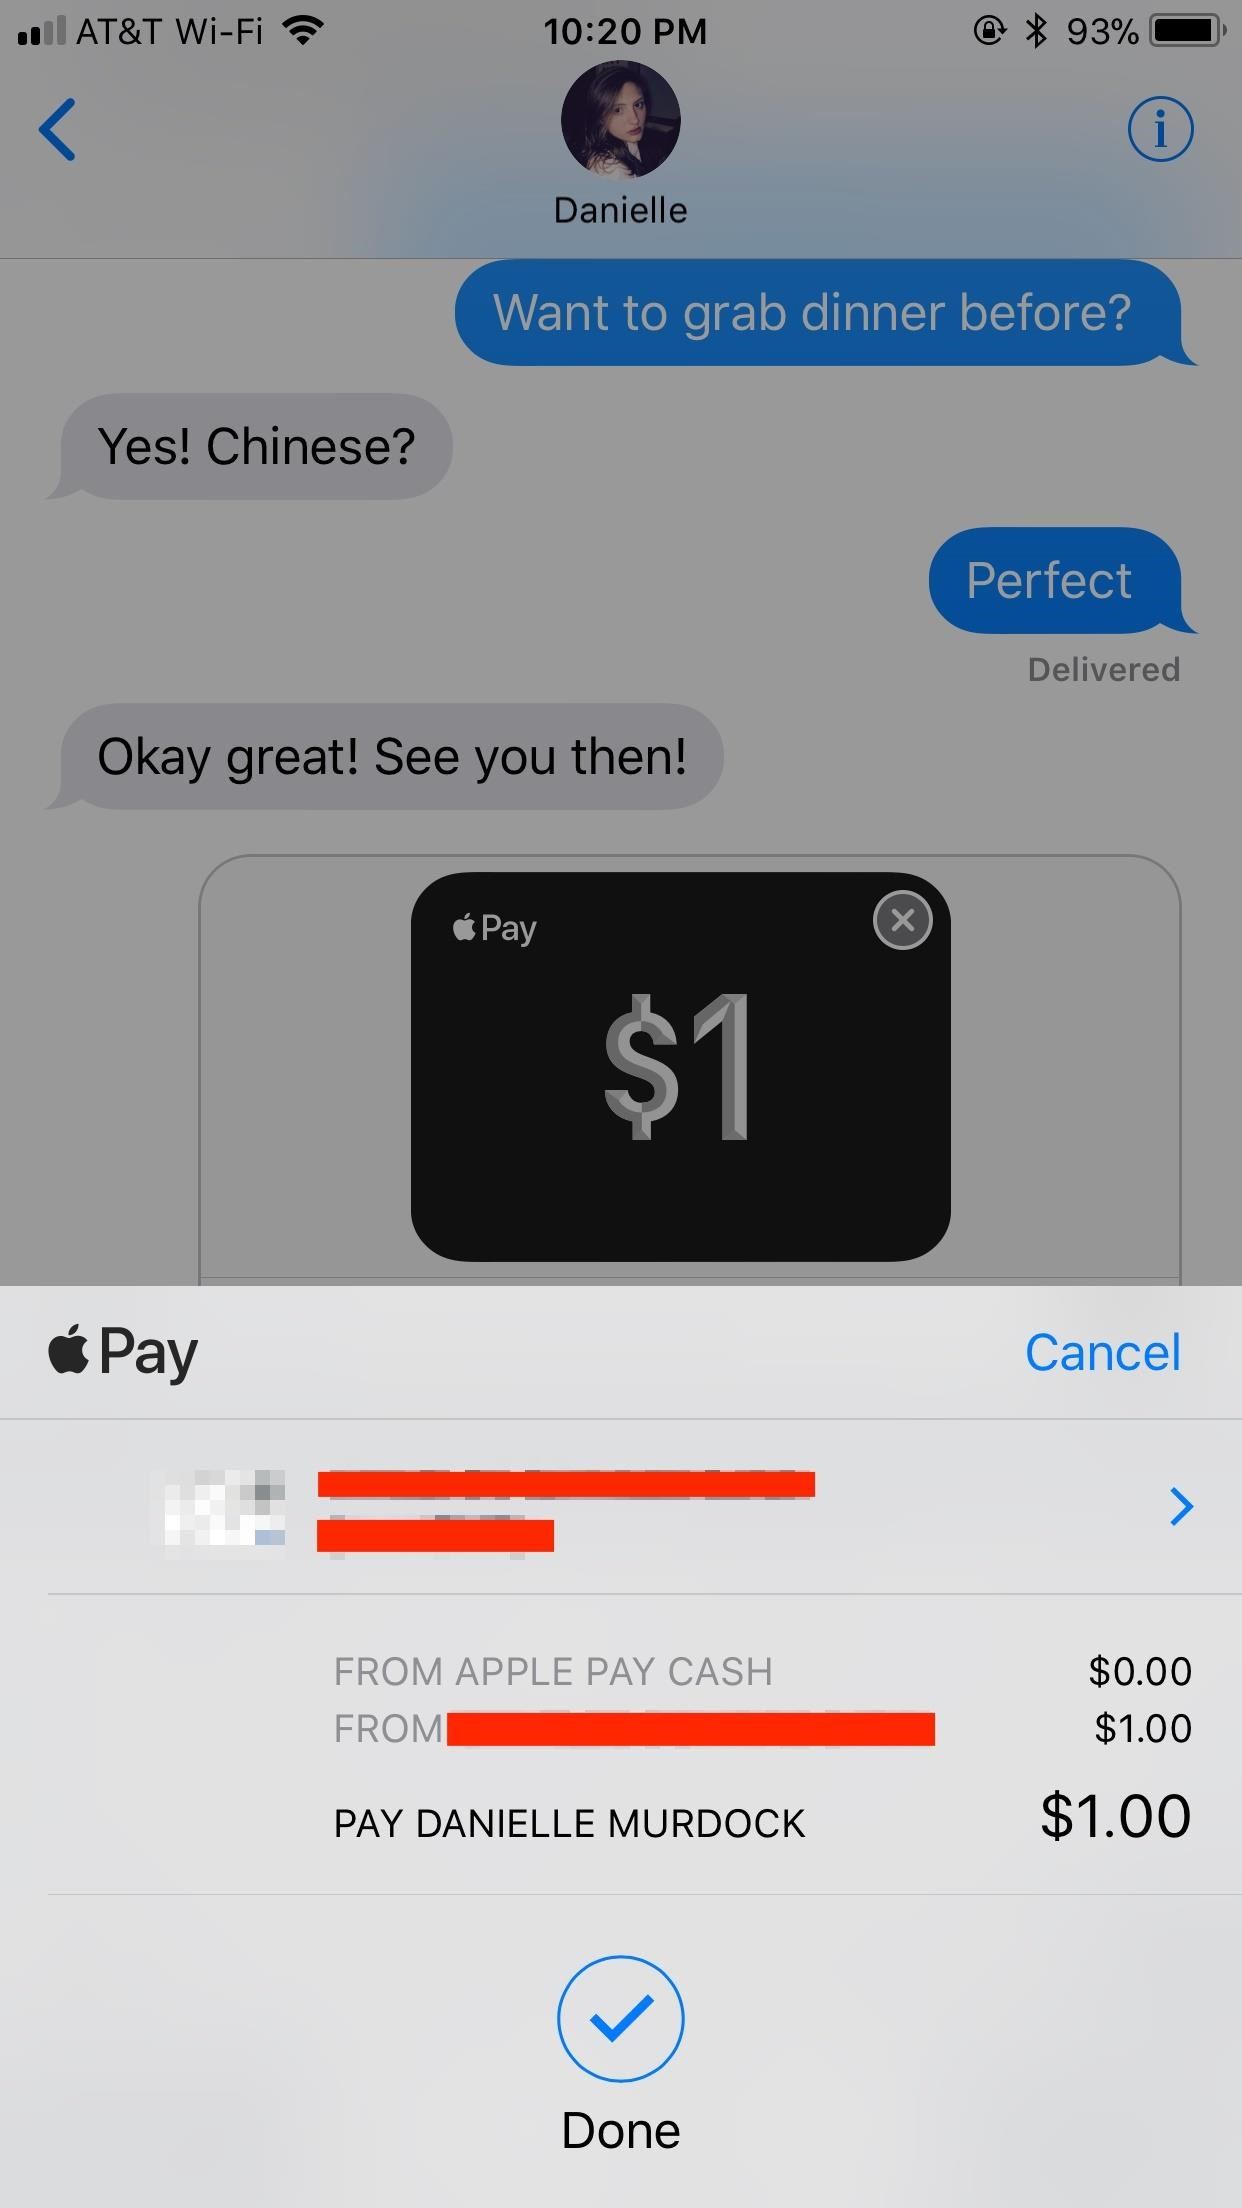
Once Apple Pay Cash is enabled on your device, paying friends and family through an iMessage is simple. Just open an iMessage conversation in the Messages app, then tap the Apple Pay button in the new iOS 11 app drawer at the bottom.
Once that button is pressed, simply use the on-screen controls to set the dollar amount you need to send to a friend. You can also pull up on the grey bar above the on-screen controls to open a larger viewer.
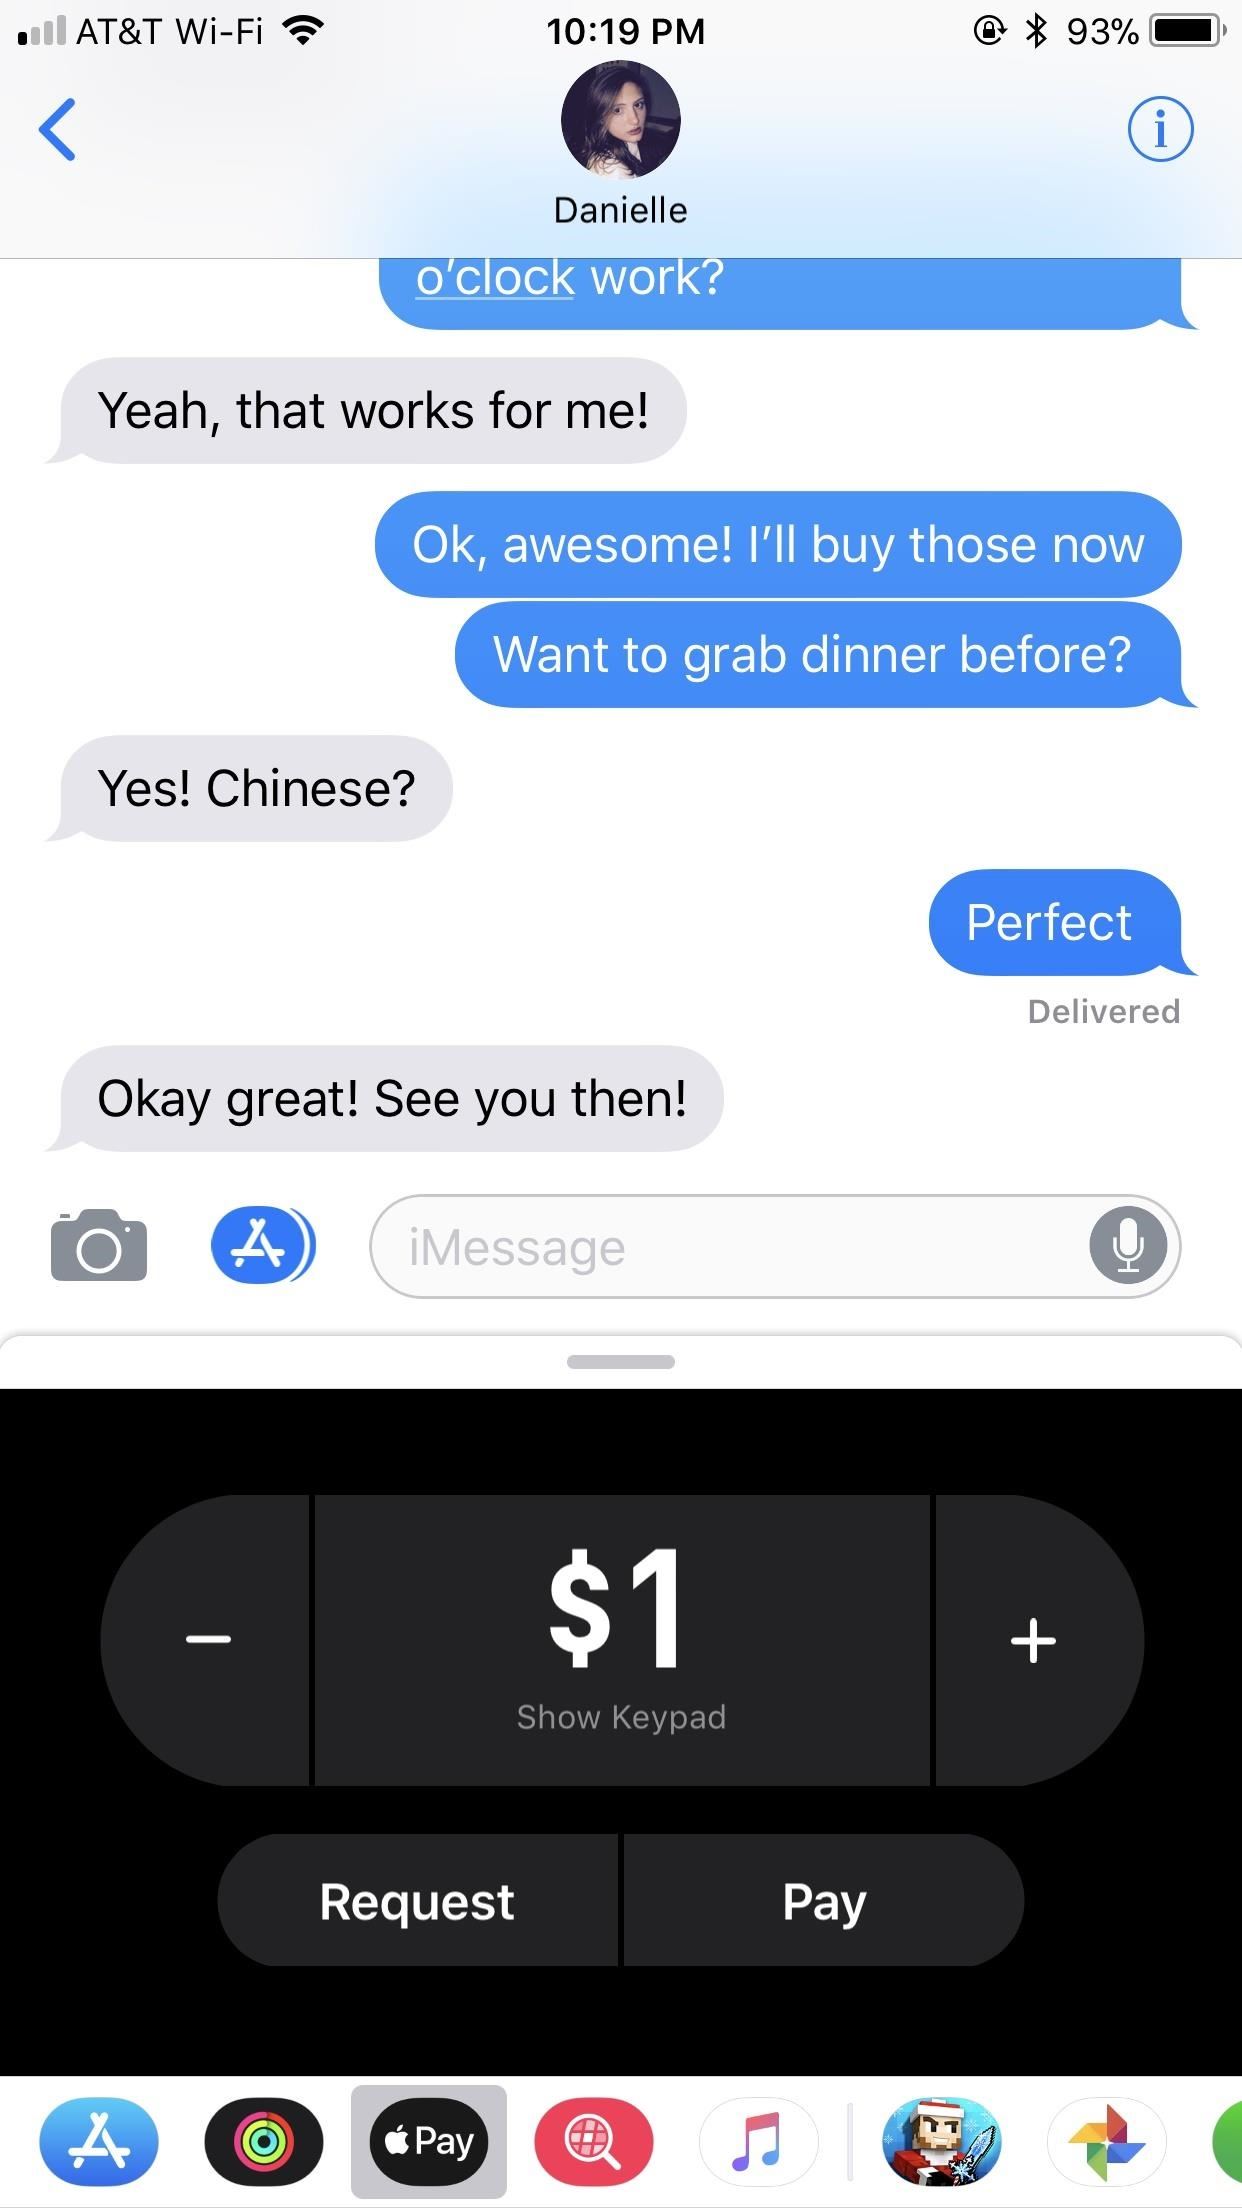
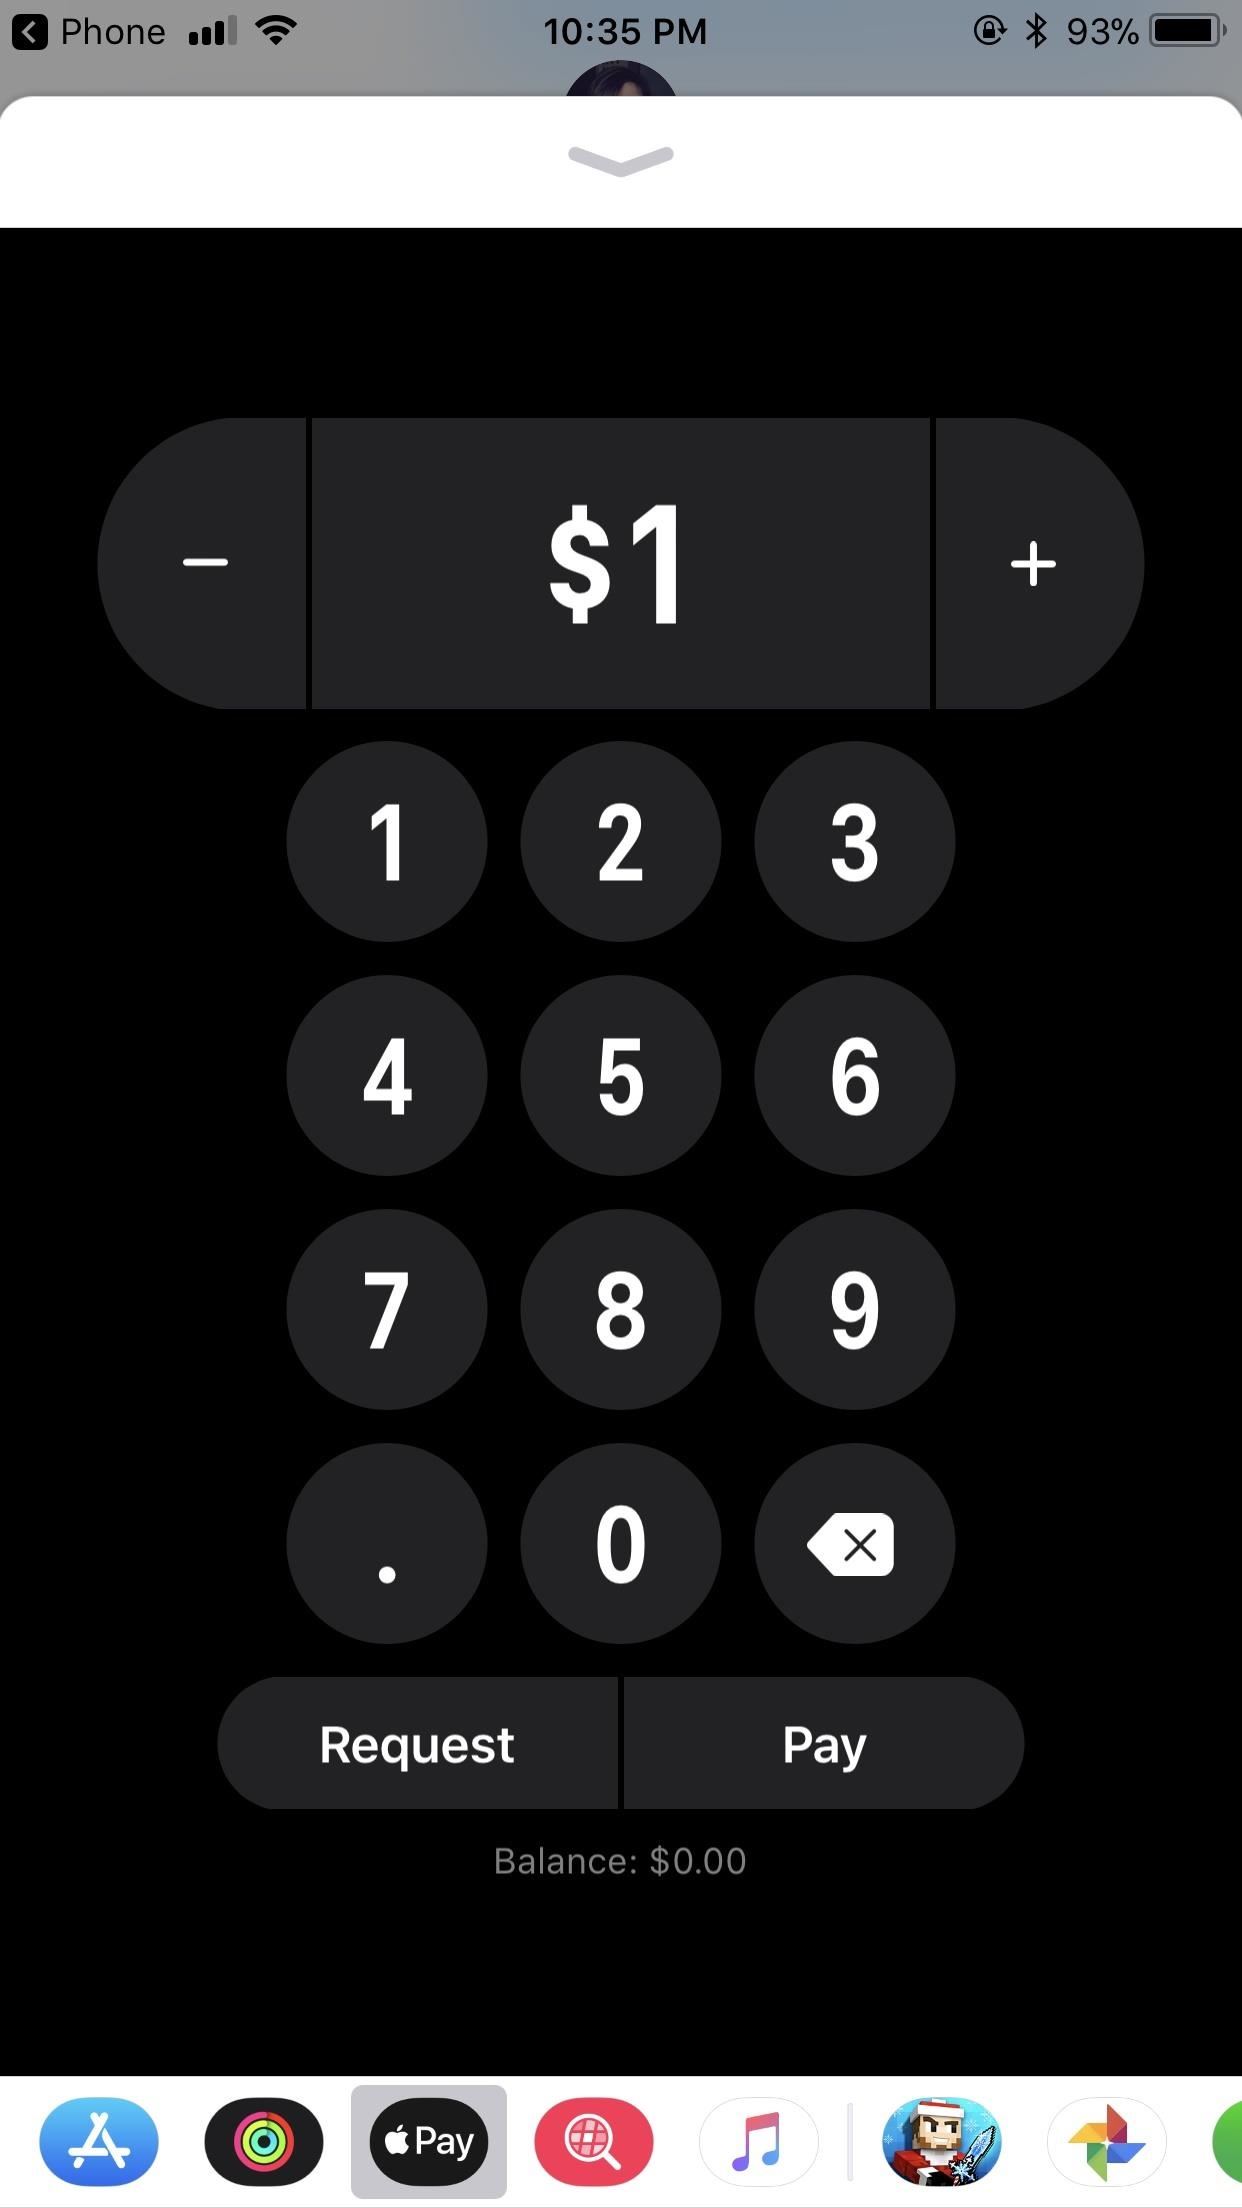
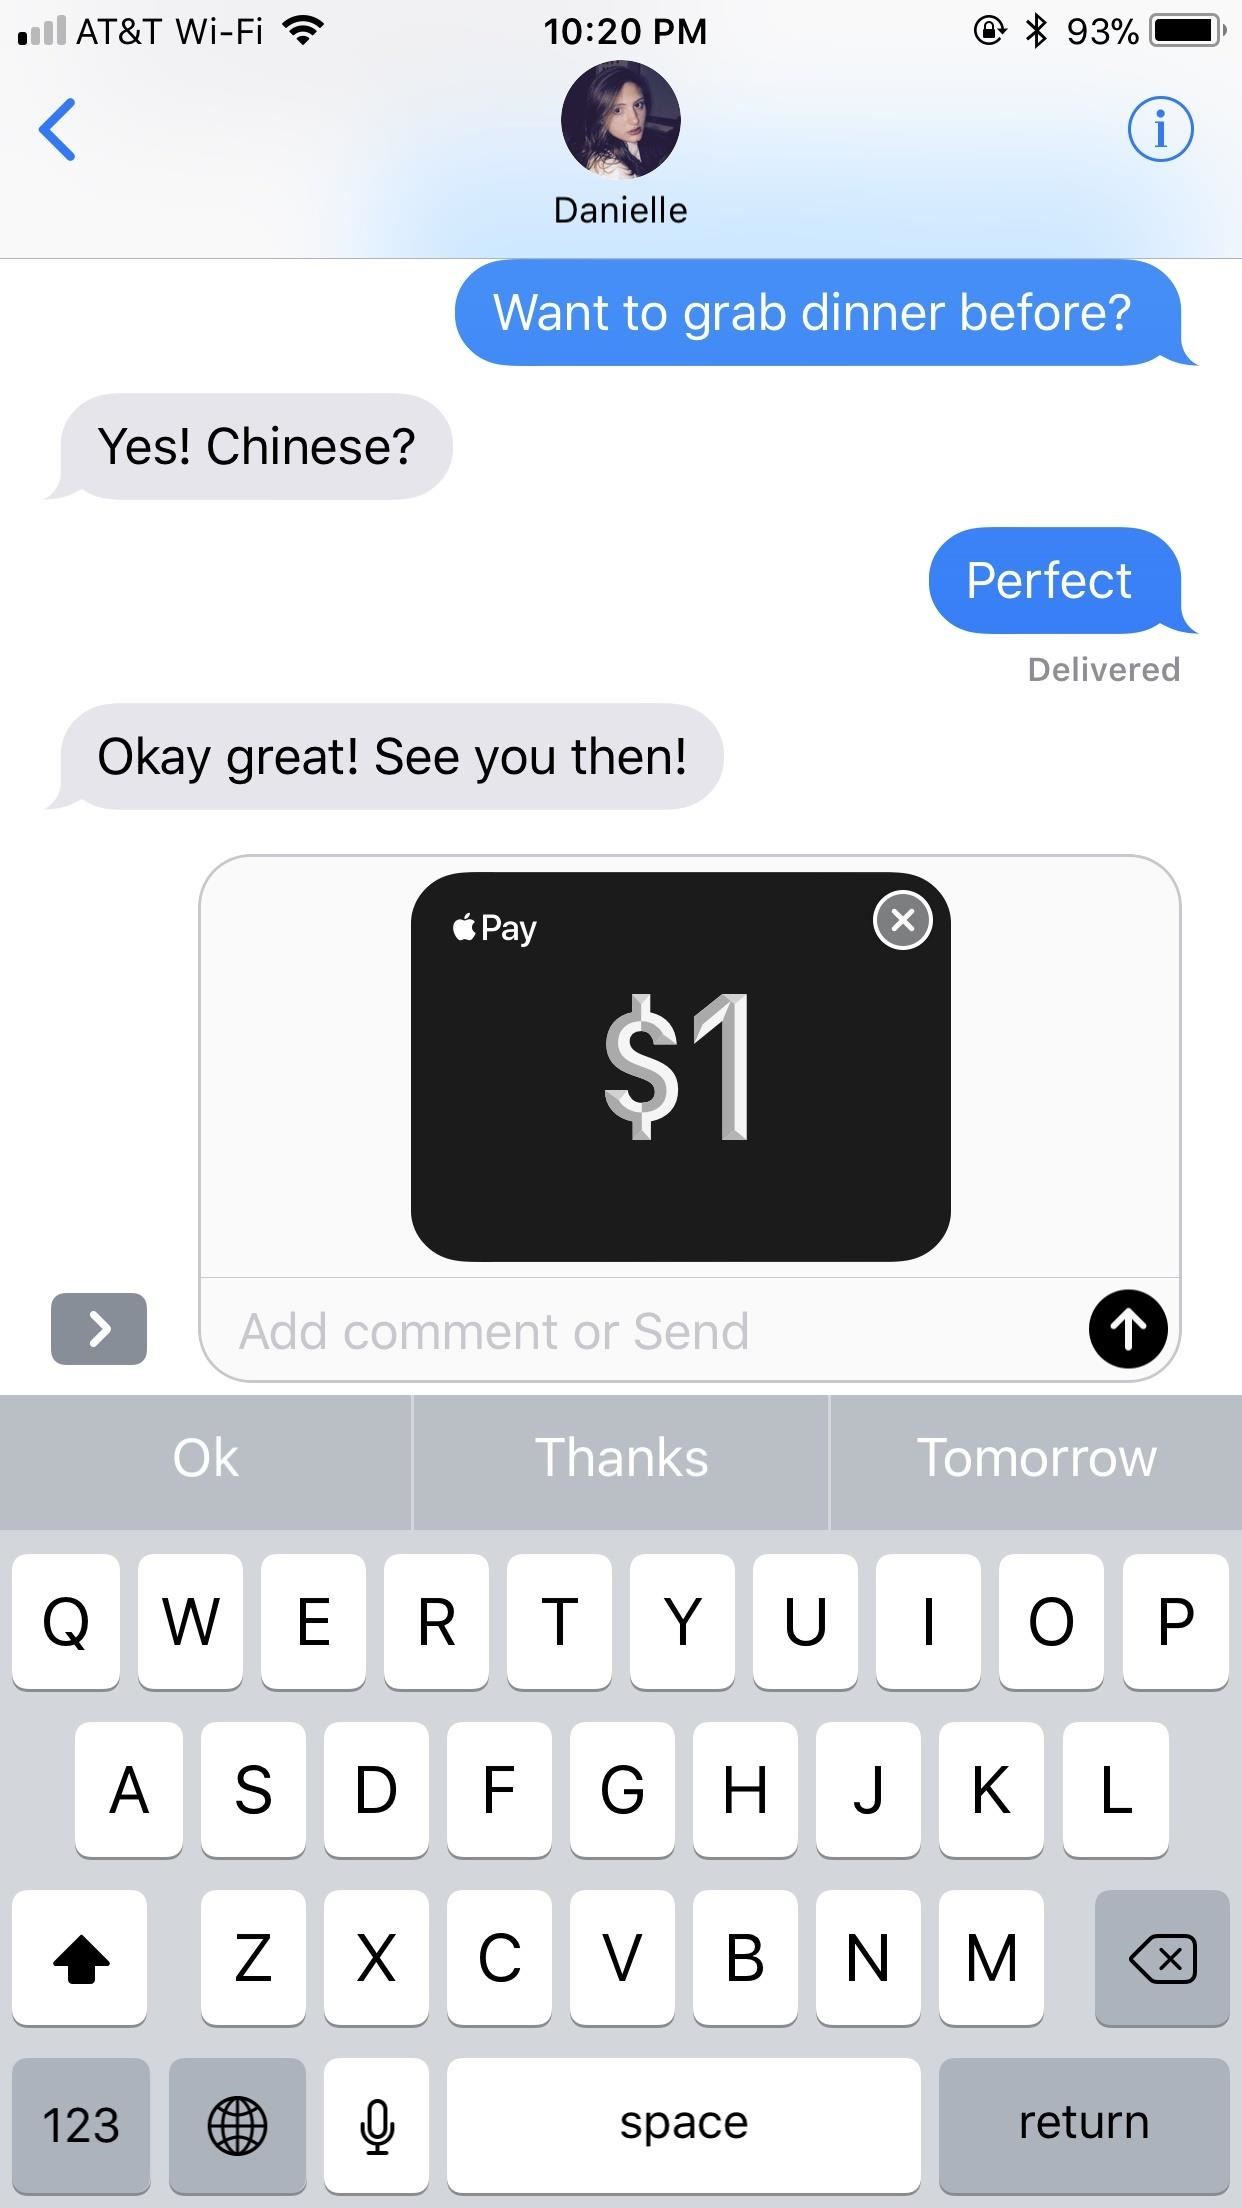
Once you’ve entered the appropriate amount, tap “Pay.” Your payment will then appear in your message text box like a photo preview. To send, write a message if you’d like, then tap the now-black send arrow.
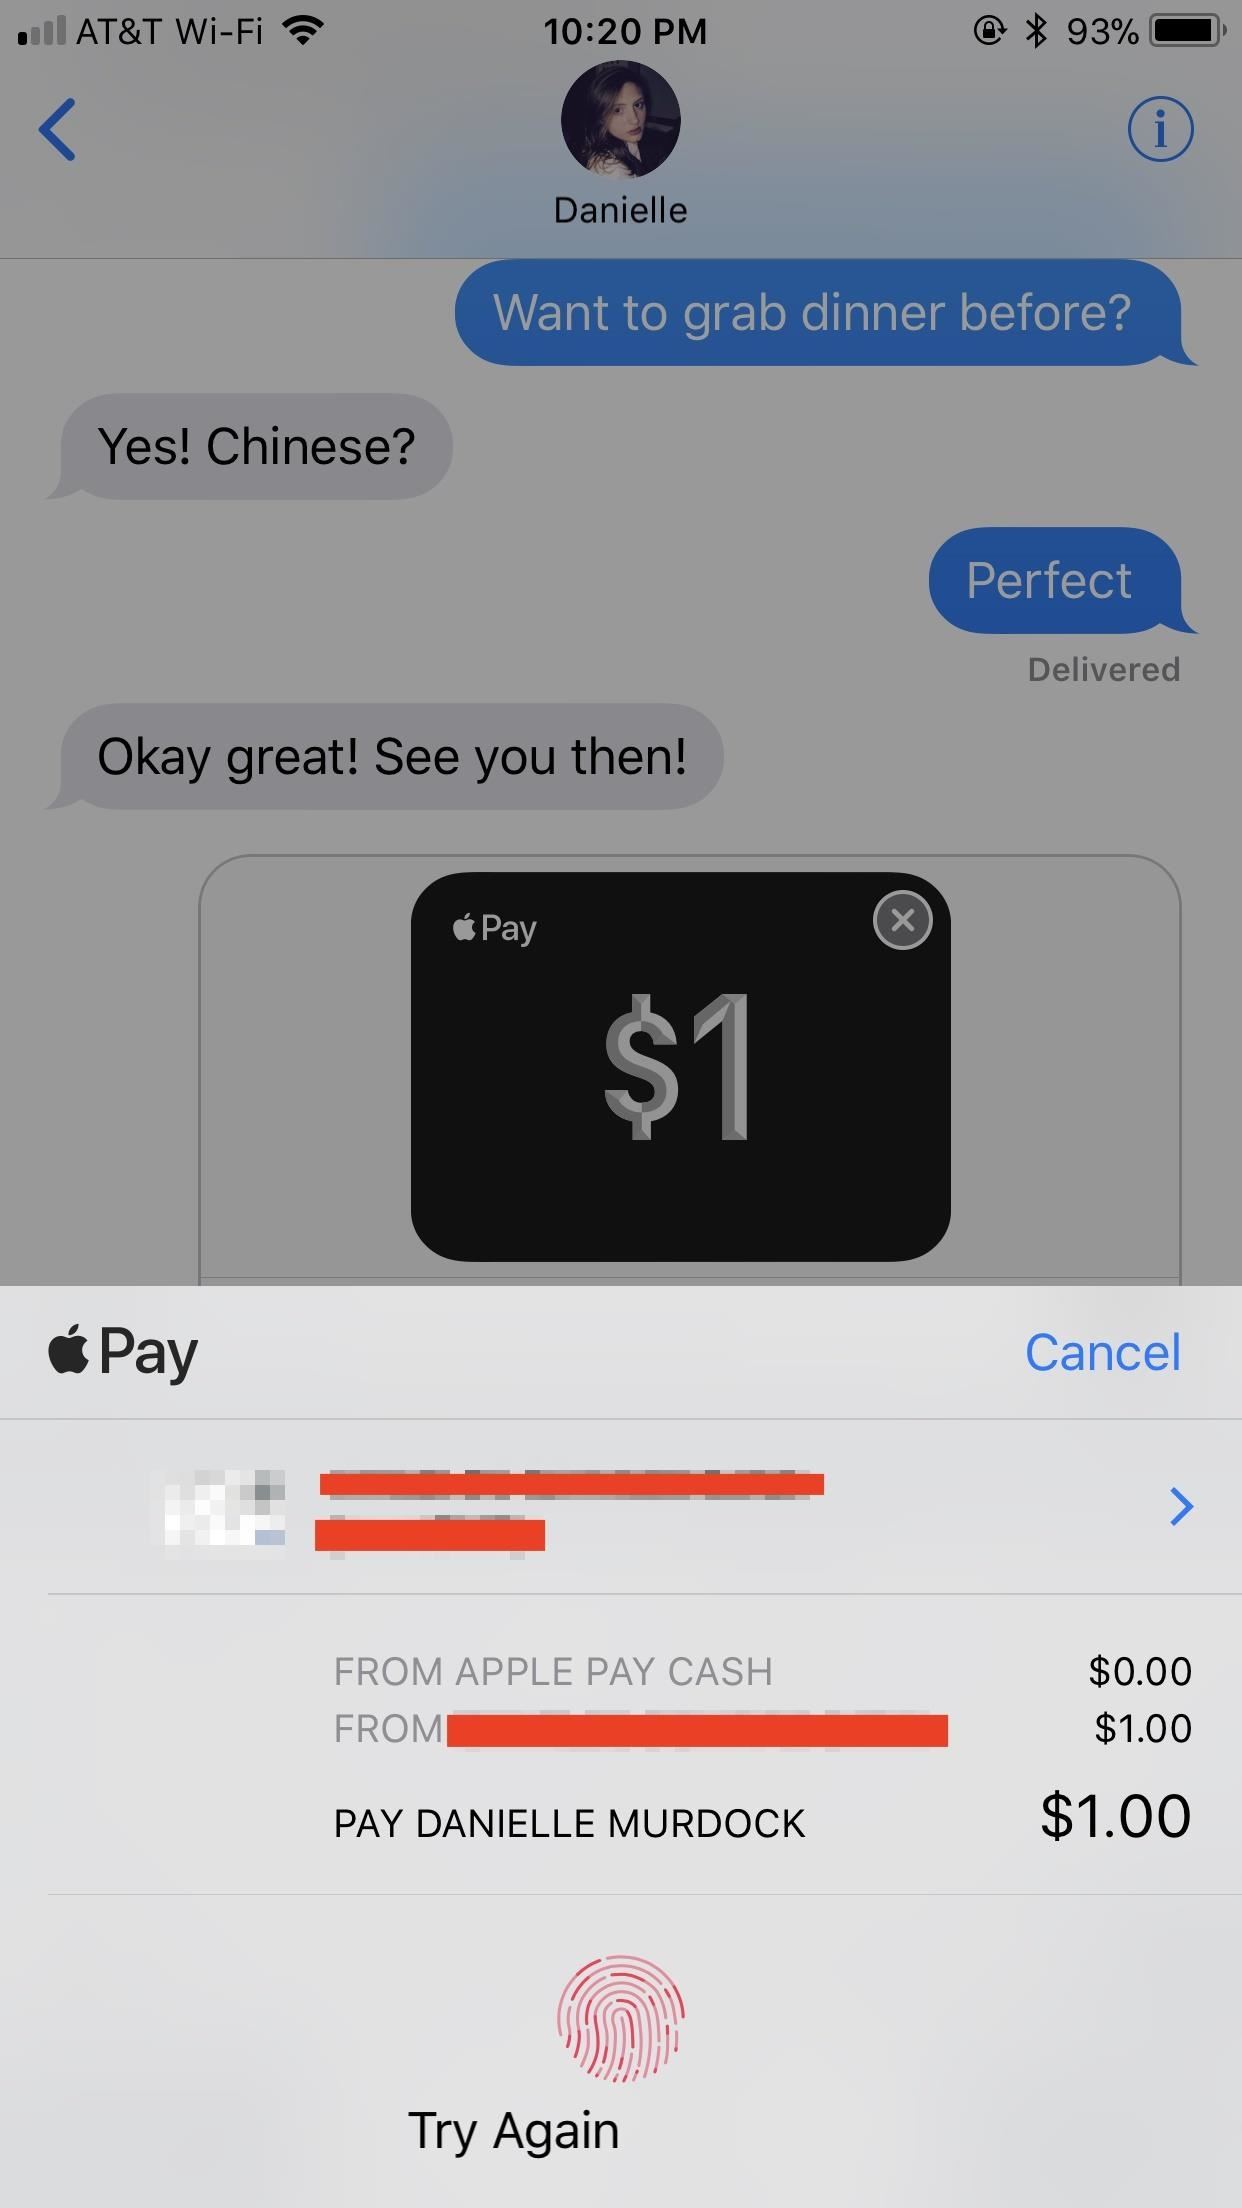
By default, Apple will use up your Apple Pay Cash balance to make payments. If you have a zero balance or the balance isn’t large enough for the amount, it’ll use your first debit, prepaid, or credit card on file for the remaining balance. You can switch payment methods by tapping the card information. Once the right card is selected, just use Touch ID or Face ID to approve the payment.
- Don’t Miss: How to Add Money to Your Apple Pay Cash Card Balance
Method 2: Paying Someone from Contacts or Phone
Any stock app that gives you access to a contact’s card can be a gateway to paying someone with Apple Pay Cash. We can’t see too many situations where you’d want to use Maps (select a person’s address, then “View Contact”) or the long way in Messages (tap the “info” button in a conversation, then the person’s name), so we’ll just go over Contacts and Phone (via the “Contacts” tab).
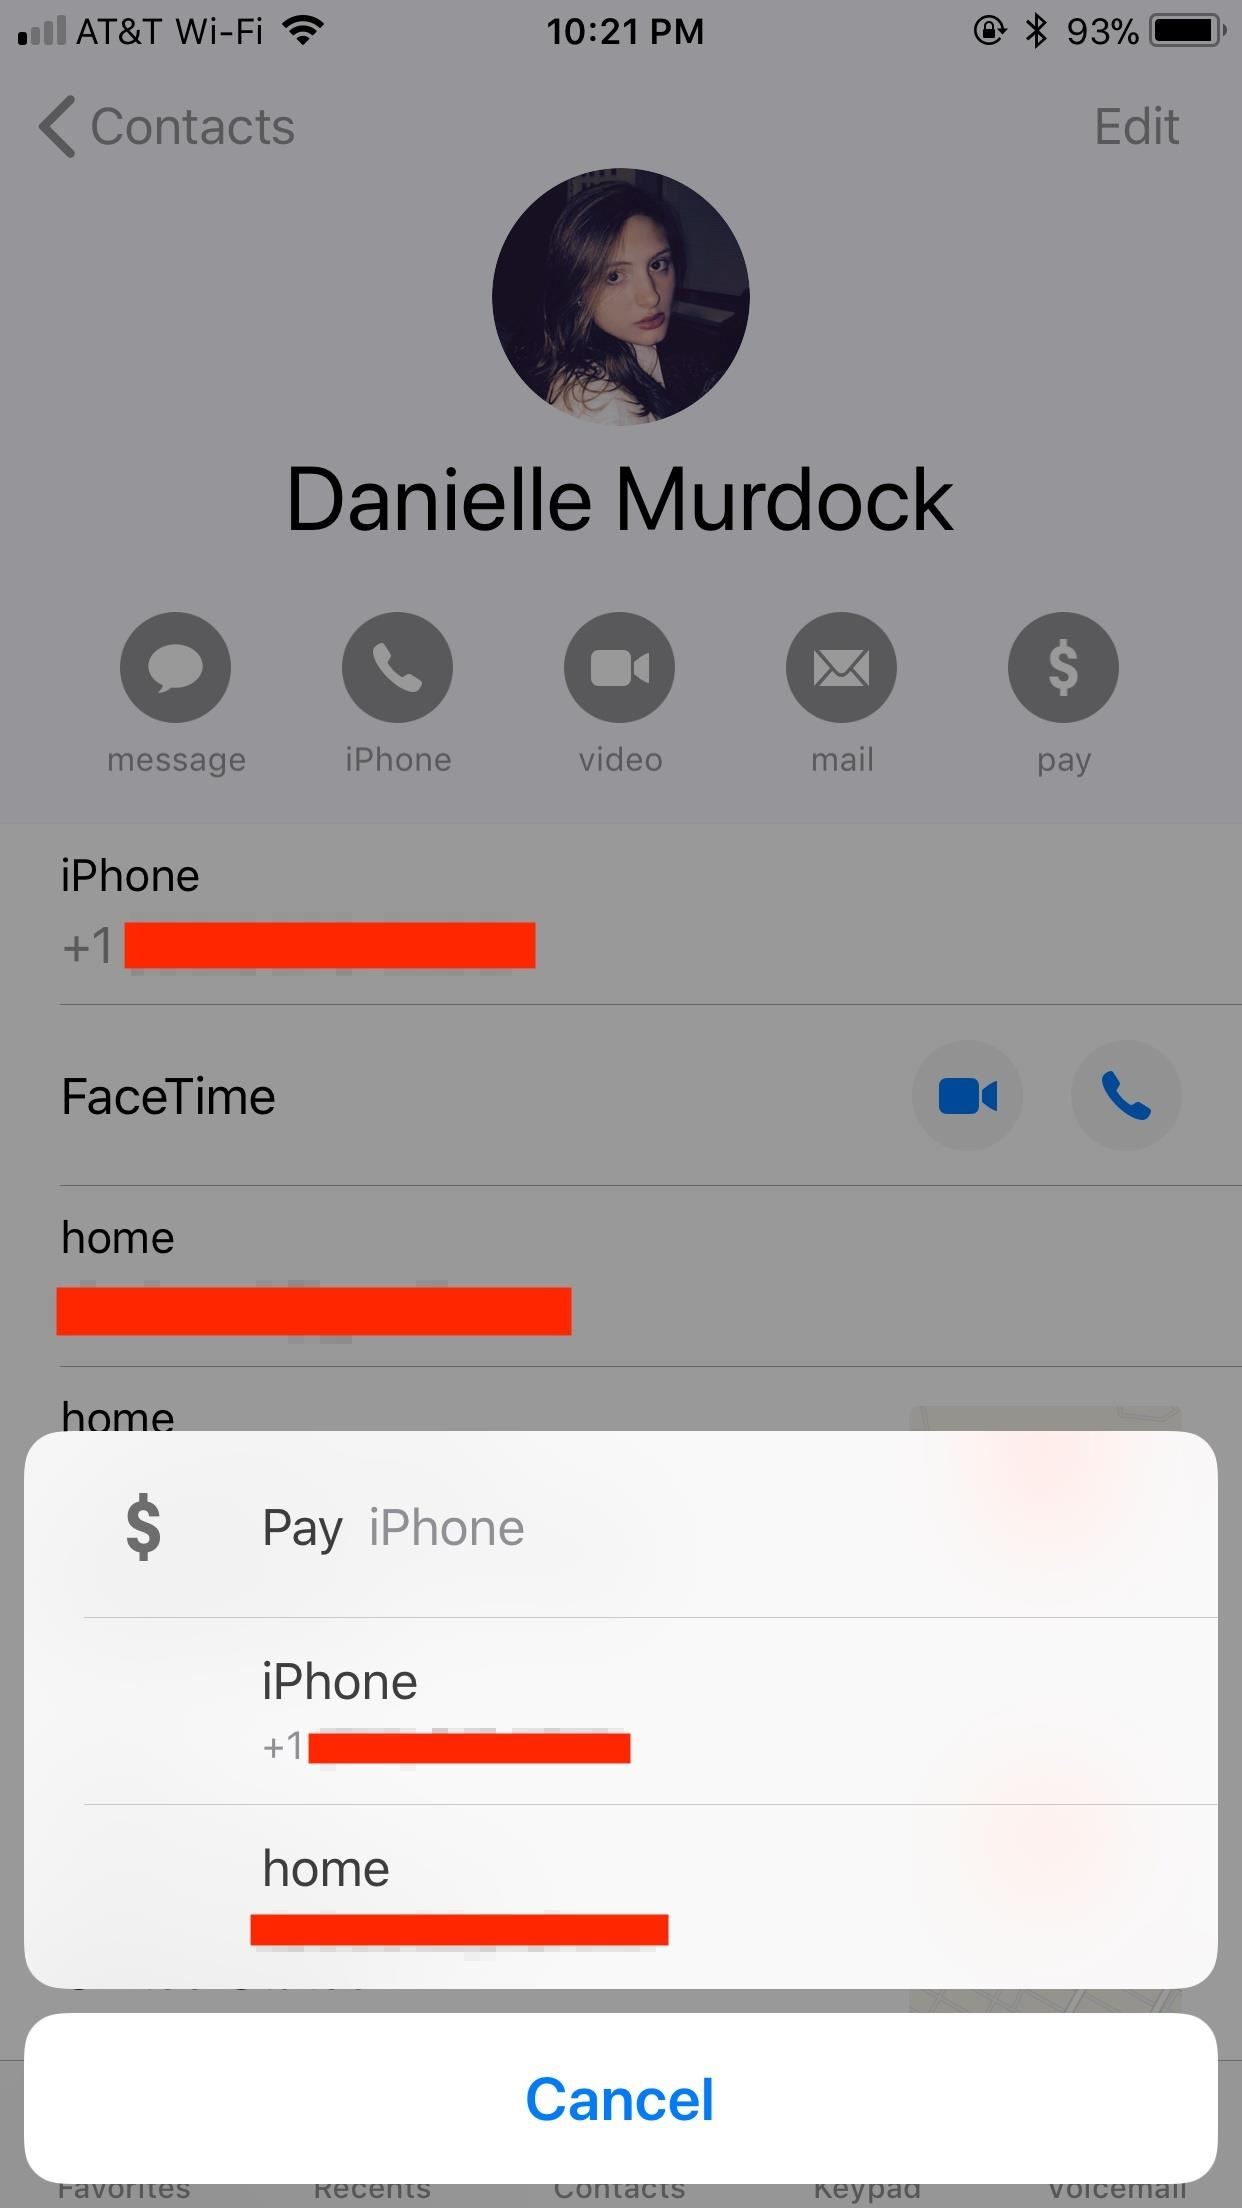
From the list of contacts, simply tap on the person you’d like to pay, then tap on “pay” on the list of actions near the top of their card. If it’s the first time you tapped this button for the contact, a list of emails and phone numbers will pop up which you’ll need to choose from. Obviously, you can only use ones associated with the user’s Apple ID, so just tap on the top option with the “Pay” icon next to it to set it as the primary method, which is likely the correct one.
Tapping the chosen method will automatically launch you into an iMessage conversation in Messages with the Apple Pay Cash menu open — if they can accept payments. In future instances, tapping “pay” in the actions menu on their contact card will automatically jump you to the iMessage chat, but you can long-press on it instead to choose another email or phone number if the chosen one doesn’t work.

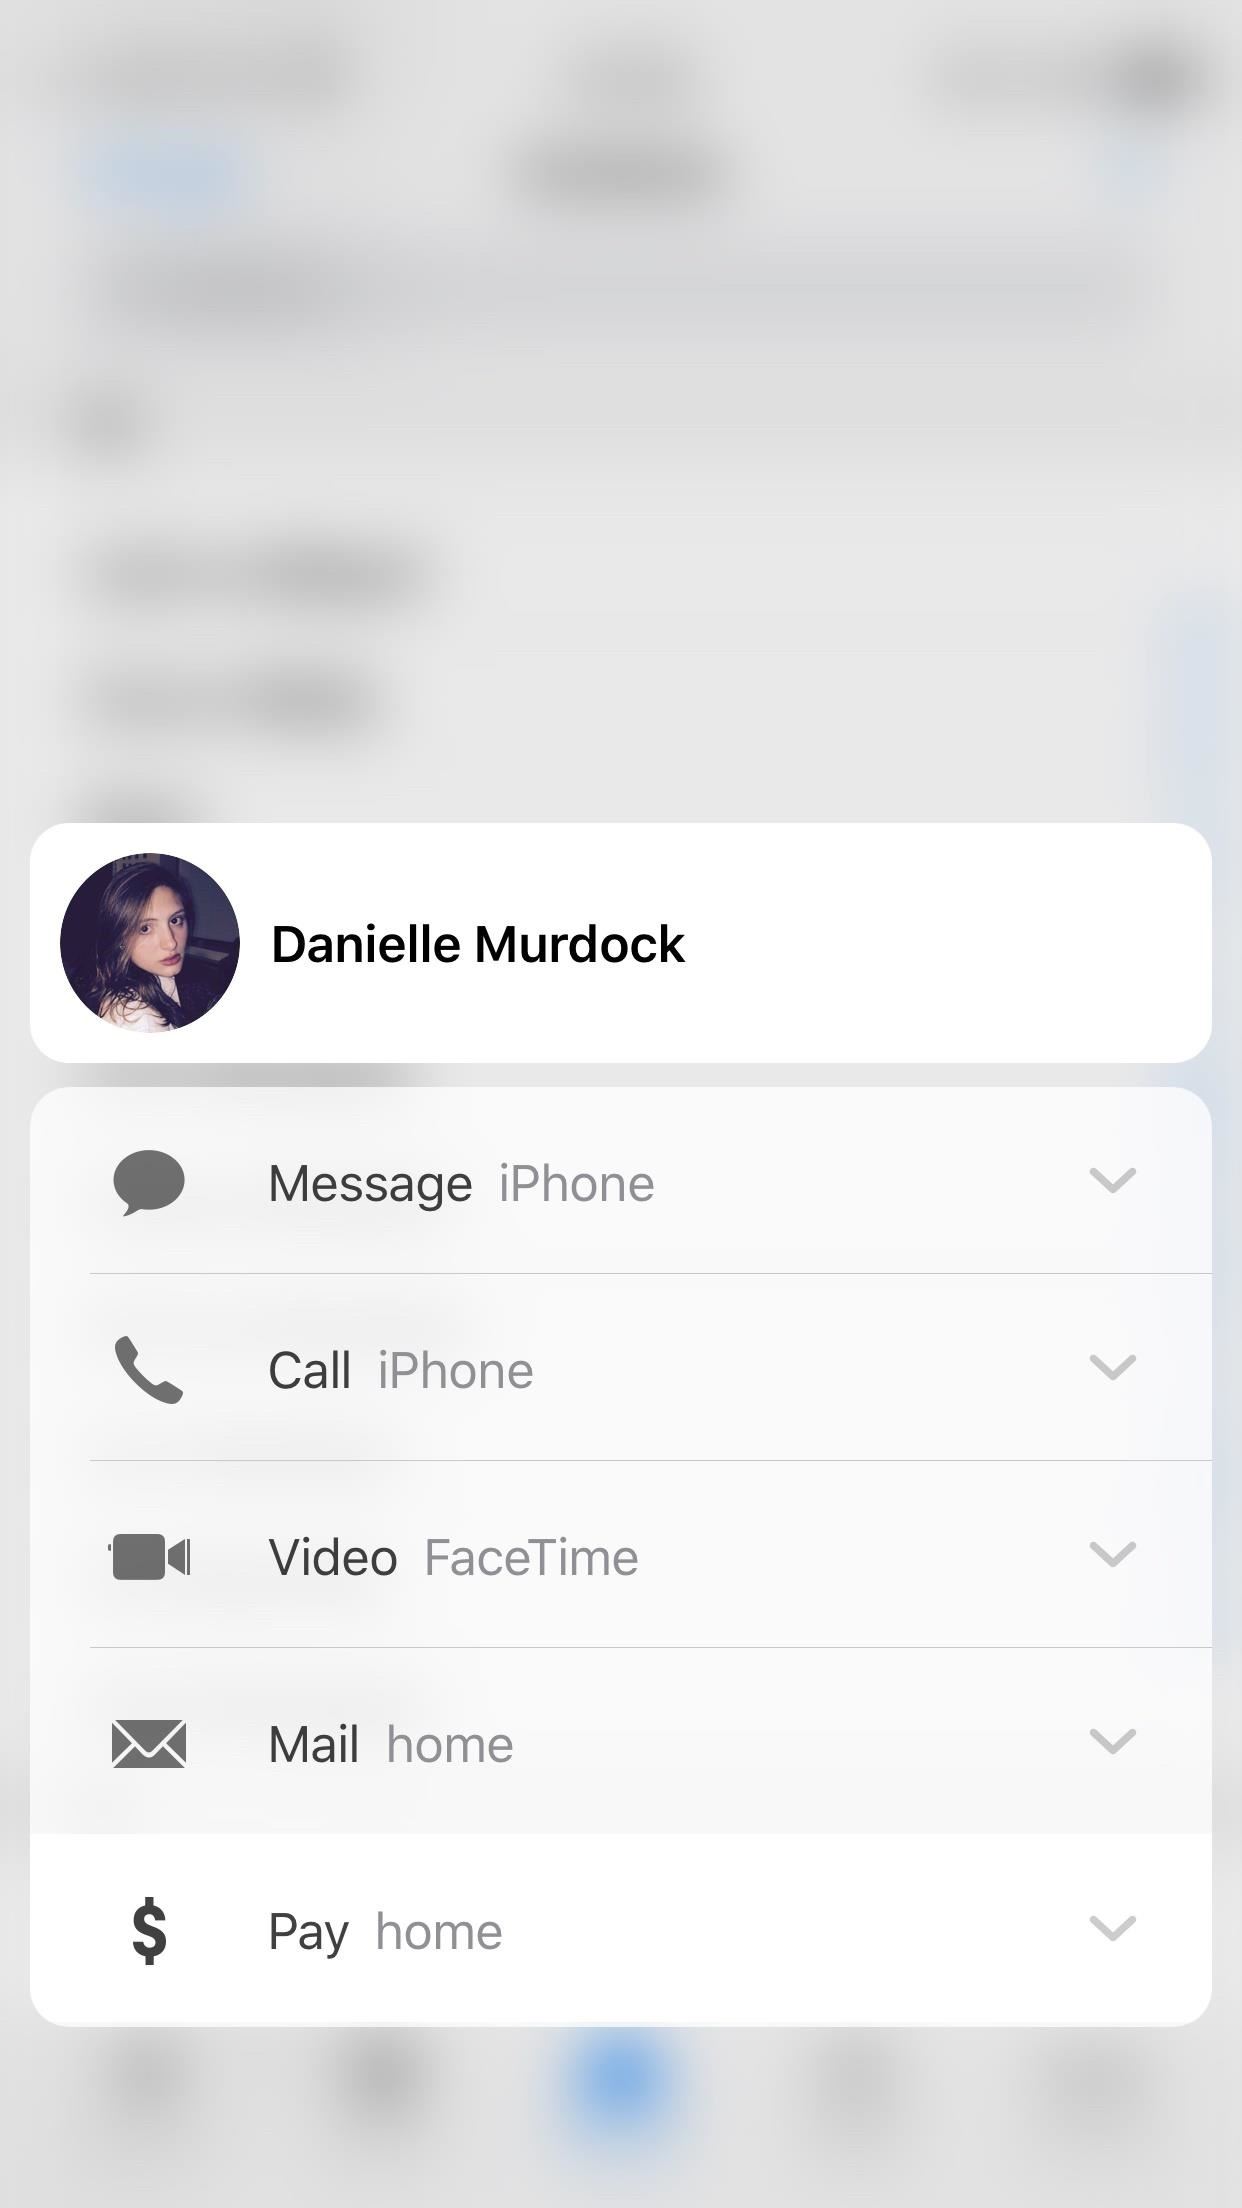
As you can see above, 3D Touch is also an option you can use, and it’s even quicker. Instead of tapping on the contact you want to pay, 3D Touch their name. A list of options will appear, the bottom one being “Pay” with the default phone number or email associated with it. Tapping on this will send you directly to the Apple Pay Cash menu in an iMessage. Alternatively, you can also tap the downward-facing arrow to select a different phone number or email to send payment to.
All of these options will lead you back to the Apple Pay Cash menu in the appropriate iMessage conversation. Just follow the instructions from Method 1 above to complete your payment.
Method 3: Paying Someone Using Siri
Siri may not be perfect, but Apple has provided some useful integration between the digital assistant and its apps. That can be said for Apple Pay Cash, as you can pay money to others using Siri.
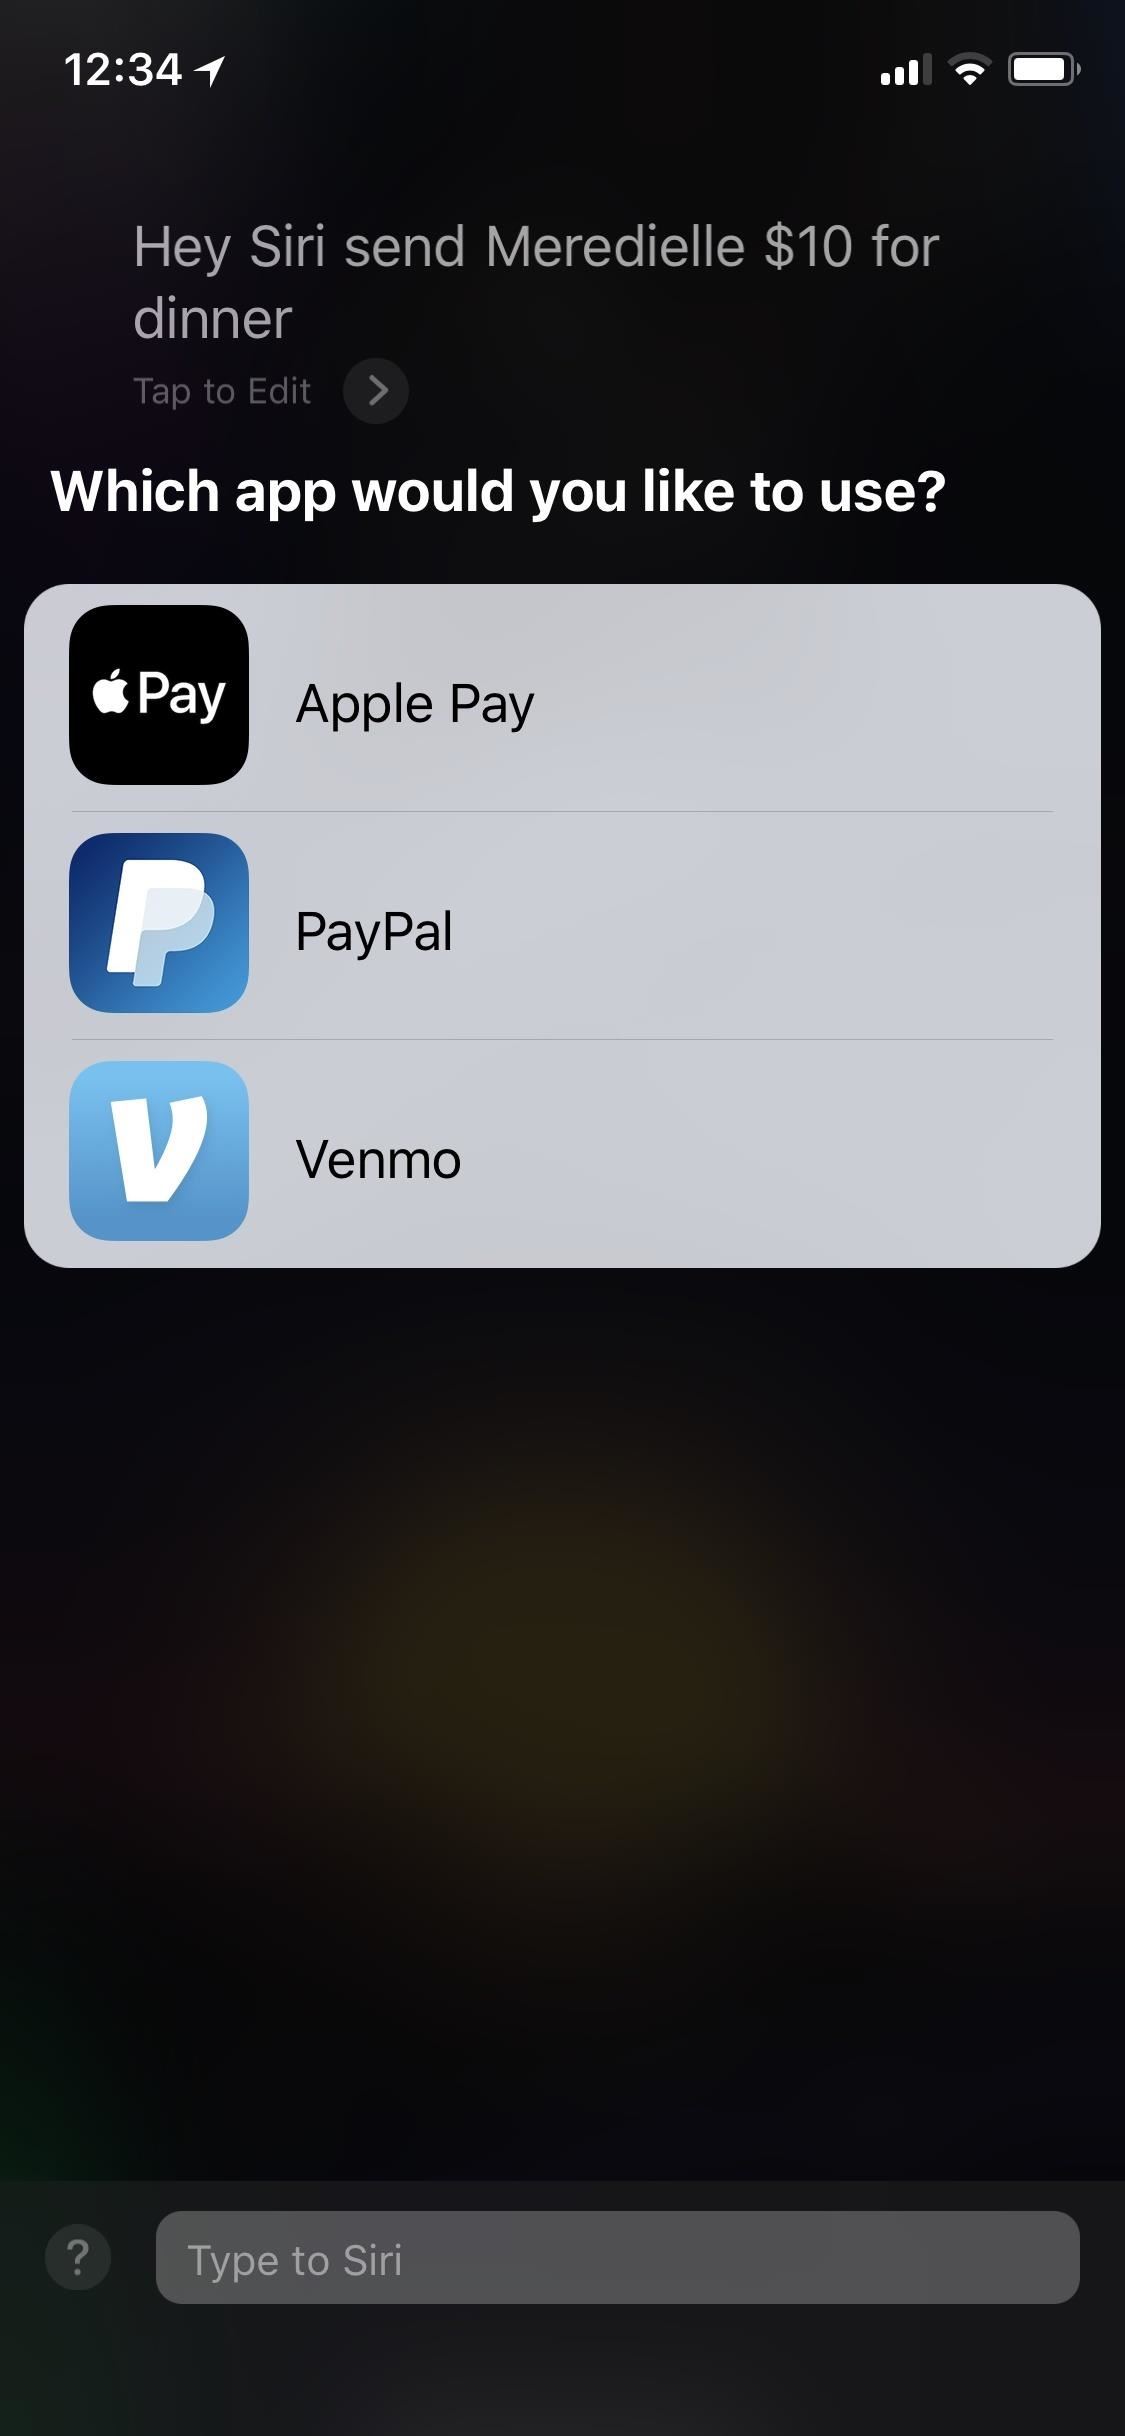
To begin, activate Siri as you normally would, and ask to pay a specific dollar amount to one of your contacts. You could even add a reason for the payment which will be added to your message. Something like the following, though you can move things around a bit or omit the reason.
Send [name] $[amount] for [reason].
If you use other payment apps besides Apple Pay Cash that are compatible with Siri, such as Venmo and PayPal, Siri will ask which of your apps you would like to use. Tap or say “Apple Pay.” If using Siri from the lock screen, you will need to enter your passcode, Touch ID, or Face ID to continue.
- Don’t Miss: How to Activate Siri on the iPhone X Without a Home Button
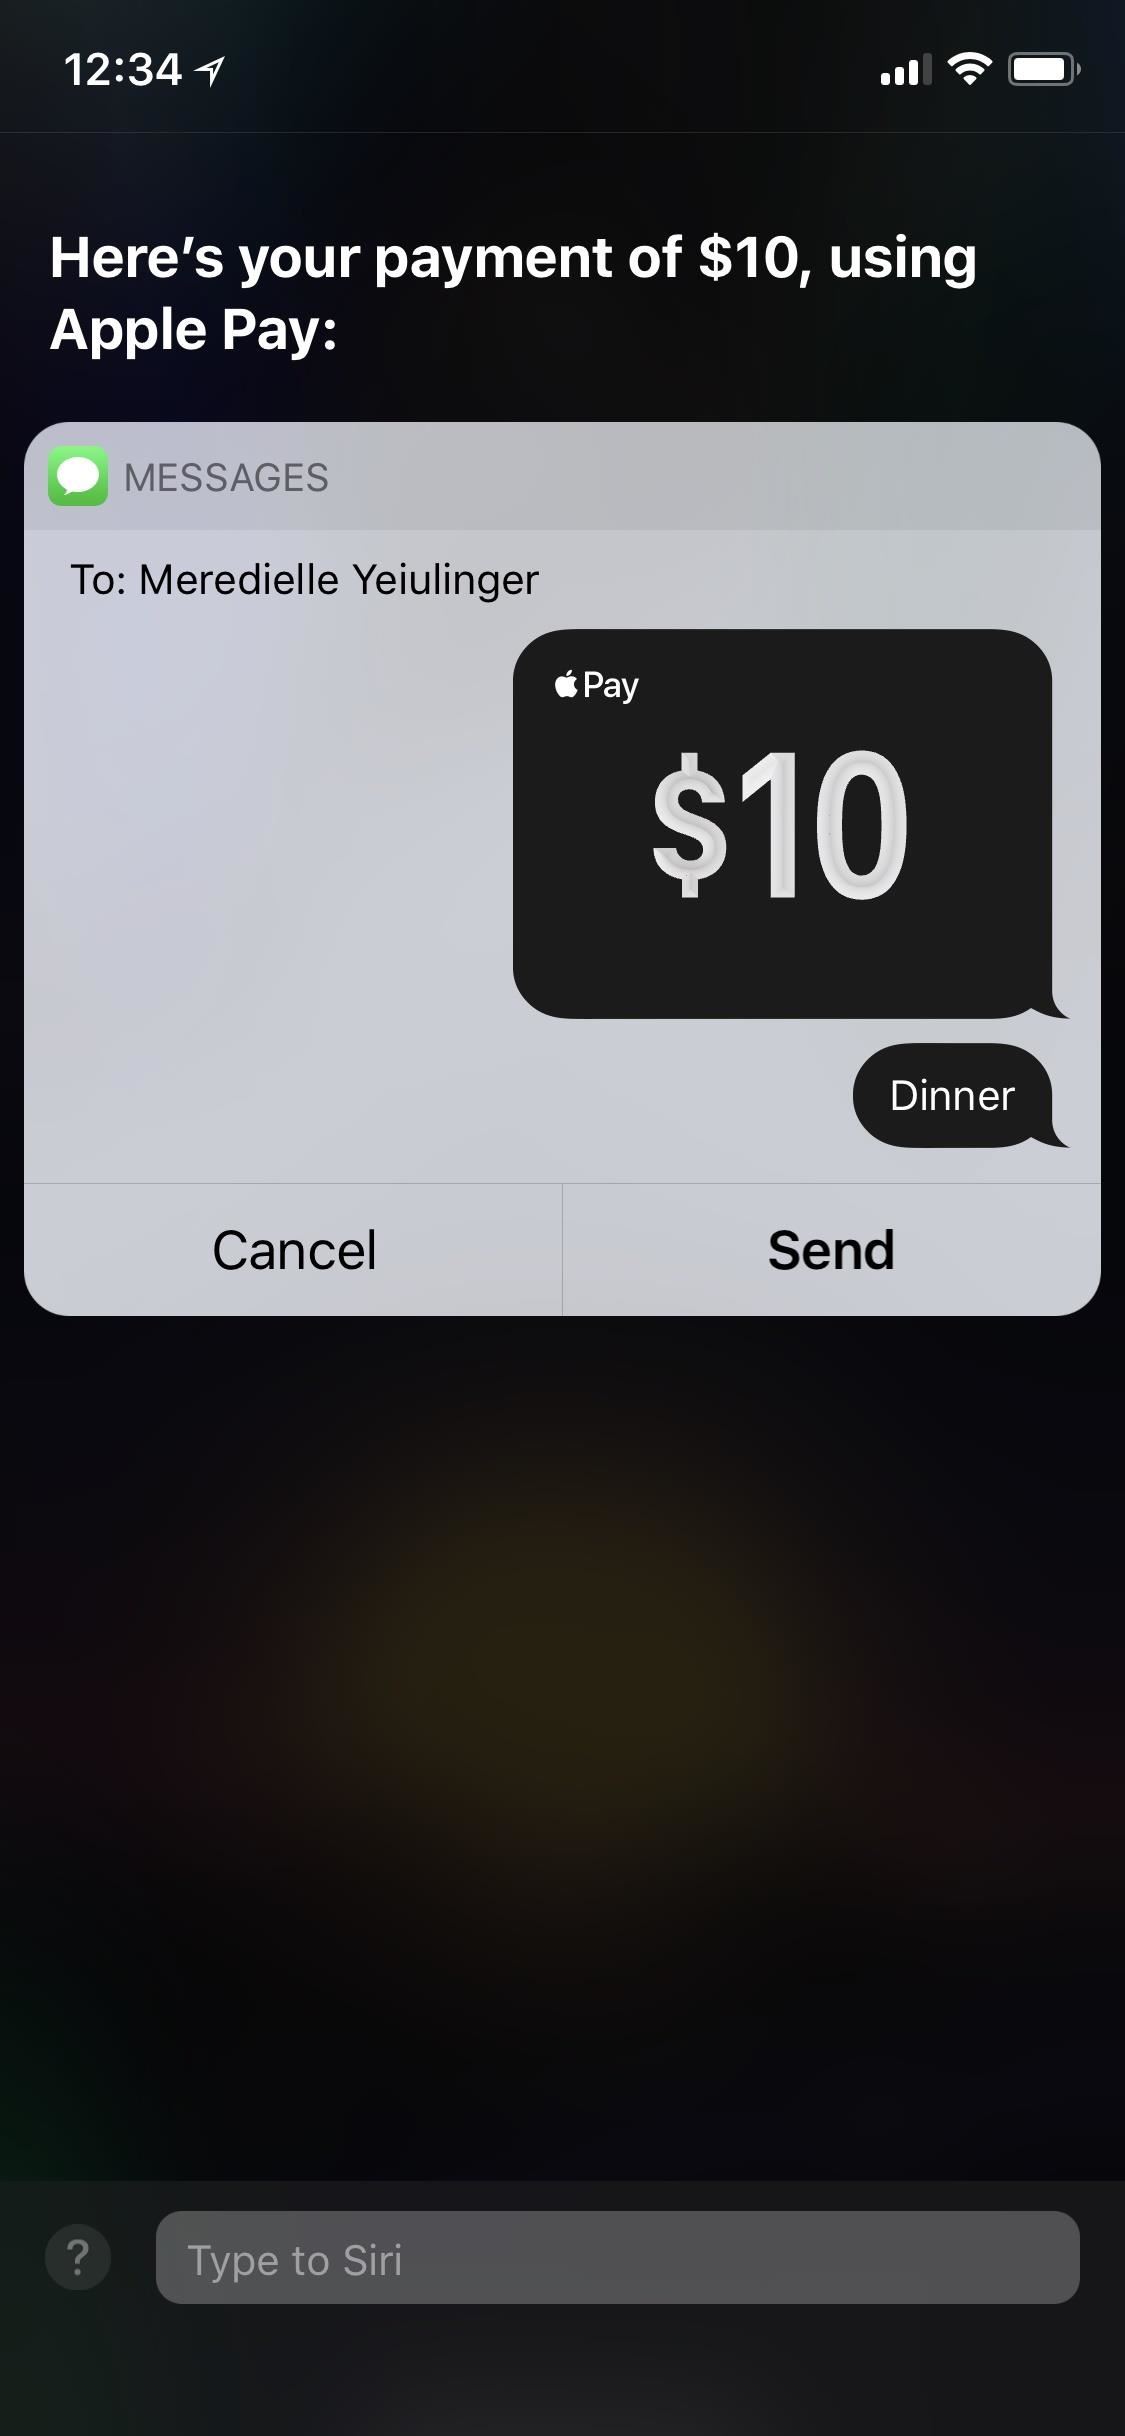
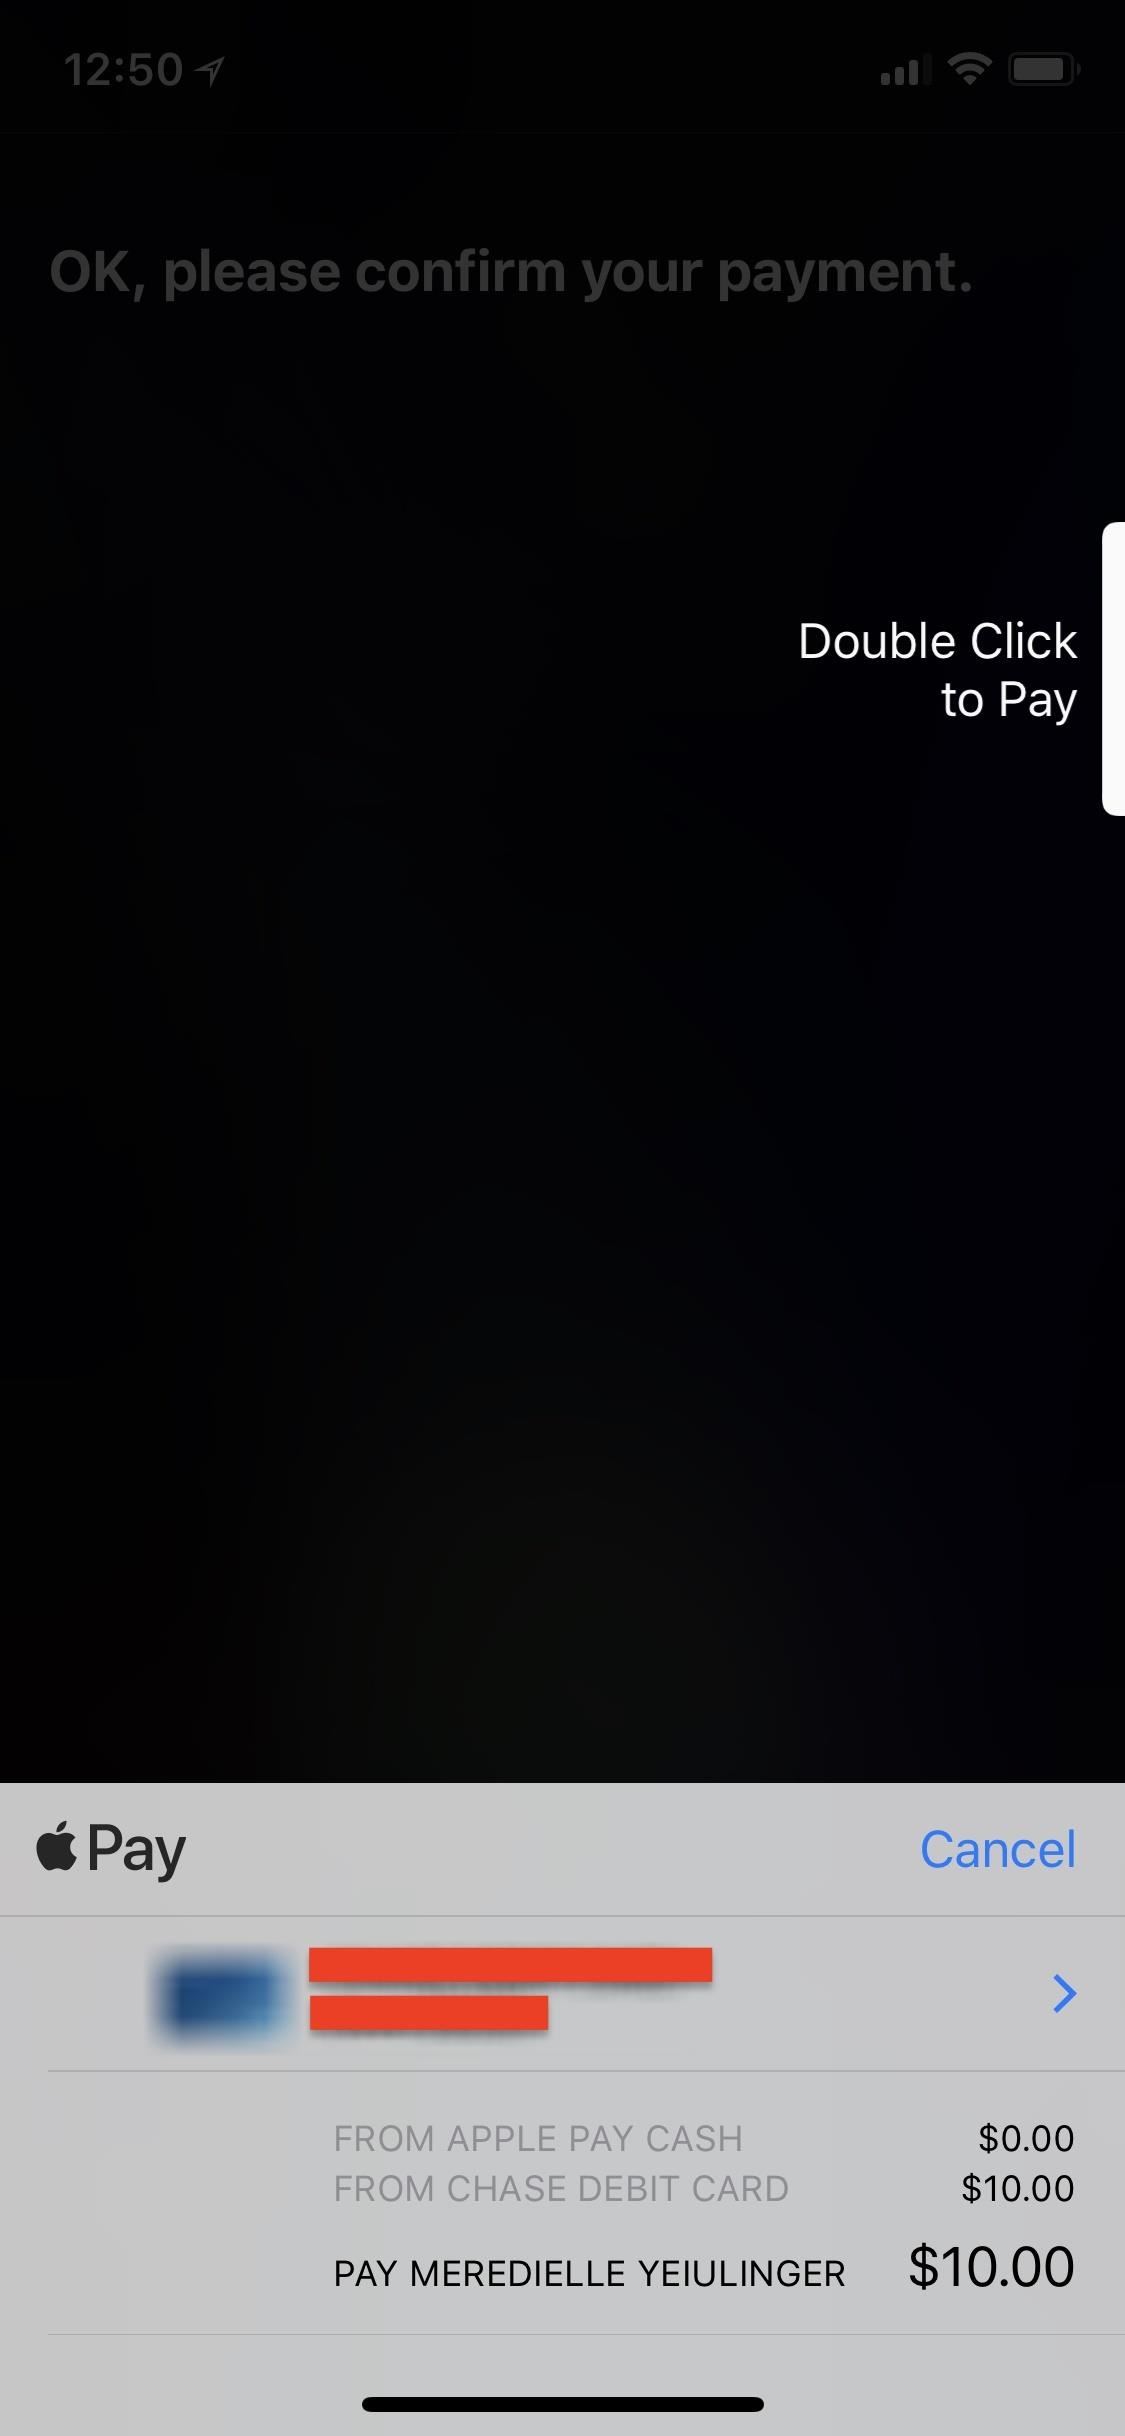
Siri will then display your payment in a preview, just as if you were using Siri to craft a message. When Siri asks if you would like to send the payment, say “yes” or “send.” You can also just tap “Send” or “Cancel” to stop. You’ll need to confirm the amount on the pop-up screen. Again, it’ll use your Apple Pay Cash card balance first, then you can select between other cards for what’s left. Then, just use Touch ID or Face ID to send the payment.
Method 4: Paying Someone Requested Money
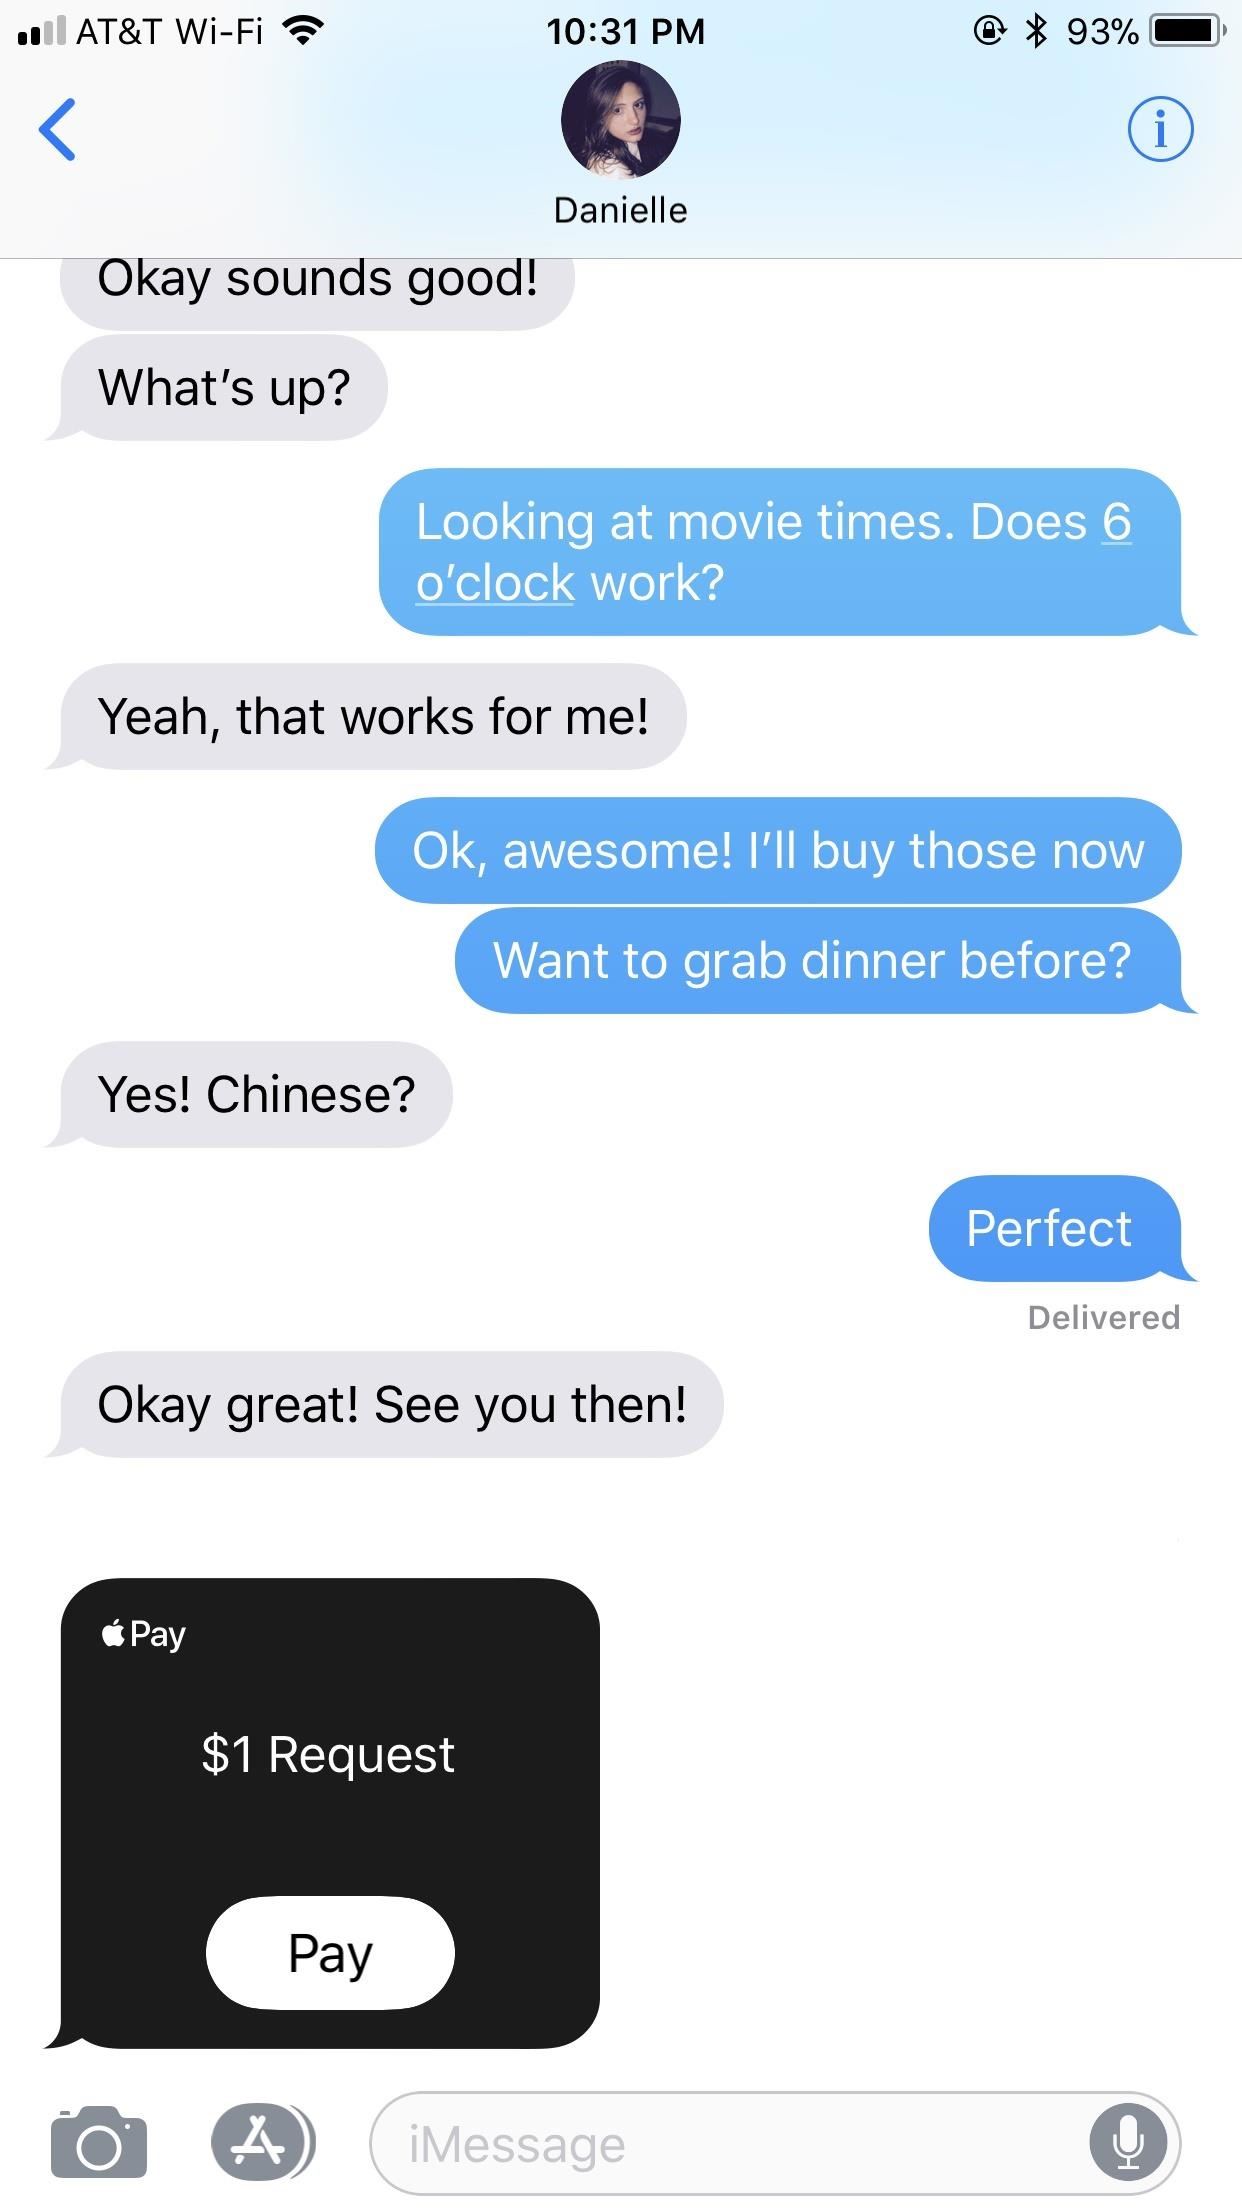
When someone requests a payment from you, it shows up as any normal message would. You receive a notification of that request, which you can quick reply to, but to actually fulfill the payment, you will need to open the Messages app itself.
- Don’t Miss: How to Request Apple Pay Cash from Friends & Family

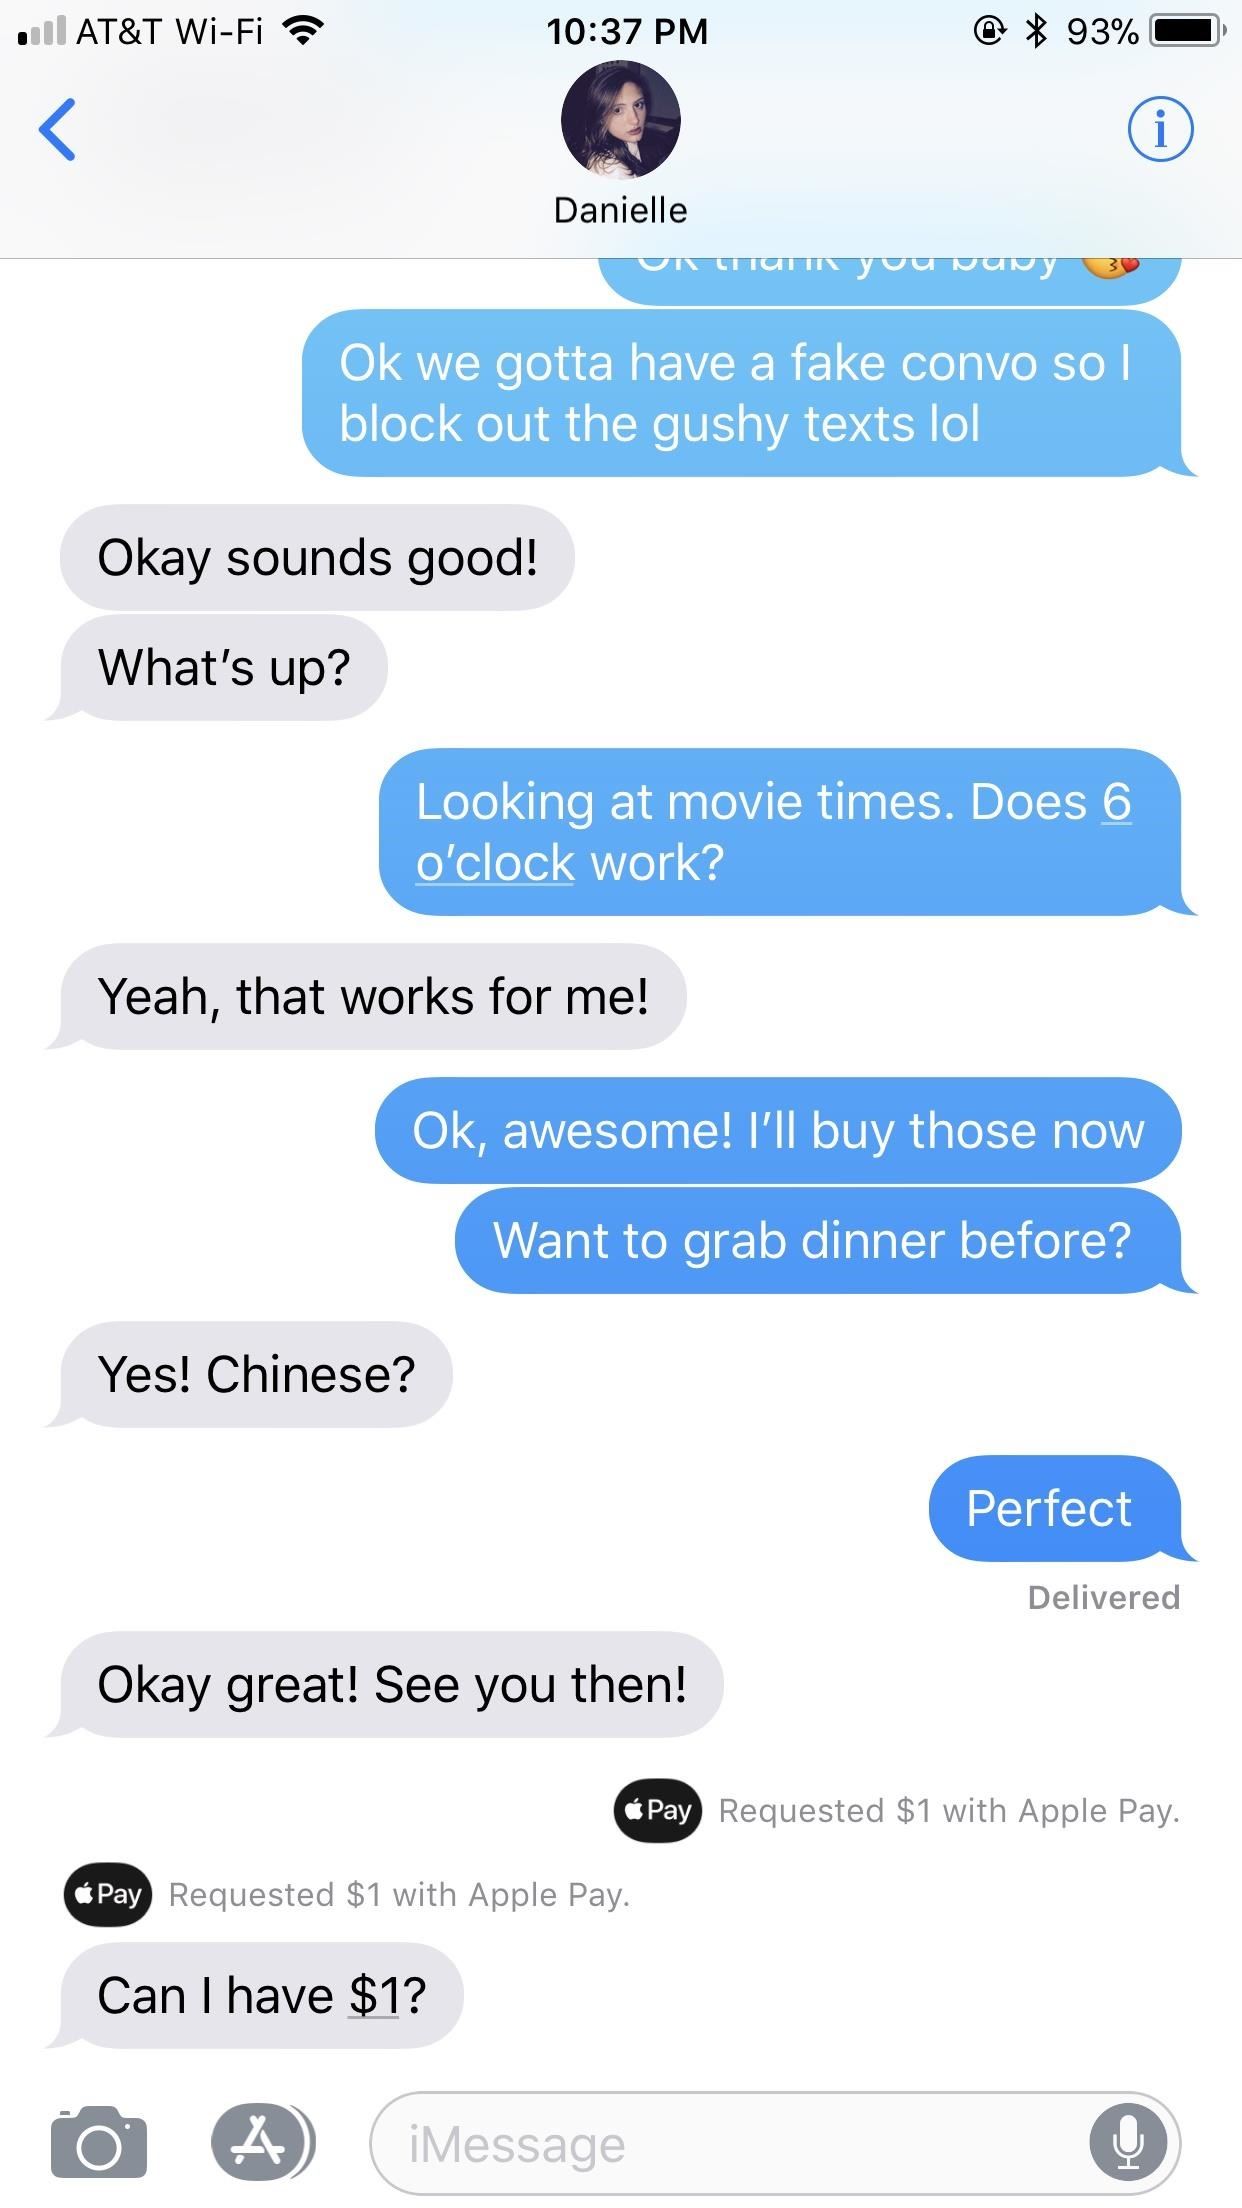
Open the iMessage conversation for the contact requesting money. You will see their request in your chat with the dollar amount they are asking for as well as either a “Pay” button or the requested amount with a Pay symbol next to it. Tap on either “Pay” from within the black card, on the dollar amount requested in the message, or on the Apple Pay icon in the QuickType bar.
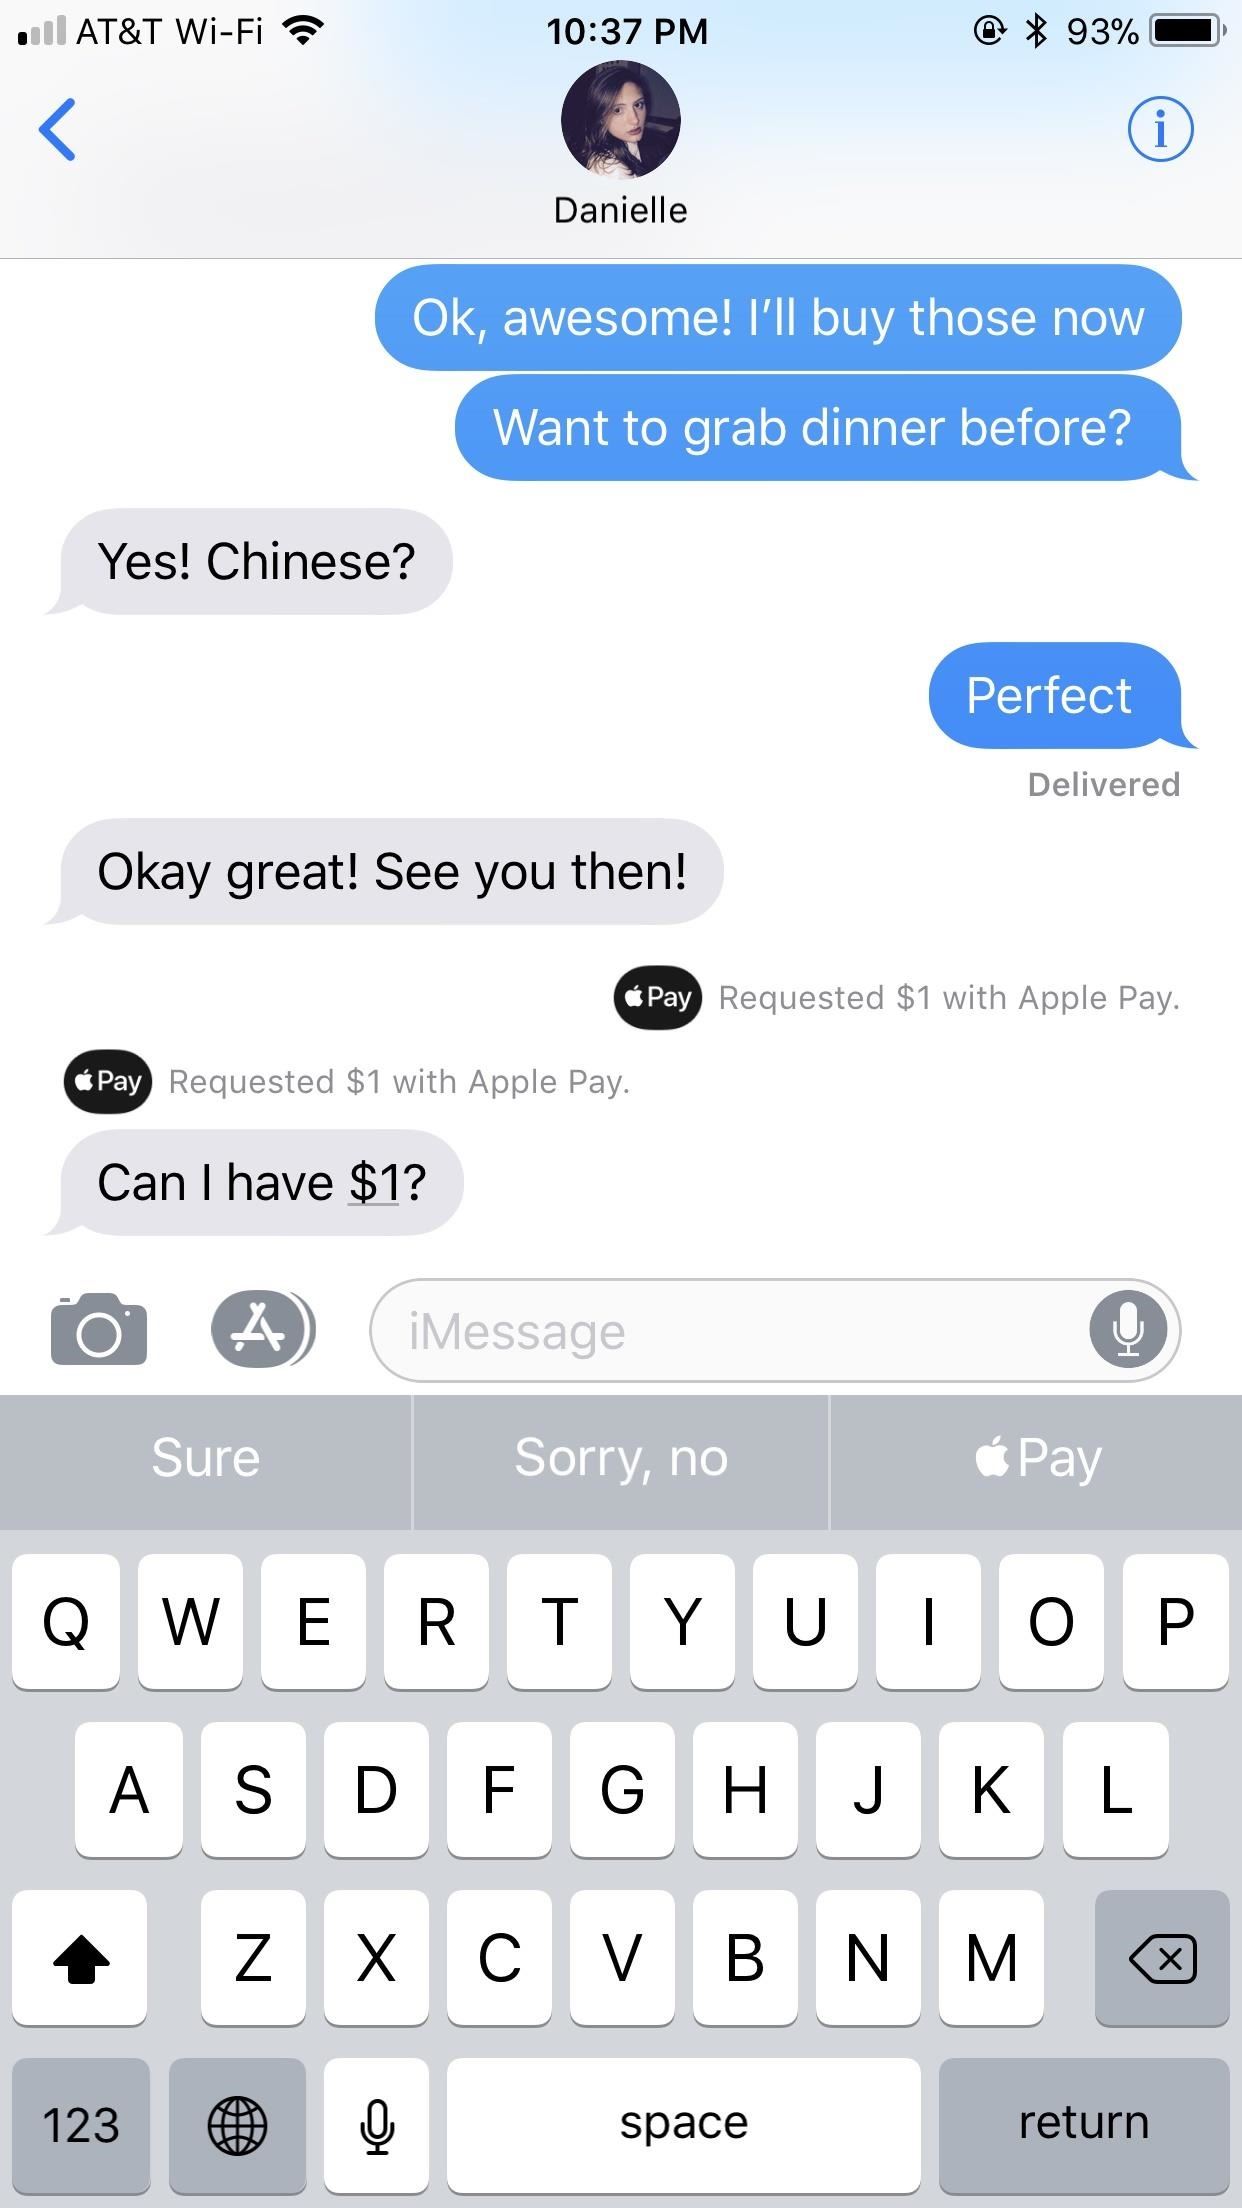
After, your on-screen controls will appear. Interestingly, you don’t need to pay the exact amount requested. All tapping “Pay” or the amount really does is pull up the general Apple Pay Cash menu. You can change the amount of money as well as send a request back yourself. You have total freedom to give them what you want and nothing more.
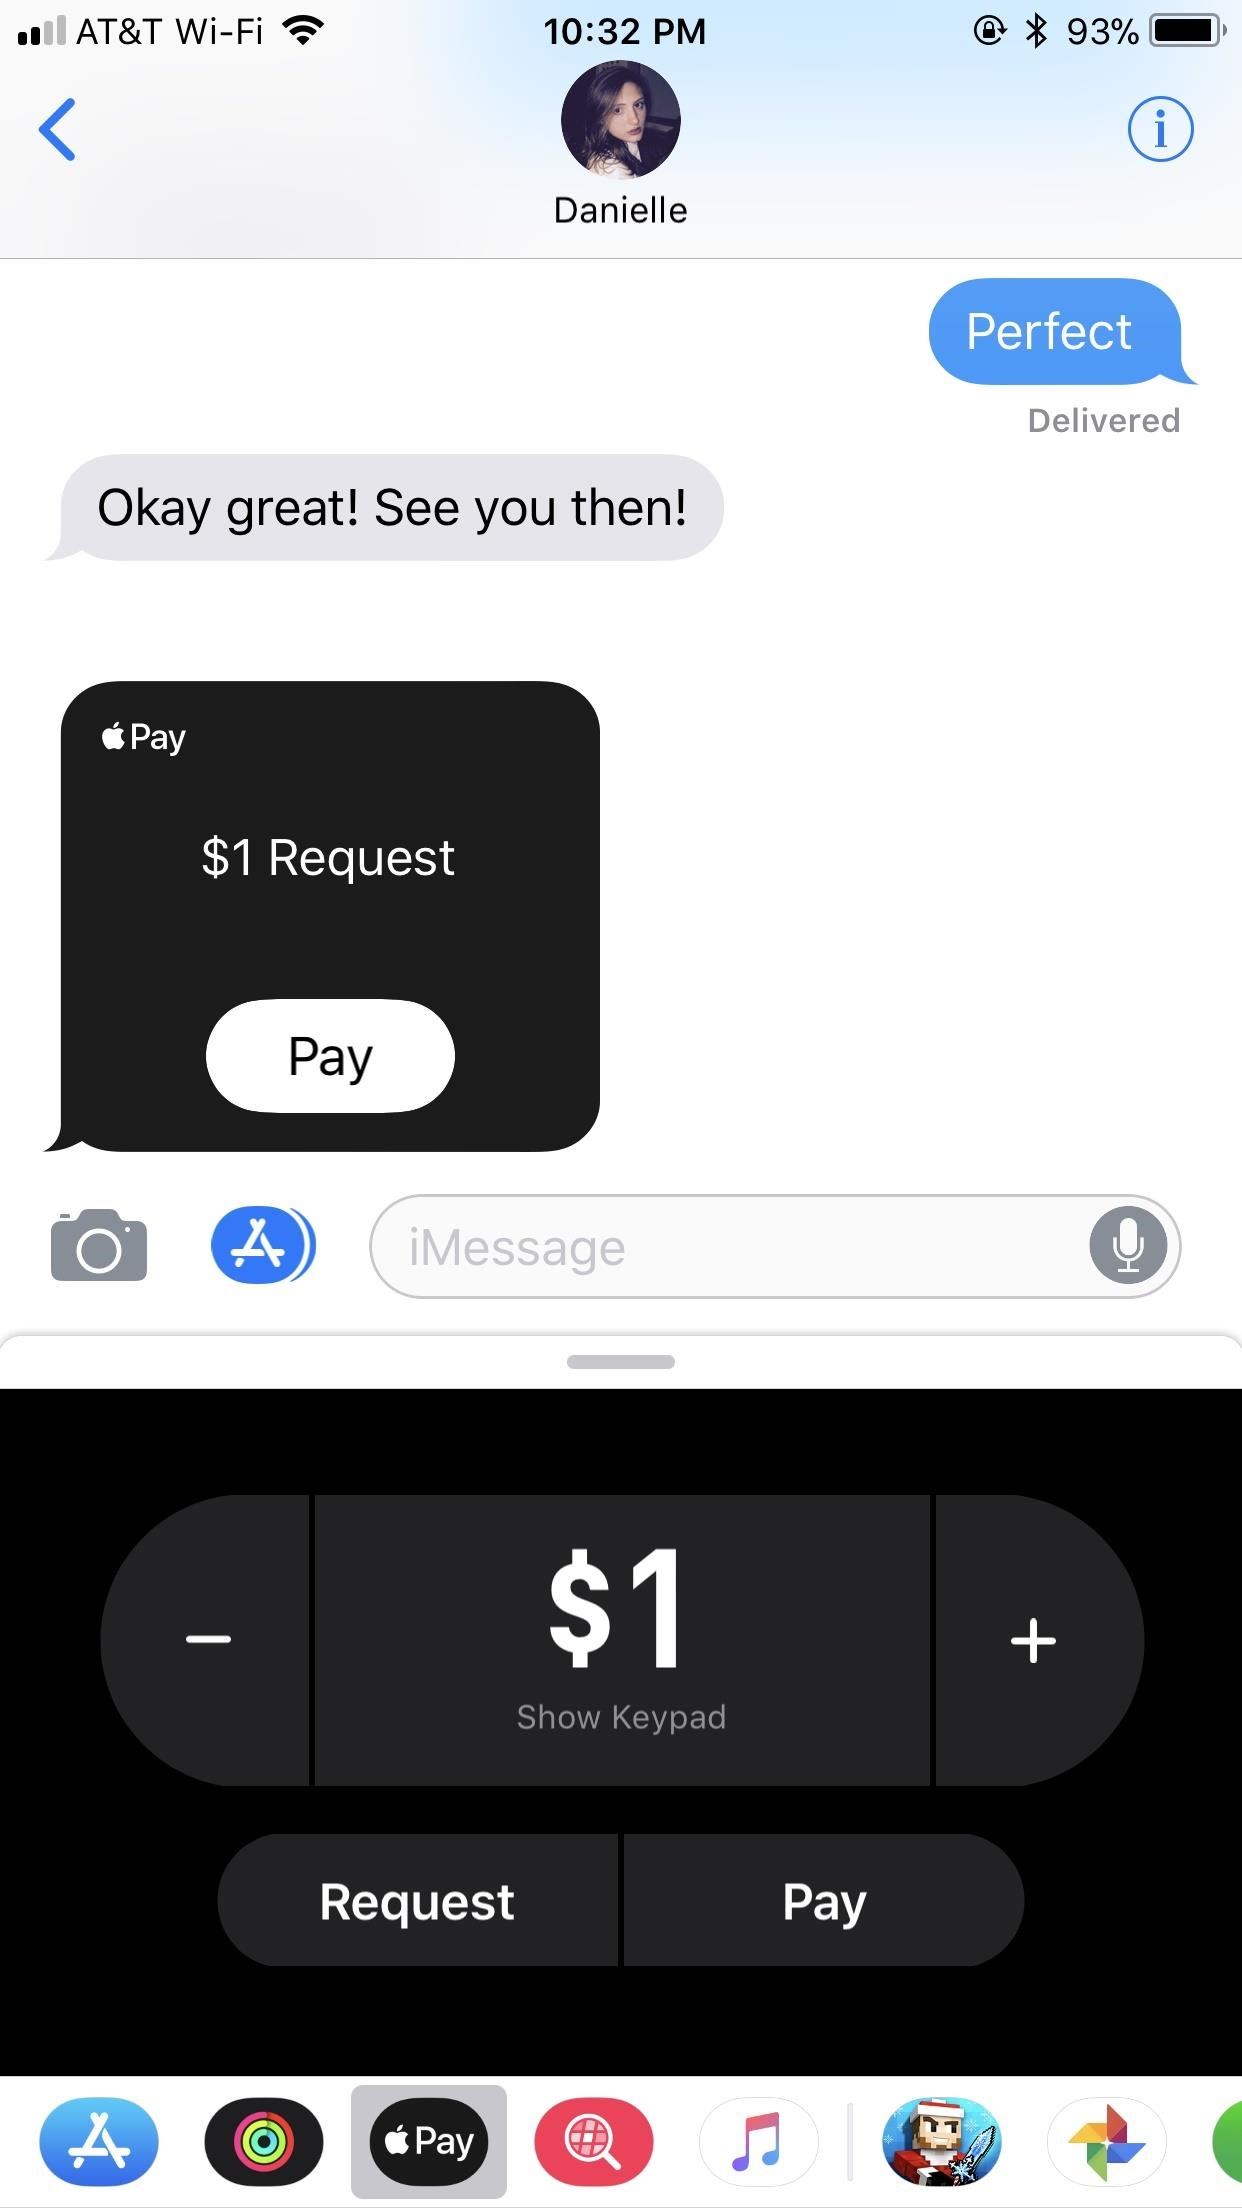
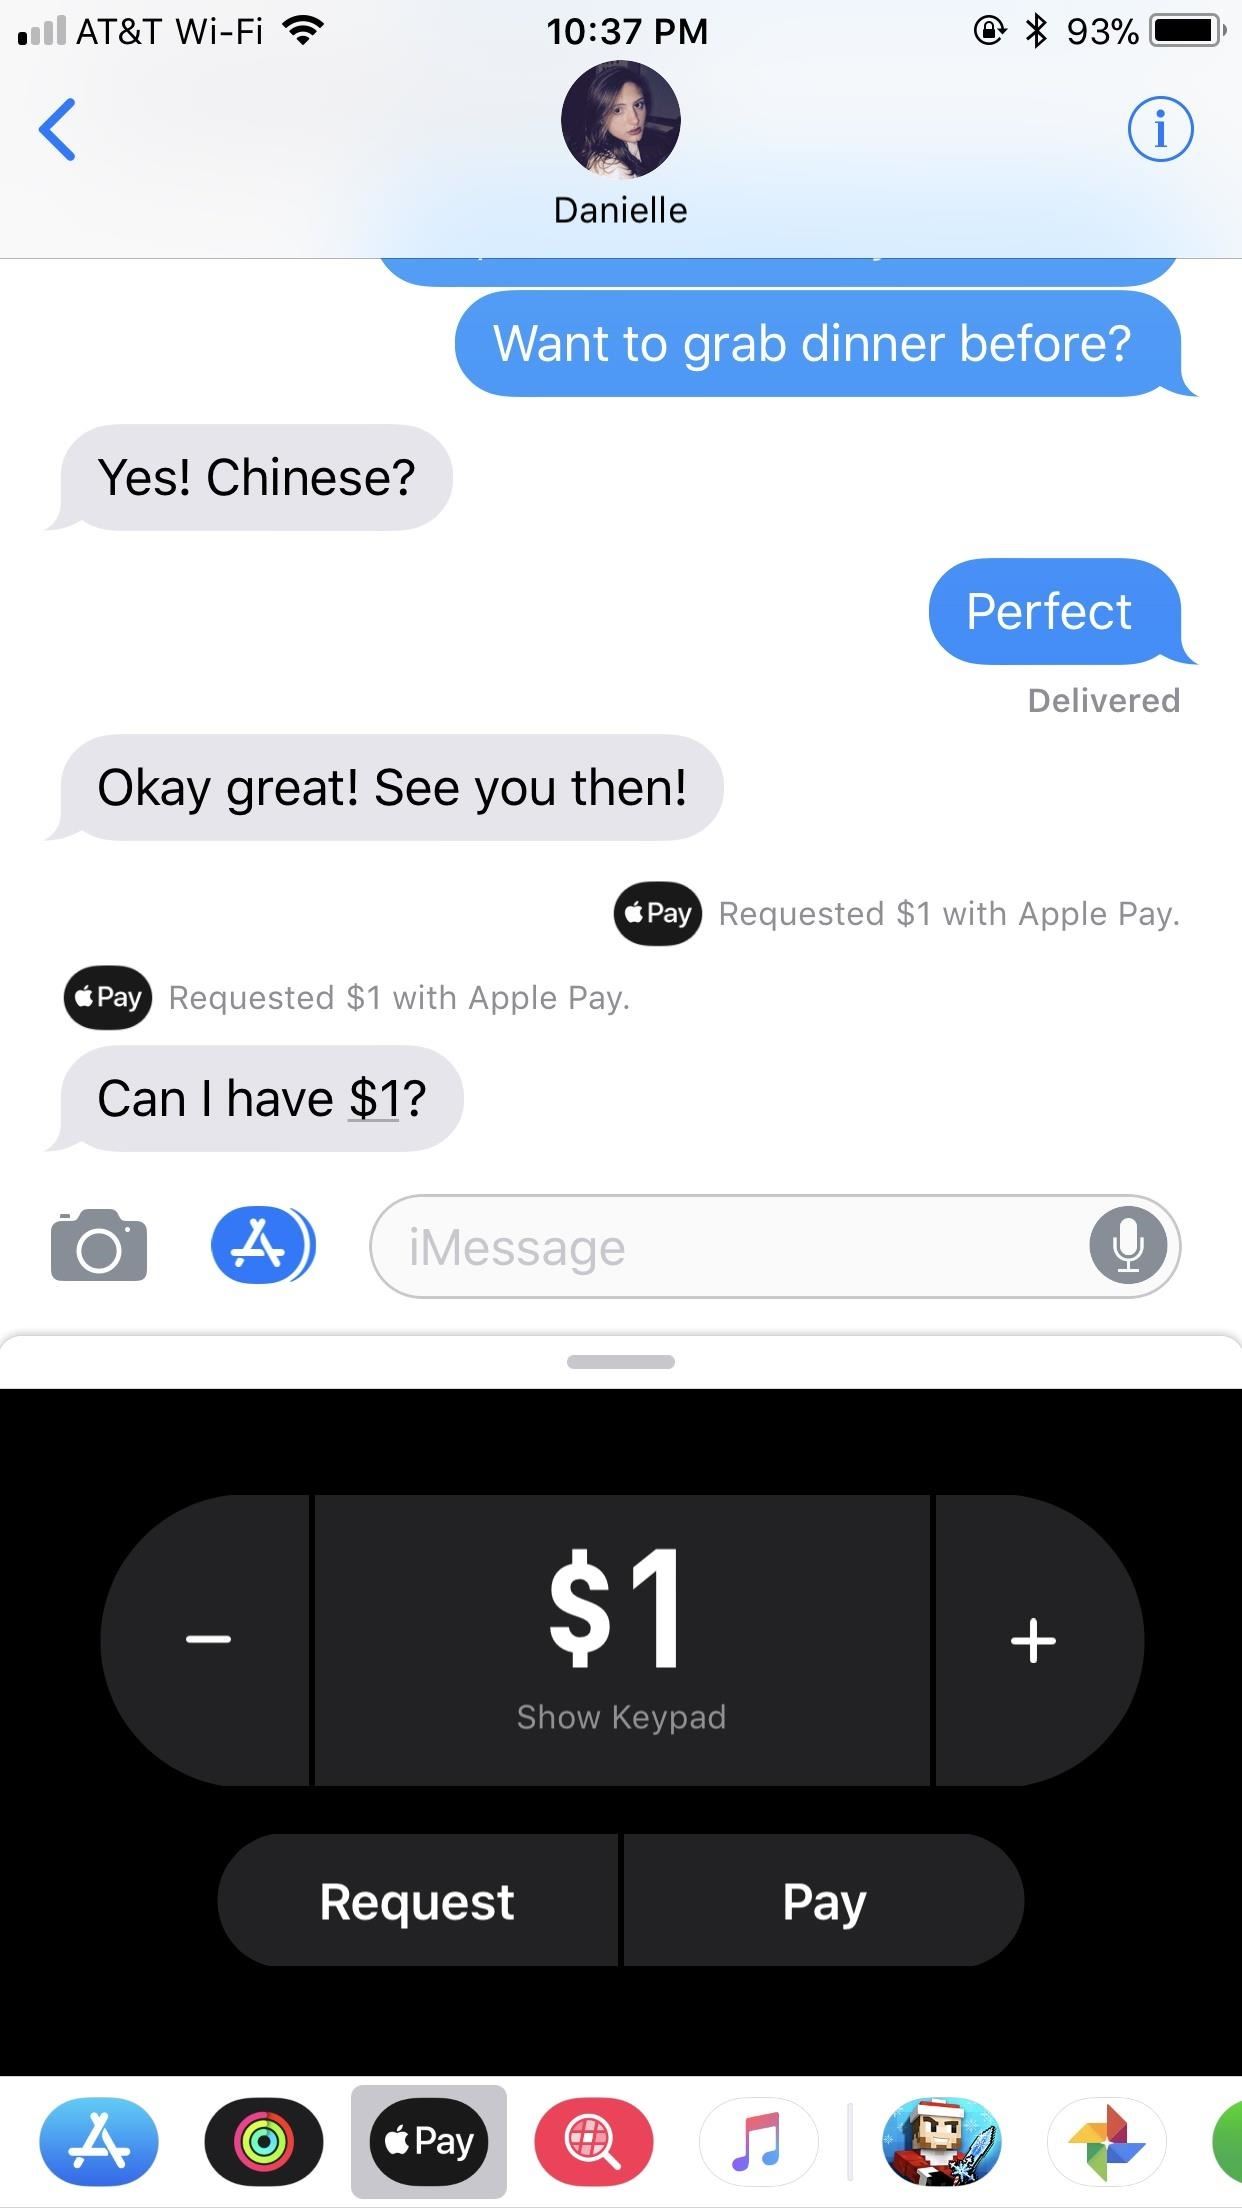
Once you decide on the amount to send, the process is the same as sending somebody a payment. Tap “Pay,” then once the payment appears in your text box, tap the black send arrow. Finally, use Touch ID or Face ID to approve the payment.
Canceling Payments That Are Pending
Life may not have a do-over button, but Apple Pay Cash does. You have the option of canceling a payment if, at that time, the recipient has not accepted it. However, by default, Apple Pay Cash is enabled to automatically accept any payments received. So, if your recipient has the default settings enabled, you will, unfortunately, be out of luck.
If they have their settings set to manually accept payments, you will be able to cancel the payment before they manually accept it. First, tap on the payment in your iMessage chat. That will bring up a detailed receipt for the payment, including information about the date, time, and parties involved.
Direct your focus to the bottom of the receipt. You will know the recipient has not accepted the payment if under Statusit reads “Pending.” To make sure the money stays with you, tap “Cancel Payment,” if available.

Just updated your iPhone? You’ll find new features for Podcasts, News, Books, and TV, as well as important security improvements and fresh wallpapers. Find out what’s new and changed on your iPhone with the iOS 17.5 update.
“Hey there, just a heads-up: We’re part of the Amazon affiliate program, so when you buy through links on our site, we may earn a small commission. But don’t worry, it doesn’t cost you anything extra and helps us keep the lights on. Thanks for your support!”


