If you’re just starting out with Android—or smartphones in general, for that matter—there are a lot of little things to learn. One of the first terms you’ll likely encounter is “Wi-Fi,” which is a wireless internet connection served up by a router in your home, office, or local coffee shop. This differs from your smartphone’s regular “Mobile Data” connection, which is provided by your cellular carrier and included as part of your monthly bill.
On the subject of monthly bills, your mobile data plan is likely limited to a certain amount of data that can be downloaded before you incur additional charges. Your home or office internet, on the other hand, is almost always unlimited—so using Wi-Fi to connect your Android device to one of these networks can potentially save you a lot of money.
Connecting to a Wi-Fi Network
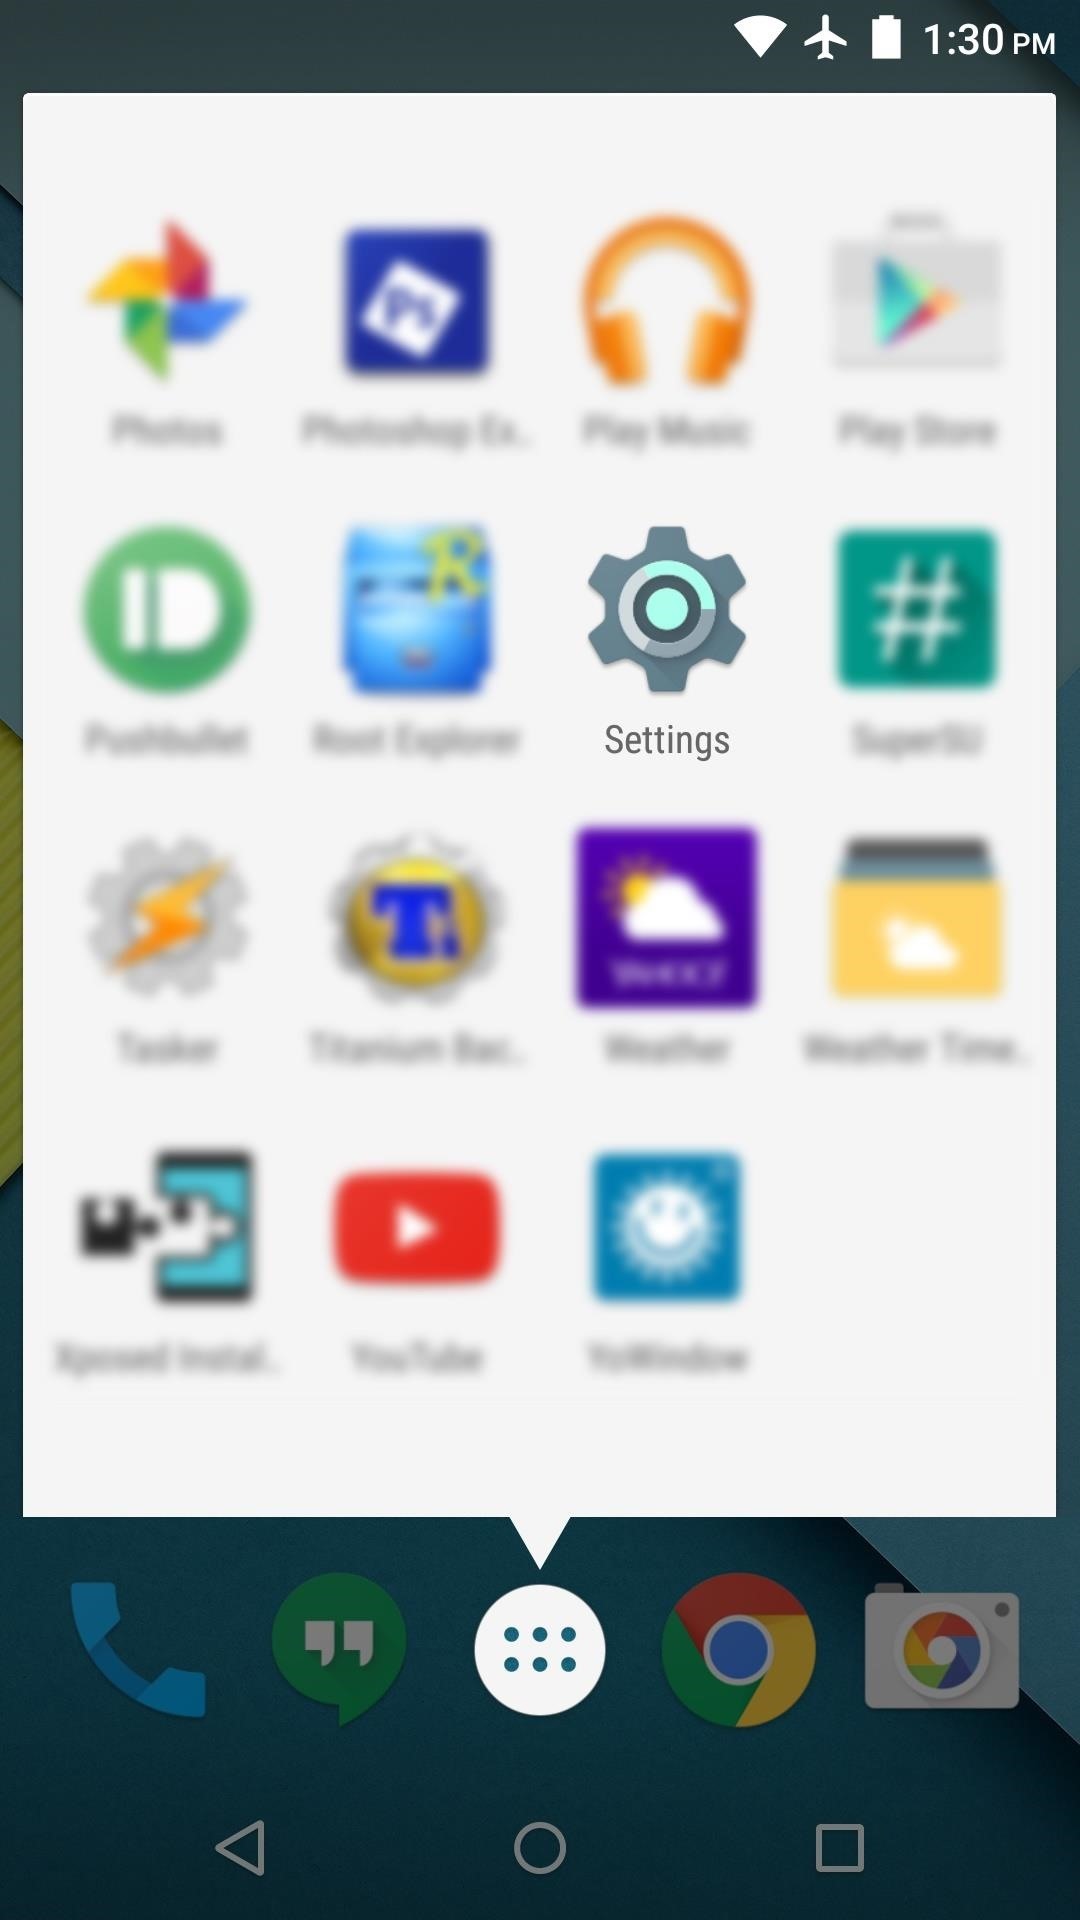
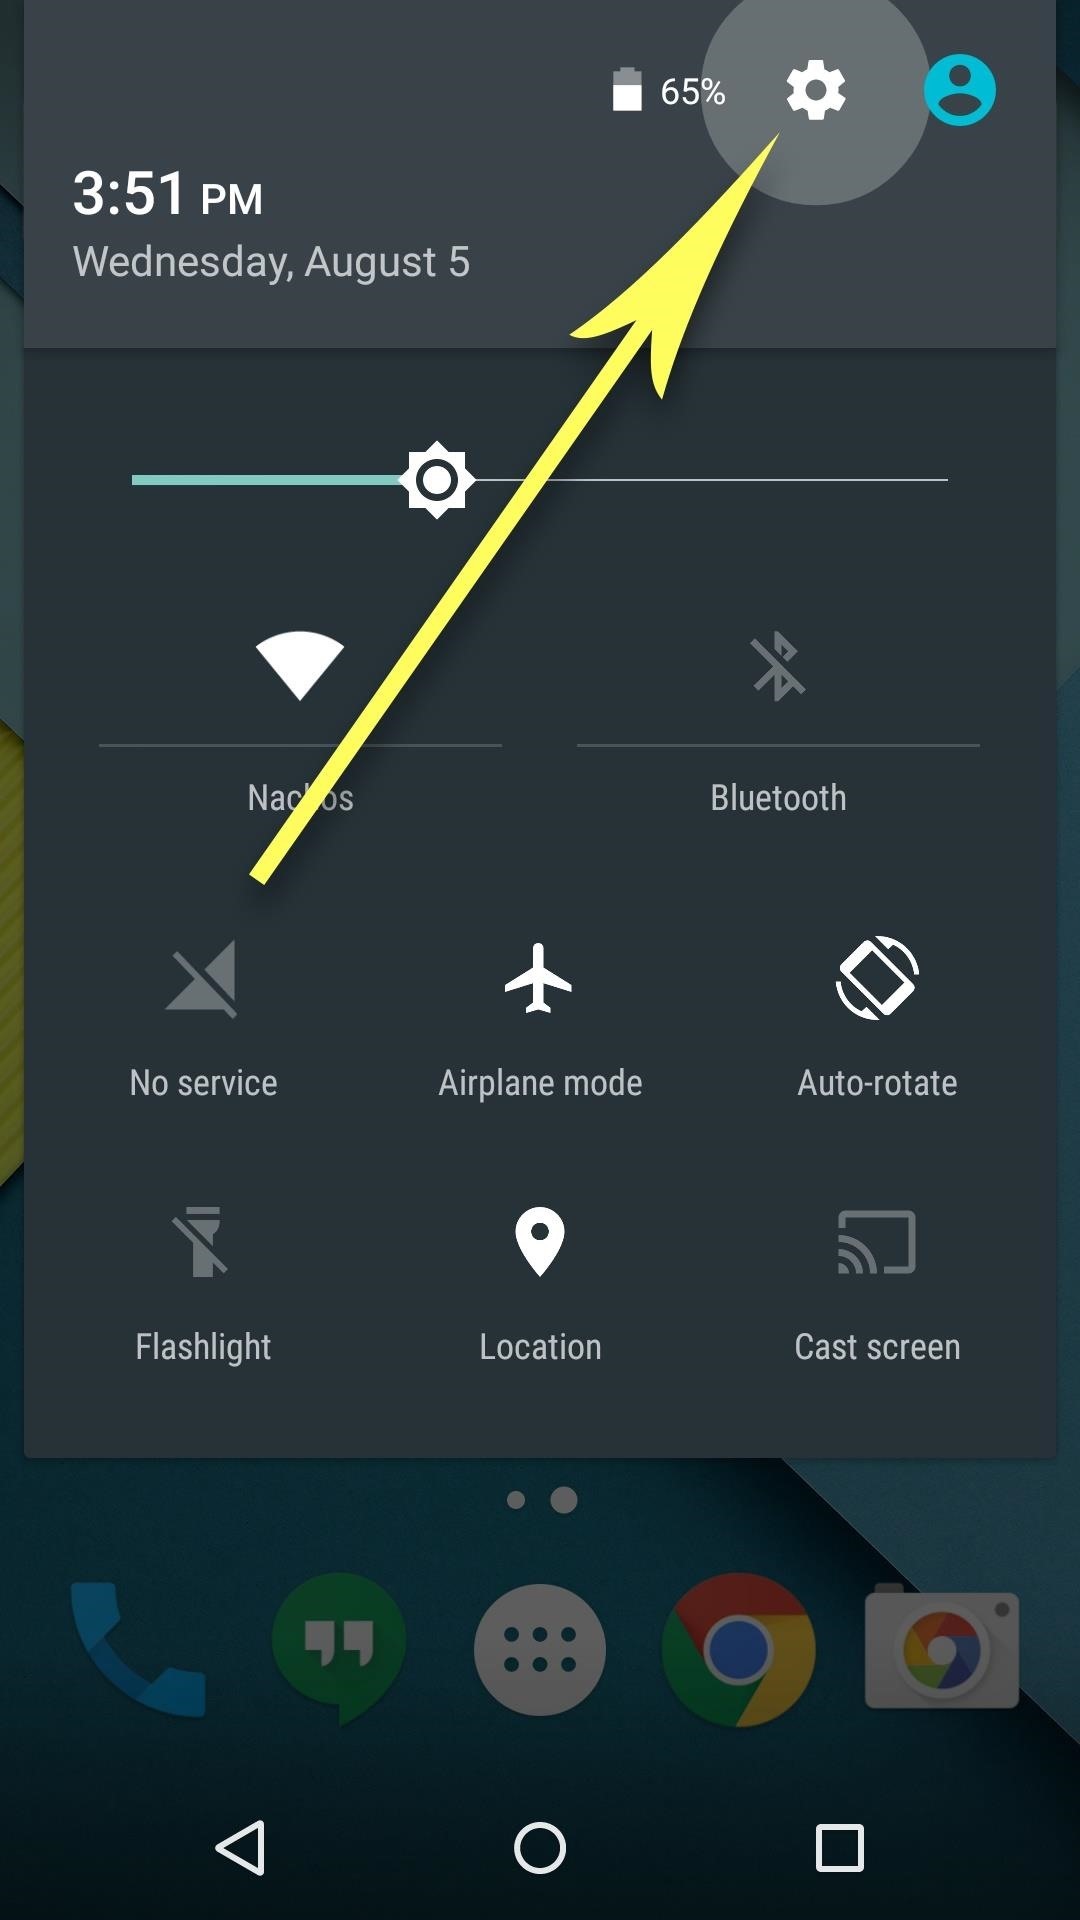
In order to connect your Android device to a Wi-Fi network, you’ll have to start by accessing the main settings menu on your phone or tablet. This can be done in one of two ways—either open your app drawer and tap the “Settings” entry, or swipe down from the top of your screen to access the notification tray, where you’ll find a gear-shaped icon that will take you to the settings menu.
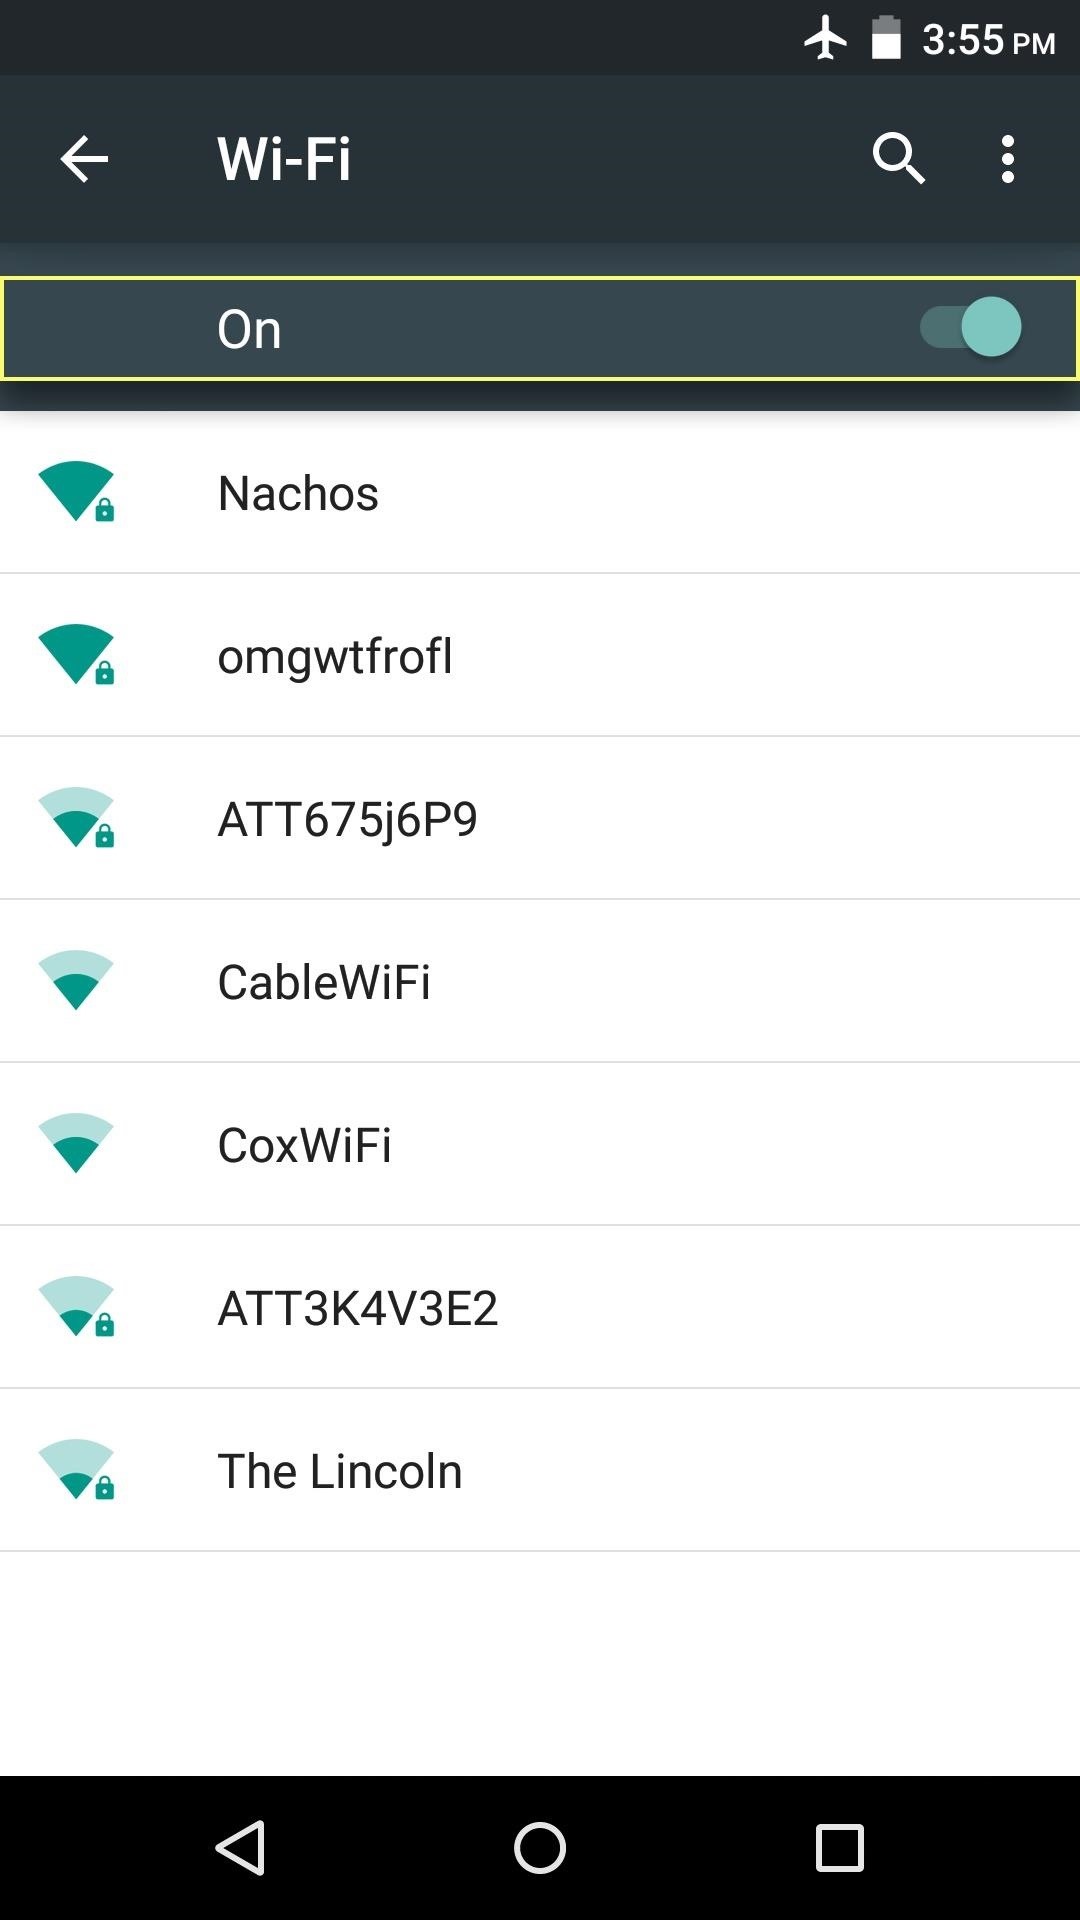
From the main settings menu, “Wi-Fi” should be one of the first entries you see, so go ahead and tap it. On the subsequent menu, make sure that Wi-Fi itself is turned on by using the toggle switch at the top of the screen.

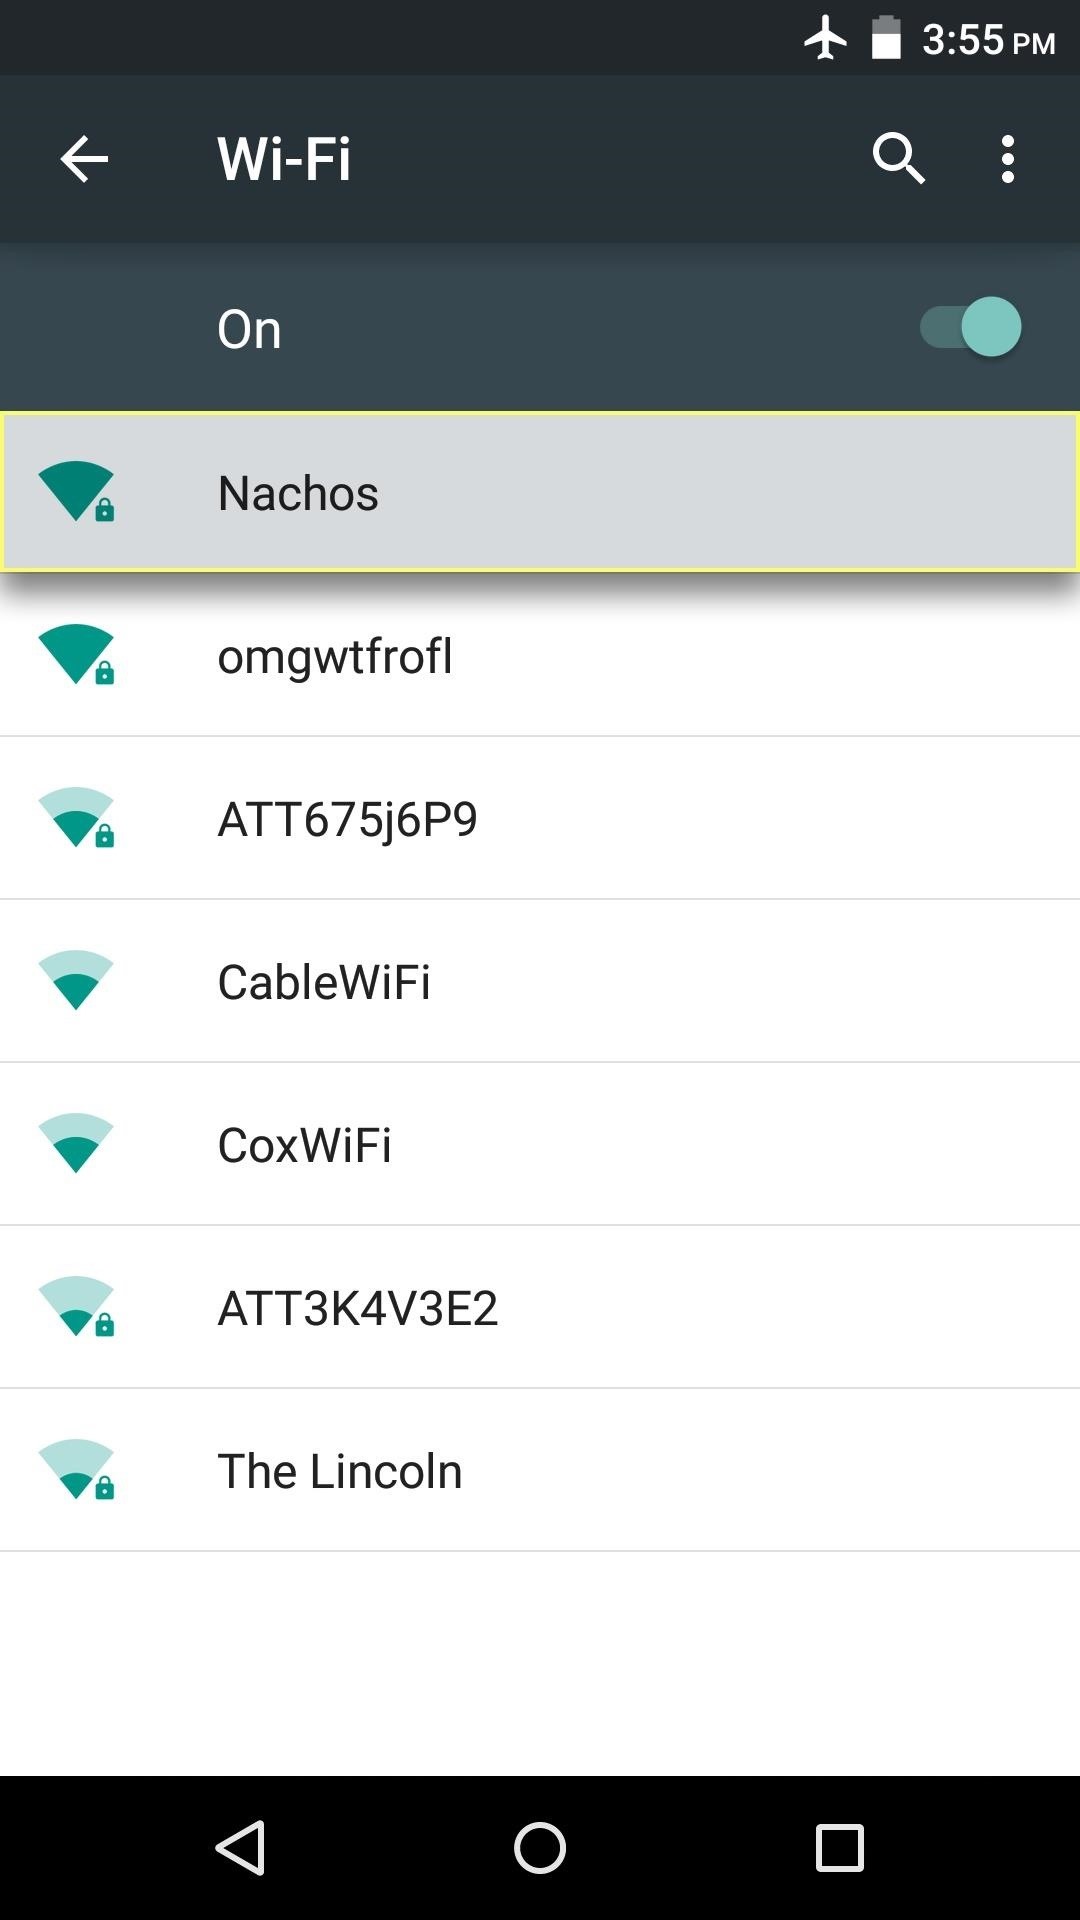
Next, simply find your Wi-Fi network in the list of nearby networks, then tap it. From here, enter the password for your Wi-Fi network into the provided field, then press “Connect.”

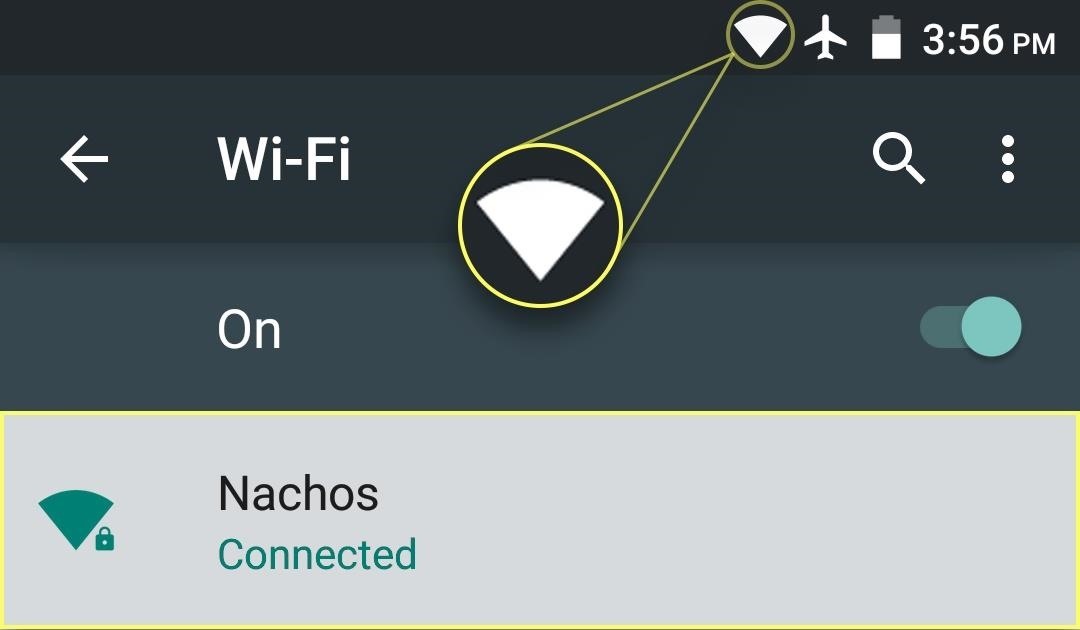
After a few seconds, your phone or tablet should be connected to the Wi-Fi network. Your selected network should say “Connected,” and there should now be a Wi-Fi icon at the top of your screen in the status bar. While this icon is present, all of your device’s internet traffic will be routed through Wi-Fi, meaning you are not using any of the monthly mobile data allowance provided by your cellular carrier.
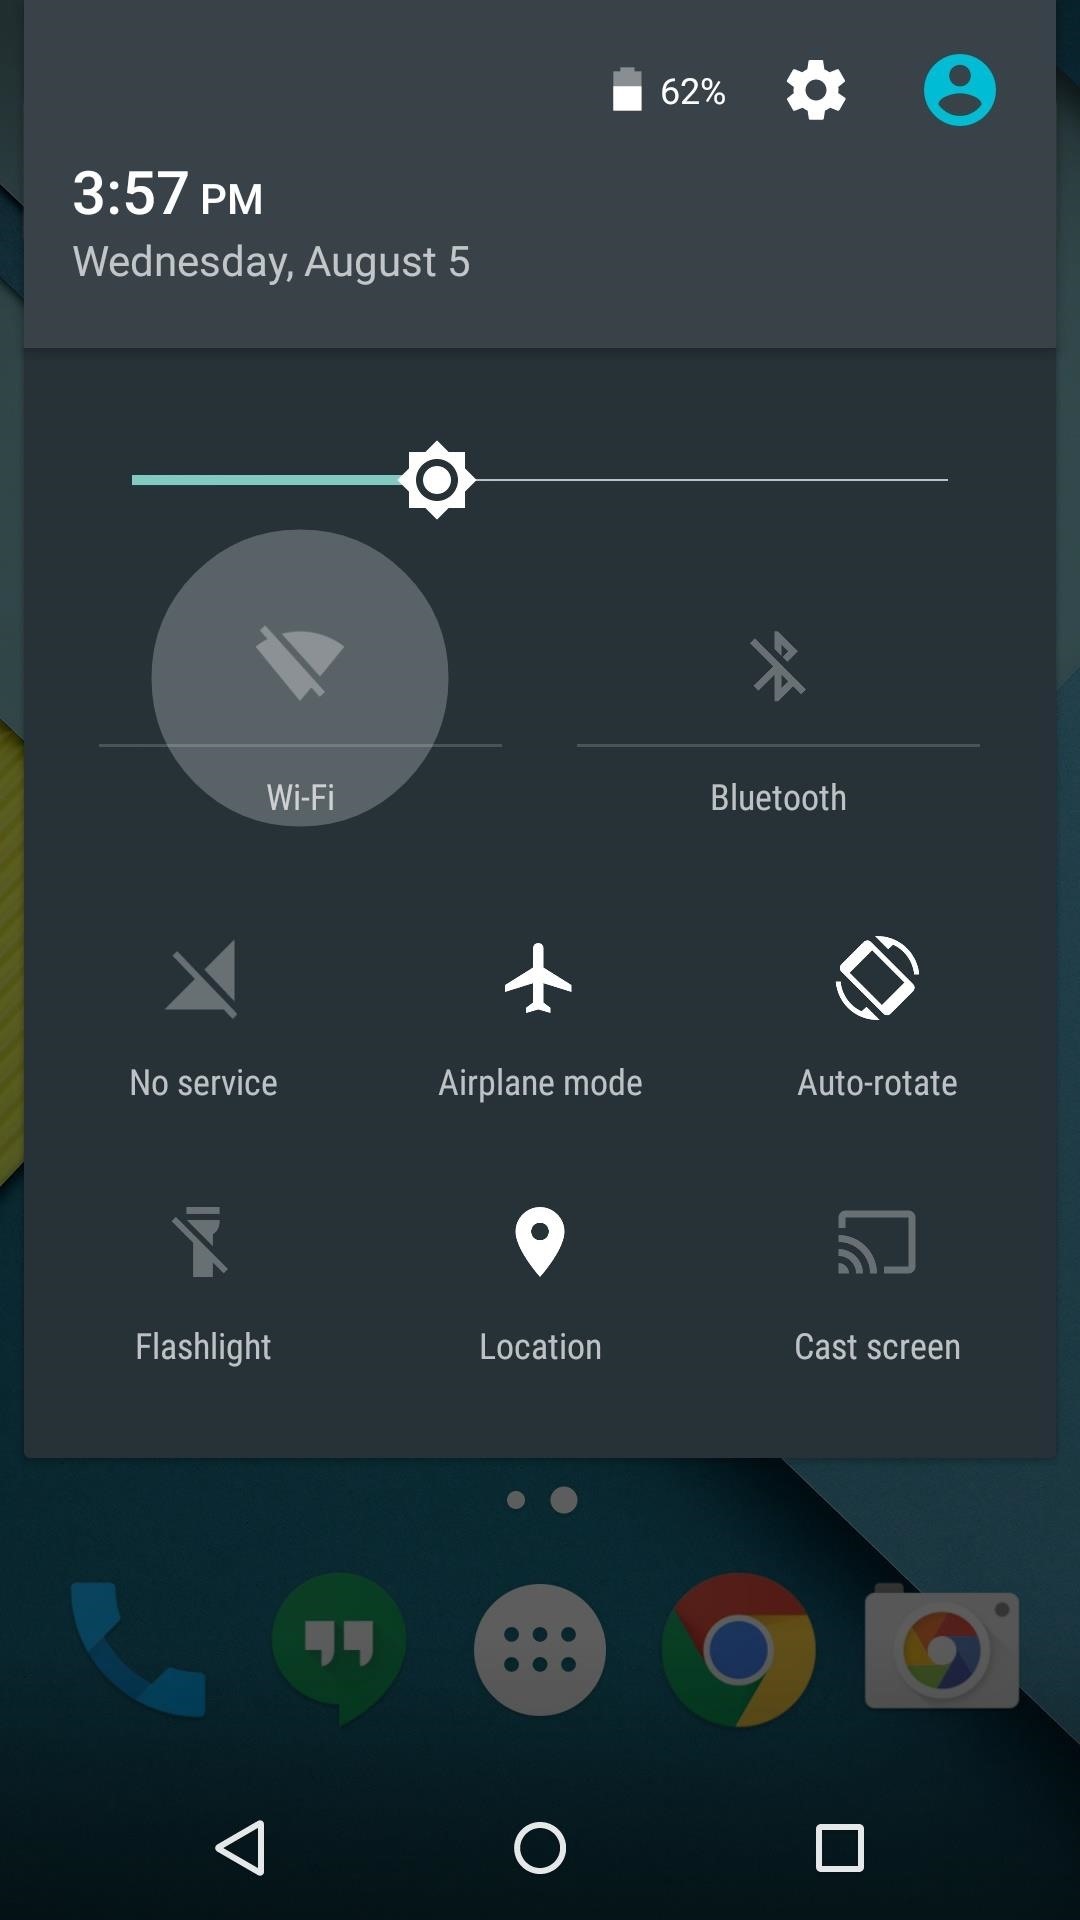
From now on, your phone or tablet will automatically connect to this Wi-Fi network whenever you’re in range, so no further interaction is required. If, for any reason, you would like to disconnect from this Wi-Fi network temporarily, simply swipe down from the top of your screen to fully expand the notification tray, then tap the Wi-Fi icon to toggle Wi-Fi on or off.

Now that you’ve mastered Wi-Fi, what other Android Basics tutorials would you like to see? Let us know in the comment section below, or drop us a line on Android Hacks’ Facebook or Twitter, or Gadget Hacks’ Facebook, Google+, or Twitter.
Hot Deal: Set up a secure second phone number and keep your real contact details hidden with a yearly subscription to Hushed Private Phone Line for Android/iOS, 83%–91% off. It’s a perfect second-line solution for making calls and sending texts related to work, dating, Craigslist sales, and other scenarios where you wouldn’t want to give out your primary phone number.
“Hey there, just a heads-up: We’re part of the Amazon affiliate program, so when you buy through links on our site, we may earn a small commission. But don’t worry, it doesn’t cost you anything extra and helps us keep the lights on. Thanks for your support!”


