It took a while, but the premiere custom recovery for Android is now available for Google’s Pixel 4 and Pixel 4 XL, so it’s finally open season on root mods.
TWRP custom recovery allows you to install Magisk and get root access in a few taps, and it can even save you from the occasional bootloop with NANDroid backups. Ever since Android 10 launched in 2019, TWRP support has been pretty scarce for most devices, even for the Pixel 4 — until now.
Senior XDA developer bigbiff is heading up the TWRP development for the Pixel 4, so big thanks to them for moving things along. It’s taken around seven months to get some TWRP action for the Pixel 4 and 4 XL, but the future of TWRP on Android 10 is looking bright. Hopefully, more developers will get on board and bring that same level of dedication with the arrival on Android 11 later in 2020.
Requirements
- Pixel 4 or 4 XL with unlockable bootloader
- Android 10 installed (not compatible with Android 11)
- On Your Phone? Open These Instructions in Split-Screen View
Step 1: Unlock Your Bootloader
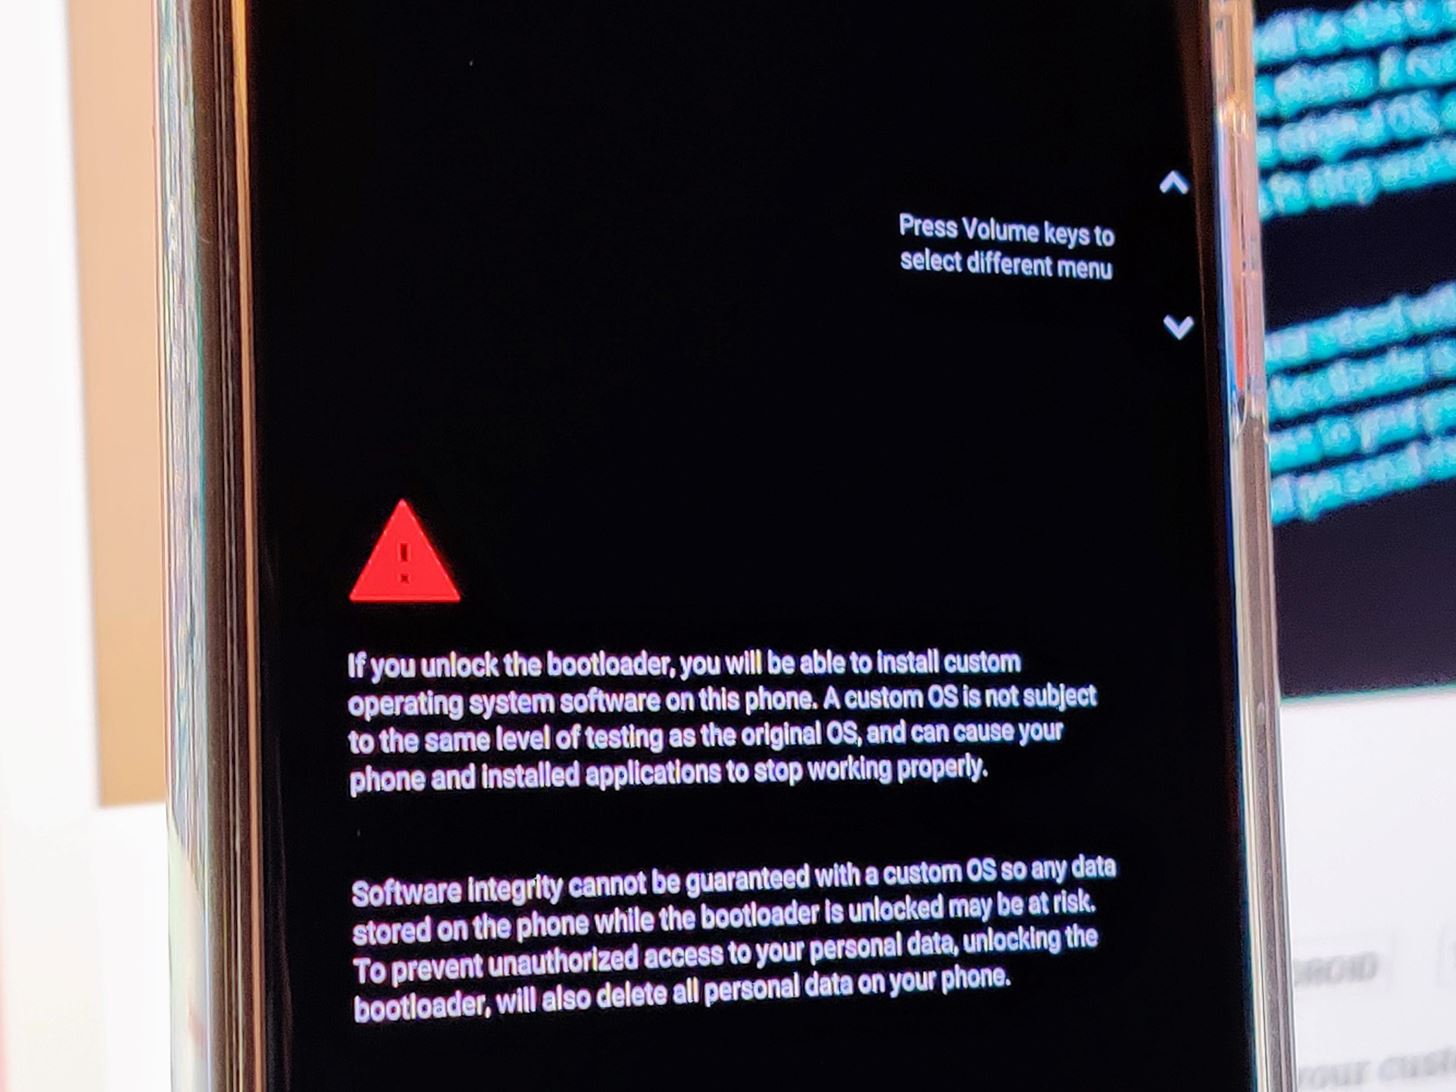
Unlocking your phone’s bootloader allows you to flash unofficial firmware images such as TWRP. Doing this will factory reset your device, so be aware of that. However, it’s a somewhat involved process, so we’ve written a separate guide you can follow to get squared away:
Step 2: Download TWRP
On your computer now, you’ll need to download the test version of TWRP for the Pixel 4 or 4 XL using the links below.
- Download TWRP 3.4.0-0: Pixel 4 | Pixel 4 XL
Step 3: Download the Platform-Tools Package
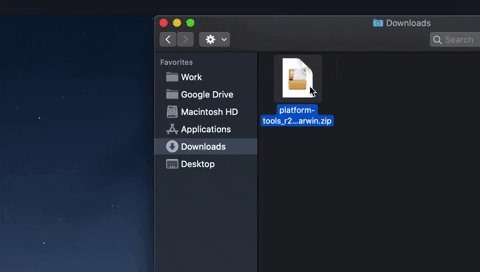
Before you can boot into TWRP on your Pixel 4 or 4 XL, you’ll need to grab the latest version of the Platform-Tools Package directly from Google. This standalone package allows you to send Fastboot commands from your phone to your computer. Click the link below that corresponds with your current operating system, then extract the platform-tools folder to your desktop for easy access.
Step 4: Boot into Fastboot Mode
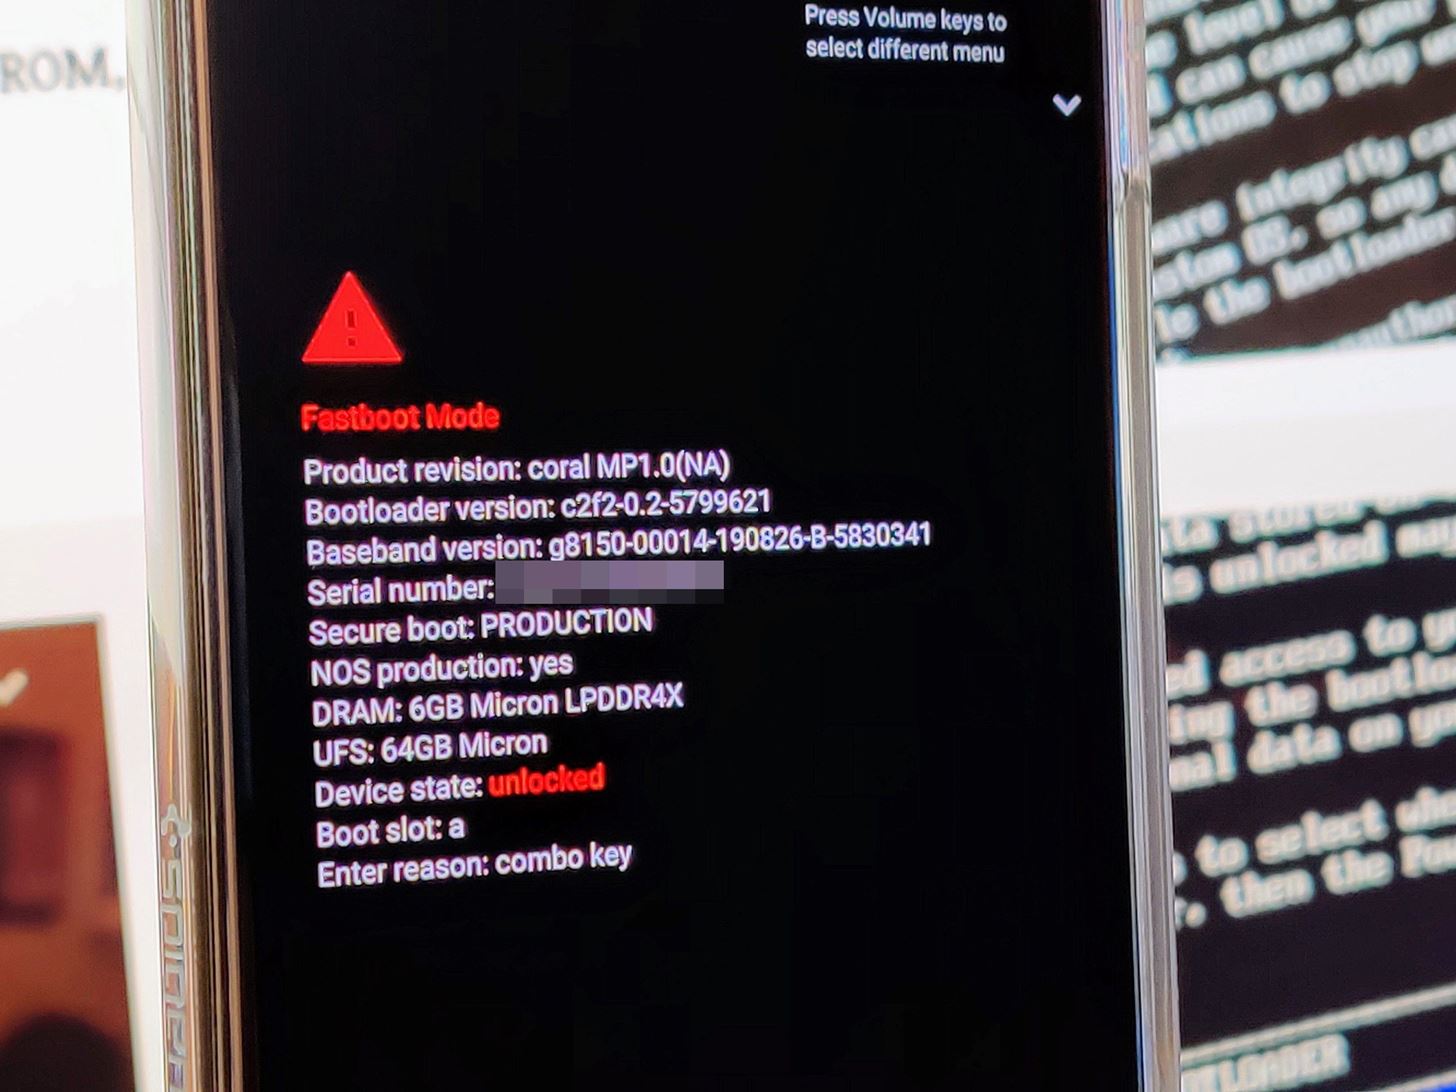
Now you’ll need to boot your Pixel 4 into its native bootloader menu. There are a variety of ways to do this, but the most universal method is to completely shut down your device, then press and hold both the volume down and power buttons at the same time. Once you see a screen similar to the image below, you’re all set.
Step 5: Connect Your Phone to Your Computer
While still on the Fastboot screen, go ahead and connect your phone to your computer with a high-quality USB data cable.
Step 6: Open a Command Window in Platform-Tools
Now, on your computer, you need to open a command window in the platform-tools folder so you can send the TWRP file over to your phone via Fastboot.
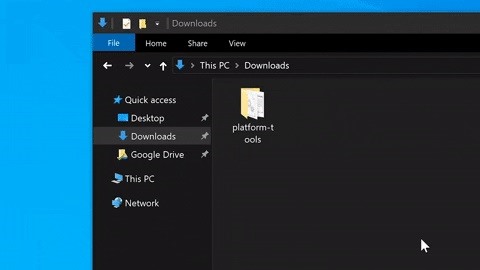
If you’re using Windows, you can simply open the platform-tools folder in Windows Explorer, type “cmd” without the quotes in the address bar at the top, then press enter to launch a command window in the correct location.
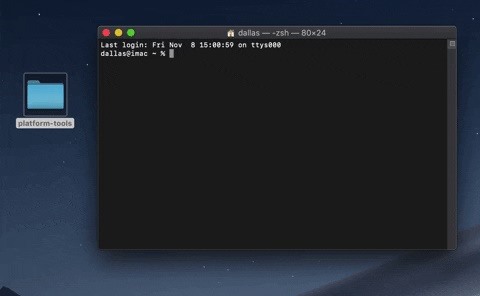
Mac or Linux users just need to open the Terminal app, then input the following command within that new command window, but don’t hit enter just yet.
cdPress the space bar once after you type the above command, then you can drag and drop the platform-tools folder onto the command window itself. Now press enter. Doing so will automatically populate the command window with the correct location of your platform-tools folder. Windows users can use this simple trick as well!
Step 7: Temporarily Boot into TWRP
At this point, you need to enter the following into your platform-tools command window on your computer to verify your Fastboot connection.
fastboot devicesThe serial number from your phone should now be displayed, which means your connection has been successful. This is optional, but it doesn’t hurt to check the first time around if you’re curious.
Now, if you’re on Windows, type in the following command, but don’t hit enter yet:
fastboot bootIf you’re using Mac, Linux, or Windows PowerShell, use this instead (and again, don’t press enter):
./fastboot bootEither way, add a single space to the end of the command, but still don’t press enter.
Next, drag and drop the TWRP image file onto the command window to auto-populate it with the full file location. At this point, go ahead and press enter.
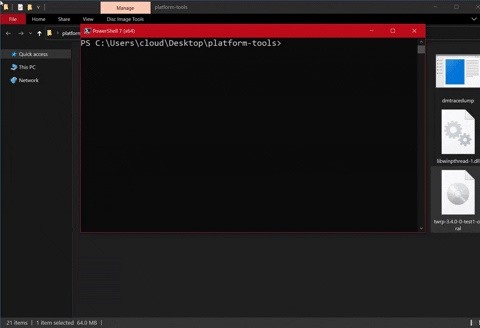
This will send the “boot.img” file over to your Pixel 4 within a matter of seconds. Your phone will automatically respond by booting into TWRP, then you can enter your PIN or password. Now you should be sitting at the main menu, which means you’ve made it.

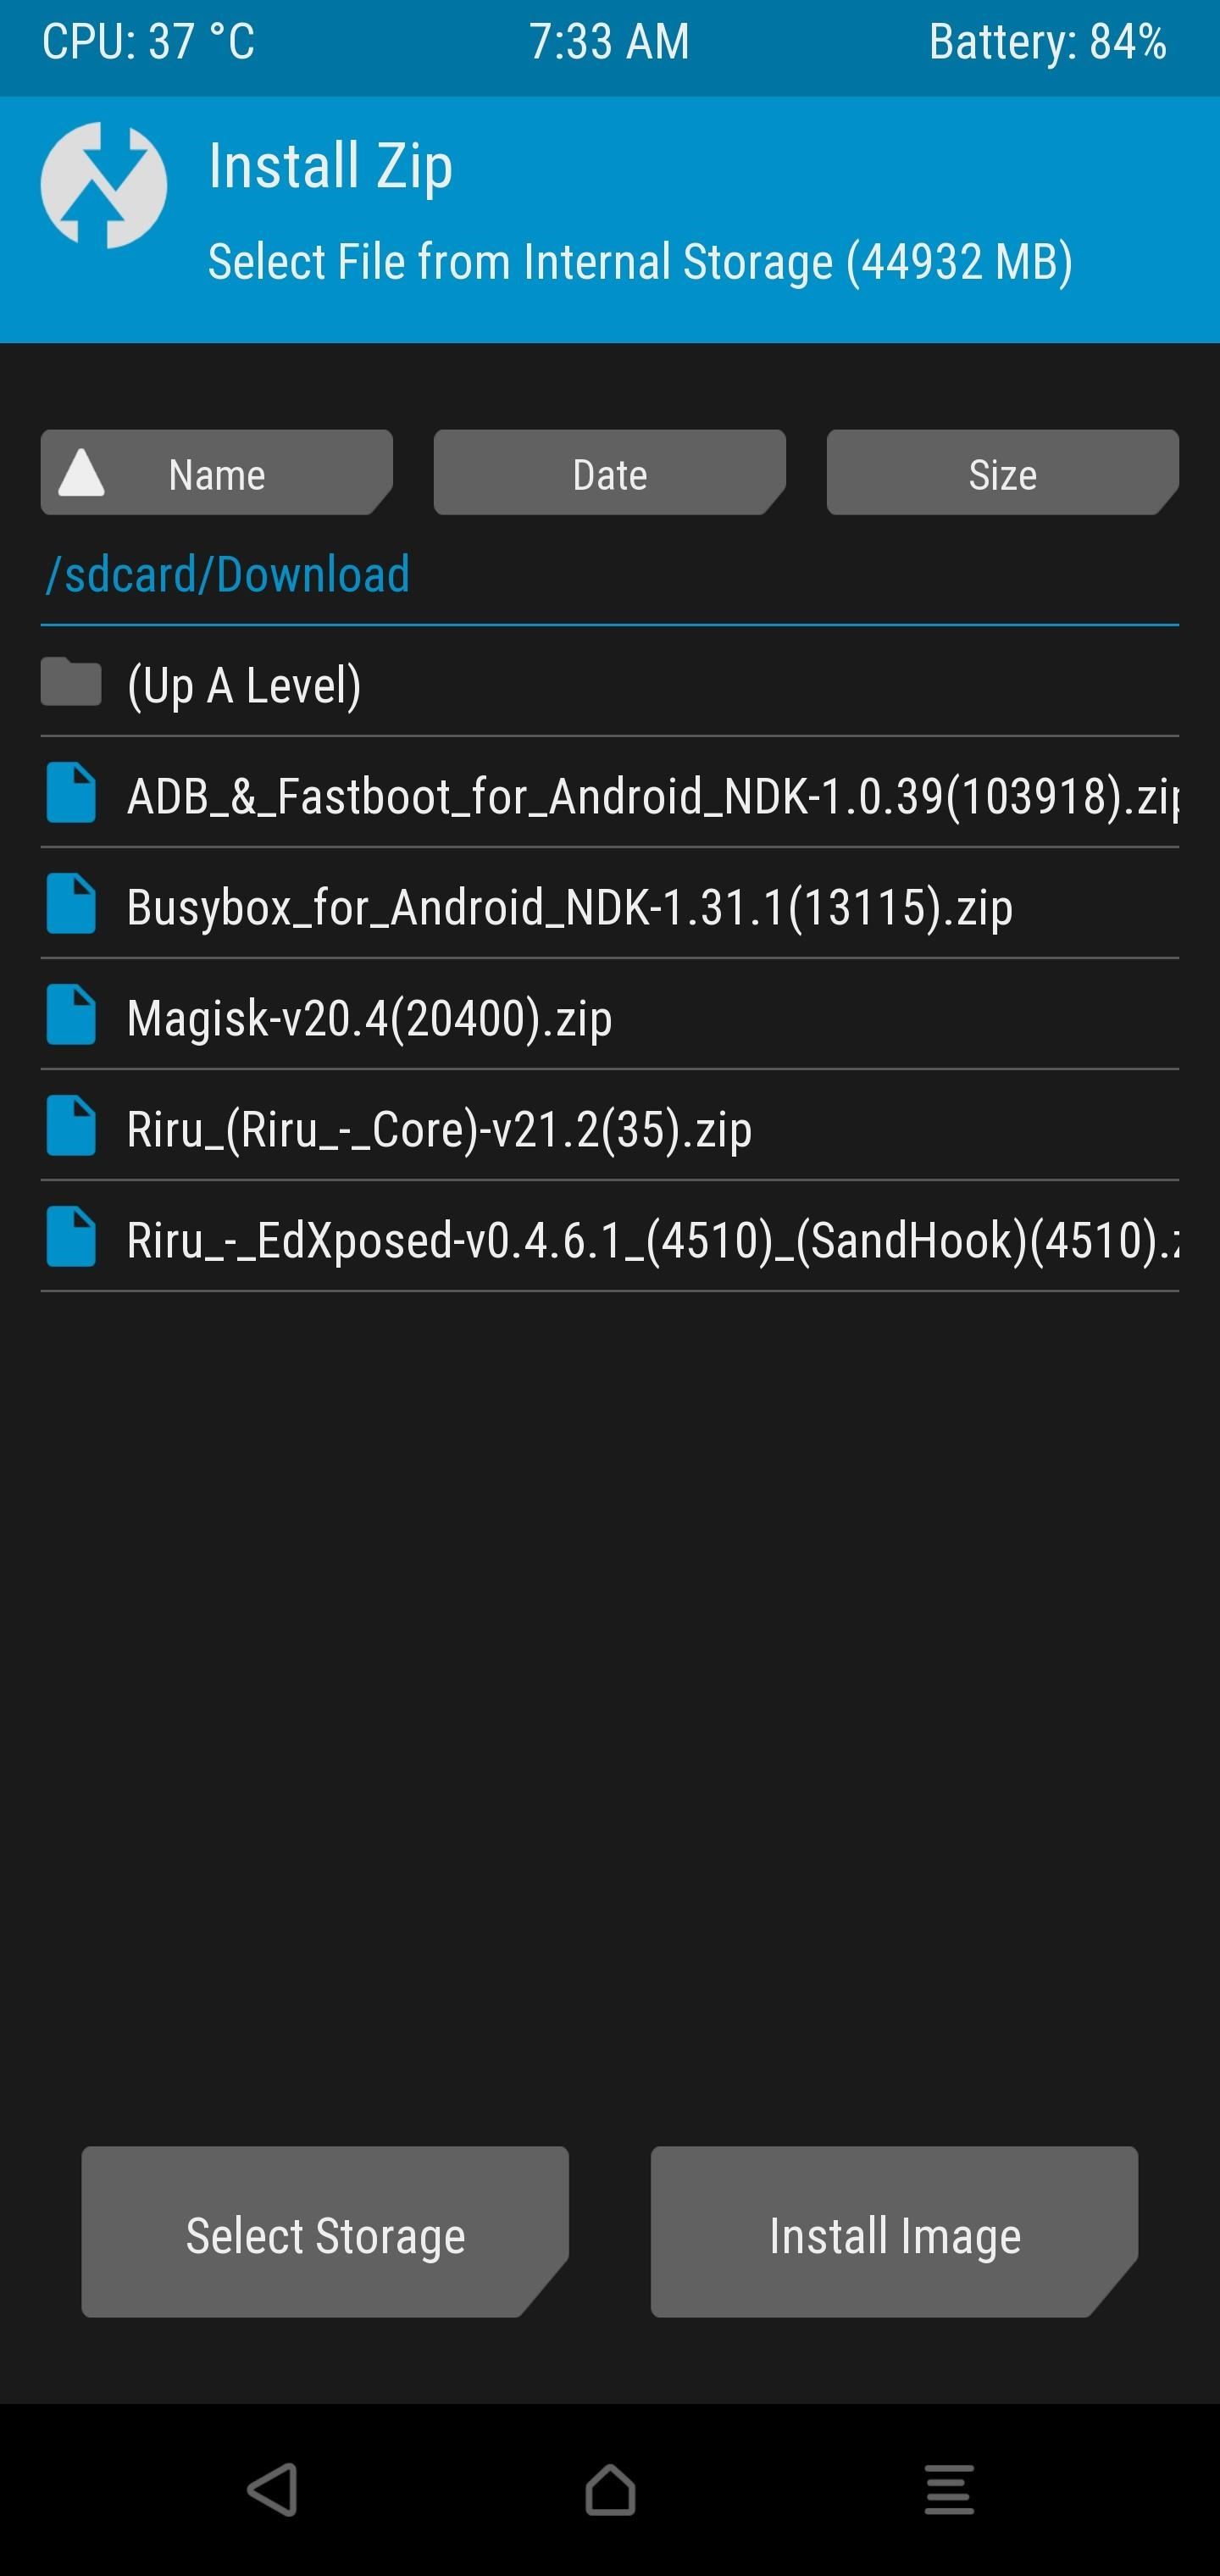
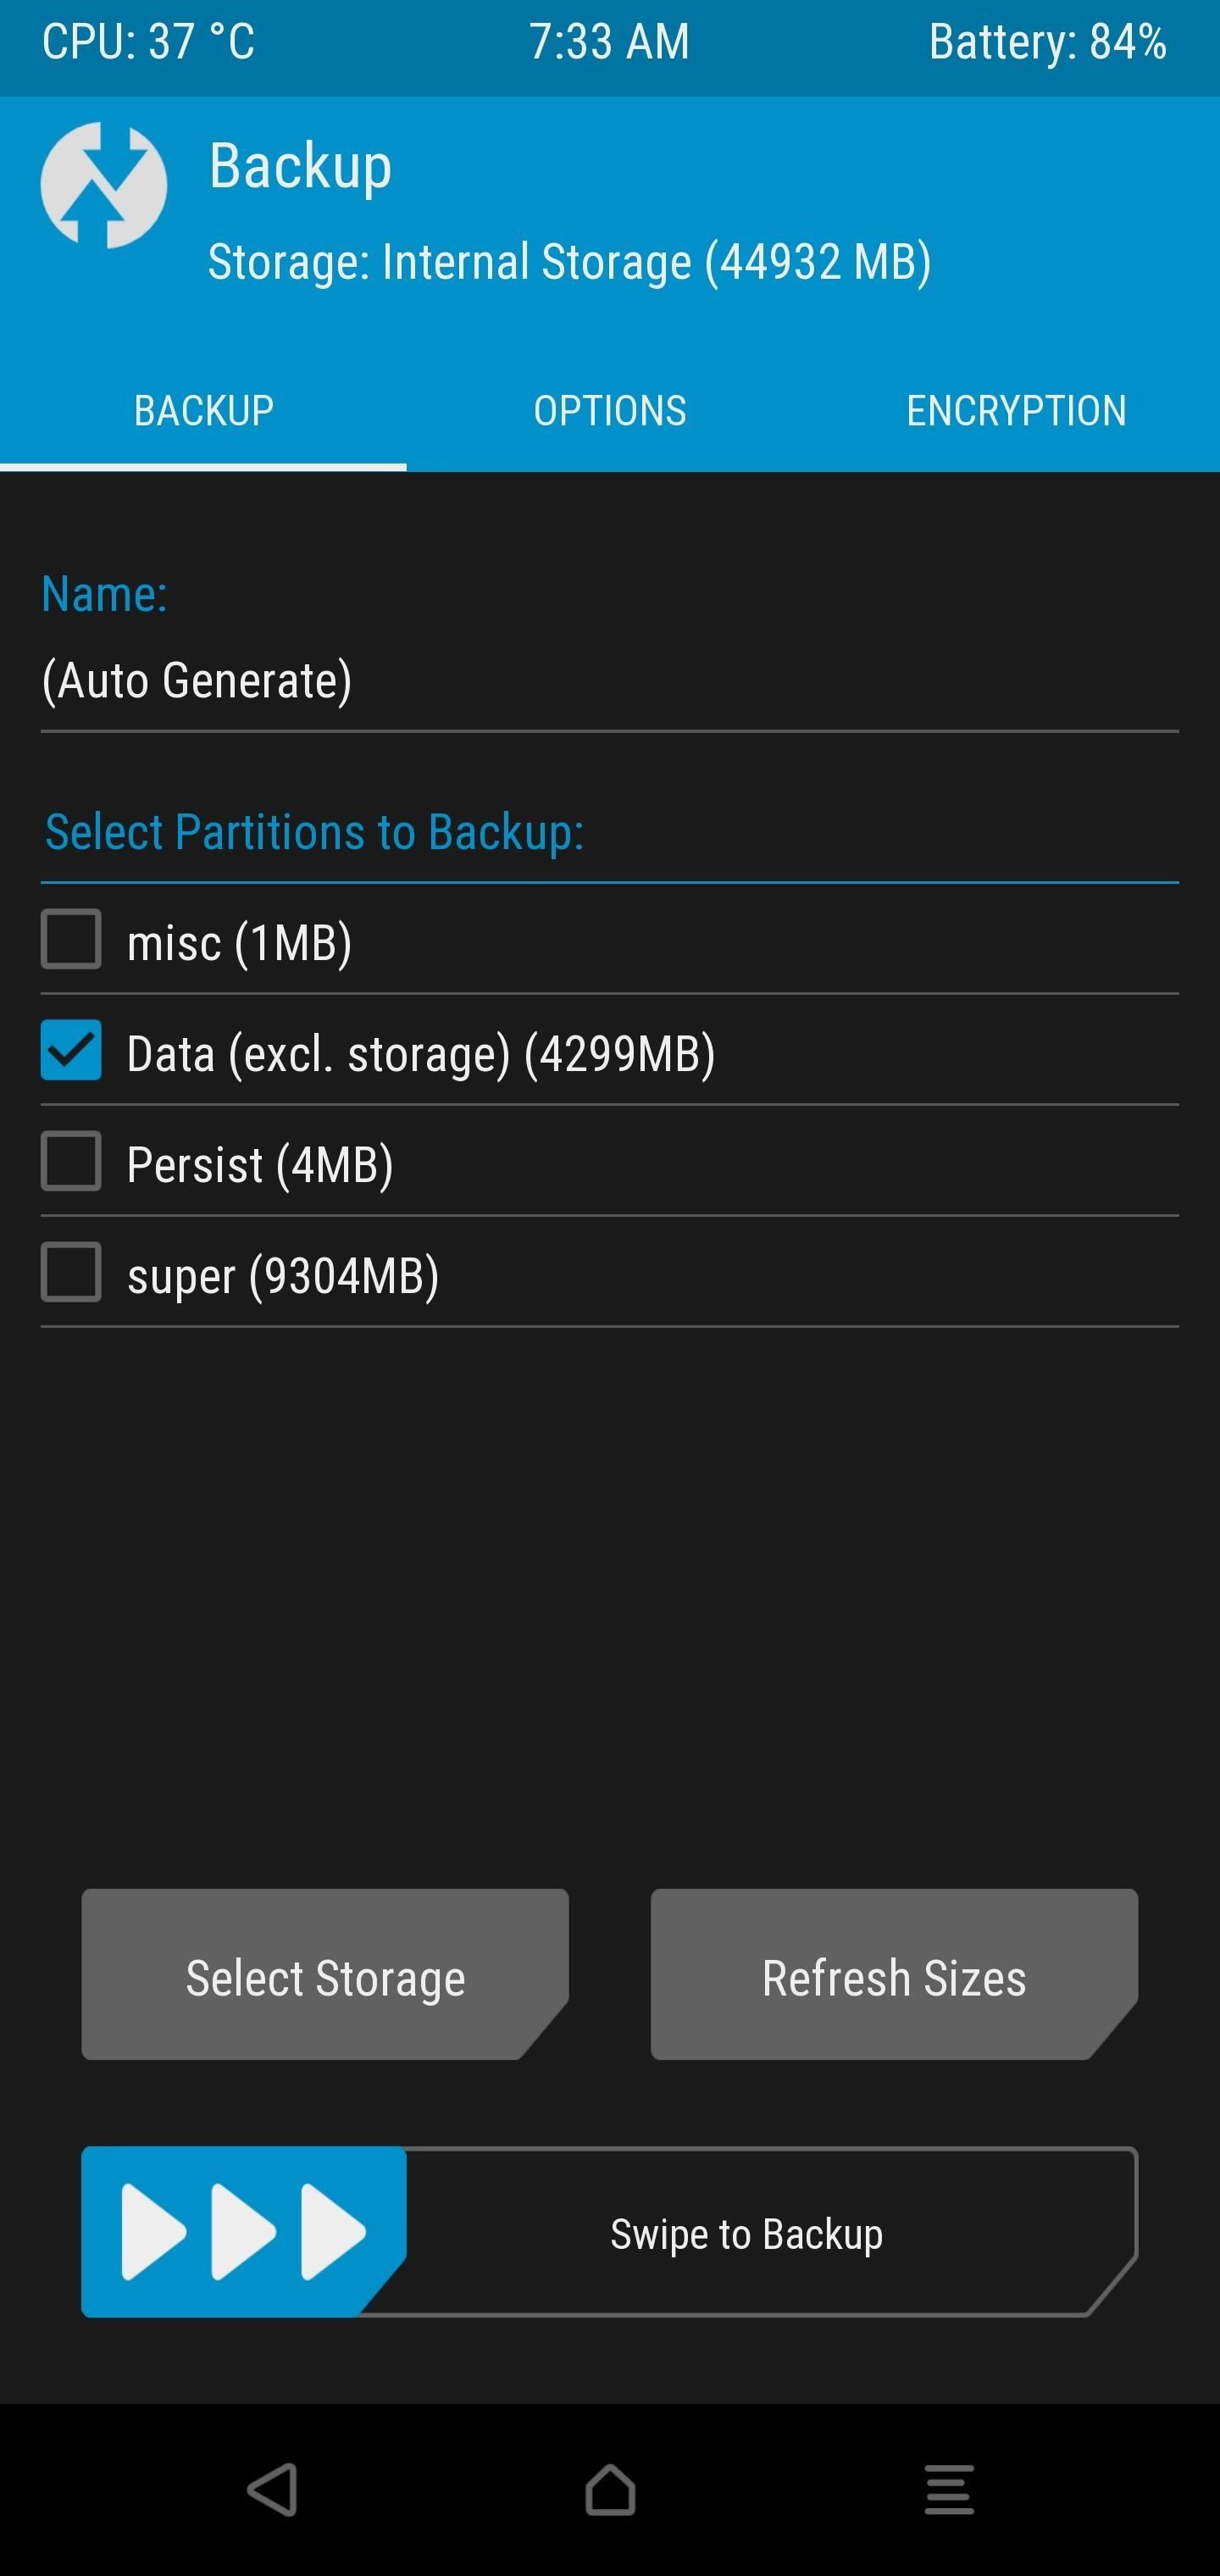
After you boot into TWRP the first time, you’d typically install the permanent version after that, but that’s not the case right now. During this test version for the Pixel 4, you’ll have to temporarily boot into TWRP from your computer using Fastboot every time. So there you have it — you can now boot into TWRP on your Pixel 4. You shouldn’t have to worry about pesky bootloops anymore!
Final Notes
- You should not be using Fastboot to permanently install TWRP directly since it will cause a bootloop — your Pixel 4 does not have a recovery partition. Always boot temporarily, and never install directly. The “fastboot boot” command from Step 7 is the only one you should be using when working with custom recoveries.
- You can’t exactly install recovery image files with this particular test version of TWRP. I suspect we’ll see the options to install recovery image files directly from TWRP soon enough.
- You can’t mount your phone’s internal storage from TWRP right now, which means you’re not able to access your files using a computer. This feature will be fixed with a future update, so stay tuned for that.
- I’ll be updating this guide when newer versions of TWRP are released, especially with the possible inclusion of Android 11 in the future. TWRP developers don’t typically work on early Beta builds of Android. Most will wait until the final official version releases to the public before they start looking into things.
Just updated your iPhone? You’ll find new emoji, enhanced security, podcast transcripts, Apple Cash virtual numbers, and other useful features. There are even new additions hidden within Safari. Find out what’s new and changed on your iPhone with the iOS 17.4 update.
“Hey there, just a heads-up: We’re part of the Amazon affiliate program, so when you buy through links on our site, we may earn a small commission. But don’t worry, it doesn’t cost you anything extra and helps us keep the lights on. Thanks for your support!”


