Many of us use the Notes app to jot things down in a hurry. Most of the time, that’s no big deal. However, the faster the typing, the higher the chance of error. If you happen to make a typo, or if you accidentally delete that chart you worked so hard on, there’s an easy way to undo the changes.
This method works across iOS, so don’t think it’s solely limited to just your Notes app. You can apply the following steps to most other apps and situations you and your iPhone face. It will even help you undo an undo (or, better put, redo). Just follow our guide below to stop worrying about those little, inevitable mistakes.
- Don’t Miss: How to Pin Important Notes to the Top of Folders
1. Undo Written Text, Added Pics, Accidental Deletions, Etc.
Undoing something you wrote or added involves the same process as undoing something you deleted. No one would blame you if you didn’t know how to perform either action since there is no visible undo button for text or deletions in the Notes app. Instead, you need to do something a little less obvious — shake your iPhone.
It may sound silly, but in iOS, the way of undoing things when there is no undo button present is to shake your iPhone. You don’t need to shake it much — just give it a quick flick. After a moment, a popup will appear titled Undo Typing. Tap “Undo,” and your actions will be reversed.
Let’s say you made a typo in your writing, but you don’t want to hit backspace to fix it. Simply give your iPhone a quick flick, tap “Undo” when prompted, and your last recorded text (which could be longer than just one word or character) will be undone. Repeat as many times as necessary to get back to your desired edit.
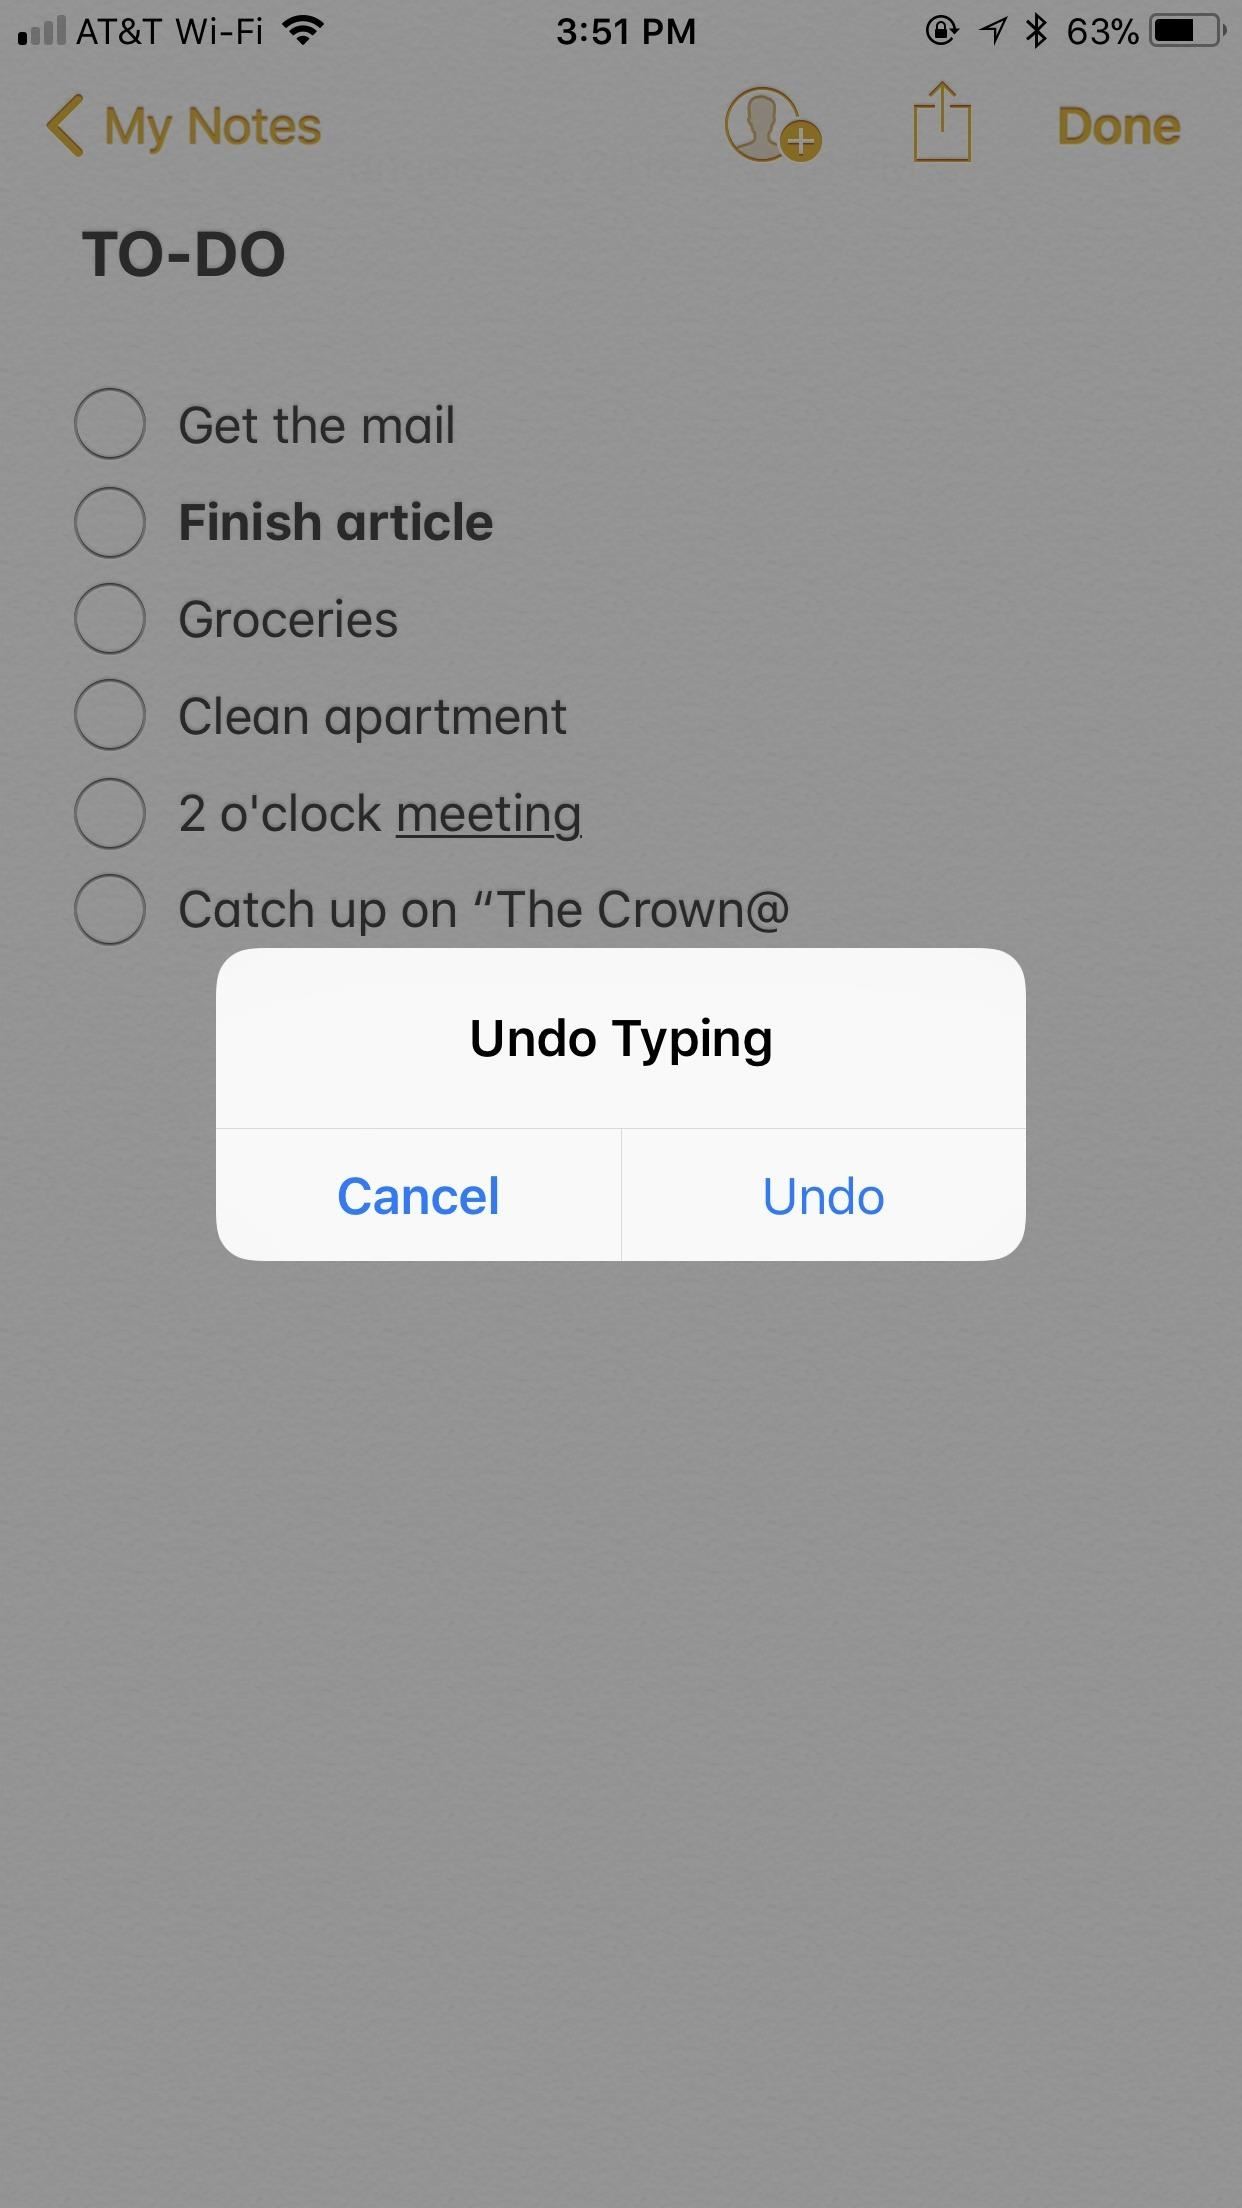

Likewise, if you accidentally delete a sketch, photo, video, chart, or even text, you can perform the same action to get it back. Flick your iPhone, tap “Undo,” and voilà — your deletion has returned.


2. Redo Things You Accidentally Undid
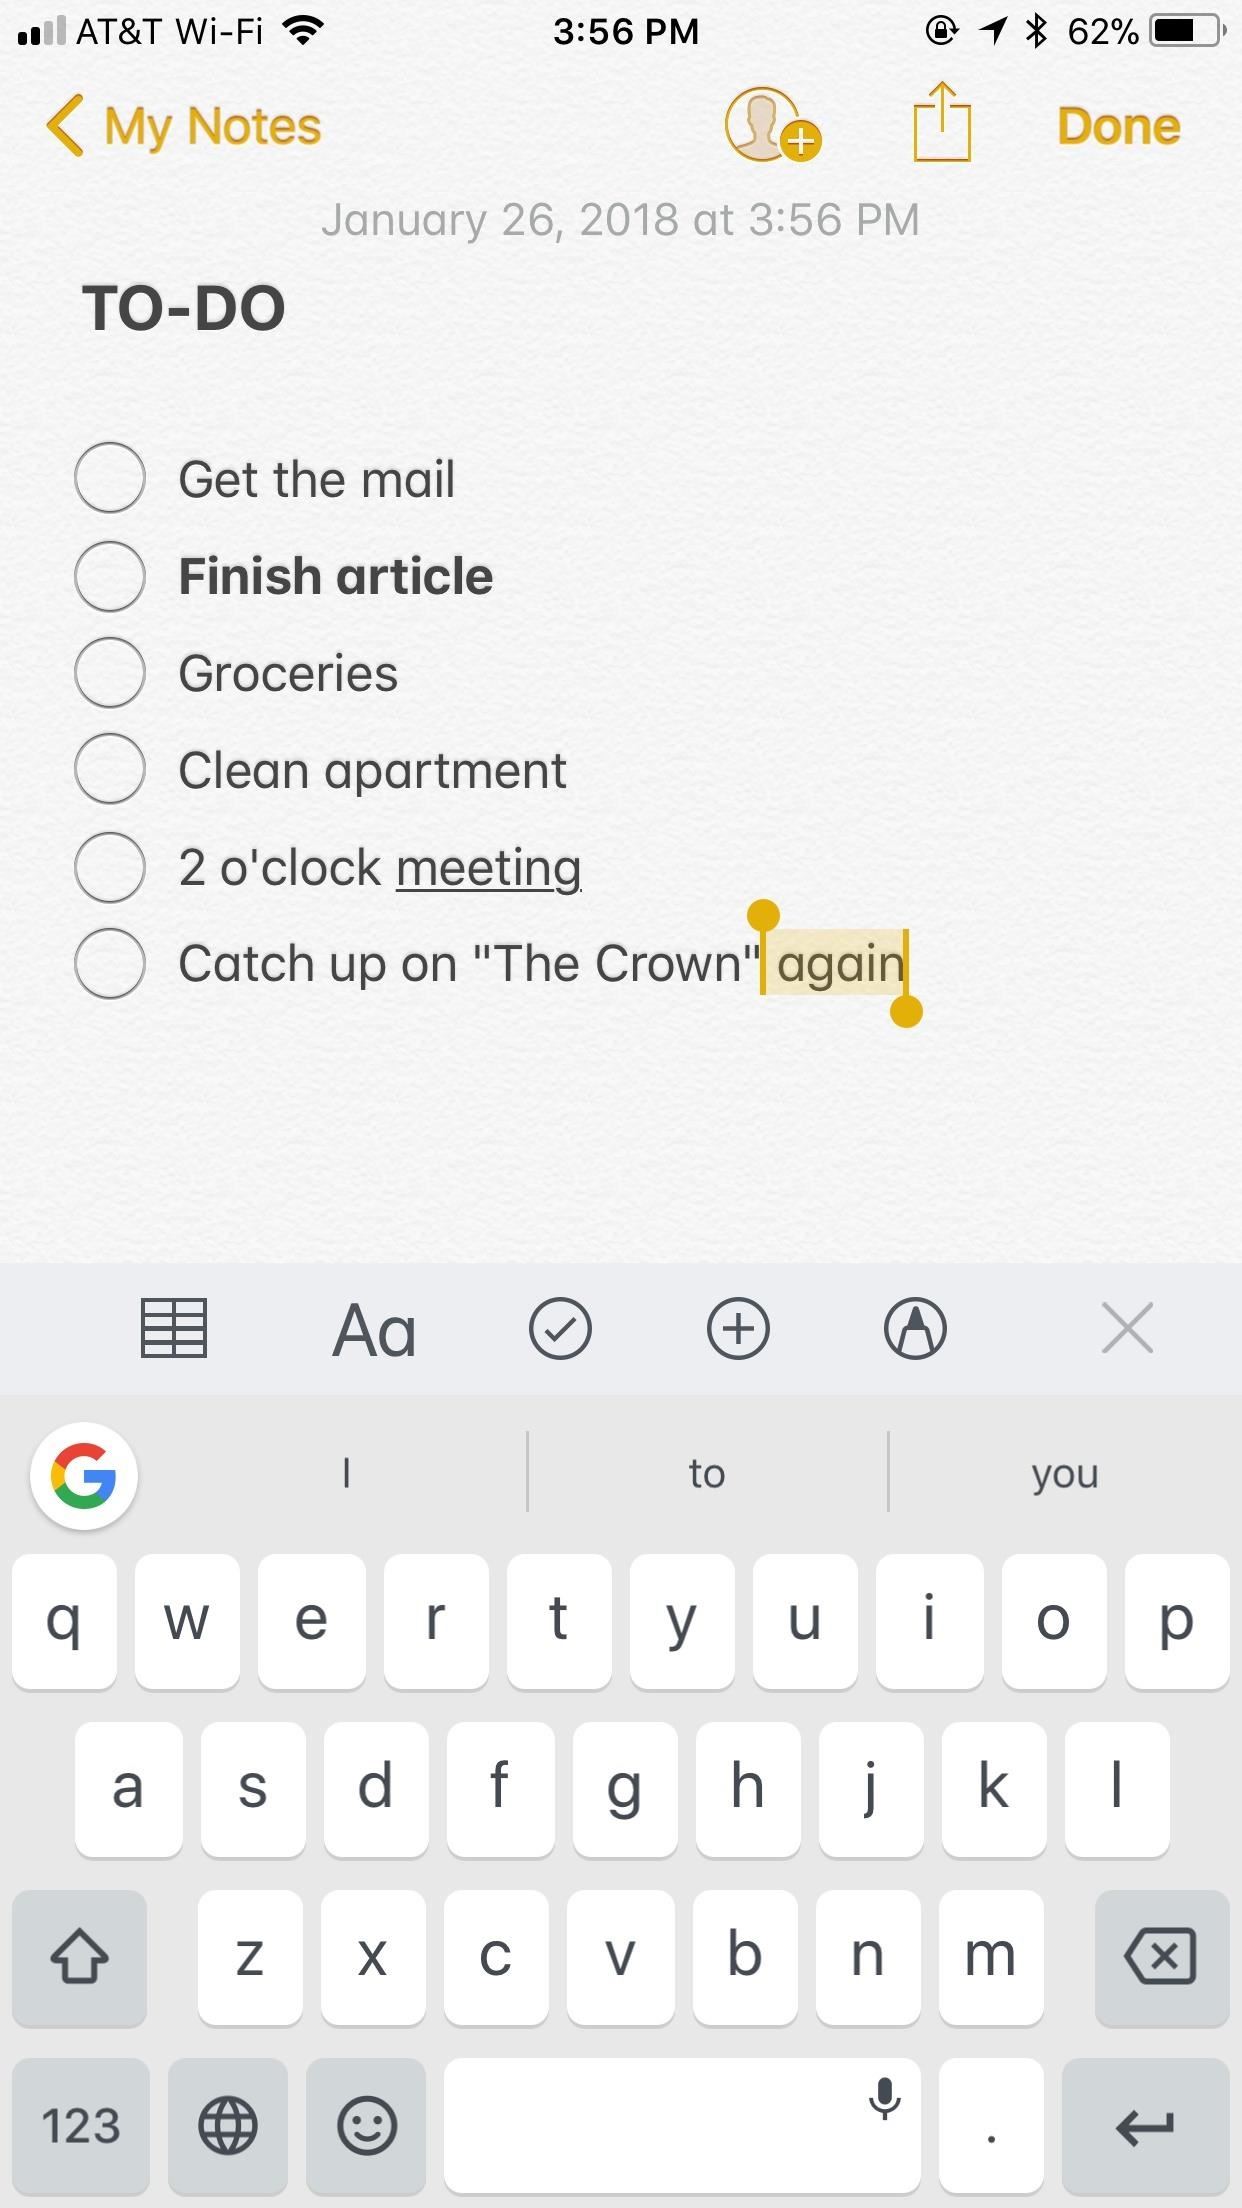
Of course, sometimes we make a mistake in even undoing something. Let’s say you went too far when undoing and ended up erasing more text than intended or didn’t mean to get rid of a photo or video. The answer? Flick your iPhone again. However, this time, instead of tapping “Undo,” tap “Redo Typing.” Your last undo will be undone, either restoring your content or erasing it, whatever your intention.

3. Undo & Redo More Easily in Sketches
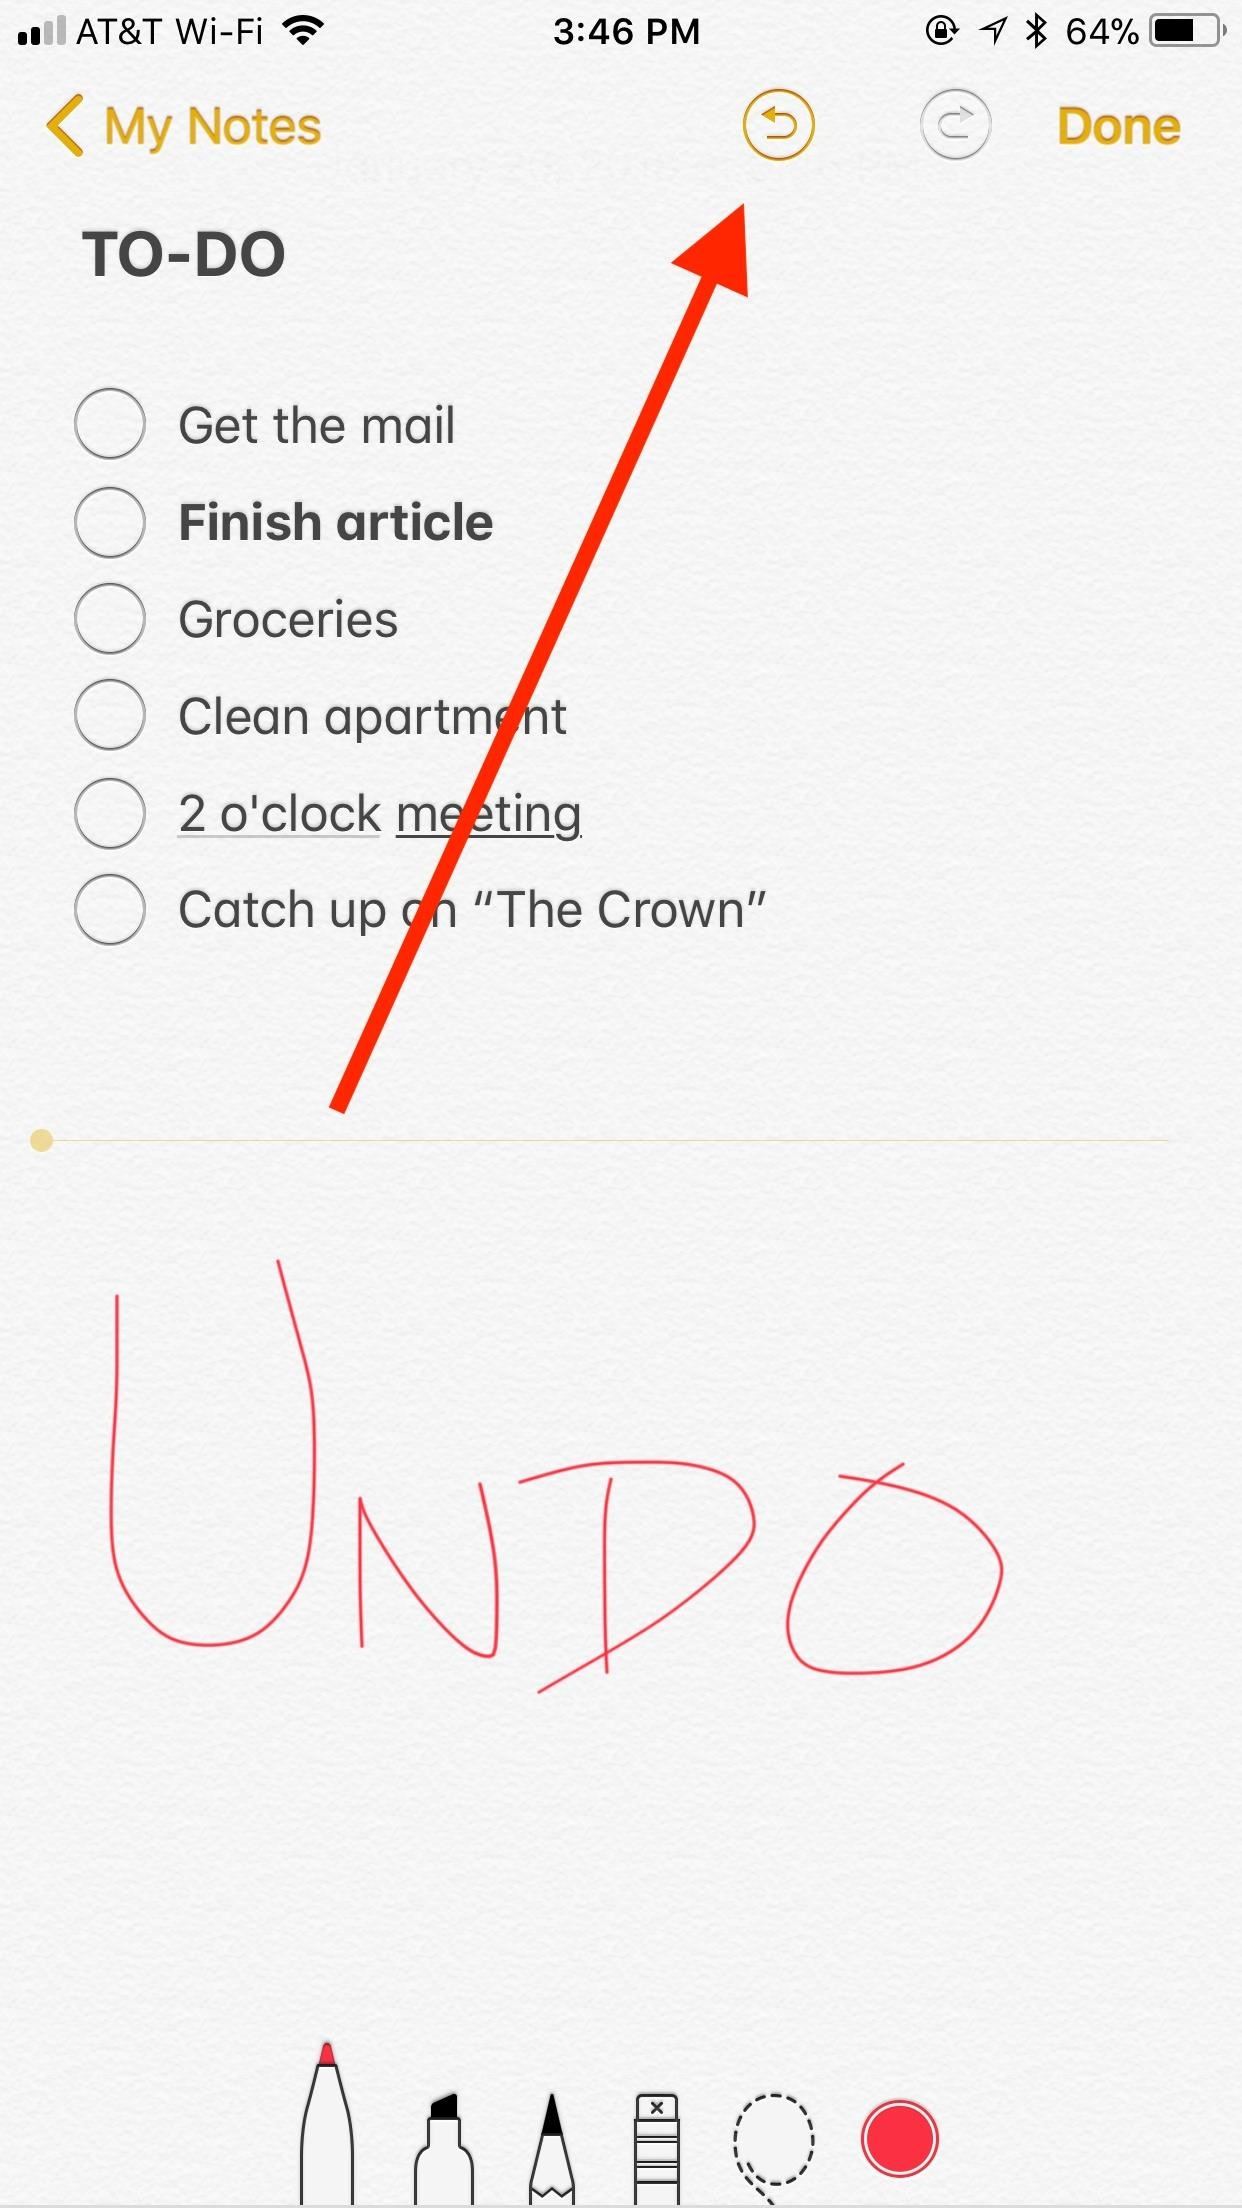
While undo buttons do not appear in normal use in Notes, the same can’t be said when drawing or writing by hand. When you tap the marker icon and activate sketching, either as an in-line sketch or sketch attachment, the first difference you can see, among others, are the undo buttons at the top of the display.
These buttons act exactly as you’d imagine — tap the left to undo a stroke and the right to redo. If you make an error when drawing or you accidentally delete something using the eraser tool, simply tap the left undo button as many times as necessary.
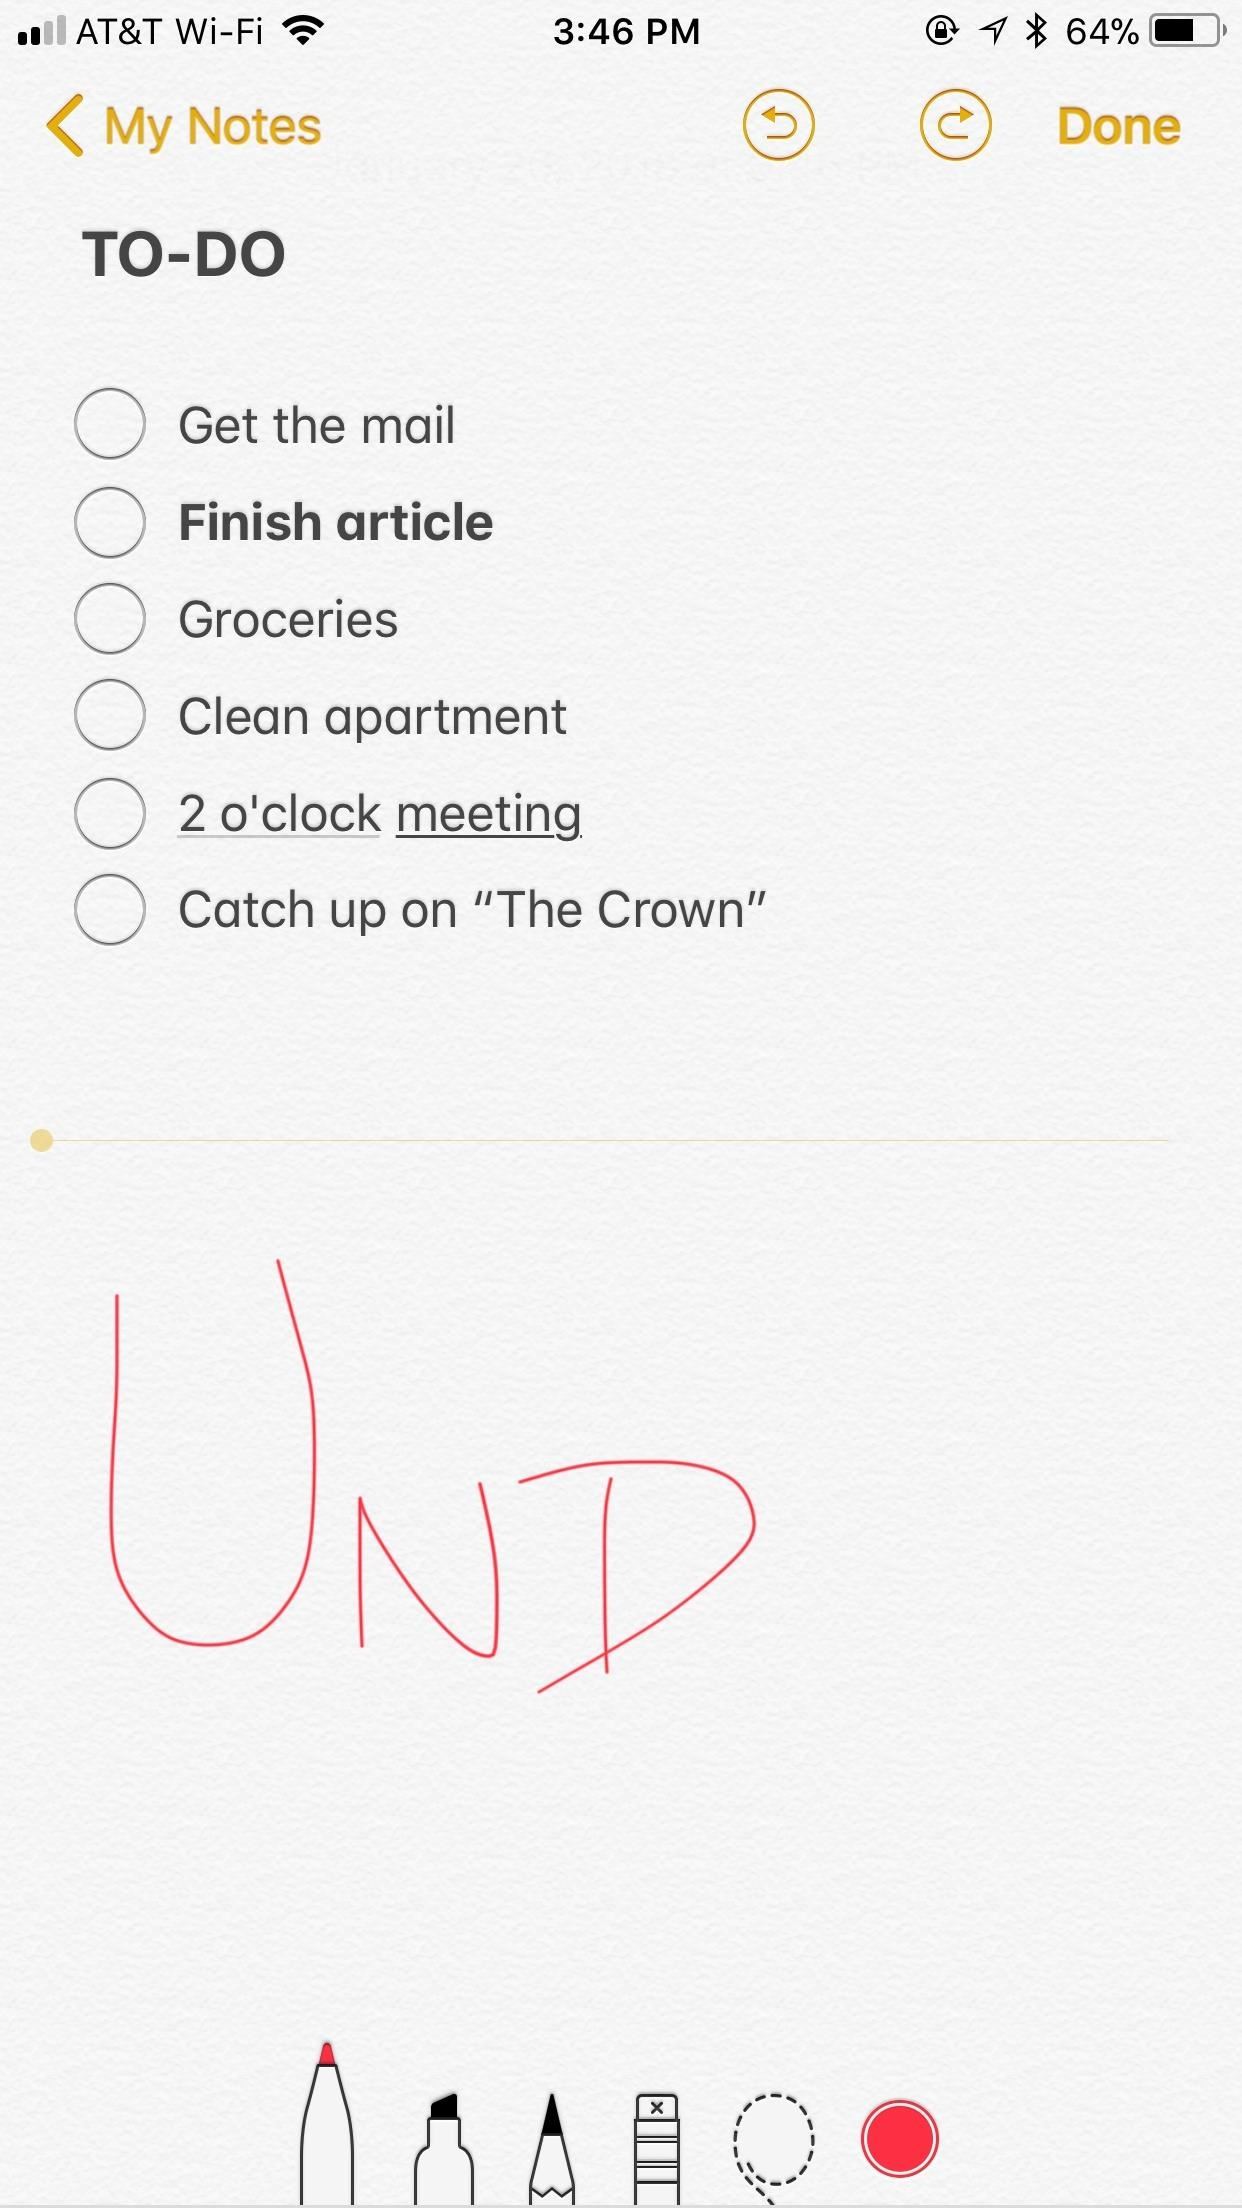
On the flipside, if you realize you didn’t want to undo something after all or you undo one too many times, hit the redo button to restore that last stroke.

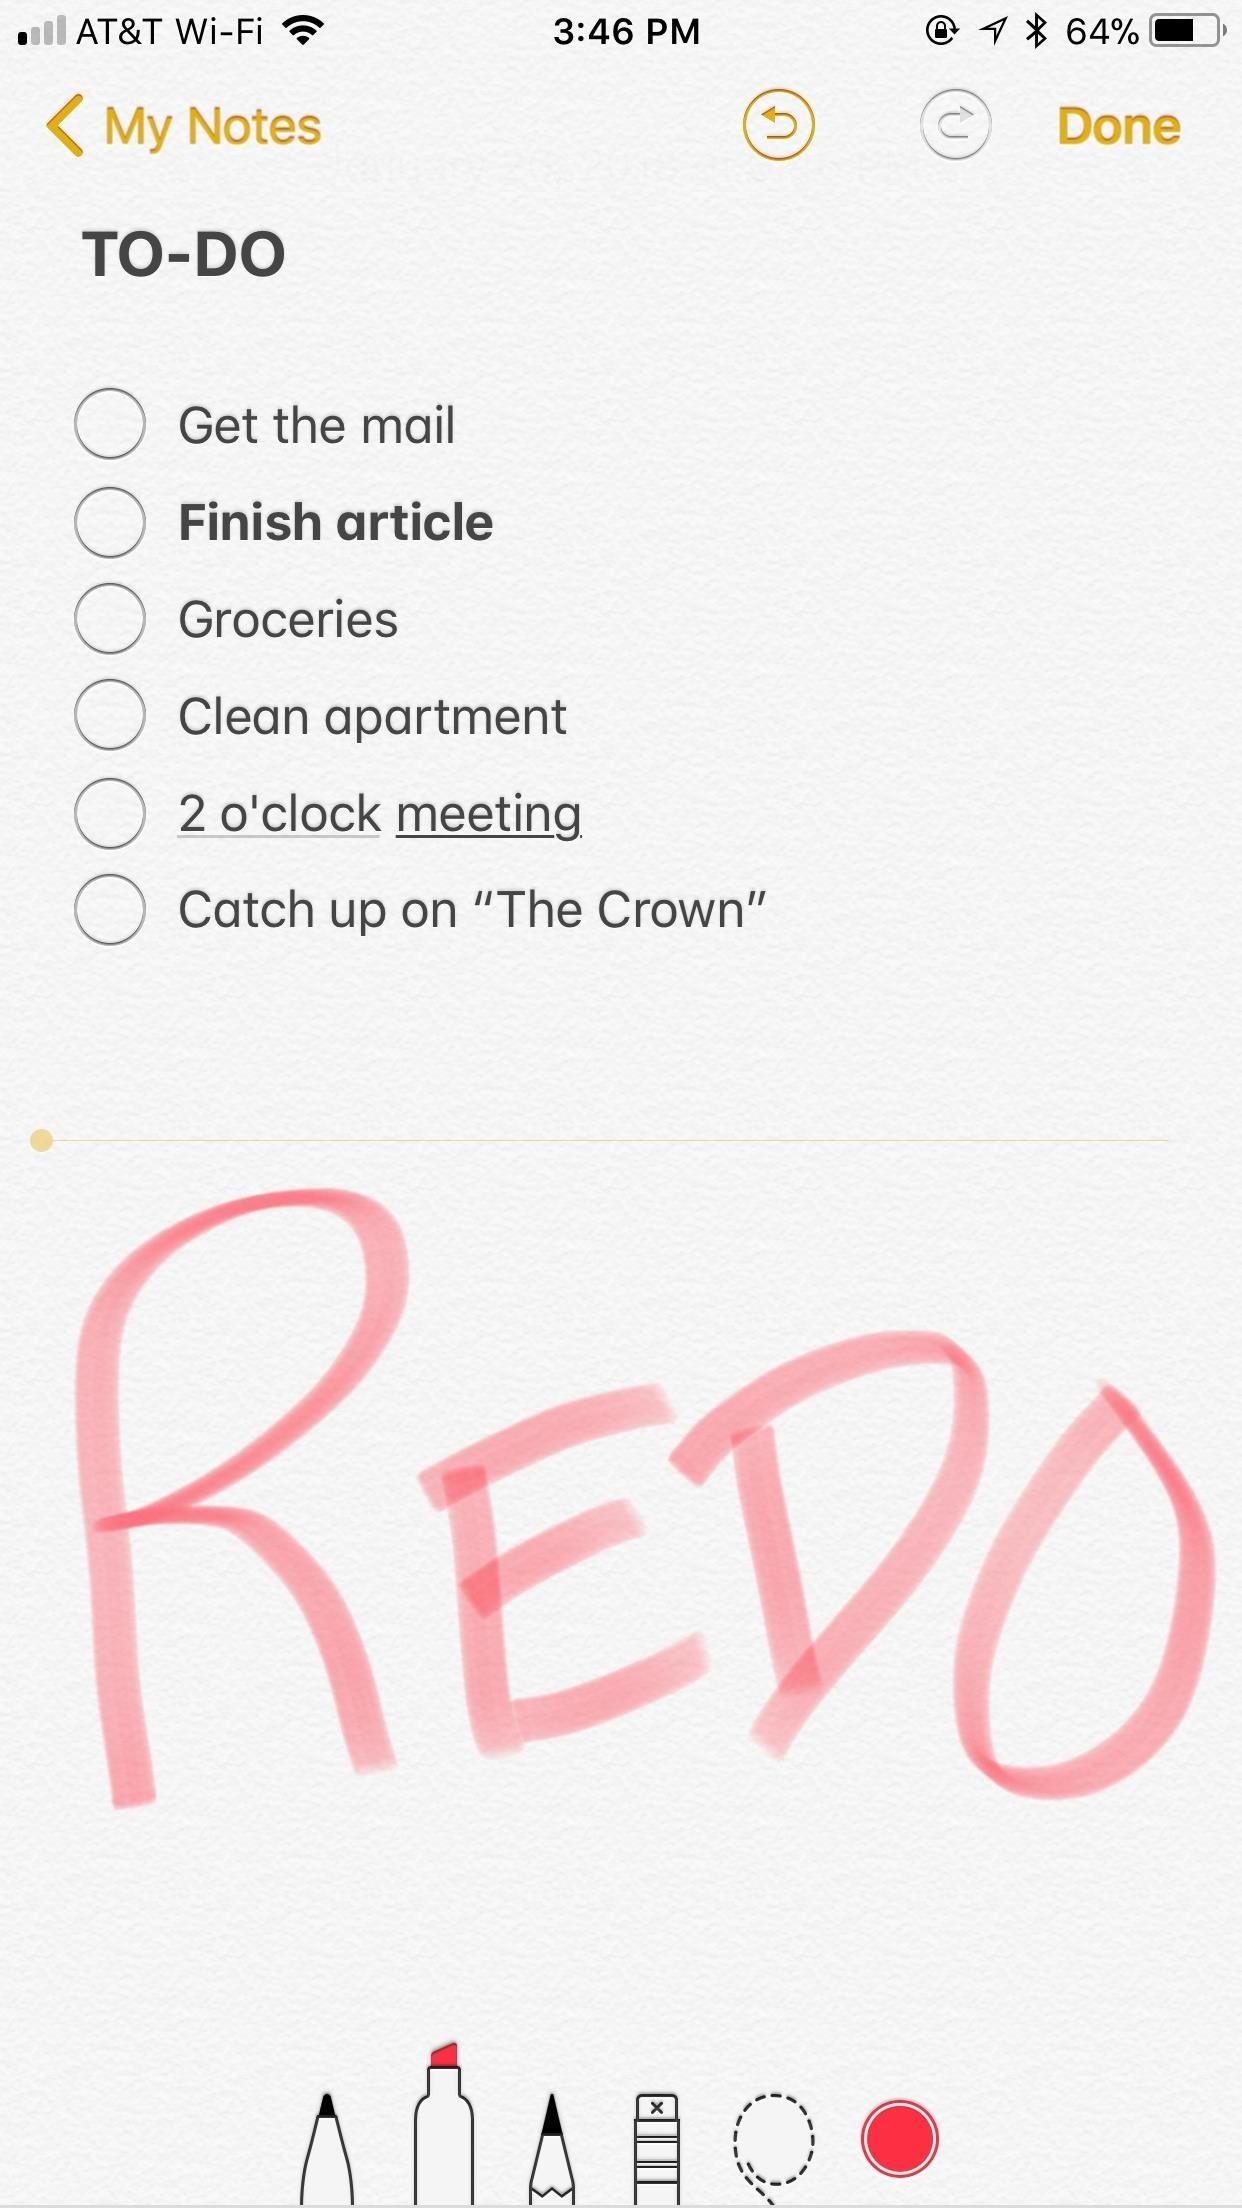
Of course, you can use the same shake-to-undo method found with the rest of Notes (and iOS) if you prefer. Just shake your iPhone, and tap “Undo” on the Undo Stroke prompt for in-line sketches. If you’re in a sketch attachment, it will also specify the type of stroke (Pen, Marker, Pencil, or Eraser). When you need to undo an undo, shake again and tap “Redo Stroke.”
Shaking doesn’t work as well inside sketches, so you’re better off just using the dedicated buttons to undo and redo strokes.
Just updated your iPhone? You’ll find new features for Podcasts, News, Books, and TV, as well as important security improvements and fresh wallpapers. Find out what’s new and changed on your iPhone with the iOS 17.5 update.
“Hey there, just a heads-up: We’re part of the Amazon affiliate program, so when you buy through links on our site, we may earn a small commission. But don’t worry, it doesn’t cost you anything extra and helps us keep the lights on. Thanks for your support!”


