When you want to see something far away with a little more clarity or you’re having a hard time reading small letters right in front of you, you can point your iPhone’s camera at the subject and “pinch” to zoom for a better look. But there’s actually something built into iOS for the exact purpose of magnifying objects, and it goes above and beyond the normal camera features.
The built-in “Magnifier” tool first became available in iOS 10 as an Accessibility option, and it’s available to use on iOS 11 and iOS 12 too, as well as for the foreseeable future. While your camera will let you zoom into objects, the Magnifier will mega-zoom into those same objects for a more granular view.
Step 1: Enable Magnifier
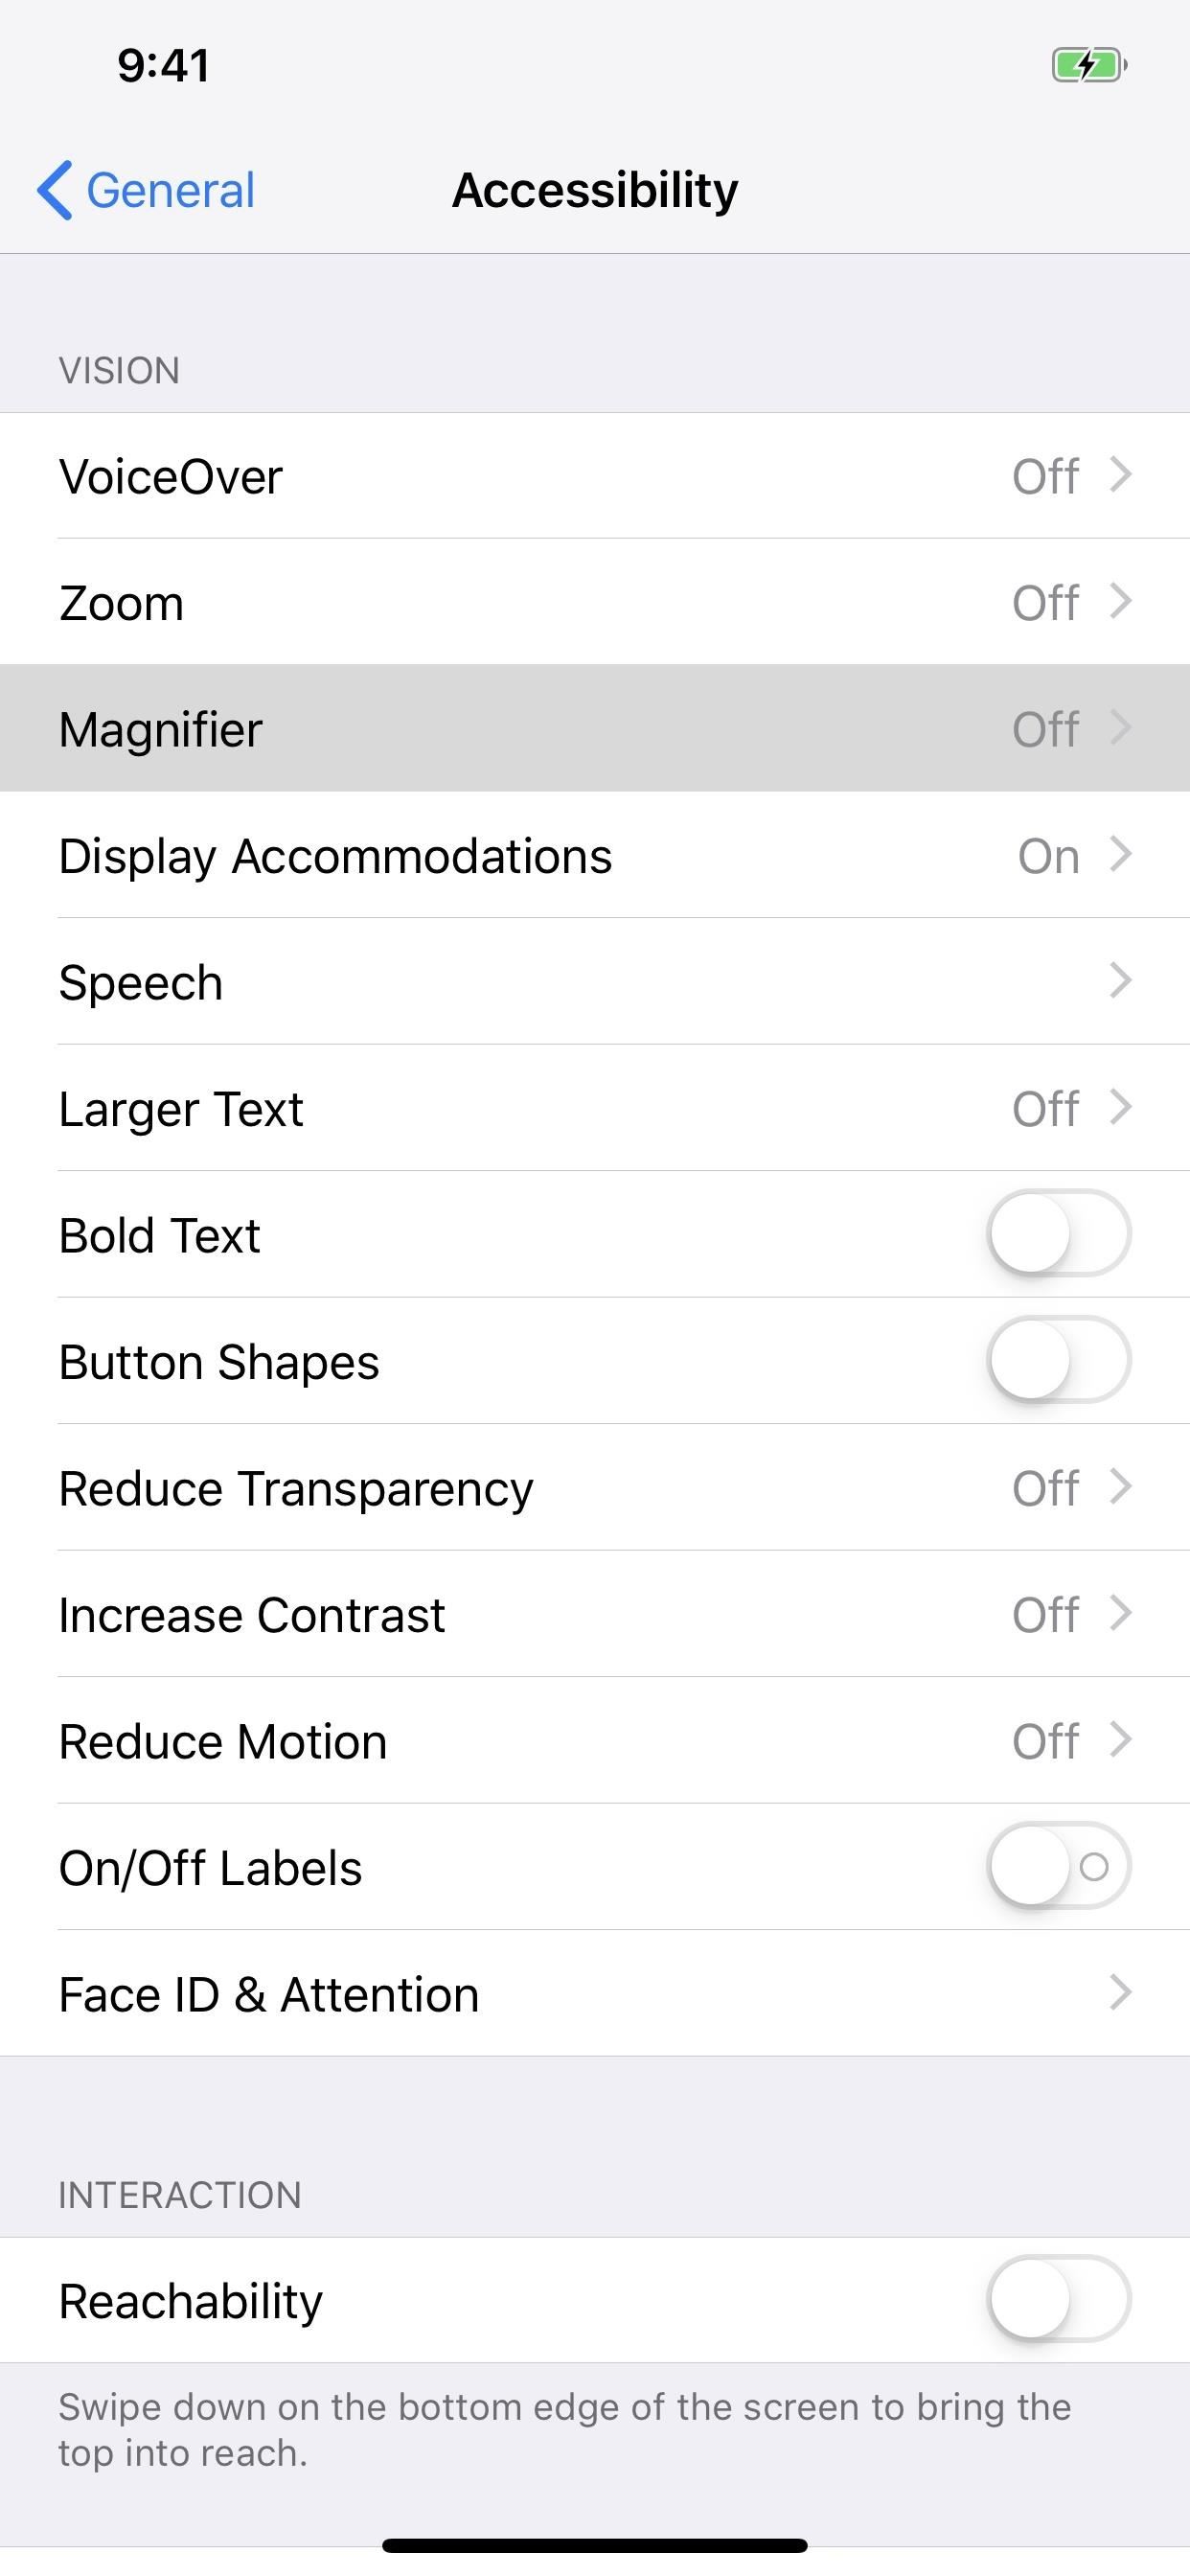
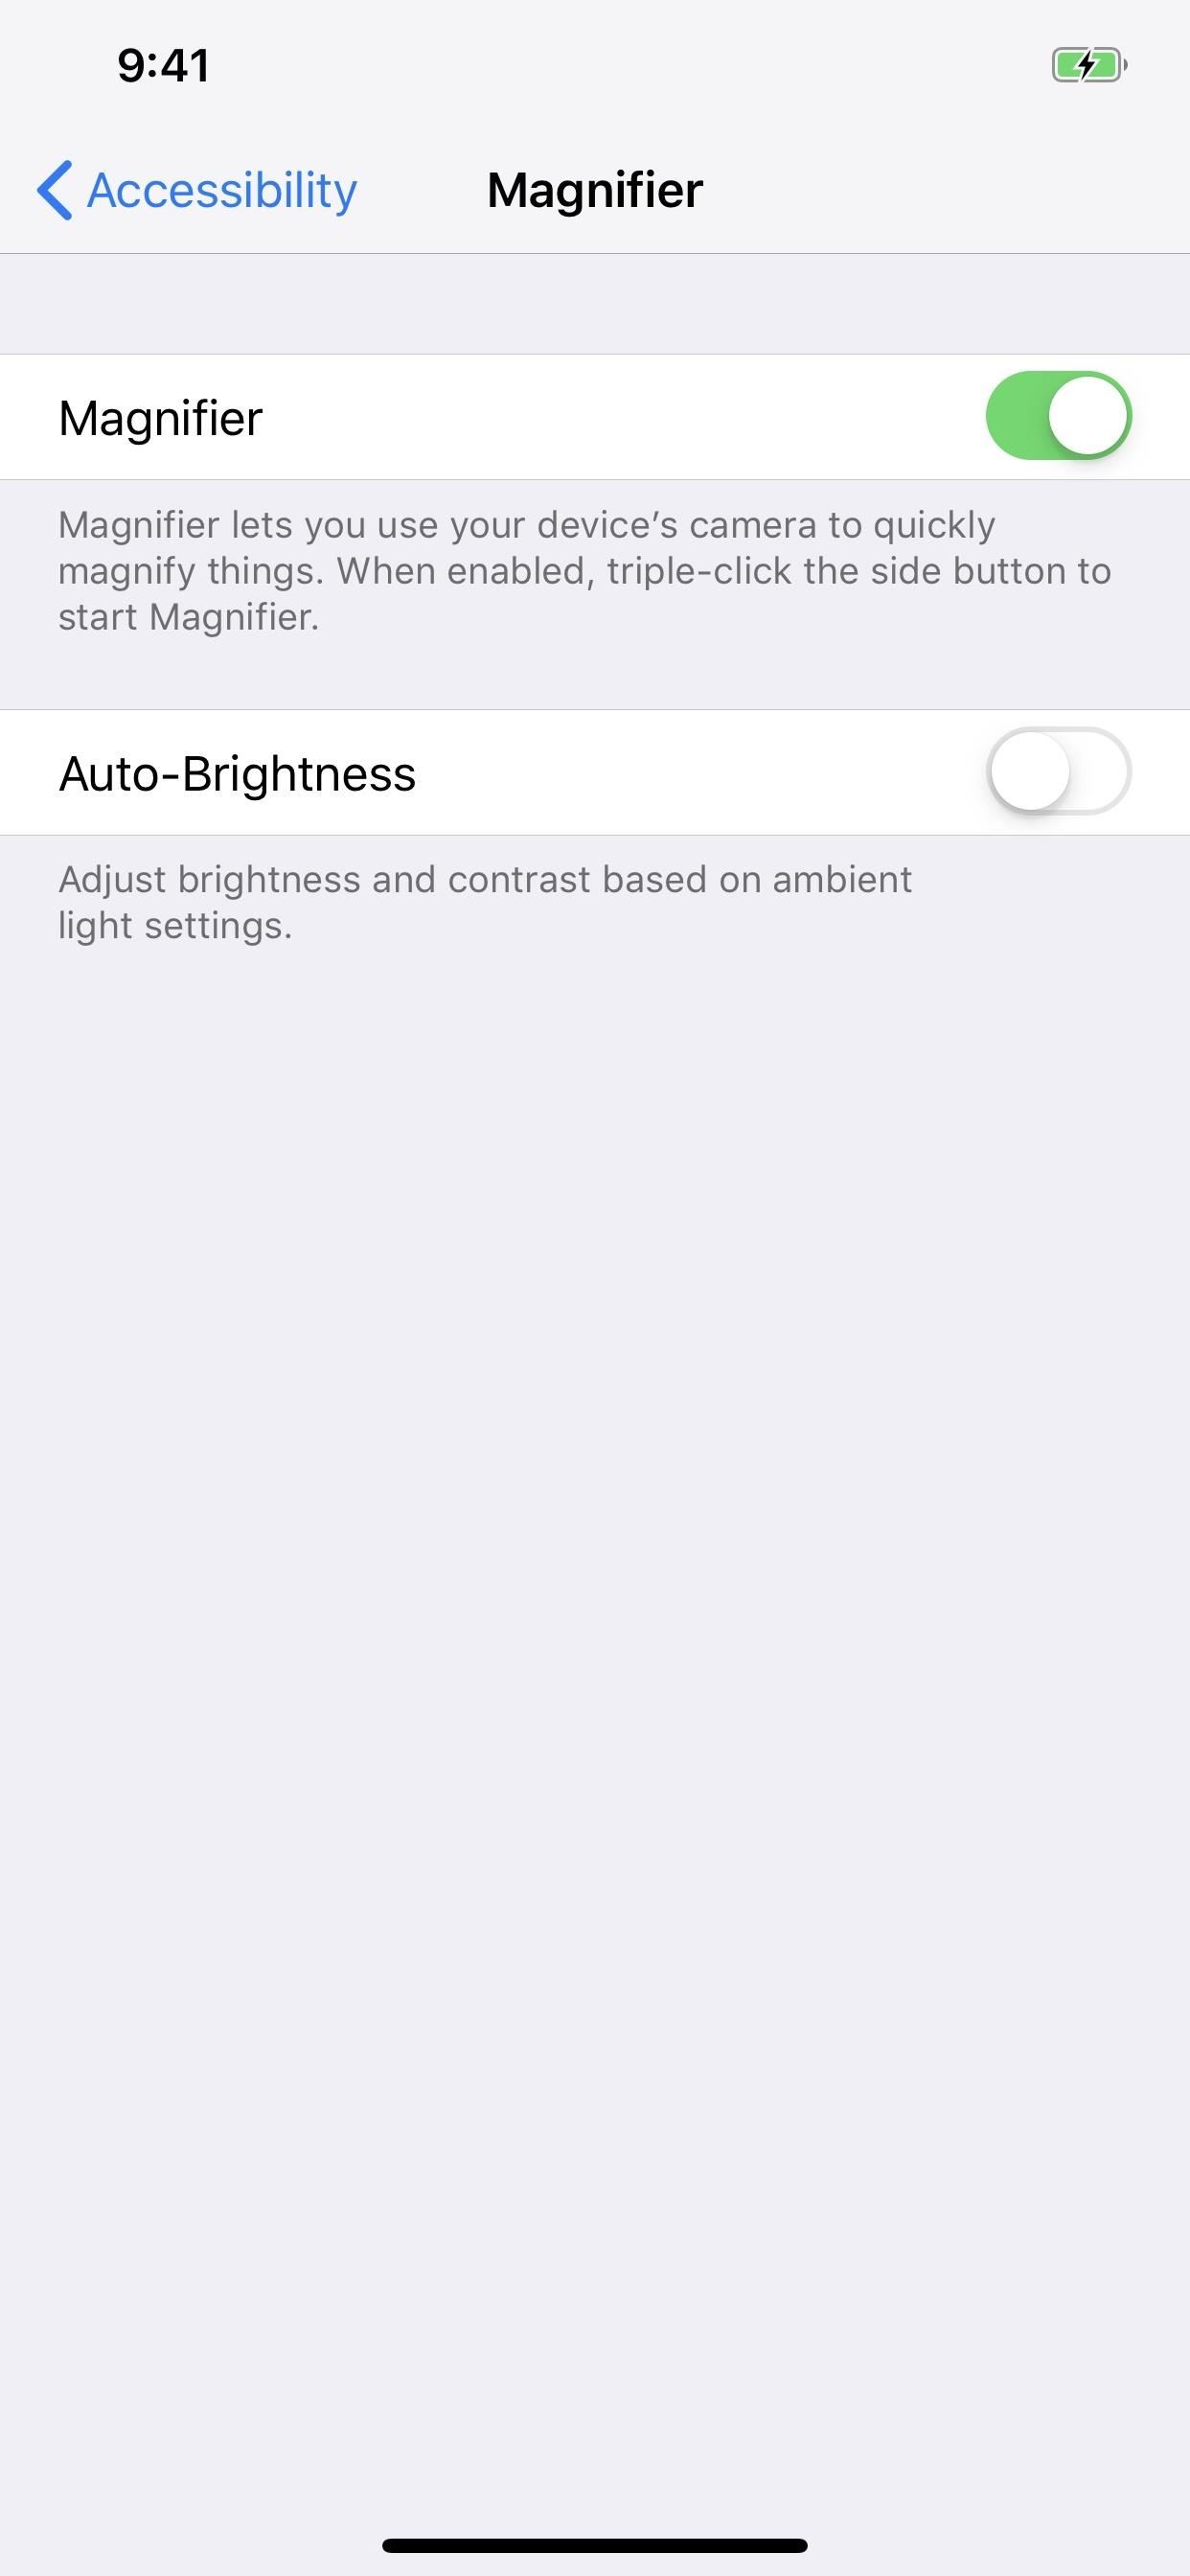
You can enable it by going into the Settings app, then choosing “General,” then “Accessibility.” Next, under Vision, select “Magnifier,” then toggle it on.
Step 2: Triple-Click to Open
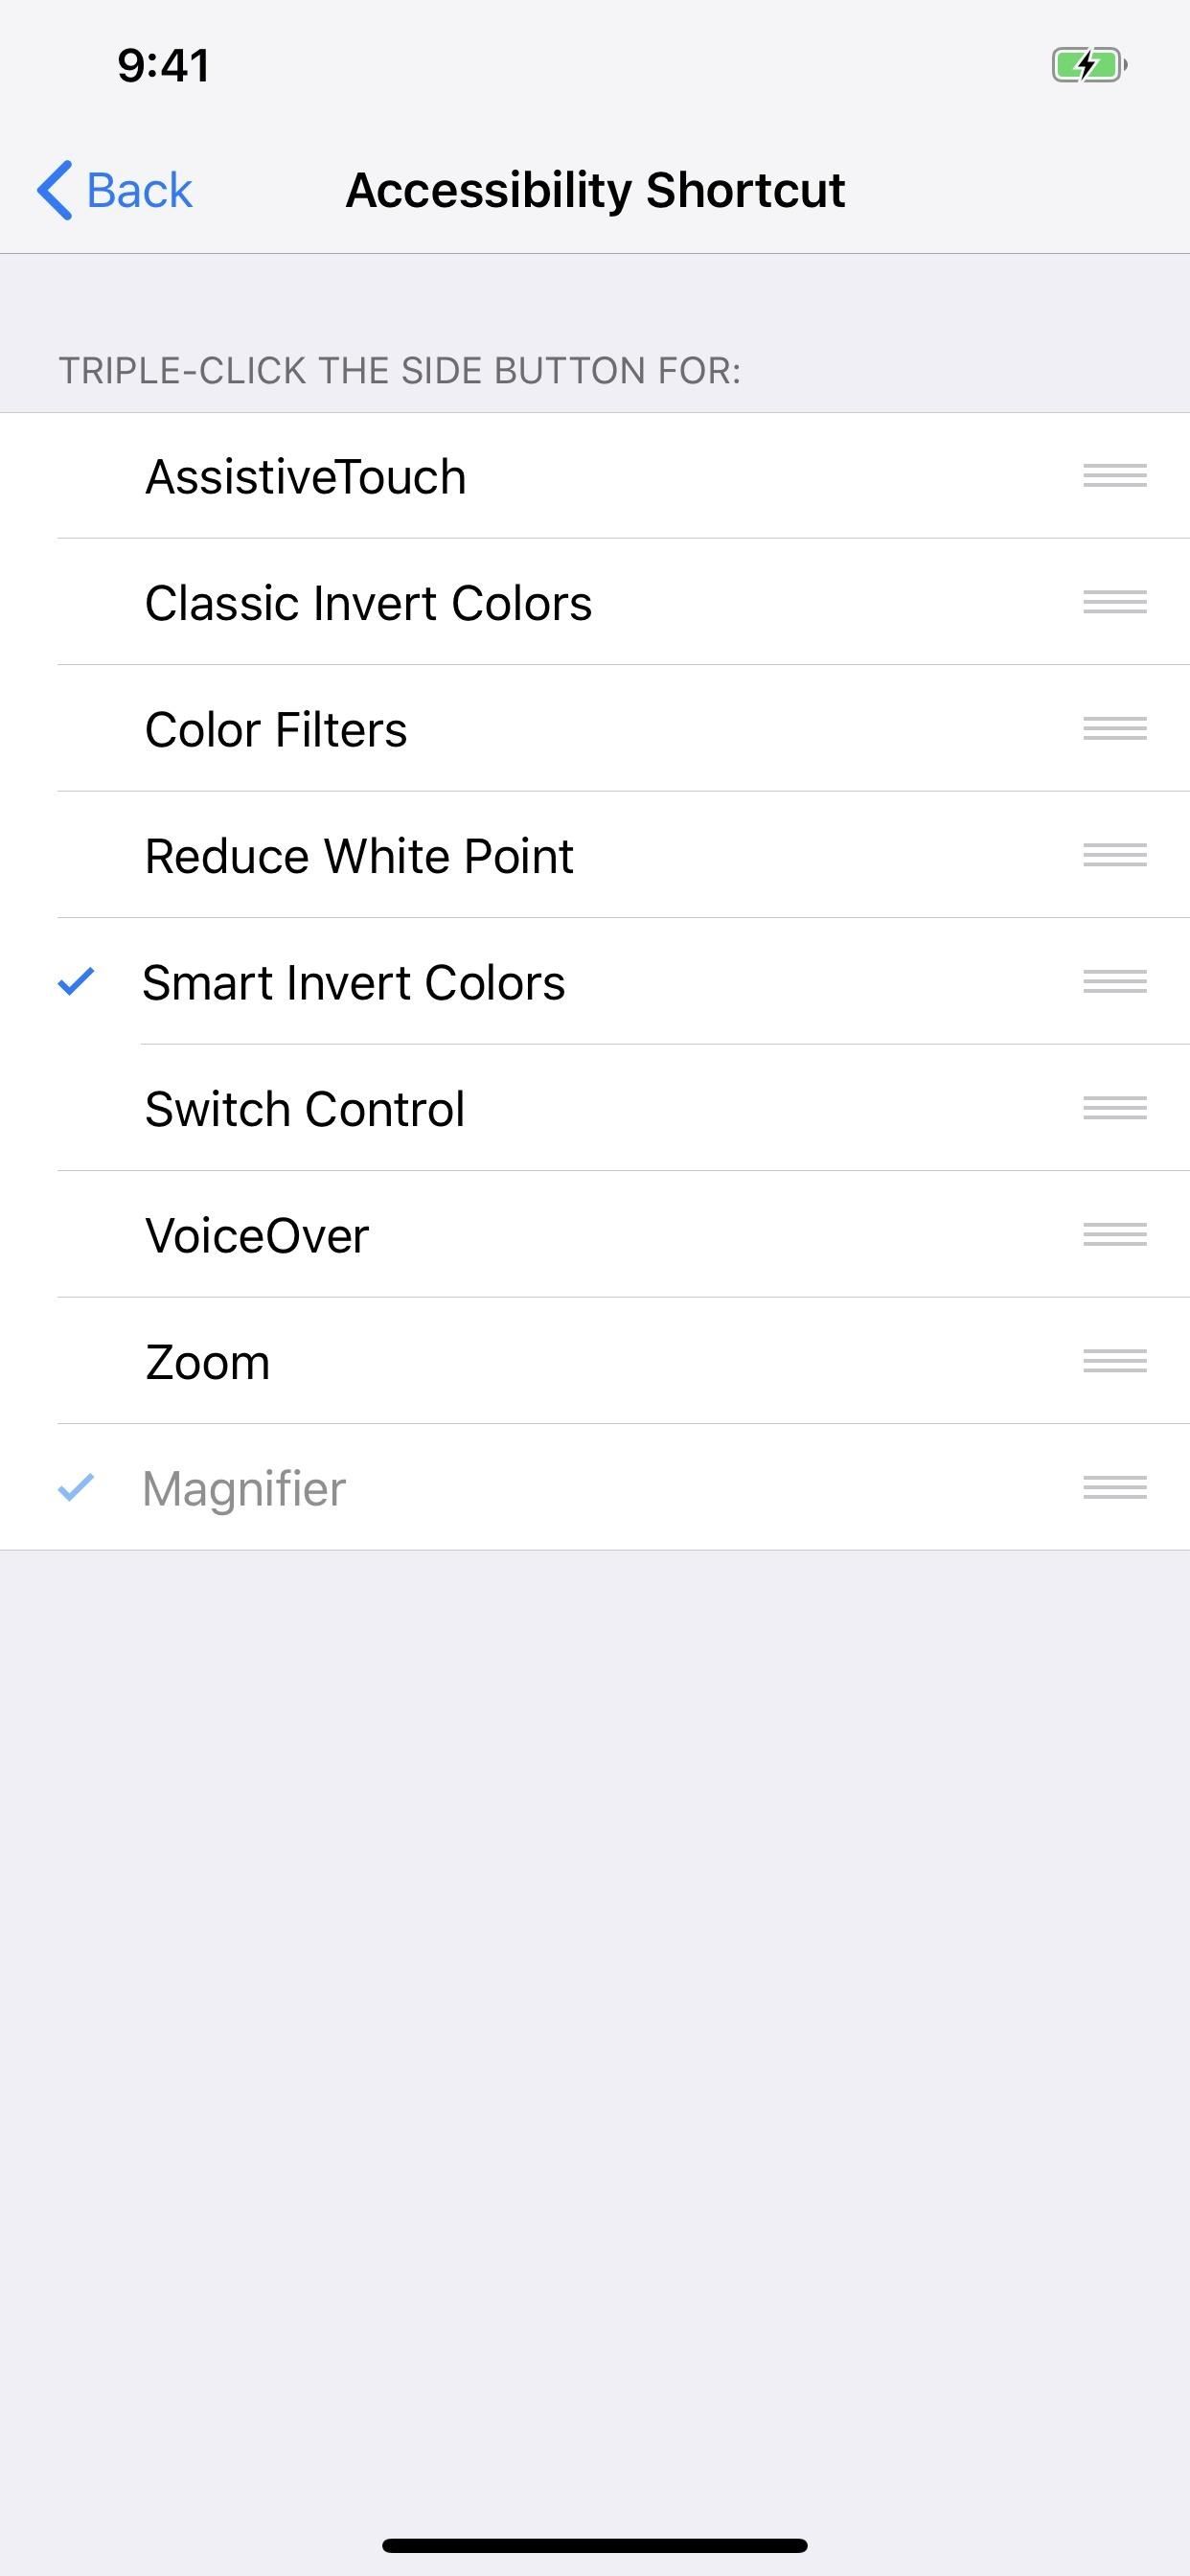
If you’re not using Guided Access or the Accessibility Shortcut option for quick access to things like Smart Invert (for a kind of dark mode), Color Filters (for red screens and more), or AssistiveTouch (for many useful tools), you can use the triple-click Home or Side button shortcut to jump right into Magnifier.
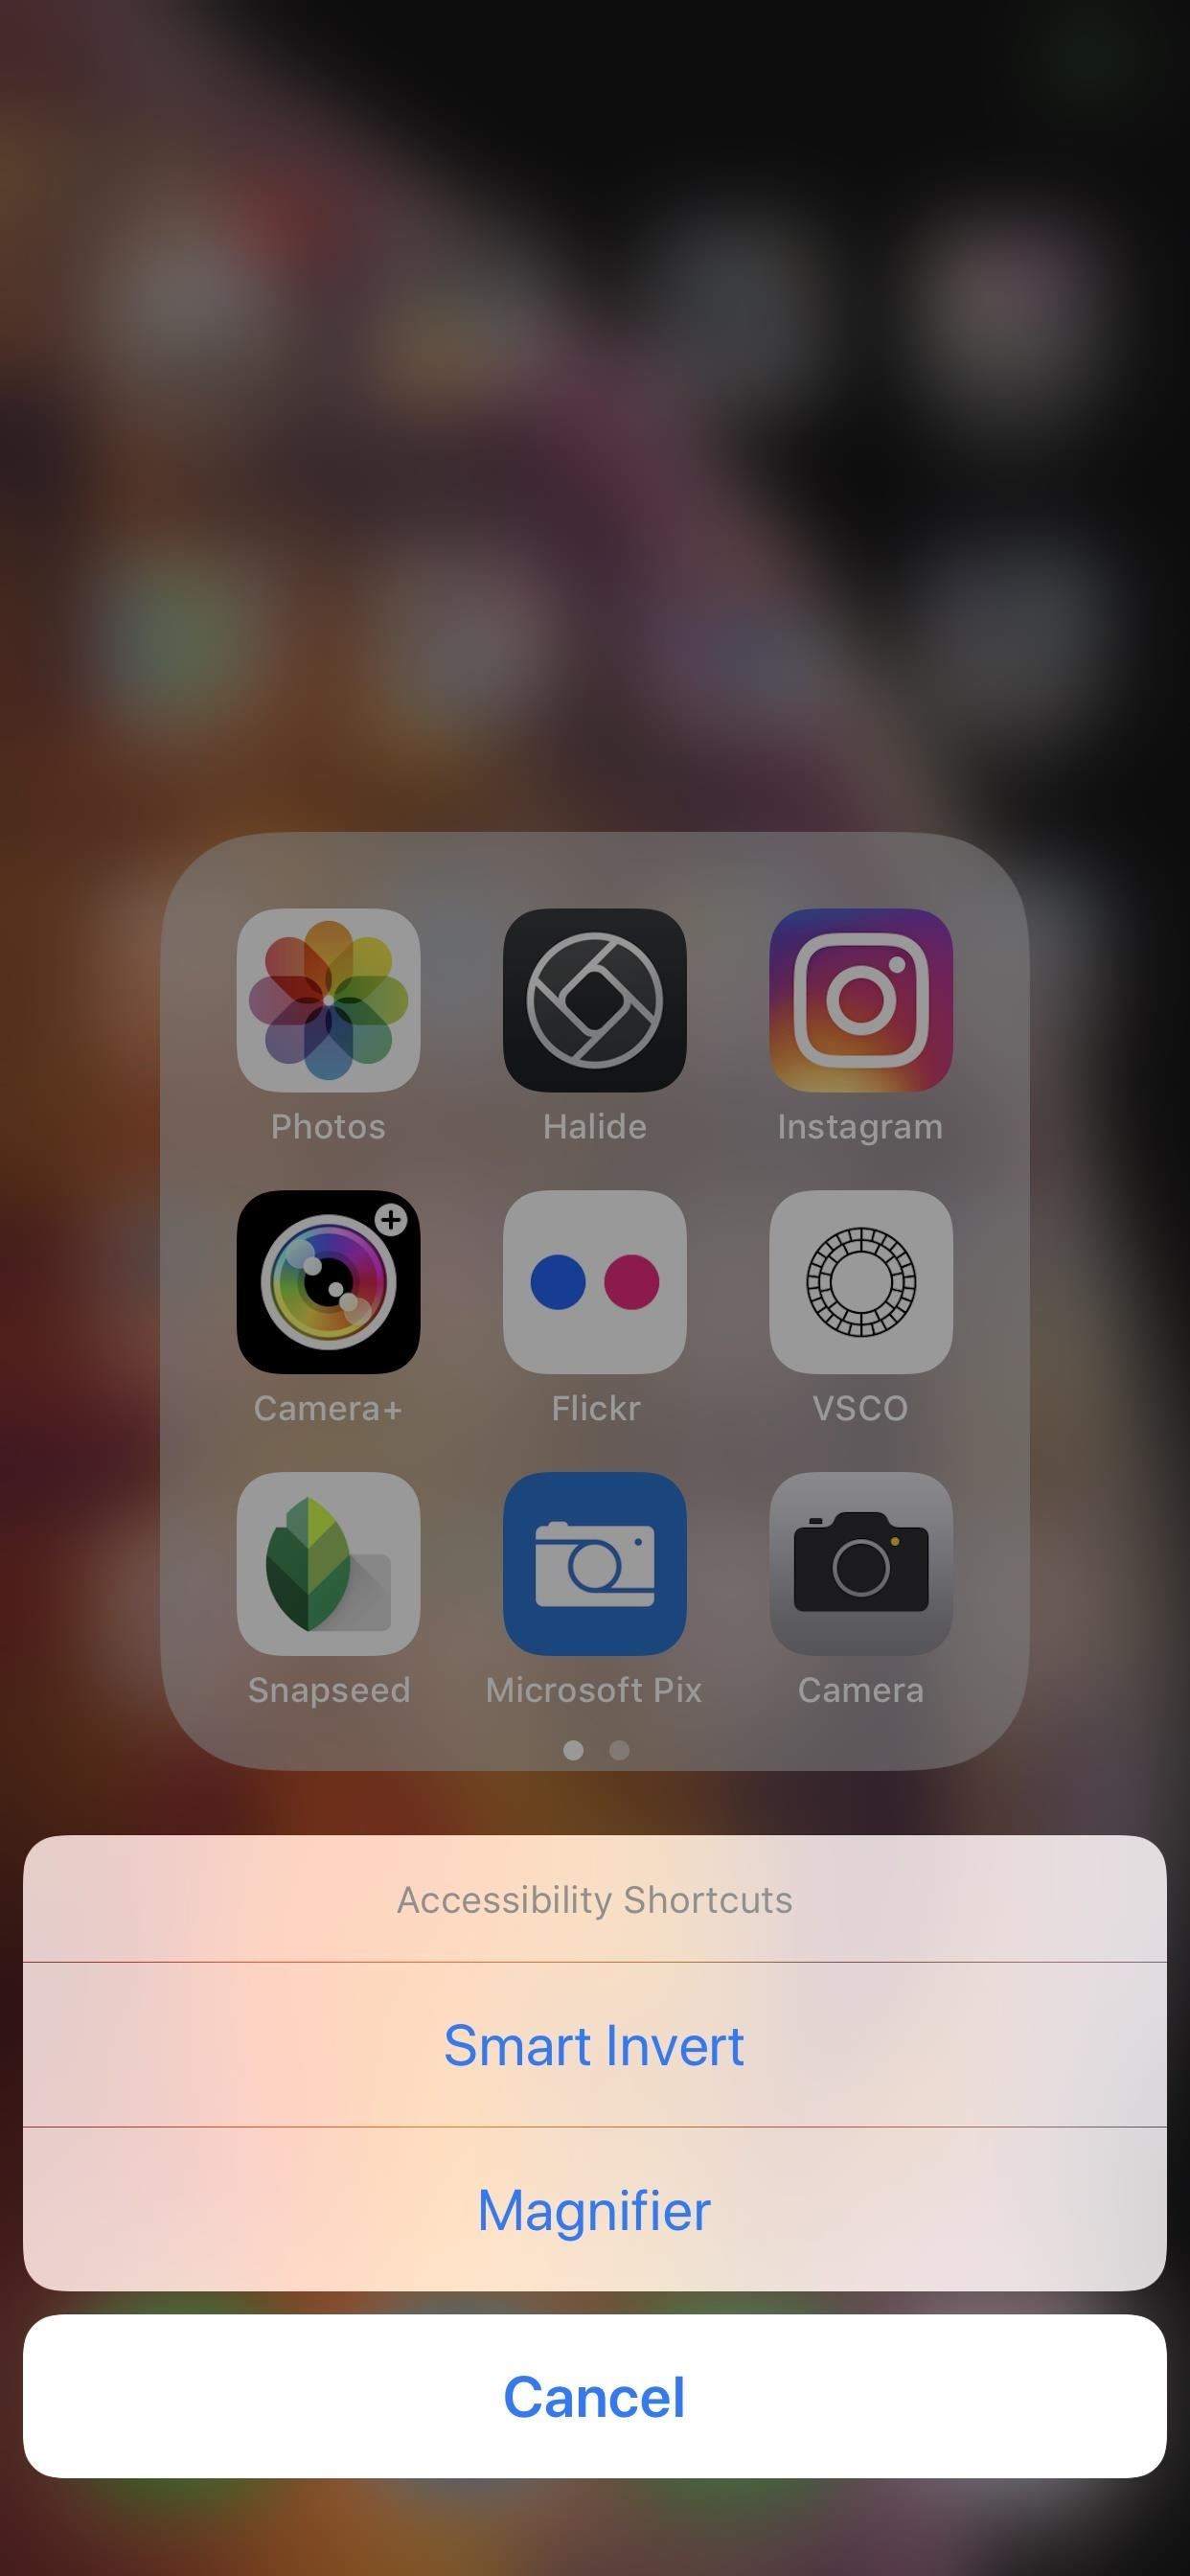
For those of you who are using the Accessibility Shortcut for other things, whenever you triple-click the Home or Side button, depending on your iPhone model, a menu will pop up asking you to select which shortcut to use, so pick “Magnifier.” (Note that, like Guided Access, you can’t disable the Magnifier from the Accessibility Shortcut settings, only from the tool’s main toggle.)
- Don’t Miss: How to Set Up & Open Accessibility Shortcuts on Your iPhone
Step 3: Zoom with the Slider
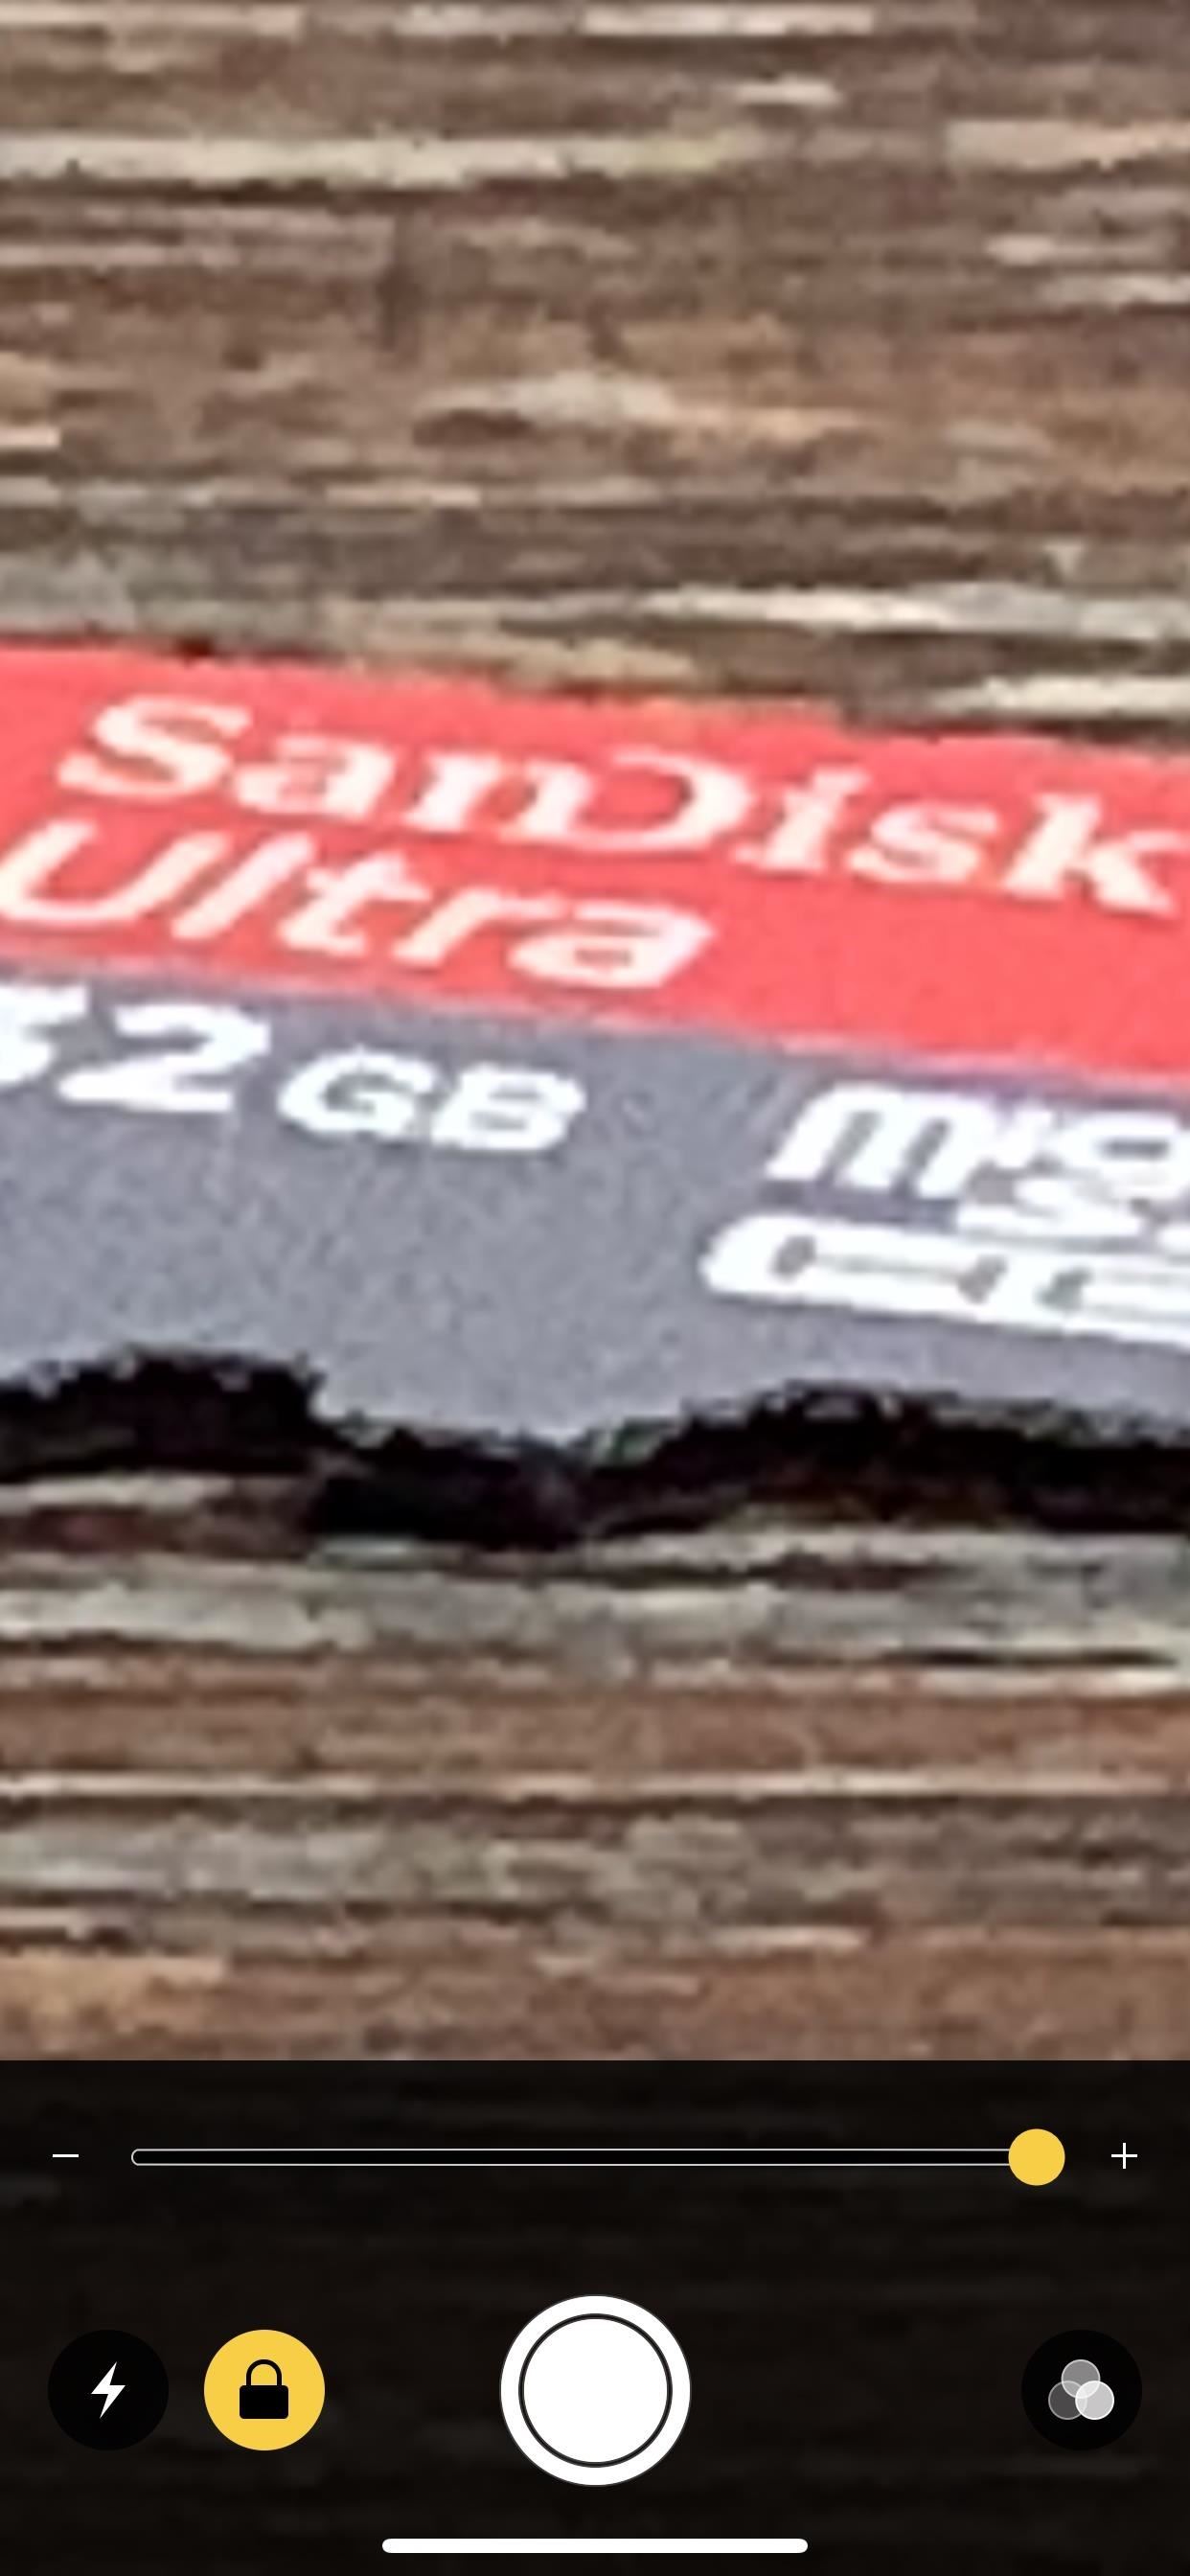
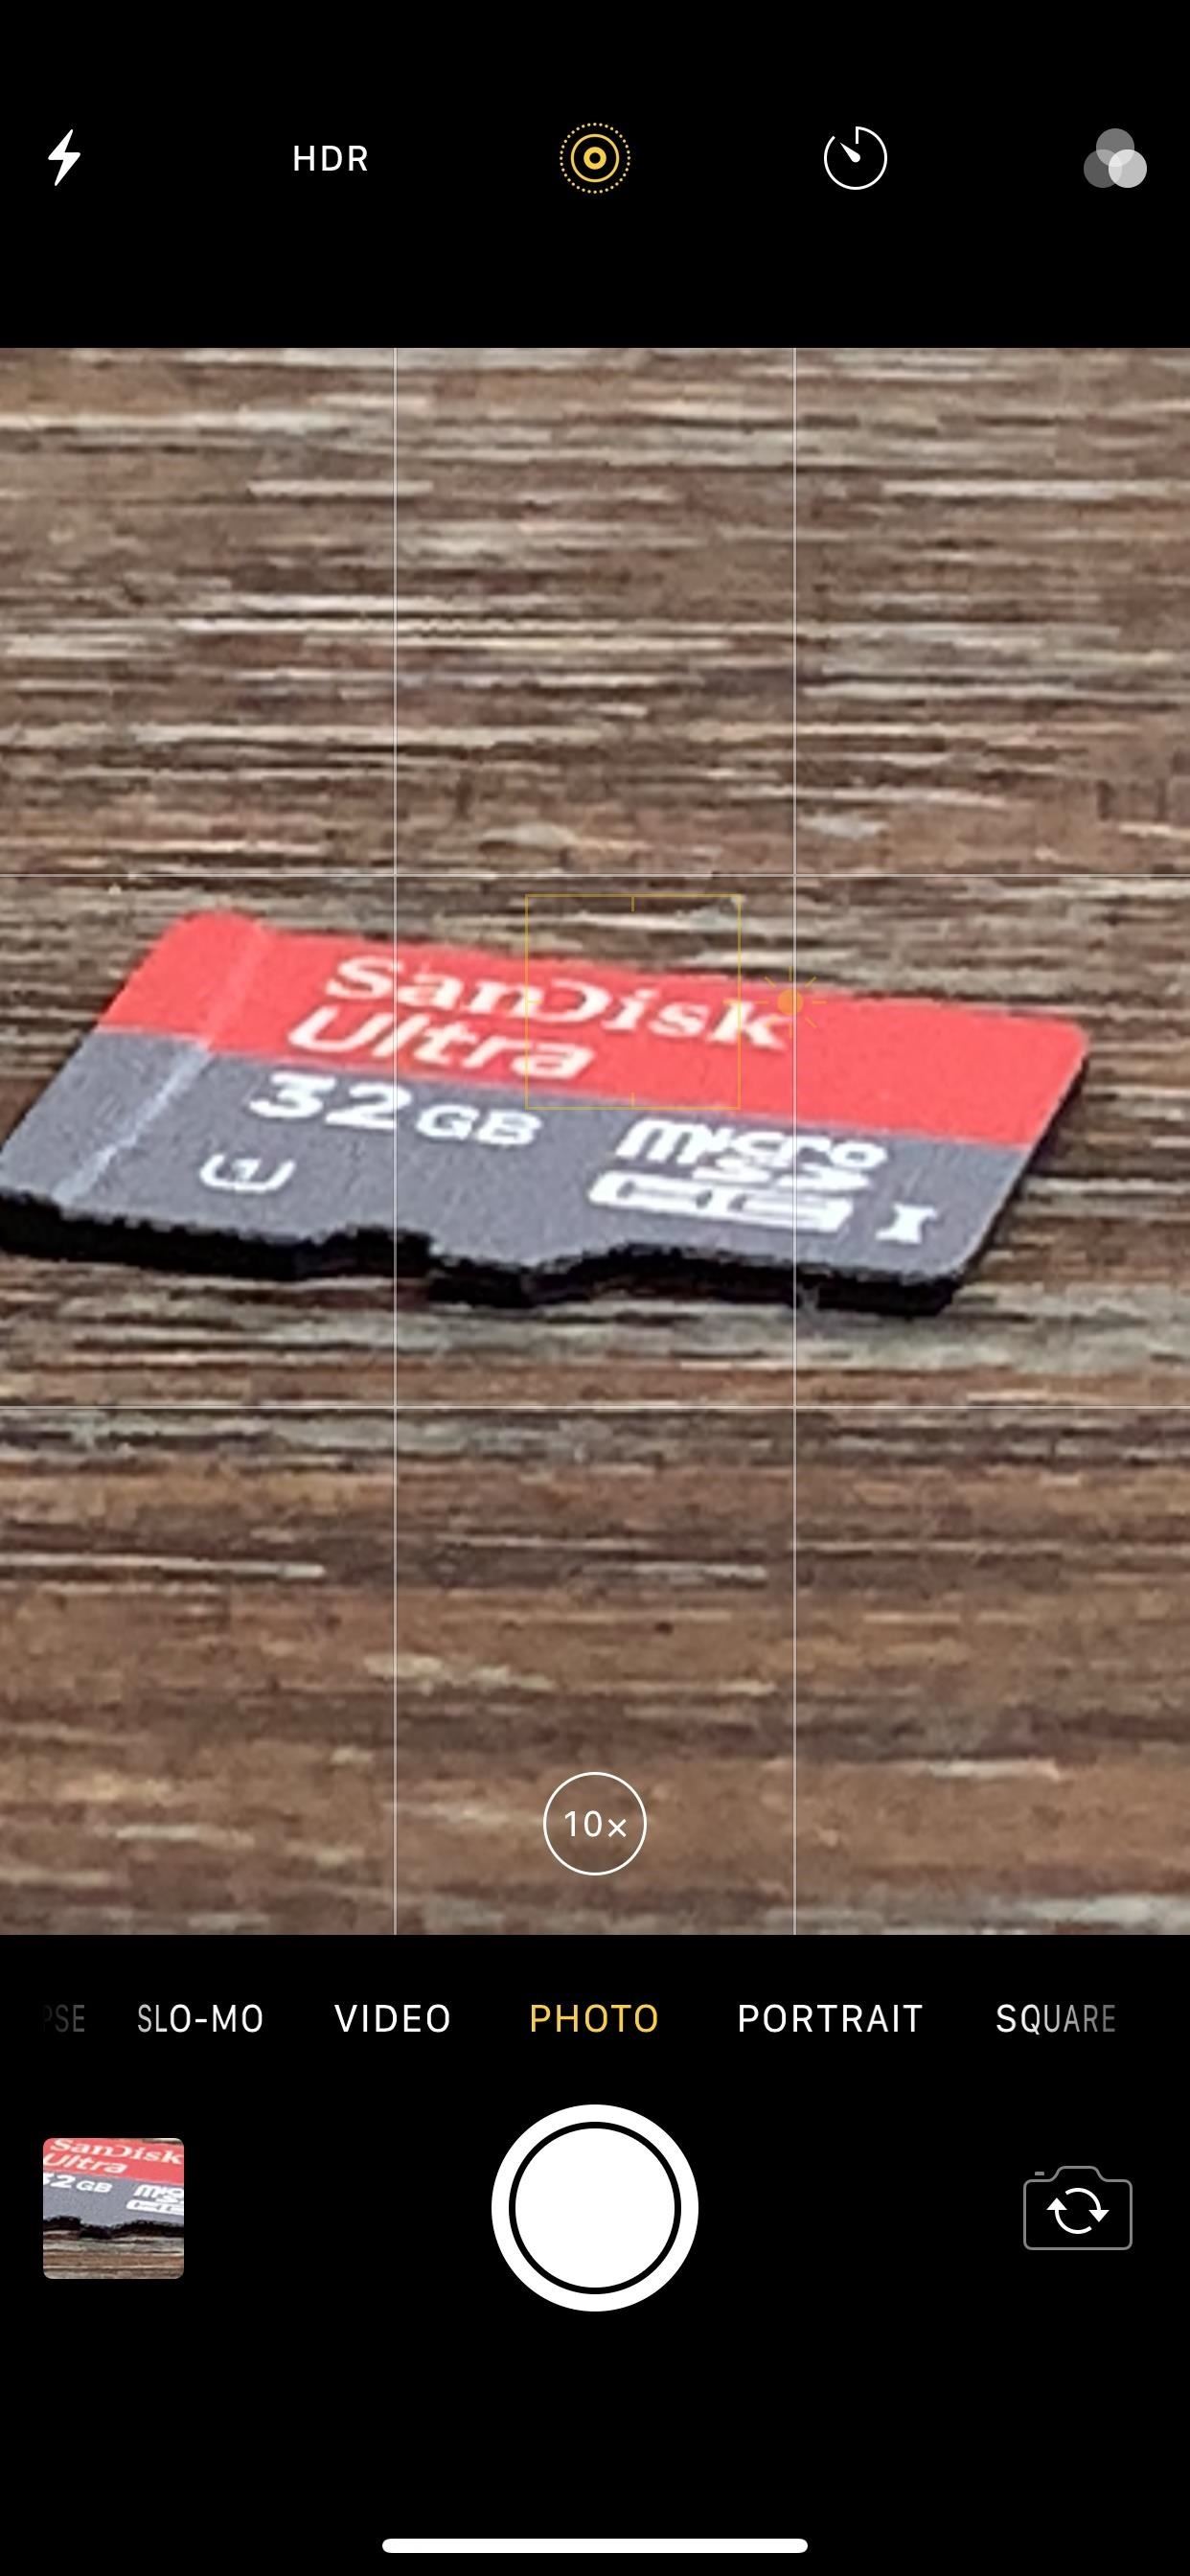
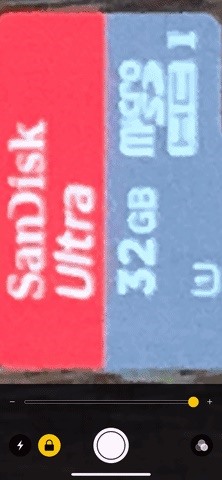
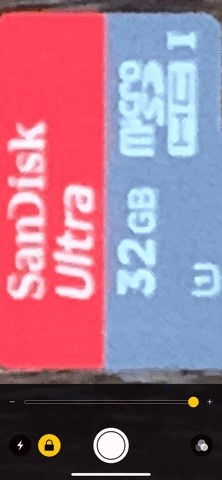
To zoom in Magnifier, either move the circle in the slider left or right or slide your finger up or down on the screen. As you can see below, Magnifier can zoom in much farther than the stock Camera app can. Even when an iPhone has a telephoto lens, the max zoom is very similar to iPhones with only a wide-angle lens because Magnifier uses the regular wide-angle lens since it can focus better at closer ranges.
Step 4: Use Flash, AE Lock & Filters
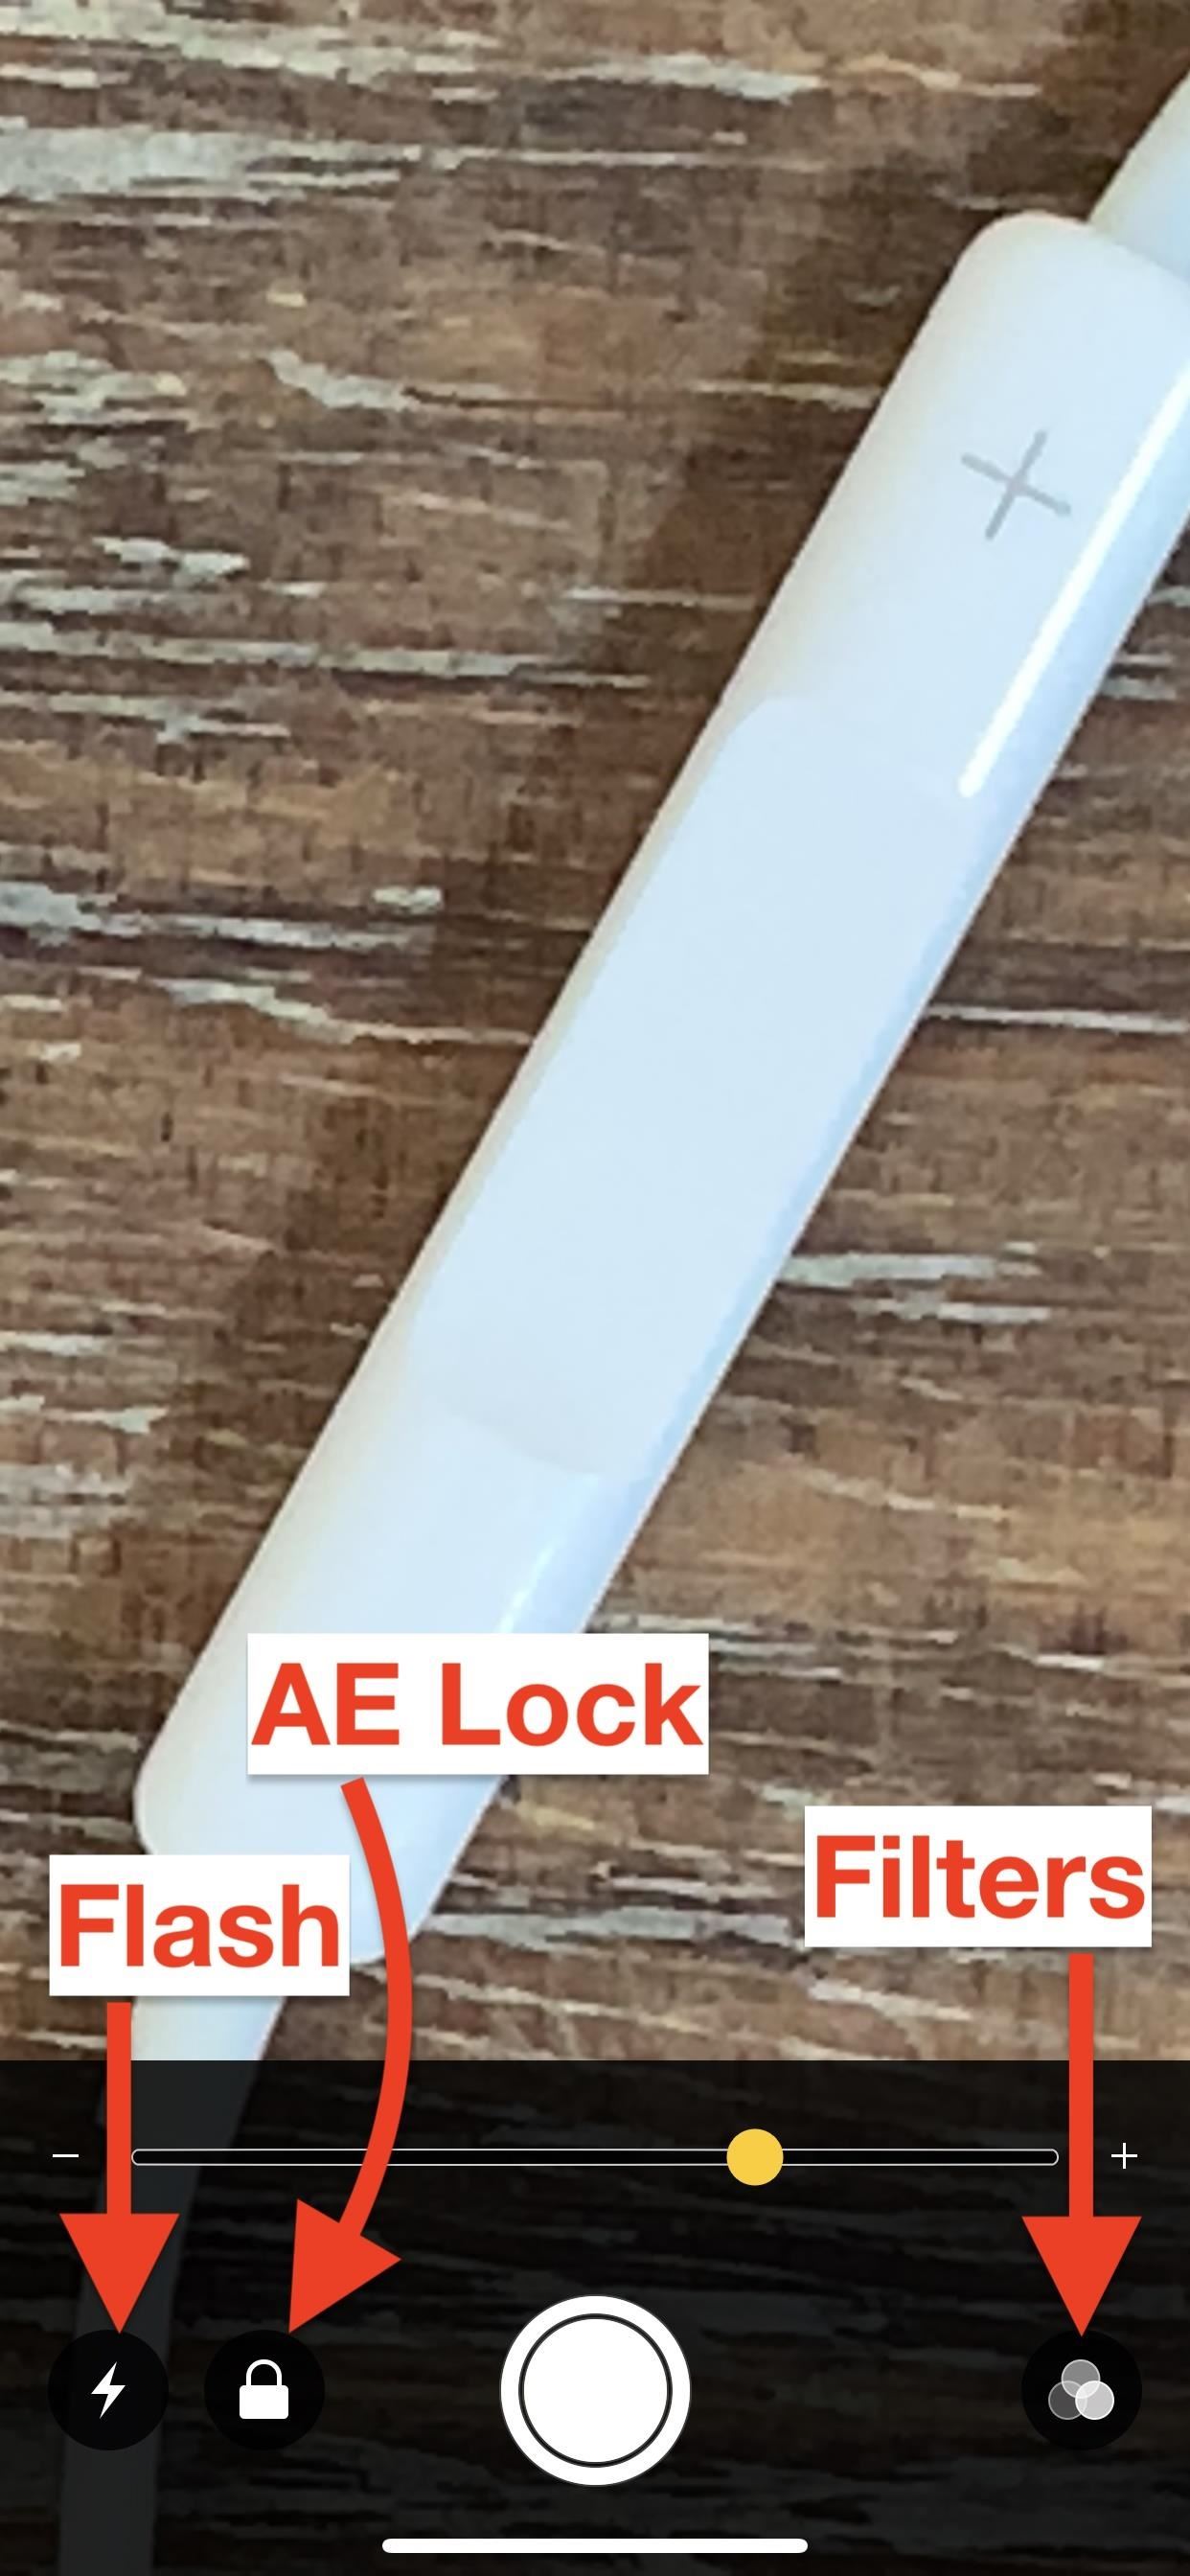
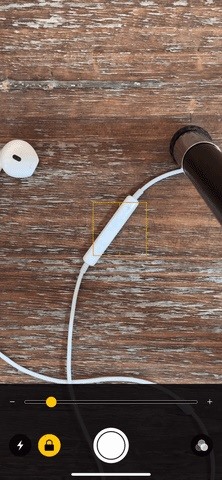
Besides zooming, there are plenty of different options to choose from to help you see what you’re looking at better. You can press the lightning bolt icon to turn on the flash (which will stay on until you turn it off or exit the Magnifier app), lock and unlock exposure by tapping on the focal point or the lock icon, and adjust brightness and contrast by hitting the filter icon.
- Don’t Miss: This Bug Lets You Bypass Zoom Restrictions on Your iPhone Photos
In the filters options, you can choose no filter, white/blue, yellow/blue, grayscale, yellow/black, or red black. You can also tap the inverted icon in the bottom left for inverted, blue/white, blue/yellow, inverted grayscale, black/yellow, or black red views. No matter which filter you choose, you can use the sliders to adjust brightness (top slider) and contrast (bottom slider).
Step 5: Take a Still Image
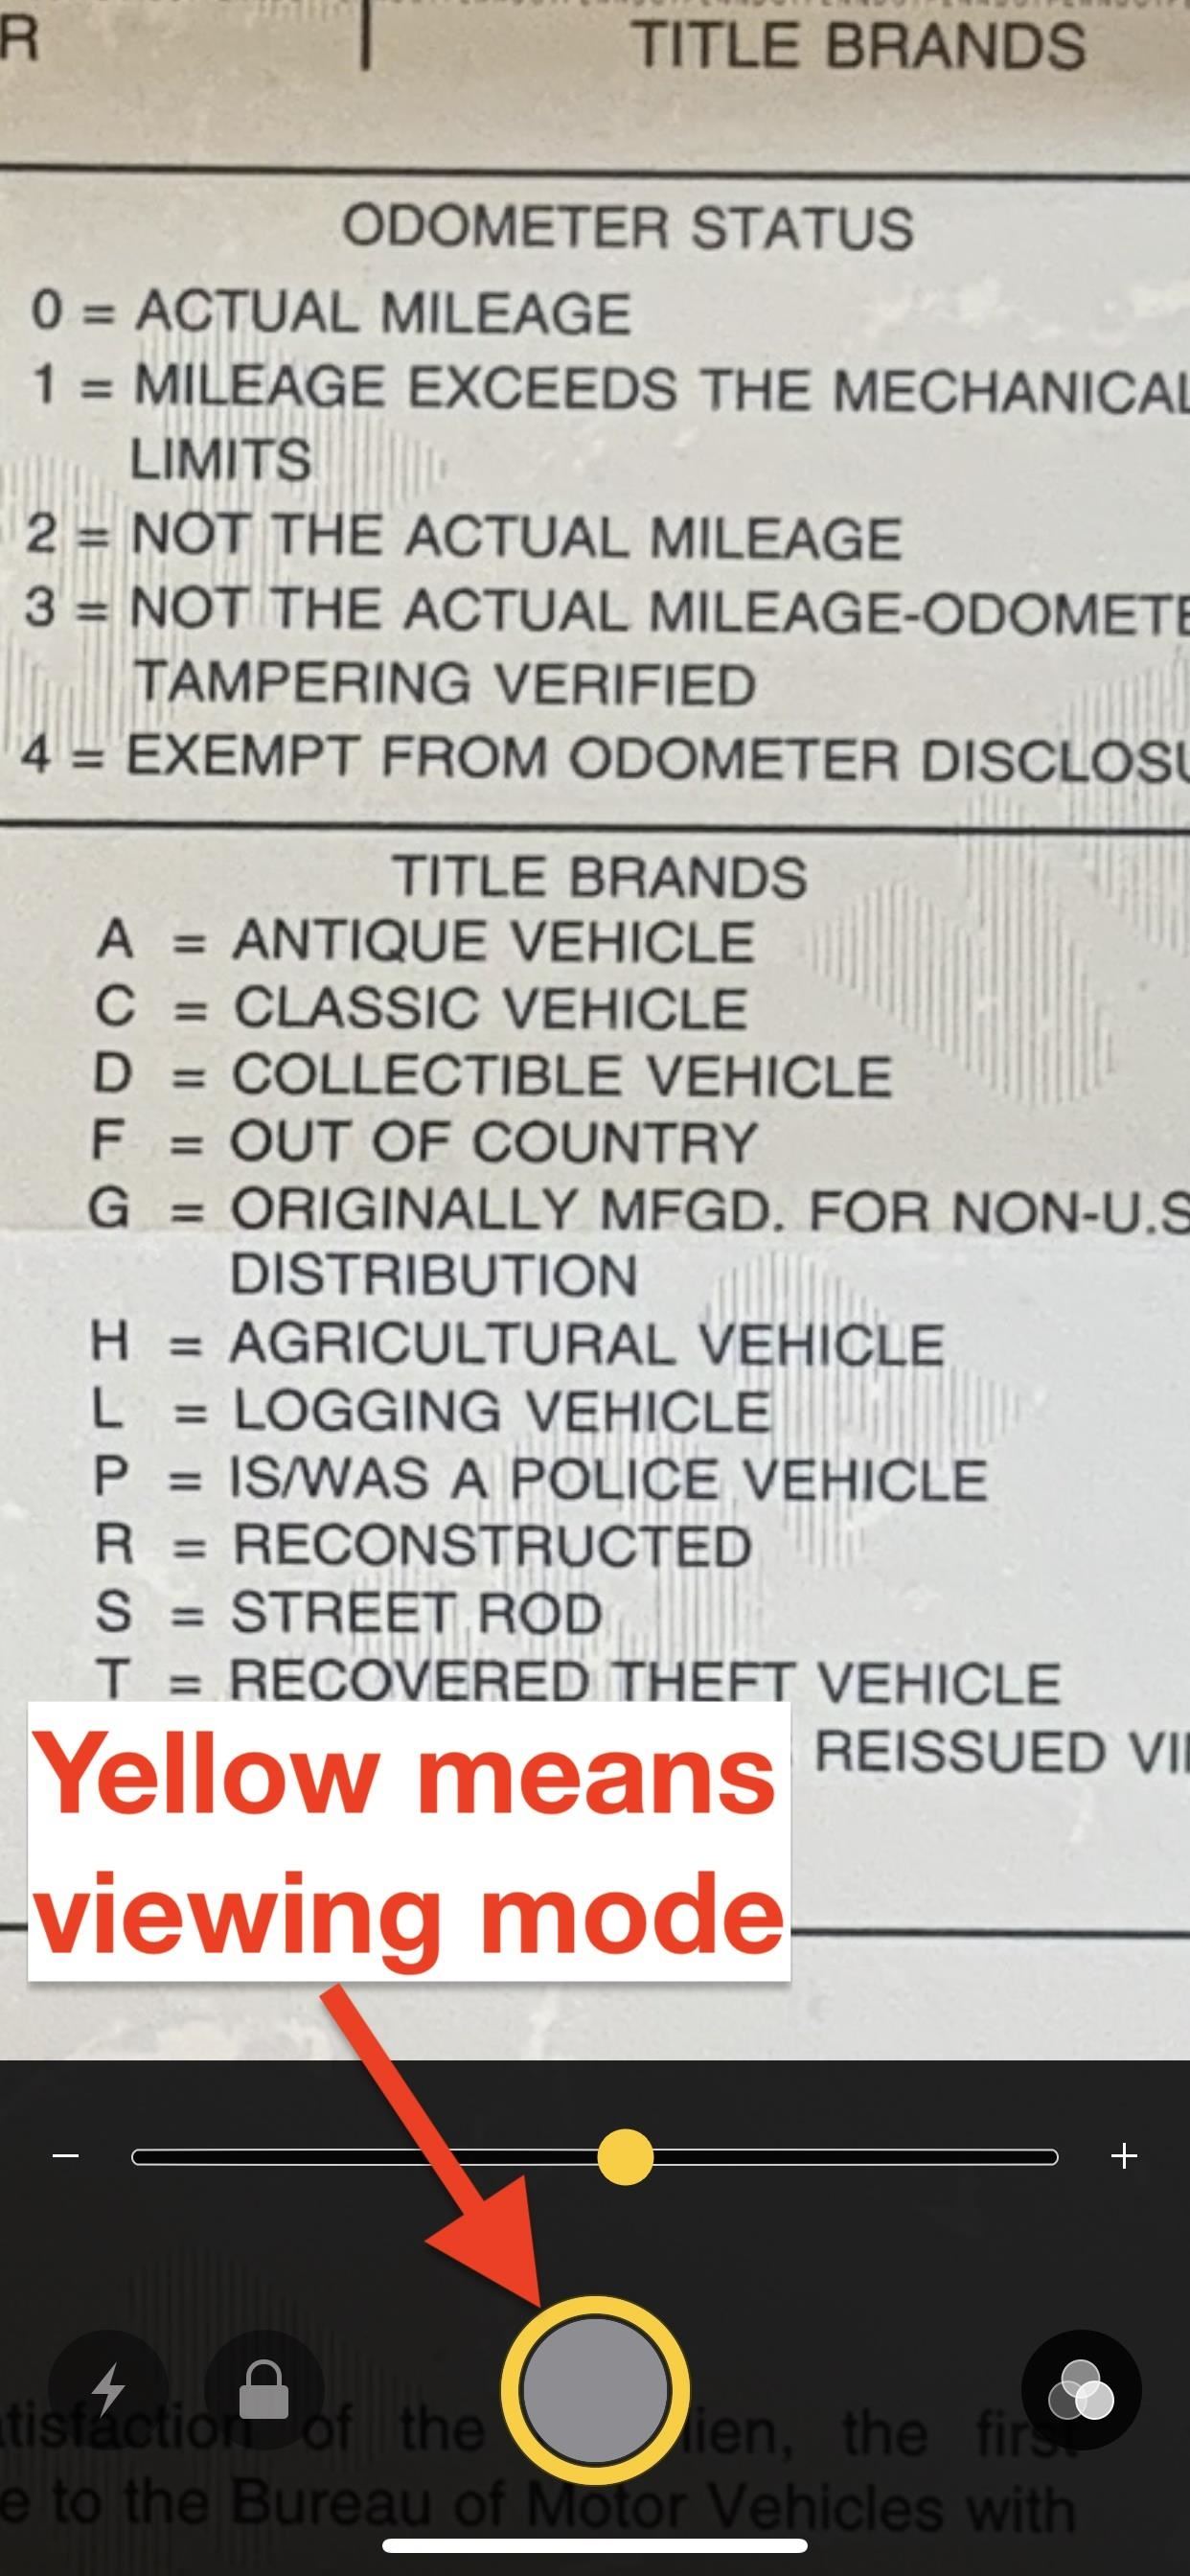
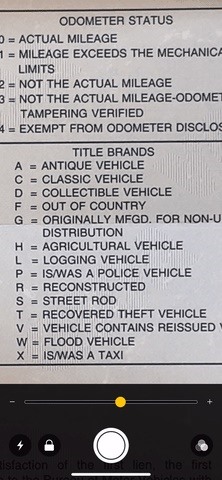
Once you have it how you want it, you can press the shutter button to take a photo. The resulting static image will fill the entire screen, and you can tap the preview image to bring up the zoom controls again, which work even on this still image preview. The shutter button’s outer circle will be highlighted yellow, indicating it’s not in camera mode but in viewing mode.
After you “take” a photo to view, it won’t go to your Photos app and will only reside in the Magnifier app until you press the shutter icon again, in which case you start over. However, you can take screenshots which you can access later just like any other screenshot.
- Don’t Miss: 18 Tips for Using Your iPhone’s New Screenshot Tool
Comparison Results
The results of how clear an image is, as well as colors, will vary depending on which type of iPhone you have. For instance, you can see the iPhone XS Max below looks slightly blurred compared to the iPhone X, and that could be because of how Apple’s newer models “beautify” faces and such with smooth edges.


In a side-by-side comparison of the iPhone 7 Plus and iPhone 6 Plus, you can see that the iPhone 7 Plus definitely has a sharper image, though it doesn’t seem to zoom in quite as much as the iPhone 6 Plus did — which is probably a good thing, to prevent too many details being lost.


- Follow Gadget Hacks on Pinterest, Twitter, YouTube, and Flipboard
- Sign up for Gadget Hacks’ daily newsletter or weekly Android and iOS updates
- Follow WonderHowTo on Facebook, Twitter, Pinterest, and Flipboard
Just updated your iPhone? You’ll find new emoji, enhanced security, podcast transcripts, Apple Cash virtual numbers, and other useful features. There are even new additions hidden within Safari. Find out what’s new and changed on your iPhone with the iOS 17.4 update.
“Hey there, just a heads-up: We’re part of the Amazon affiliate program, so when you buy through links on our site, we may earn a small commission. But don’t worry, it doesn’t cost you anything extra and helps us keep the lights on. Thanks for your support!”


