There’s no debating that the Galaxy S8 and S8+ are top contenders for the most beautifully designed handsets of 2017, but the same can’t be said for their TouchWiz interface, which has been met with lukewarm reception at best.
Changing the UI by flashing a custom ROM has always been a popular option for people who wanted the most out of their Galaxy S-series phones, but this has become almost impossible with the widespread bootloader-locking on newer Samsung flagships.
That said, there are some non-root mods that can make the S8 run as close to stock Android as possible without the risk of bricking your brand new phone. So below, we’ll go over six tips that give you the Google Pixel software experience on your Galaxy S8.
Requirements
- Galaxy S8 or S8+
- “Unknown sources” enabled
Tip 1: Install the Pixel Launcher
The biggest step you can take towards getting the Pixel experience on your S8 is to swap out the TouchWiz home screen app in favor of the one used on the Pixel. Unfortunately, the Pixel Launcher isn’t available on the Play Store, so you’ll need to sideload the app. To do so, simply tap on the link below to download the Pixel Launcher APK, then open the file and press “Install” when prompted.
Next, press your home button, then you’ll be asked which launcher you’d like to use. Select “Pixel Launcher” here, and your home screen will now be almost identical to the one found on the Pixel. For more information on this ported version of the Pixel Launcher, check out our full guide below.

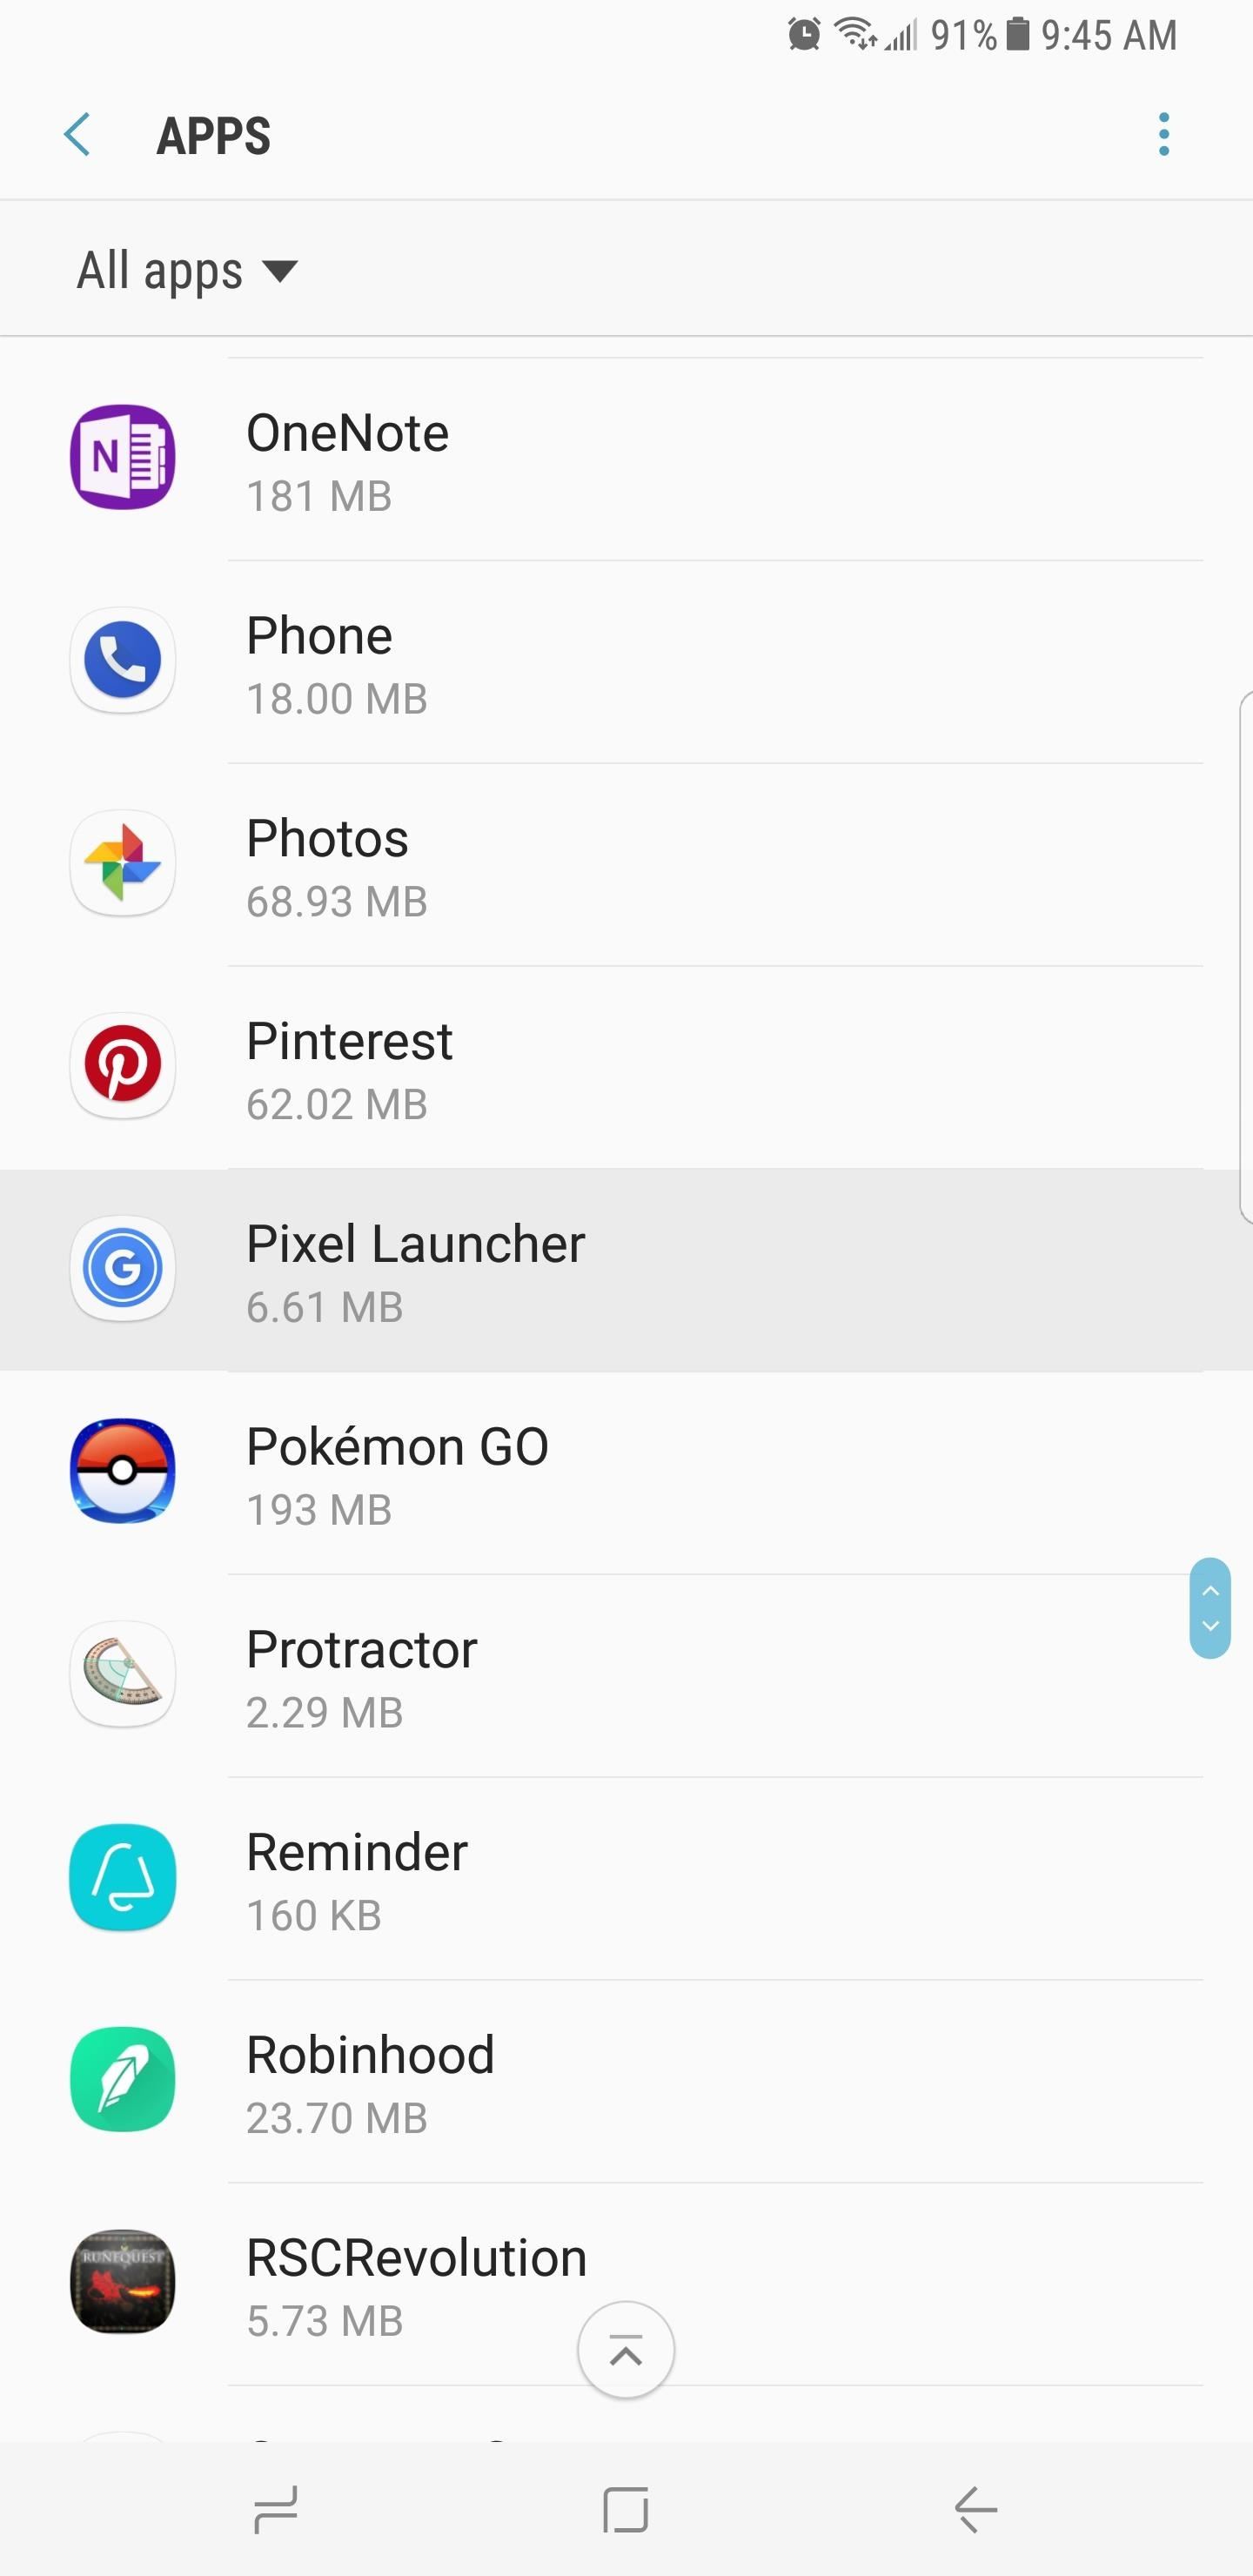
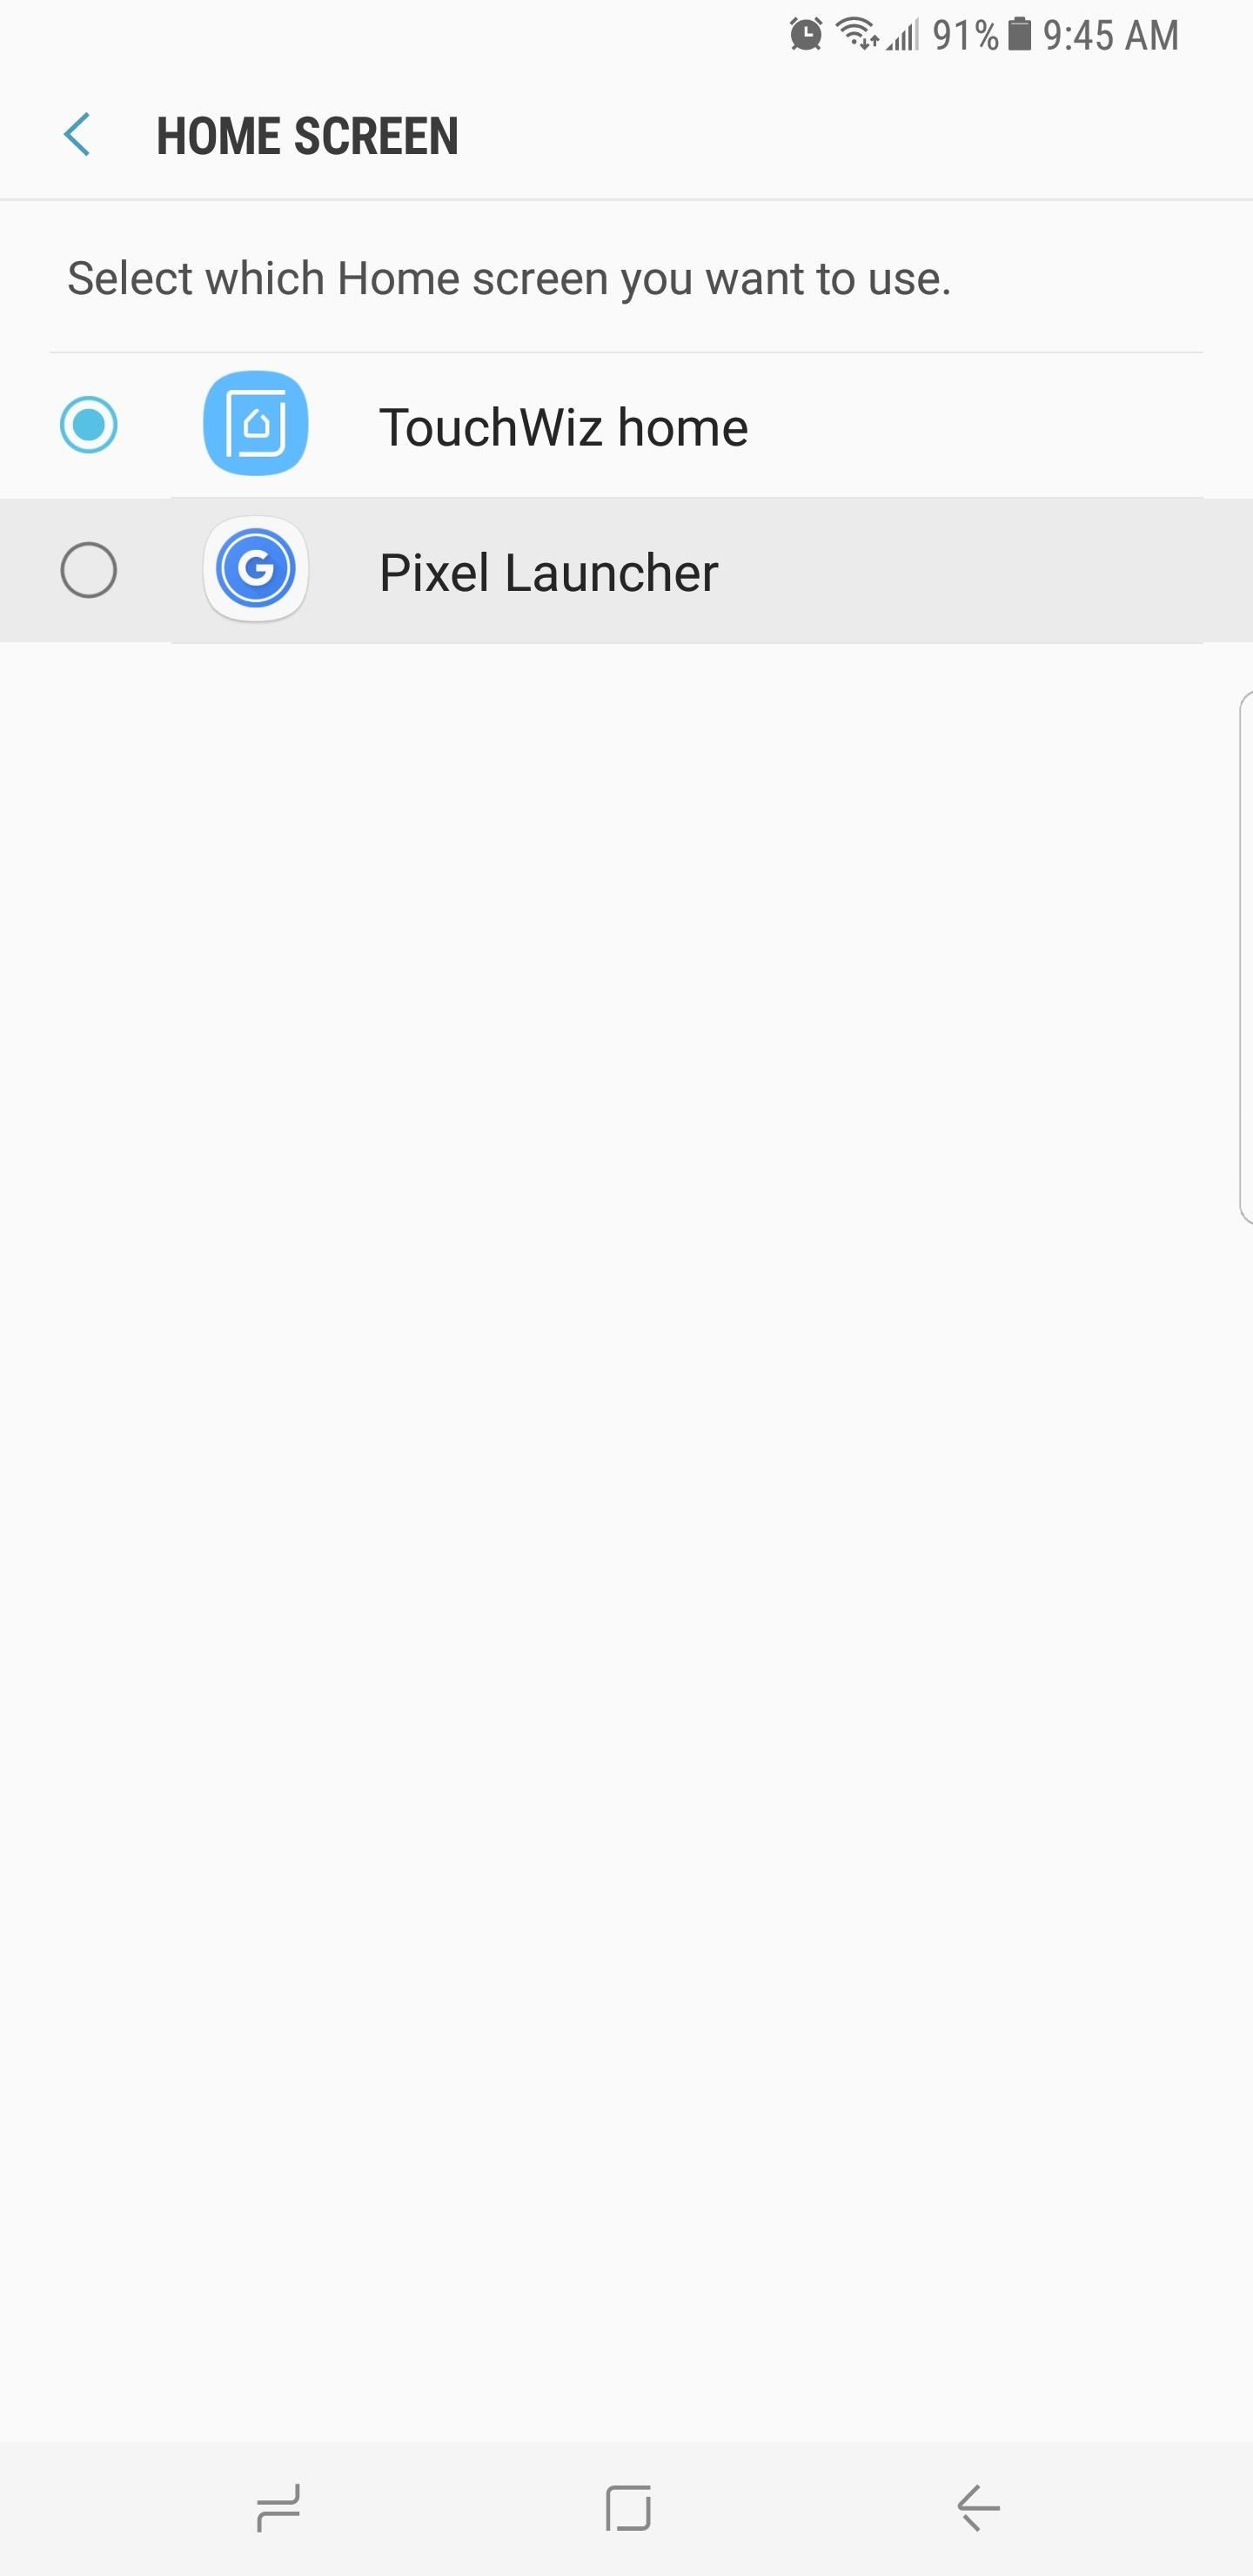
Alternatively, you can also set Pixel Launcher as your default by going to the Apps menu in Settings. From there, scroll down and select “Pixel Launcher,” then tap on “Home screen” and choose “Pixel Launcher,” then you’re good to go.

Tip 2: Get the Google Dialer
Like its launcher, the Pixel’s stock phone app isn’t available on the Play Store and will also need to be sideloaded. You can get the newest patched version of the stock Pixel phone app by tapping on the following link, then launching the APK and pressing “Install.”
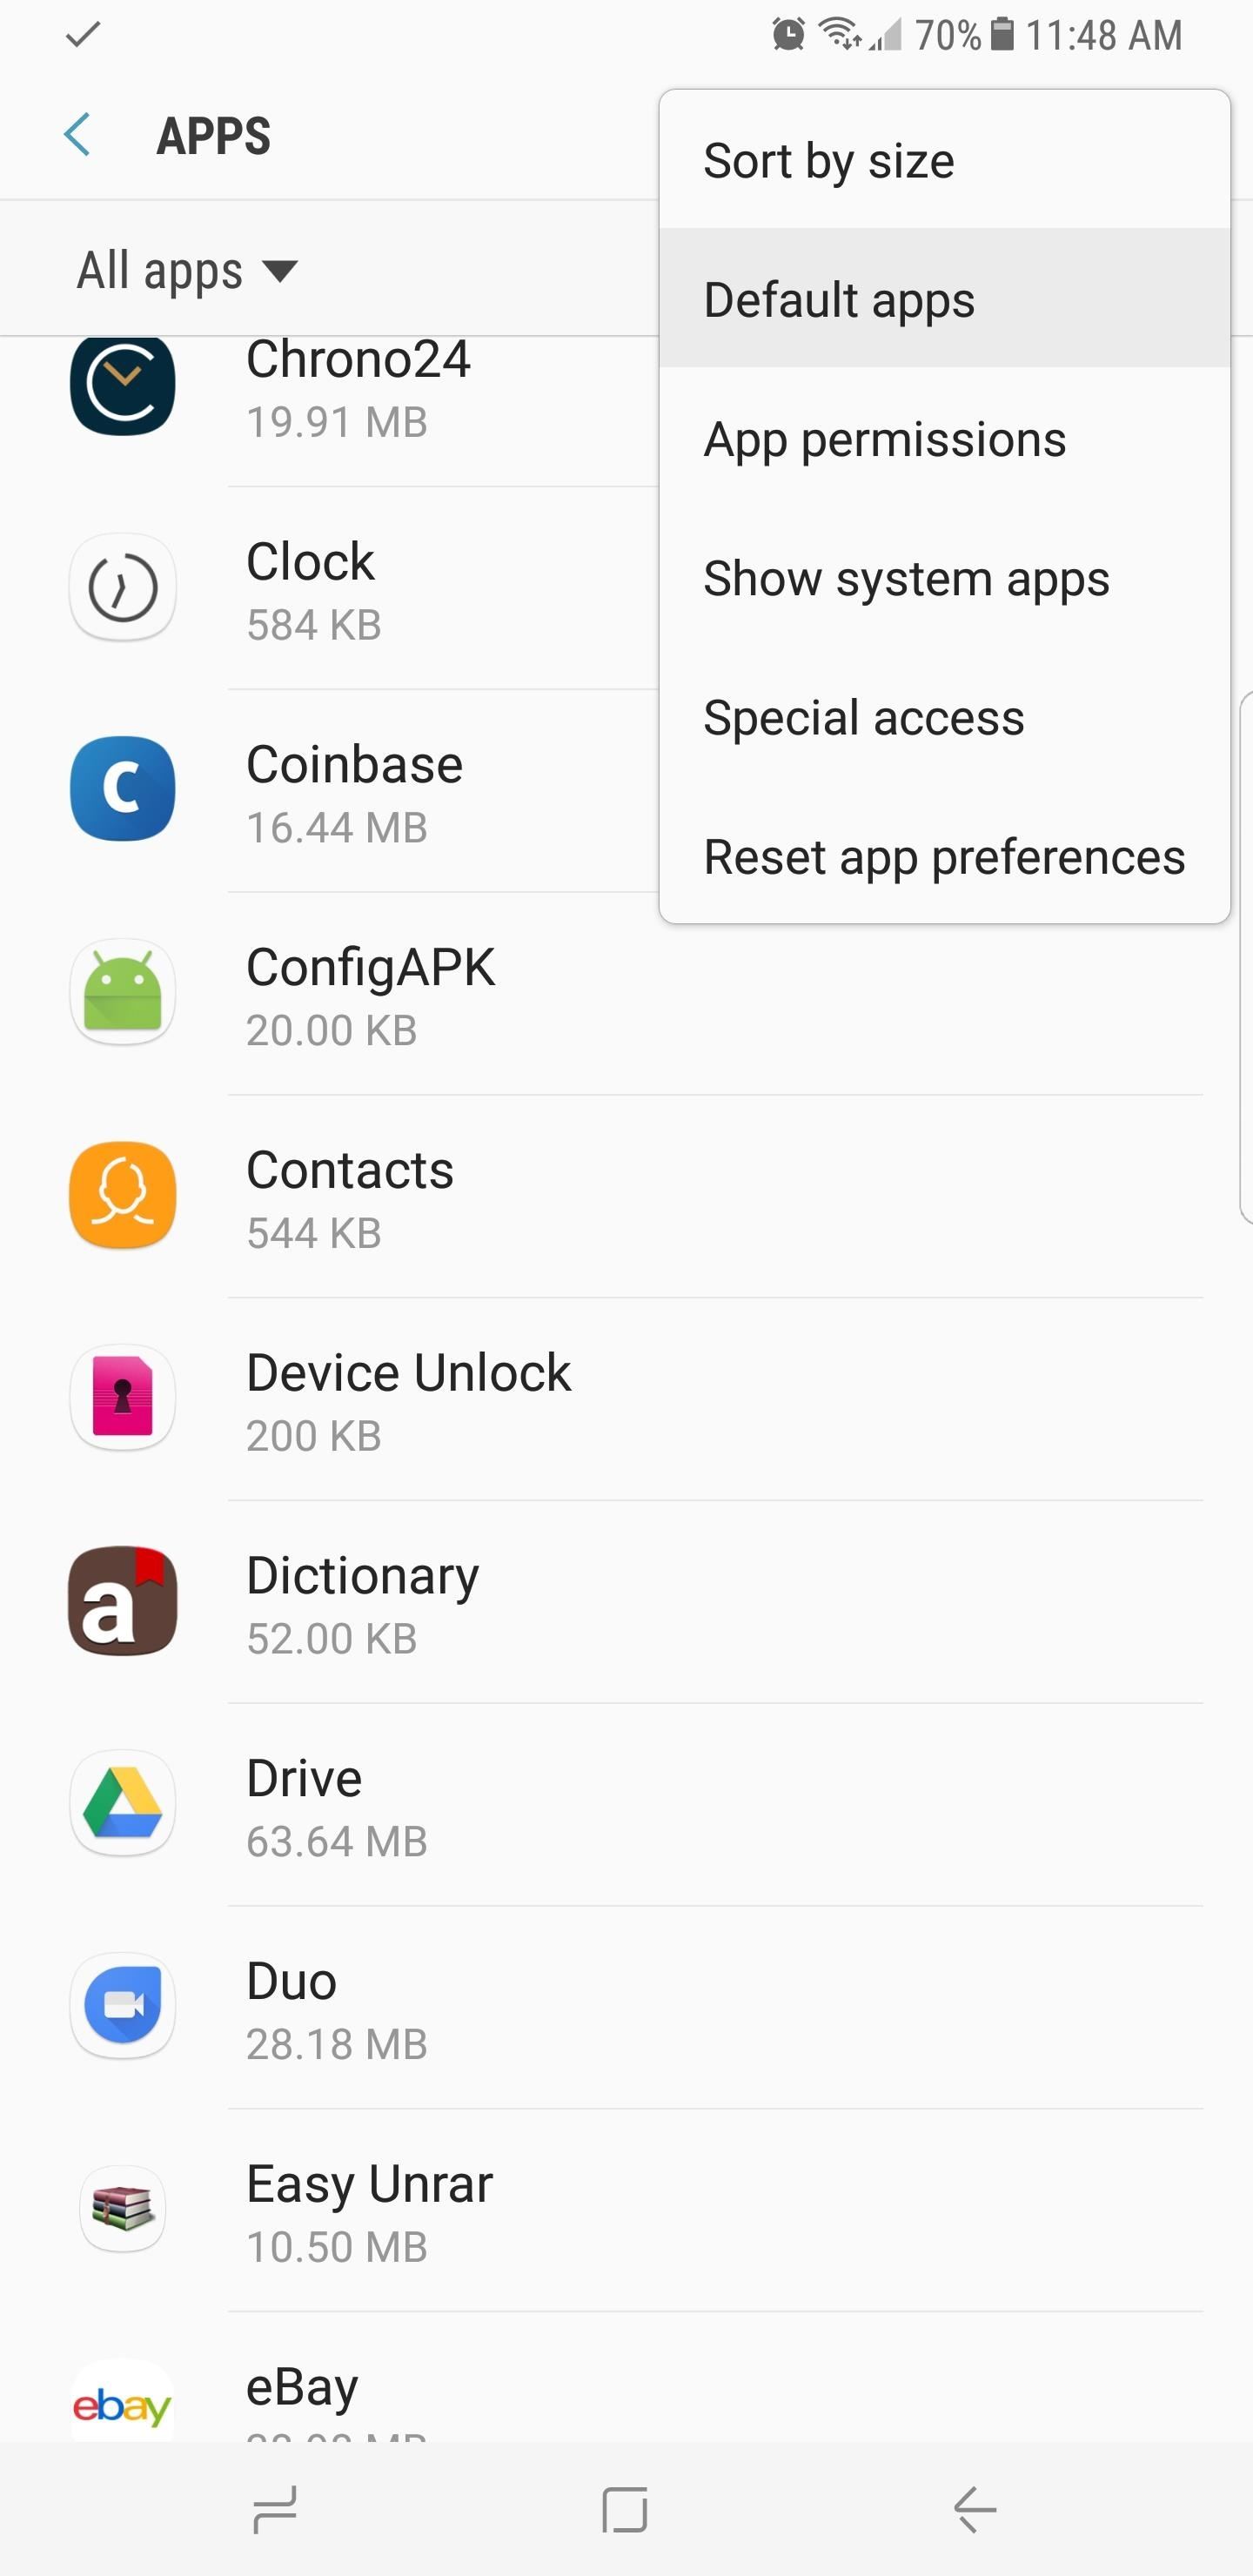
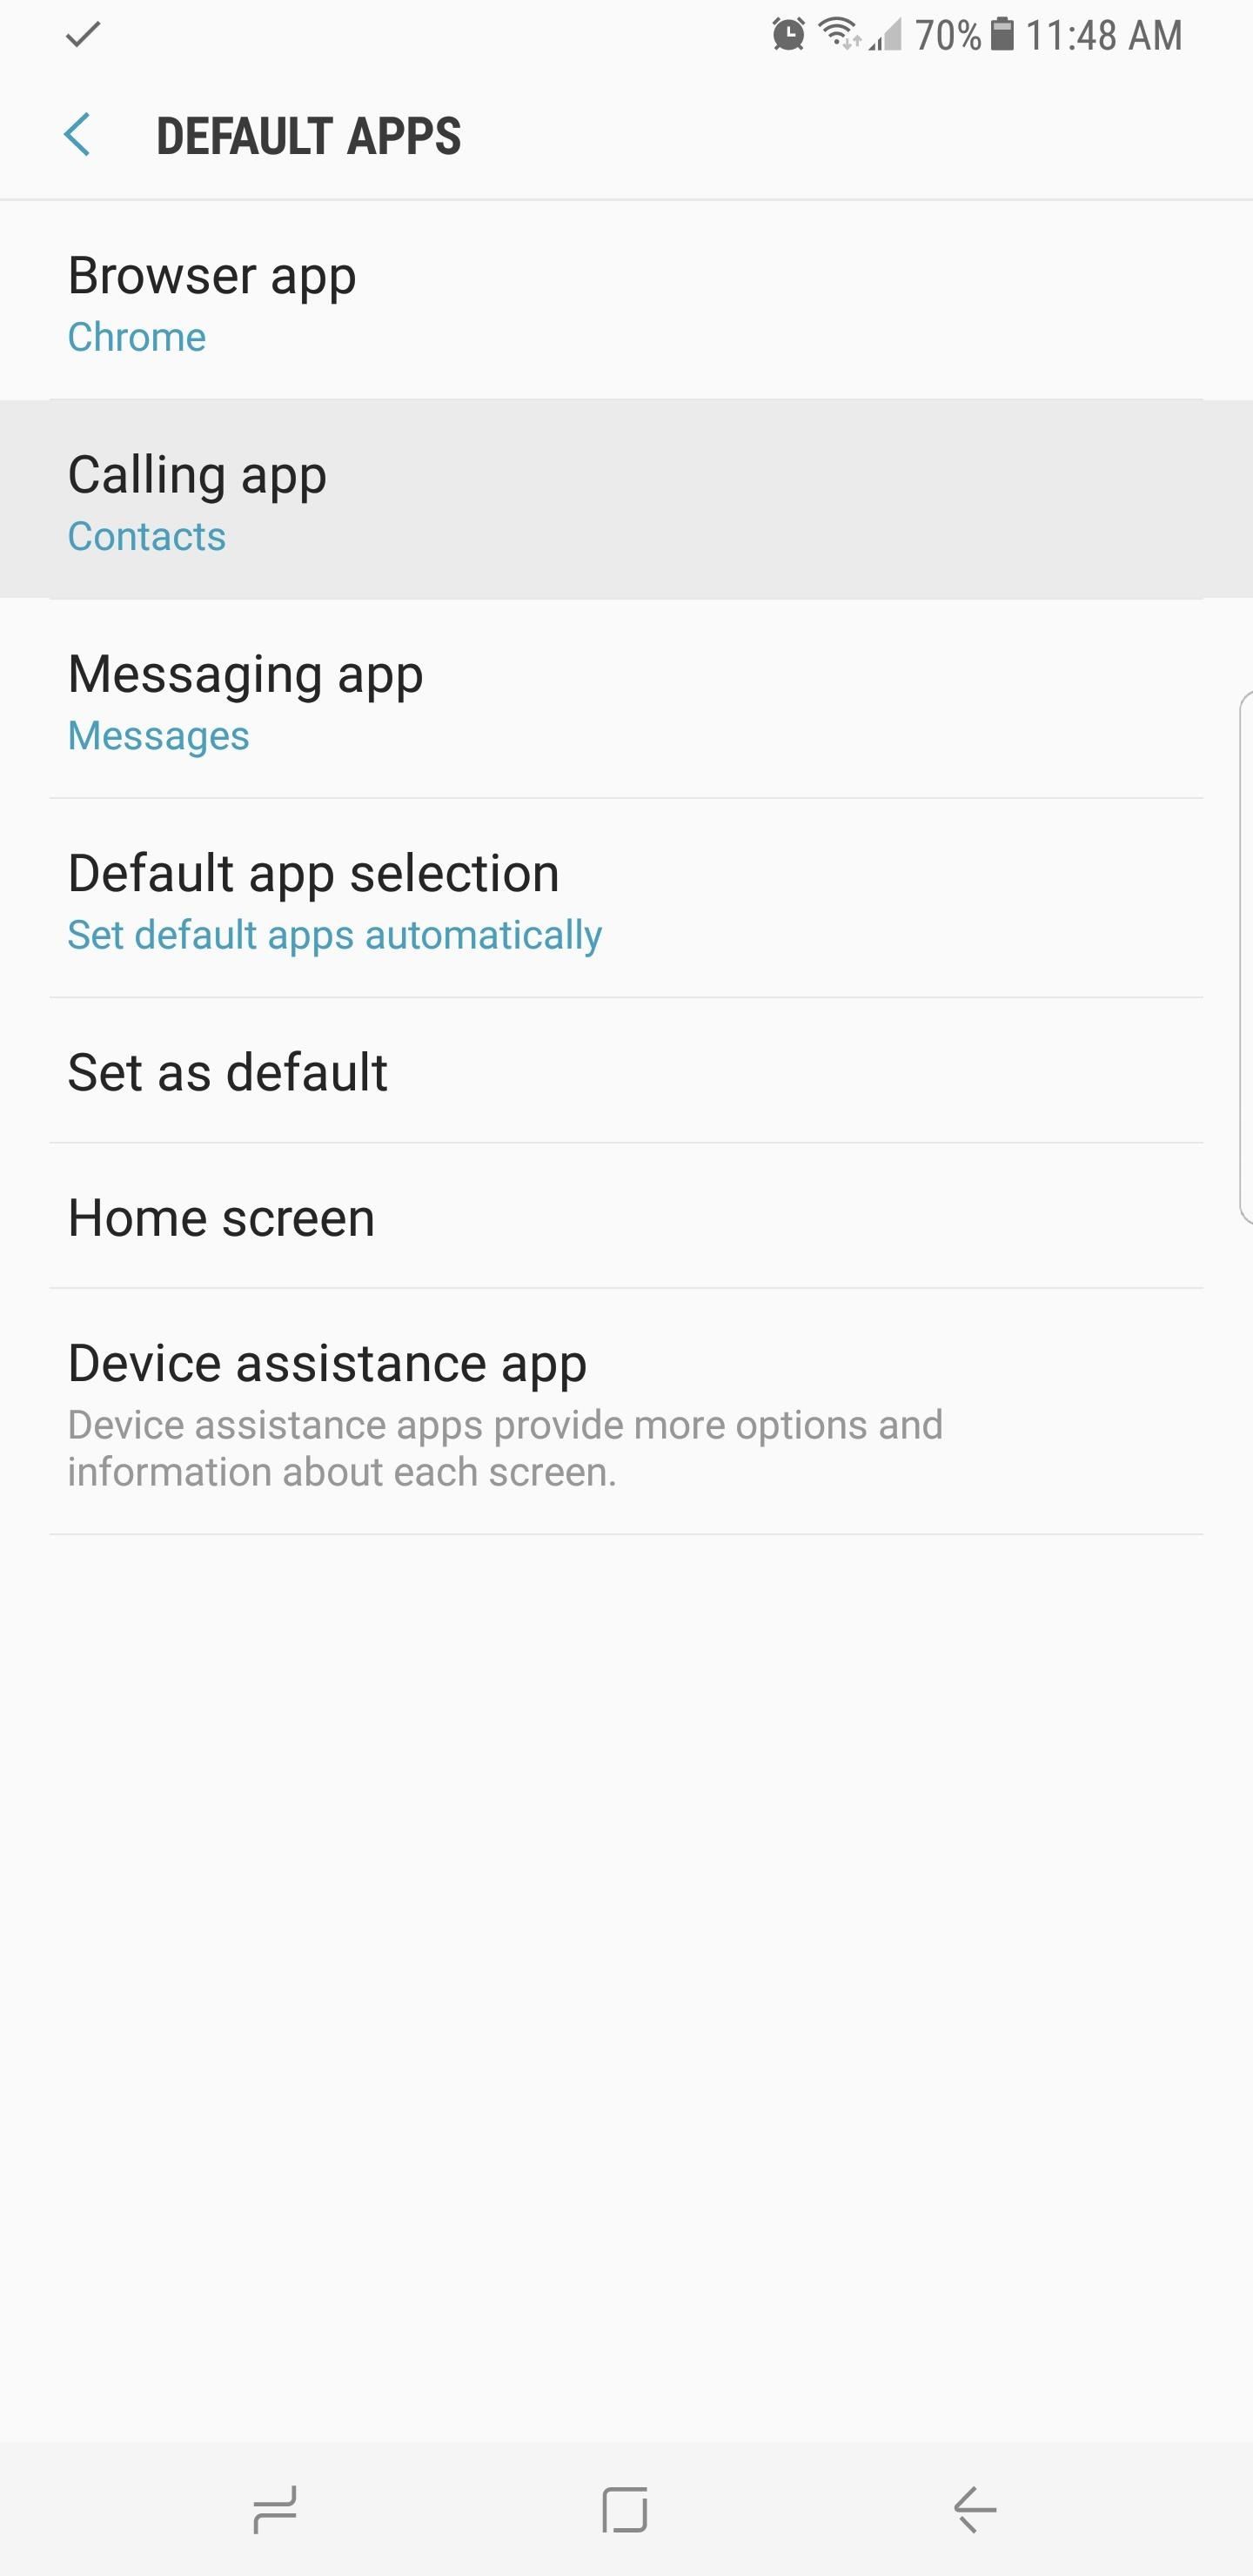
After installing, you’ll now want to set Pixel’s phone app as your default dialer, so head the Apps menu in Settings. Next, tap the three-dot menu icon and select “Default apps,” then choose “Calling app.” Finally, select “Phone” from the list, which uses a circular blue icon.
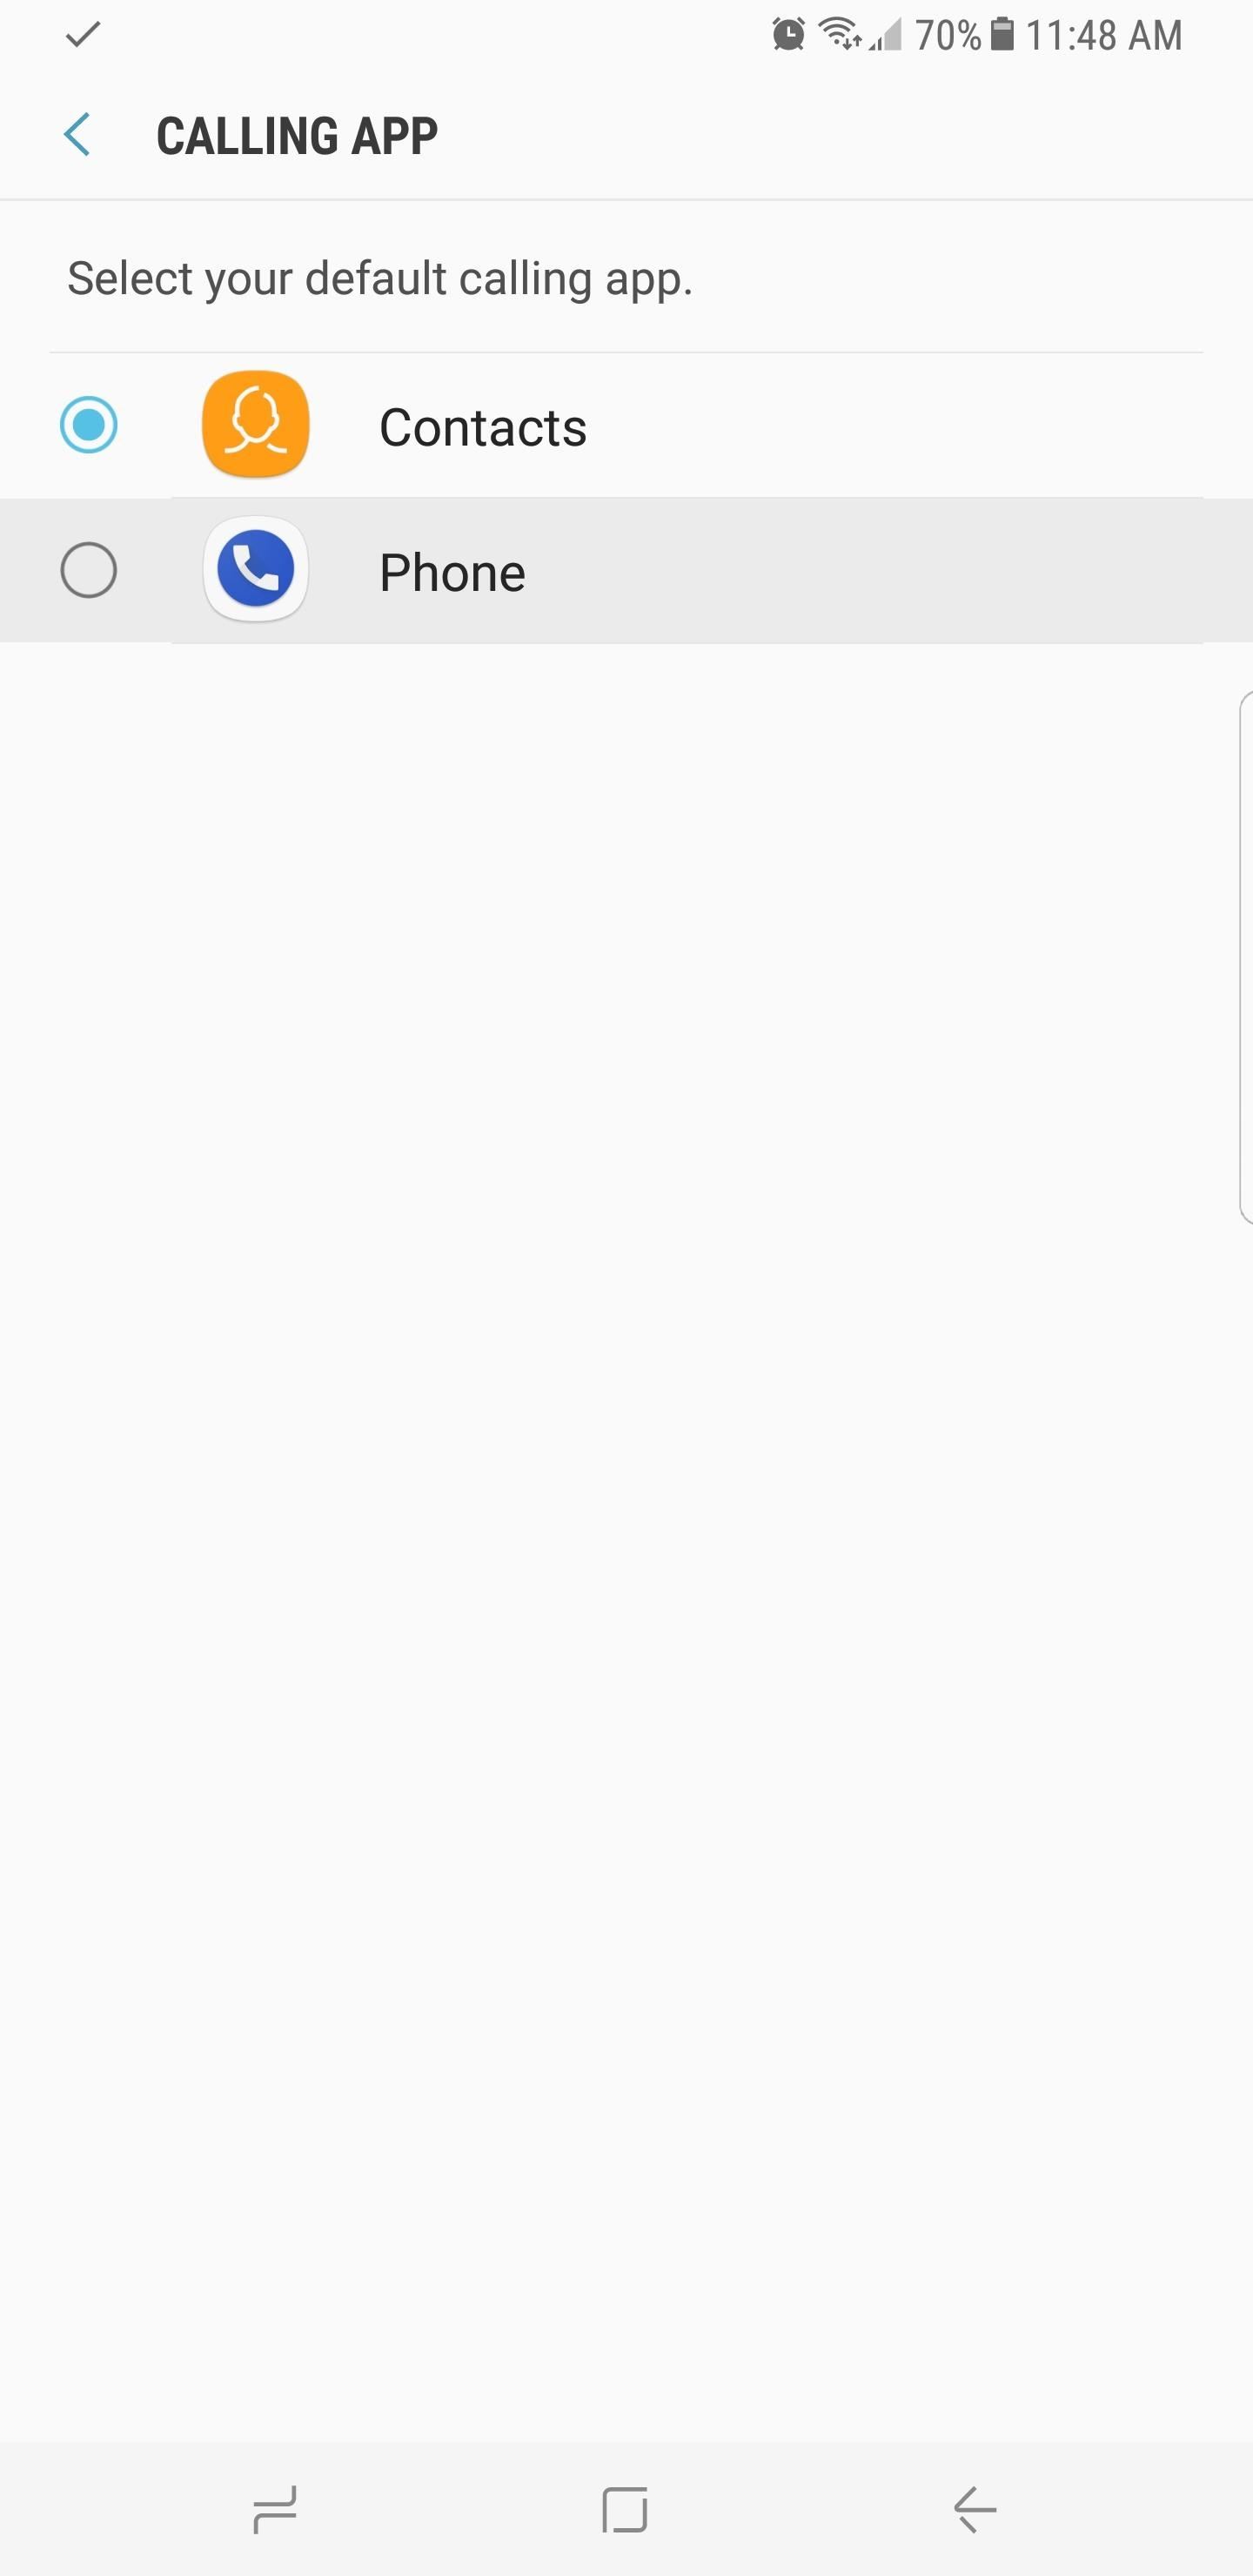
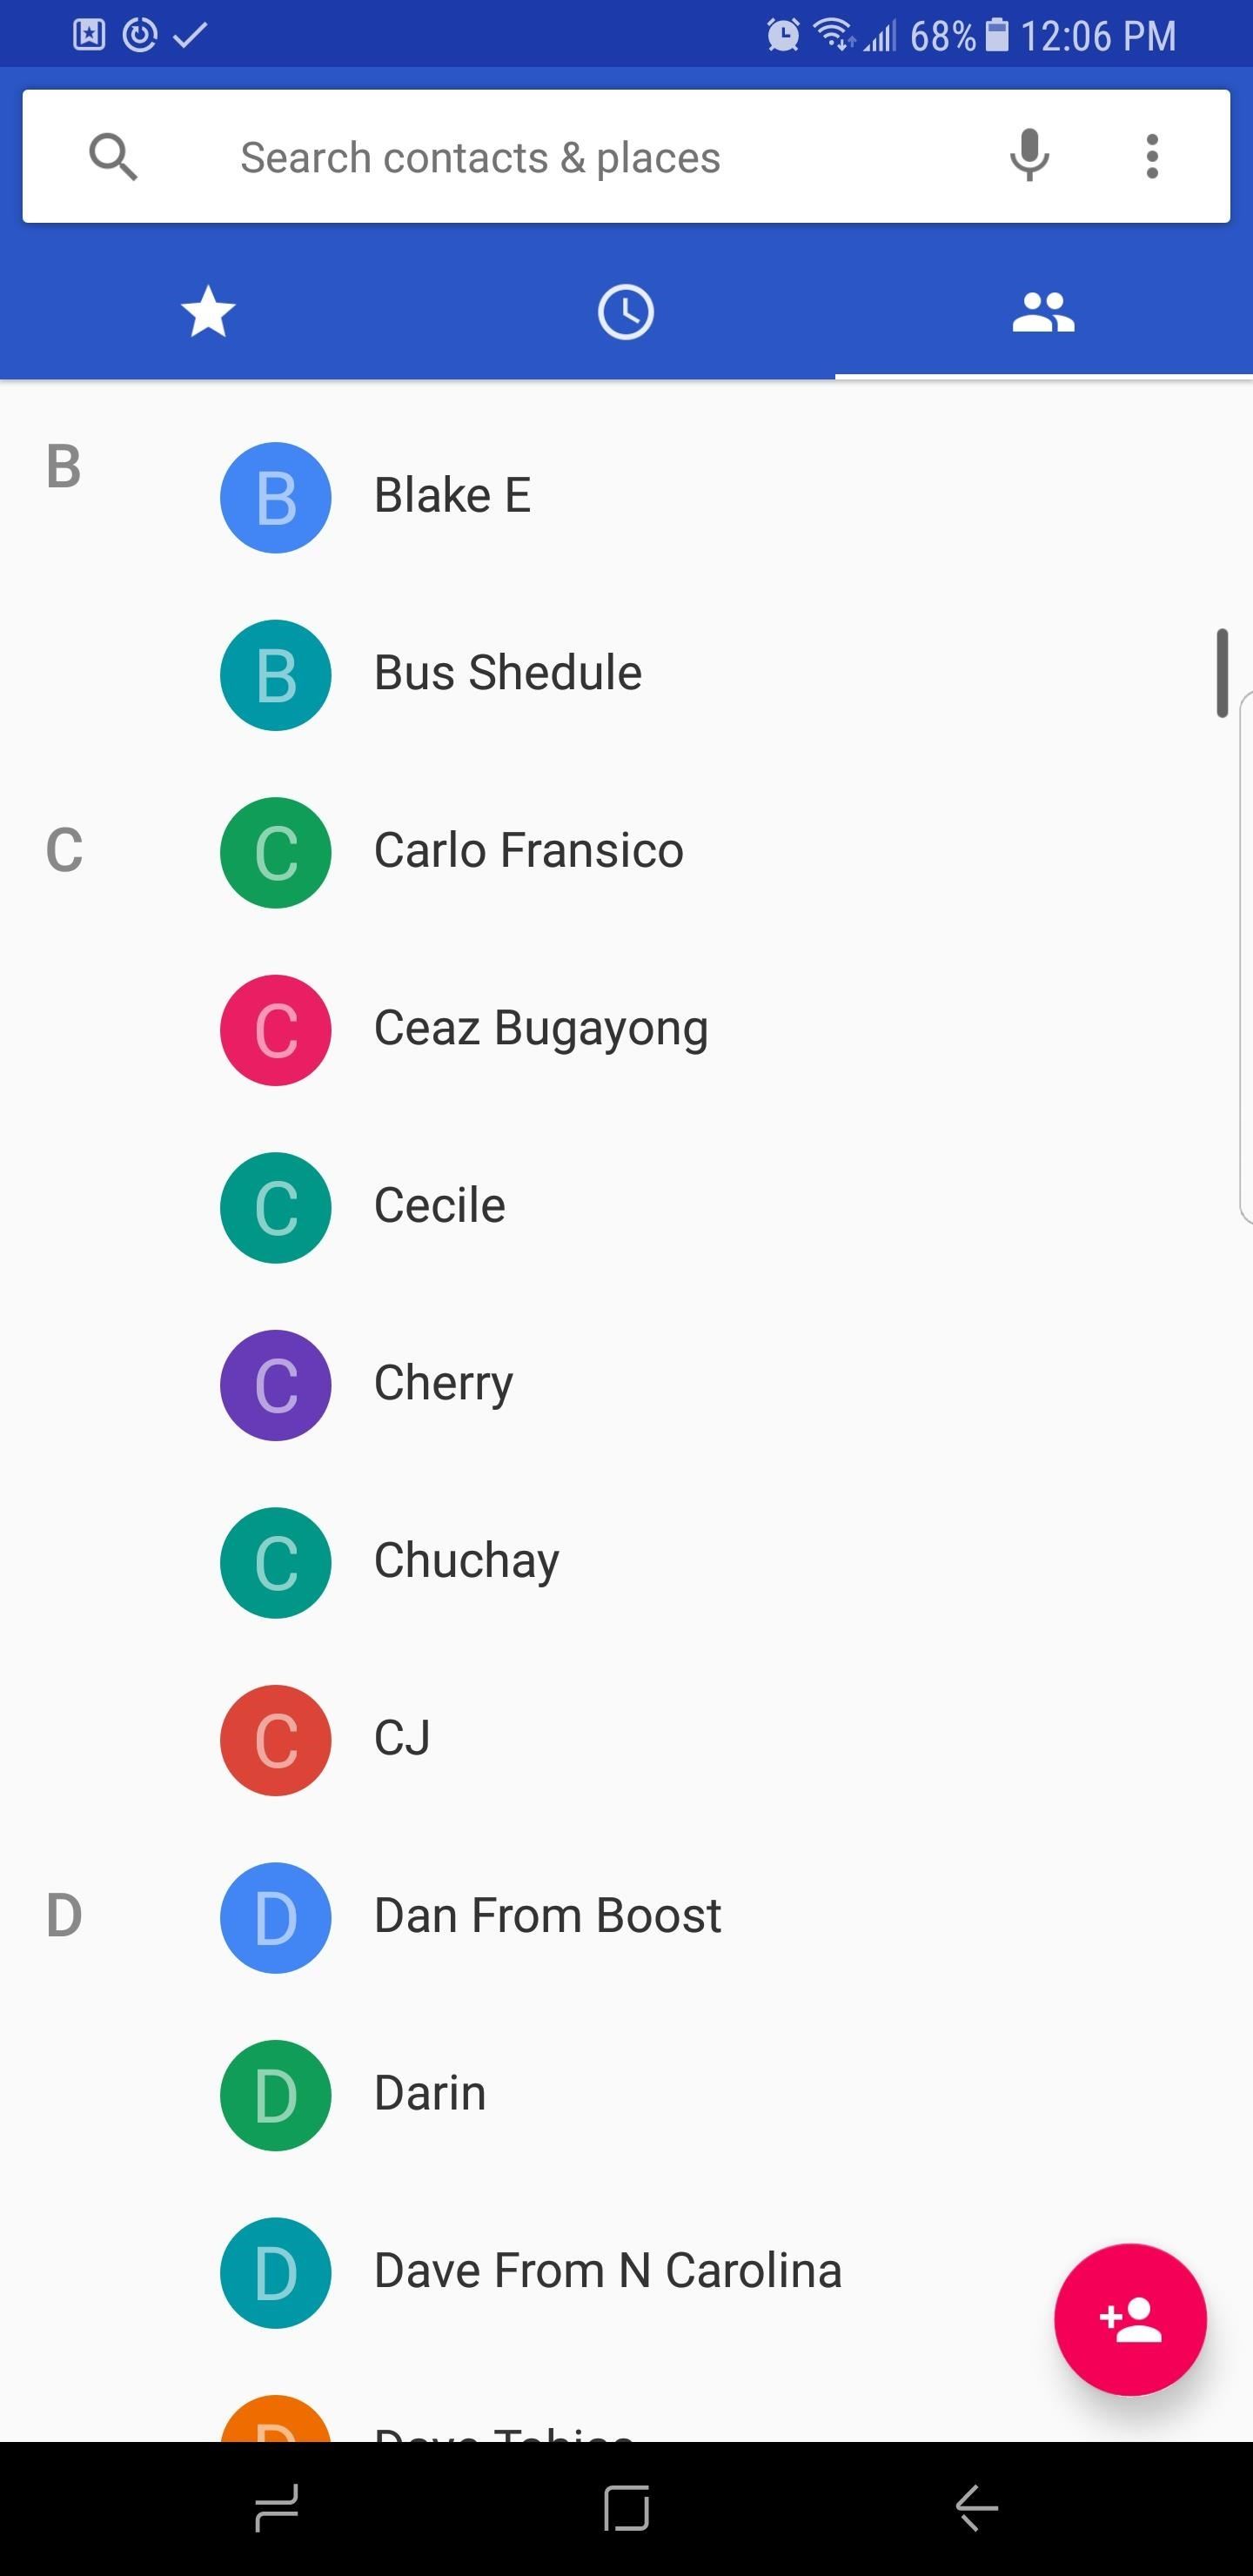
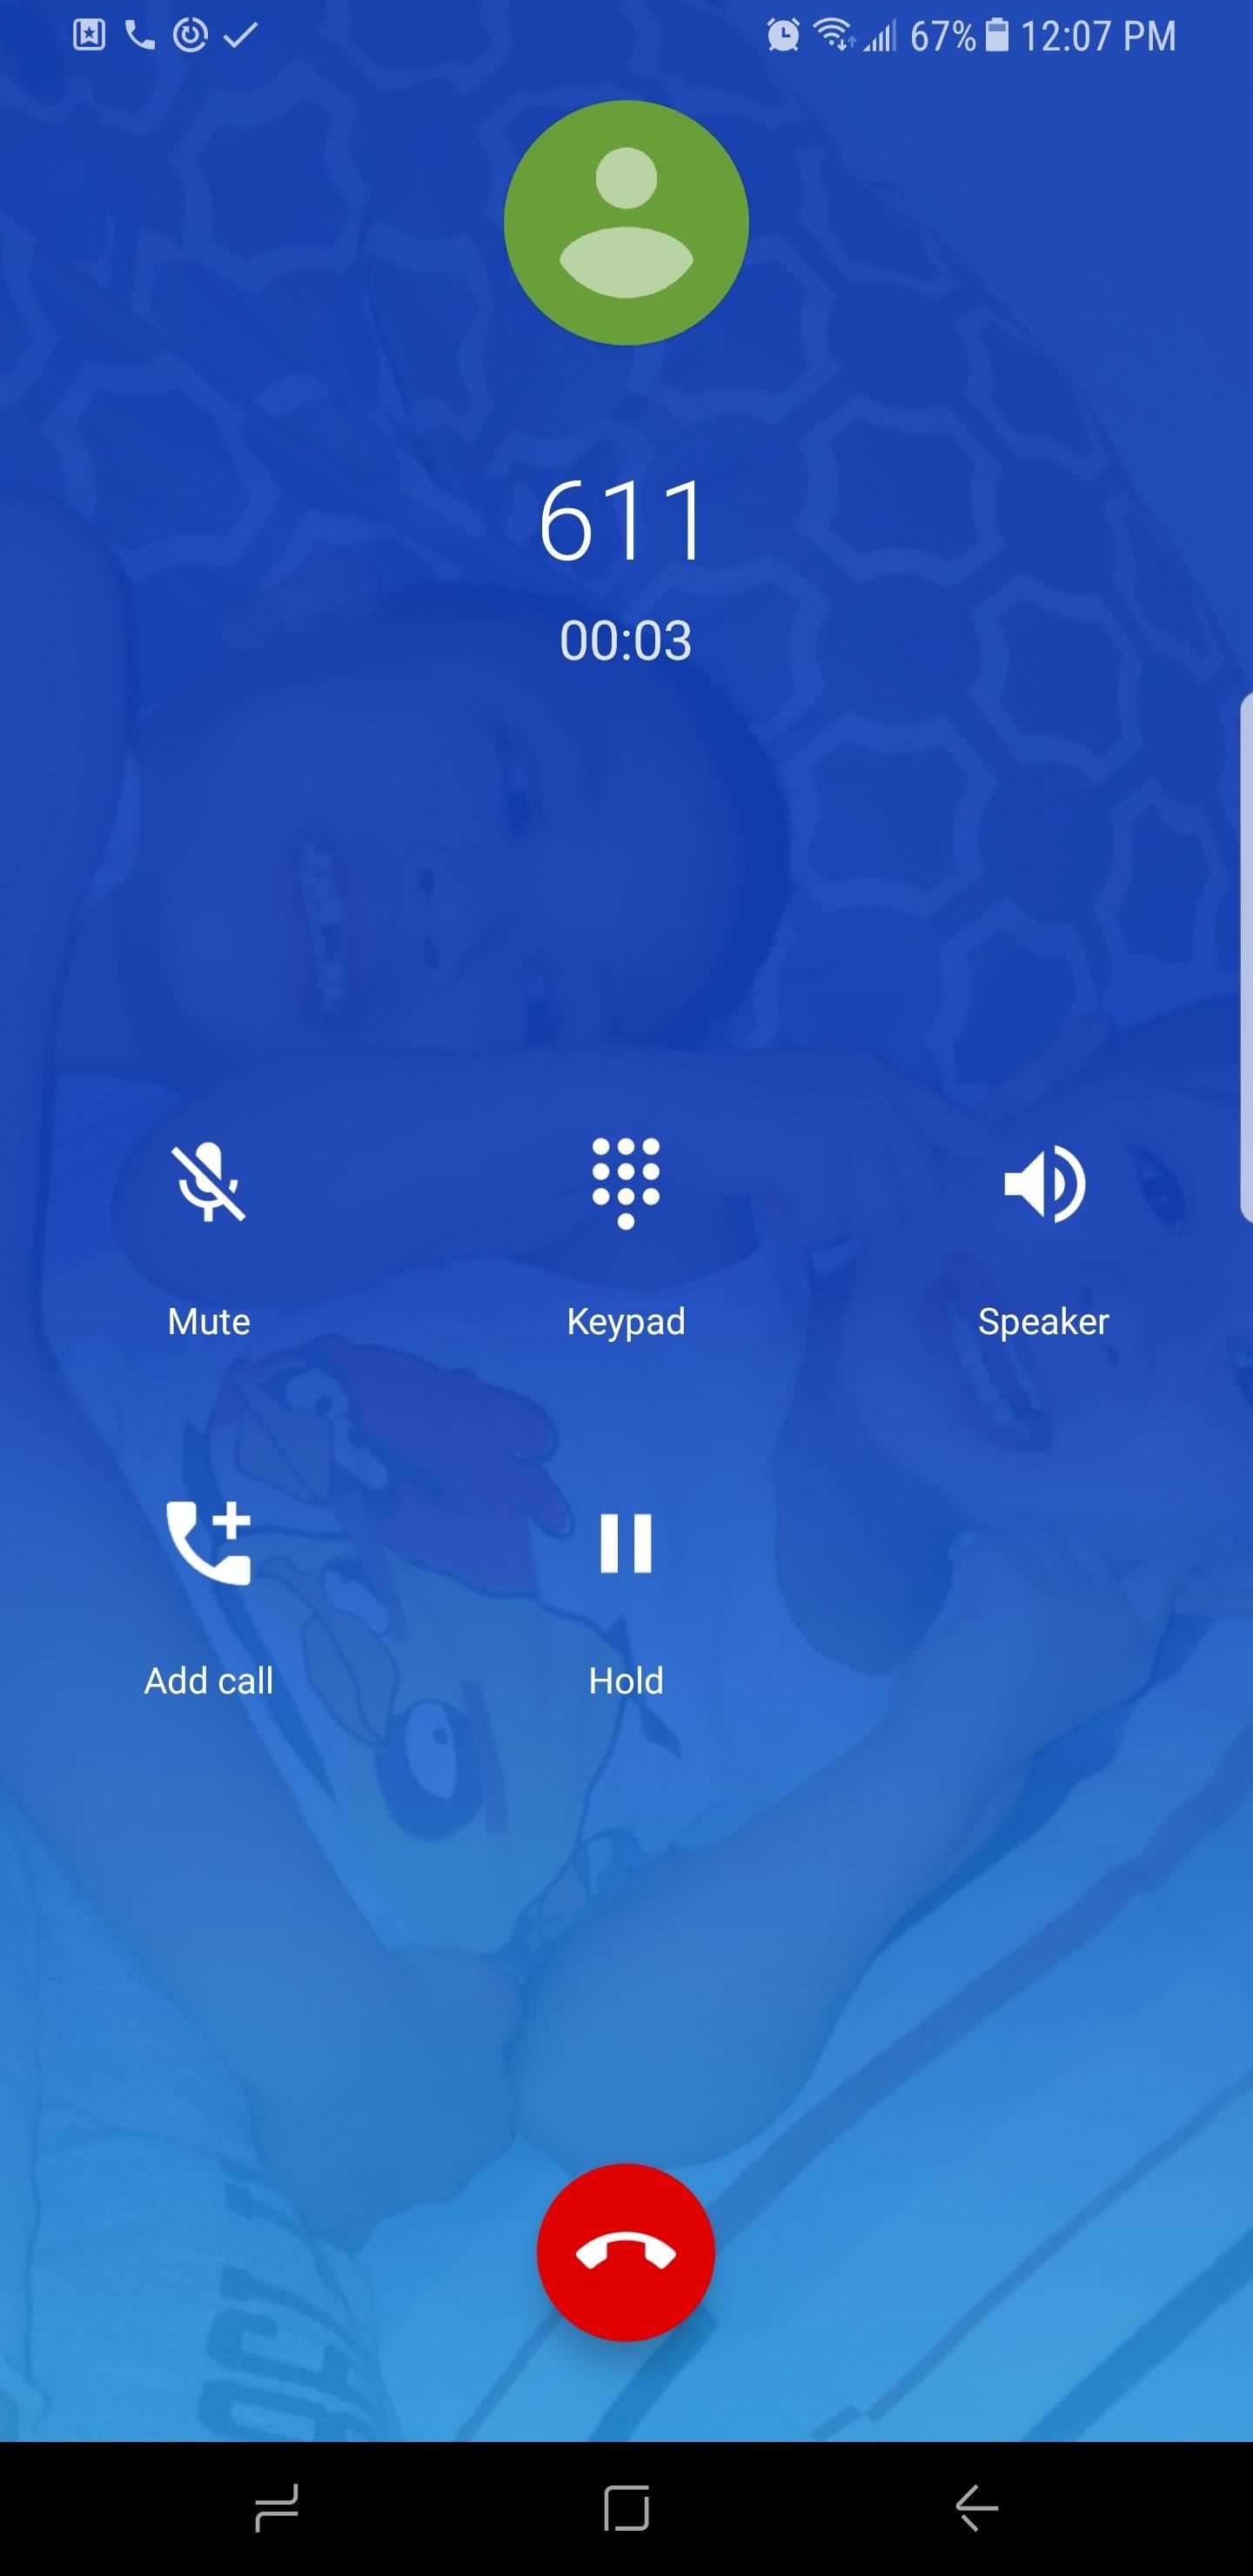
Next, go ahead and open the Google Phone app. You’ll need to grant it a few extra permissions to allow the app to access your phone, contacts, and camera, so tap “Allow” when prompted. Once you’ve taken care of that, you’ll now be able to make and receive calls through the Google Phone app. To learn more about your new dialer’s features, check out our full guide below.
Tip 3: Use Android Messages
For the all important aspect of SMS messaging, the Pixel utilizes another Google app called Android Messages. It’s nothing groundbreaking, but it has a clean Material Design interface and makes texting a breeze — and even better, this one can be installed directly from the Google Play Store.
You’ll have to perform the same steps that were done with the calling app to make Android Messages your default SMS handler. So follow the route you took in Tip 2 to make the phone app a default, but this time select “Messaging app” and choose Android Messages as your primary means of sending text messages.
Tip 4: Set Gboard as Your Default Keyboard
The Pixel’s primary keyboard, Gboard, is one of the best keyboard apps available right now. This nifty app lets you perform Google searches, find the perfect emojis, and even share GIFs — all from within your keyboard. If you’re not already using Gboard, now is the perfect time to make the switch, so head over the Play Store or tap on the link below to install the app.
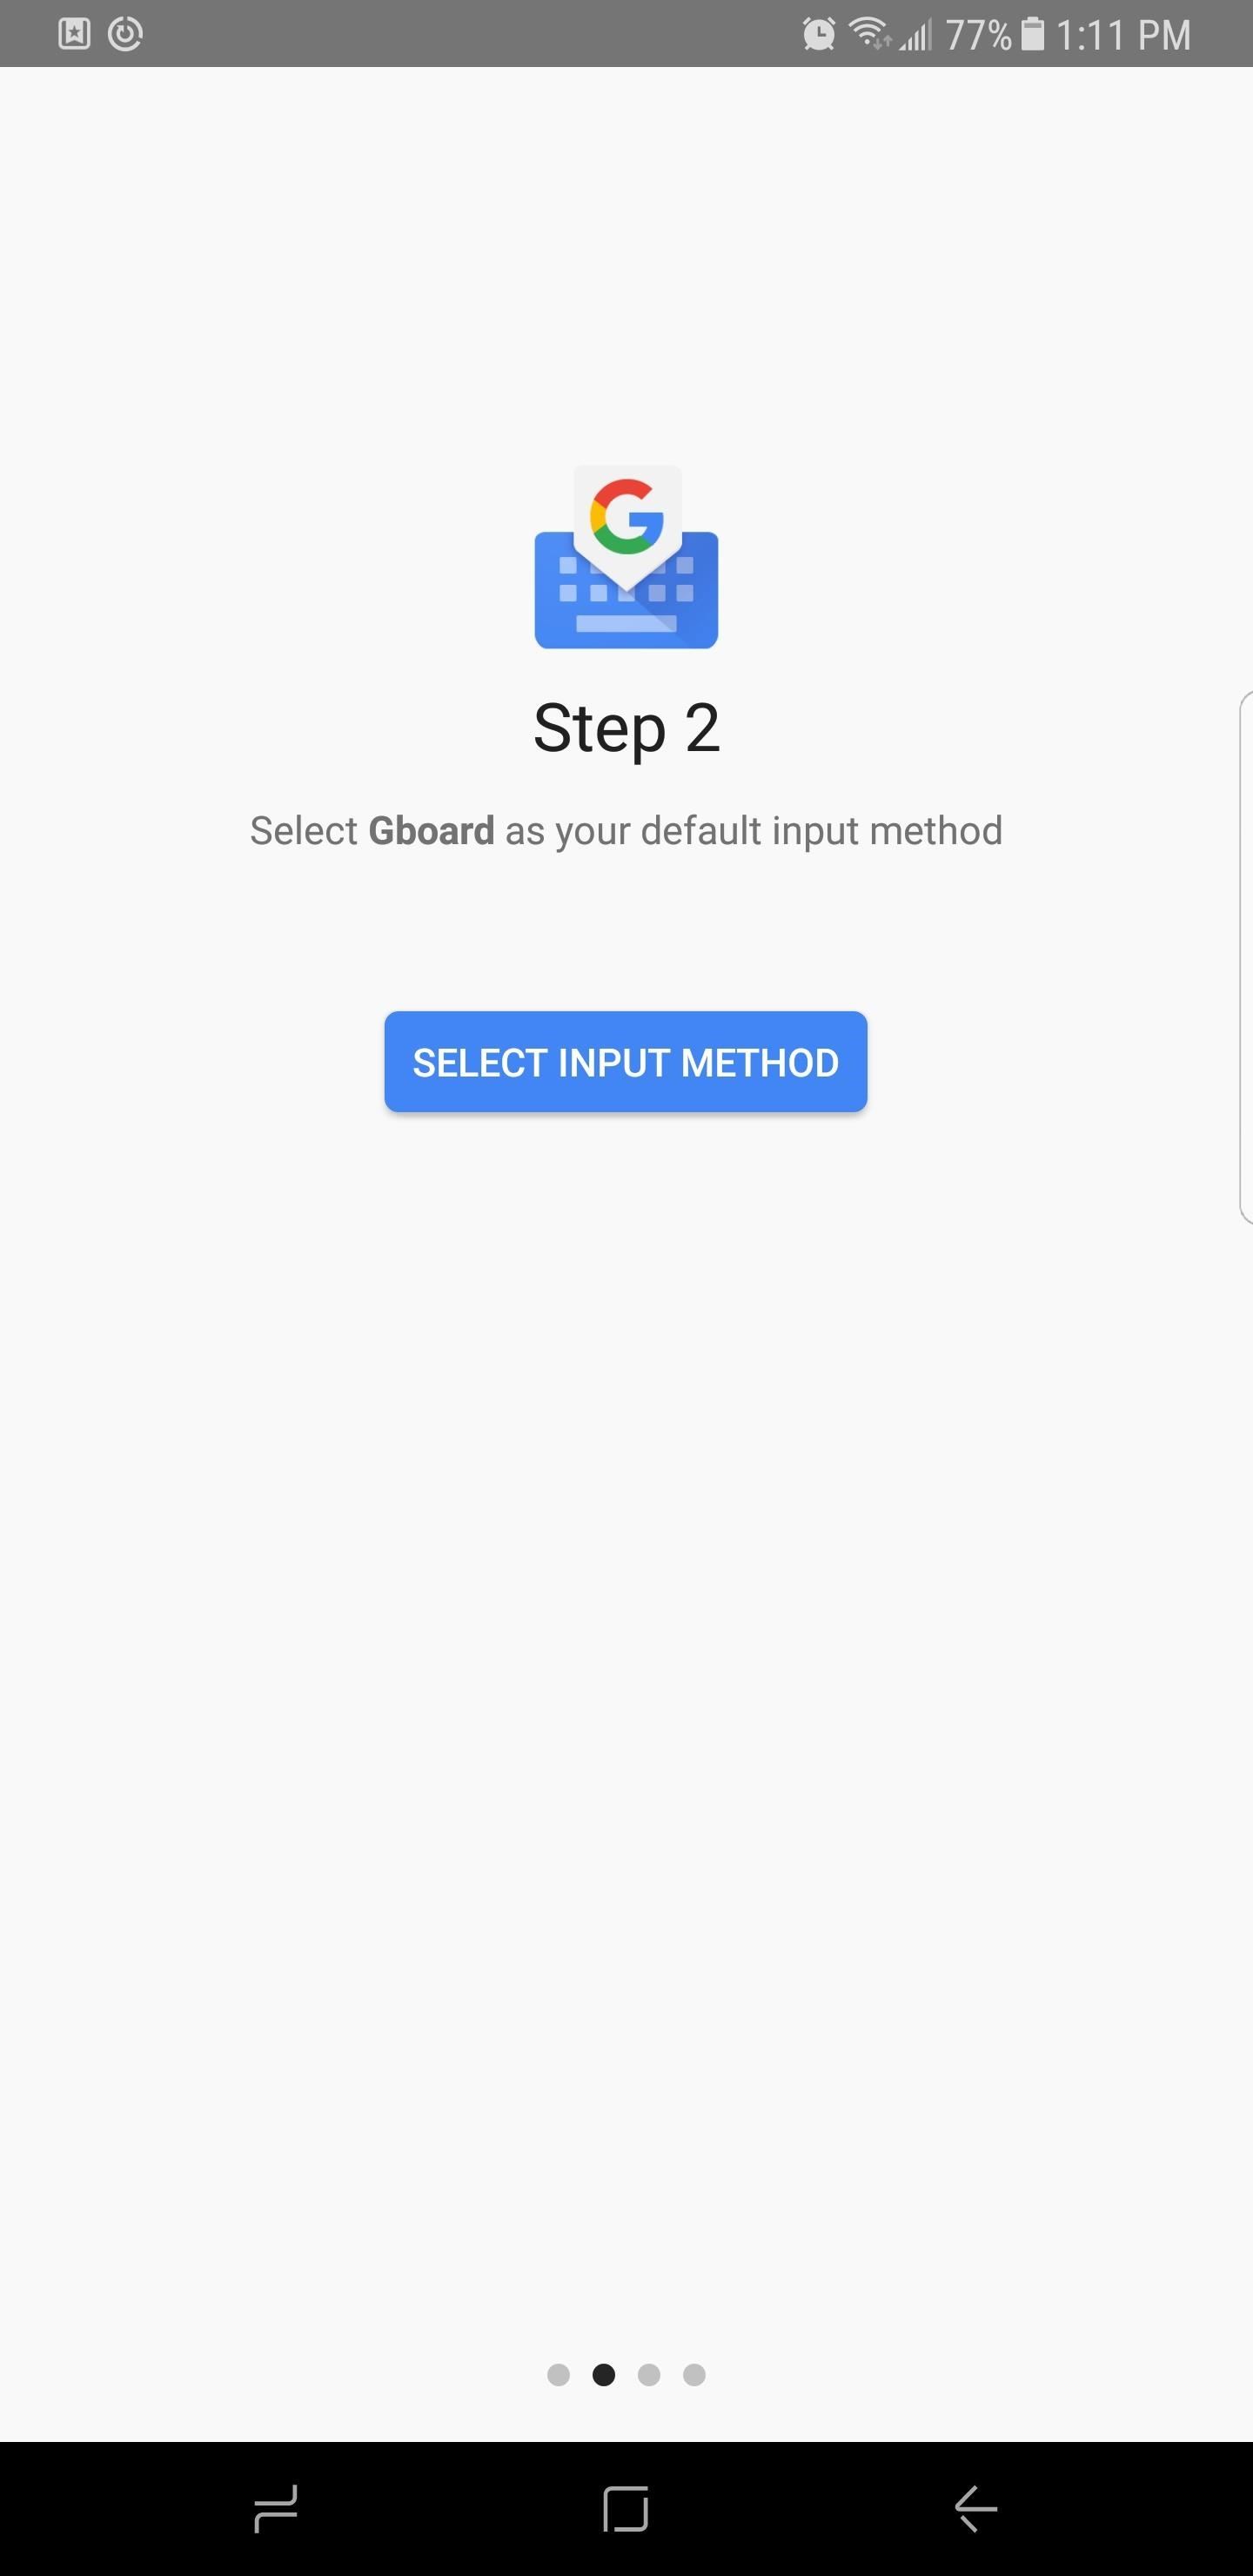
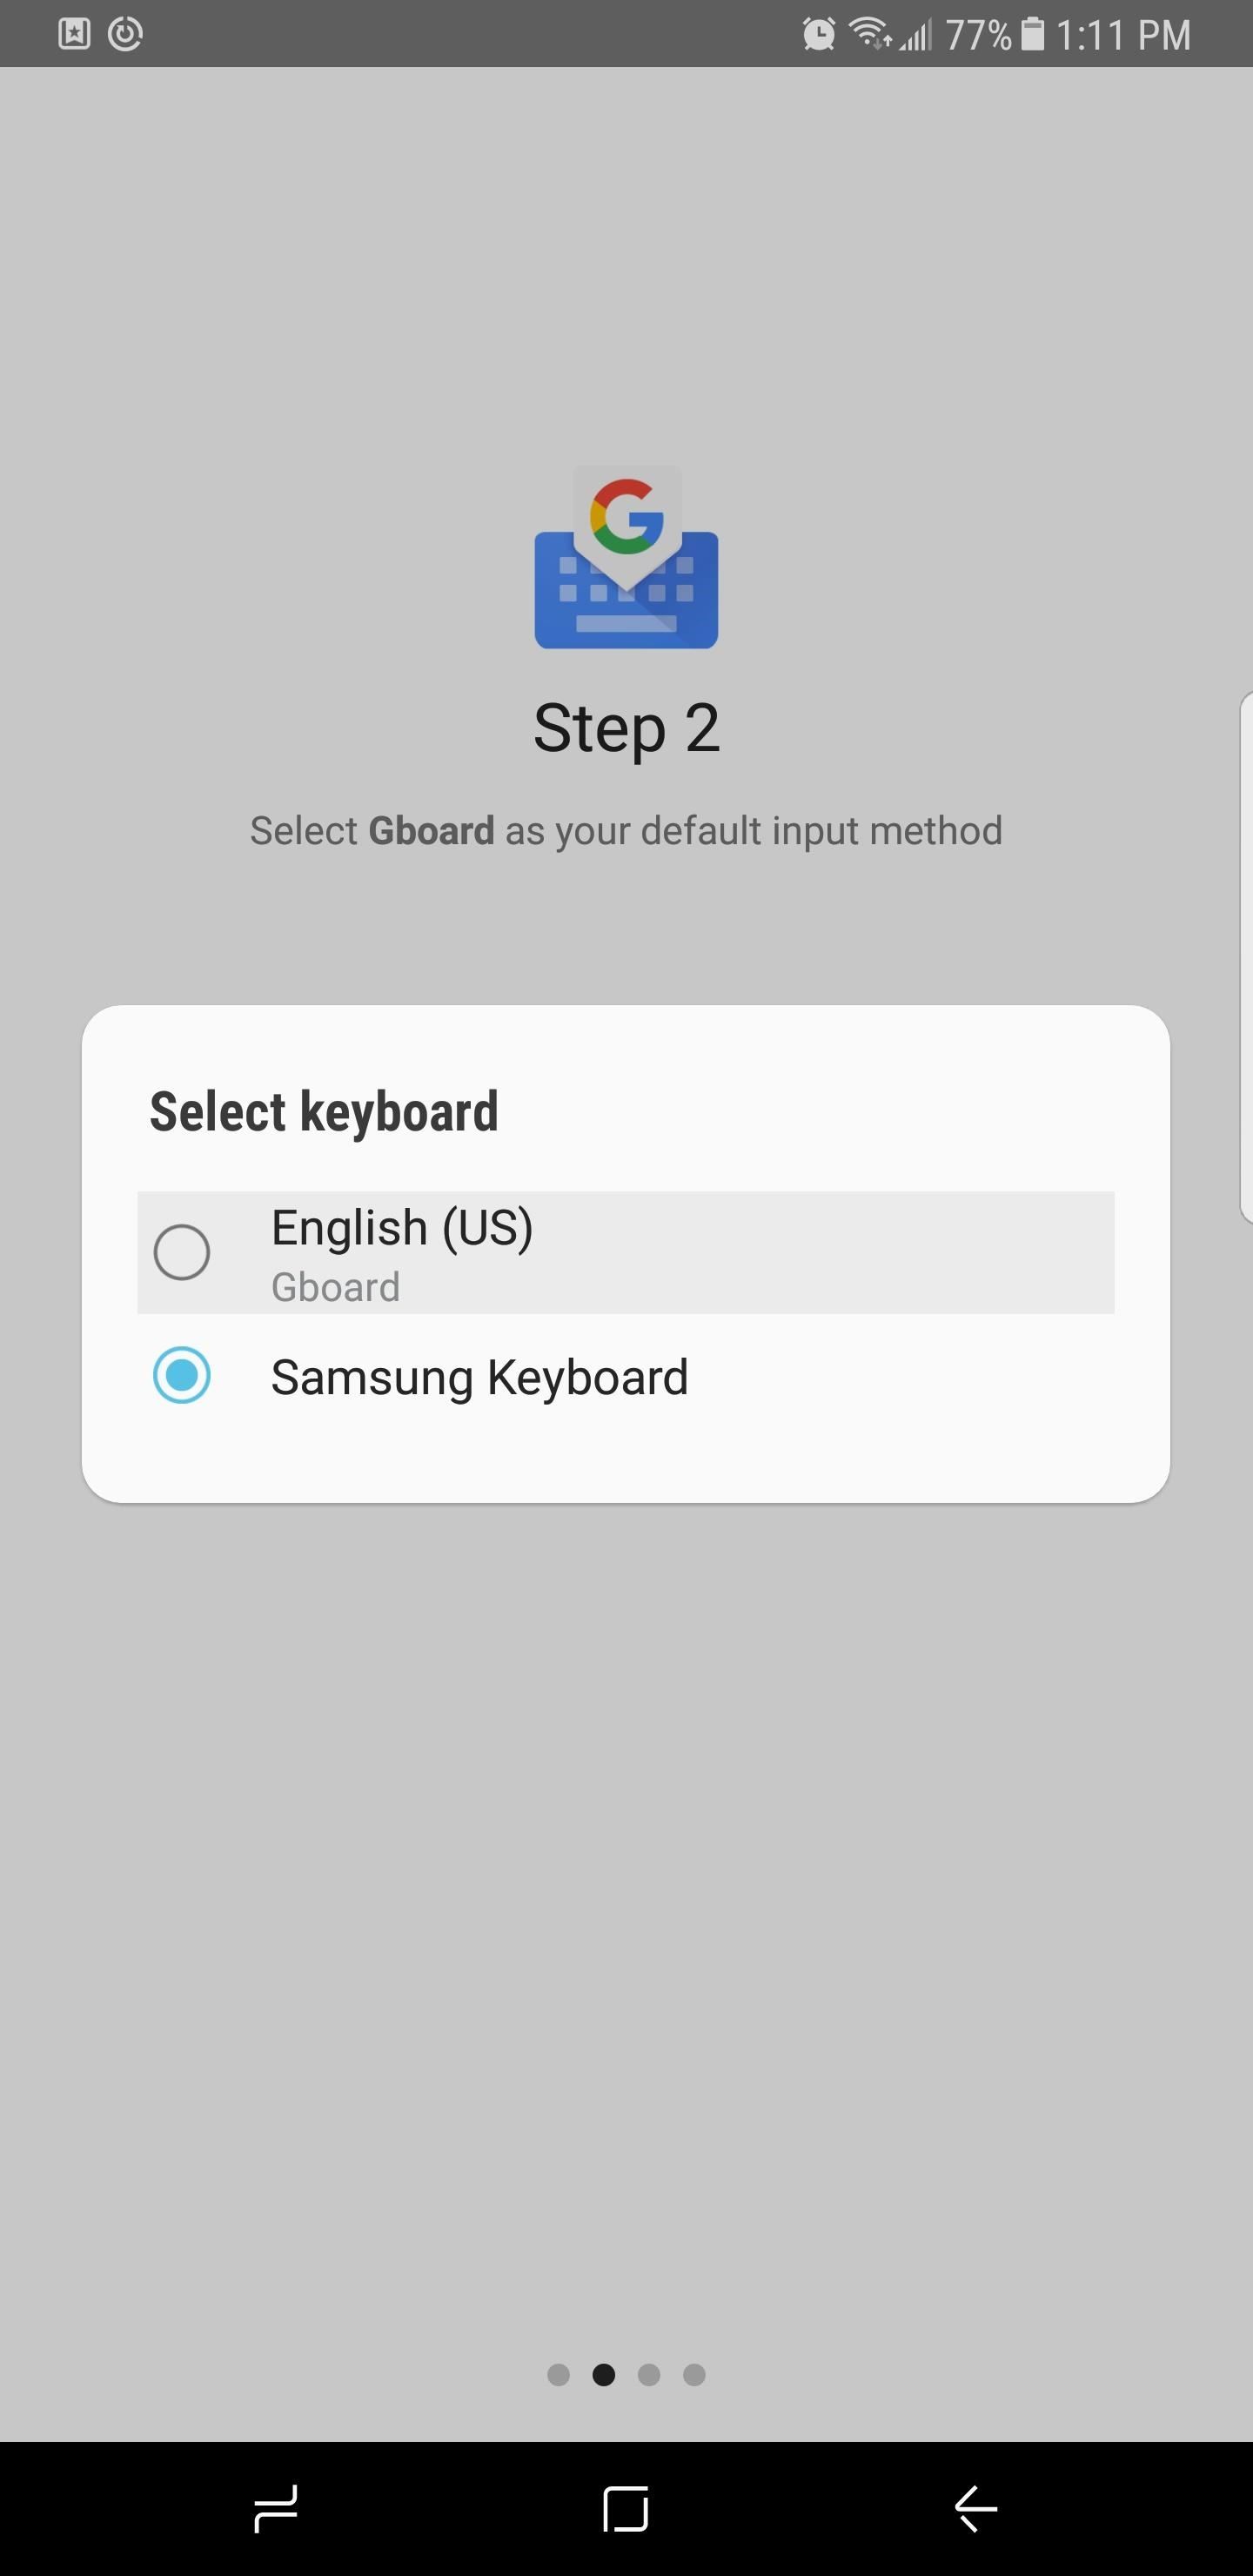
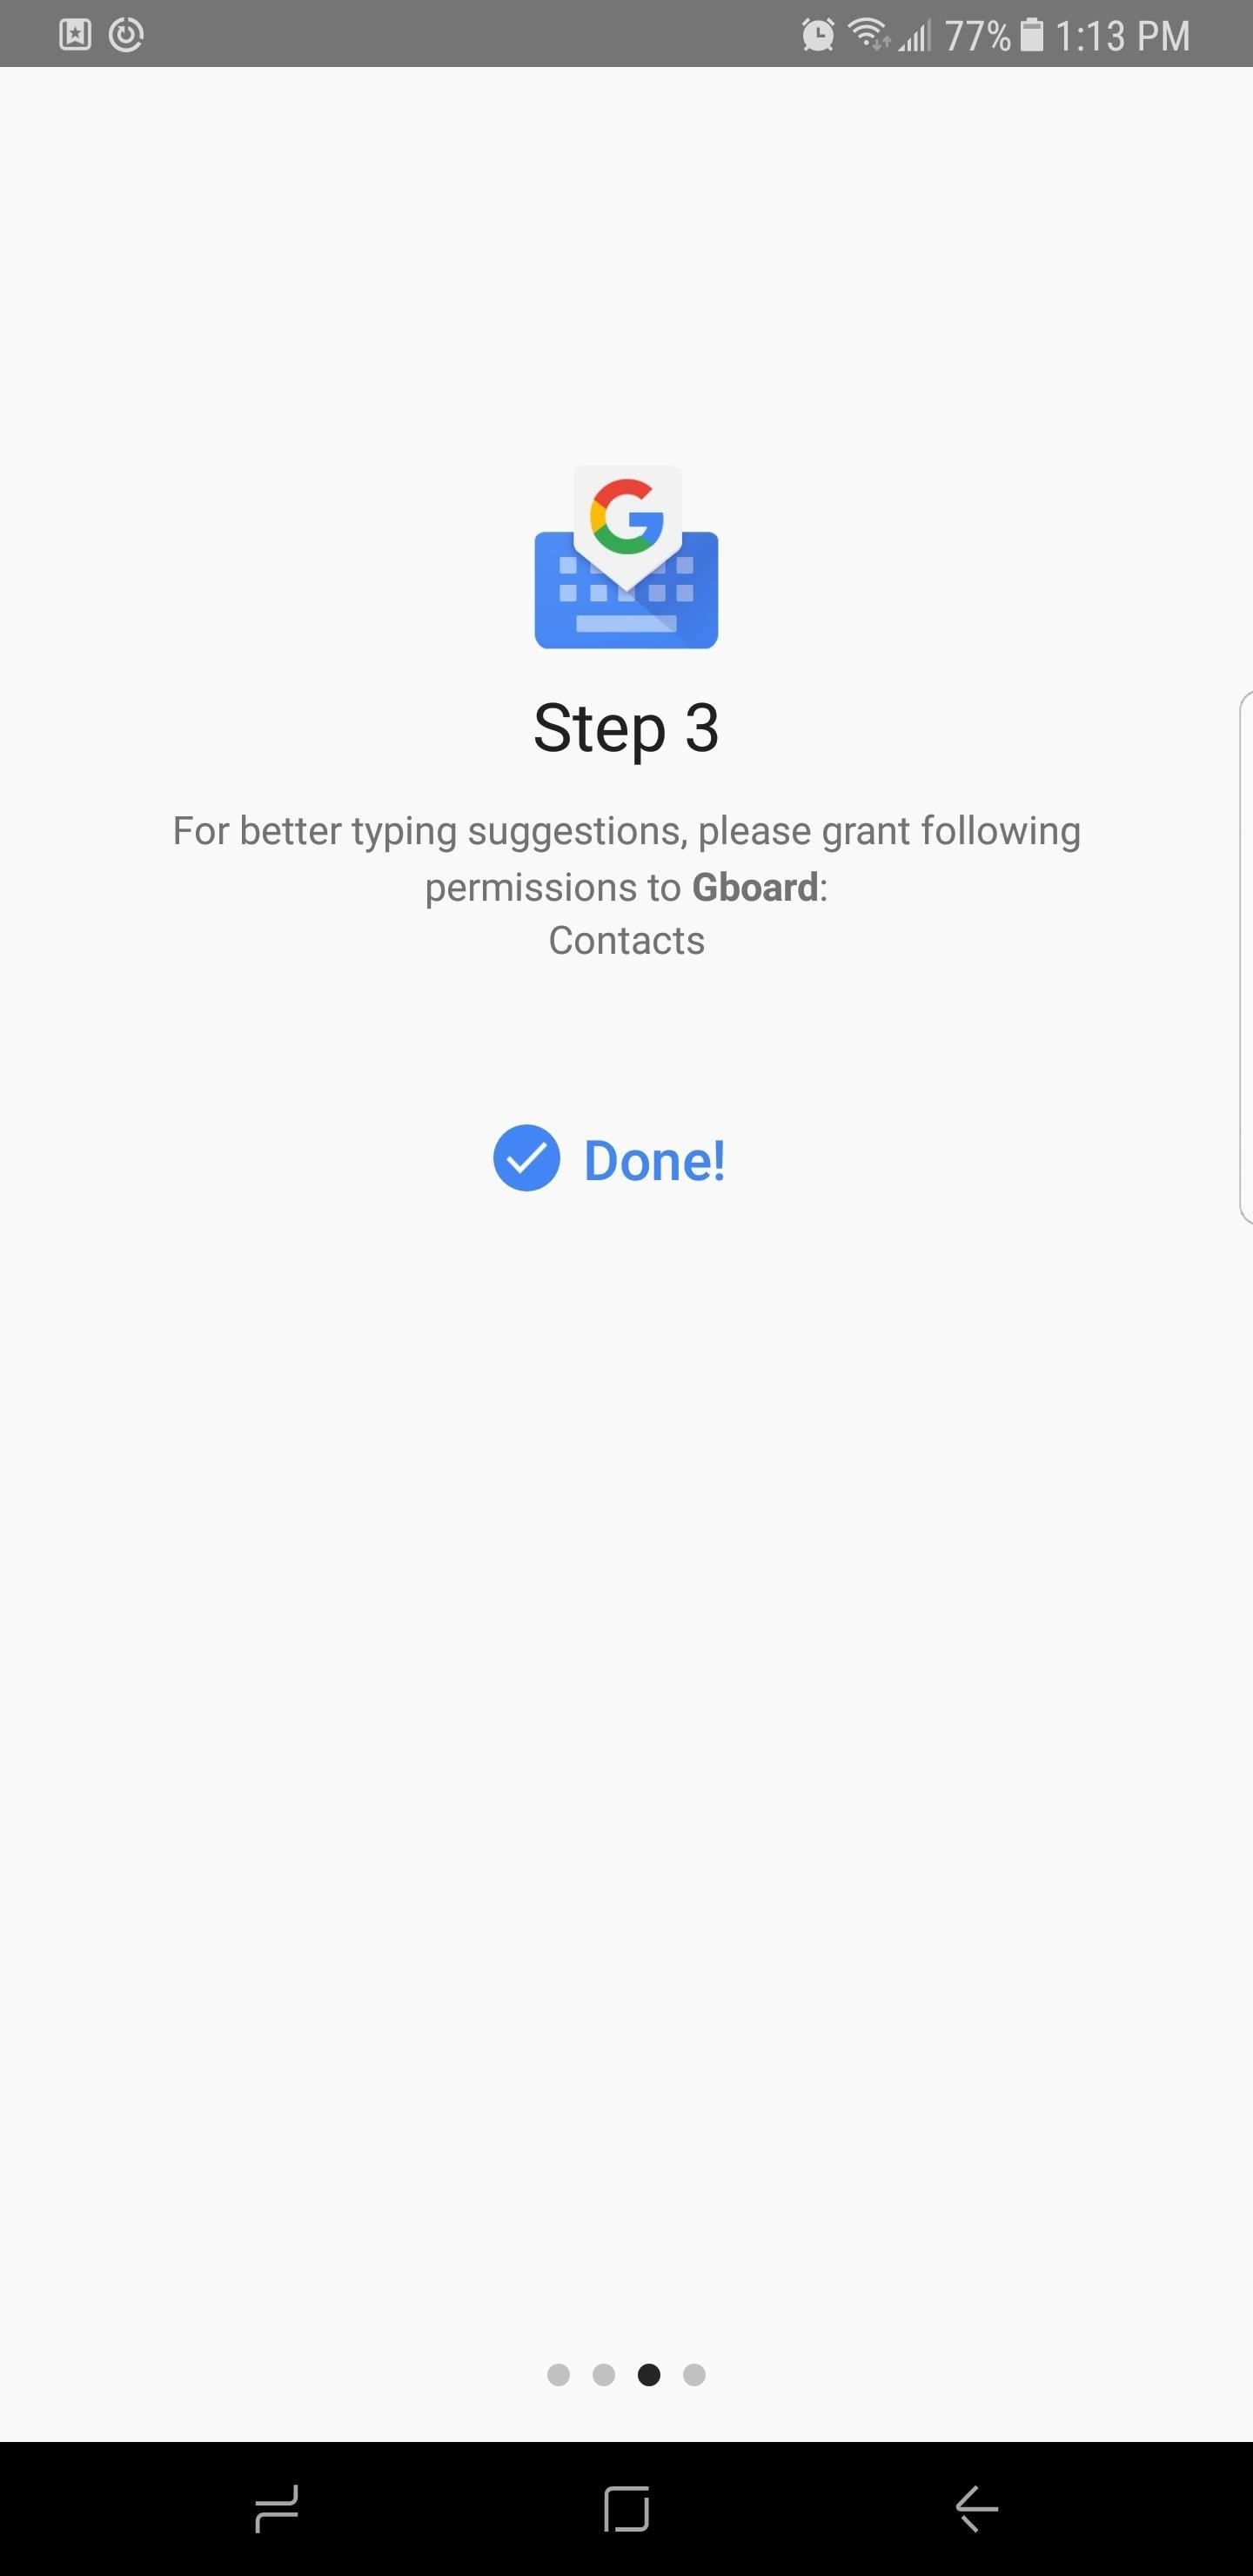
Next, open the app and follow the prompts. Tap on “Select Input Method” and choose the one labeled “Gboard” to make it your default keyboard. Finish up by giving it permission to access your contacts by tapping “Allow” on the prompt, then exit the app, and after you’re done, Gboard will now pop up automatically whenever you need to type something.
Additionally, if you can’t live without the built-in number row that comes standard with the Samsung keyboard, fret not, you can add it to Gboard in the app’s settings. Gboard has tons of cool features like that, so feel free to head to the link below to learn more.
Tip 5: Browse the Web with Chrome
The Google Pixel uses Chrome as its default browser, so many of us who use it on our desktops or laptops will feel right at home with this browser. If you’re new to Chrome, now’s the time to give it a try, so simply head over to the Play Store or tap on the link below to install the browser.
Once you’ve got Chrome installed, you can set it as your default browser by following the steps outlined in Tip 2 — but this time, select “Browsing app” from the Default Apps screen, then choose “Chrome.” Once you’ve done that, all links will open in the same browser the Pixel uses.
Tip 6: Get Google’s Wallpaper App
To complete the Pixelization of your S8, we’ll need the add the icing on the cake: Google’s wallpaper pack. The pack is available as a free download over at the Play Store, and it’s fittingly called Google Wallpapers, so go ahead and install the app:
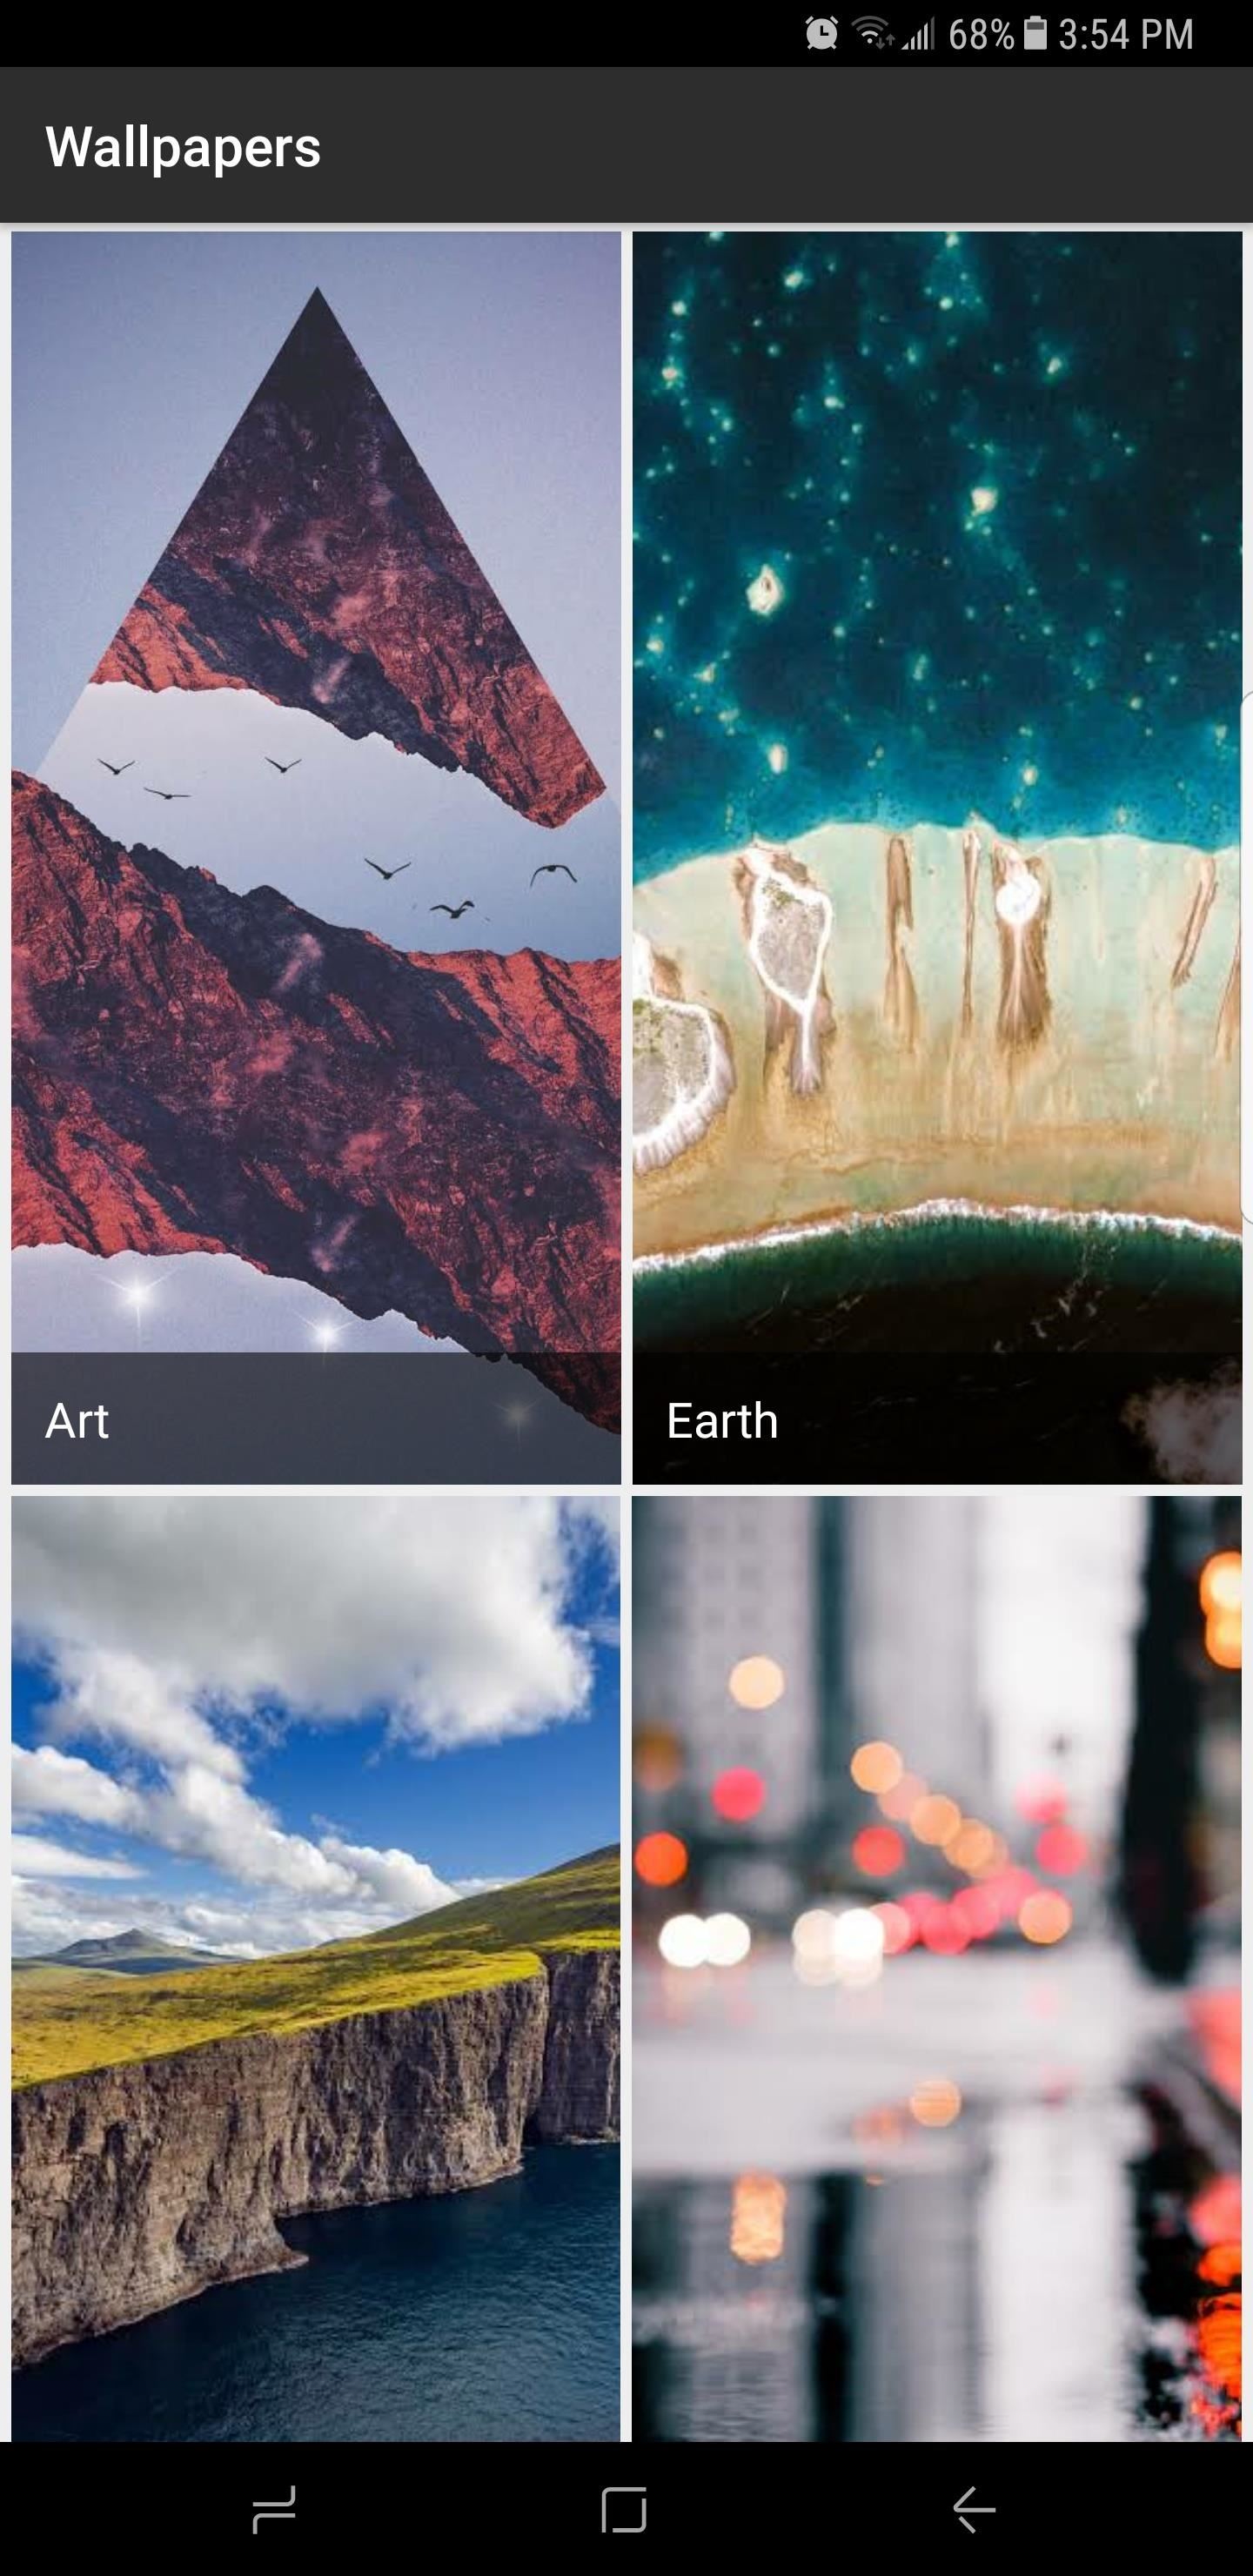
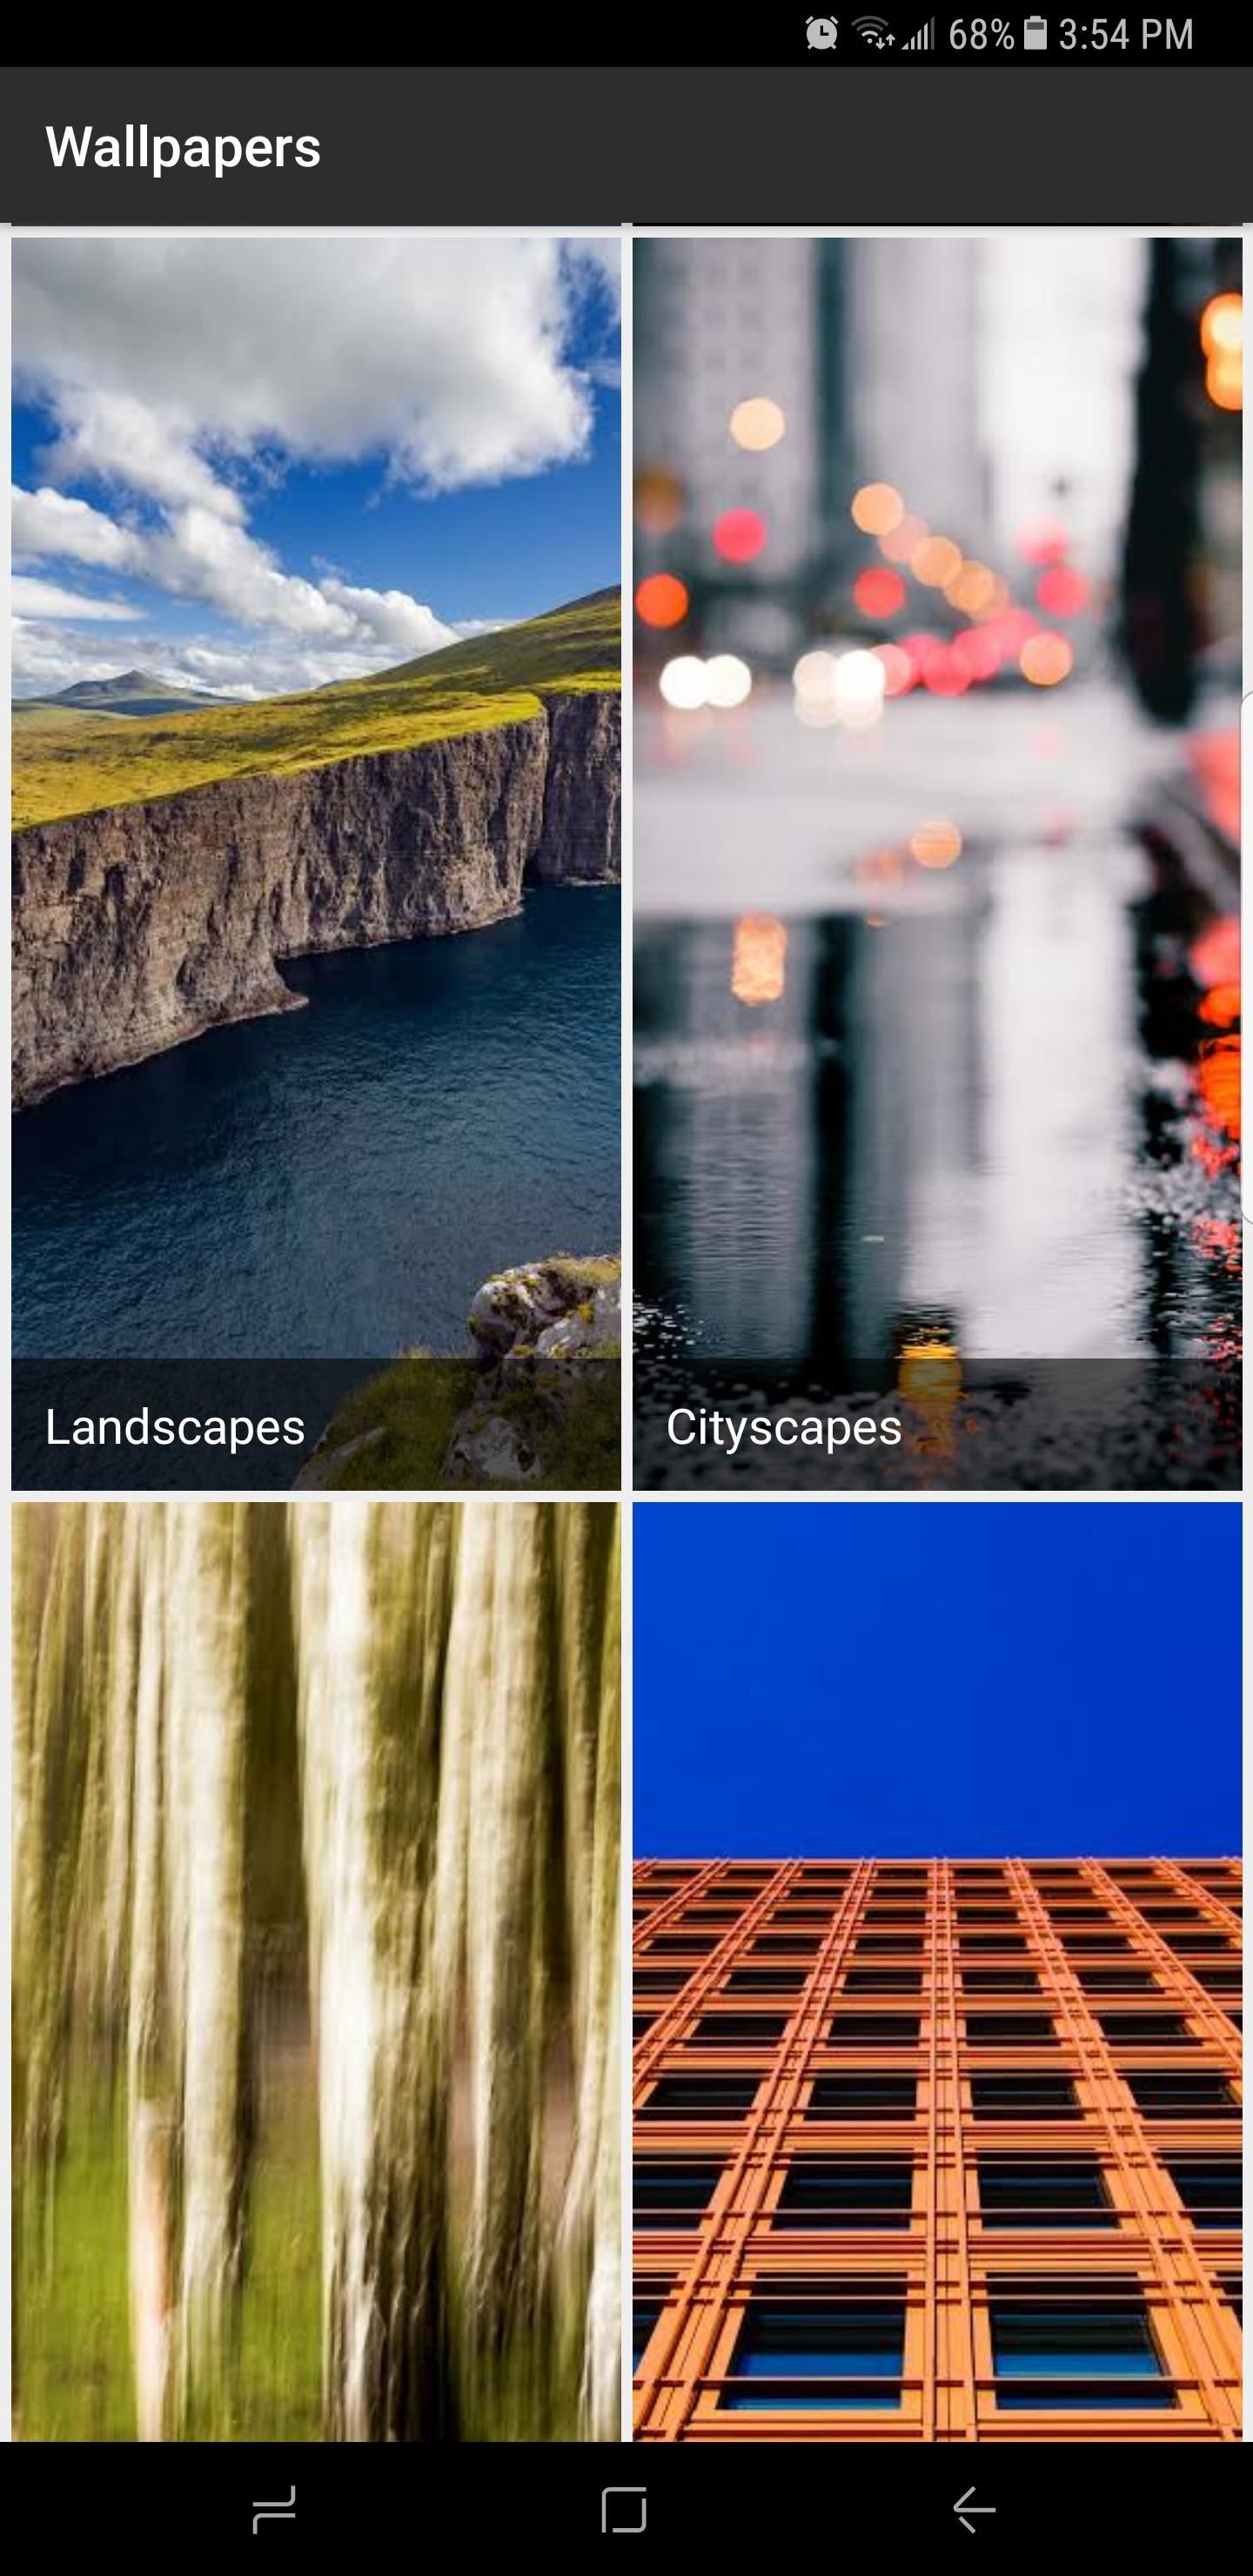
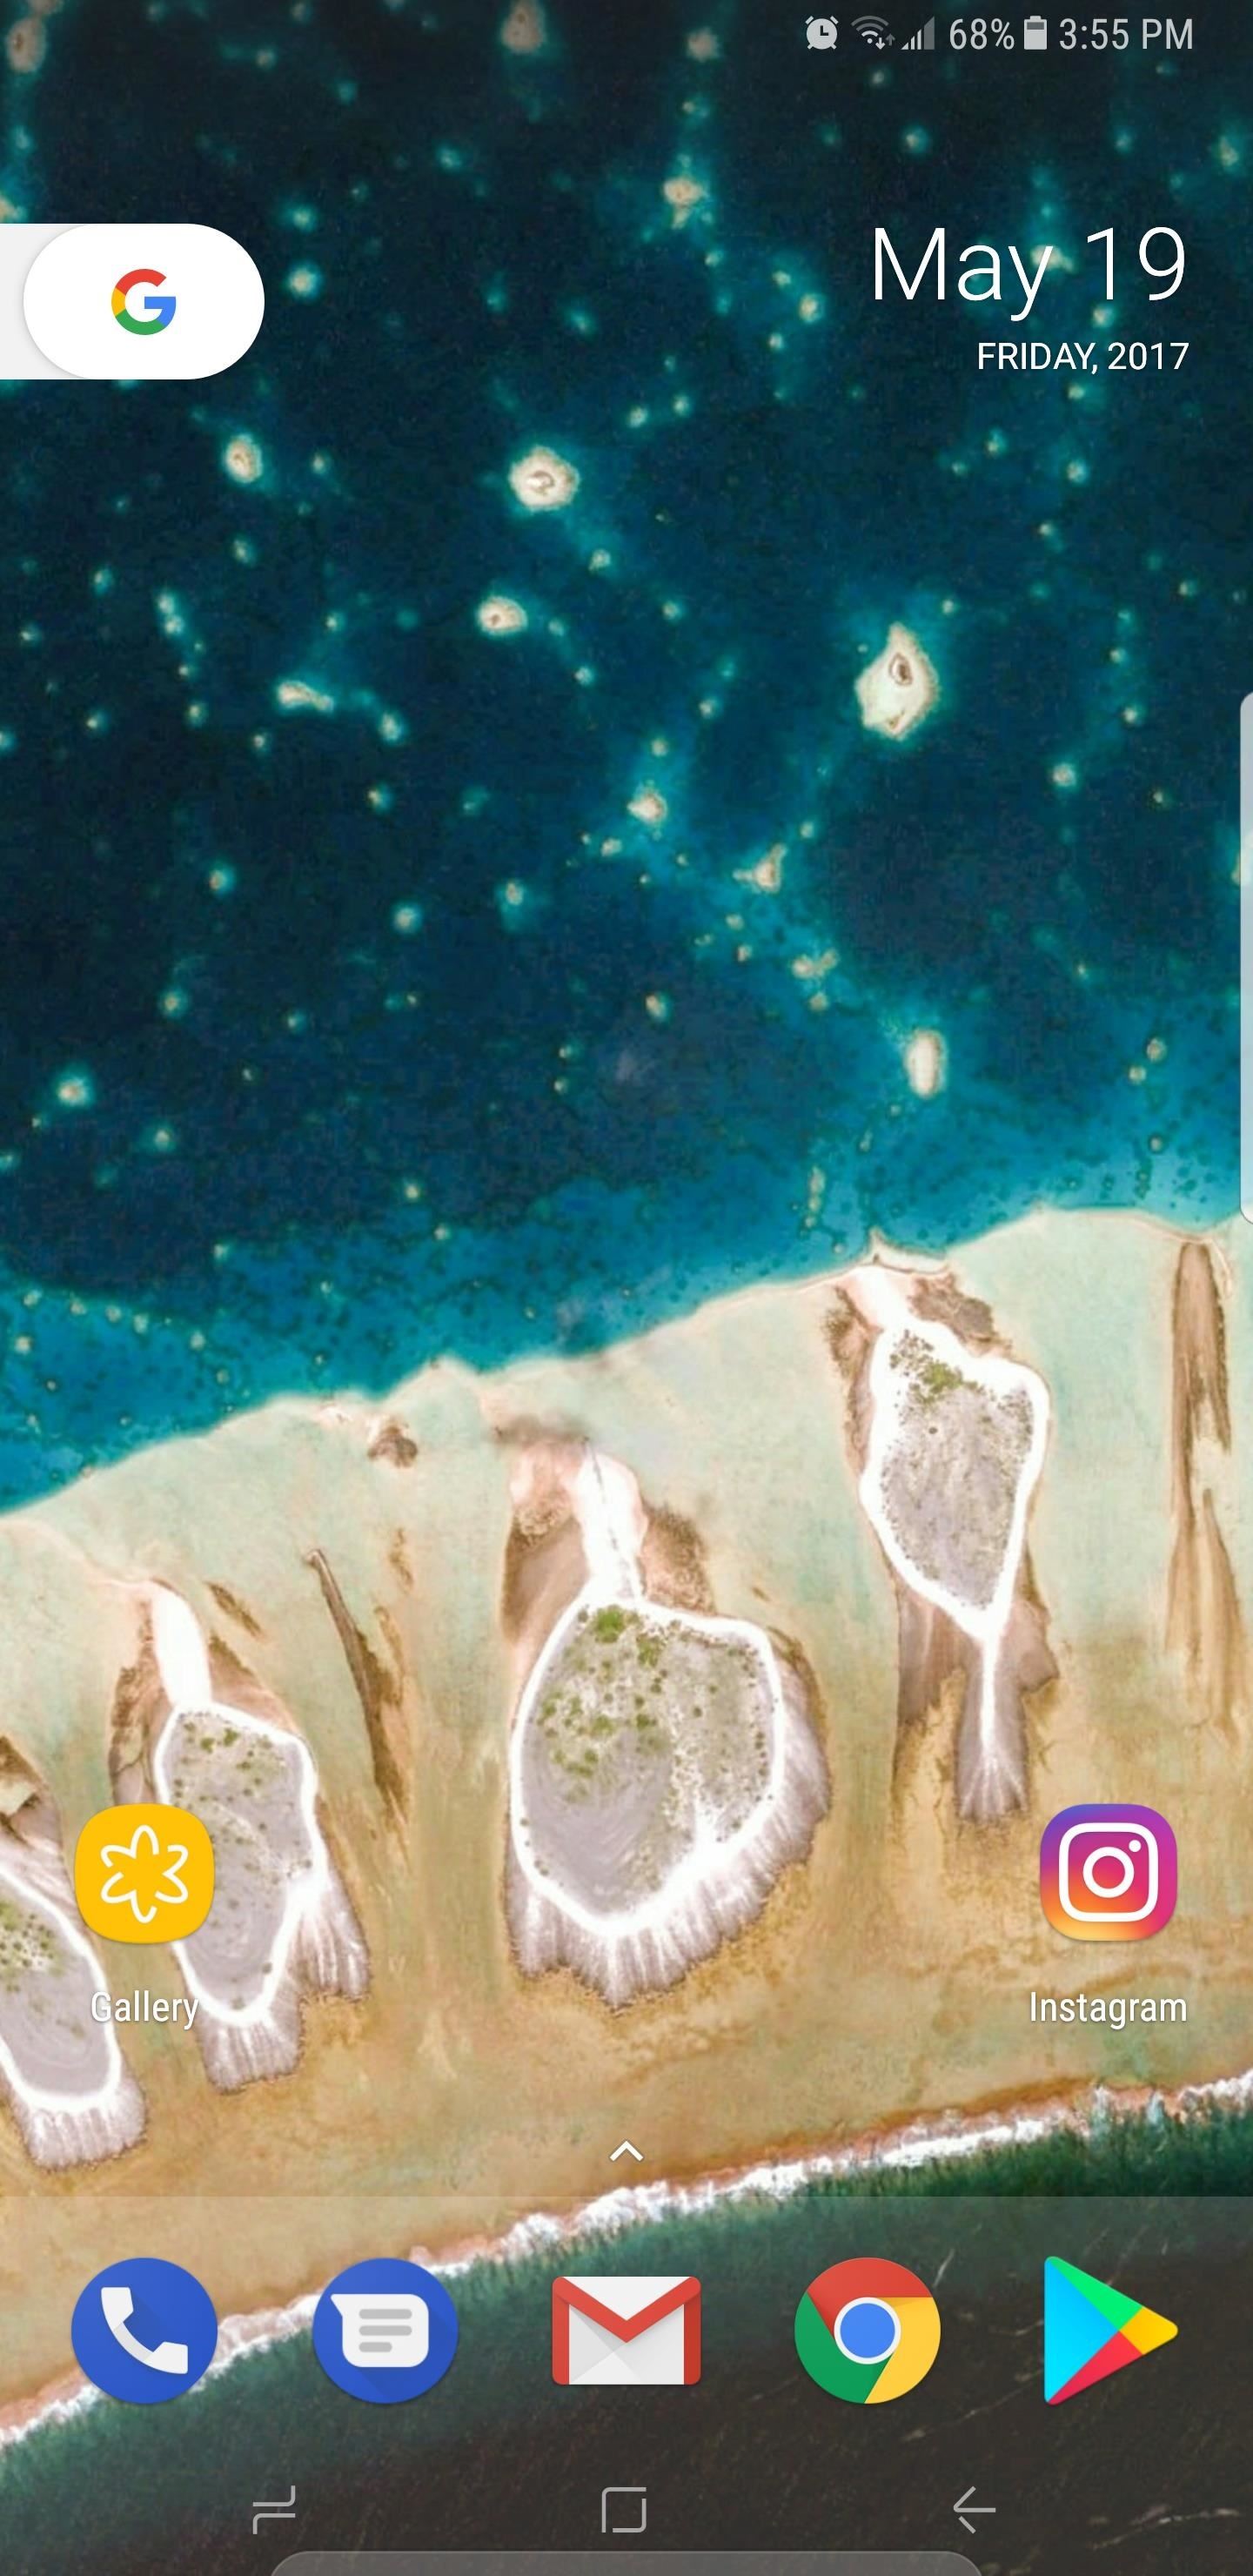
If you want to go that extra mile, you can even get the Pixel’s exclusive “Live Earth” wallpaper pack and experience it on the S8’s stunning display, so be sure to check this guide out to learn how:
While your Galaxy S8 may not be able to run true stock Android, this method gets you as close as currently possible to the experience you would have with the Pixel’s minimalist OS. How are you liking the Pixel experience on your S8 so far? We’d love to hear your feedback, so leave a comment down below and share your thoughts or any additional tips you may have.
Hot Deal: Set up a secure second phone number and keep your real contact details hidden with a yearly subscription to Hushed Private Phone Line for Android/iOS, 83%–91% off. It’s a perfect second-line solution for making calls and sending texts related to work, dating, Craigslist sales, and other scenarios where you wouldn’t want to give out your primary phone number.
“Hey there, just a heads-up: We’re part of the Amazon affiliate program, so when you buy through links on our site, we may earn a small commission. But don’t worry, it doesn’t cost you anything extra and helps us keep the lights on. Thanks for your support!”


