From browsing social media to creating films, your smartphone can do it all. But even with all that power, for many, it is primarily used to communicate with others, particularly via text. In One UI 3.0, Samsung and Google drastically changed this core functionality with a new-ish feature called notification bubbles.
Bubbles are basically a clone of Facebook Messenger’s Chat Heads, except they’ll work with any messaging app that adds support. They’re also similar to Samsung’s “Smart Pop-Up View” feature, which they actually replace by default. But they’re not as straightforward as you might expect, so here’s a guide to get you started.
Step 1: Turn a Chat Thread into a Notification Bubble
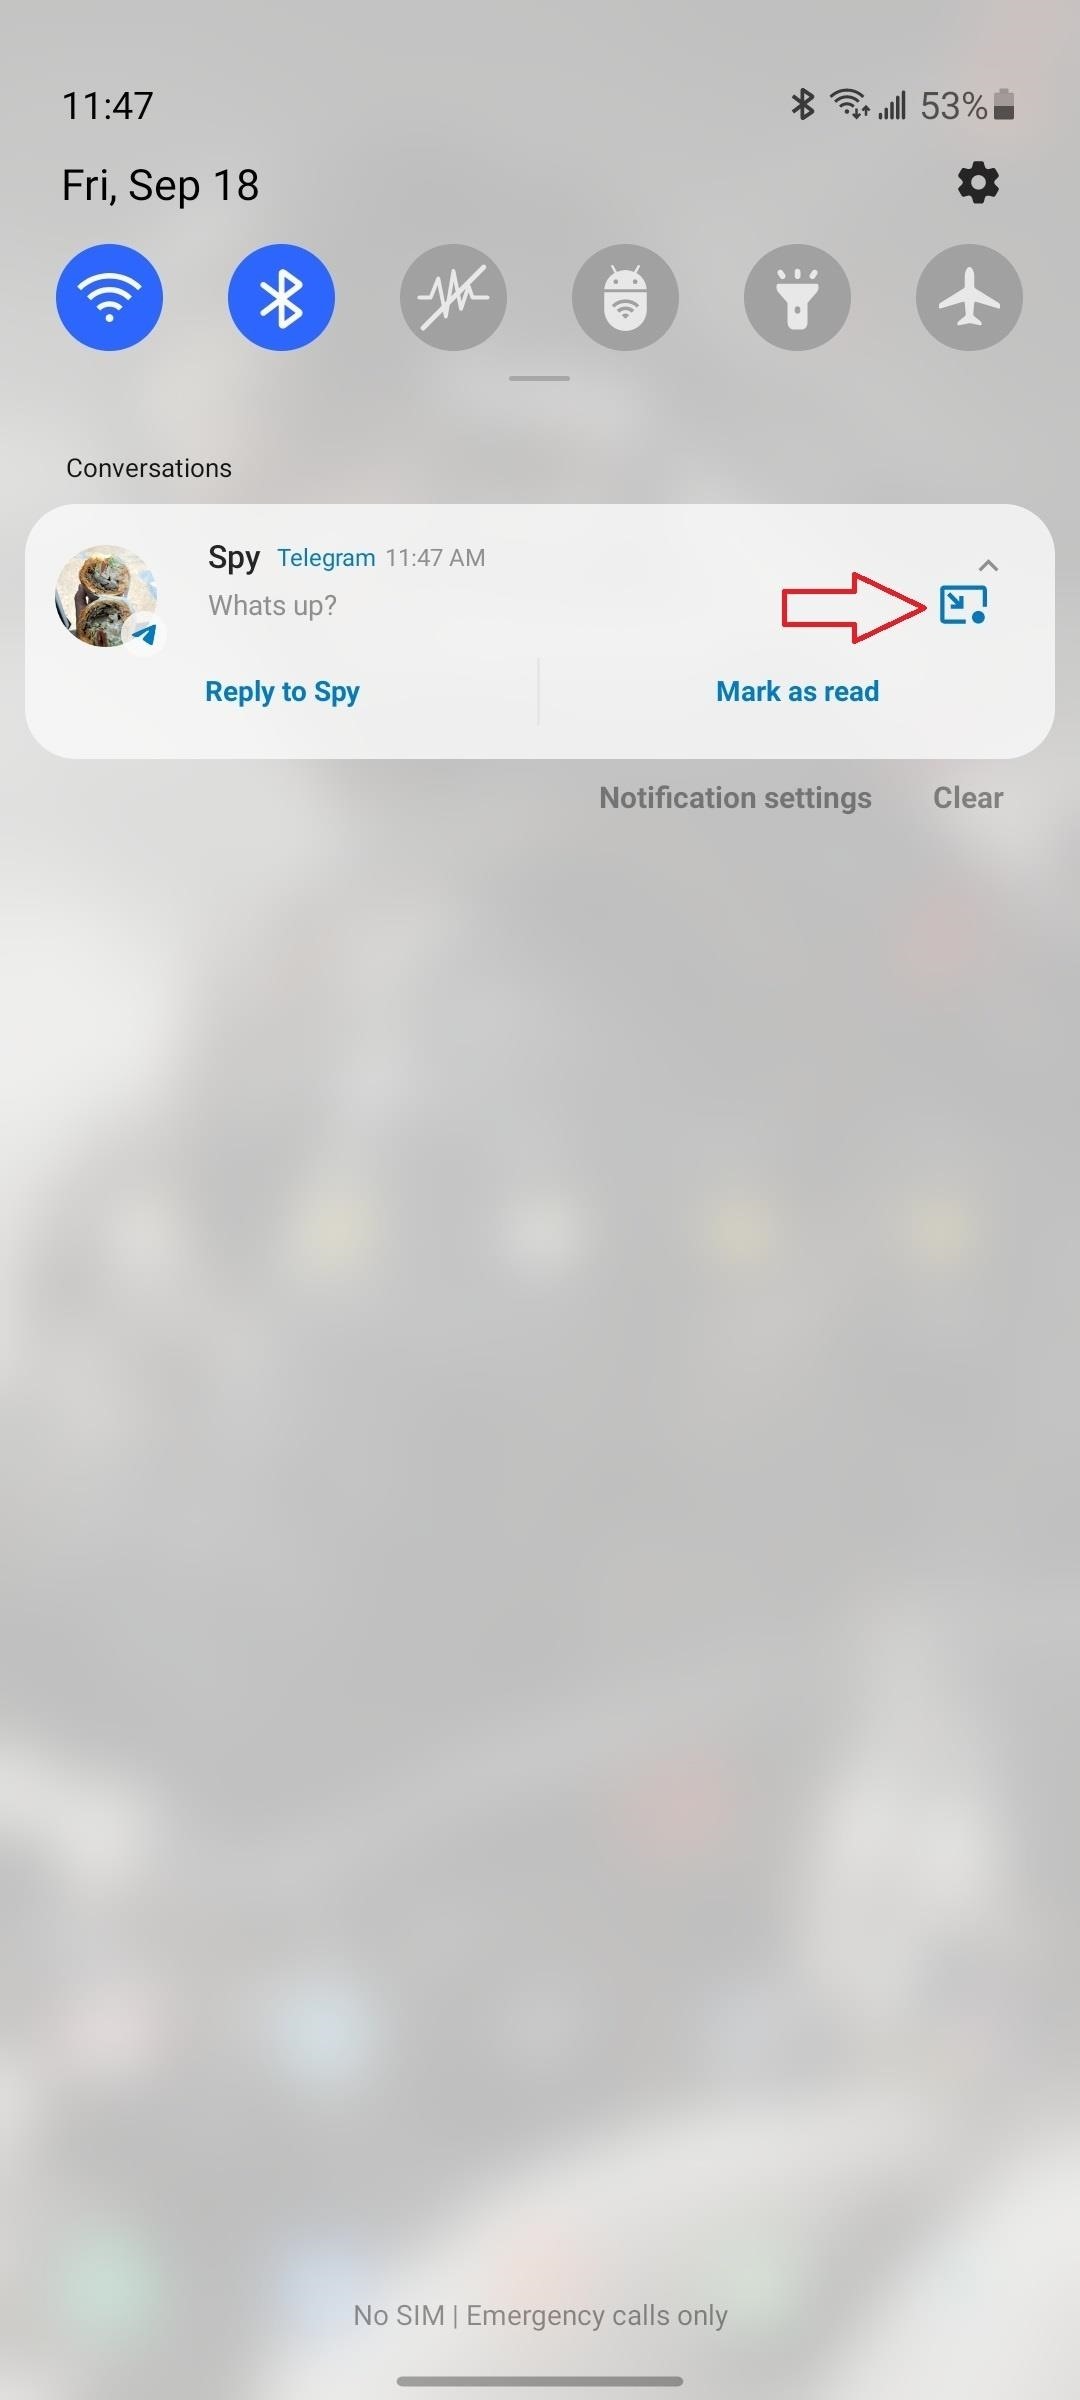
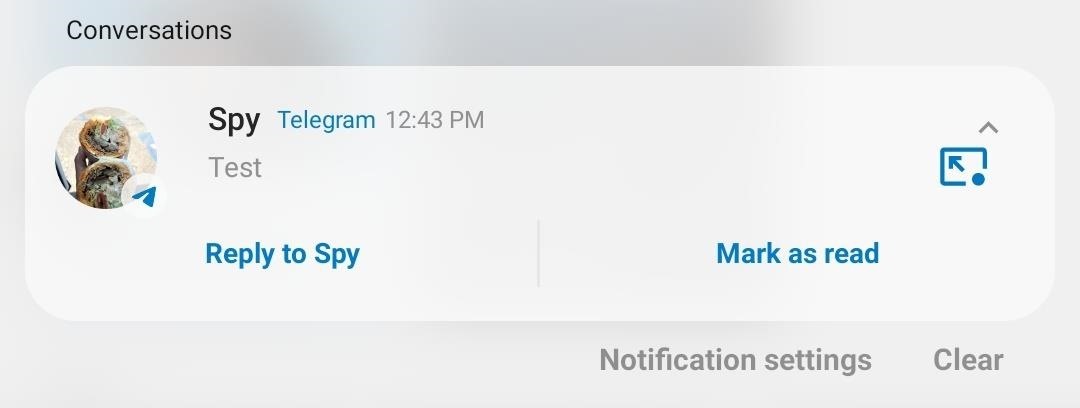
When a new message arrives, fully expand it by either swiping down on the alert or by selecting the down arrow in the upper-right corner of the notification.
On the right side of the message is a new icon showing an arrow within a rectangle. Select this to turn this message thread into a floating bubble.
Step 2: Start Messaging Through the Bubble Interface
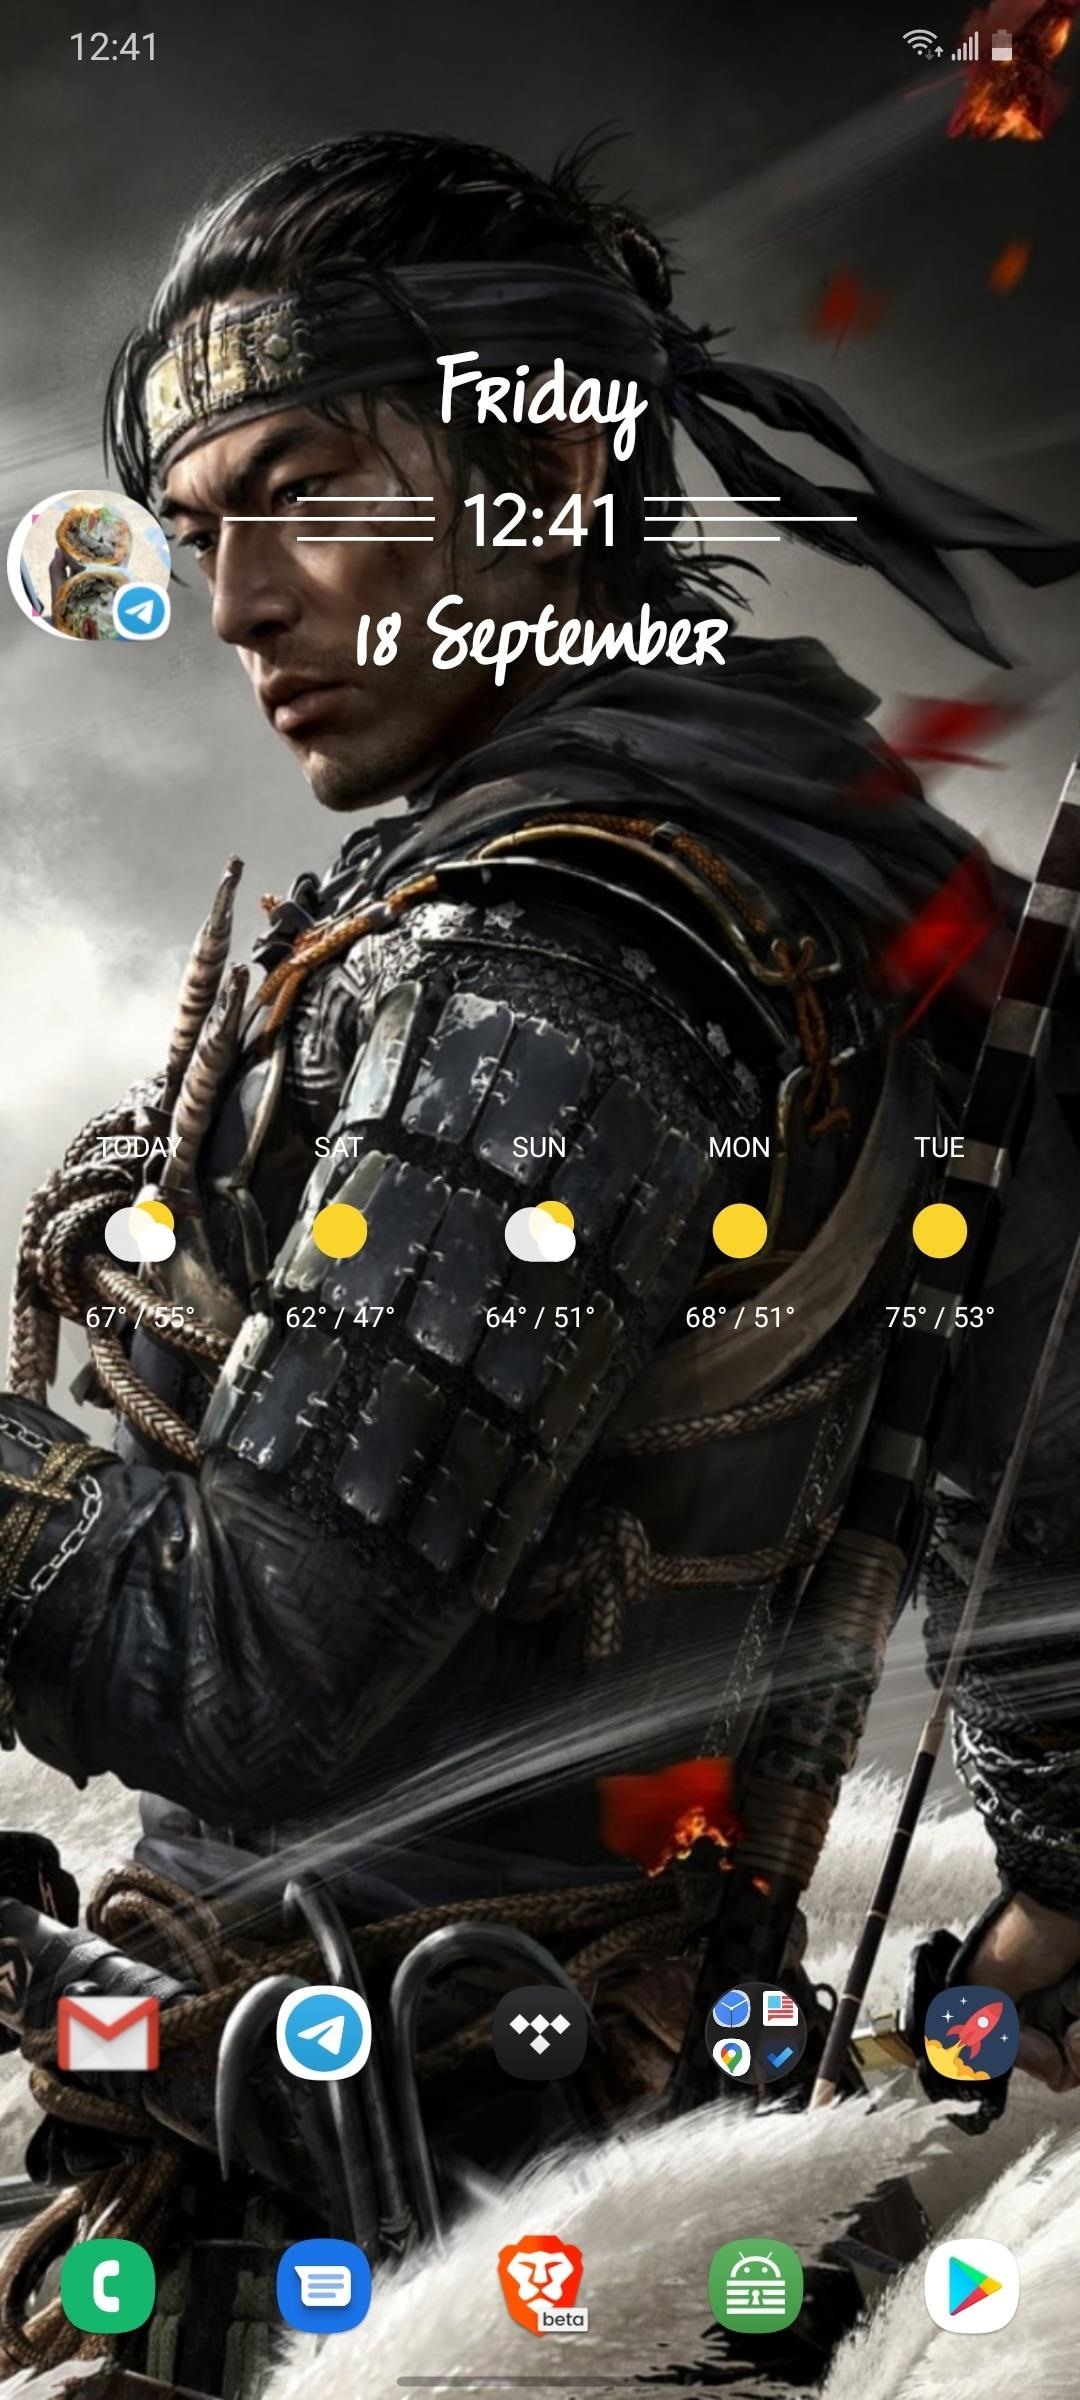
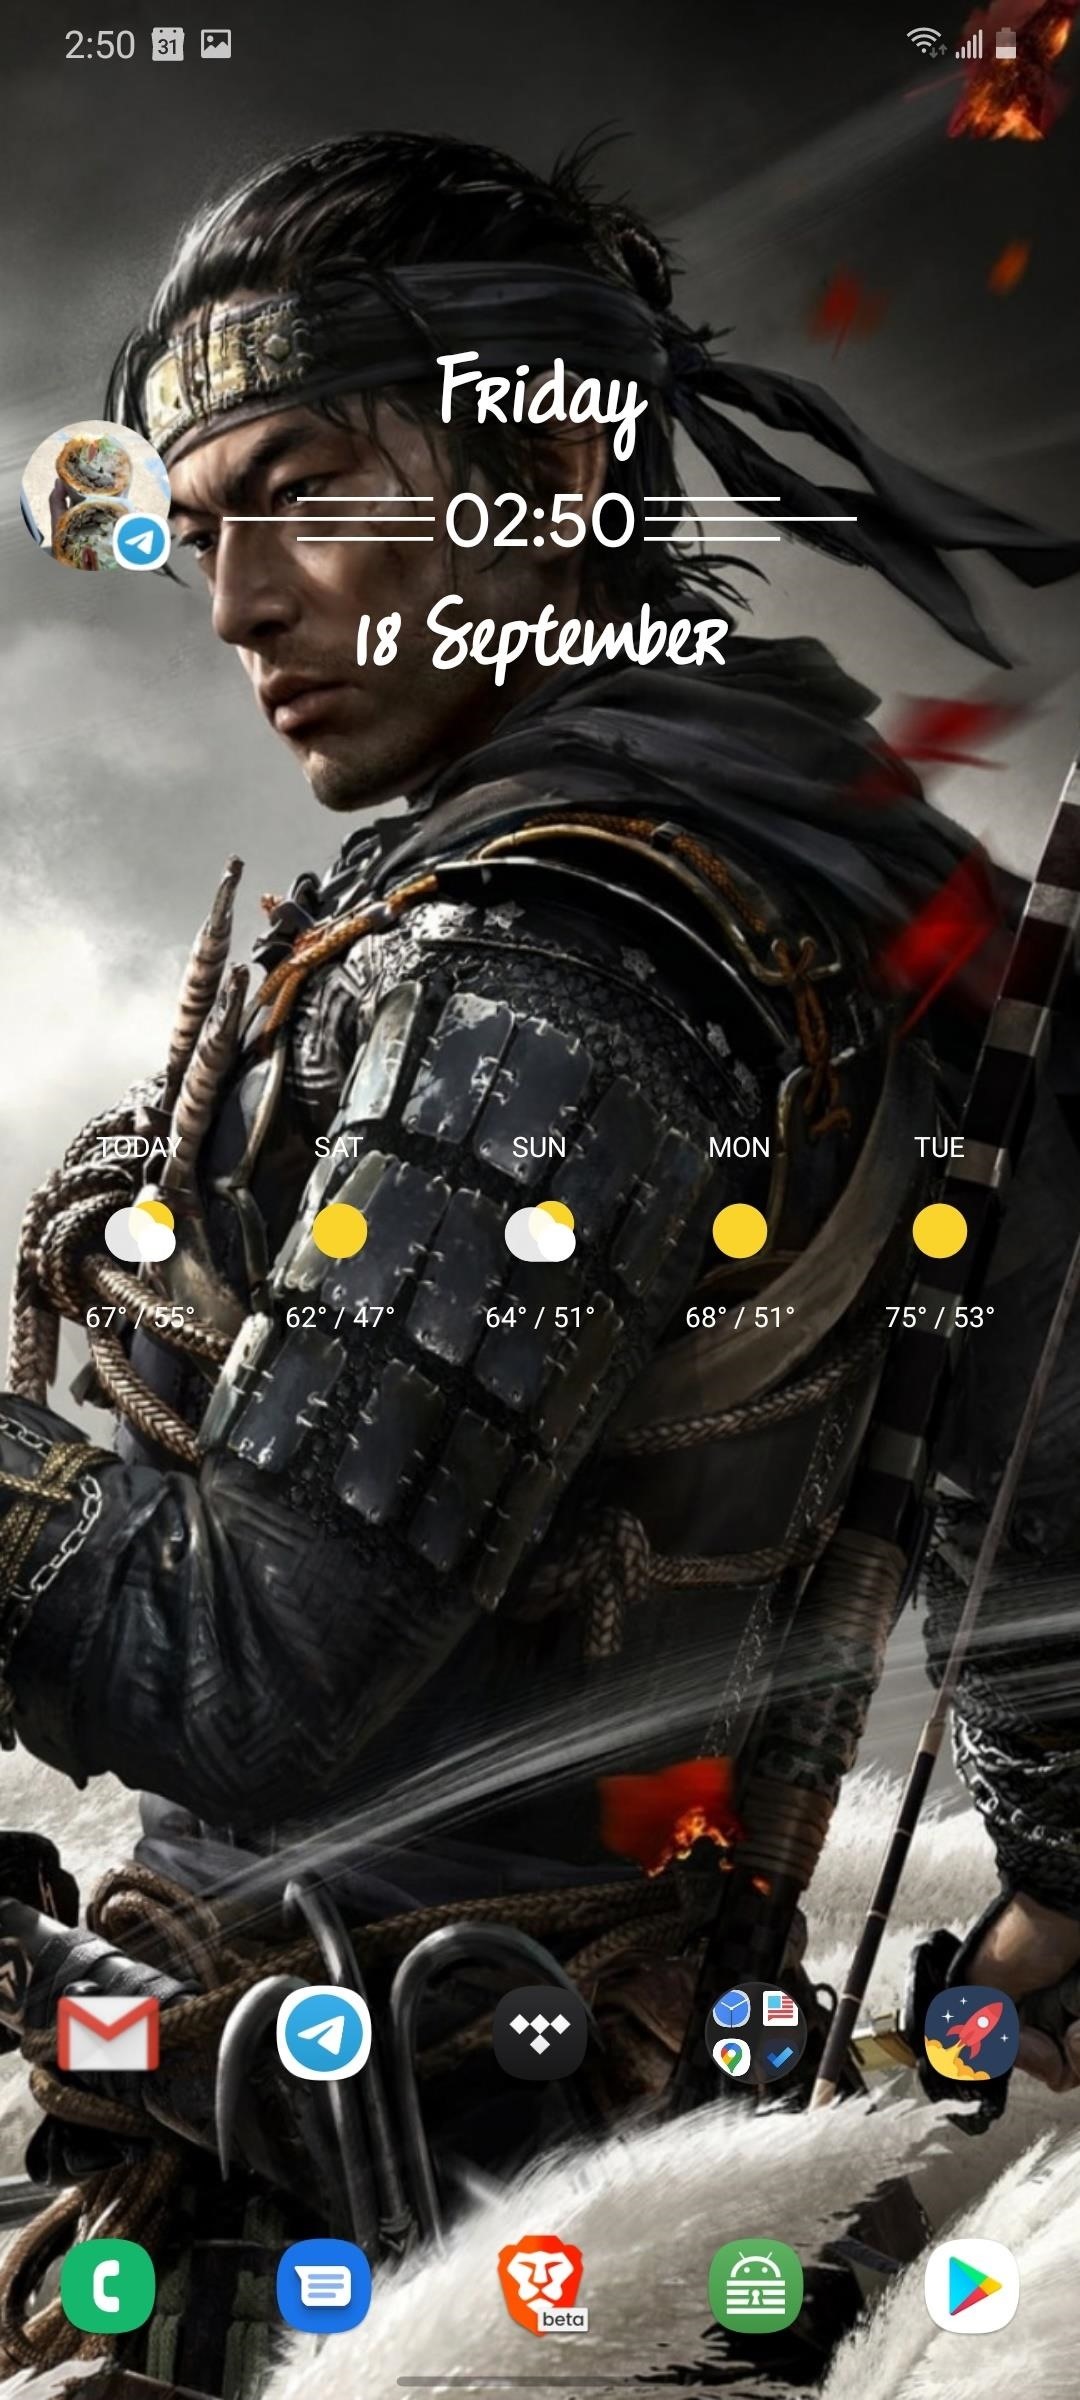
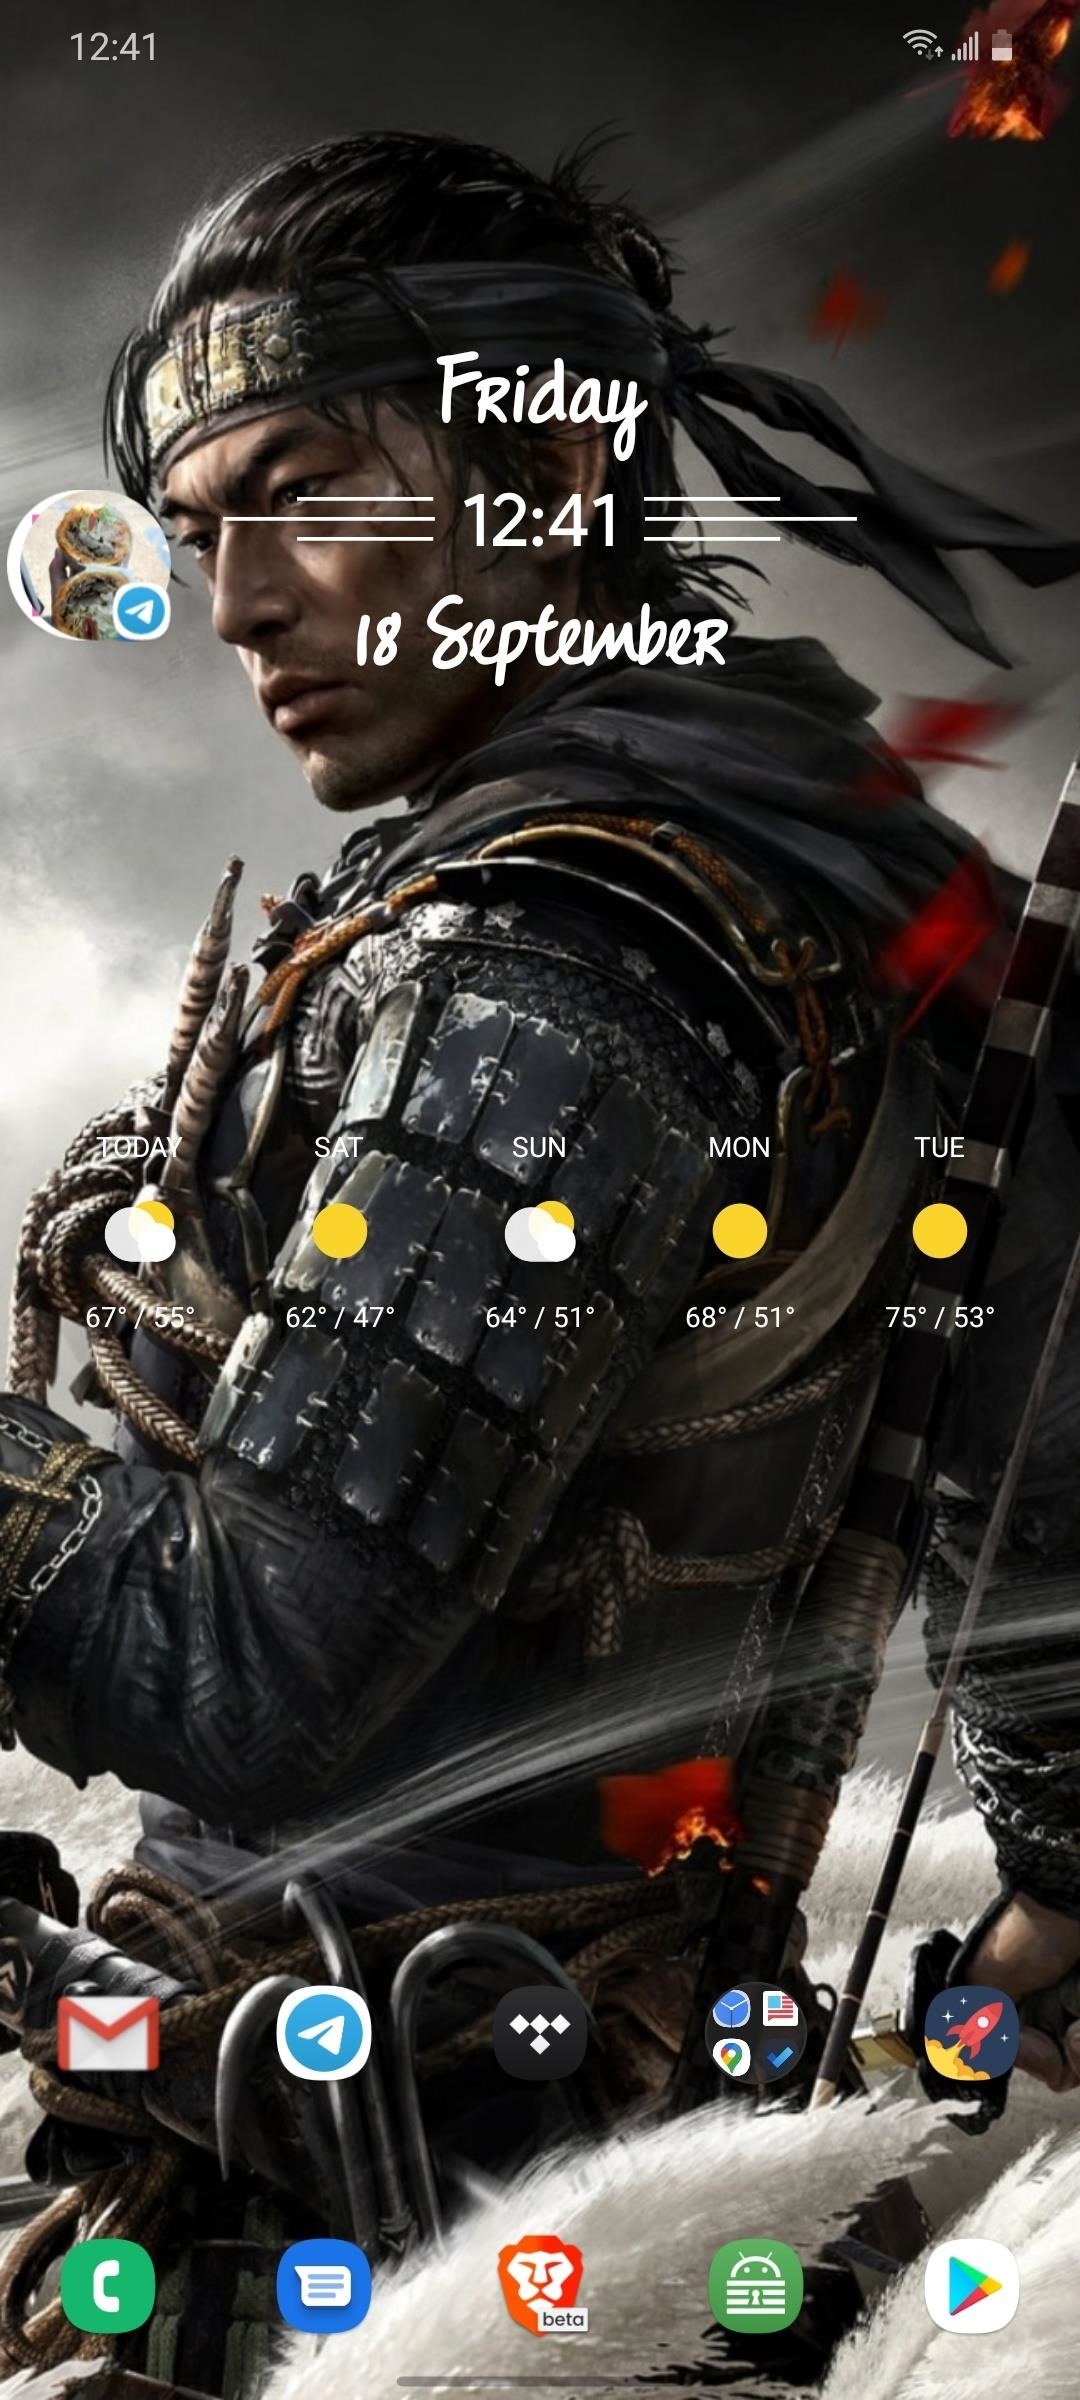
Once a bubble is created, the profile picture of either the individual or group will appear as an icon overlaid on top of your apps. You will also see the icon of the messaging service in the bottom right corner of the picture. If they don’t have a picture, the icon of the messaging app will appear.
This chat bubble can be moved to any position along the left and right edge of the display. When a new message appears, the message will emerge from the bubble for you to read. It will also appear in the notification shade as well.

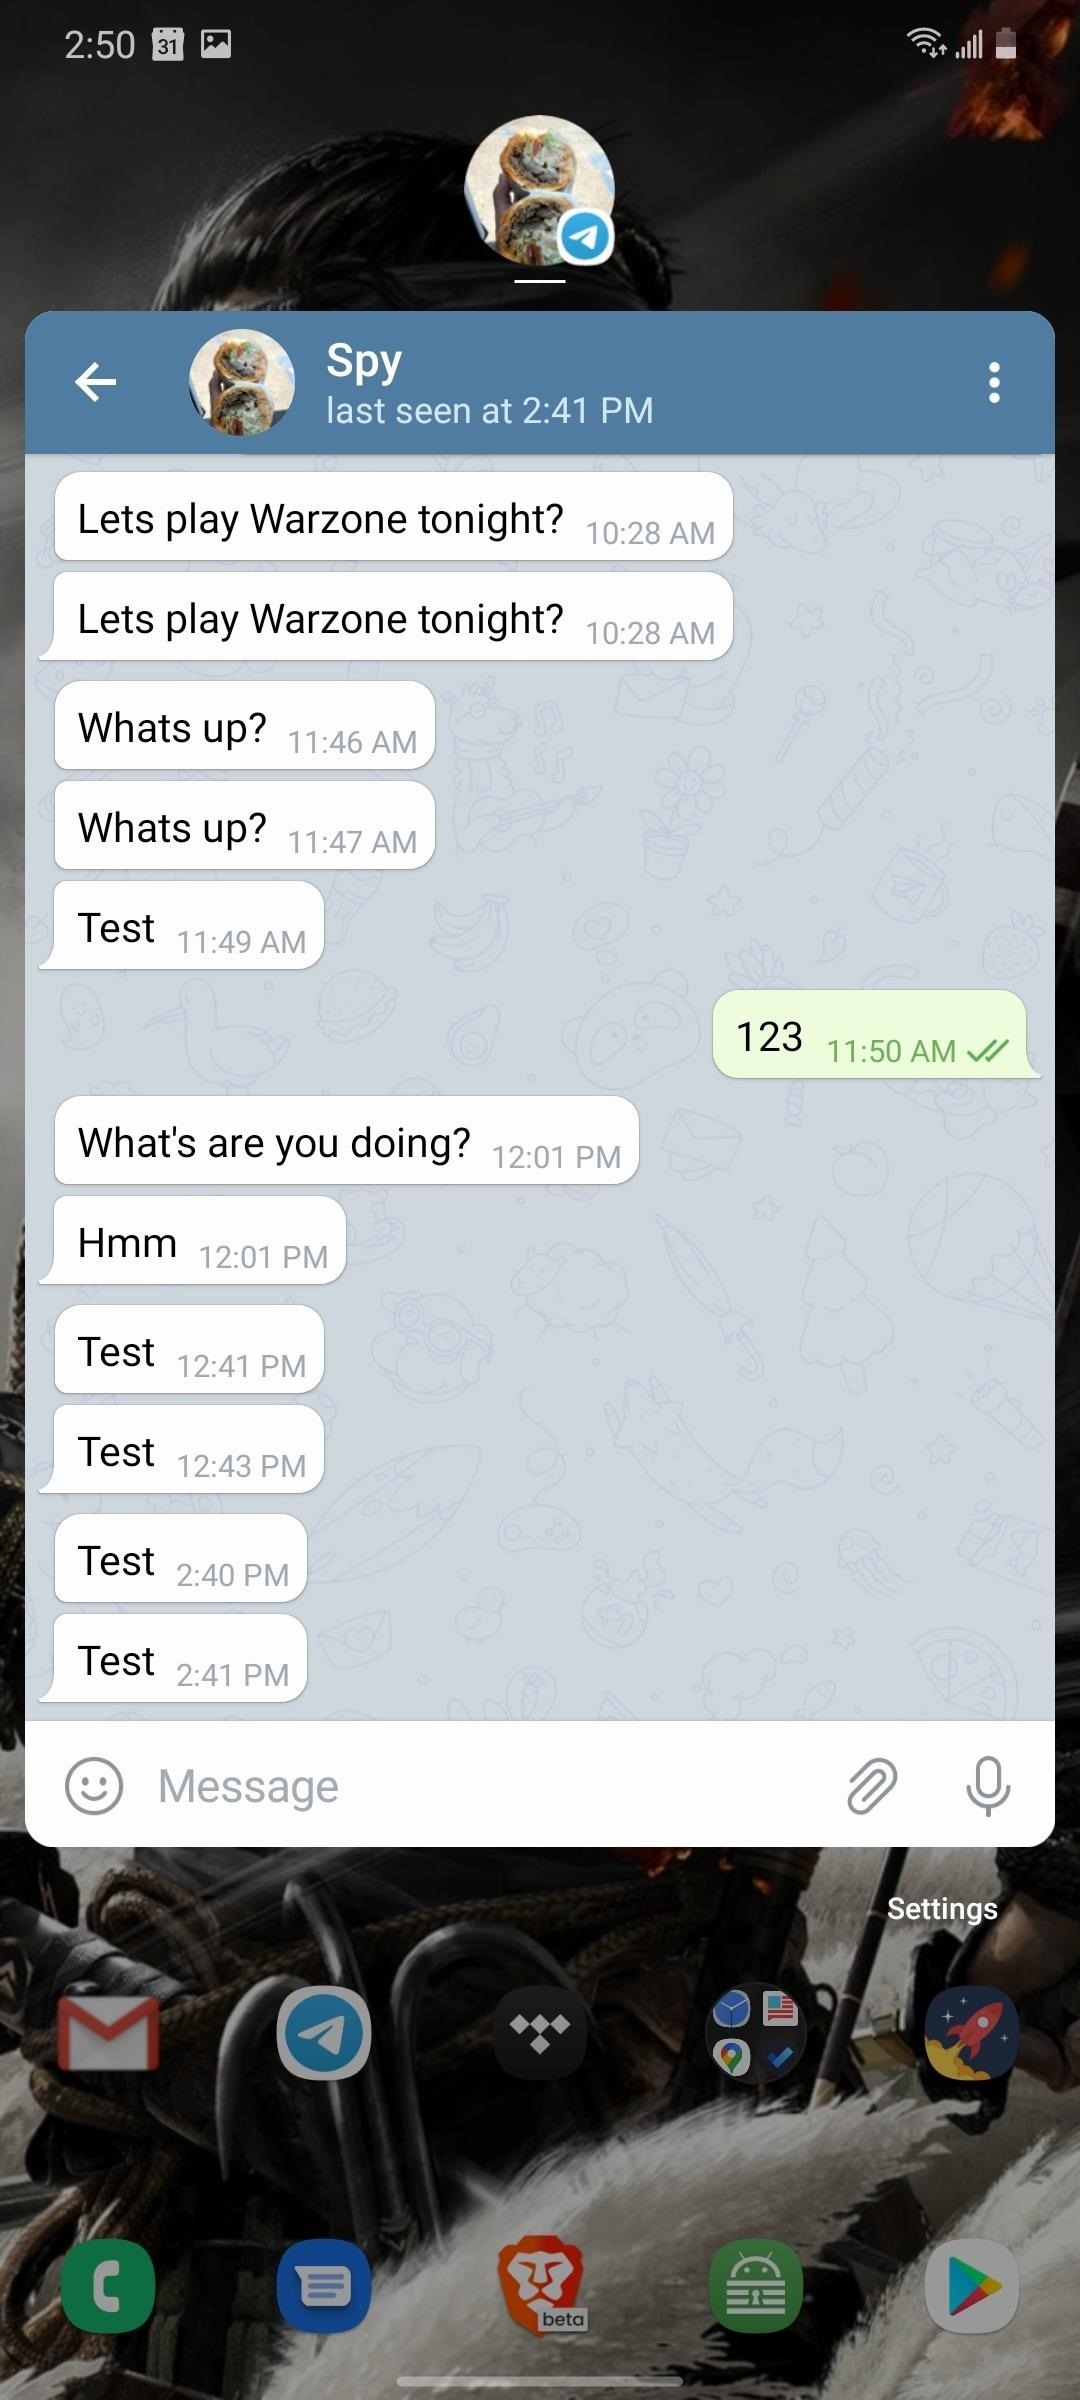
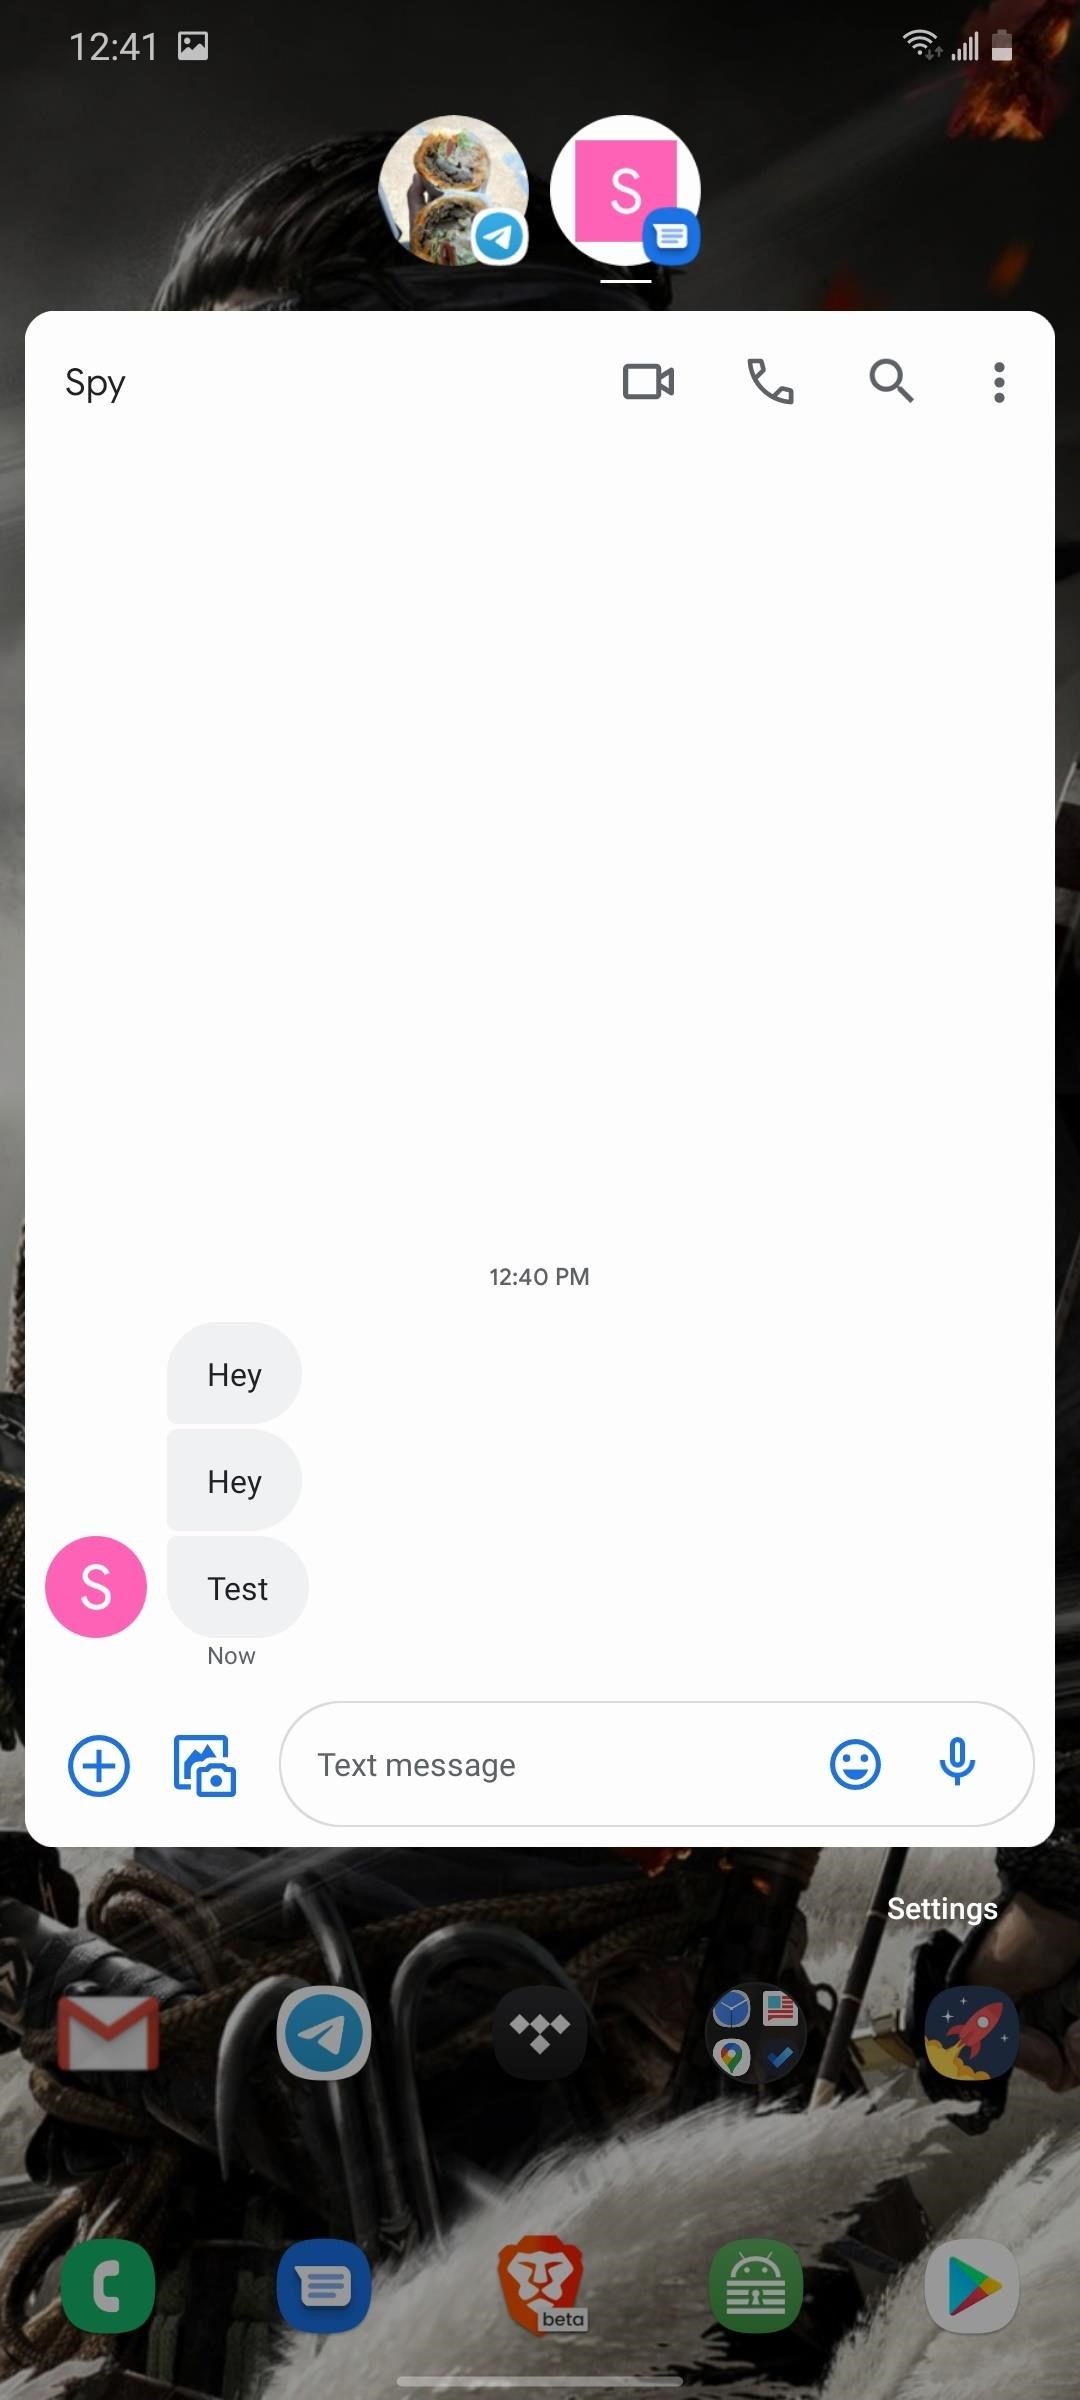
When you select the bubble, a small window is created that is about the same width as your display. It contains a miniature version of the messaging thread, just as it appears when you open the app. You can do everything you could do as if the app was full screen. However, you can’t leave the thread from the bubble.
To exit the thread, simply tap on the bubble again. This will close the thread but keep the bubble active. To get rid of the bubble, you can either select the back arrow in the thread, or while the chat interface is closed, drag the bubble to the “X” at the bottom of the screen.
Step 3: Create Multiple Bubbles for Different Conversations
Bubbles are not limited to just one conversation. You can create multiple bubbles for chat threads in either the same app or different apps — just tap that same icon on the fully-expanded notification (as shown in Step 1).
Open bubbles will appear stacked on top of each other, with the most recent message at the front. Tapping this stack of bubbles will reveal the same popup window, but with multiple icons — one for each bubble-chat. Select a bubble to switch to that conversation, or tap the current conversation’s icon to close it out.
Step 4: Manage Your Bubbles
Let’s say you don’t want a particular thread to appear as a bubble anymore. There are a few ways to do this. First, you can wait for a new message to emerge from the thread and select the icon on the right side, which should now be a rectangle with a north-west arrow.
Another way to is open Settings –> Notifications –> Advanced settings –> Conversations. Select the conversation you wish to alter and disable “Bubble this conversation.” This menu also opens a host of other options, such as changing the thread notification status, having it appear as a popup, and more.
Hot Deal: Set up a secure second phone number and keep your real contact details hidden with a yearly subscription to Hushed Private Phone Line for Android/iOS, 83%–91% off. It’s a perfect second-line solution for making calls and sending texts related to work, dating, Craigslist sales, and other scenarios where you wouldn’t want to give out your primary phone number.
“Hey there, just a heads-up: We’re part of the Amazon affiliate program, so when you buy through links on our site, we may earn a small commission. But don’t worry, it doesn’t cost you anything extra and helps us keep the lights on. Thanks for your support!”


