As the largest wireless service providers in the United States, AT&T and Verizon Wireless carry some serious clout. Sadly, they use some of this power to heavily modify the Android phones that they offer.
While smaller carriers like Sprint or T-Mobile are happy to just have the phones made available to them by the manufacturers, AT&T and Verizon have enough say-so in the mobile industry that they can operate against the best wishes of the manufacturers and alter the software on the phones to fit their corporate interests.
One such modification that they’ve made to their Samsung Galaxy S5 variants was to add an extra layer of security to the Android bootloader. This wasn’t done to prevent malware or anything else like that—it was done specifically to prevent you from being able to modify the software on your own phone.
You see, if AT&T or Verizon allowed you to unlock your bootloader like every other carrier does, you’d be able to install a custom recovery and could then utilize software that wasn’t customized to fit the carrier’s goals of selling you extra services.
But the Android development community rarely takes “you can’t do that” for an answer. While a method to unlock the bootloaders of the G900A and G900V variants of the Galaxy S5 has yet to be discovered, a workaround has finally been found.
Developer Hashcode has ported his Safestrap Recovery tool to the GS5, effectively bringing a custom recovery to the AT&T and Verizon variants. So if you’ve ever wanted to flash ZIPs, create a NANDroid backup, or even install a custom ROM on your G900A or G900V, this one’s for you.
For those of you with International, Sprint, or T-Mobile devices, check out my previous guide on installing a custom recovery called Philz Touch.
Step 1: Knock Out the Prerequisites
Installing Hashcode’s Safestrap Recovery is actually pretty easy. The bulk of the work will be ensuring that you have all of your ducks in a row beforehand.
SD Card Required
Safestrap stores all of its data on your external SD card, and there’s no way to change this location. Because of this, you’ll need to have an external SD card plugged into your Galaxy S5.
If you don’t already have an SD card in your GS5, you can pick one up from most electronics retailers for less than $20.
Ensure That You’re Running the Latest Firmware
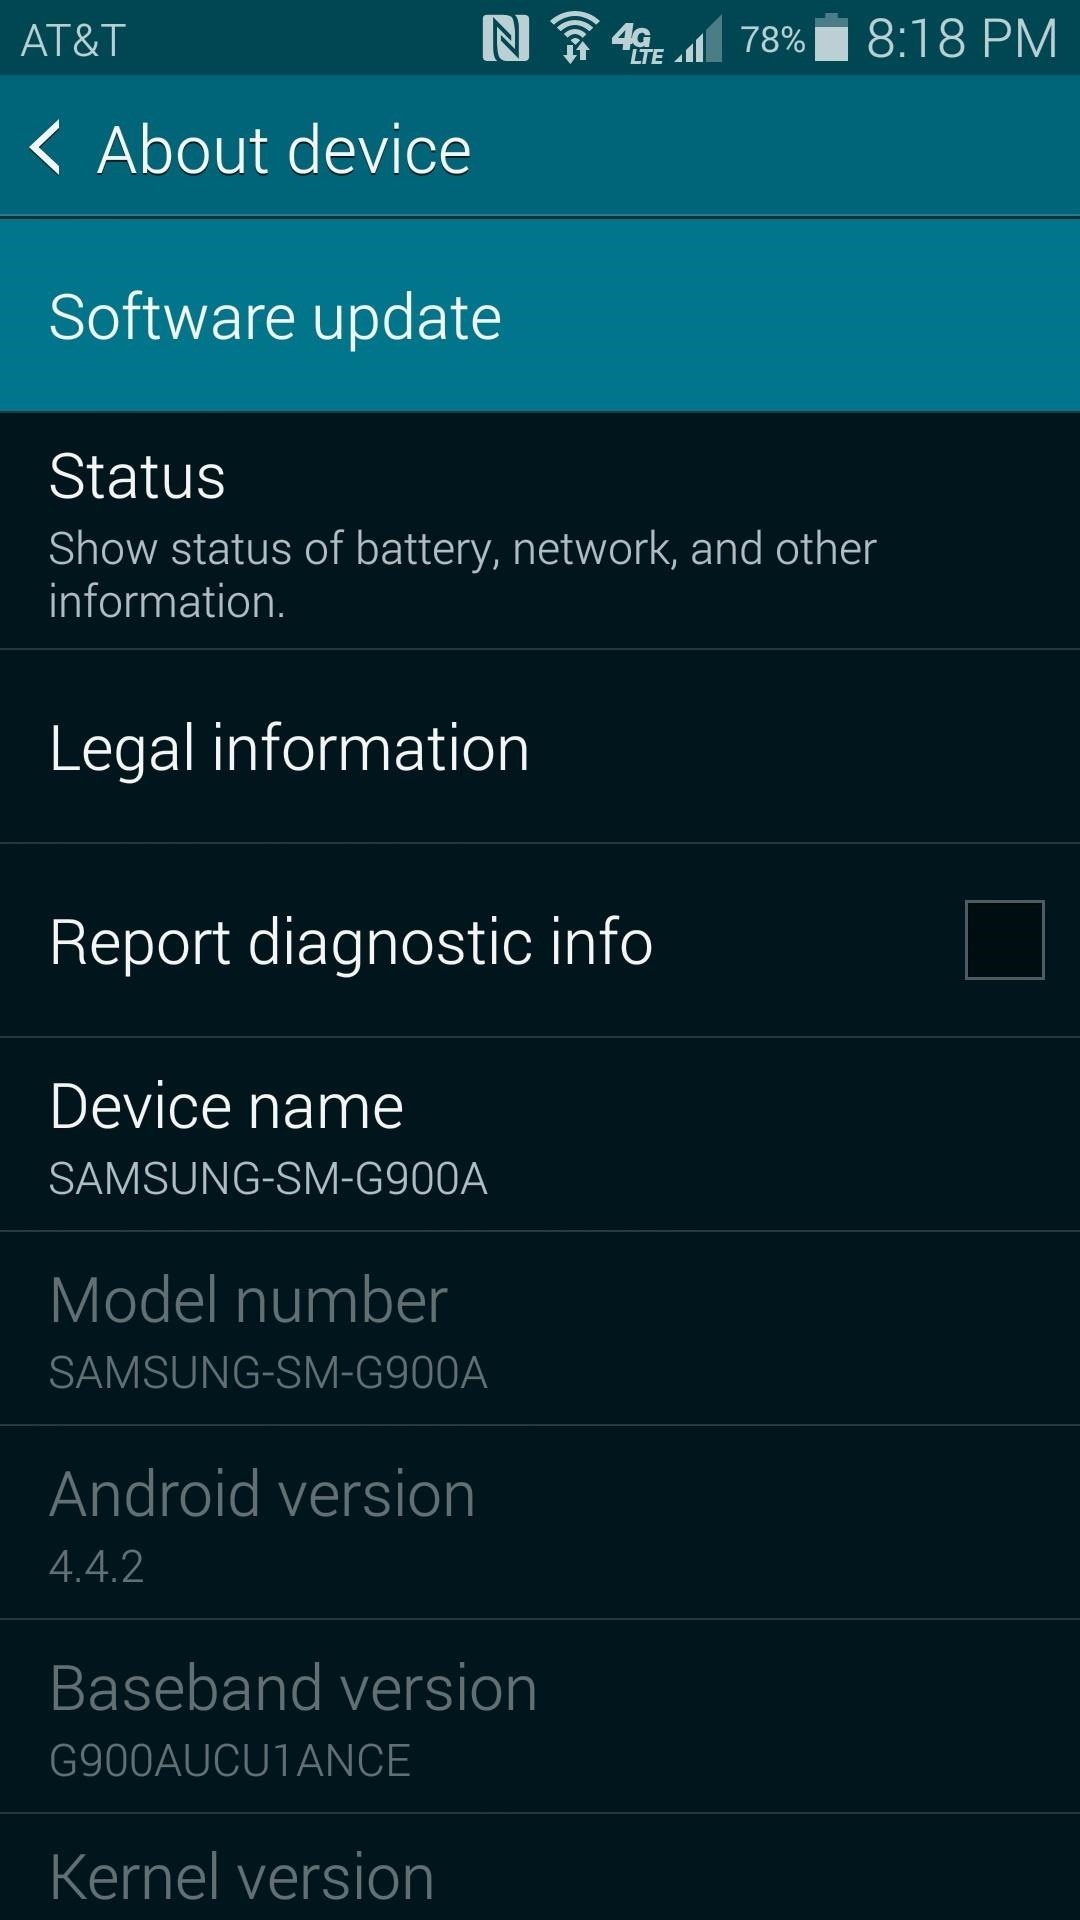
Next, you’ll need to be sure that your phone is running the latest firmware. To see if that is indeed the case, just open up Settings, then head to About Device. From here, tap Software update, then hit Check for Updates. Follow the prompts to bring your phone’s firmware up to date if it isn’t already.


Enable “Unknown Sources”
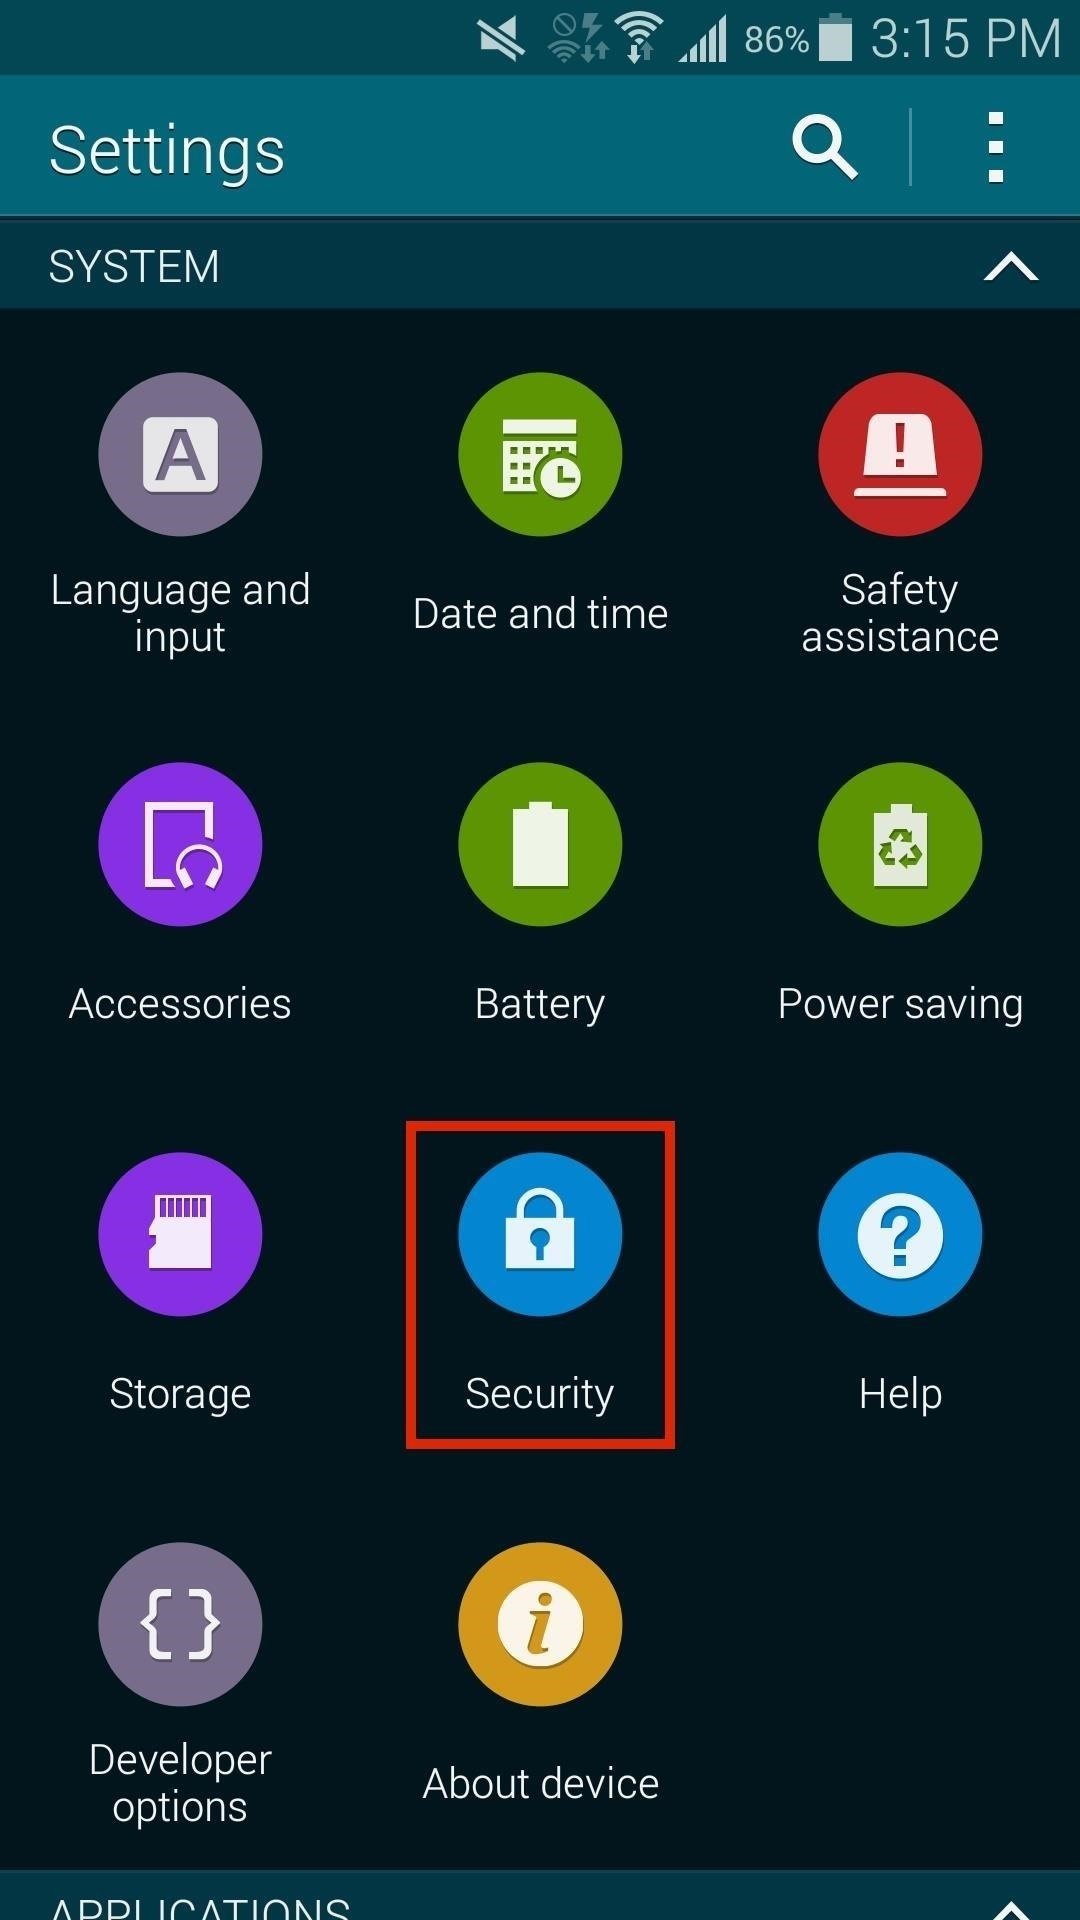
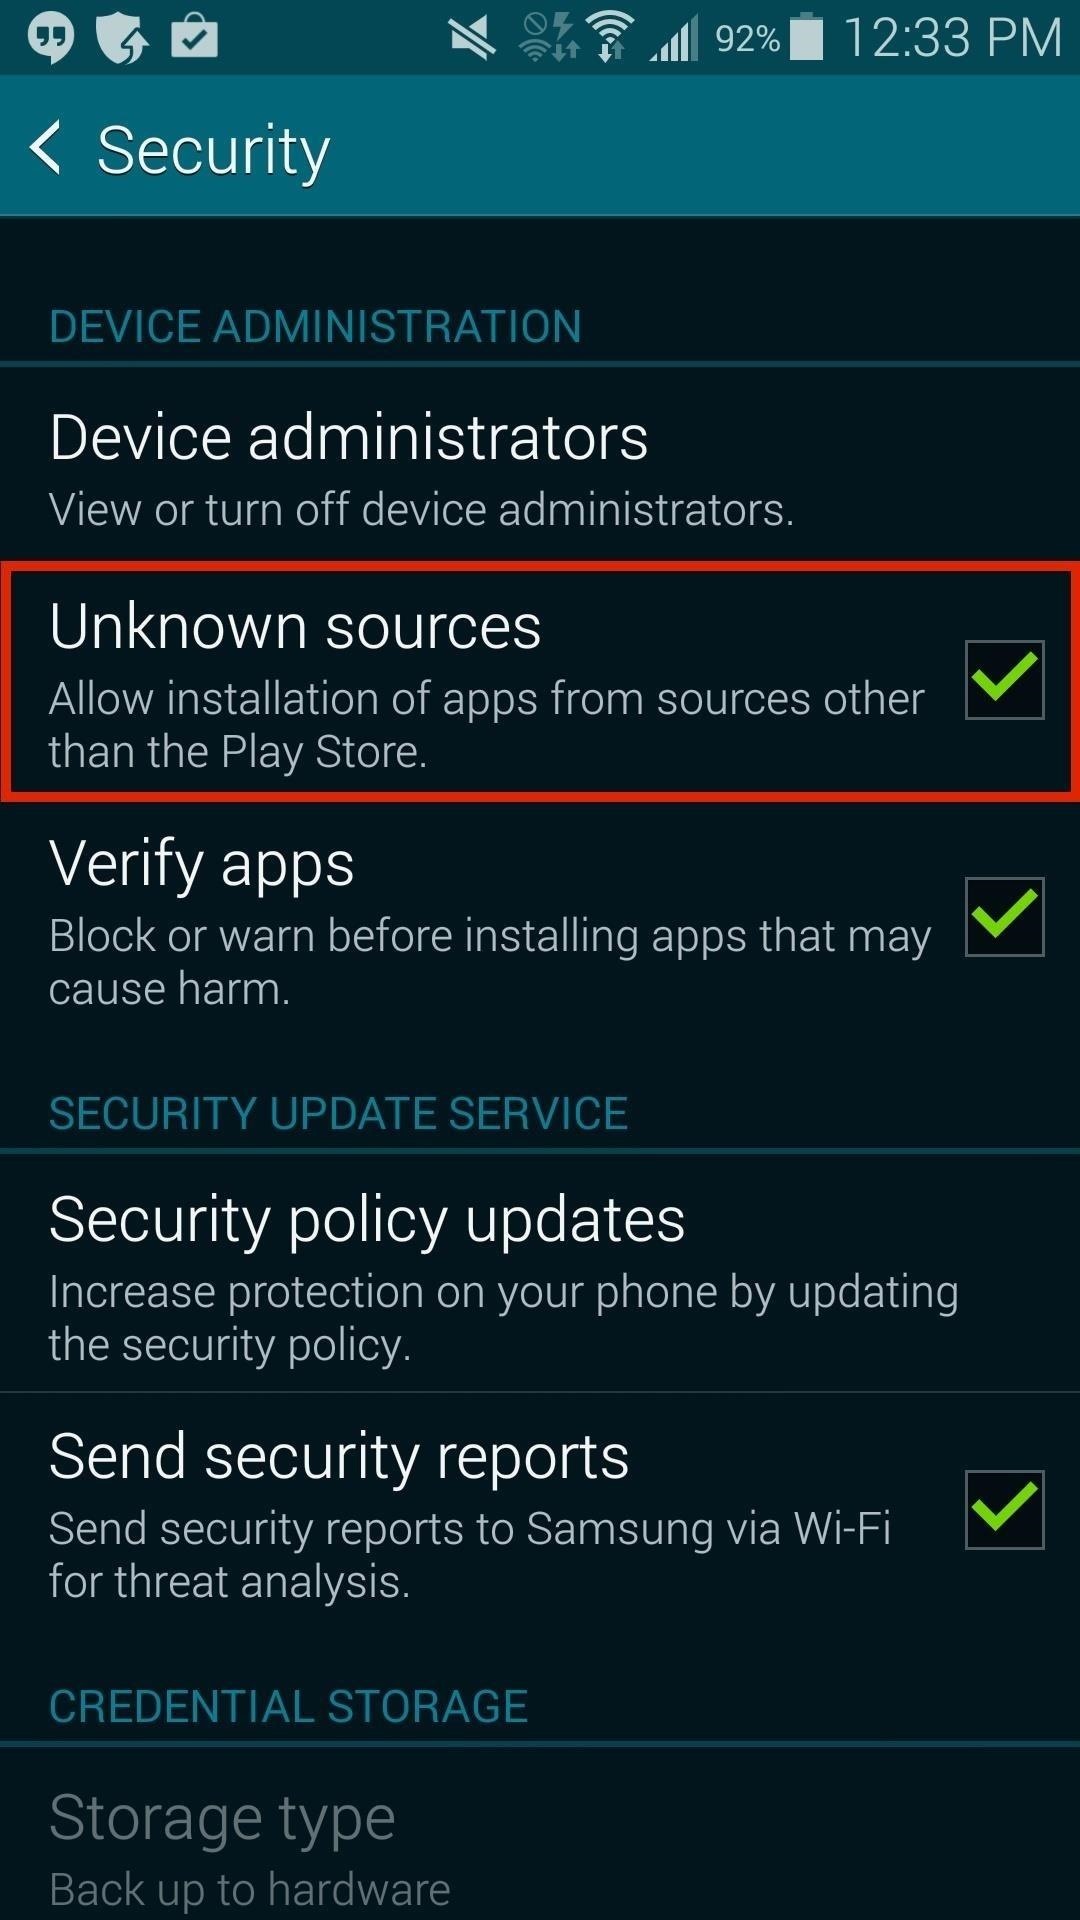
Once you’re certain that you’re running the latest firmware, make sure that your phone is set to allow installation of apps from Unknown Sources. If you’re unfamiliar with this setting, Nelson has a great guide on that topic available here.
Root Required
The Safestrap installer app utilizes Superuser privileges to install Safestrap Recovery. As such, you’ll need to be rooted to take advantage of all that custom recovery has to offer.
Rooting an Android phone has never been easier than it is right now. Just follow my guide on the Towelroot method, and you can be rooted in under a minute.
Install the BusyBox Commands
BusyBox is a set of Superuser commands that extend the capabilities of root apps on your Android phone. There is a great app from developer Stephen Ericson that will allow you to install these commands on your device, and it’s available for free on Google Play.
Search BusyBox to get the app installed, or use this link to jump directly to the install page.

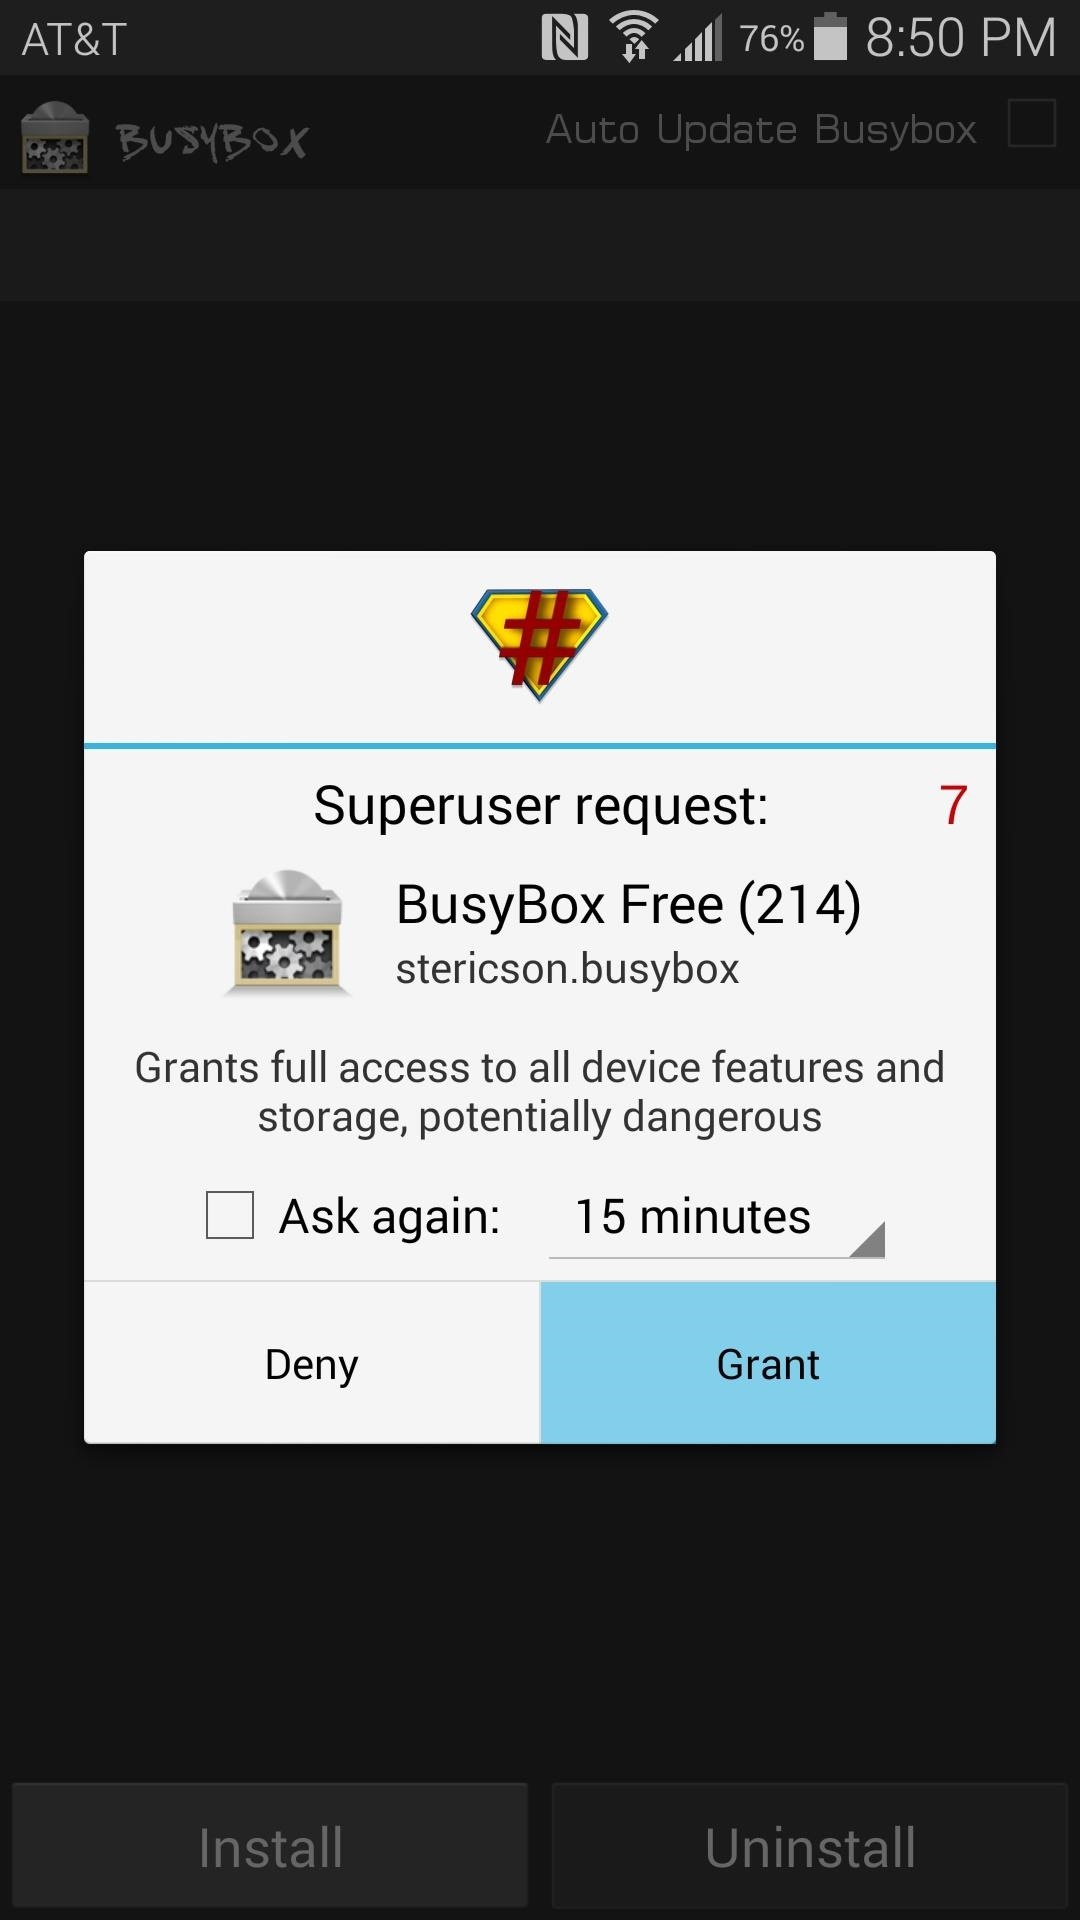
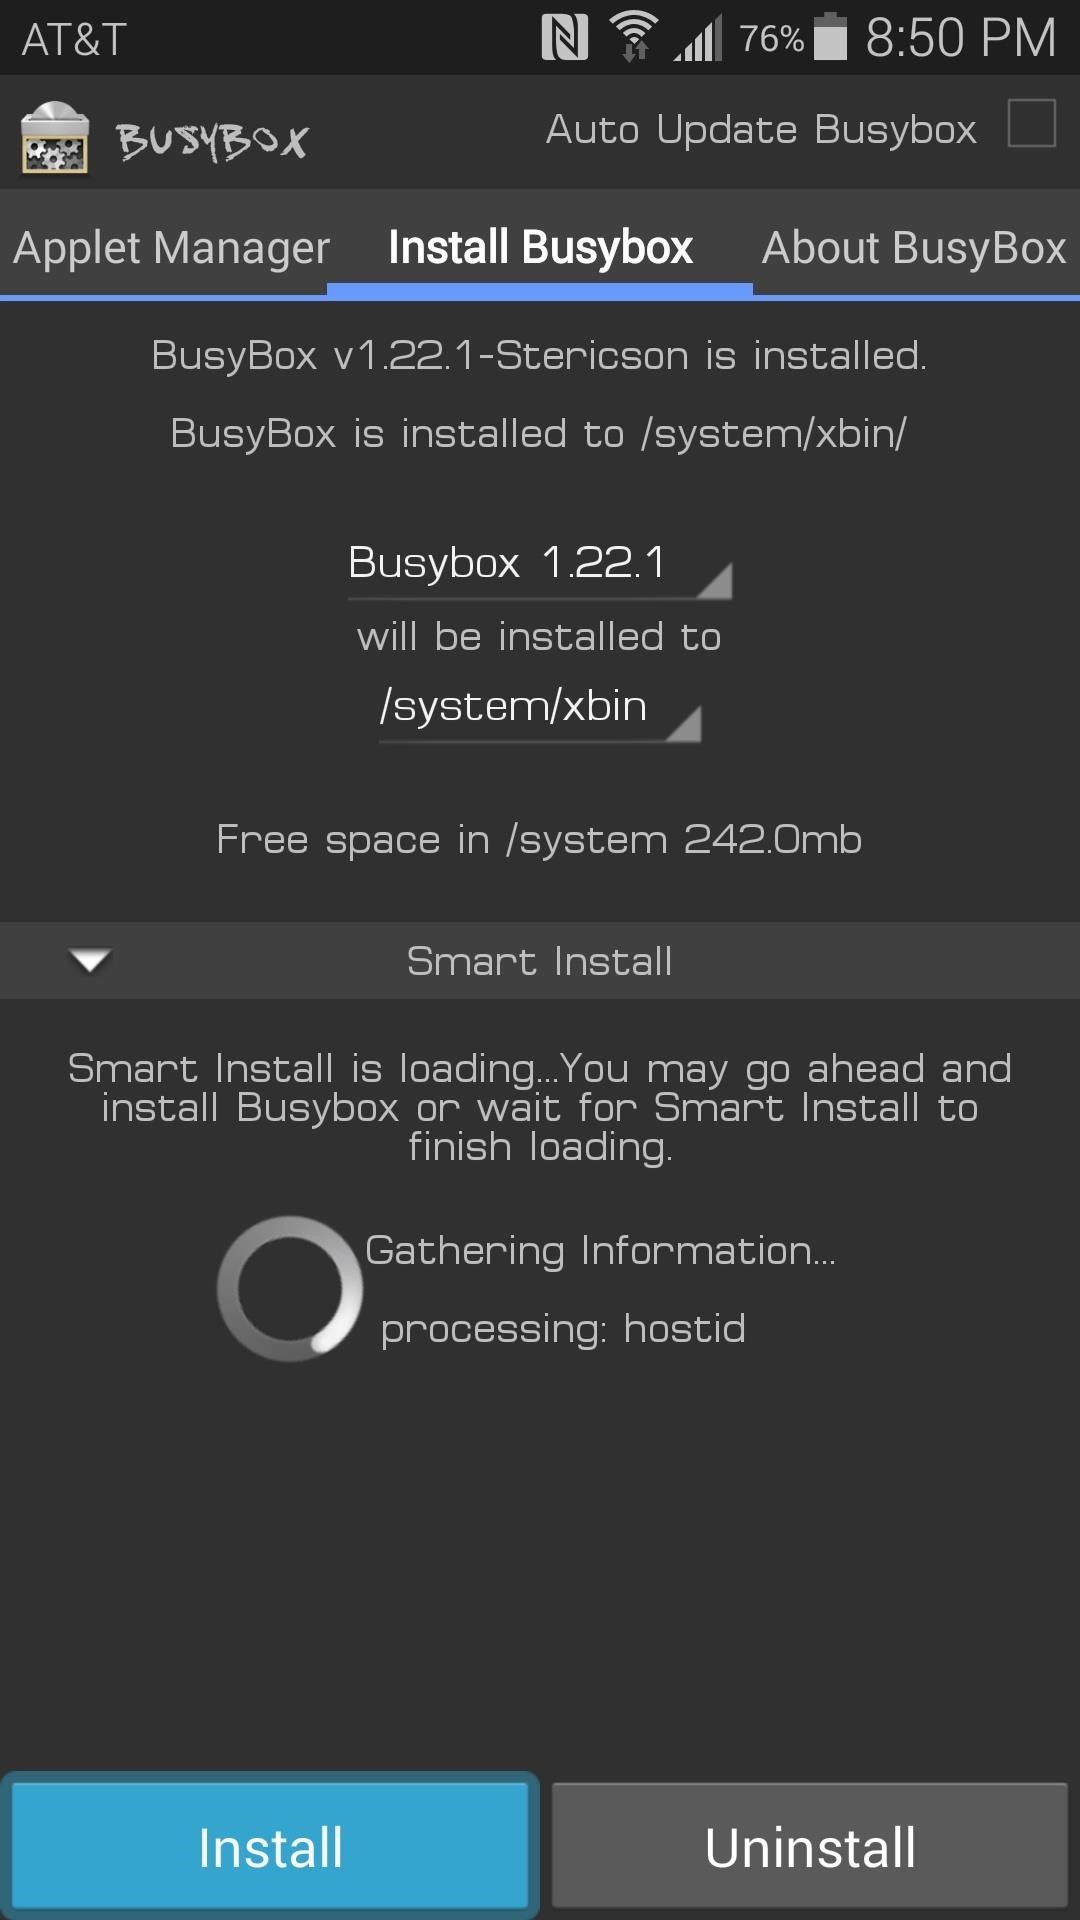
To install the actual BusyBox commands, start by opening the BusyBox app and granting it root access. From here, just close out any messages that may appear, then hit the Install button at the bottom of the screen.
With that out of the way, you’re ready to install Safestrap (don’t worry, it’s all downhill from here).
Step 2: Download the Safestrap Installer App for Your Variant
Next, you’ll need to download the Safestrap installer app for your particular variant. It’s very important that you download the correct app for your device.
If you have an AT&T variant of the Galaxy S5 (model number G900A), use this link to download the Safestrap installer for your phone.
If you have a Verizon variant of the Galaxy S5 (model number G900V), use this link to download the Safestrap installer for your phone.
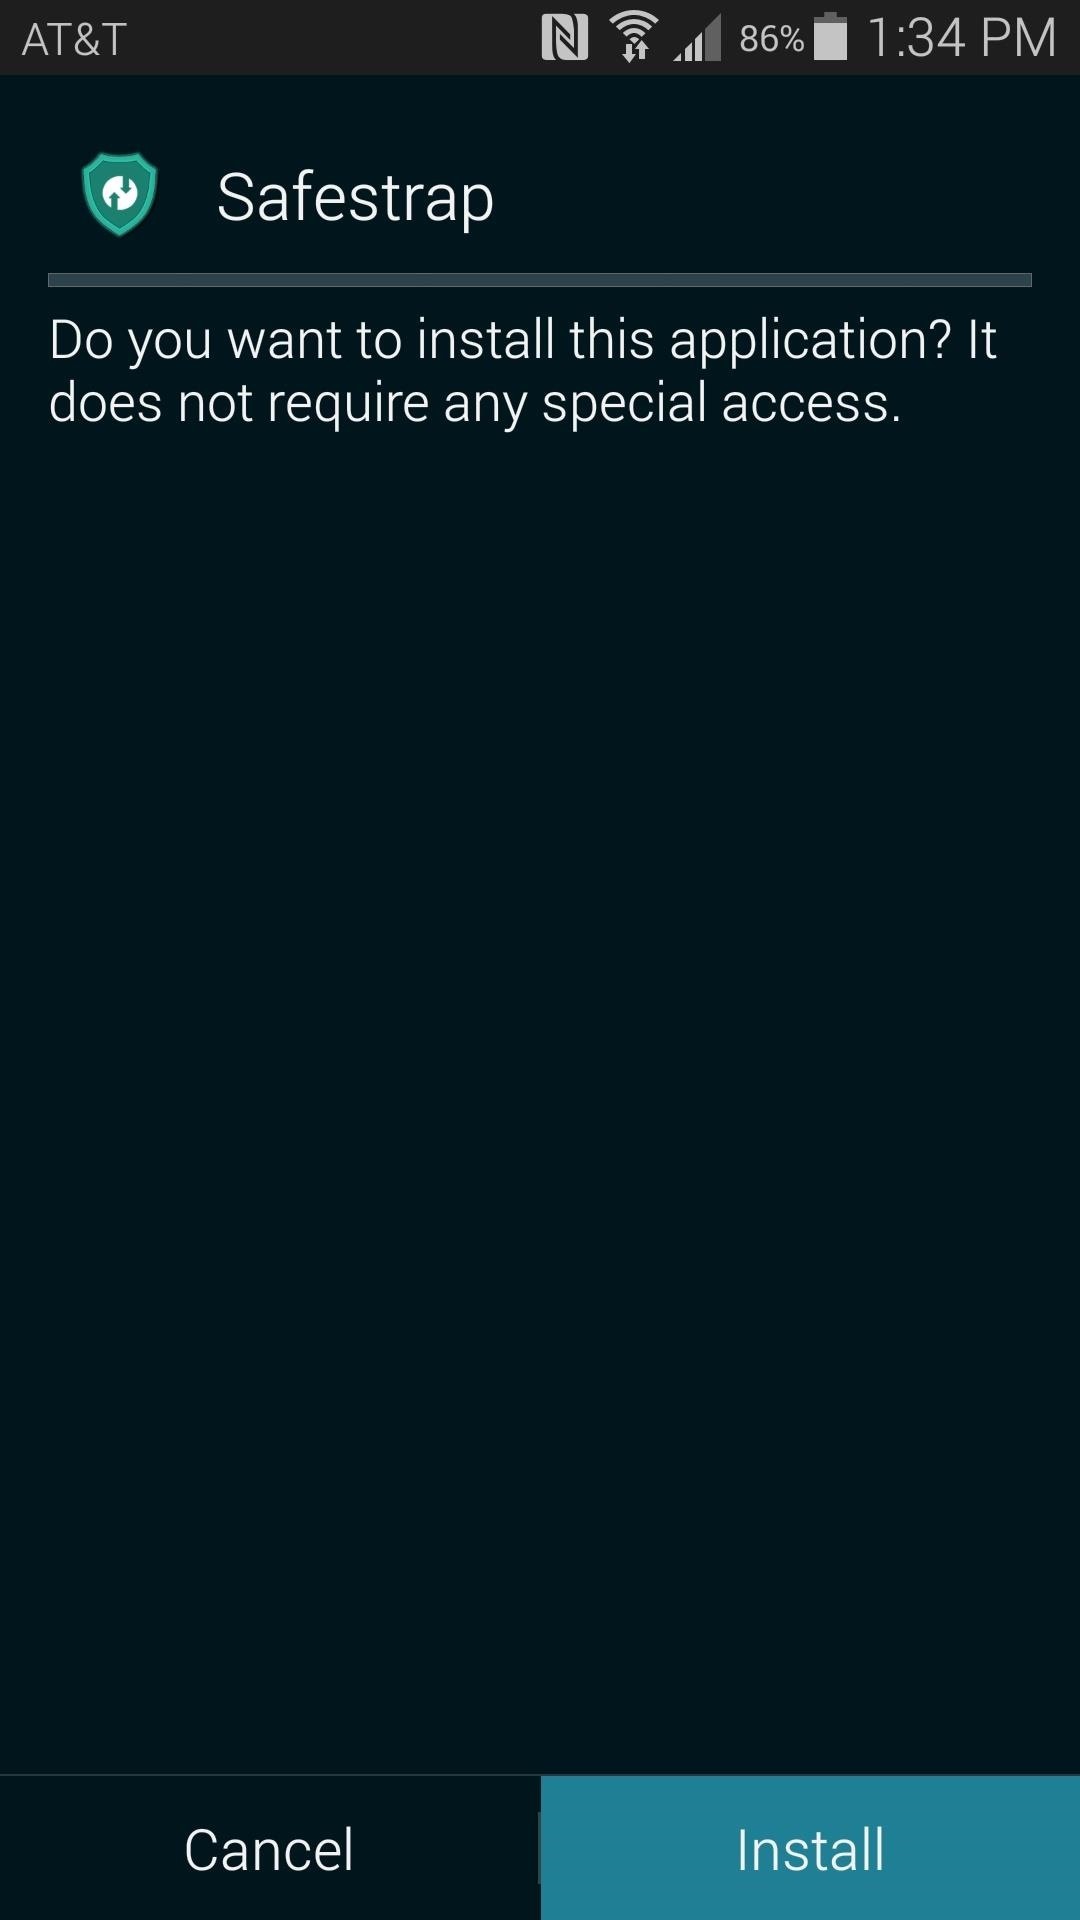
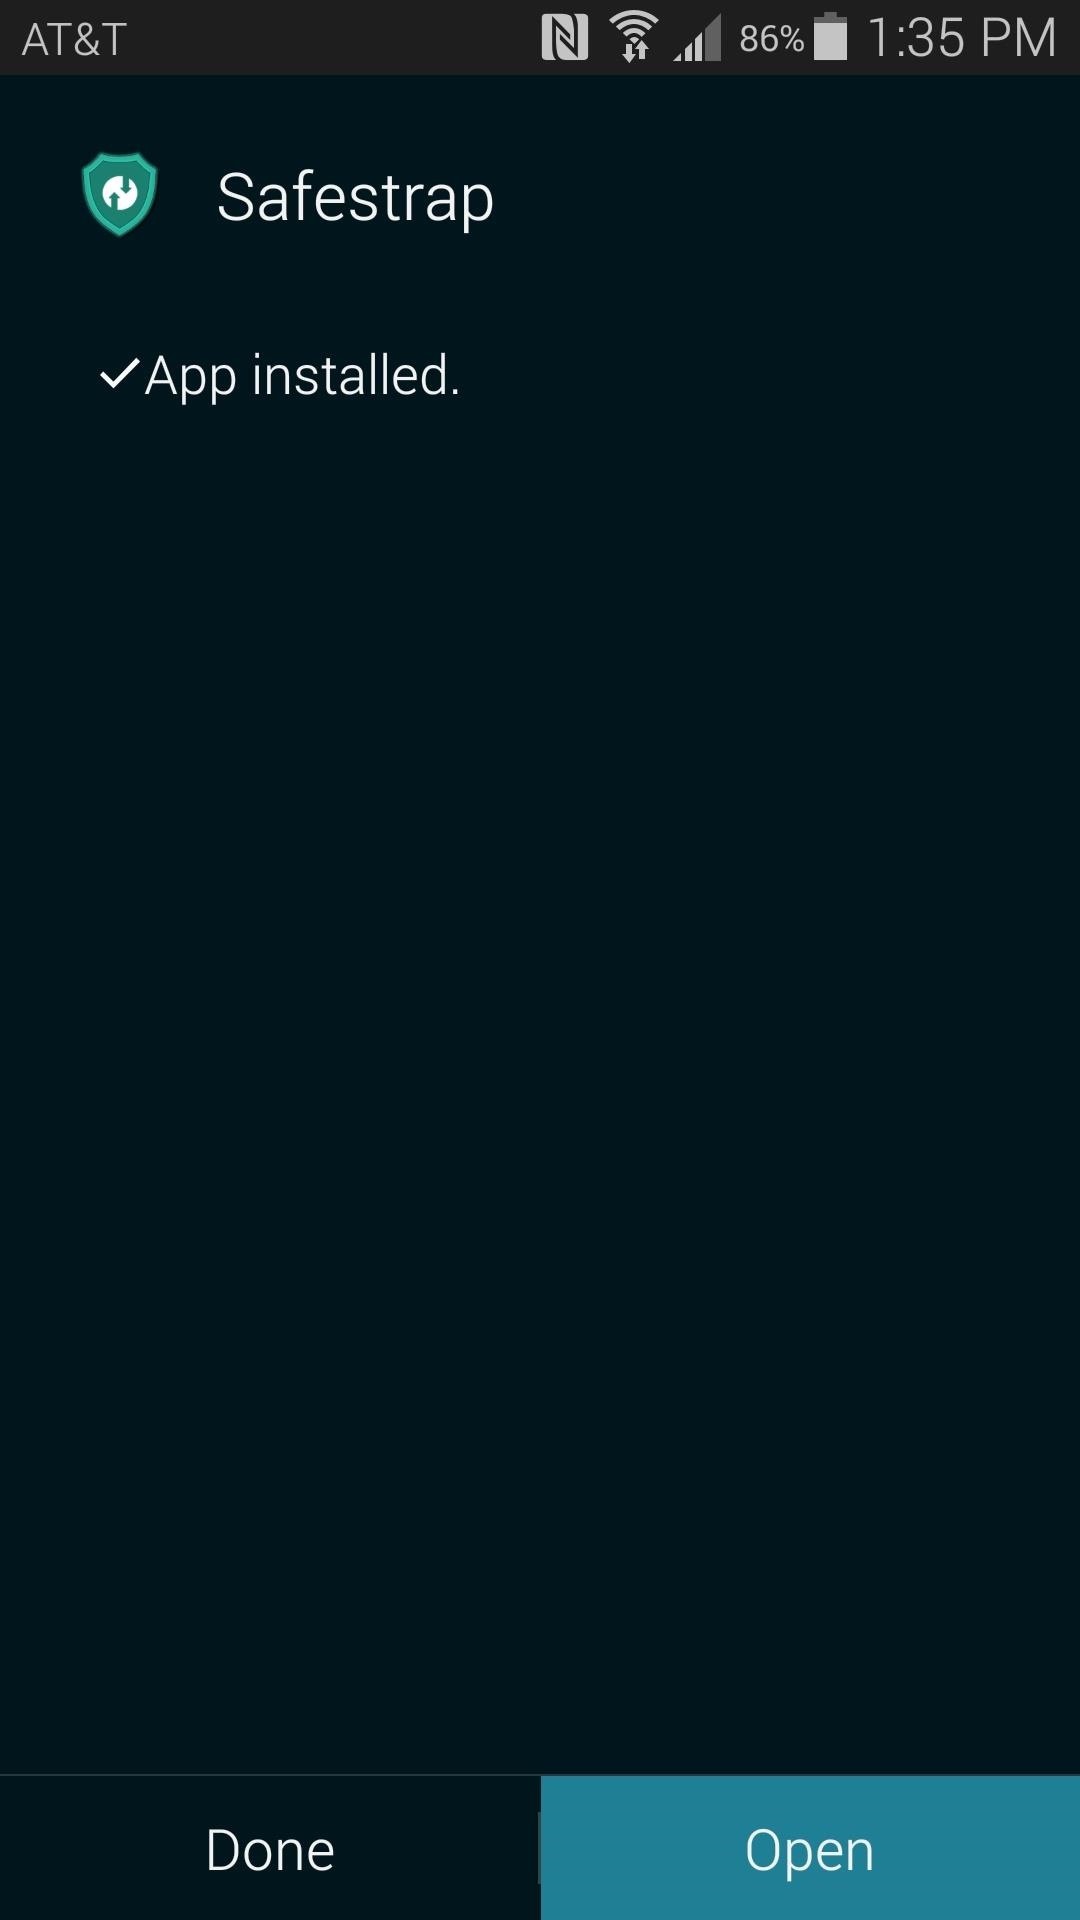
Once the installer file has finished downloading, simply tap the Download Complete notification to begin installation. Press Install on the next screen, then when that’s finished, tap Open.

Step 3: Install Safestrap Recovery
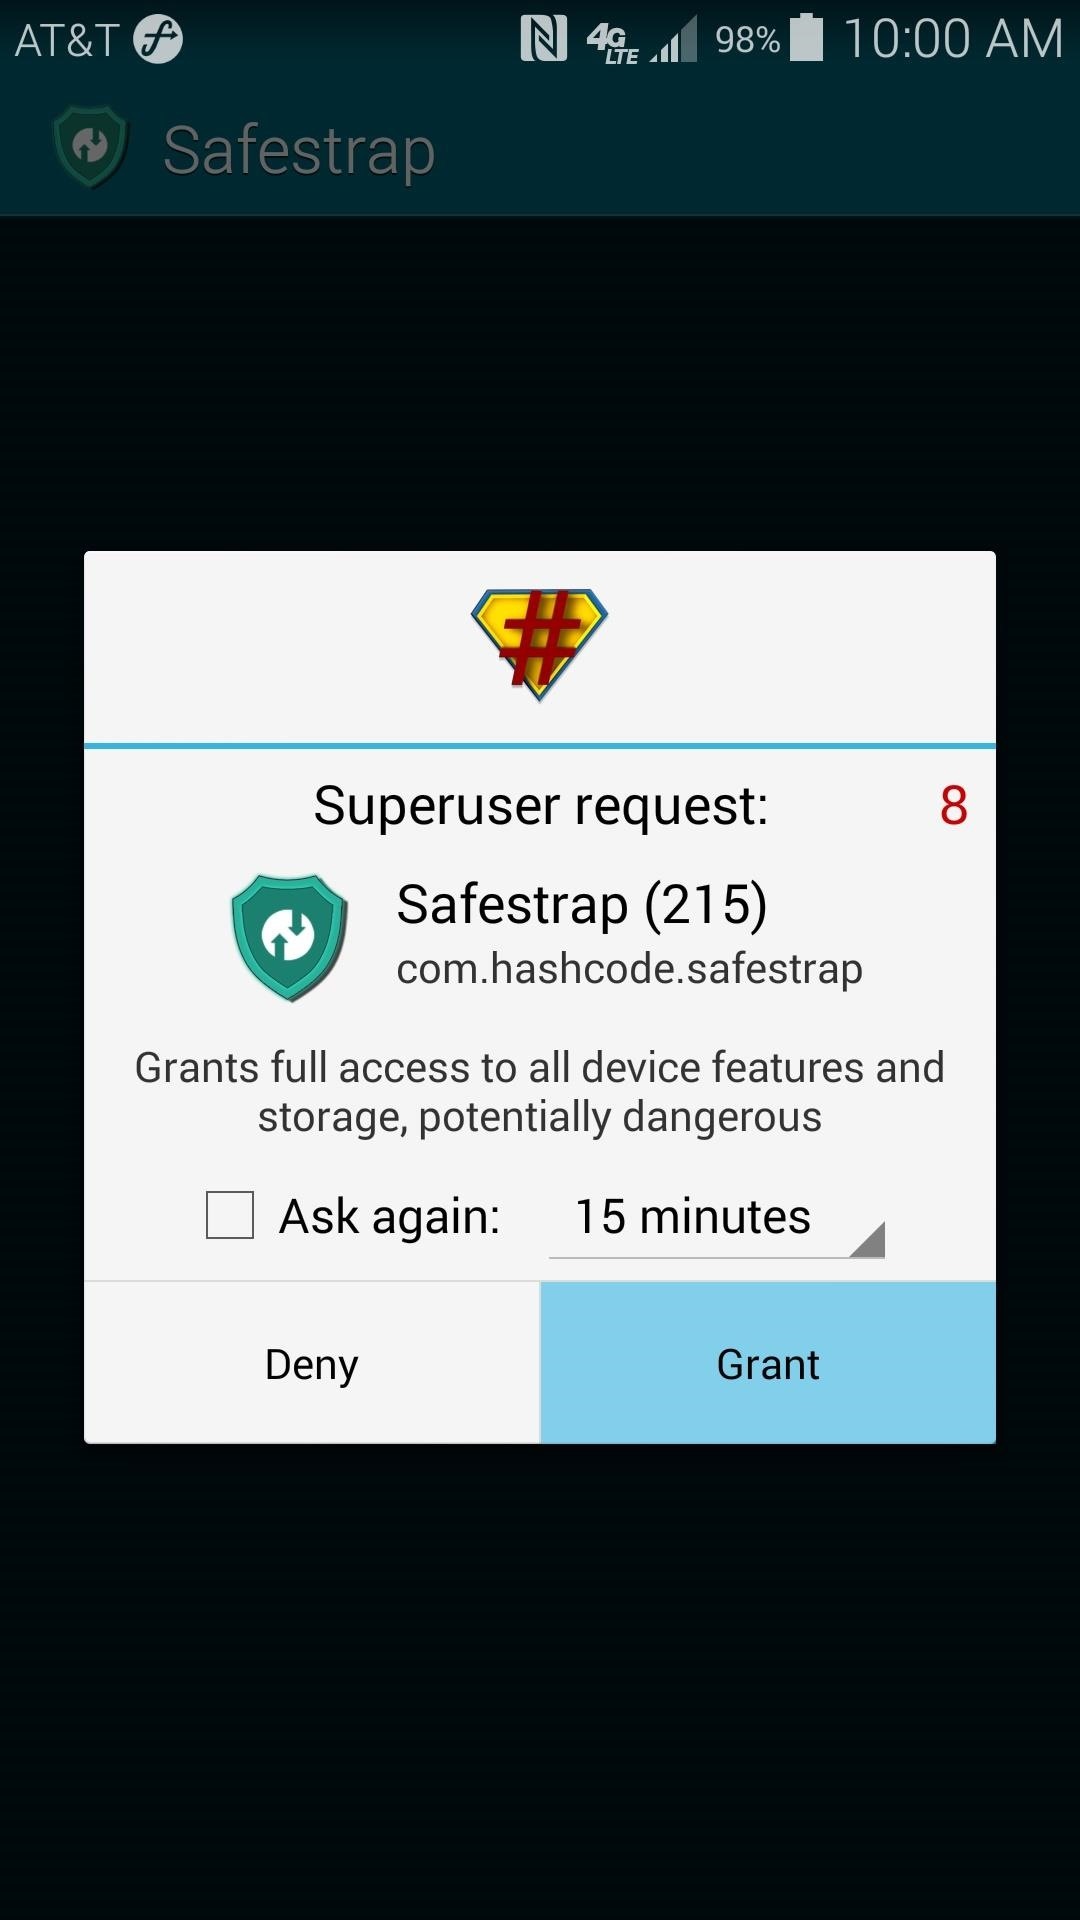
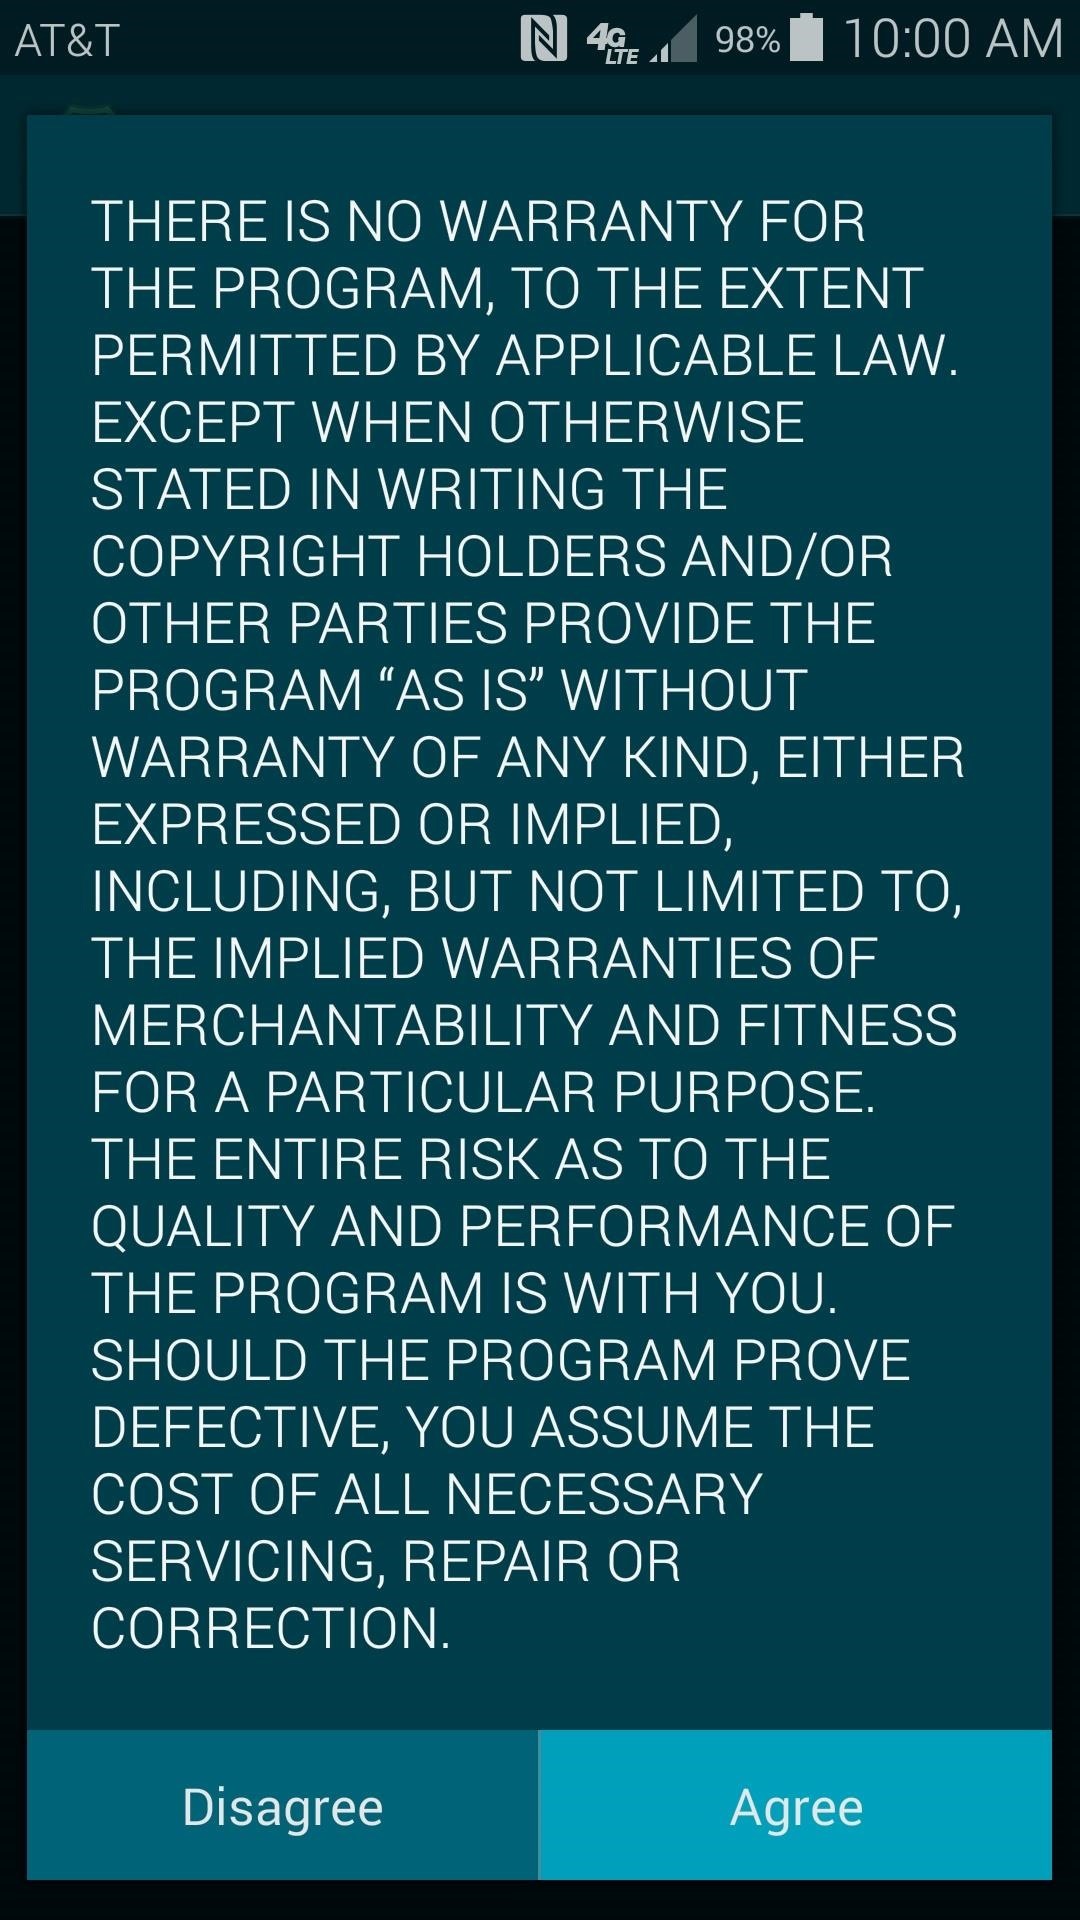
When you first launch the Safestrap installer app, it will ask for Superuser privileges, so Grant it those. After that, a disclaimer will appear, so hit Agree.
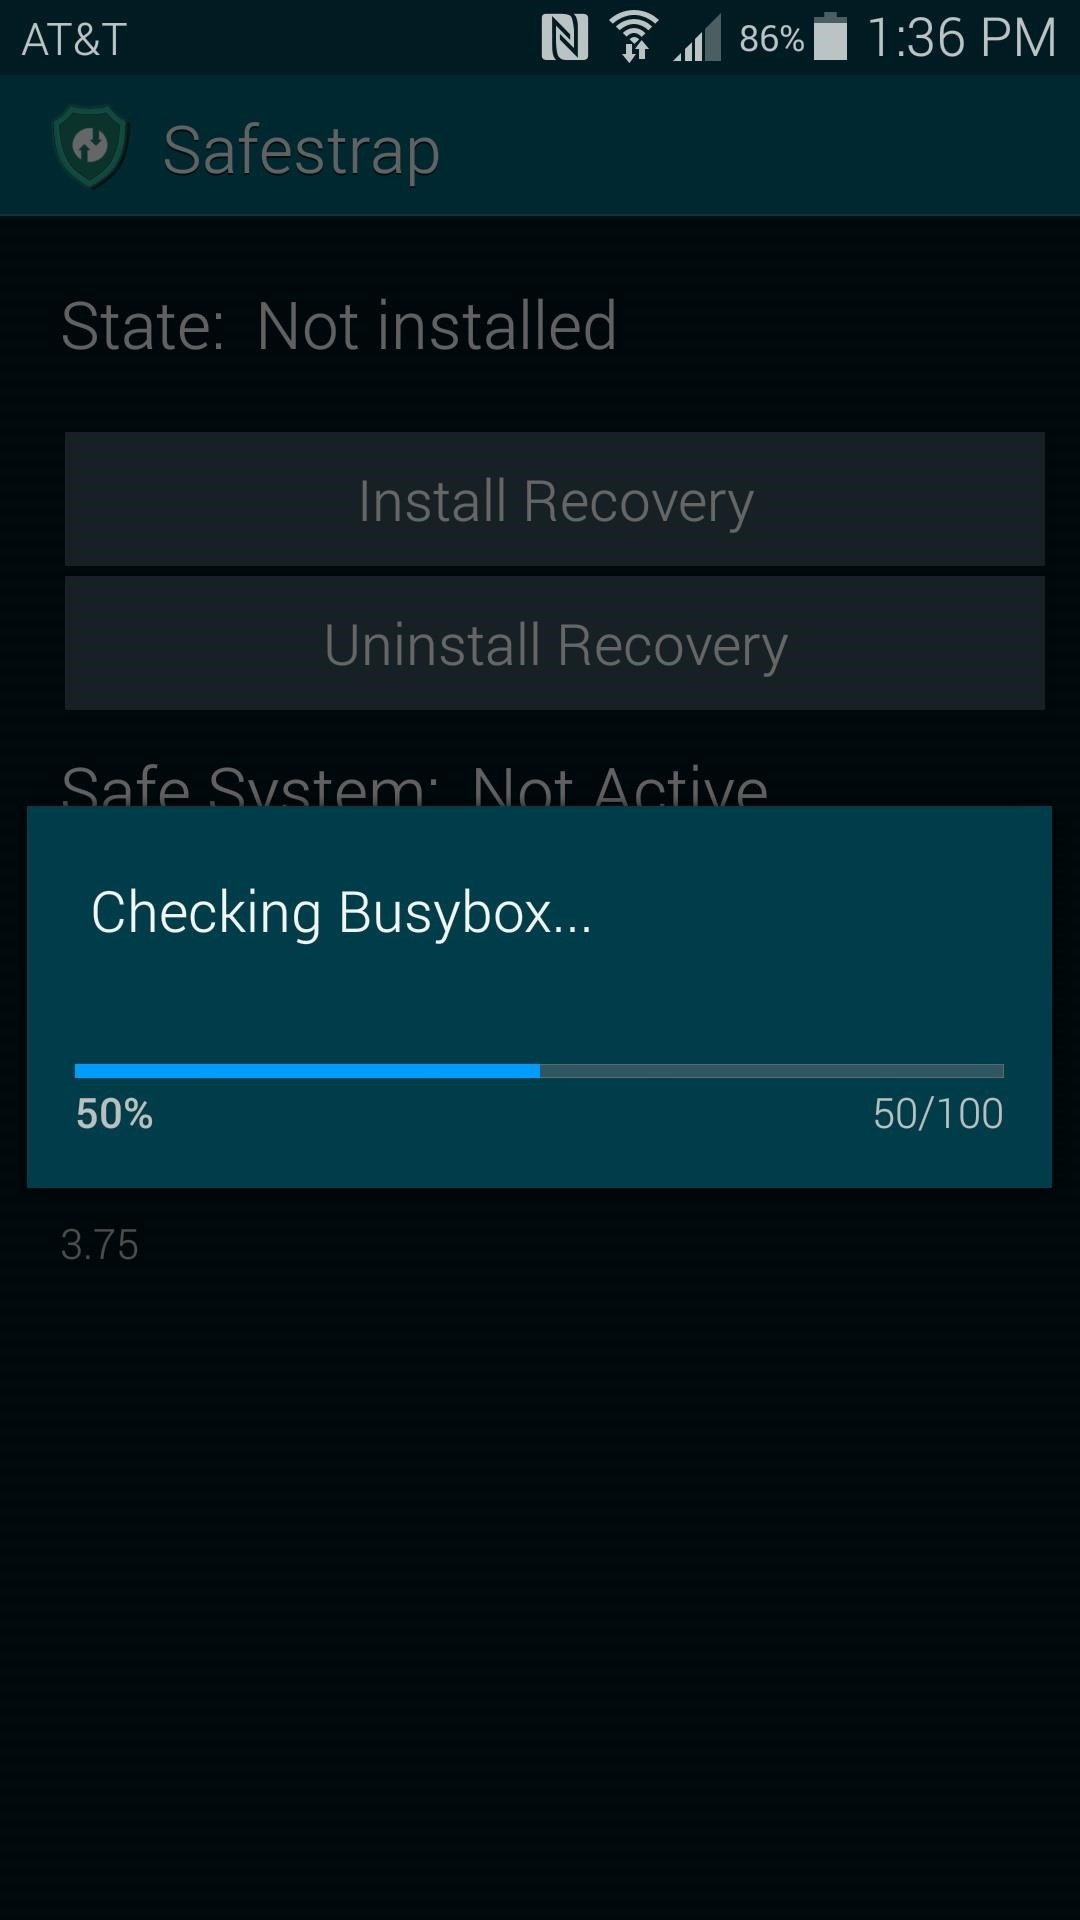
Next up is installing the actual Safestrap Recovery image. Simply tap Install Recovery from the main menu, and after a few seconds, you’ll have a custom recovery on your device.
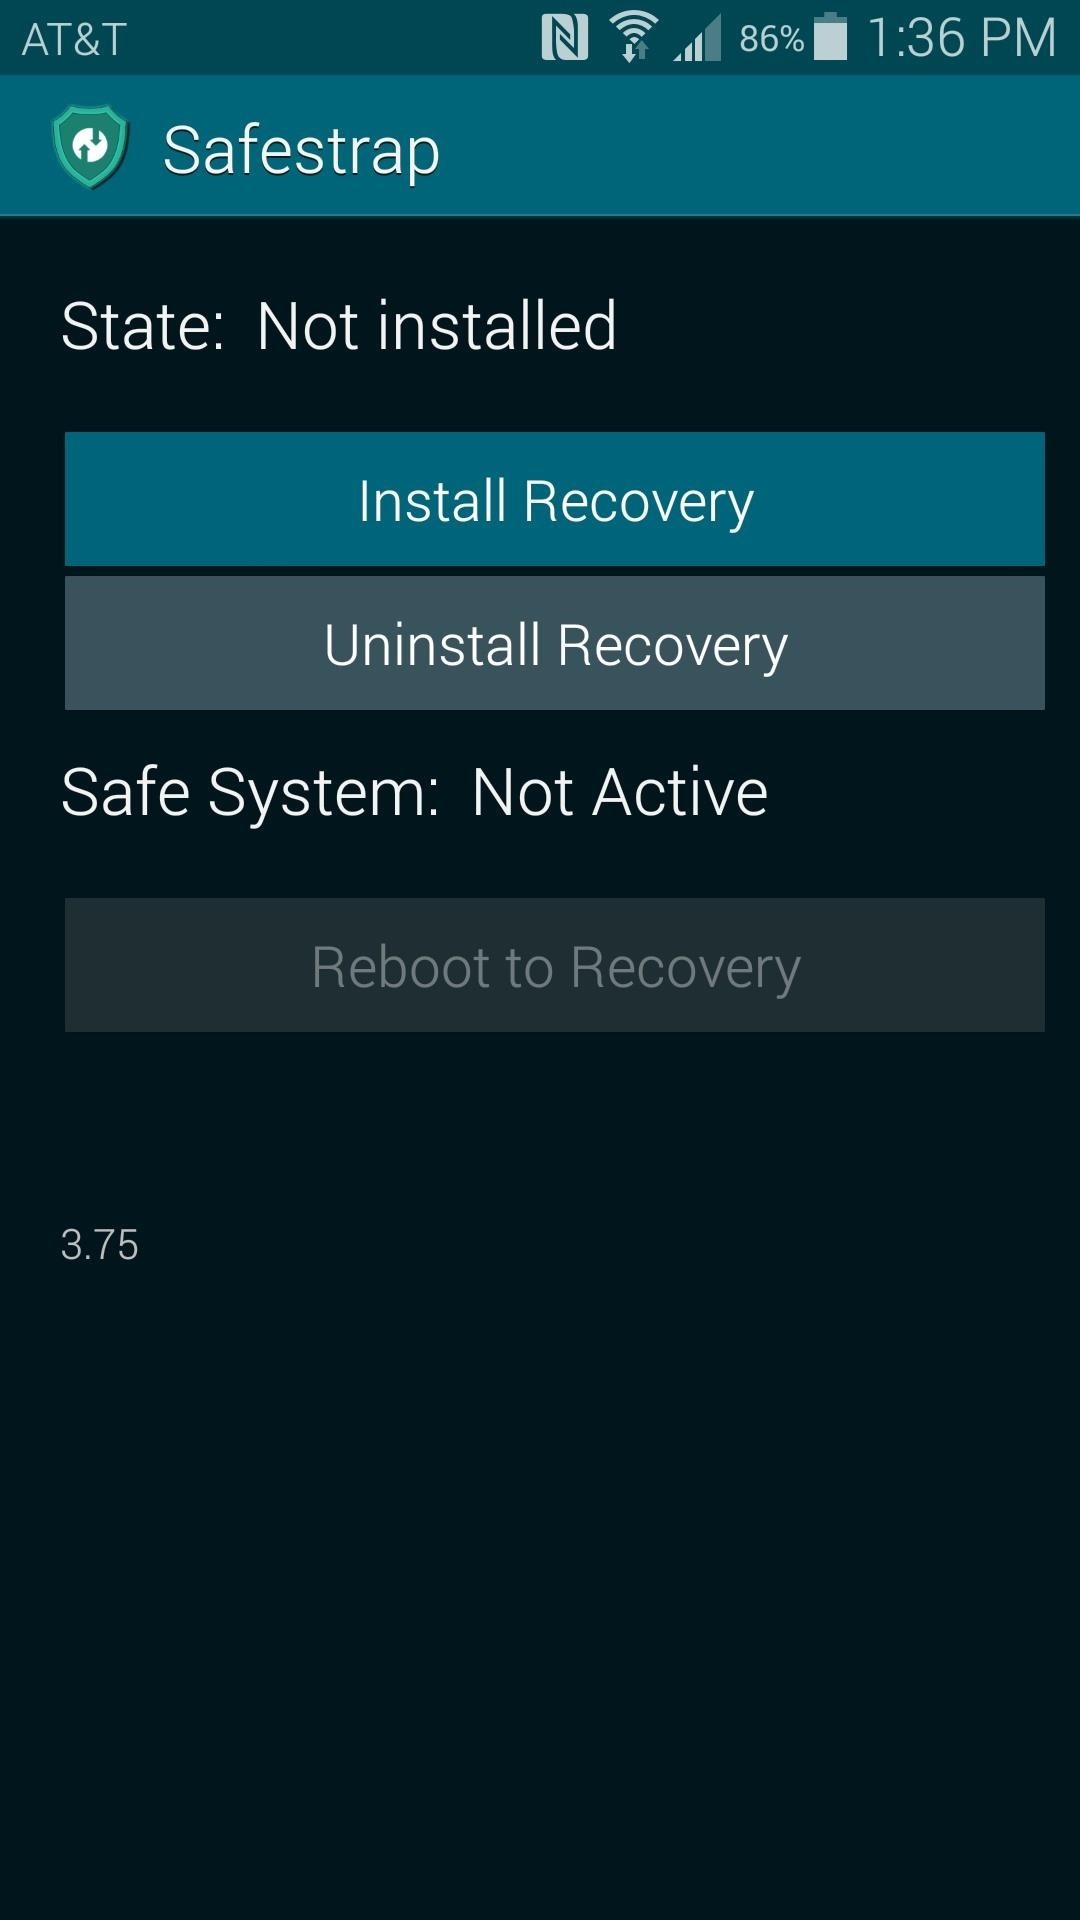
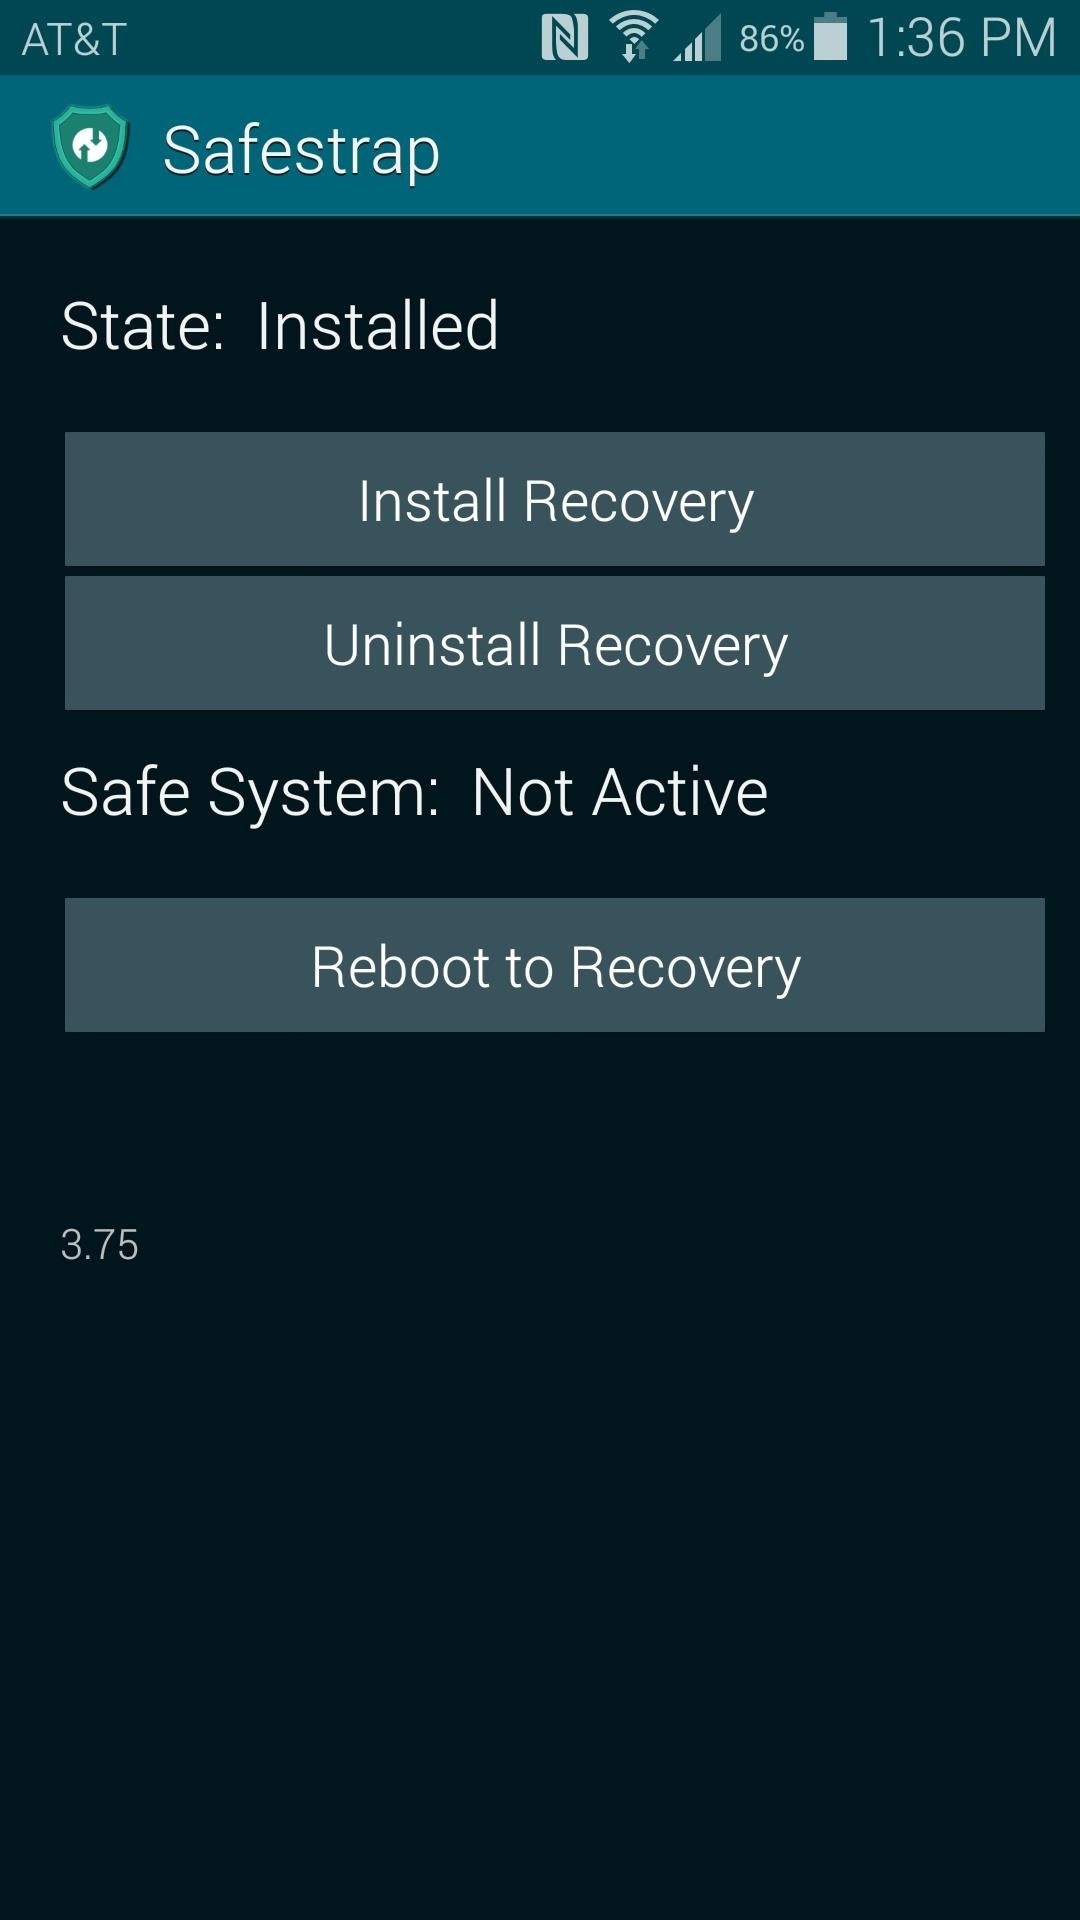
It’s probably best to keep this app installed on your device, although it’s not required. In the future, if you’d like to update to a more recent version of Safestrap recovery, you’ll have to head back into this app and press Uninstall Recovery before you can install the newer version.
Step 4: Boot into Recovery
When you’re ready to try out your new custom recovery, start by rebooting your phone just like you would normally.
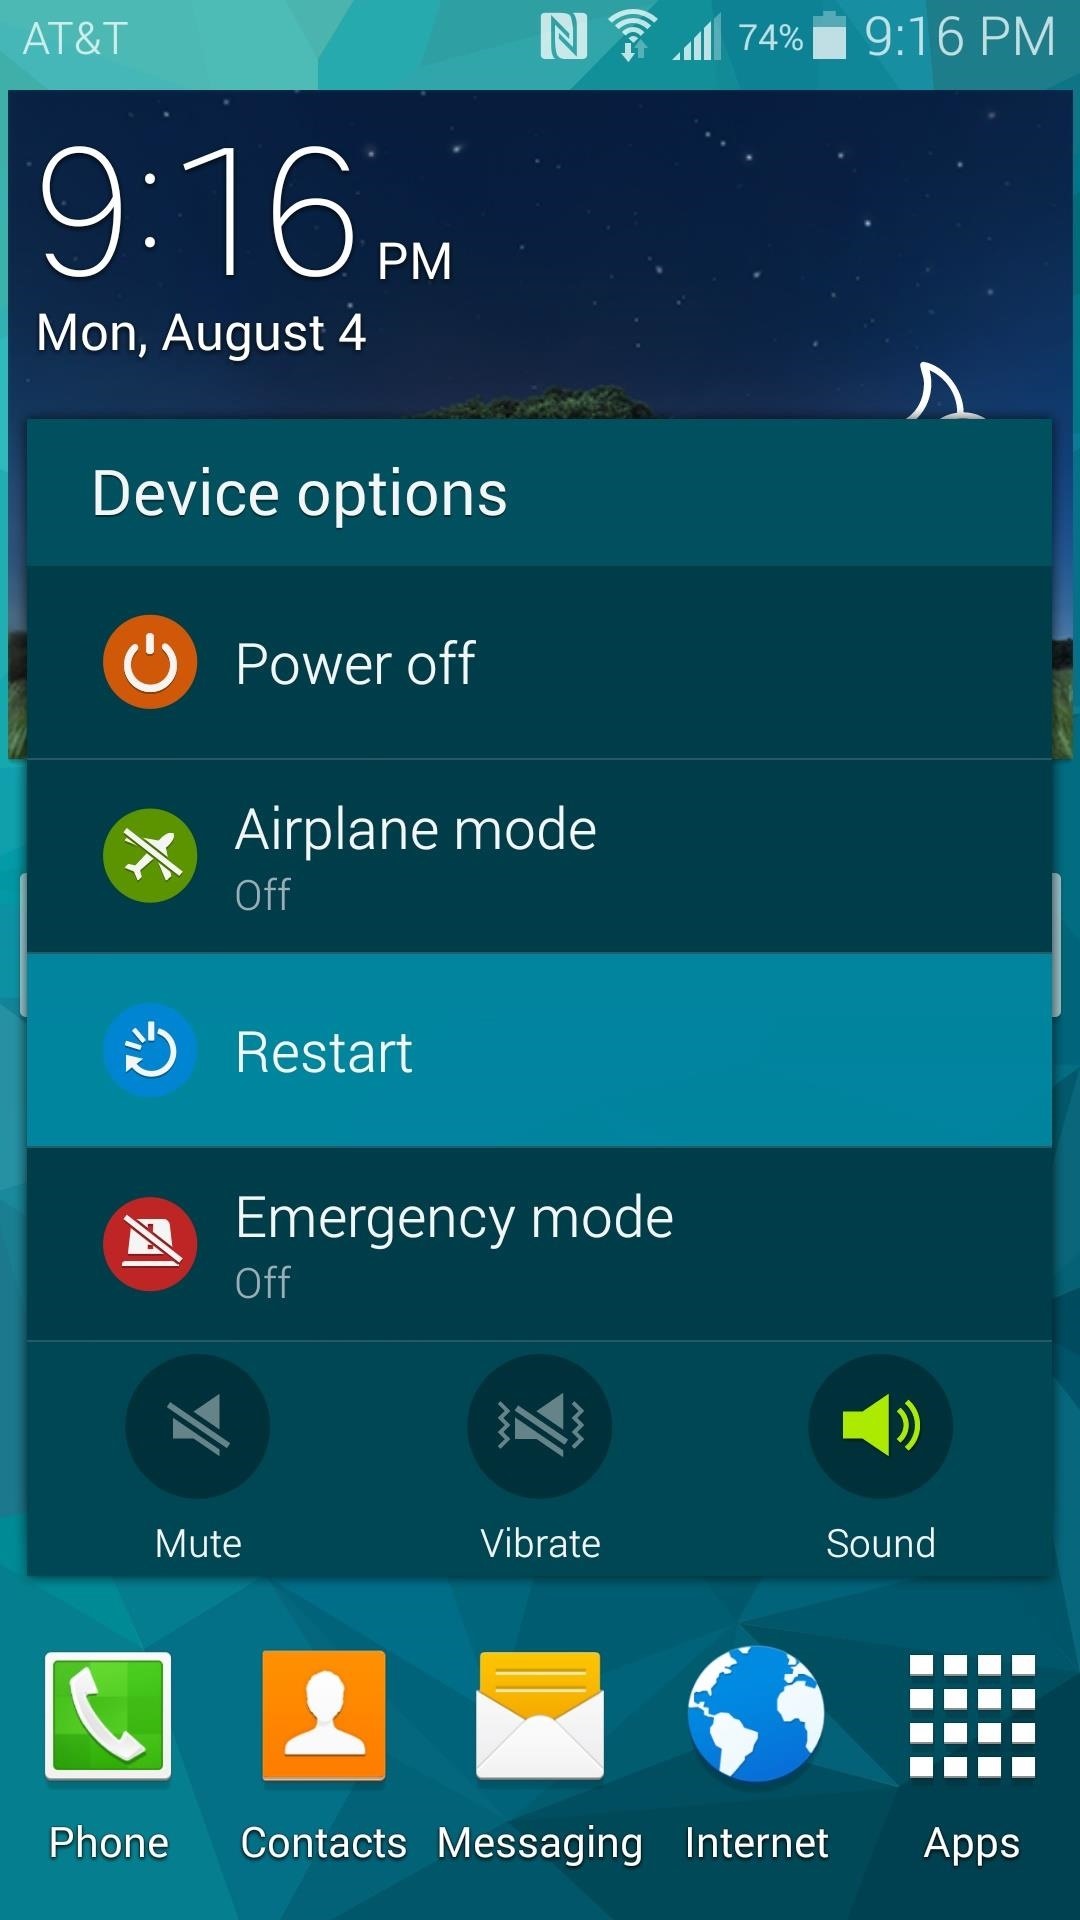
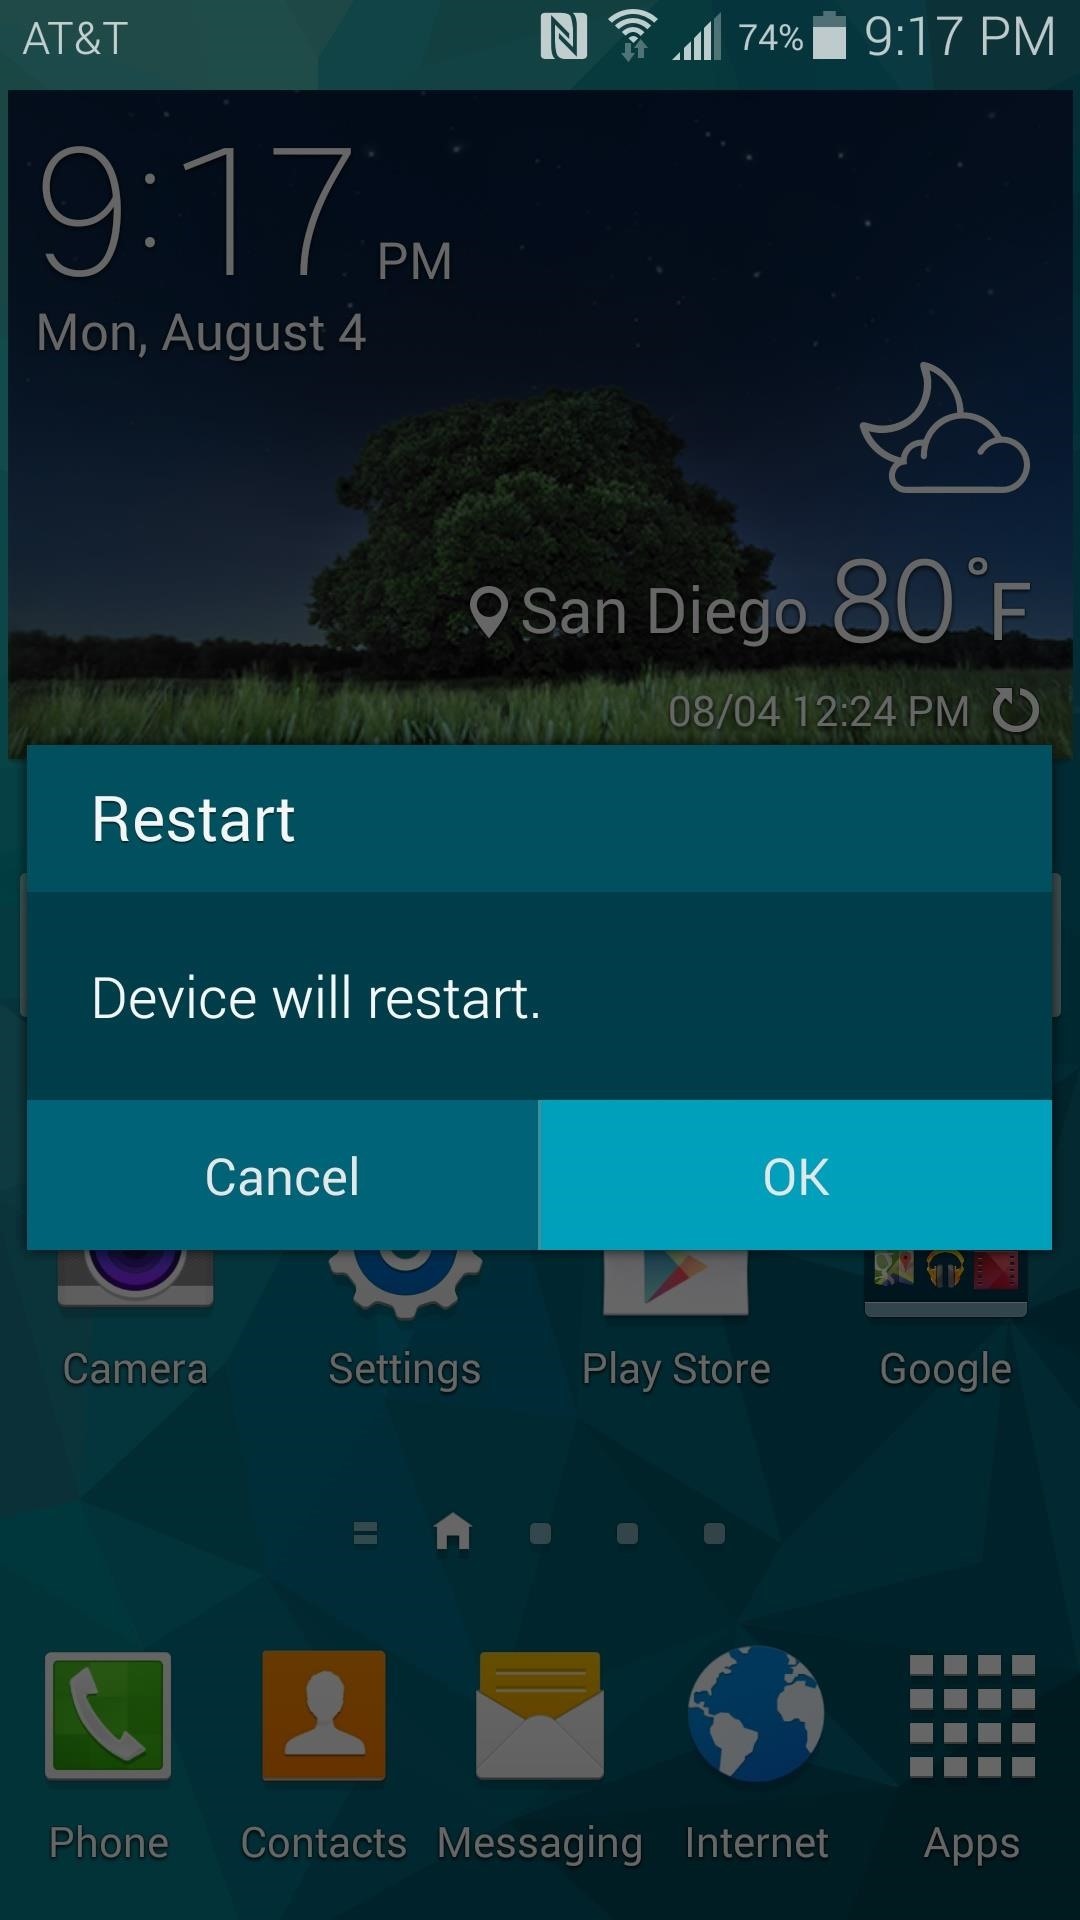
If you’ll notice, there’s a new menu that appears just after the Samsung Galaxy S5: Powered by Android screen. It’s at this menu where you are given a chance to boot into Safestrap. Just tap the Recovery button at the bottom of the screen, and your custom recovery should come right up.
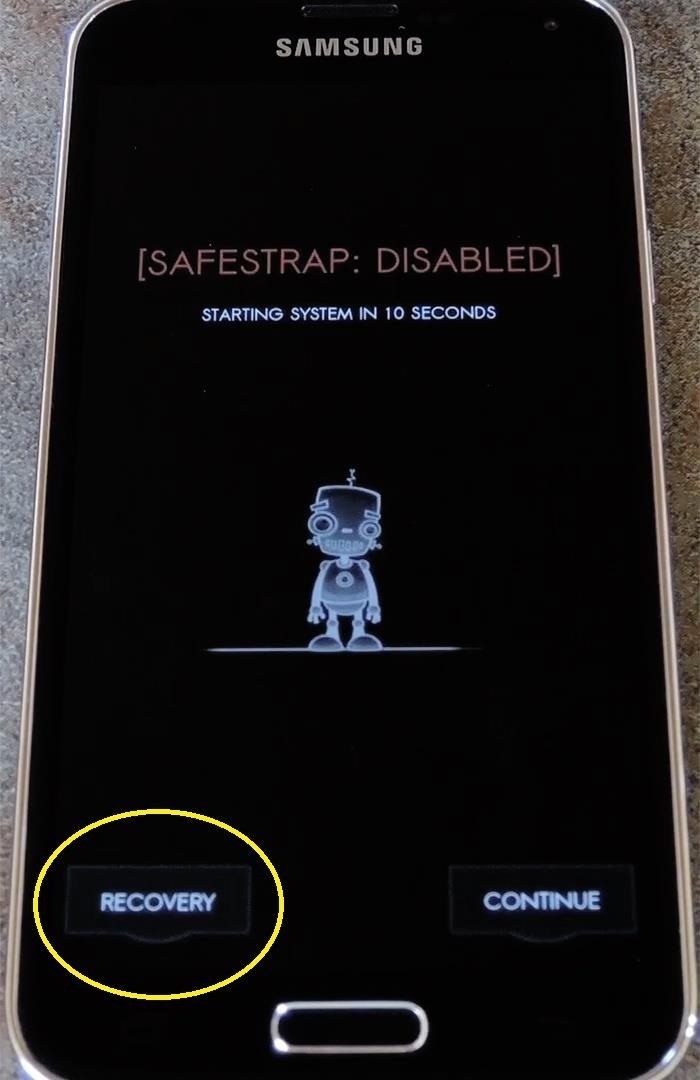
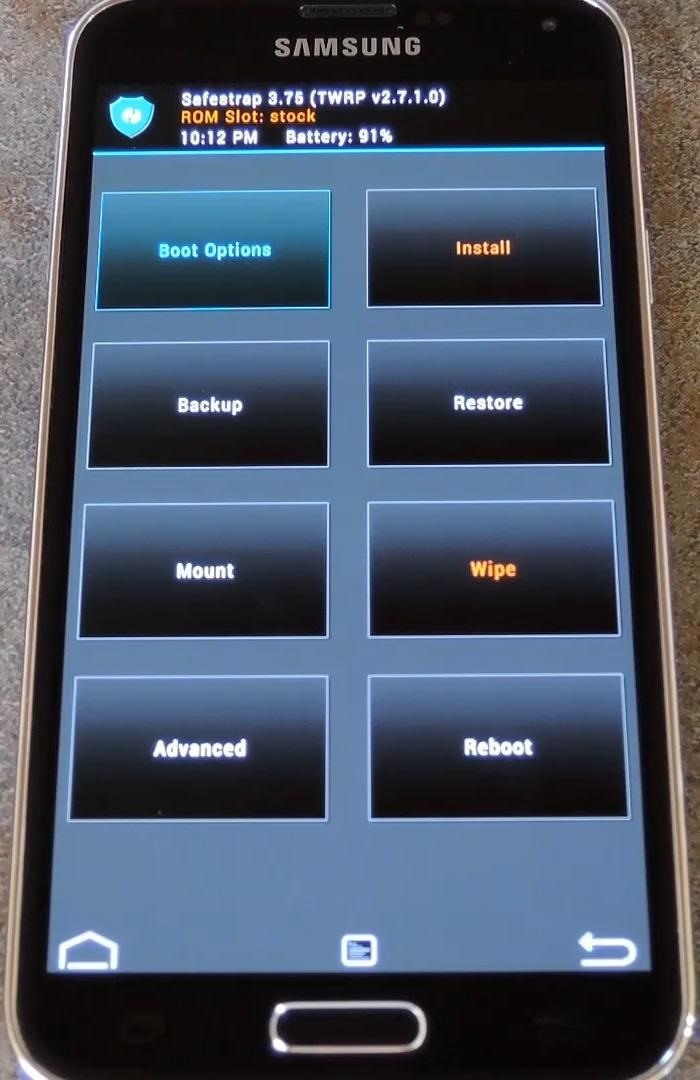
If you don’t interact with this screen, your phone will simply continue to boot into Android, so you can basically forget this menu exists until you need it.
Note that you can also boot into Safestrap from the installer app’s Reboot to Recovery option.
Step 5: Make a Backup of Your Existing Setup
Before you get too far ahead of yourself with all of the ZIPs and cool mods that your new recovery will enable you to install, the first thing you should do is create a backup of your existing setup.
That’s easy enough, though. Just tap the Backup button from Safestrap’s main menu, then swipe the slider at the bottom of the next screen to create a backup.
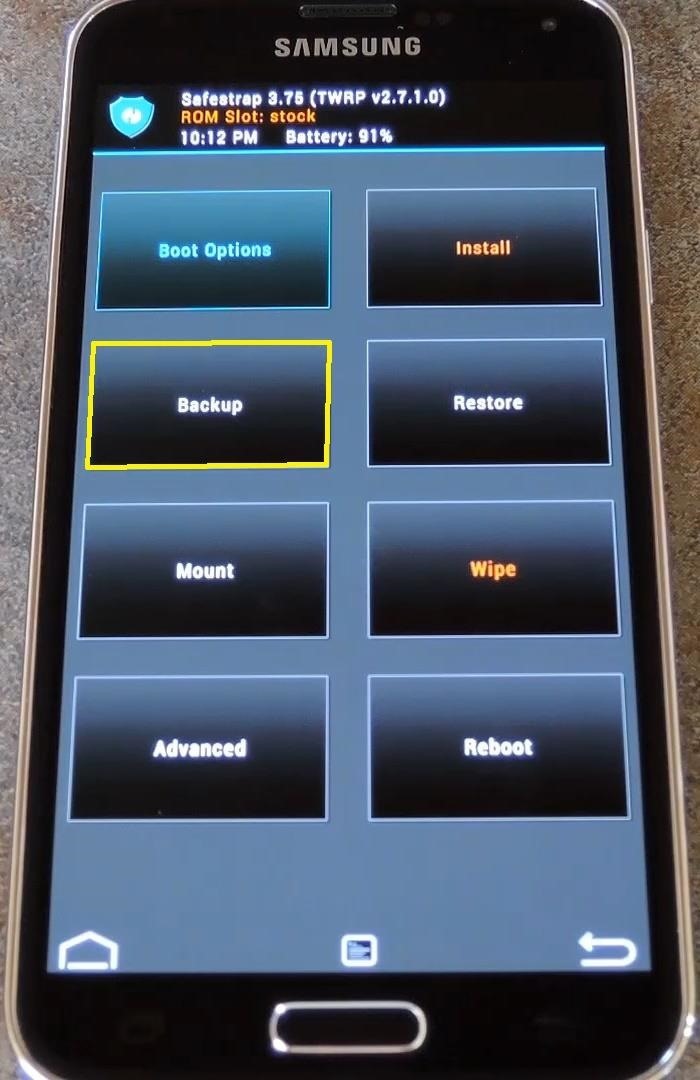
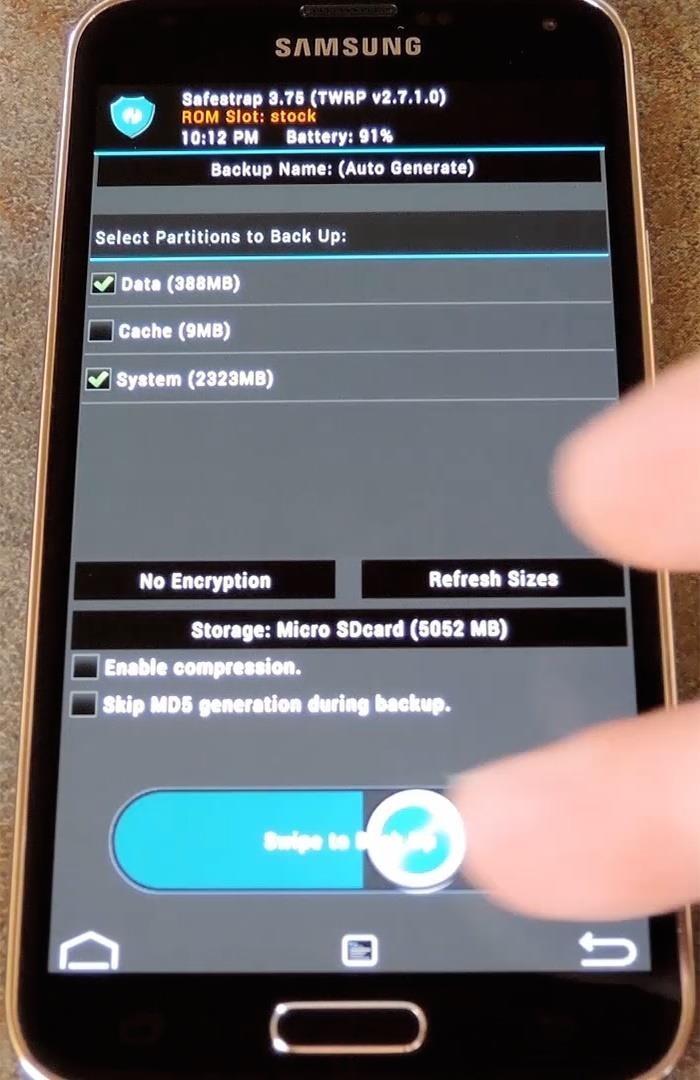
The process will take about 5 or 10 minutes to complete, but when it’s done, you’ll have a restore point to use in case anything were to ever go awry. A nandroid backup such as the one you’ve just made is an exact copy of the Android system, including apps you’ve installed and their data.
Note that, at this time, the ROM Slots options do not work. Normally, it’s a great feature of Safestrap that allows you to install multiple simultaneous instances of custom ROMs, but we’ll have to wait on a newer version of the recovery before using this feature.
Those prerequisites were a beast, I know. But we are now free to use our own devices as we see fit—take that, AT&T and Verizon. What’s the first thing you flashed with your new custom recovery? Let us know in the comments section below.
Just updated your iPhone? You’ll find new emoji, enhanced security, podcast transcripts, Apple Cash virtual numbers, and other useful features. There are even new additions hidden within Safari. Find out what’s new and changed on your iPhone with the iOS 17.4 update.
“Hey there, just a heads-up: We’re part of the Amazon affiliate program, so when you buy through links on our site, we may earn a small commission. But don’t worry, it doesn’t cost you anything extra and helps us keep the lights on. Thanks for your support!”


