As the internet continues to become a bigger part of our day-to-day lives, we slowly but surely start to rack up a bunch of web-based subscriptions. These internet subscription services—Netflix, Hulu, and Amazon Prime, just to name a few—may seem innocuously cheap individually, but when combined, they actually comprise a significant portion of our monthly bills.
All of that considered, it’s high time we had an easy way to keep track of these numerous subscriptions. Developer Yummygum thought the same, so he created an iPhone app that puts all of your online subscriptions in one place, complete with custom icons and notifications. It’s incredibly easy to set up, too, so read on below to see how it all works.
Step 1: Install Bobby
The app that will help you keep track of all your bills and online subscriptions is called Bobby (previously named Billy), and it’s available for free on the iOS App Store.

Step 2: Find Services & Add Your Subscriptions
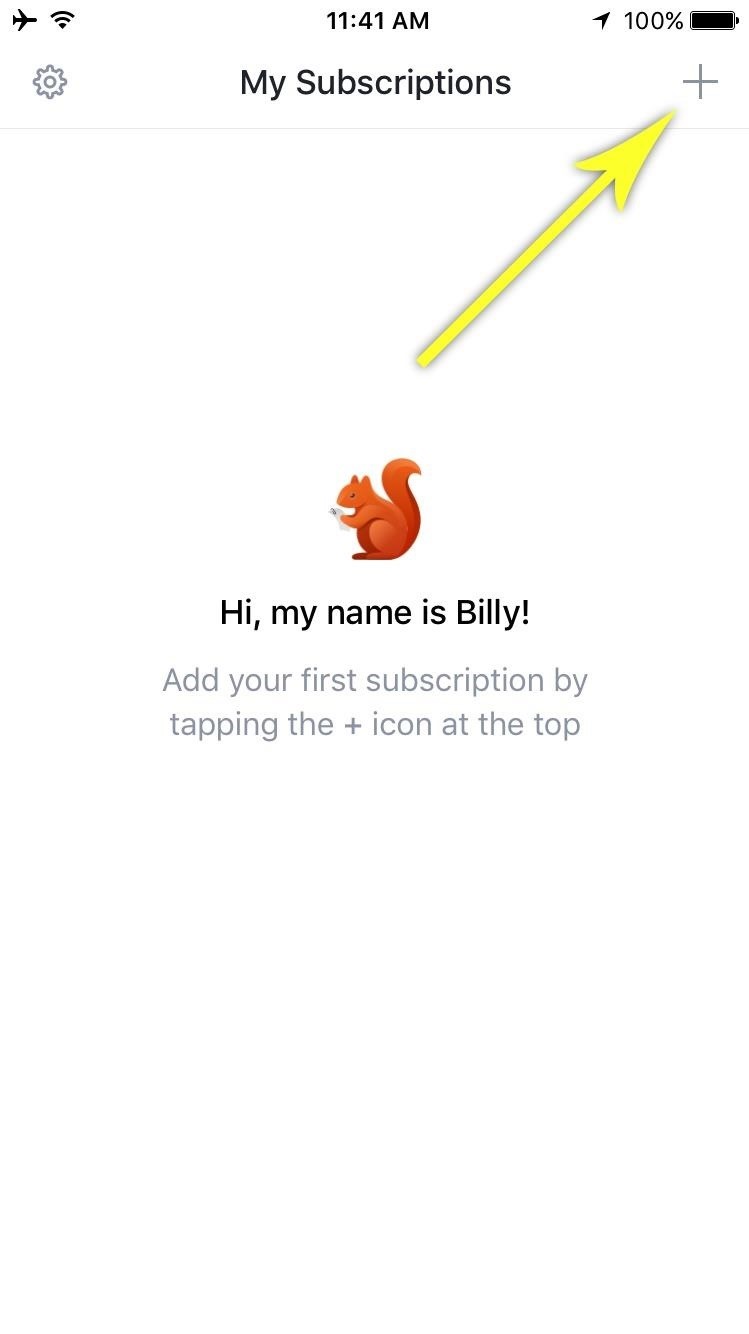
Once you’ve got Bobby installed, be sure to grant the app permission to post notifications if you’d like to use its reminder feature. Aside from that, start by tapping the + button in the top-right corner to add a new subscription service that you’d like to track.
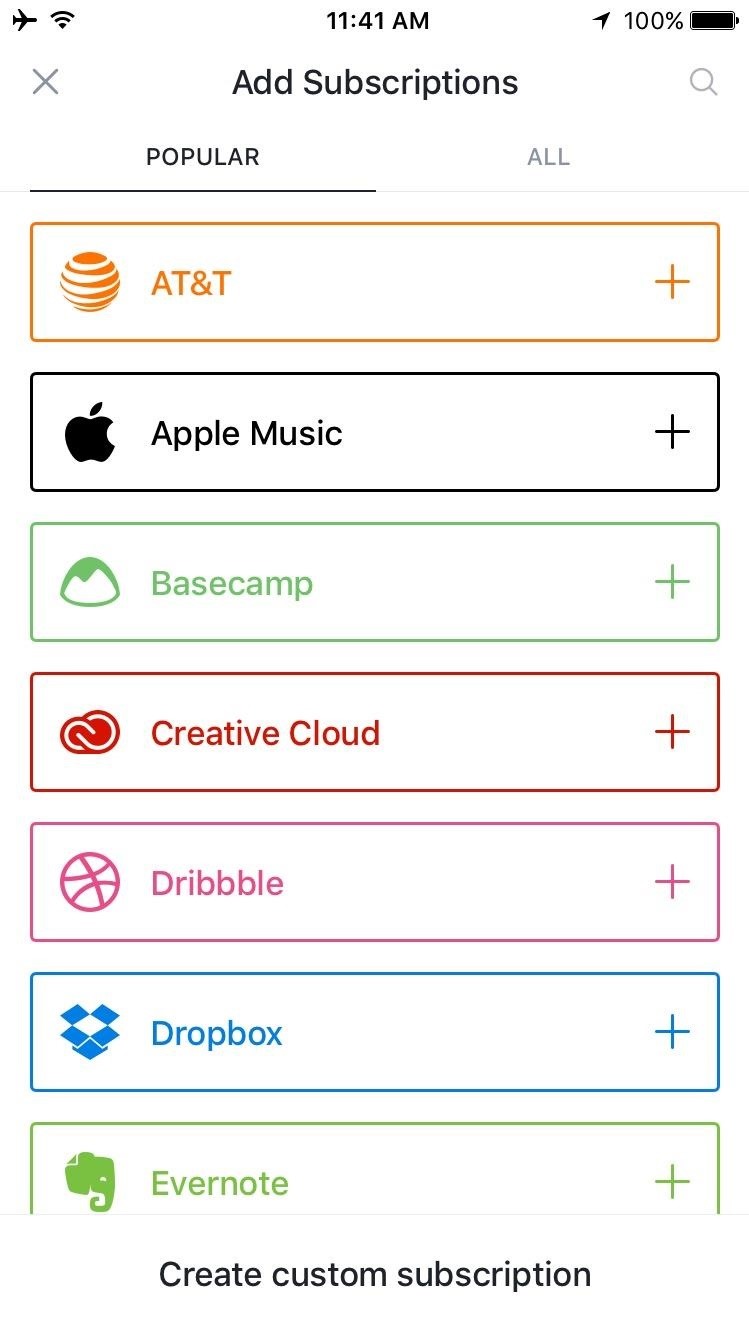
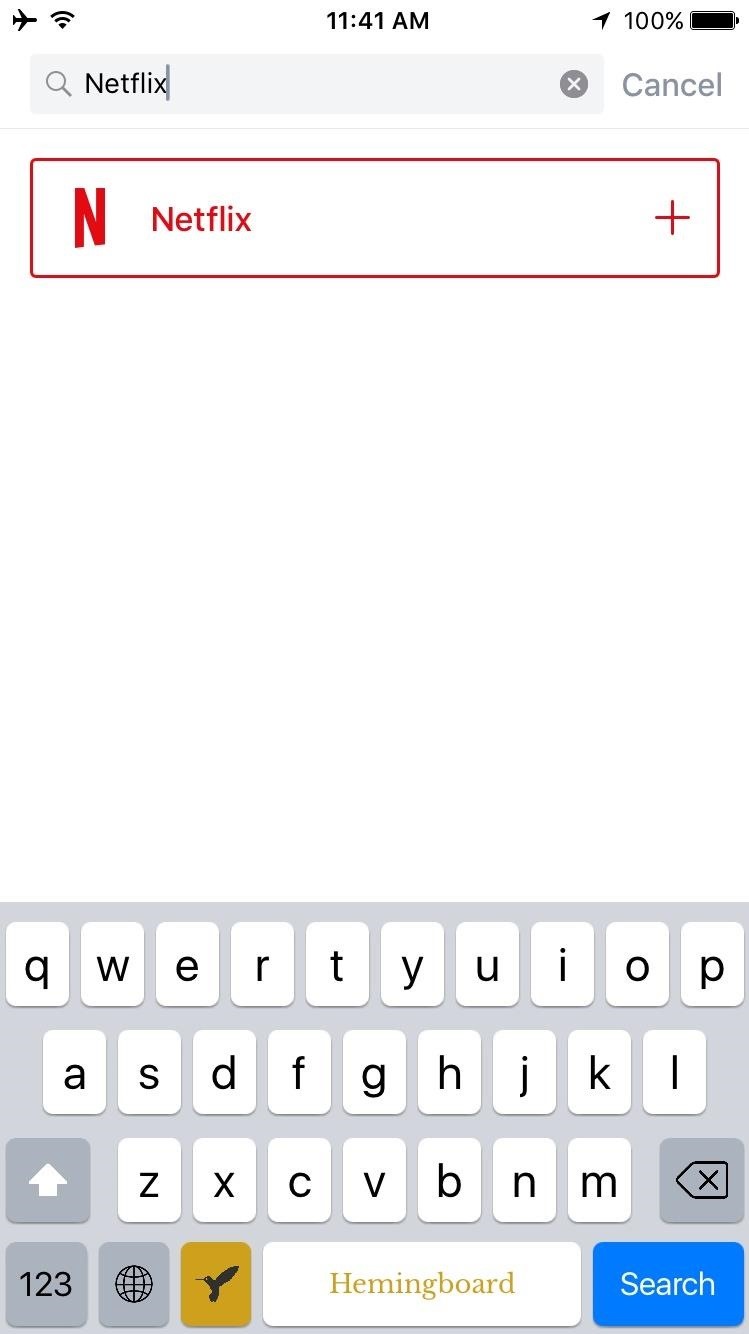
From here, you’ll see a list of all the online services that Bobby has preset templates for, and all you have to do to select one is tap it. Otherwise, tap the search icon at the top of the screen to find a specific service, then select it from this menu.
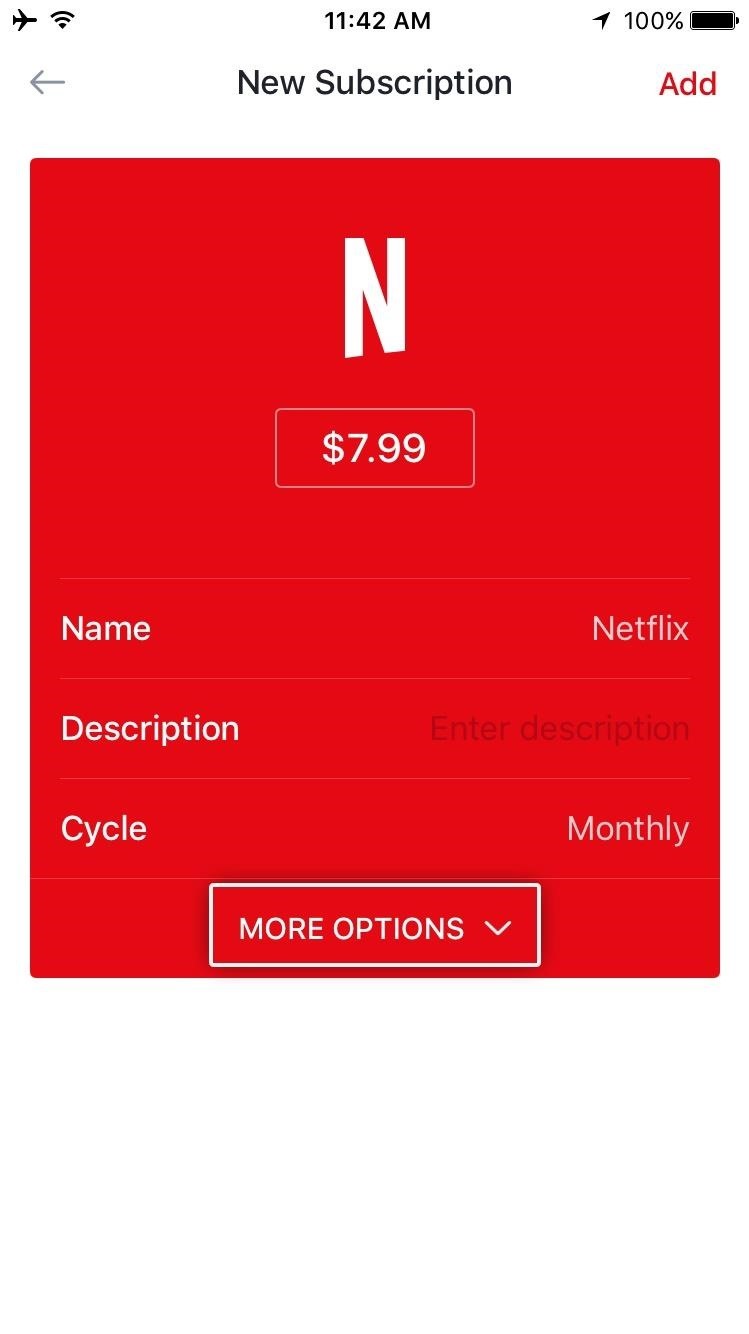
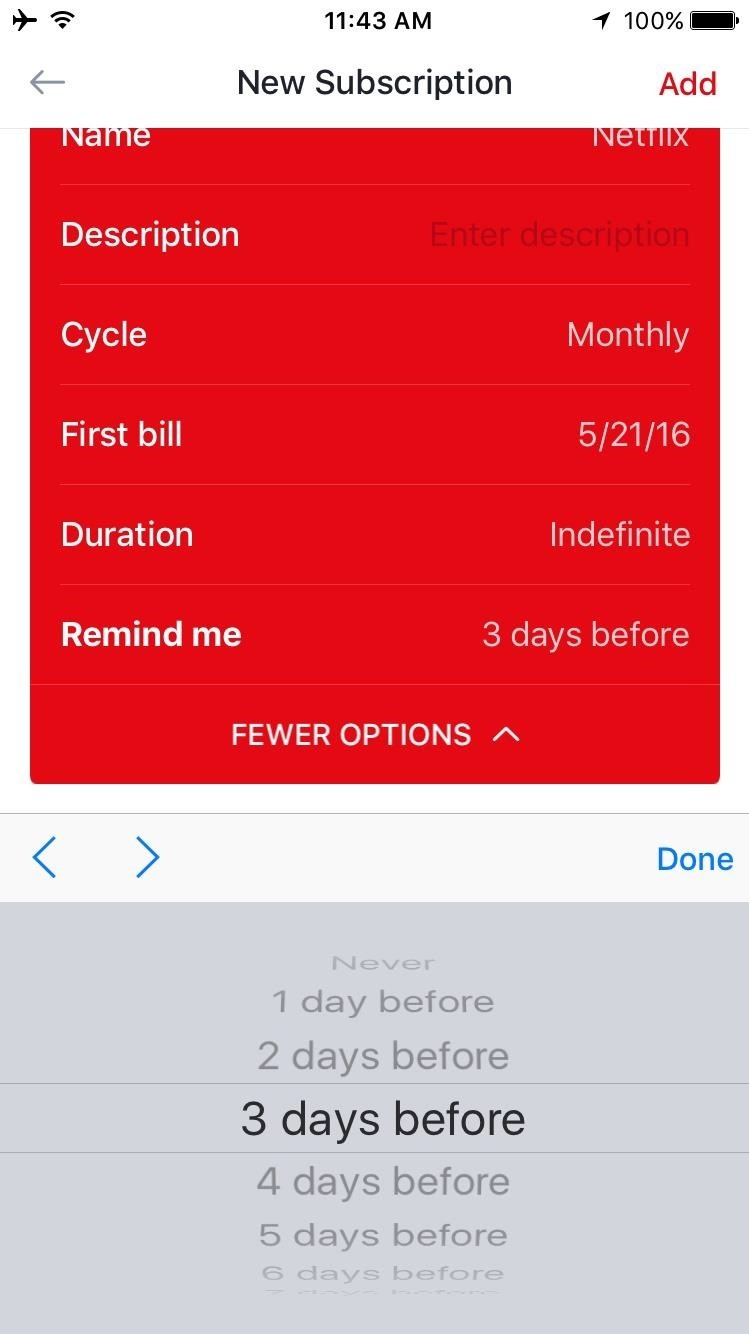
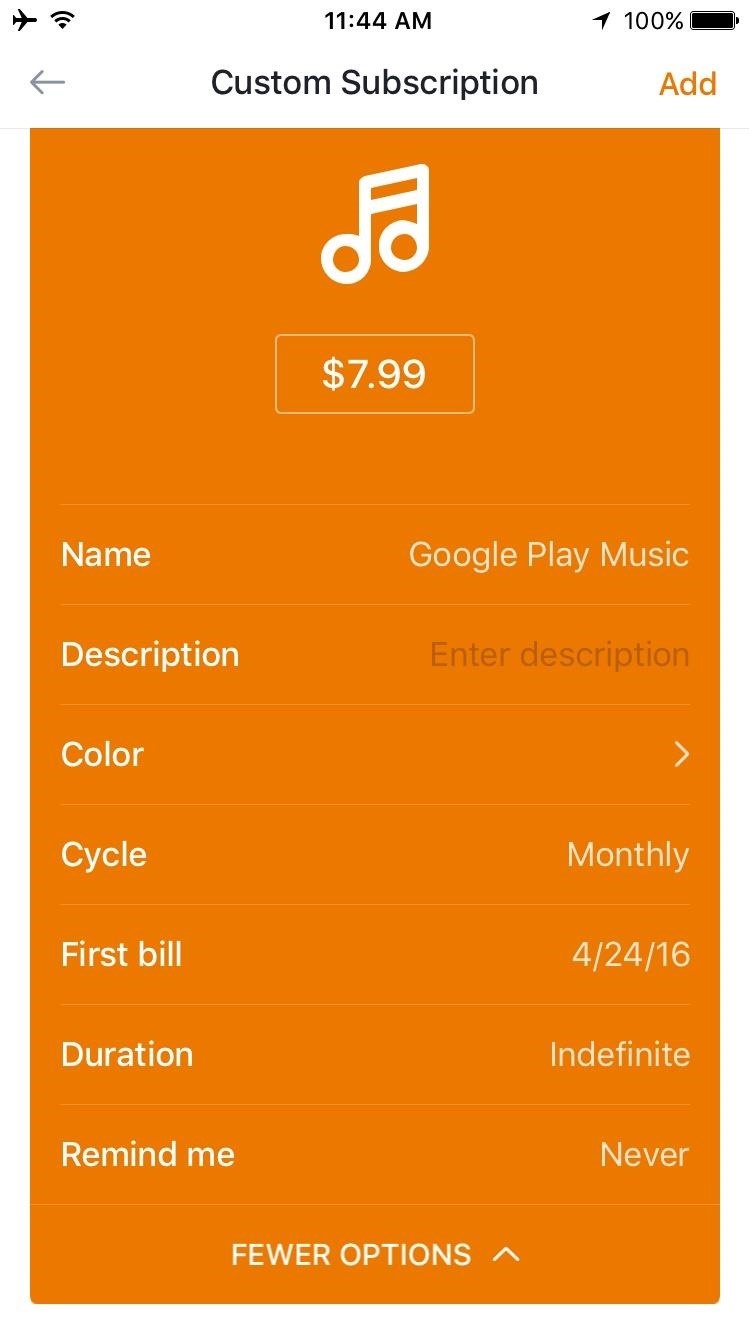
Next, enter the monthly cost of this subscription into the topmost field, then you can add a description or choose whether this service bills monthly, quarterly, or annually. Aside from that, expand the “More Options” section towards the bottom to view more options, then select the “First bill” option to set your billing cycle.
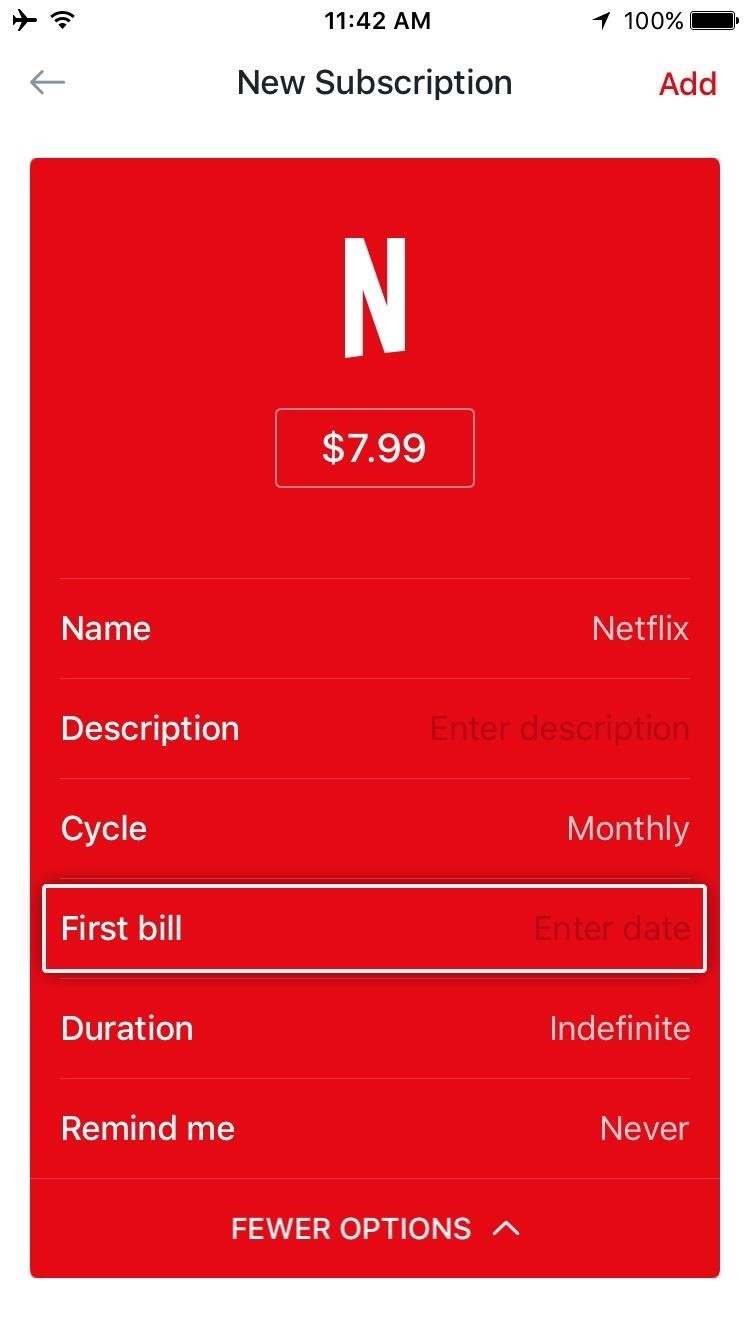
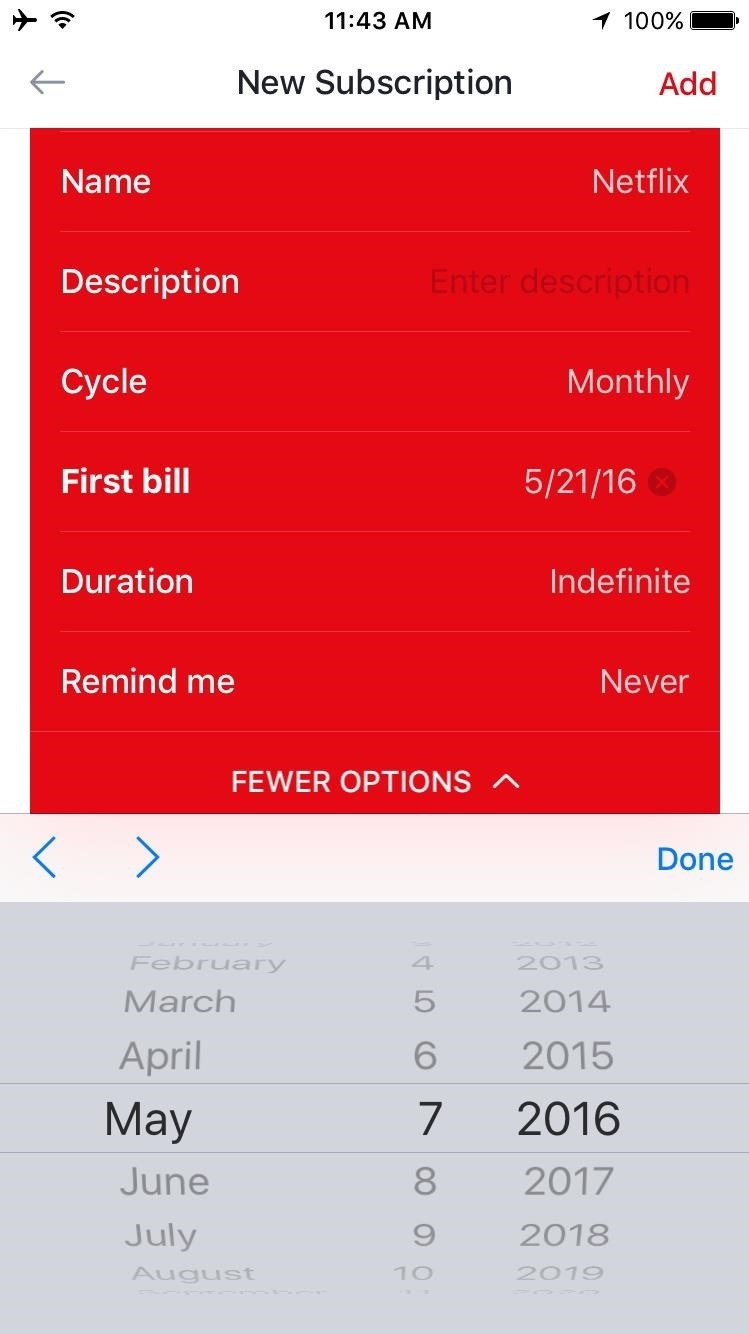
From here, use the following menu to select your next billing date, and this date will be used going forward as well. Beyond that, you can use the “Remind me” option to get a notification when this bill is coming due, but make sure to tap the “Add” button in the top-right corner to wrap things up when you’re done.
Step 3: Add Subscriptions Manually
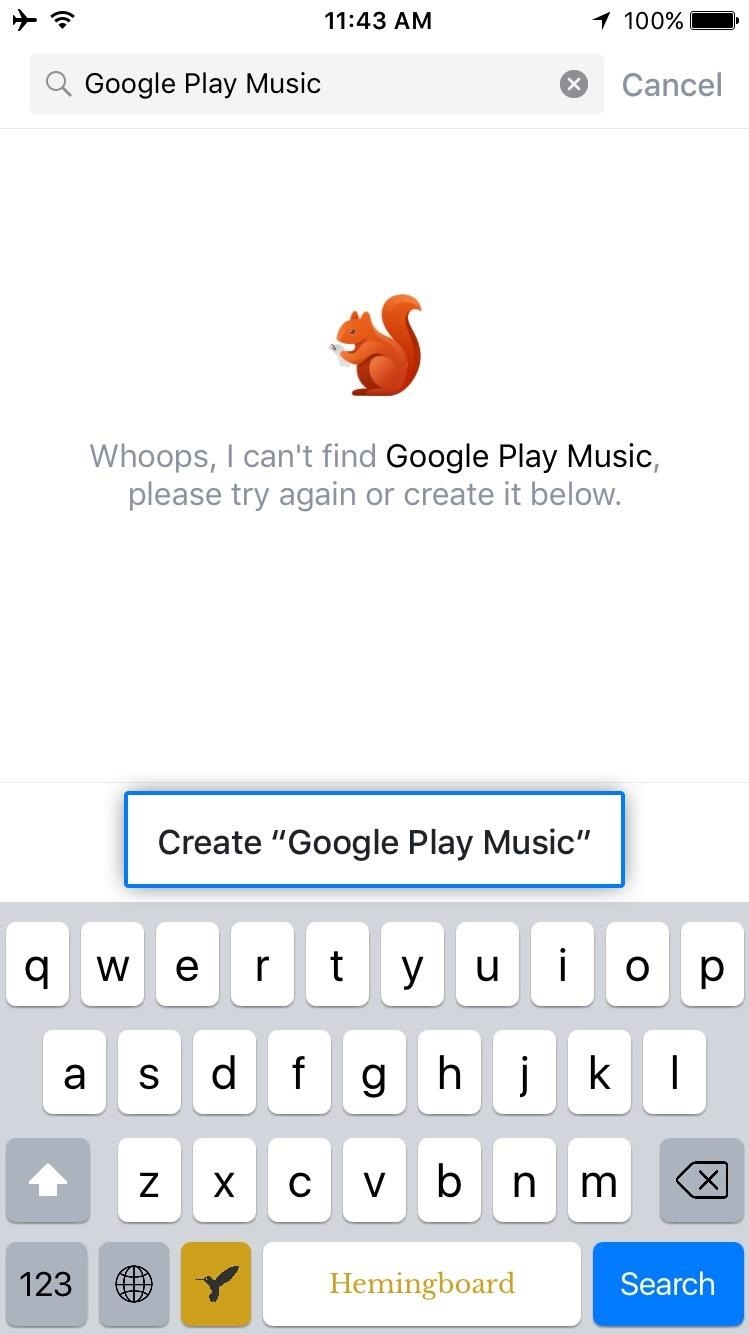
If a subscription service or bill was not listed when you searched its name, that’s no biggie, because adding an entry manually is incredibly easy. When you type in a name and it’s not found, simply tap the create button at the bottom of the screen. From here, options such as “Add icon” and “Color” allow you to customize the appearance of this bill reminder, so choose those to begin.
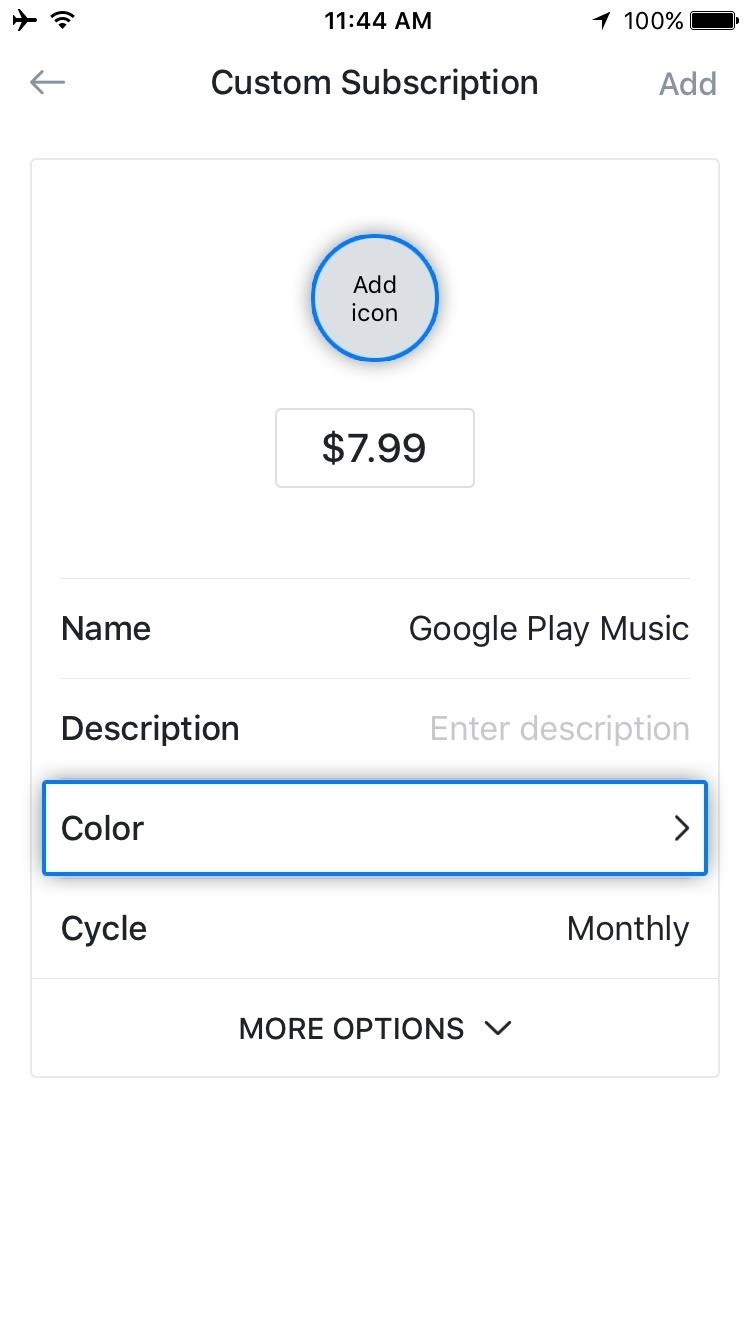
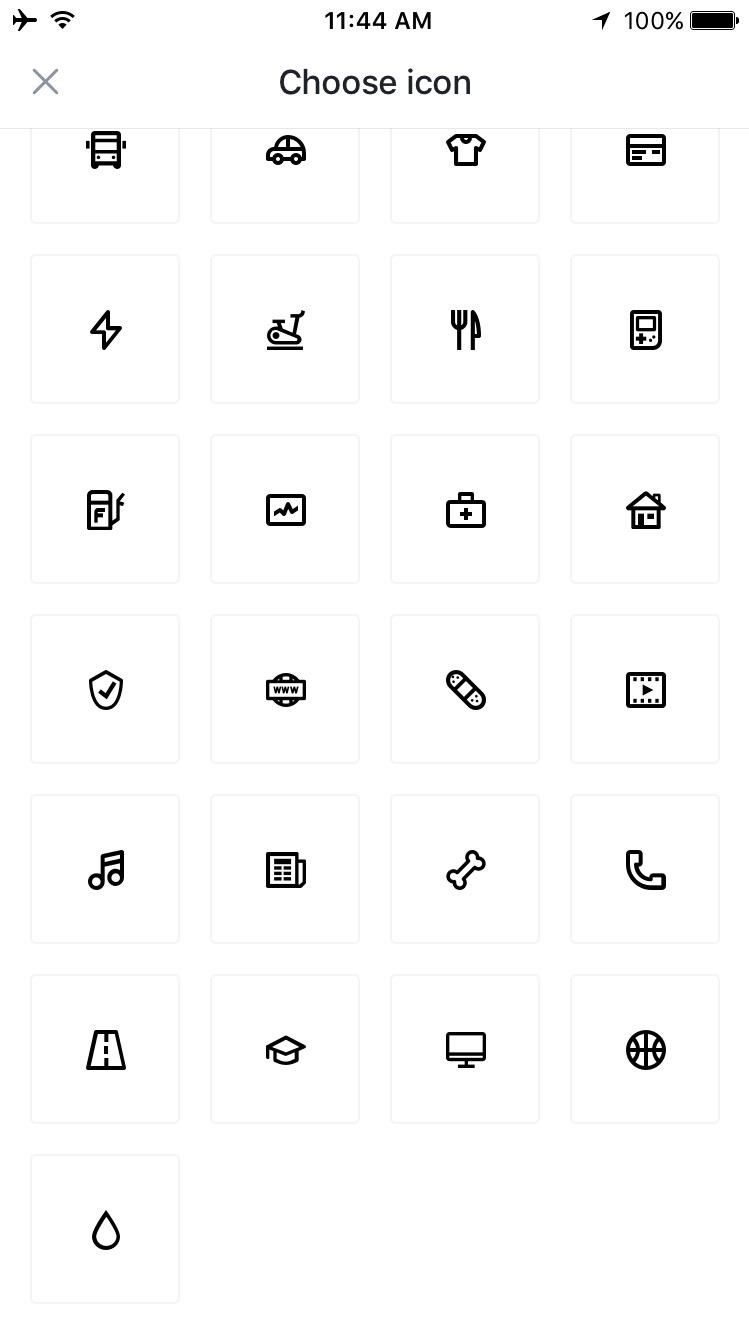
At this point, you’ll be able to select from several different icons, and of course you can add a custom color, so even if Bobby doesn’t have a service queued up already, you can still make it visually interesting. Beyond that, the rest of the setup is identical to the process depicted in Step 2, so you should already feel right at home.
Step 4: View Upcoming Bills & Get Notifications
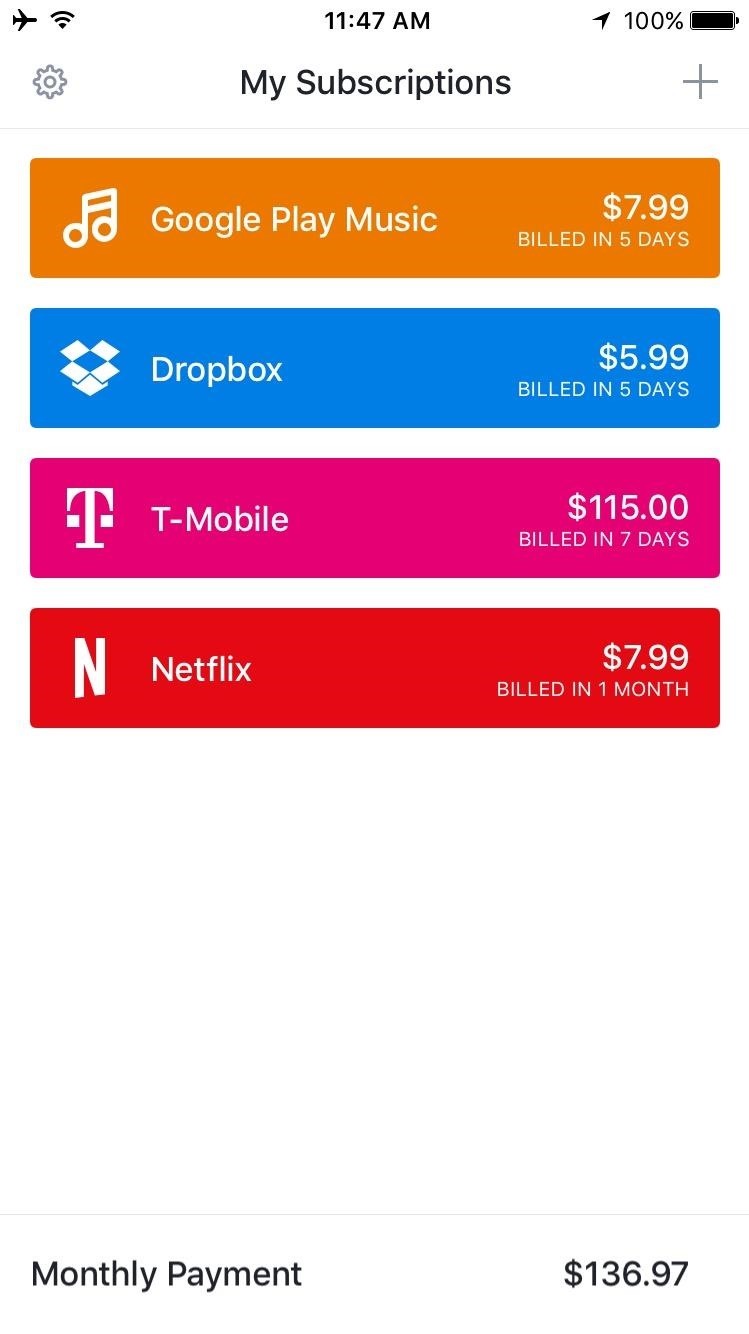
After adding any additional bills or subscriptions, you’ll be all set to go. Worth noting, though, the free version of Bobby only allows for up to 4 separate bills or subscriptions at a time, but an in-app purchase of $0.99 will remove this limitation.
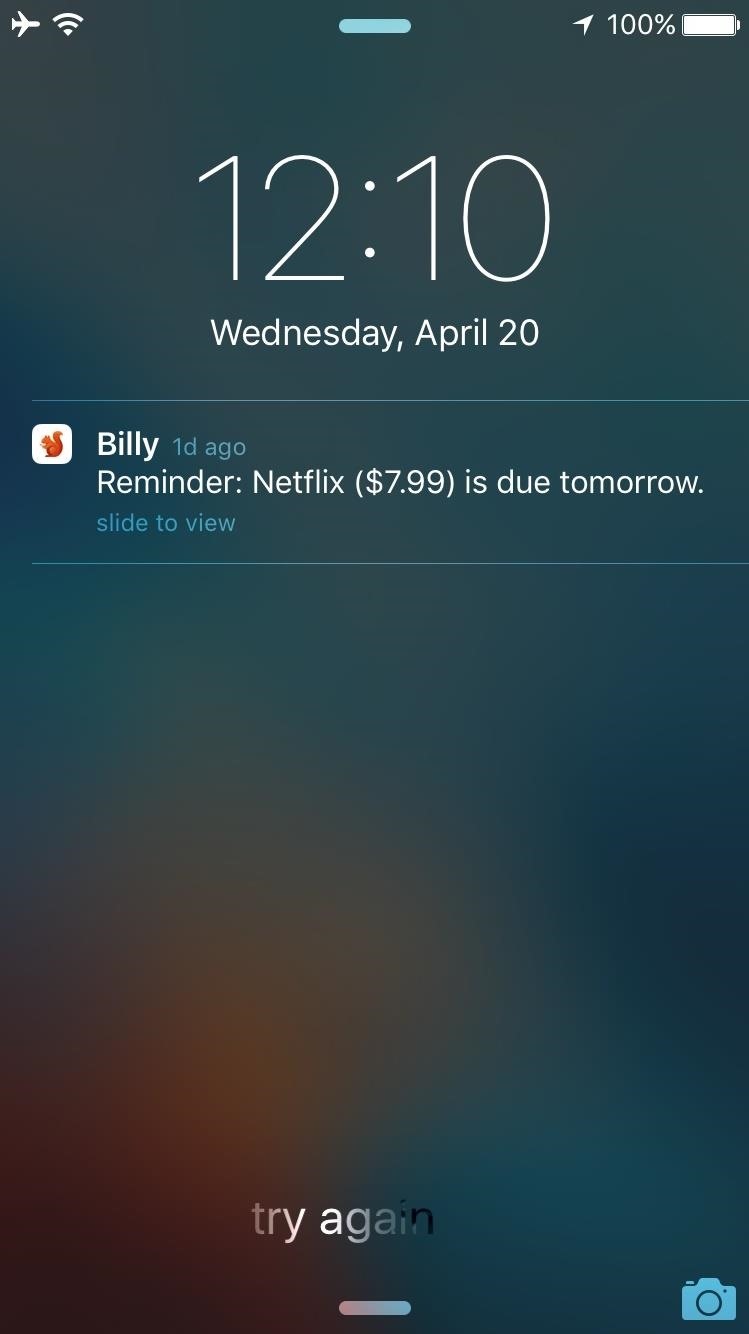
The subscriptions are shown in a color-coded lists, with icons to make it easy to see which bill is going to be due next. The list itself is ordered by due date, so the bill that’s coming up next will always be first. On top of that, if you opted to enable reminders, you’ll even get a notification when each bill is coming due.
Just updated your iPhone? You’ll find new emoji, enhanced security, podcast transcripts, Apple Cash virtual numbers, and other useful features. There are even new additions hidden within Safari. Find out what’s new and changed on your iPhone with the iOS 17.4 update.
“Hey there, just a heads-up: We’re part of the Amazon affiliate program, so when you buy through links on our site, we may earn a small commission. But don’t worry, it doesn’t cost you anything extra and helps us keep the lights on. Thanks for your support!”


