When it comes to modding Android, root gets all the glory, but a good custom recovery is really the only thing you need. Not only does it allow you to back up your entire phone, install flashable ZIPs, and load custom ROMs like LineageOS, but a custom recovery will even let you root your device. For years now, the only custom recovery worth mentioning has been Team Win’s TWRP.
The reason for TWRP’s success is simple — it supports hundreds of phones and tablets, and its touch-based interface makes performing complicated tasks incredibly easy. Really, the only hurdle when it comes to using TWRP is getting the custom recovery installed in the first place, so we’ll show you how to do just that.
Requirements
To use this method, your phone will need to be rooted and your bootloader will need to be unlocked.
This is because the app that installs TWRP uses root to do so, and with TWRP being a custom recovery image (rather than one provided by your phone’s manufacturer), your phone will not let TWRP replace your stock recovery interface unless the bootloader is unlocked.
The best way to take care of both of these requirements is to use CF Auto Root, which works for over 300 different devices. This utility automatically unlocks your bootloader, then roots your phone in one shot. To learn more about using CF Auto Root, check out our in-depth guide on the subject.
However, some phones are not supported by CF Auto Root. If this is the case with yours, we recommend manually unlocking your bootloader, then installing TWRP using fastboot. To do that, follow steps 1–5 in our full fastboot-flashing guide, then use Method 2 in Step 7 to flash the TWRP image file for your particular model.
Step 1: Install the Official TWRP App
First up, you’ll need to install the app that will help you install TWRP on your phone. It’s the official TWRP app from Team Win, and you can grab it for free from the Google Play Store.

Step 2: Grant Permissions
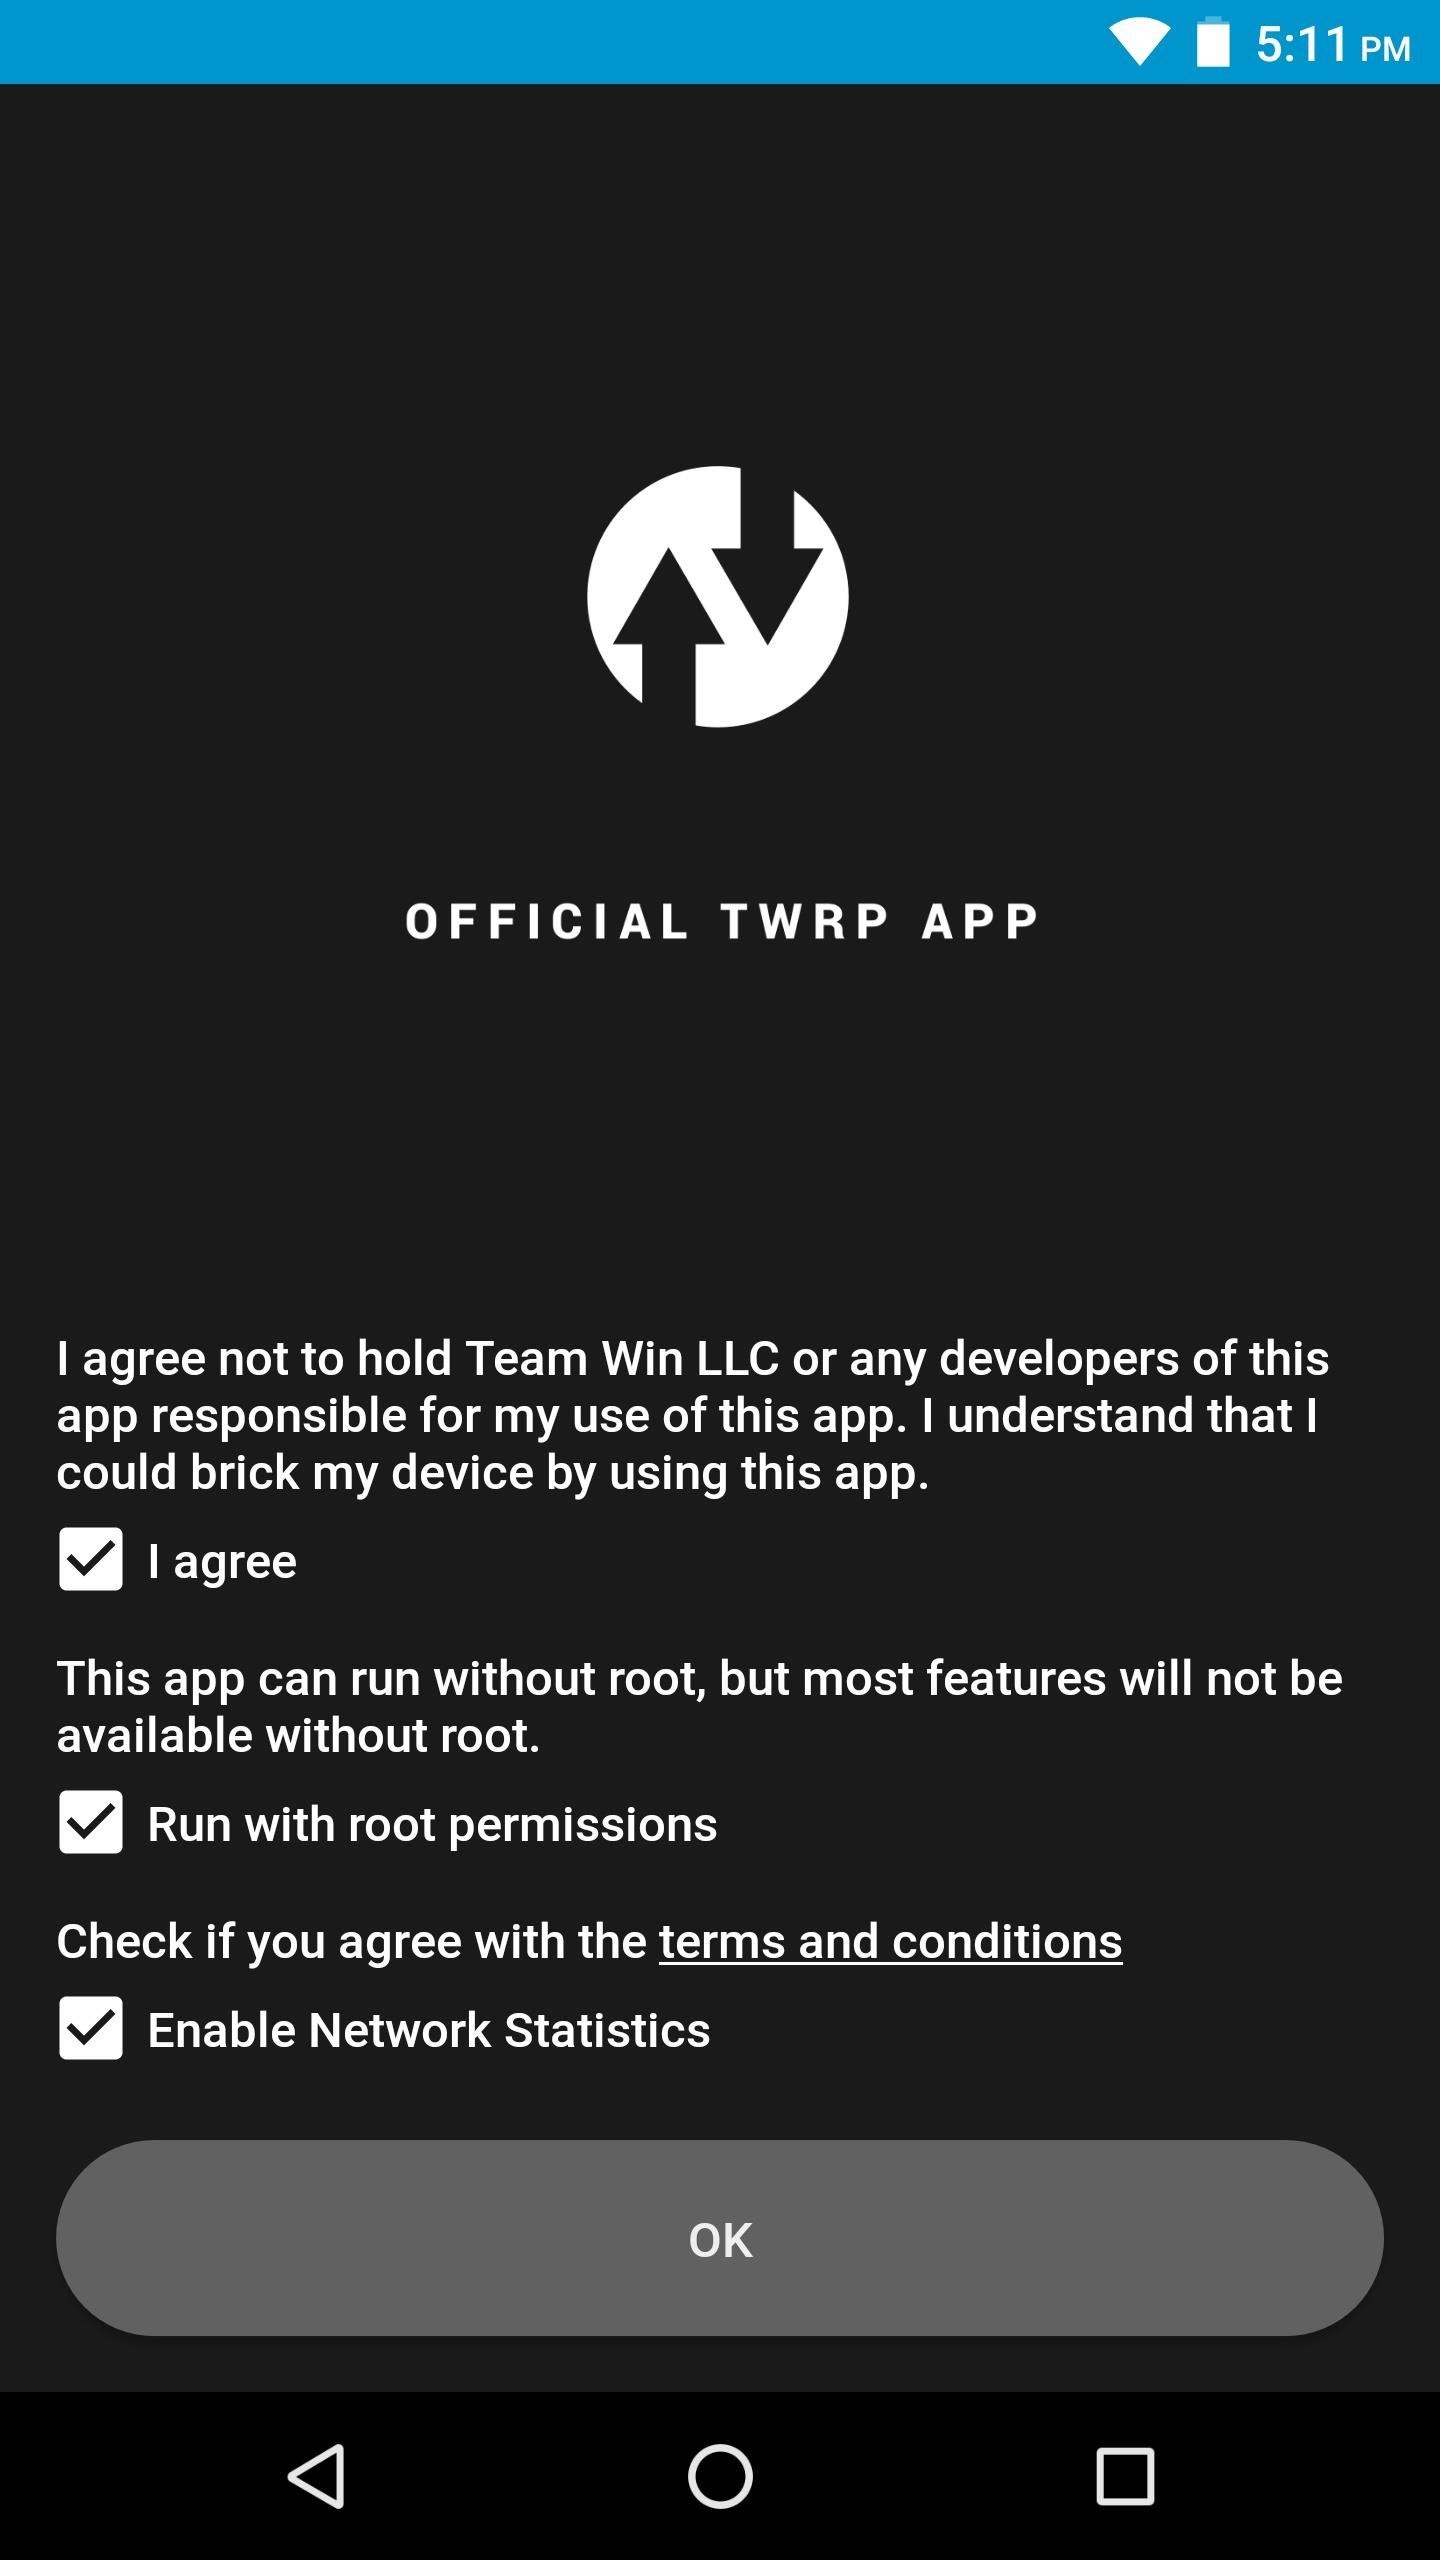
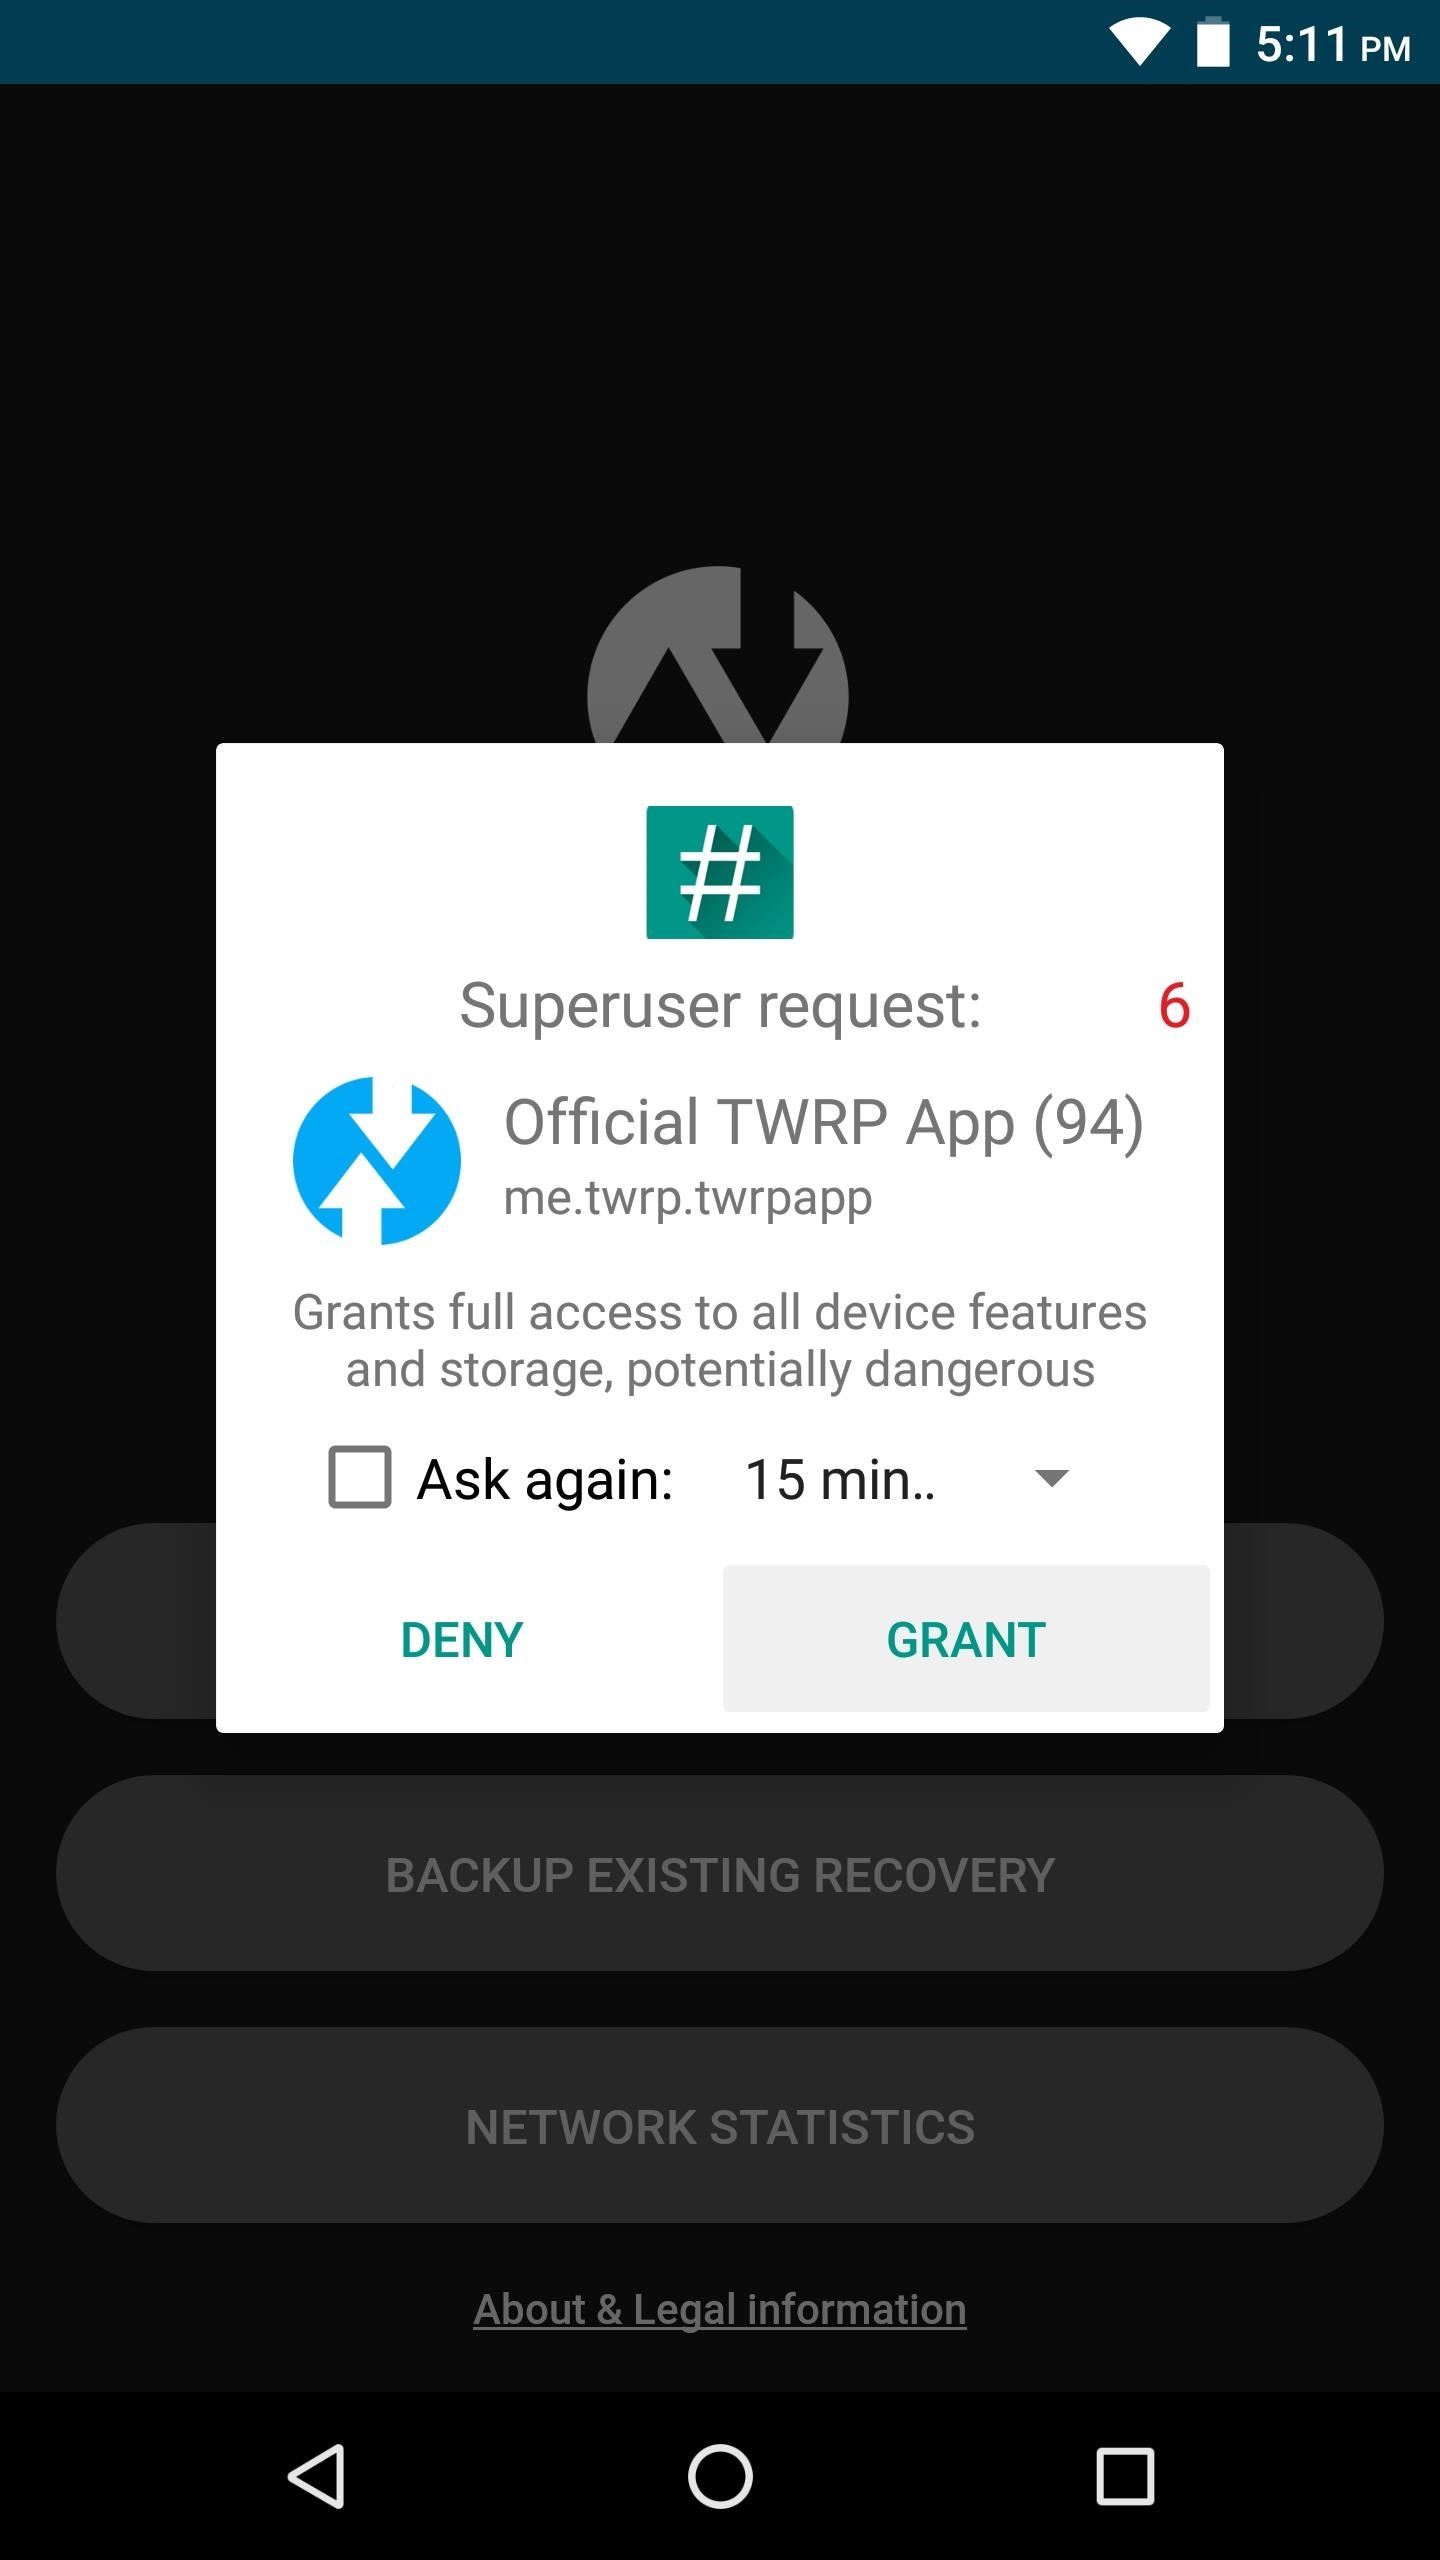
Next, open the TWRP app, then you’ll be asked to accept the terms of service, so tick all three check boxes, then press “OK.” From there, the TWRP app will ask for root access, so press “Grant” on the Superuser popup.
Step 3: Back Up Your Existing Recovery
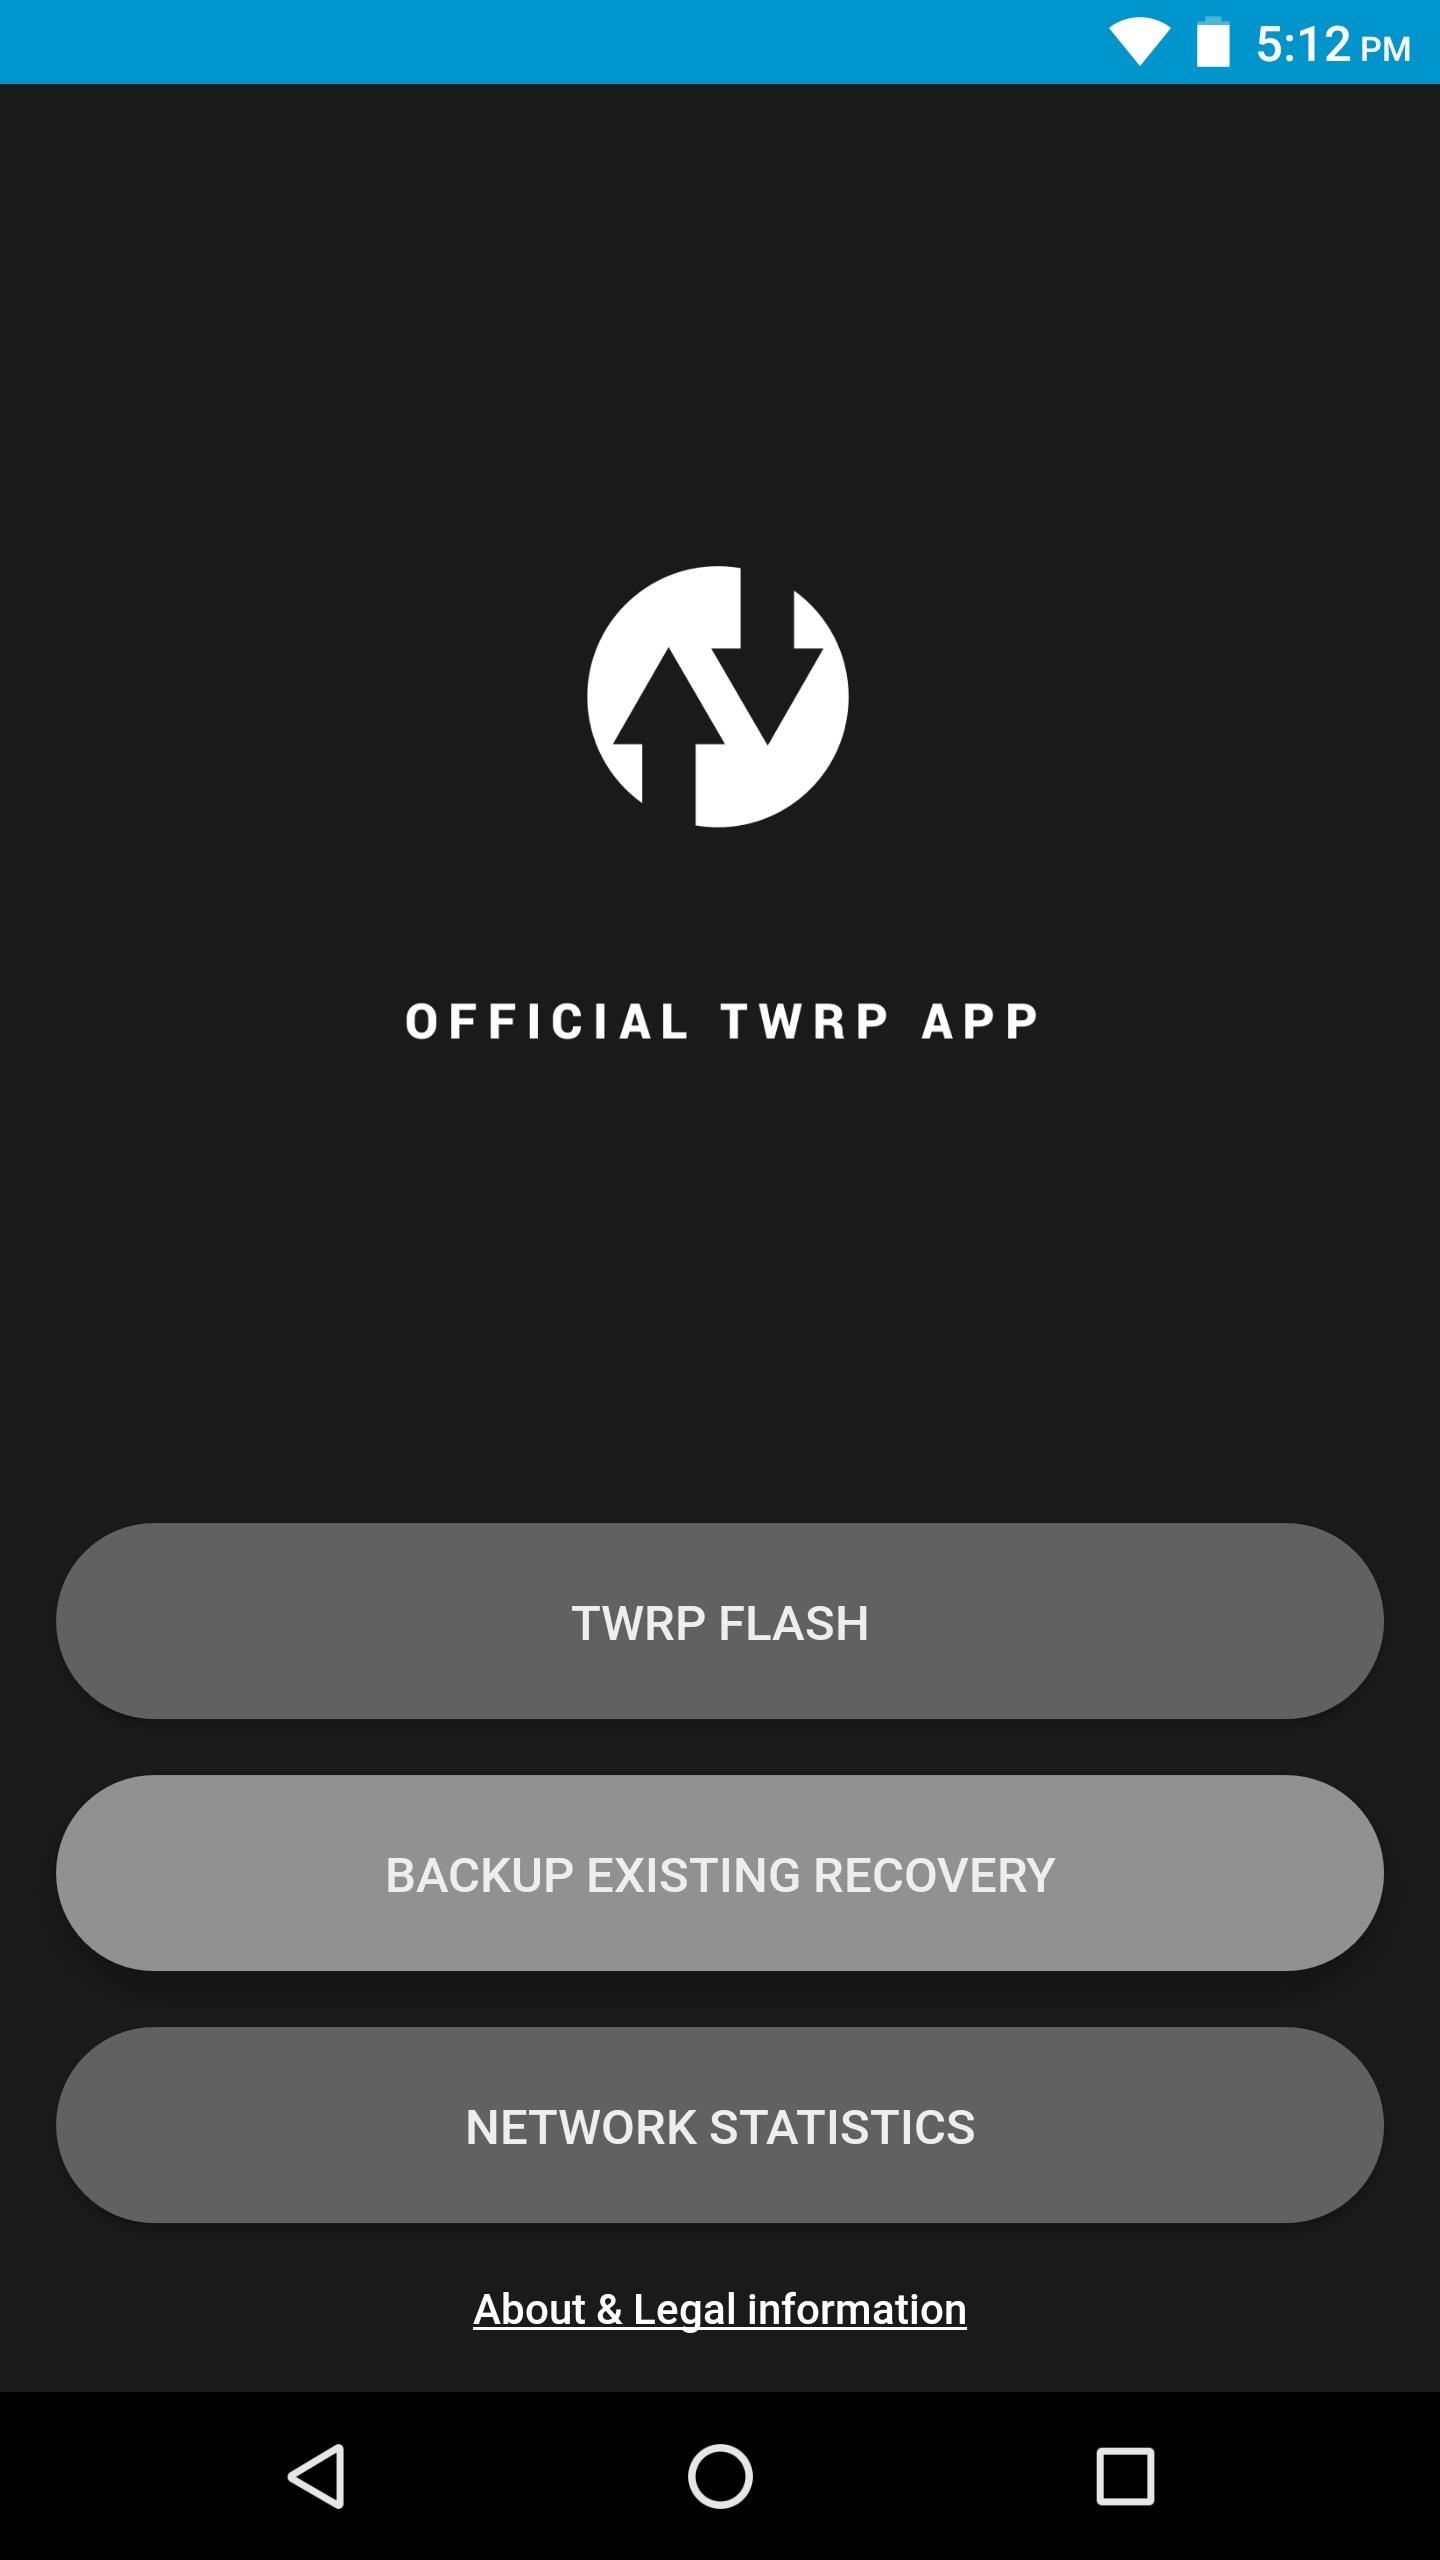
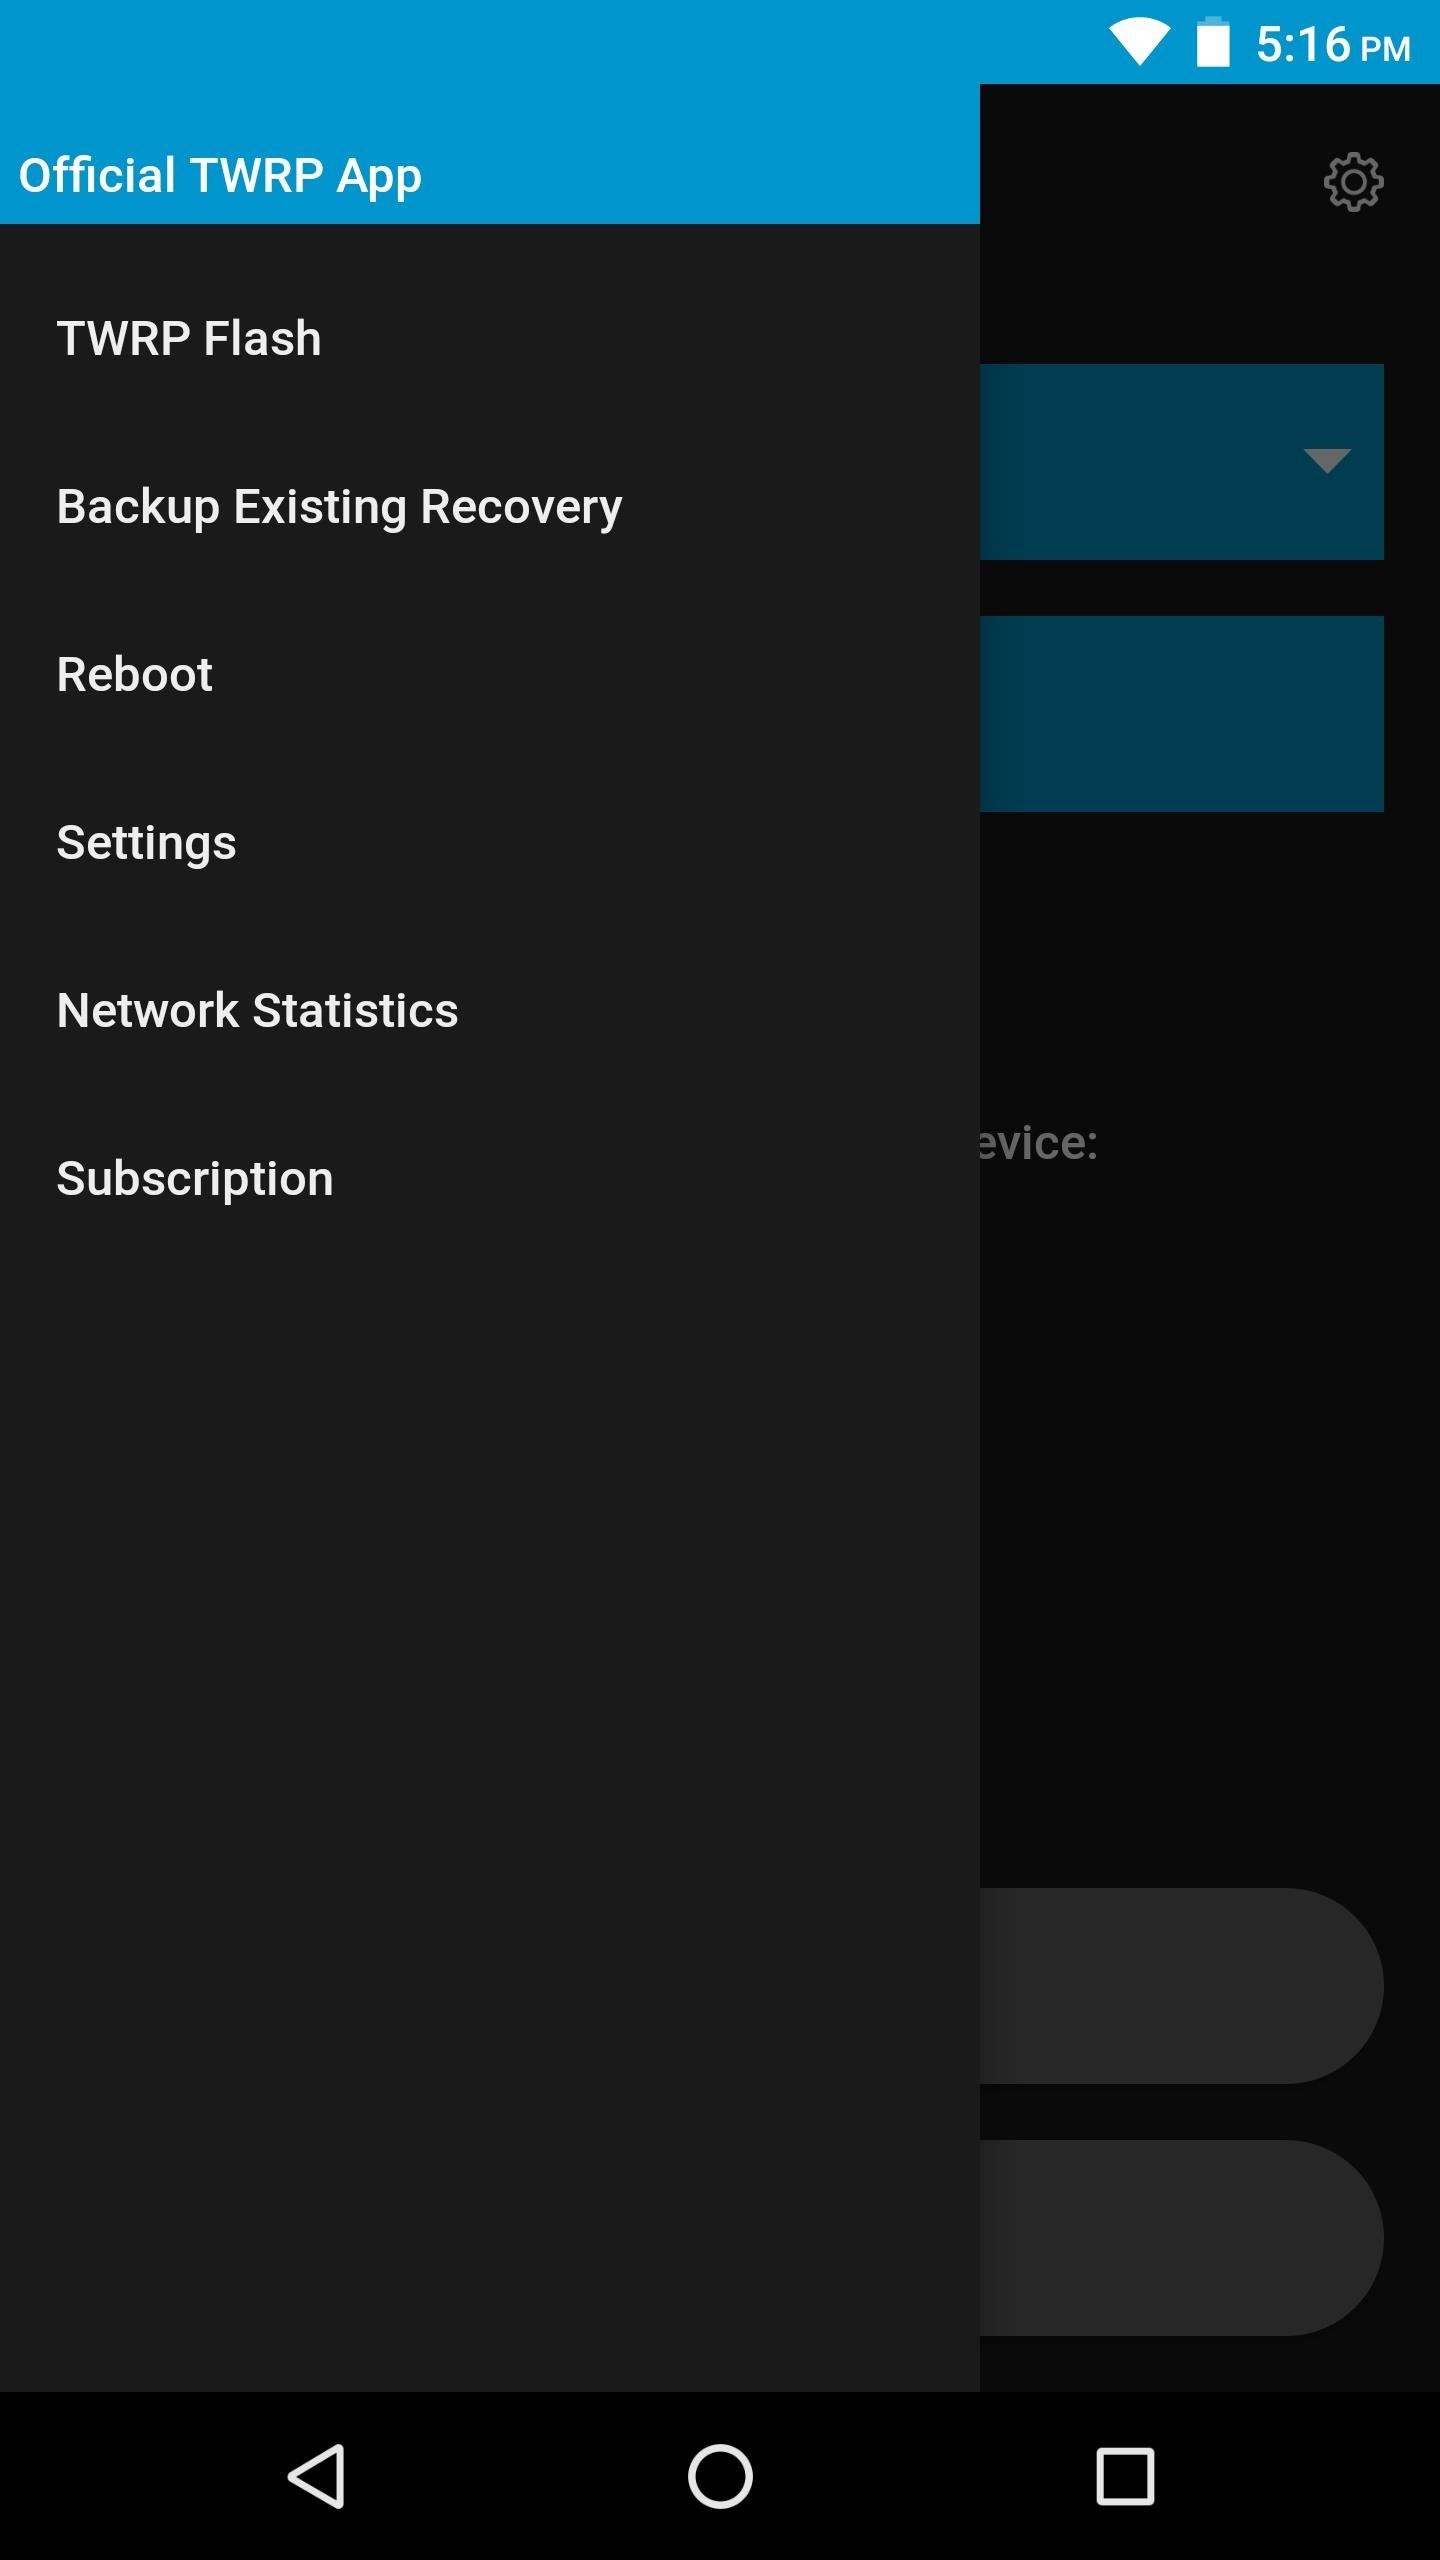
In the future, if you want to accept OTA updates or revert to stock, the best way to do this would be to create a backup of your existing recovery image before you flash TWRP. To do that, tap “Backup Existing Recovery” in the TWRP app’s main menu, then select “Backup Recovery” and press “Okay.”
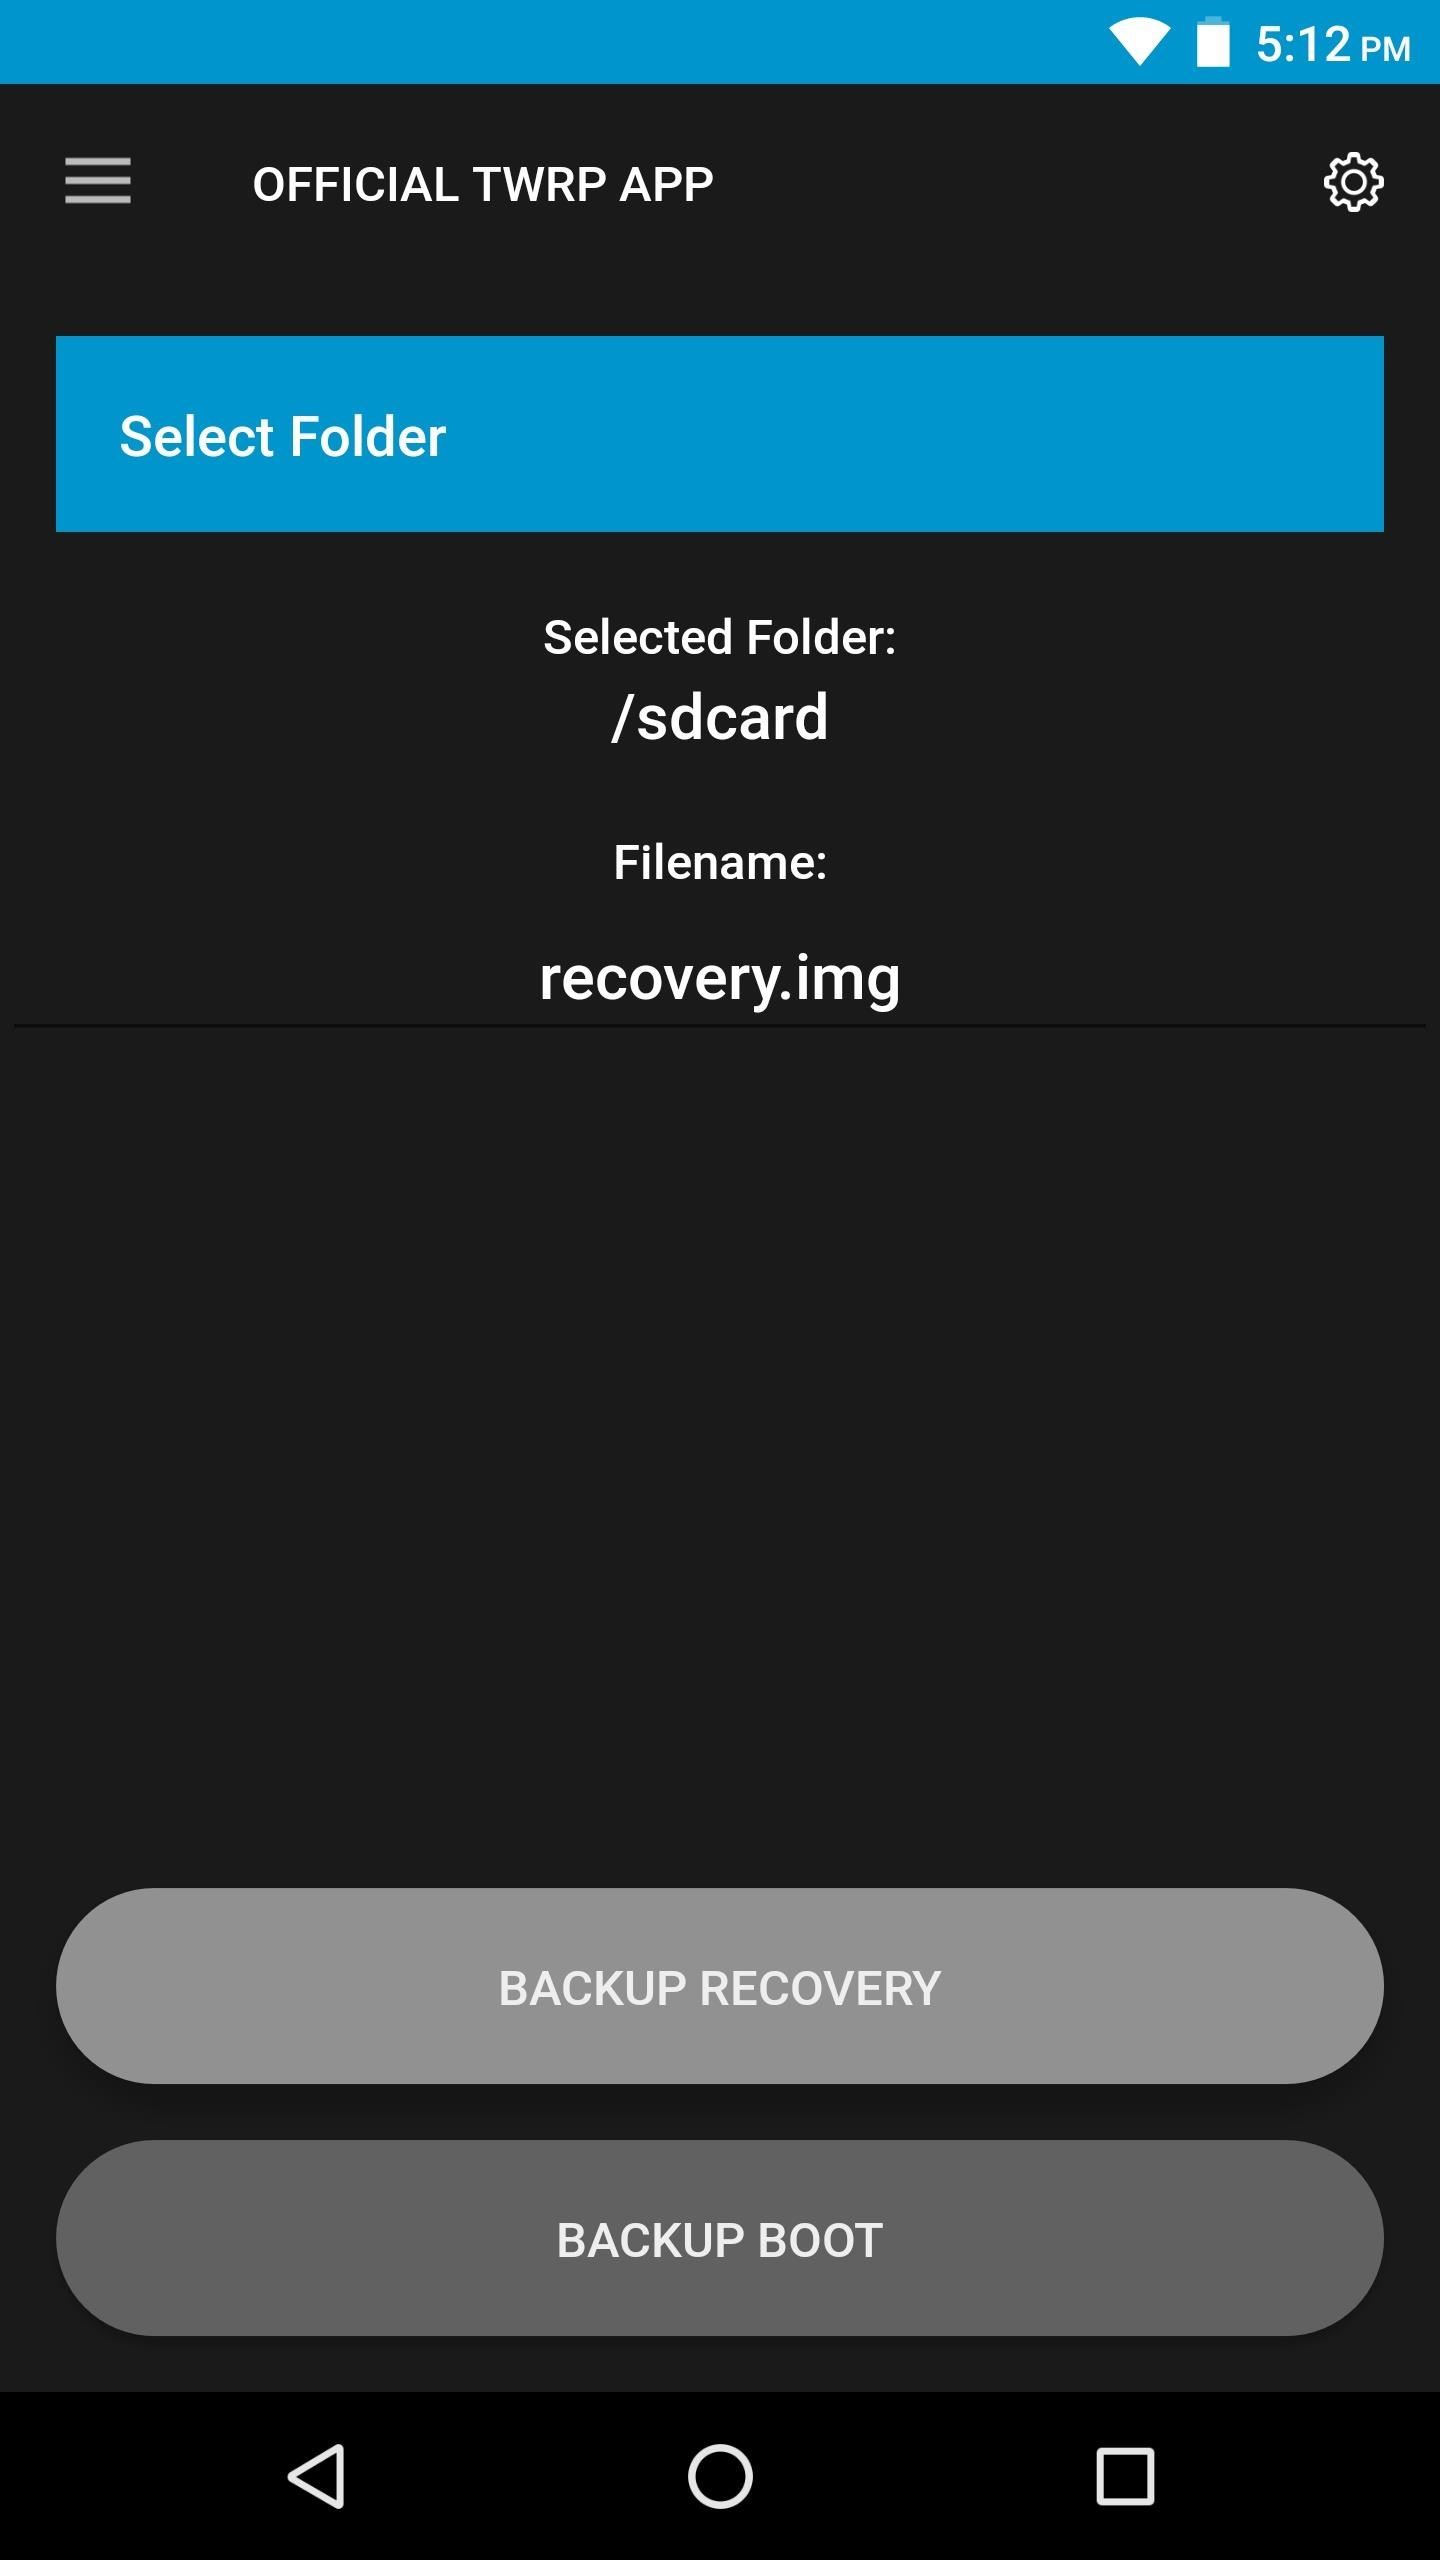
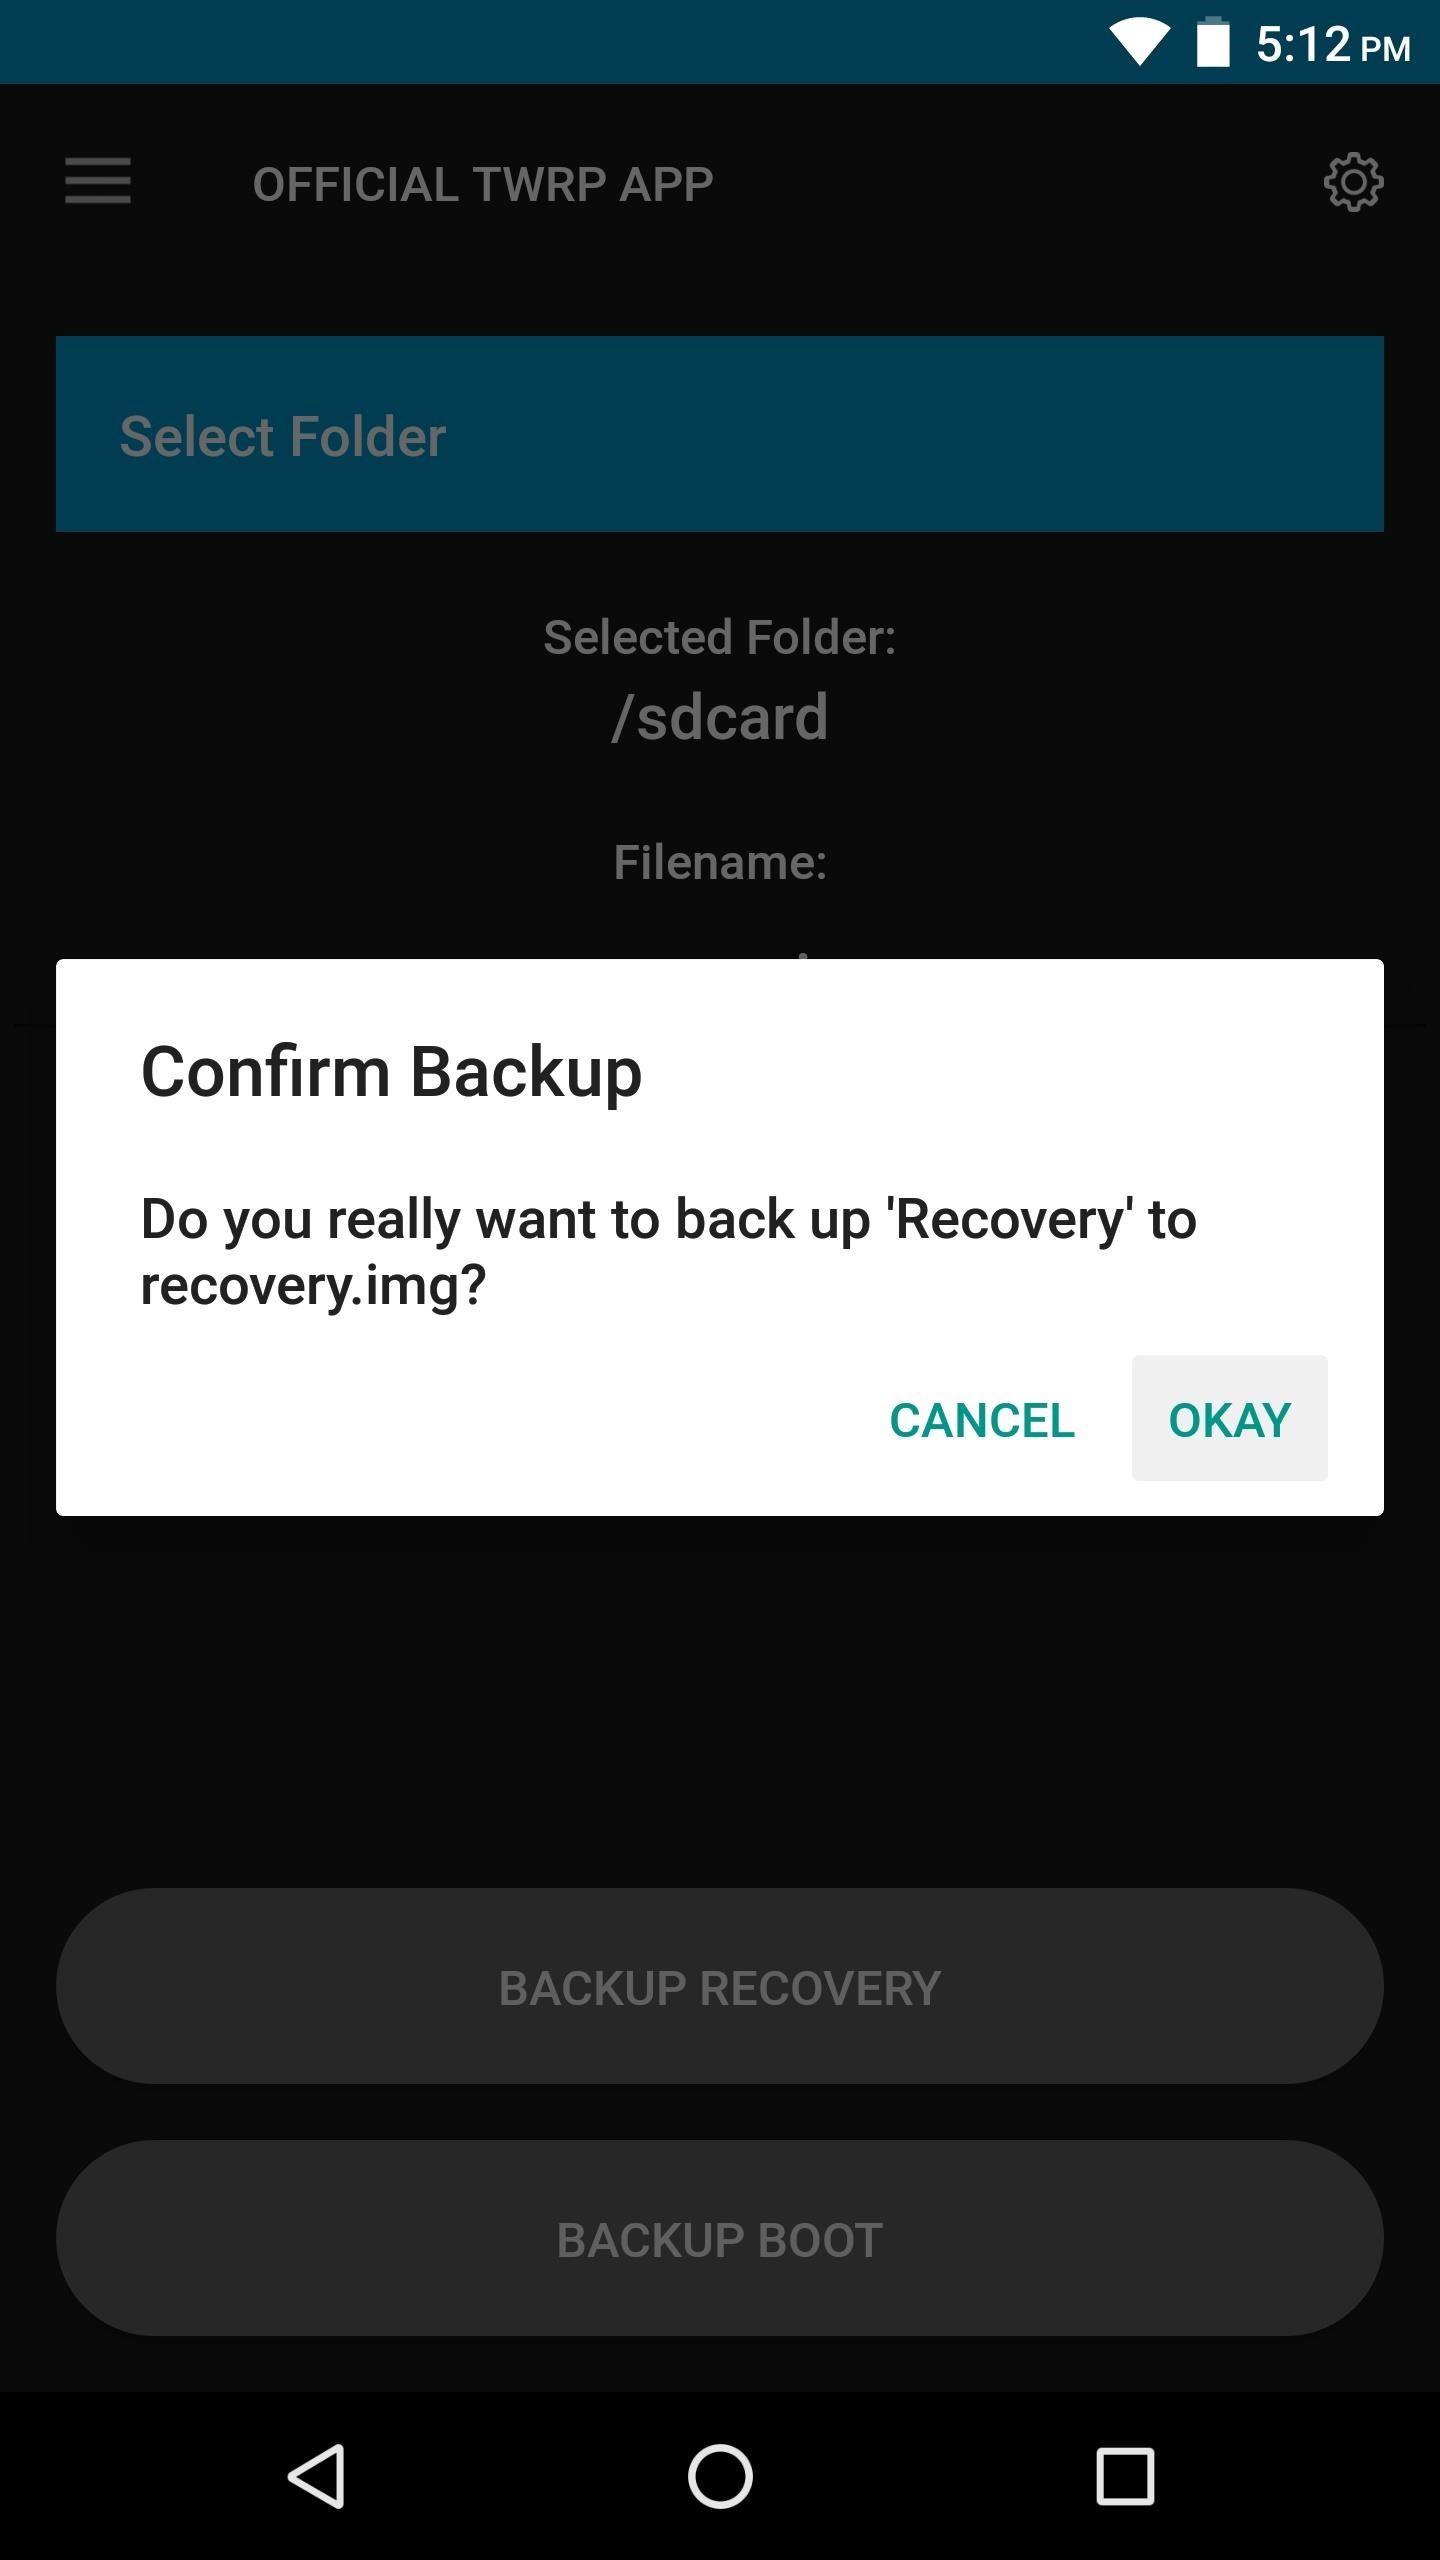
This process will take a minute or two, but when it’s done, a copy of your existing recovery image will be saved on your SD card or internal storage partition. Keep track of this file, and if you need to remove TWRP in the future, you can restore this using the TWRP app’s “TWRP Flash” function.
Step 4: Download the TWRP Image for Your Device
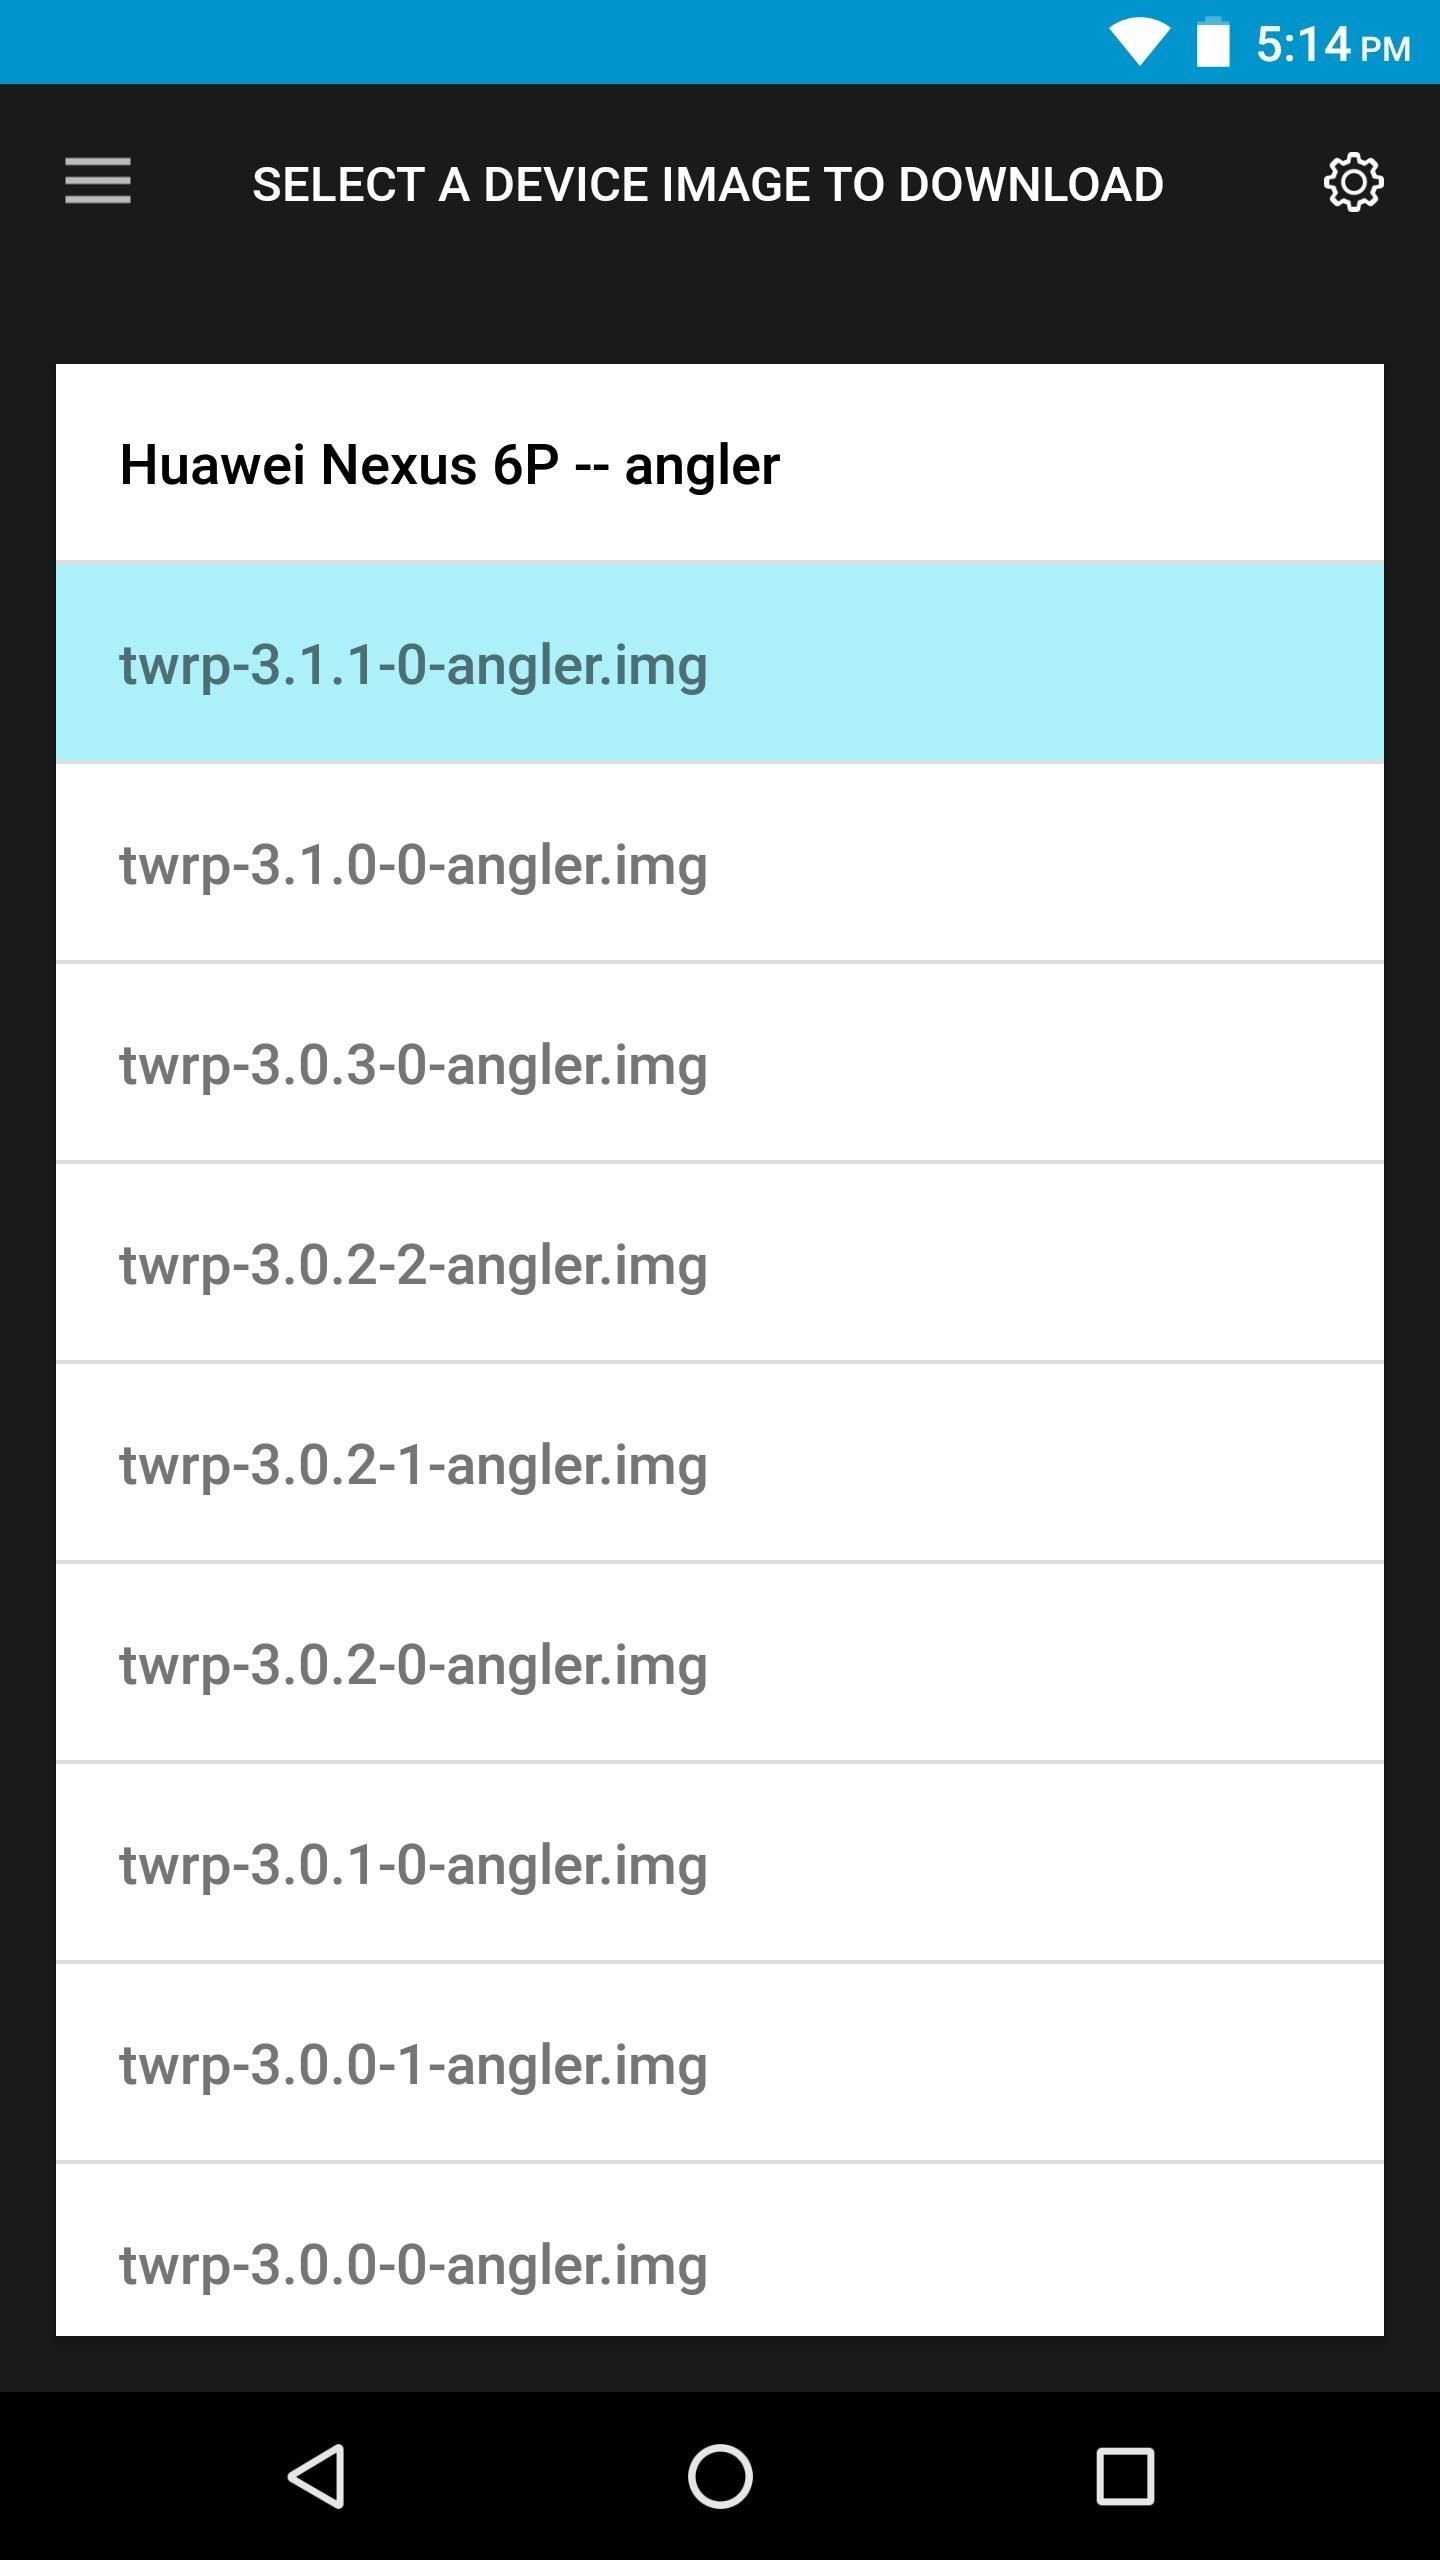
Now it’s time to download TWRP itself. To do that, press “TWRP Flash” on the TWRP app’s main menu, then tap “Select Device” on the following screen. From there, choose your model from the list.
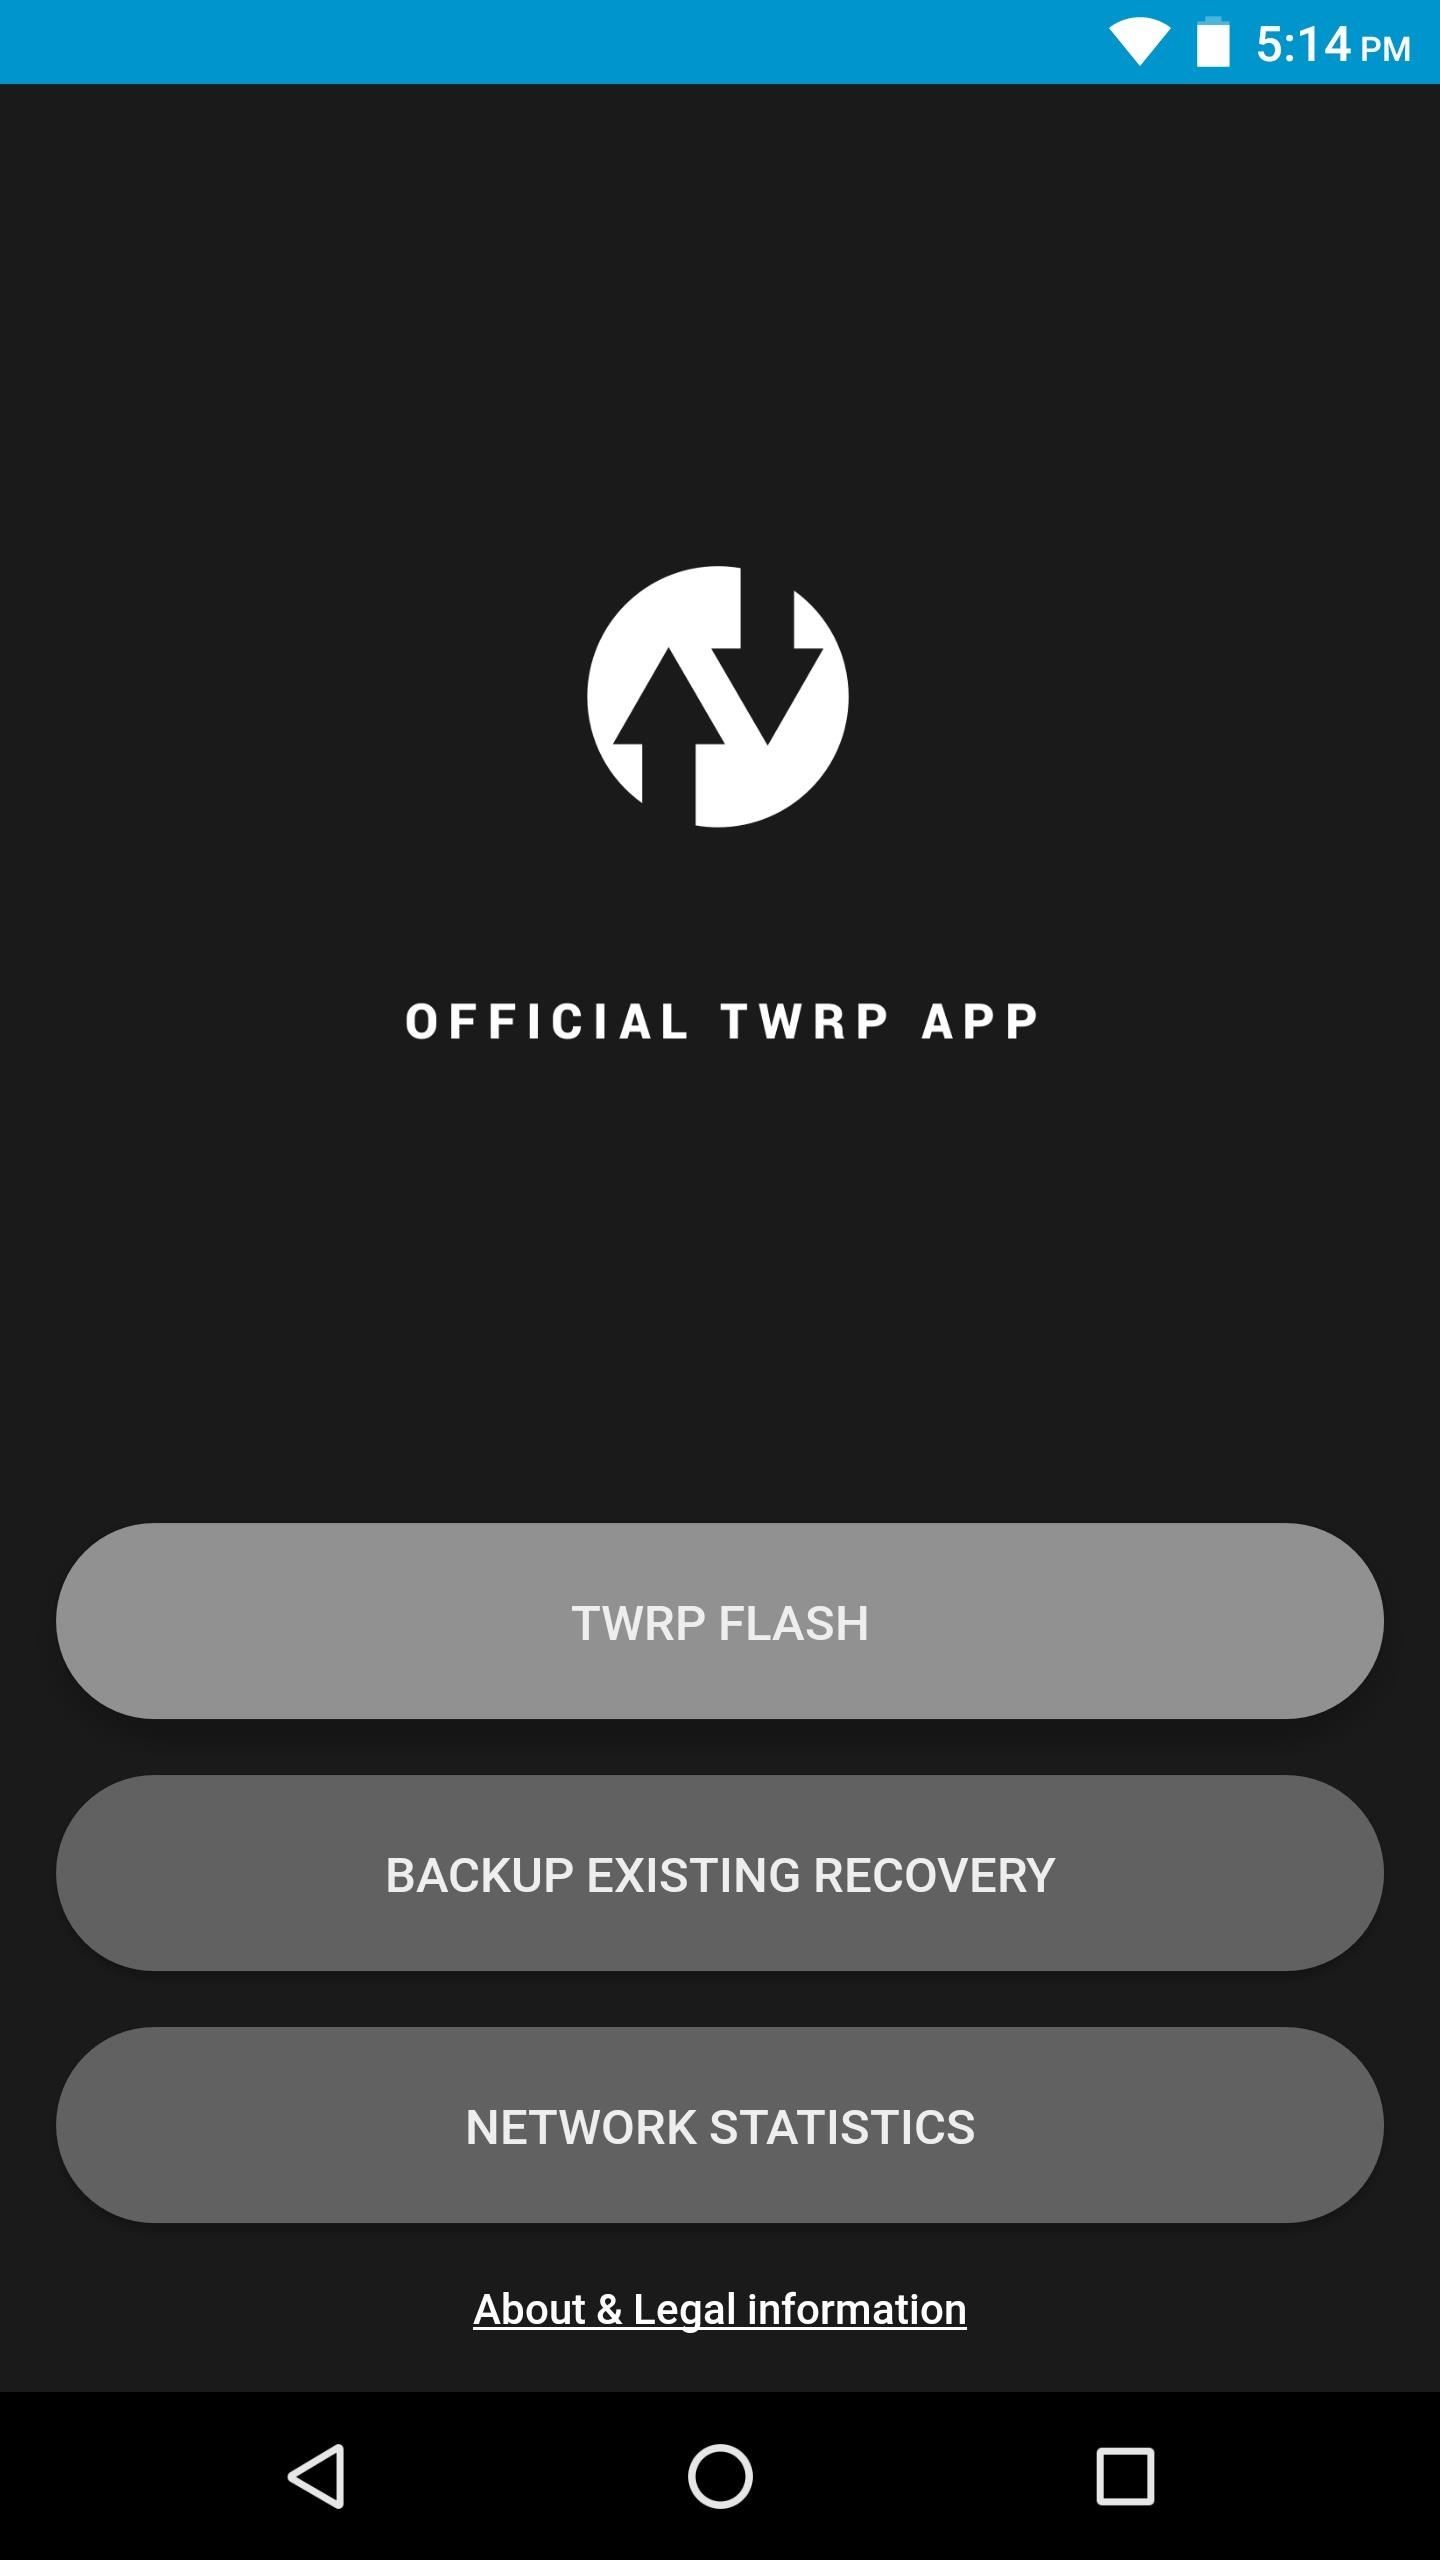
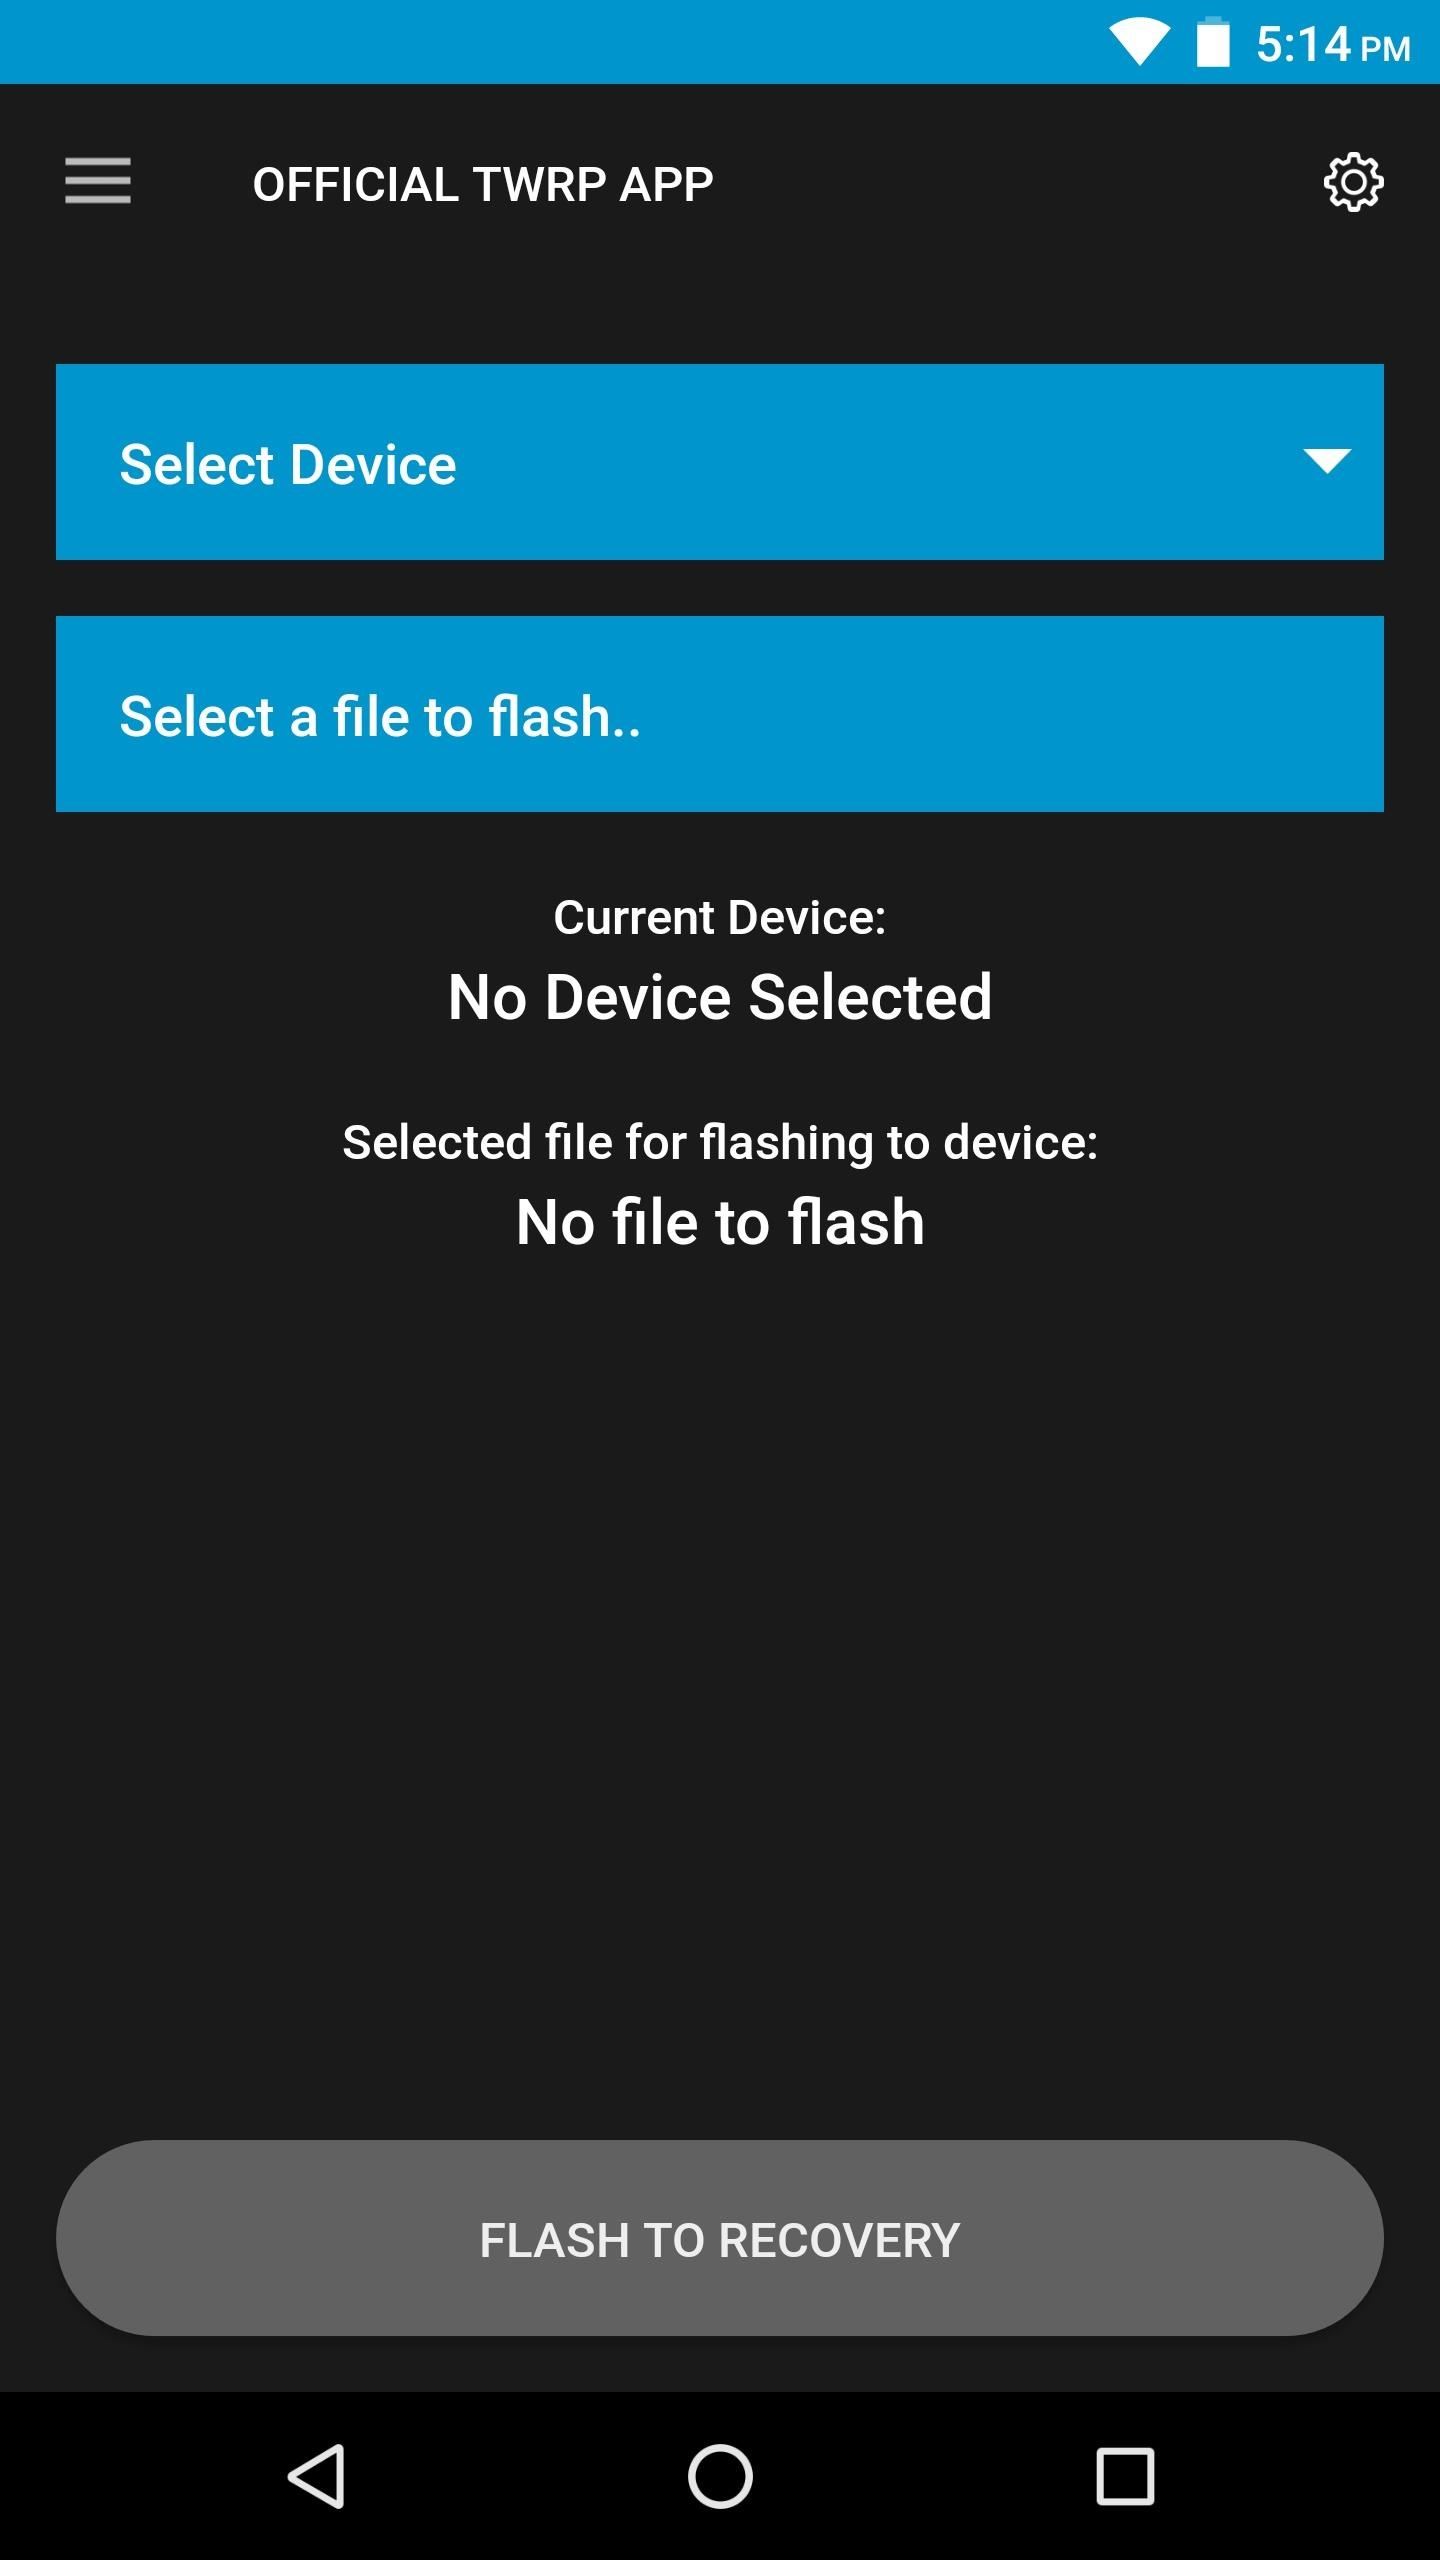
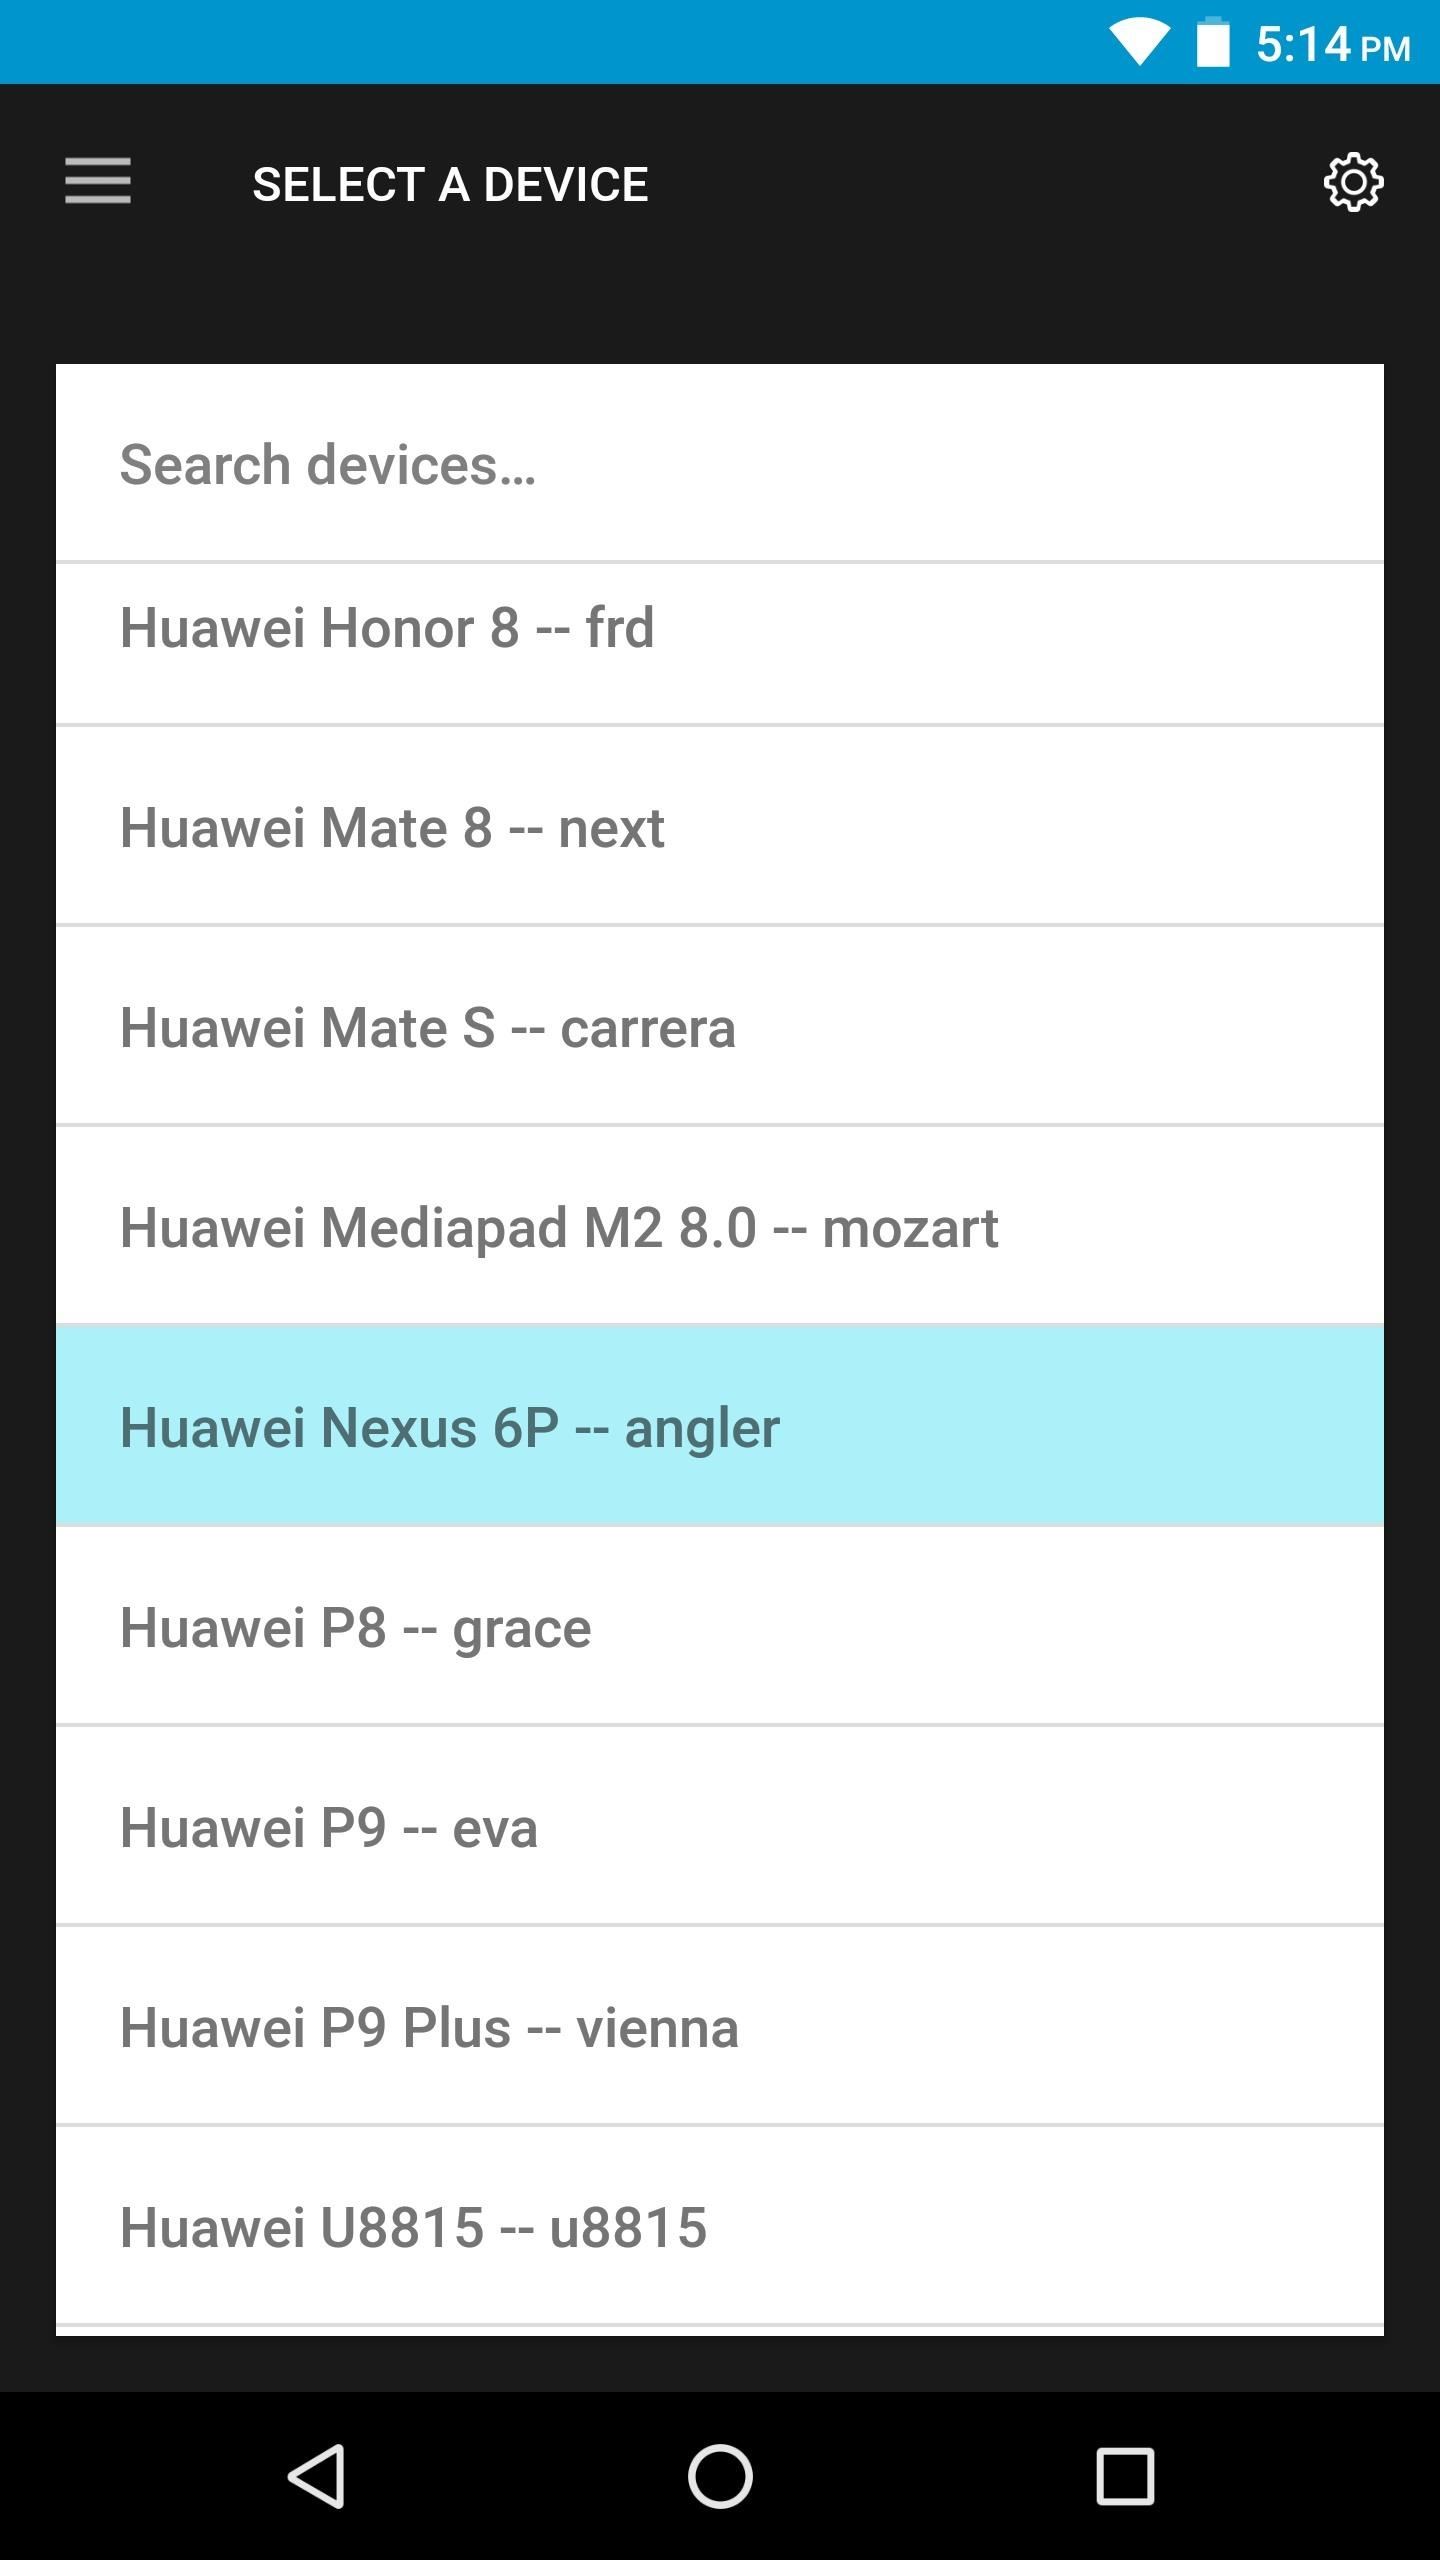
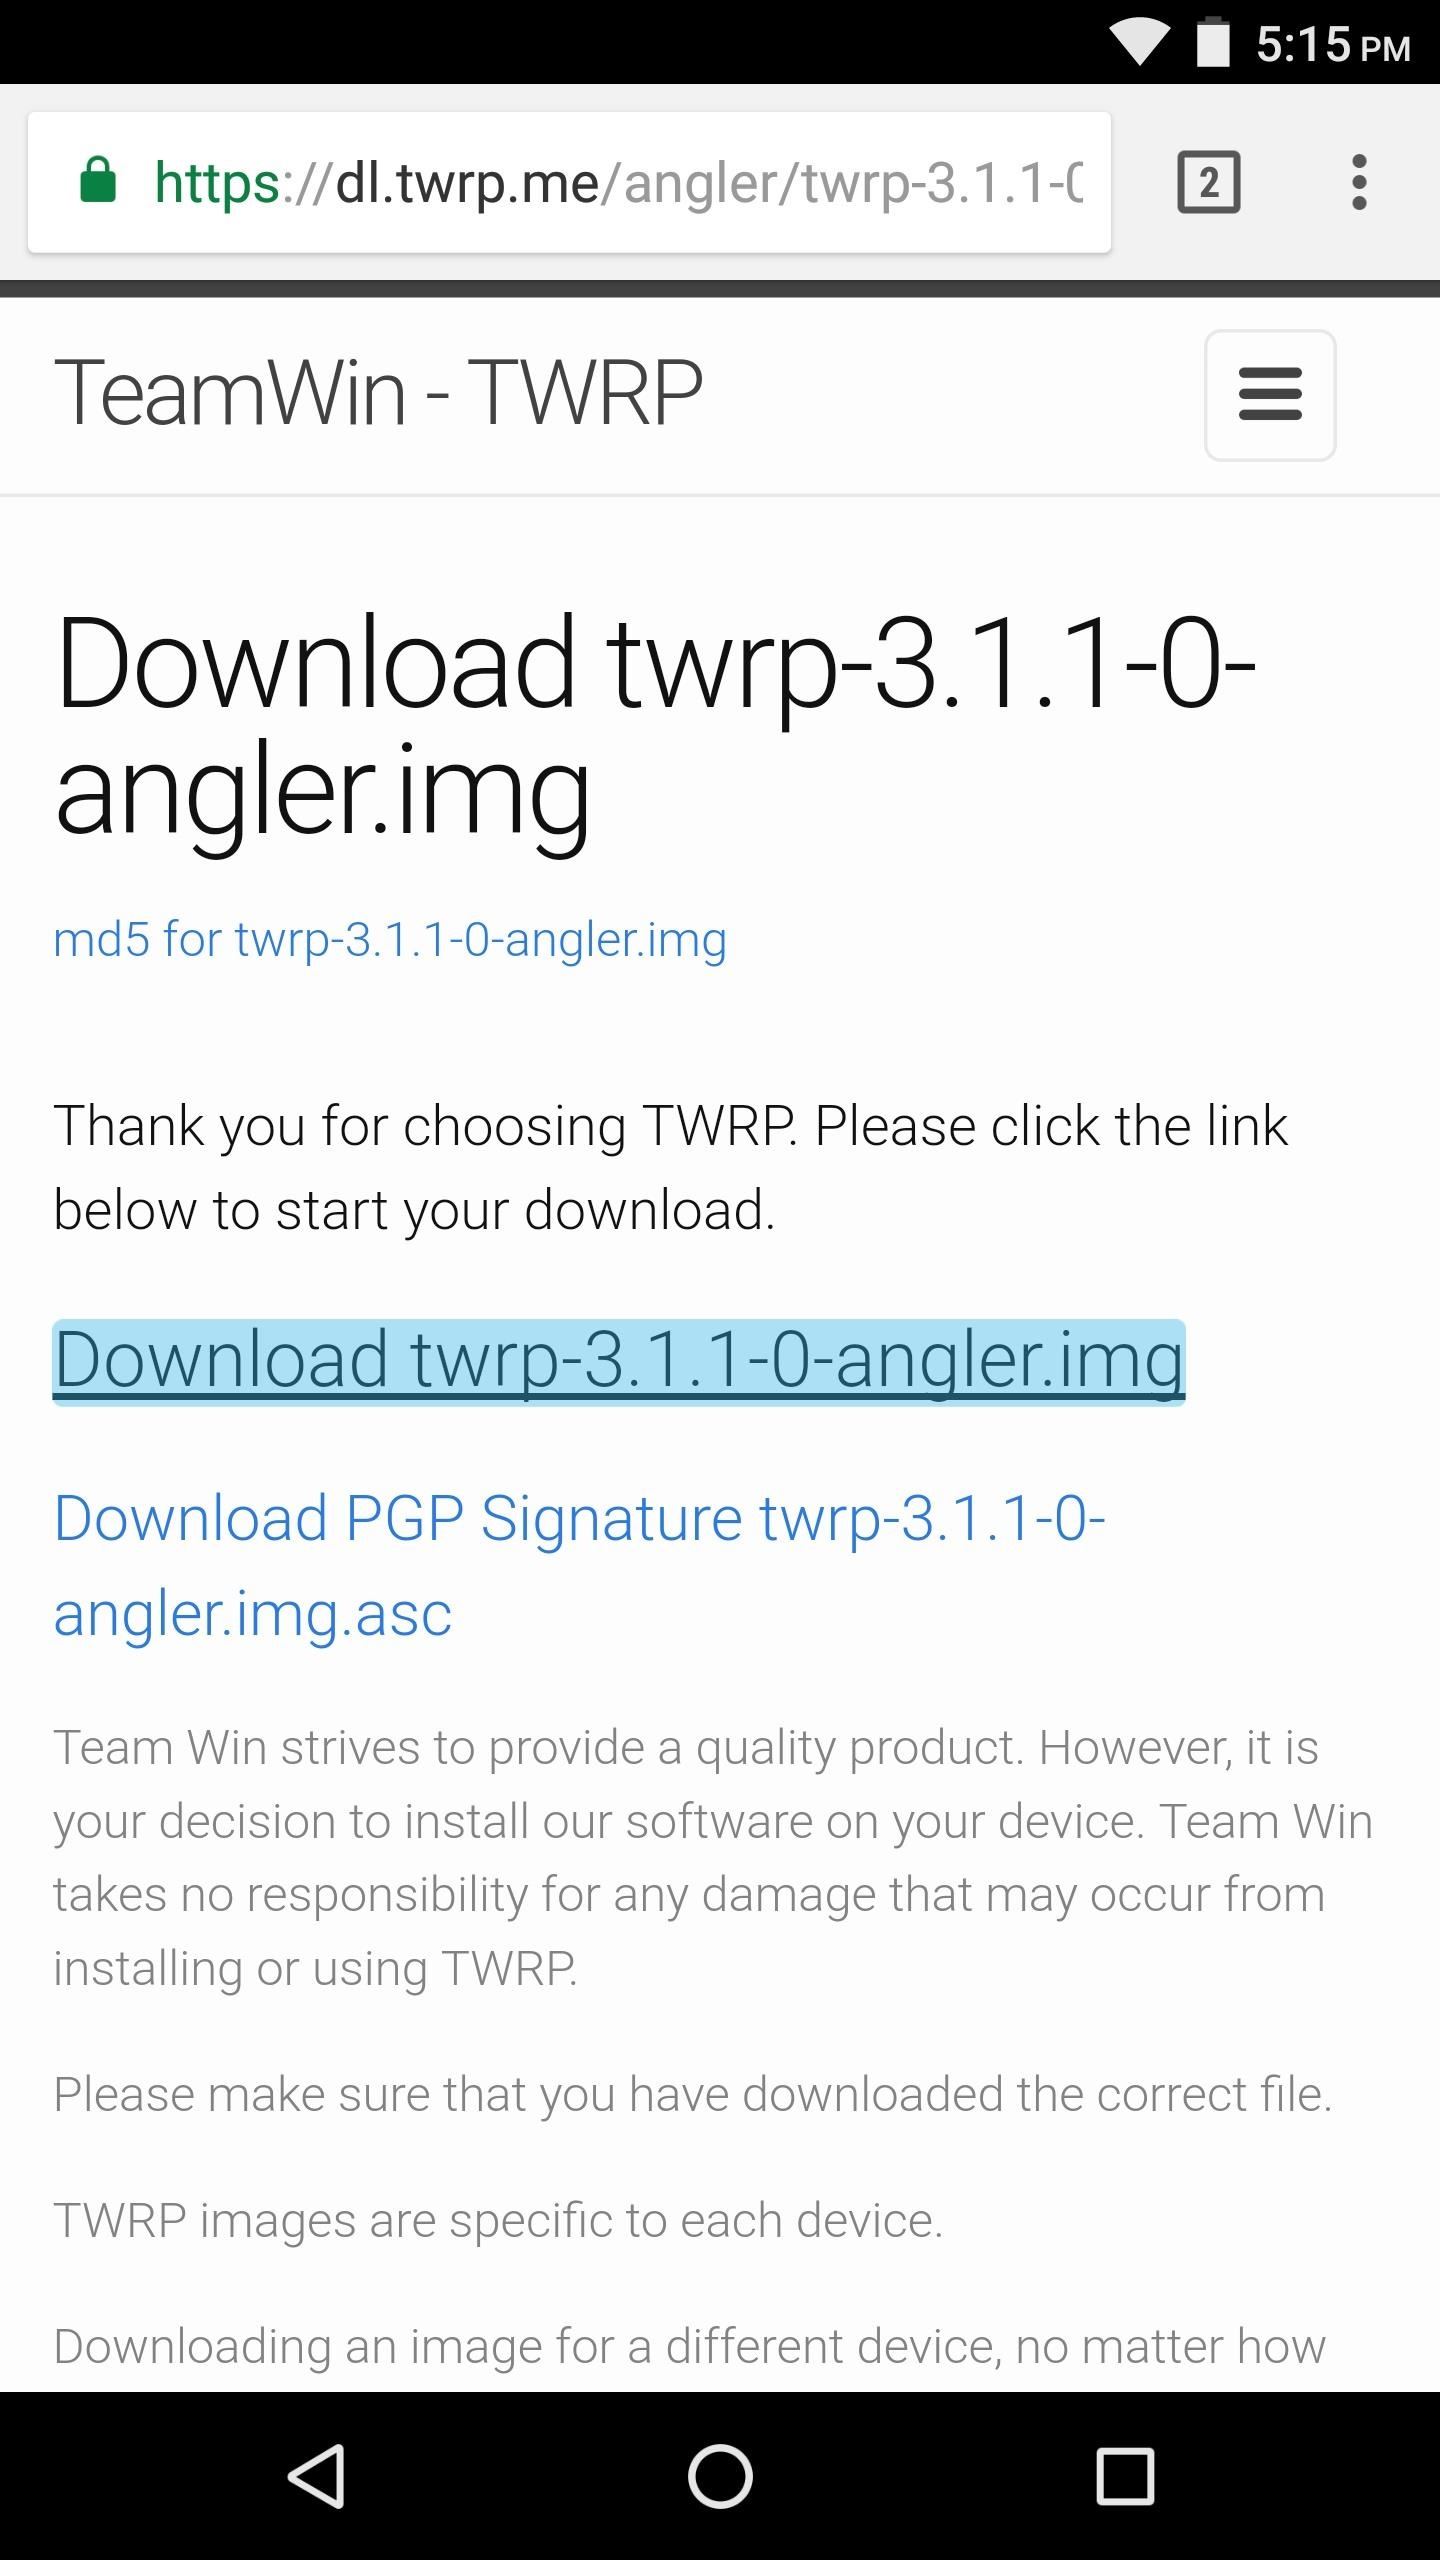
Next, you’ll be prompted to choose a TWRP version to download. We recommend going with the latest version, which will be first in the list. Once you’ve selected a version, you’ll be taken to a download page in your browser. Tap the main download link towards the top of the page, and when that’s finished, press your back button to head back to the TWRP app.
Step 5: Install TWRP
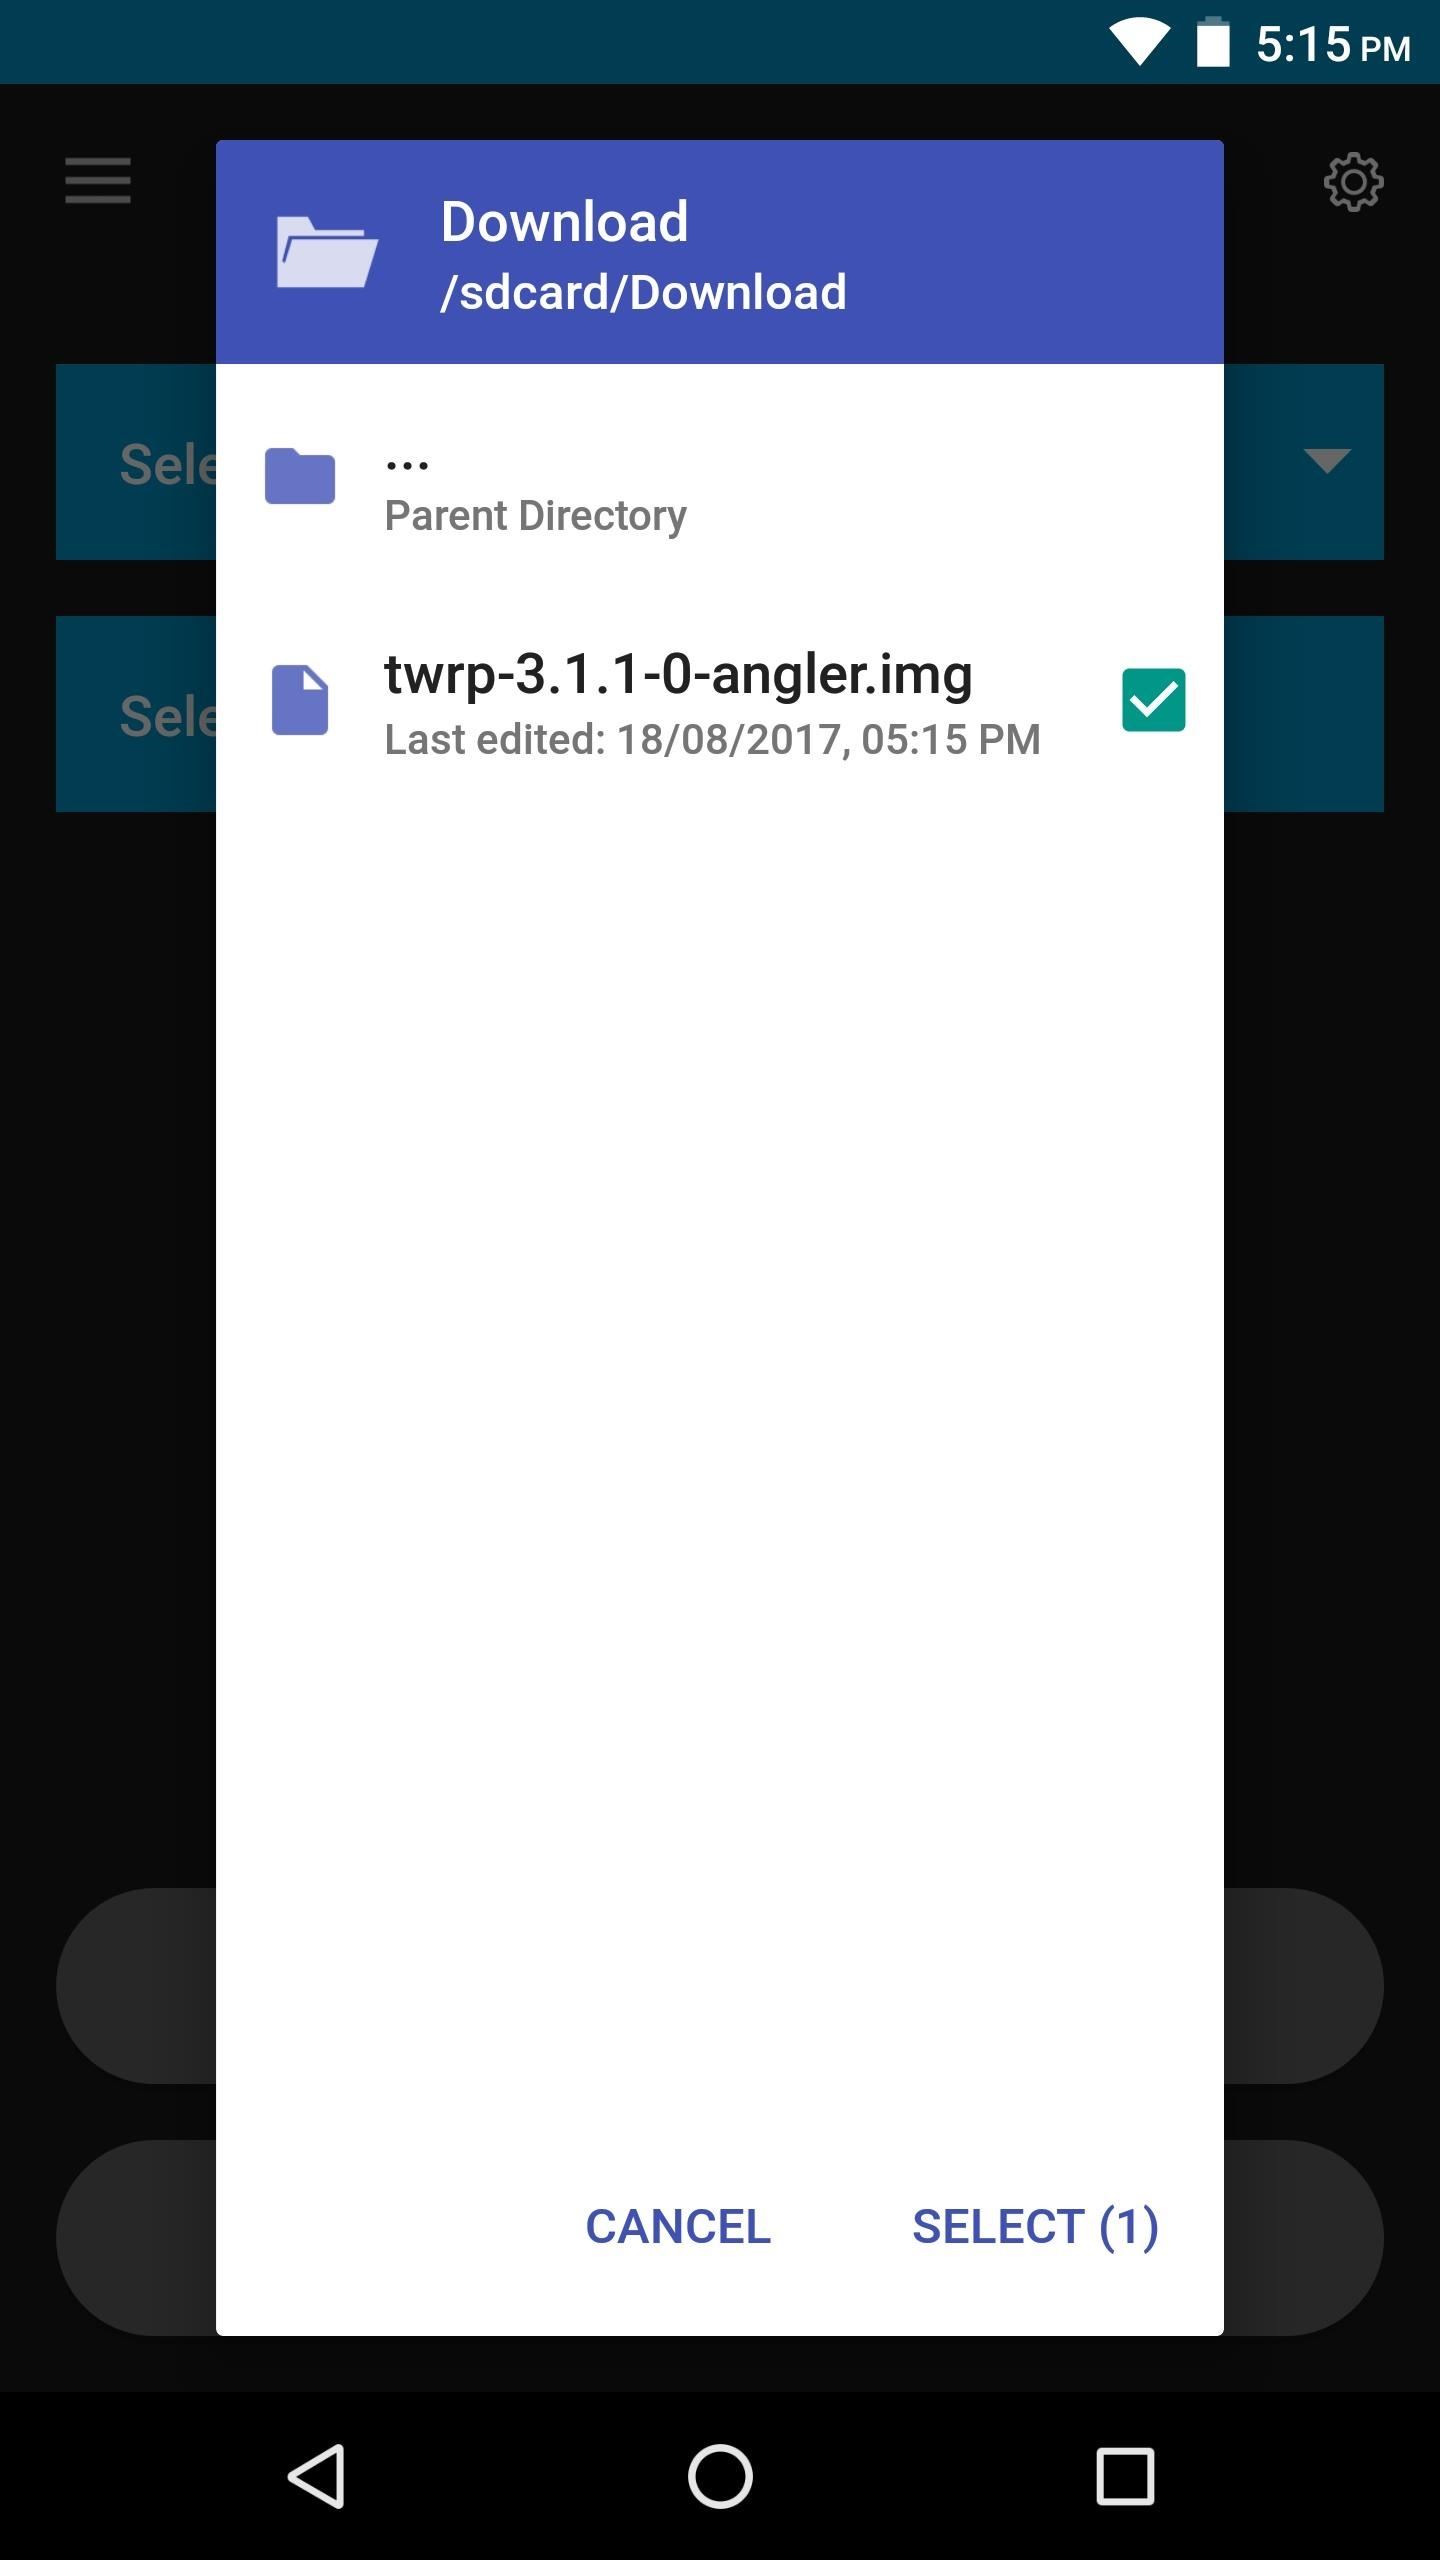
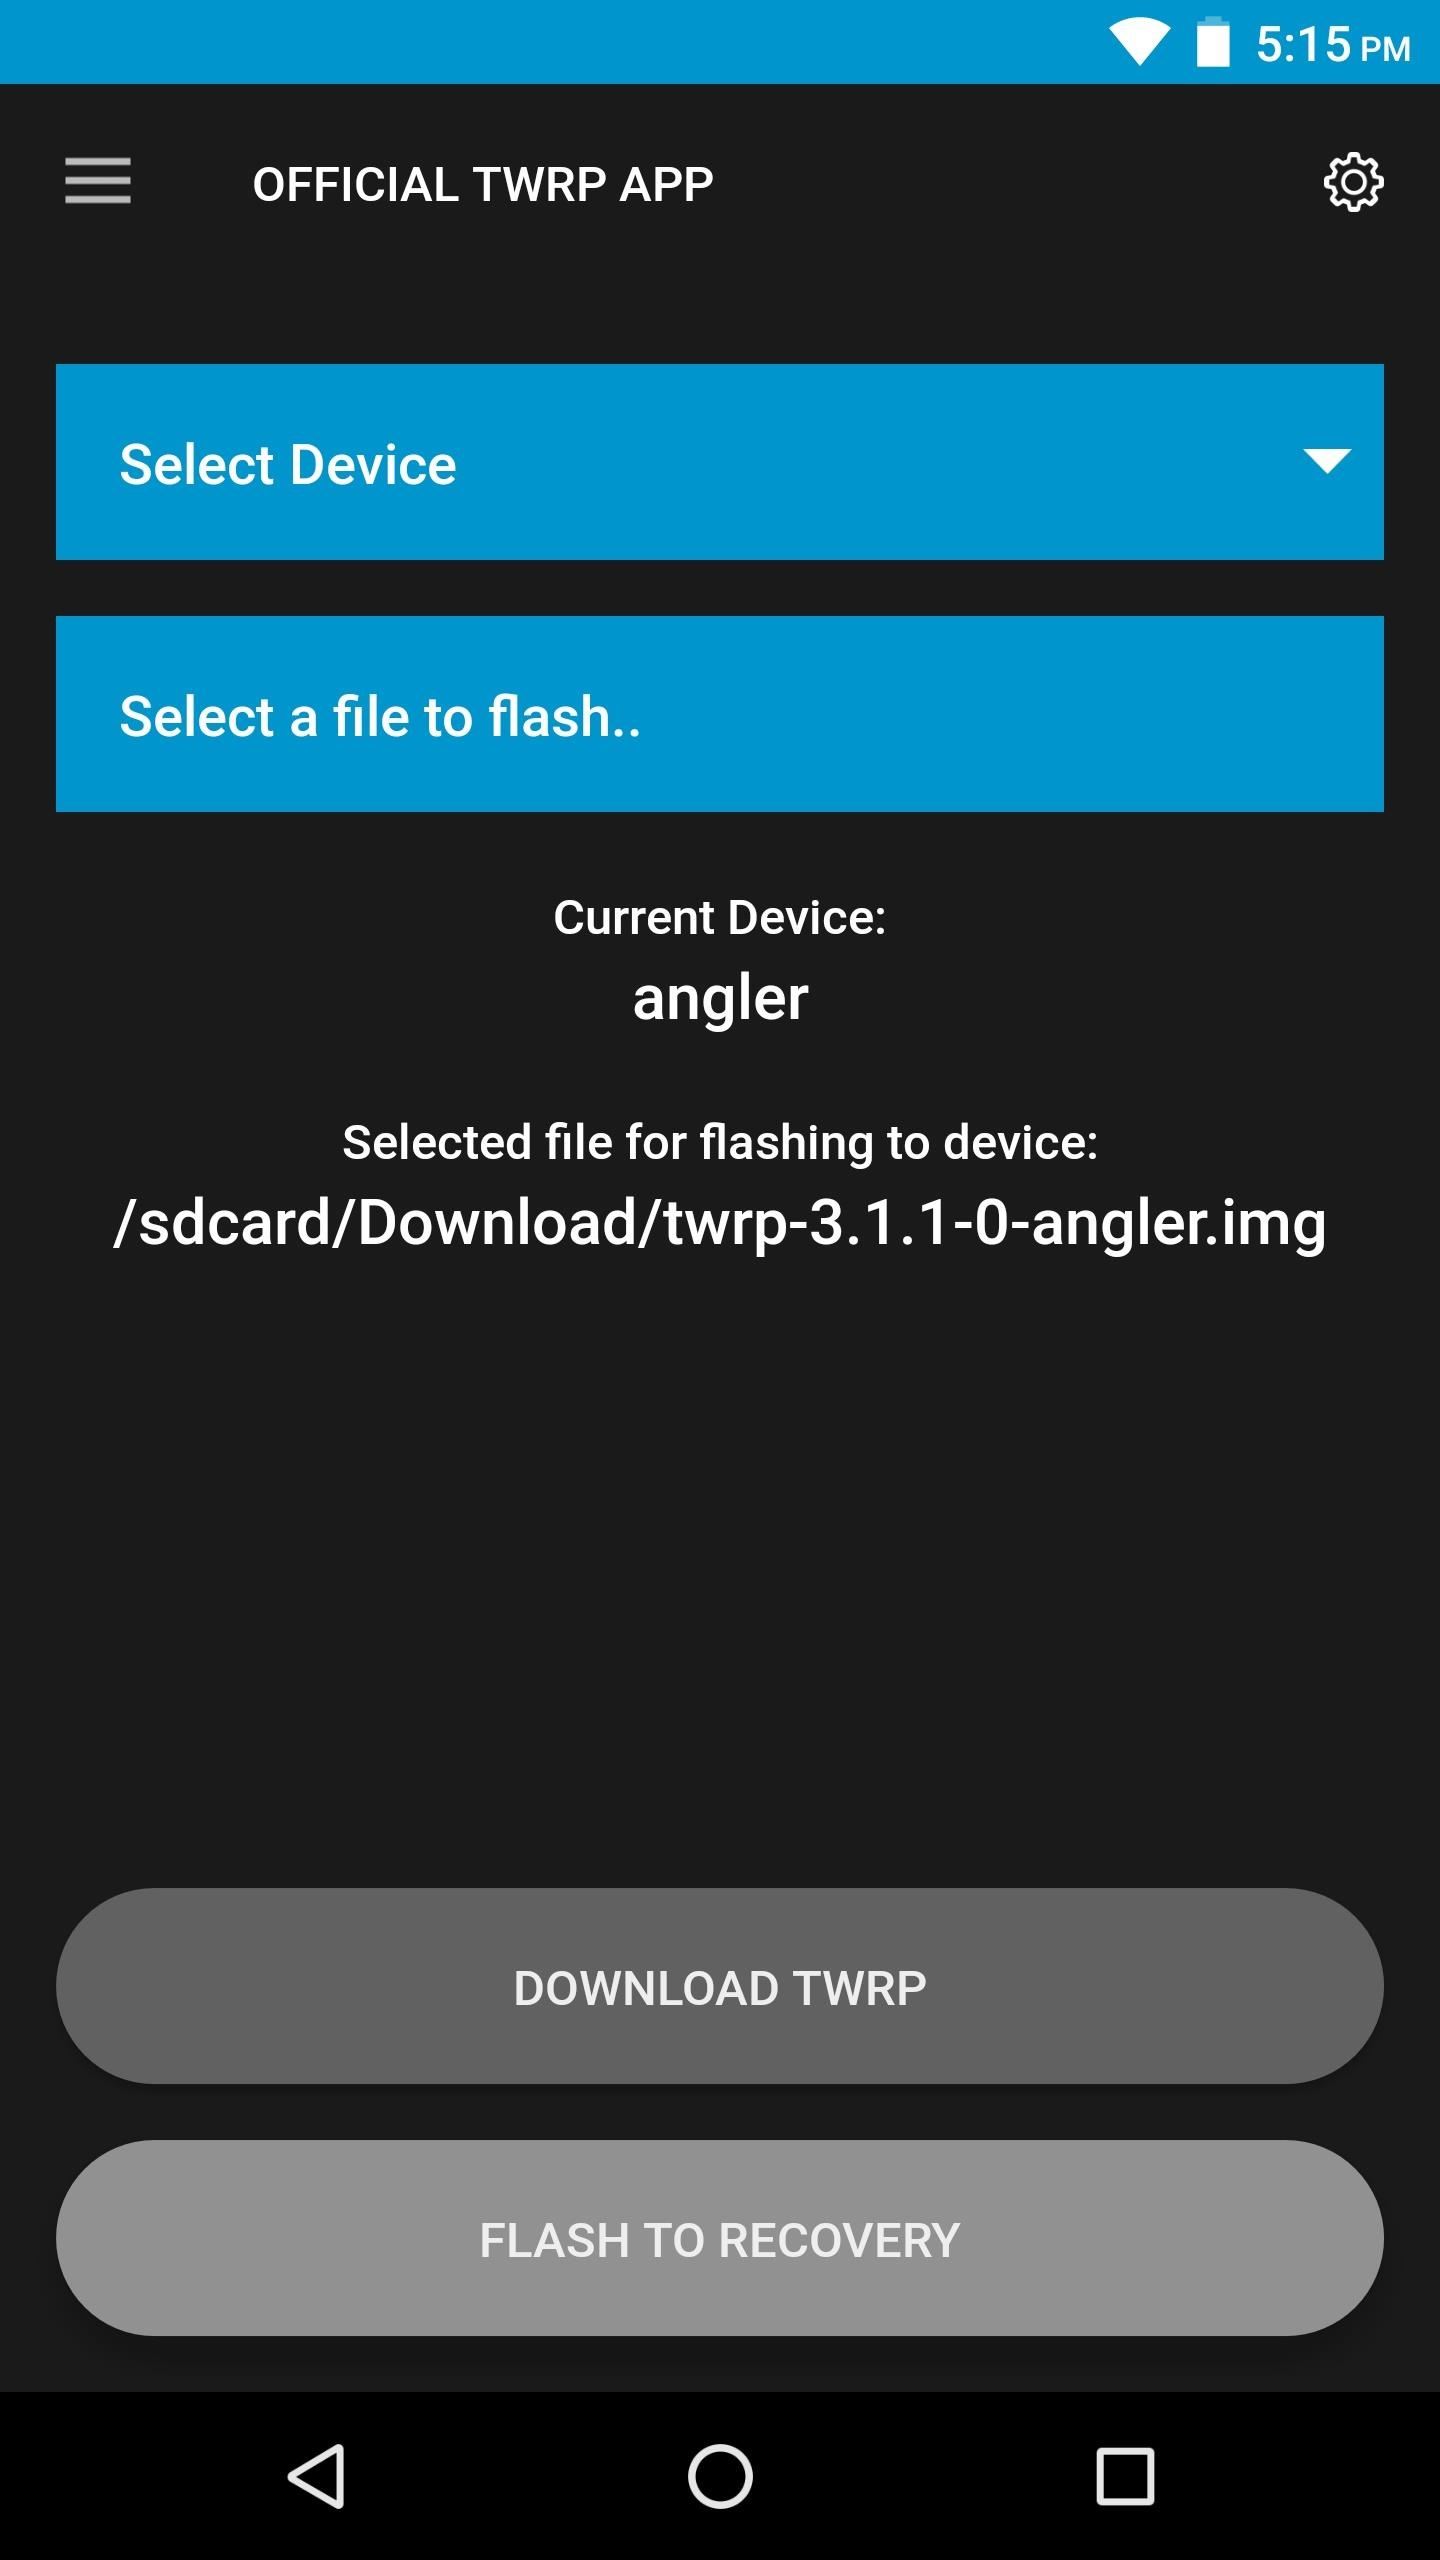
Next, from the TWRP Flash menu, tap “Select a file to flash.” From there, use the menu that appears to navigate to your device’s download folder, then select the TWRP IMG file and tap the “Select” button.

At this point, you’re ready to install TWRP. So tap “Flash to Recovery” at the bottom of the screen, then press “Okay” on the prompt. It’ll take roughly 30 seconds to complete, and when it’s done, you’ll see a message confirming that TWRP was installed.

Step 6: Make TWRP Your Permanent Recovery
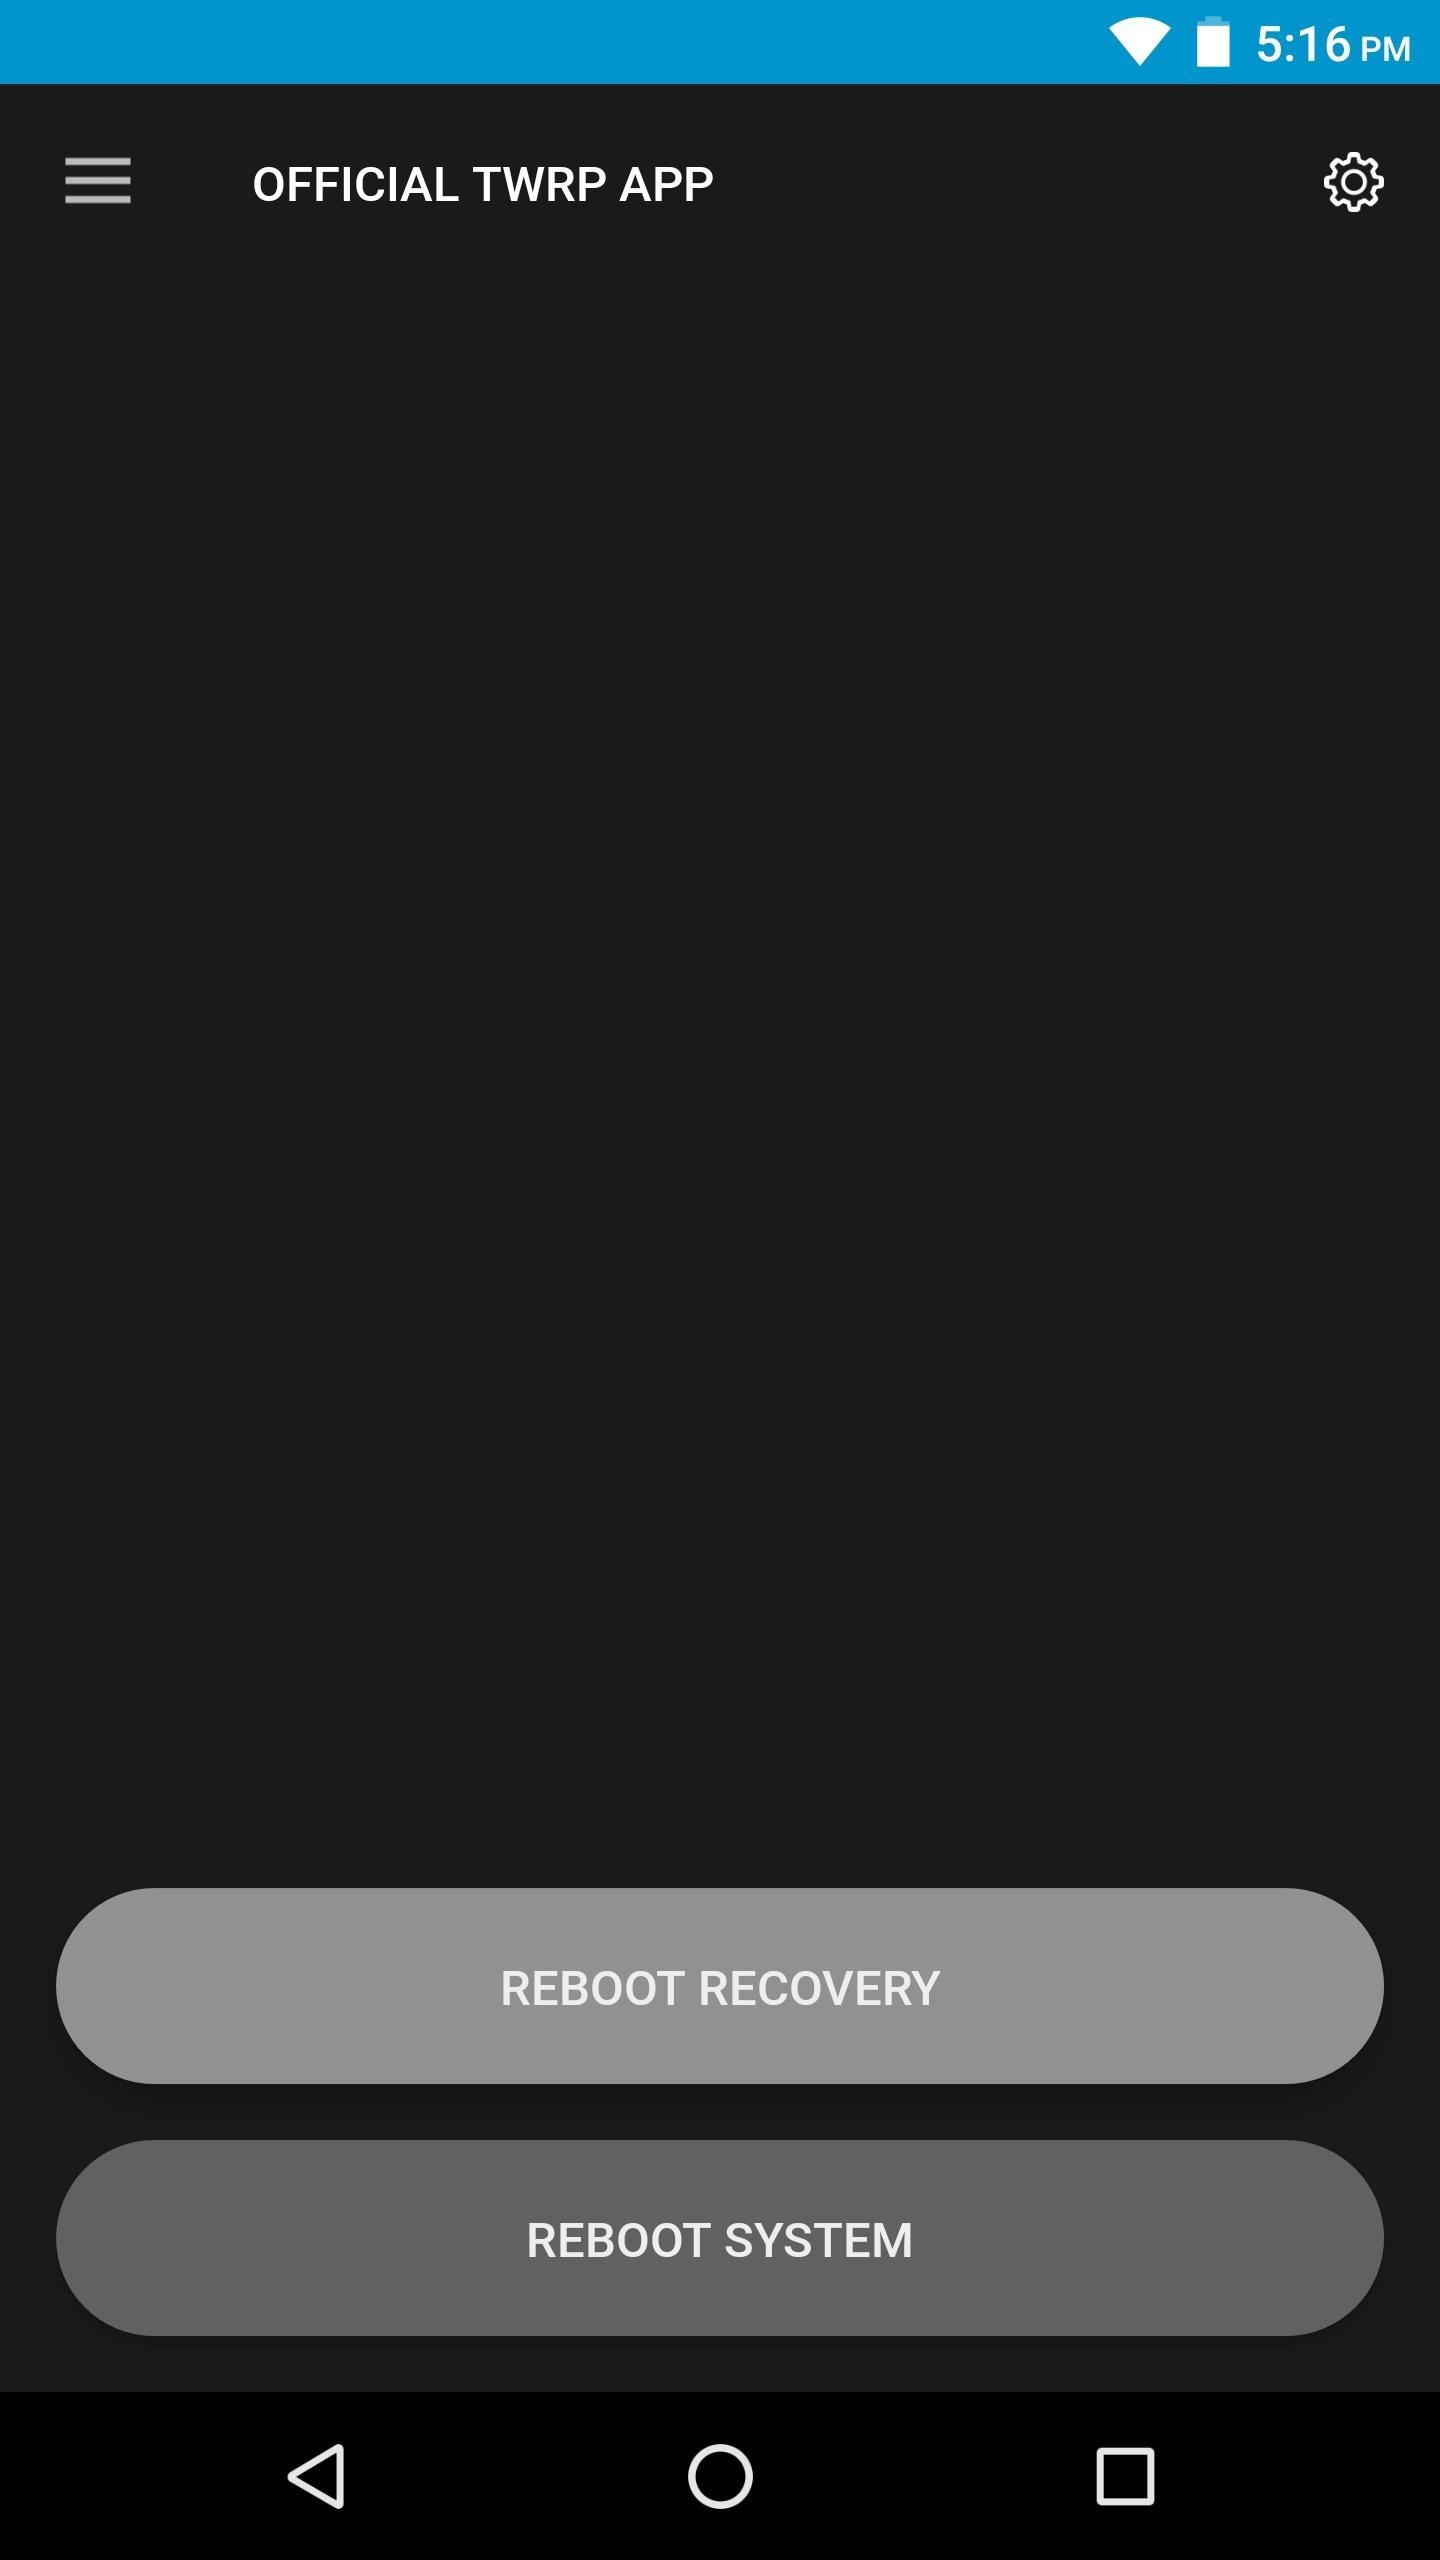
Finally, you’ll need to make TWRP your permanent recovery, otherwise Android may overwrite it with the stock recovery image the next time you reboot. To do this, start by selecting “Reboot” from the TWRP app’s side navigation menu, then press “Reboot Recovery” on the following screen. When TWRP boots up, you’ll be prompted to make it your permanent recovery, so swipe the slider that says “Swipe to Allow Modifications” and you’ll be all set!
But before you run off to flash ZIPs and custom ROMs, the first thing you should do is create a full NANDroid backup. This serves as a restore point in case anything goes wrong in the future, and we’ve covered the process at the following link:
Hot Deal: Set up a secure second phone number and keep your real contact details hidden with a yearly subscription to Hushed Private Phone Line for Android/iOS, 83%–91% off. It’s a perfect second-line solution for making calls and sending texts related to work, dating, Craigslist sales, and other scenarios where you wouldn’t want to give out your primary phone number.
“Hey there, just a heads-up: We’re part of the Amazon affiliate program, so when you buy through links on our site, we may earn a small commission. But don’t worry, it doesn’t cost you anything extra and helps us keep the lights on. Thanks for your support!”


