There are a lot of great new features in iOS 8, but not everyone is enjoying them. Some of you may just genuinely prefer iOS 7 over iOS 8, and some of you may be experiencing lag on older devices like the iPhone 4S, however minimal it may be. Whatever the reason, if you don’t want iOS 8 on your iPad, iPhone, or iPod touch, there’s still time to downgrade back to iOS 7.1.2.
Warning: Downgrade at Your Own Risk
If you already upgraded to iCloud Drive in iOS 8, you can’t undo it. Unfortunately, that means any apps that use iCloud may not work properly if you choose to downgrade. Also, if you’re worried about Apple not activating iOS 7.1.2 anymore, this page will show the date that Apple stops verifying iOS 7.1.2, when it happens.
Step 1: Always Have a Backup Plan
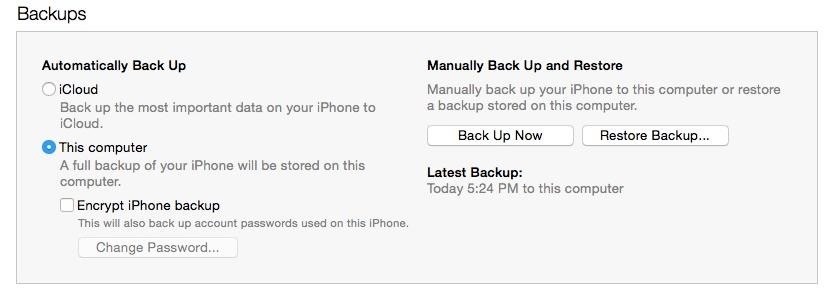
Once you revert back, I’m sure you’ll want all your apps and images, so make sure to create a backup through iCloud or iTunes (preferably the latter). For more information on backing up your current device, check out our guide on freeing up space on your iOS device, which covers the backup process in detail.

Step 2: Get the Proper Firmware
You’ll need to acquire the iOS 7.1.2 firmware file for your model iPad, iPhone, or iPod touch. The files linked below are for the U.S. variants of the iPhone models. If you reside outside of the states, or you have an iPad or iPod touch, visit IPSW Downloader to get the download link for your device.
The files linked are hosted on Apple servers, but as always, download and install at your own risk.
The files are large and can take a while to download, but once they’re downloaded, place them somewhere easily accessible, like on your desktop.
Step 3: Update or Restore Your Device
With your device backed up and firmware on-hand, open up iTunes to the Summary page where you should see your device listed. Option-click (shift-click for Windows) on either Check for Update or Restore iPhone….

Updating will simply update your system, leaving date and media intact,, while choosing the restore option will wipe the device and apply a fresh version of 7.1.2. If you do go with the “Restore iPhone” option, Find My iPhone must be disabled prior to restoring.
Step 4: Apply Your Firmware
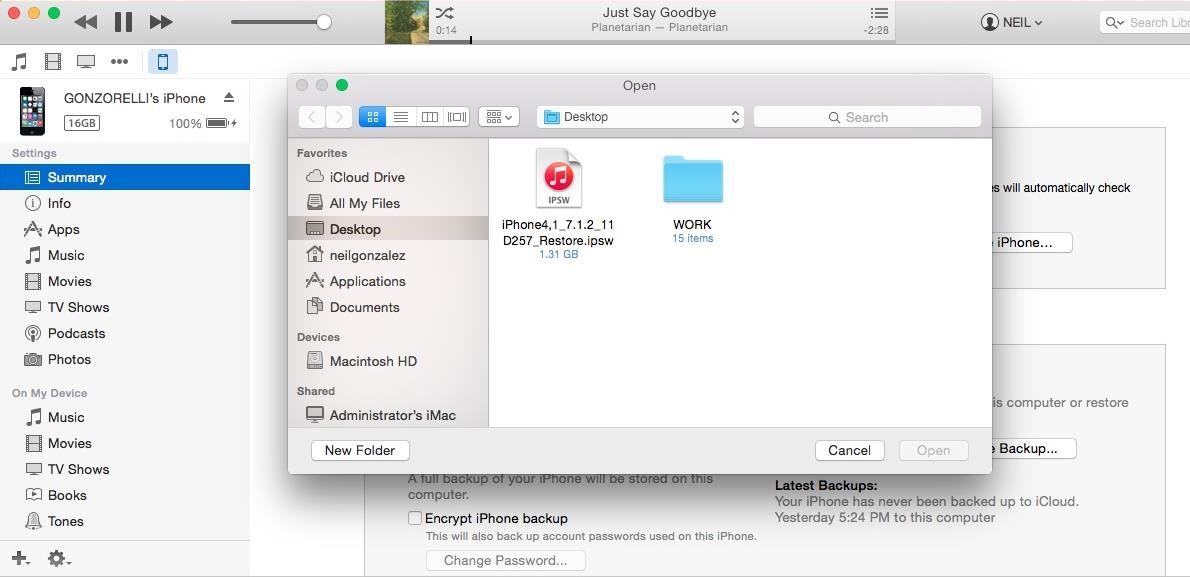
After option-clicking (or shift-clicking), locate the firmware file you downloaded and open it.

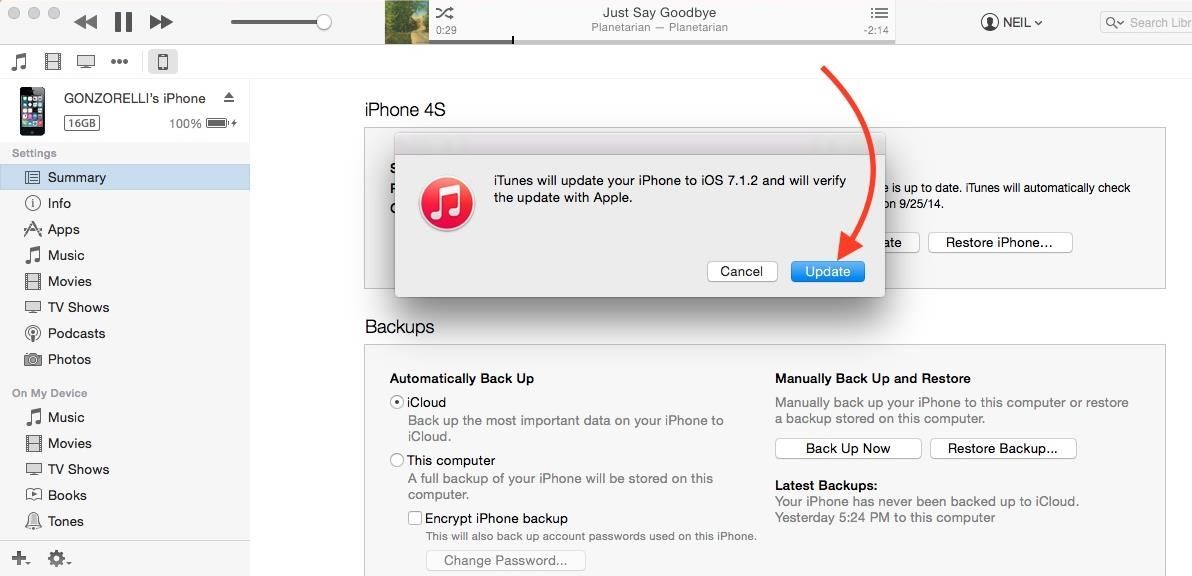
Next, simply select Update, then wait for the operating system to be applied to your device.

Your phone will walk you through the rest of the process, including choosing a backup via iCloud or iTunes.
Changed Your Mind?
If for any reason you want to get iOS 8 back in your life, simply plug your device into iTunes and hit Update. You can also do an OTA (over-the-air) update, but iTunes tends to be the quickest for me, and the OTA requires a lot of storage space that you’ll have to free up.
Just updated your iPhone? You’ll find new emoji, enhanced security, podcast transcripts, Apple Cash virtual numbers, and other useful features. There are even new additions hidden within Safari. Find out what’s new and changed on your iPhone with the iOS 17.4 update.
“Hey there, just a heads-up: We’re part of the Amazon affiliate program, so when you buy through links on our site, we may earn a small commission. But don’t worry, it doesn’t cost you anything extra and helps us keep the lights on. Thanks for your support!”


