Apple’s latest update to Mac OS X, 10.11 El Capitan, is currently available in the Mac App Store for everyone to download and install at no cost. The new OS features Split View mode for better multitasking, a cleaner Mission Control, smarter Spotlight, a way to mute Safari tabs playing audio, enhanced Mail and Notes apps, and more.
If you have multiple computers that need the El Capitan upgrade, then a bootable install flash drive will make the process easier and faster, since the install file is over 6 GB in size (about a gig larger than Yosemite was!) and could take some time to download on each computer individually.
If you’re going to use El Capitan on your only computer, you can choose to install it as a dual-boot system, that way you can easily switch back to Yosemite if you find out that you don’t like the new OS version.
- Don’t Miss: How to Dual-Boot Mac OS X Yosemite & El Capitan
While there are fairly complex ways to create a bootable install drive, I’m going to skip those long processes in favor of using DiskMaker X, which has recently been updated to work with El Capitan.
Step 1: Download OS X 10.11 Installer
Once you’ve downloaded the El Capitan installer from the Mac App Store, don’t install it just yet—it will auto-erase the installation app you need if you do. Close out of the installation screen that pops up, then hunt for Install OS X El Capitan in your Applications folder to verify it’s there.
Step 2: Install DiskMaker X
If you don’t already have DiskMaker X installed, go ahead and do that now from the DiskMaker X website. The newest version should be DiskMaker X 5.0.1, which is compatible with El Capitan.
Step 3: Delete Any Old Installers You May Have
If you still have an installer for Yosemite on your hard drive, or an El Capitan developer (“Install OS X 10.11 Developer Beta”) and/or public beta (“Install OS X El Capitan Public Beta”) version, you should delete those first. They take up a lot of space anyway.
Step 4: Choose Your El Capitan File
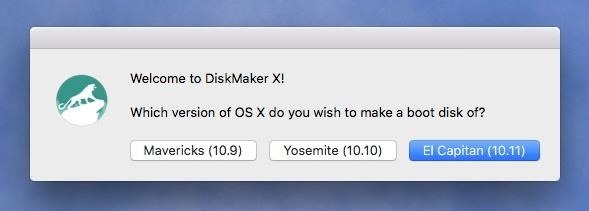
Go ahead and open the app up and you’ll see the following screen. Click on “El Capitan (10.11)” so DiskMaker X can automatically detect your install file in the Applications folder.
If you see the following screen, that means you probably haven’t downloaded the installer file yet, or you did, but already used it to install El Capitan on the Mac you’re using, in which case it would have deleted itself. Re-download from the Mac App Store and try again.

Step 5: Get Your USB Flash Drive Ready (Optional)
Before proceeding, make sure you have copied all of your important files from your USB flash drive to another place, because this process will wipe your flash drive and reformat it. Also, make sure that your flash drive is 8 GB or more, because the installer file alone is over 6 GB.
Update: While you need at least 8 GB free to install El Capitan, it might not be enough to make a bootable drive. So if you get an error saying there isn’t enough disk space, you’ll need to get a 16 GB or larger thumb drive.
Step 6: Select to Use a Thumb Drive
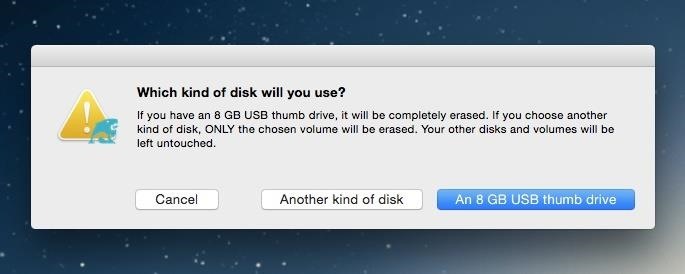
No matter what size thumb drive you’re using for this, select “An 8 GB USB thumb drive” from the next window. Again, an 8 GB stick might not actually be big enough, so you’ll probably need a 16 GB or larger stick.
Step 7: Choose Your Thumb Drive
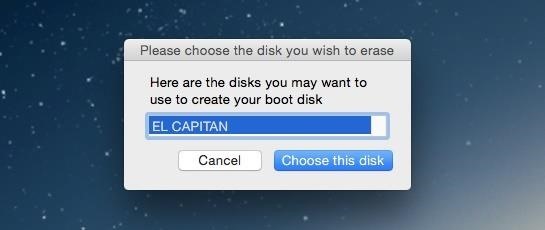
Make sure to select the right one. I renamed mine EL CAPITAN so I wouldn’t confuse it with any other drives.
Step 8: Erase & Create the New Disk
At the warning, select “Erase then create the disk.”
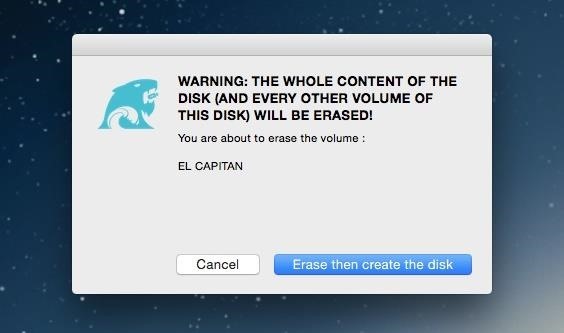
Then hit “Continue.”
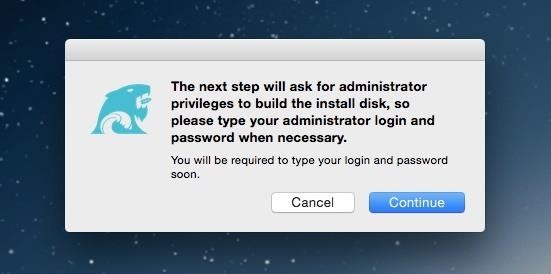
In a minute or so, it’ll ask you for your admin password. Input it, then be prepared to wait awhile, depending on the speed of your USB drive.
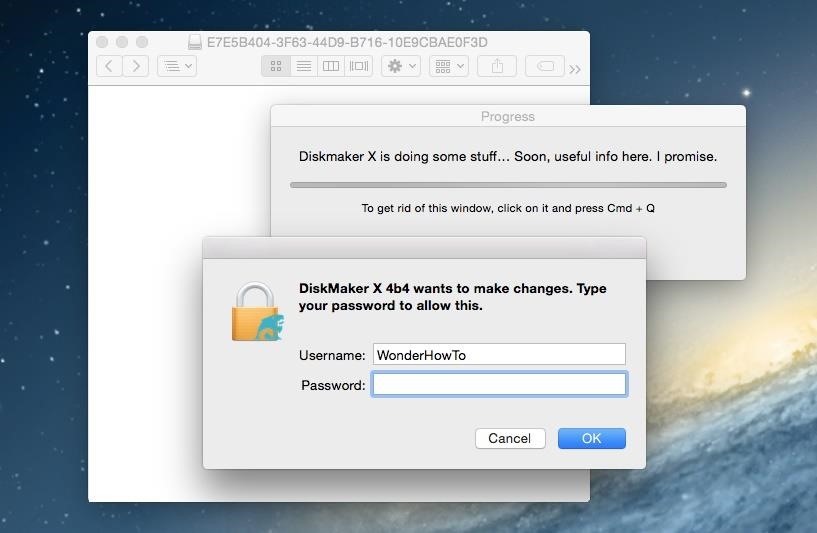
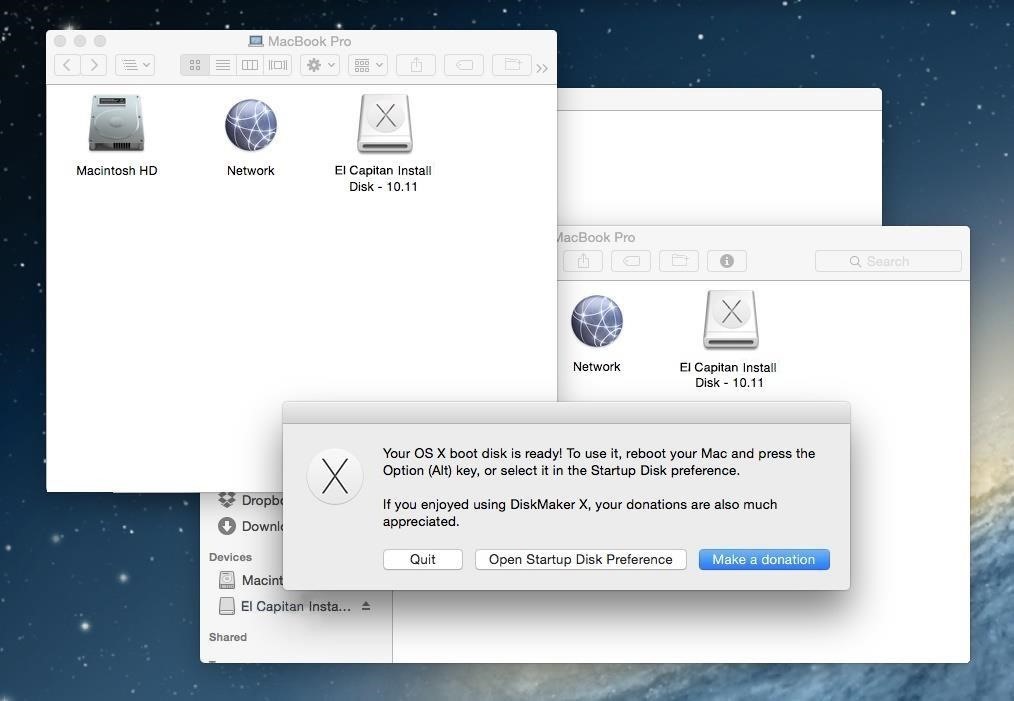
Mine took about 45 minutes, and Activity Monitor even said DiskMaker X was “not responding.” However, it was doing its work—just be patient. As you can see, I finally got a message saying my boot disk was ready.
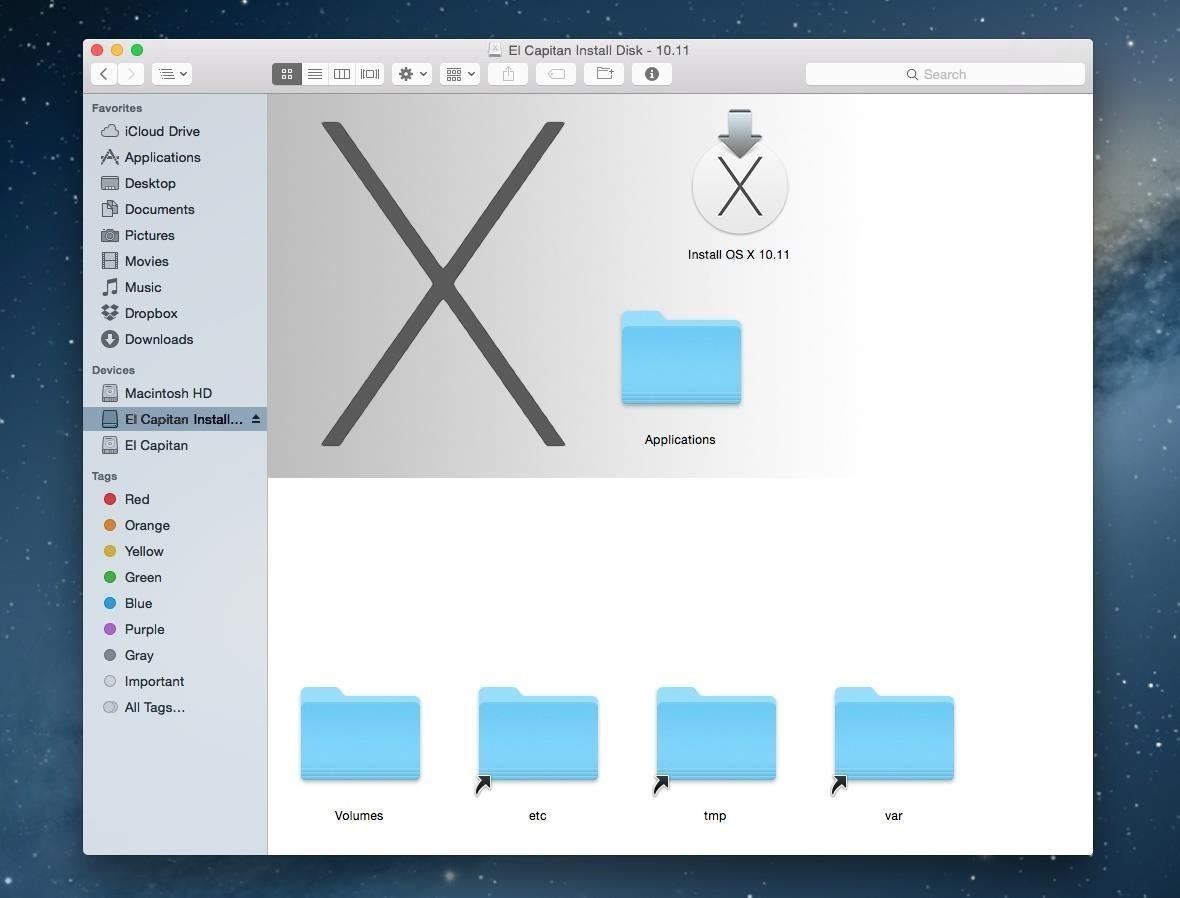
Step 9: Install El Capitan on Your Computer
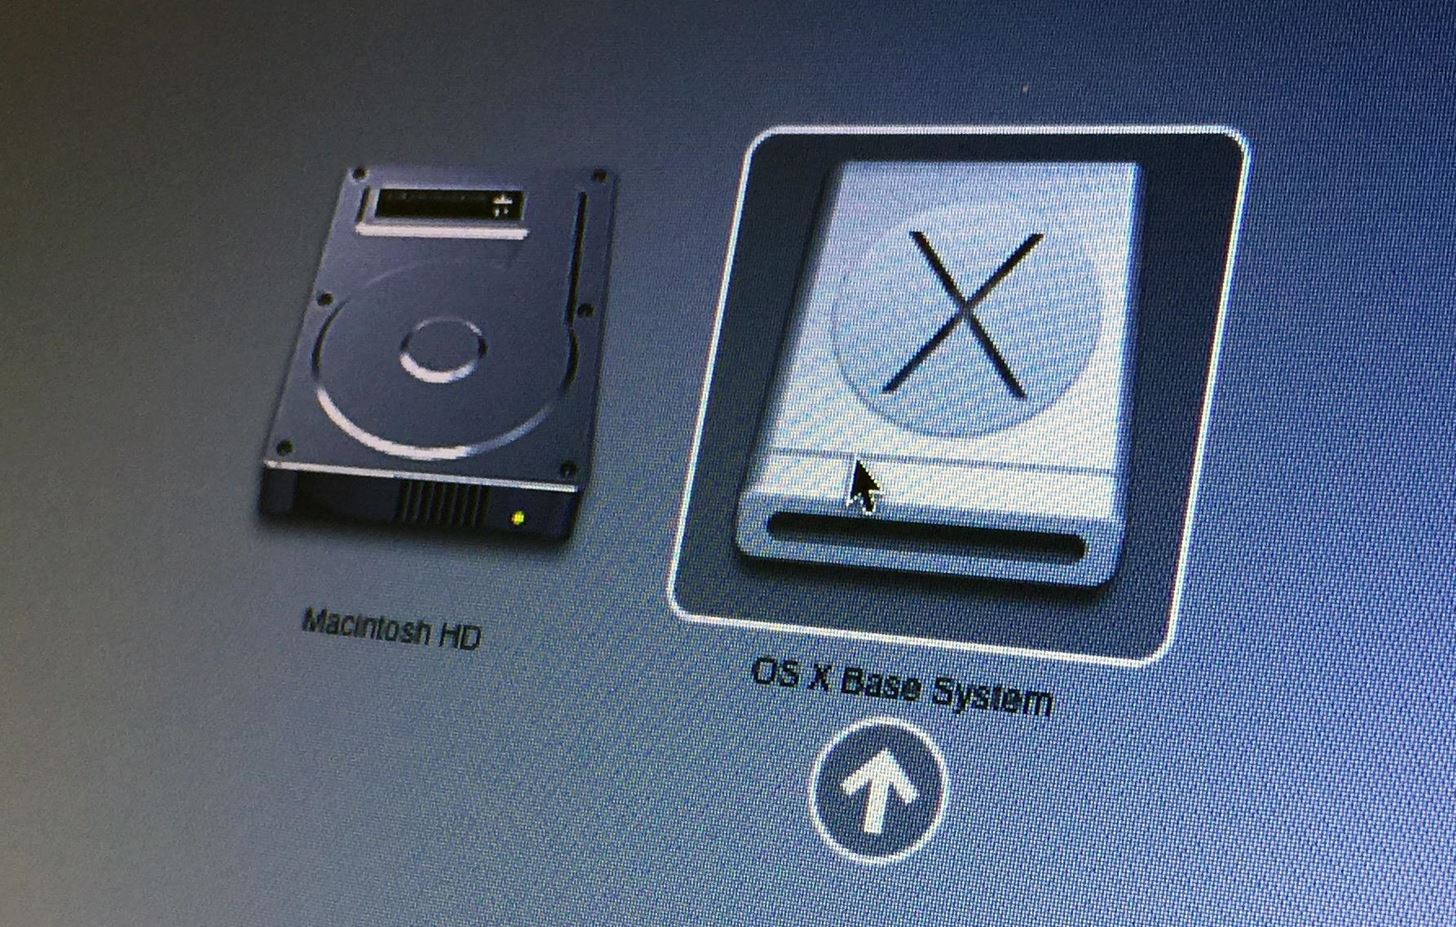
To install El Capitan, make sure the USB drive is inserted into the computer, then restart the computer while holding the Option (alt) key on your keyboard. Wait until the Startup Manager pops up, then select the “OS X Base System” volume. Alternatively, you can just hold down the C key while starting up to boot directly into the USB drive.
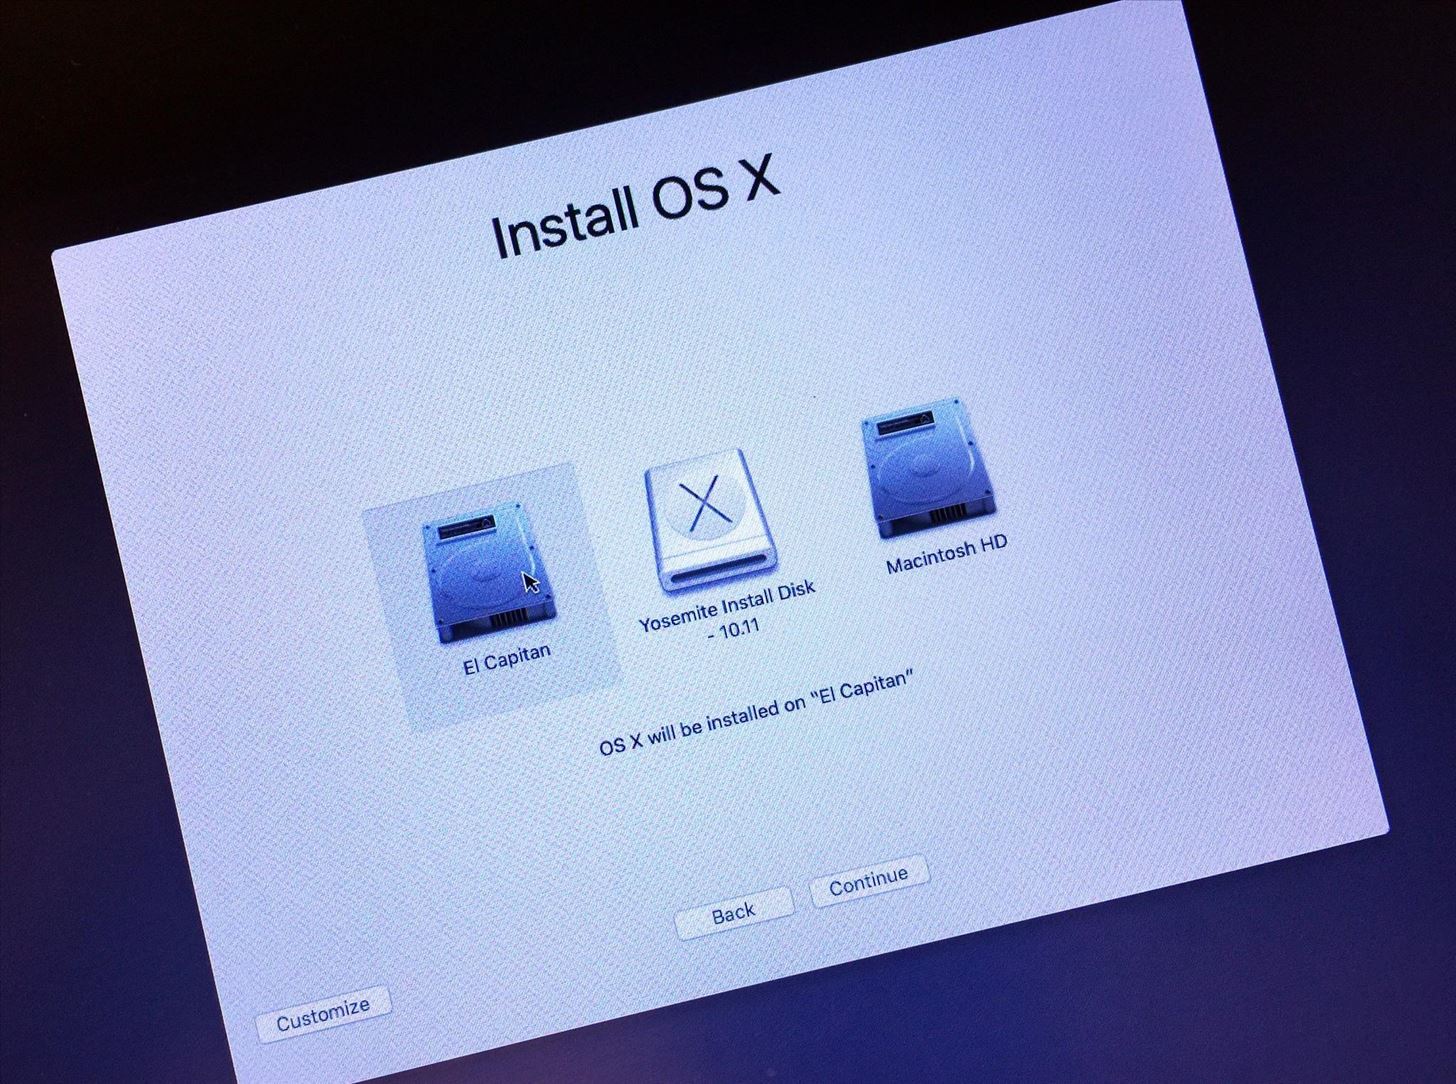
Then just follow the install instructions and wait for your new El Capitan experience. When you come to the Install OS X screen, make sure to select the right disk. I created a new partition on my hard drive called “El Capitan,” so I used that.
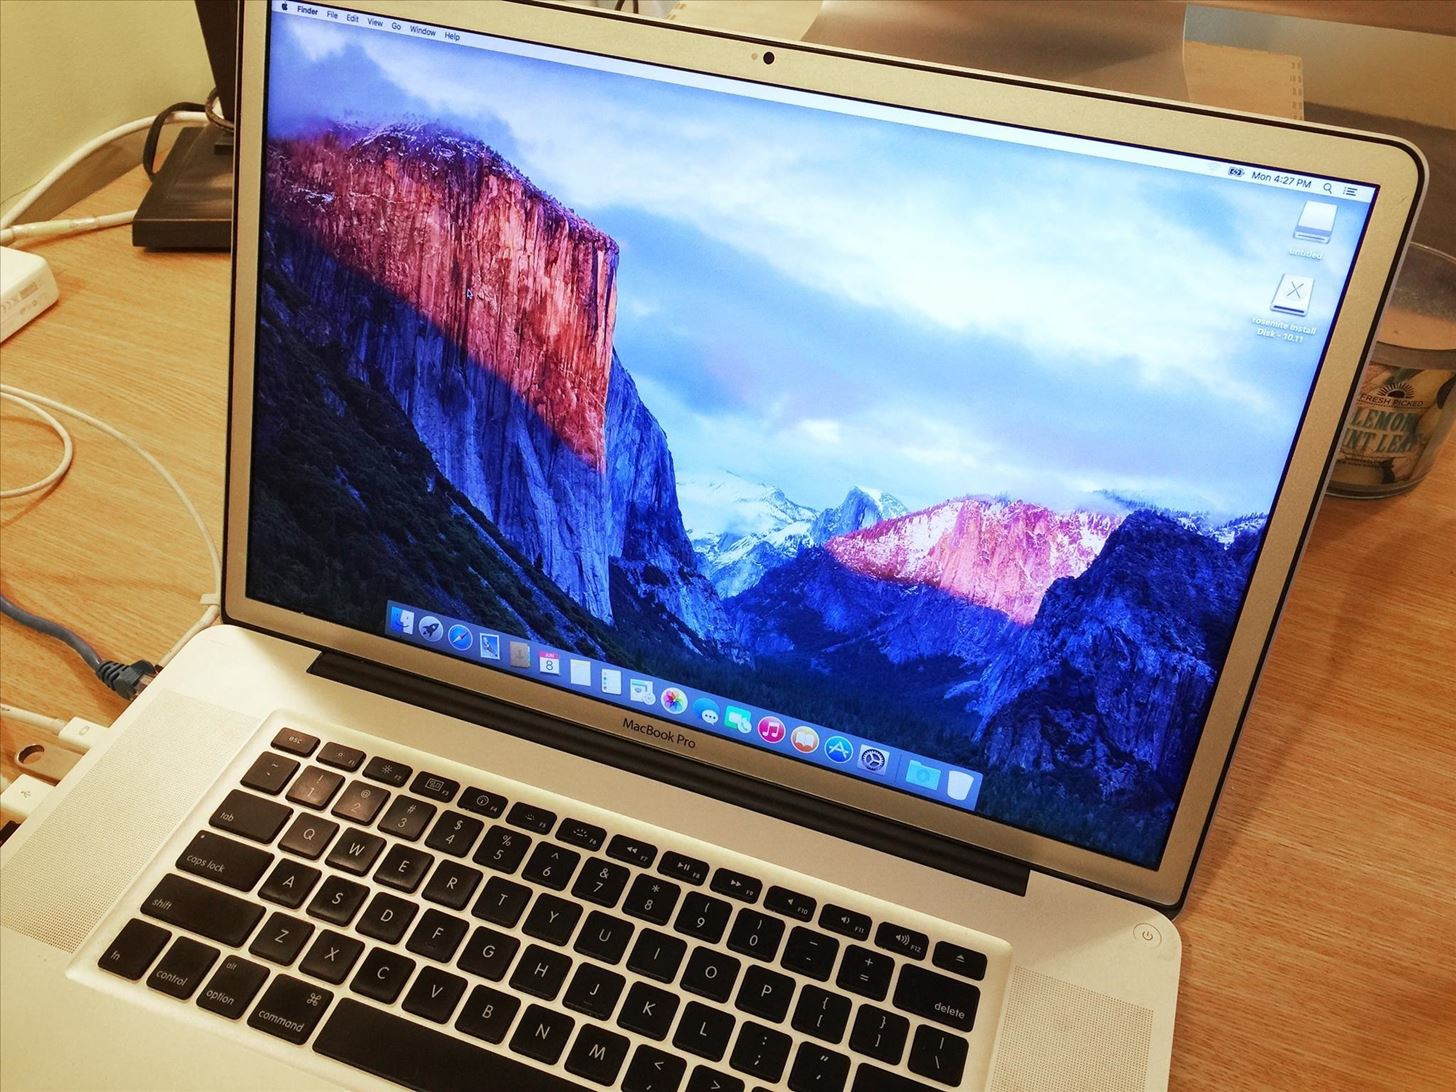
Once it’s done installing, you’ll get to the Welcome screen, and you should be able to figure it out from there.
Just updated your iPhone? You’ll find new emoji, enhanced security, podcast transcripts, Apple Cash virtual numbers, and other useful features. There are even new additions hidden within Safari. Find out what’s new and changed on your iPhone with the iOS 17.4 update.
“Hey there, just a heads-up: We’re part of the Amazon affiliate program, so when you buy through links on our site, we may earn a small commission. But don’t worry, it doesn’t cost you anything extra and helps us keep the lights on. Thanks for your support!”


