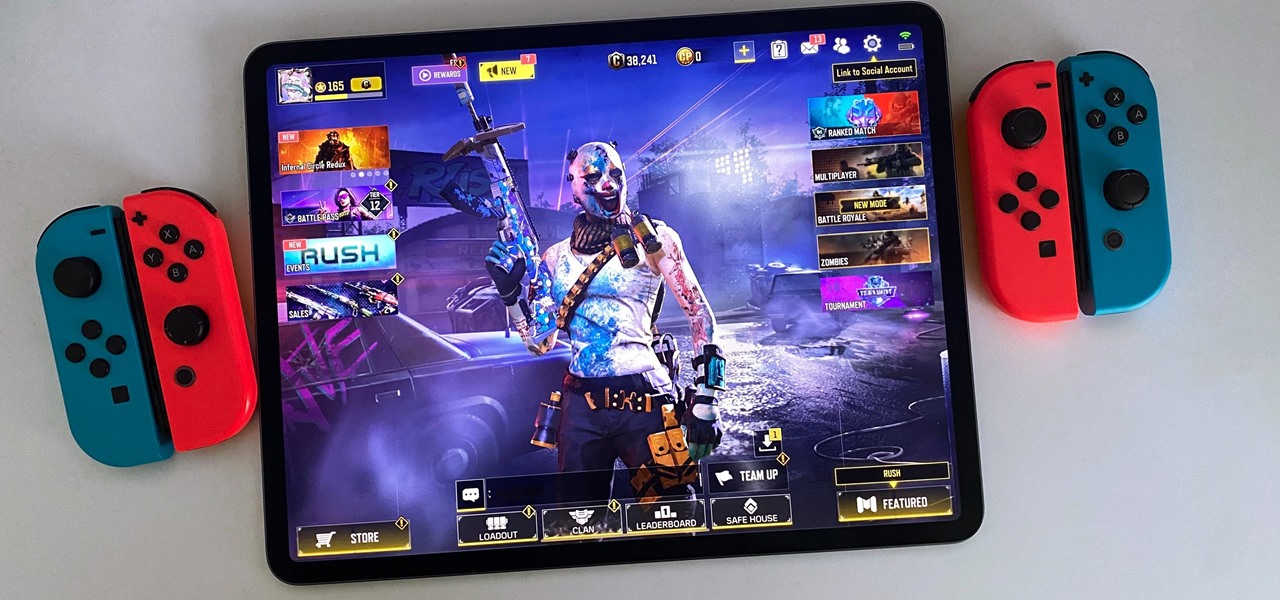
With ultra competitive games like Fortnite Battle Royale and PUBG taking the mobile world by storm, gamers are looking for ways to get a leg up on the competition. One of the biggest advantages you can give yourself is the ability to aim and shoot while on the move, but that’s not exactly easy with a touchscreen.
Redditor Thiefsniper recently posted an image of a modded phone with shoulder buttons added — you know, those left and right index finger trigger buttons that are so handy on console. As it turns out, the bulk of this hardware hack was accomplished with some simple aluminum tape to redirect the touchscreen’s capacitance to the actual side edge of the phone.
- Don’t Miss: Why You Should Be Playing Fortnite on iPhone Instead of Console
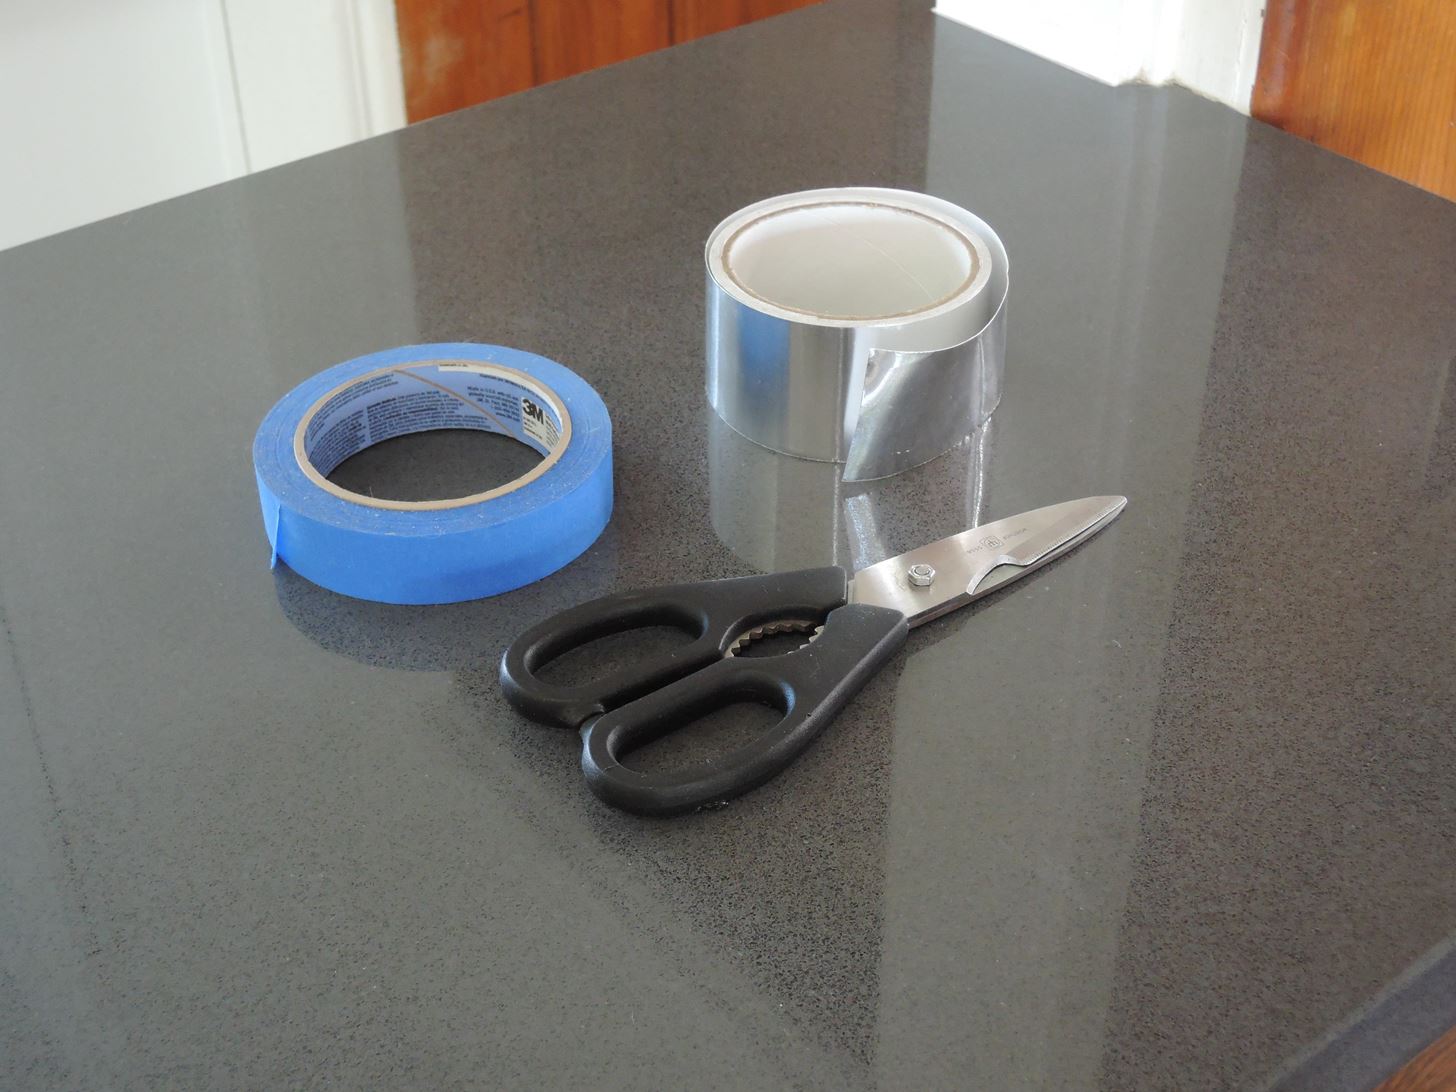
We decided to reverse-engineer this mod to help you recreate it on any phone using the fewest (and most common) materials possible. The end result isn’t quite as complex as Thiefsniper’s version, but we think that’s a good thing — fewer moving parts means a smaller chance of failure and a more consistent experience. In the end, all you need is some aluminum tape, masking or electrical tape, and a pair of scissors. We’ll go over all the details below.
Materials
- aluminum tape
- masking tape
- scissors
You can use electrical tape in place of the masking tape if you’d like. It should even work a bit better for all-metal phones. But we opted to go with masking tape to avoid getting sticky residue on the device, and it worked just as well with the phones we tested it on (Galaxy S9, Pixel XL, iPhone X).
Step 1: Find the Right Location for Your Buttons
First, you’ll first want to find the exact spots for your shoulder buttons. The way this works is by placing a piece of conductive tape on a specific spot on your screen, then redirecting it to the side edge of your phone. As such, you’ll want to pinpoint the buttons on your screen that you’d like the shoulder buttons to control.
This works best if the buttons you “remap” to the modded shoulder buttons are close to one side of your phone’s screen. With some games, that means you’ll need to create a custom control layout to move the buttons closer to the edge of the screen. Since this mod is best for action games, we’ll demonstrate using PUBG Mobile for Android or iPhone.
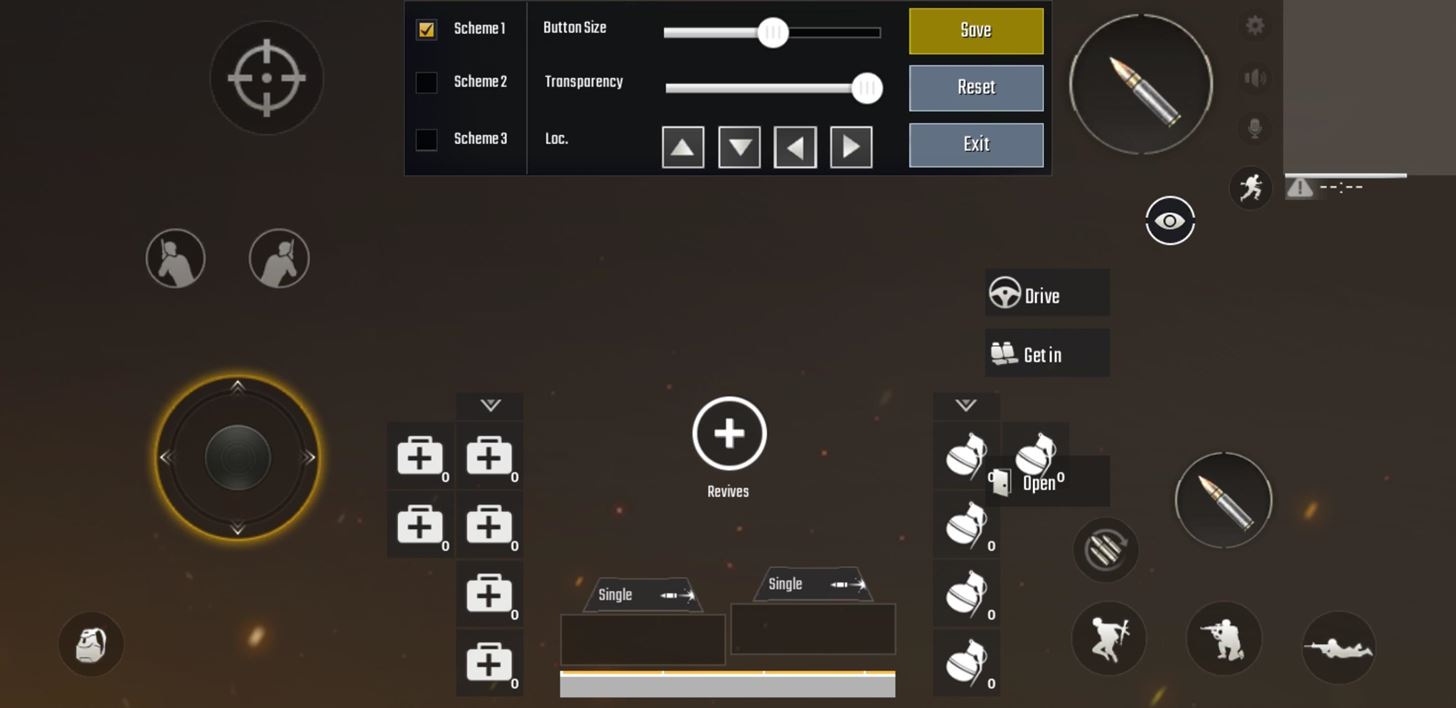
So open PUBG and go to the “Controls” menu within its Settings page. From there, tap on “Customize” to proceed to the layout page for your touchscreen controls.
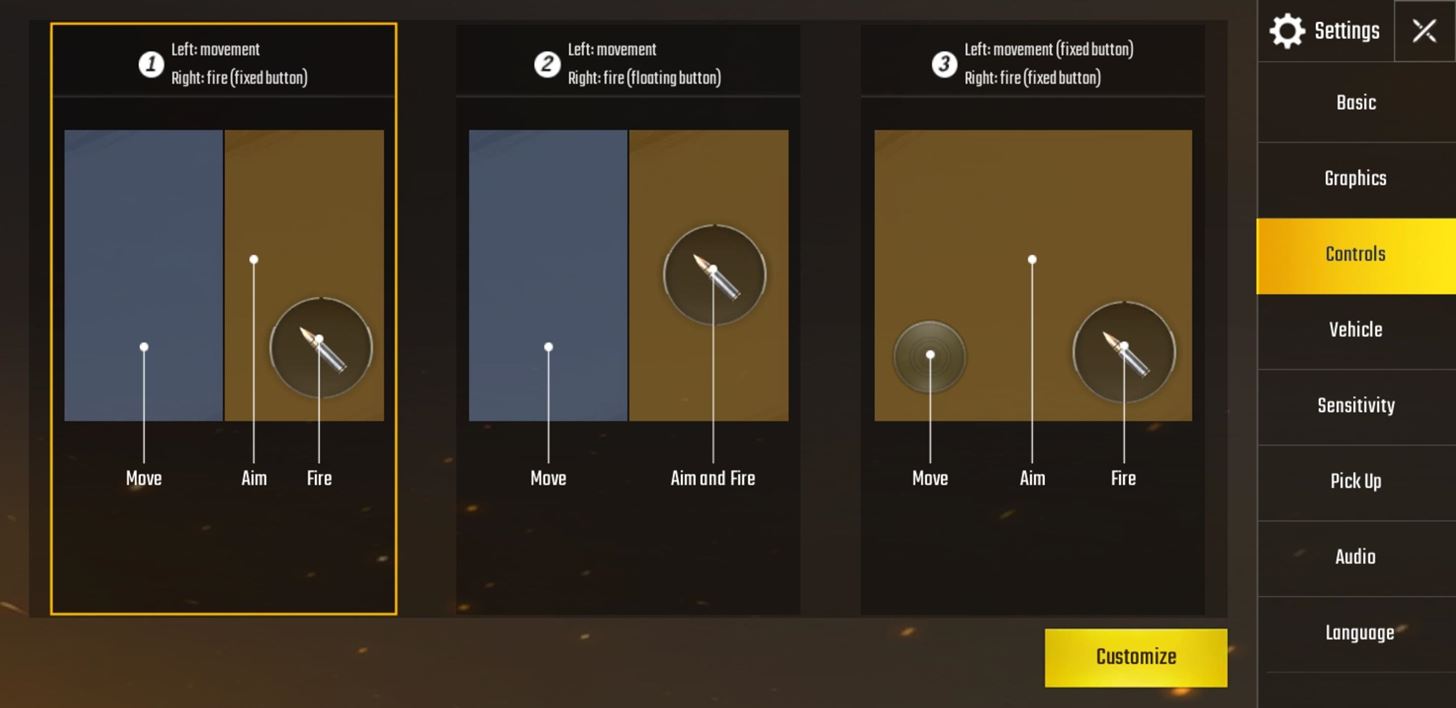
Now, drag the commands you want to assign to the shoulder buttons to the upper left and right corners of the screen. Increase or decrease the button sizes by dragging the bar in the middle of the screen sideways. The most popular option tends to be assigning fire/attack and aim to the shoulder buttons (as is common with console-based controls), but you’re free to choose any layout you’re most comfortable with.
Tap on “Save” once you’re satisfied with your custom layout, and mark the buttons’ location on your screen using either a piece of masking tape or non-permanent marker. You can even take a screenshot of your layout and use it as a guide for later steps. We don’t recommend having the actual control screen open to use as a guide, however, as placing tape on the screen will cause your layout to go haywire and force you to start over.
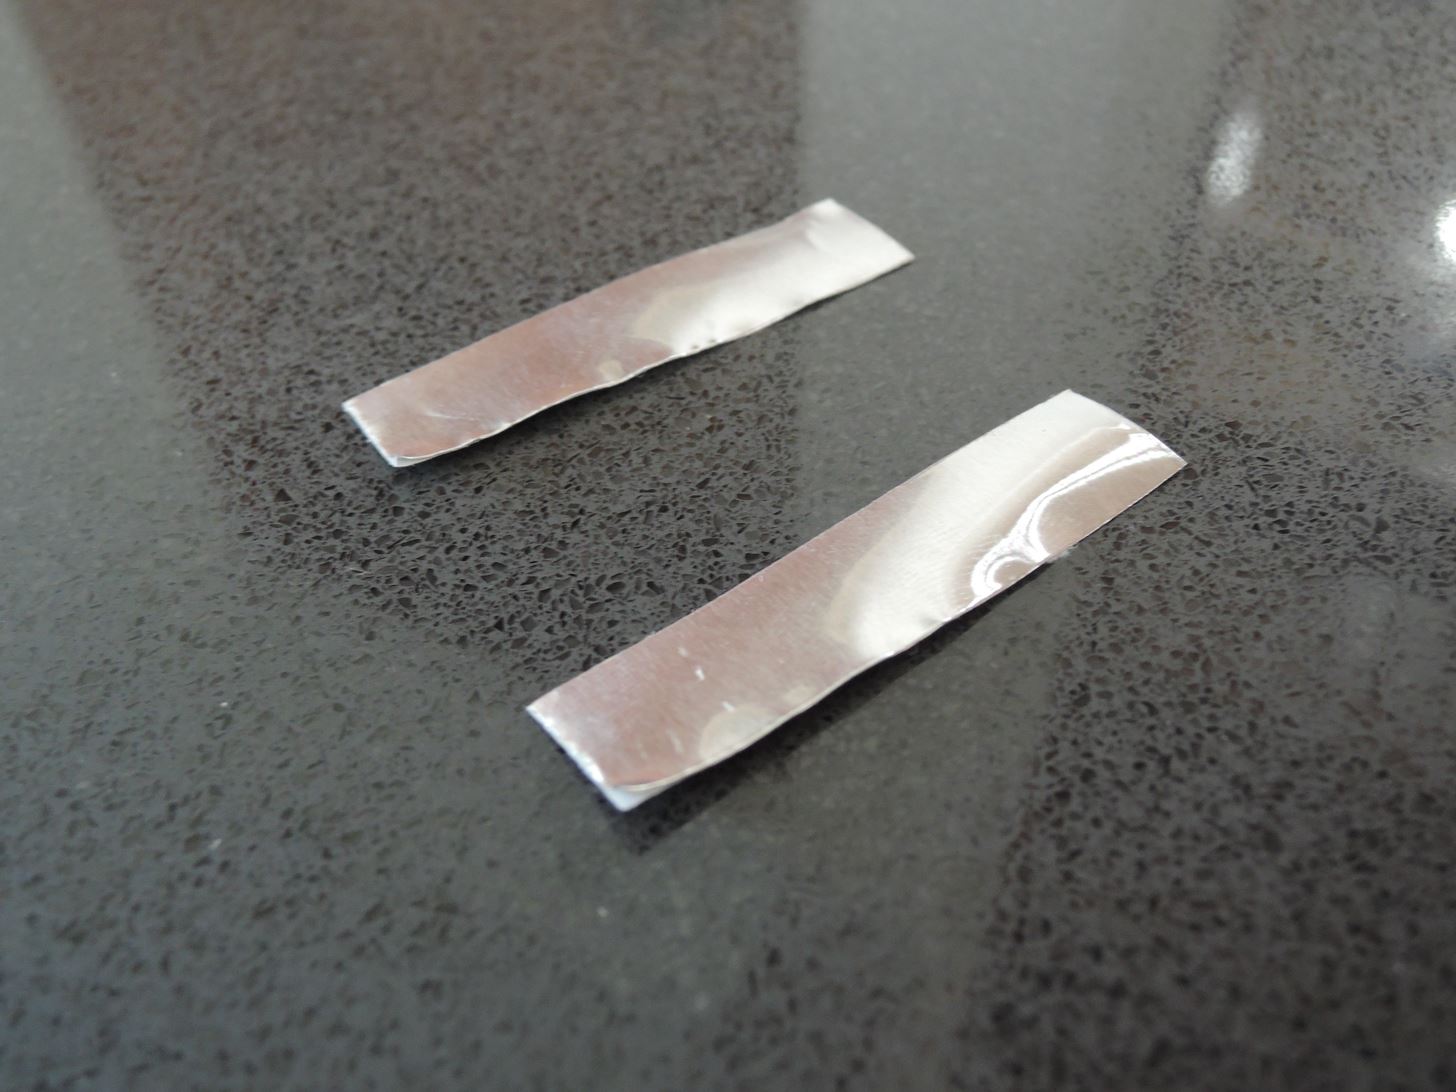
Step 2: Cut Strips of Aluminum Tape
With the controls in your game mapped out to your liking, it’s now time to make the external shoulder buttons. Start by cutting two strips of aluminum tape around 1–2 inches long and a quarter to a half of an inch wide. Be sure to leave the paper backing on the tape and proceed to the next step.
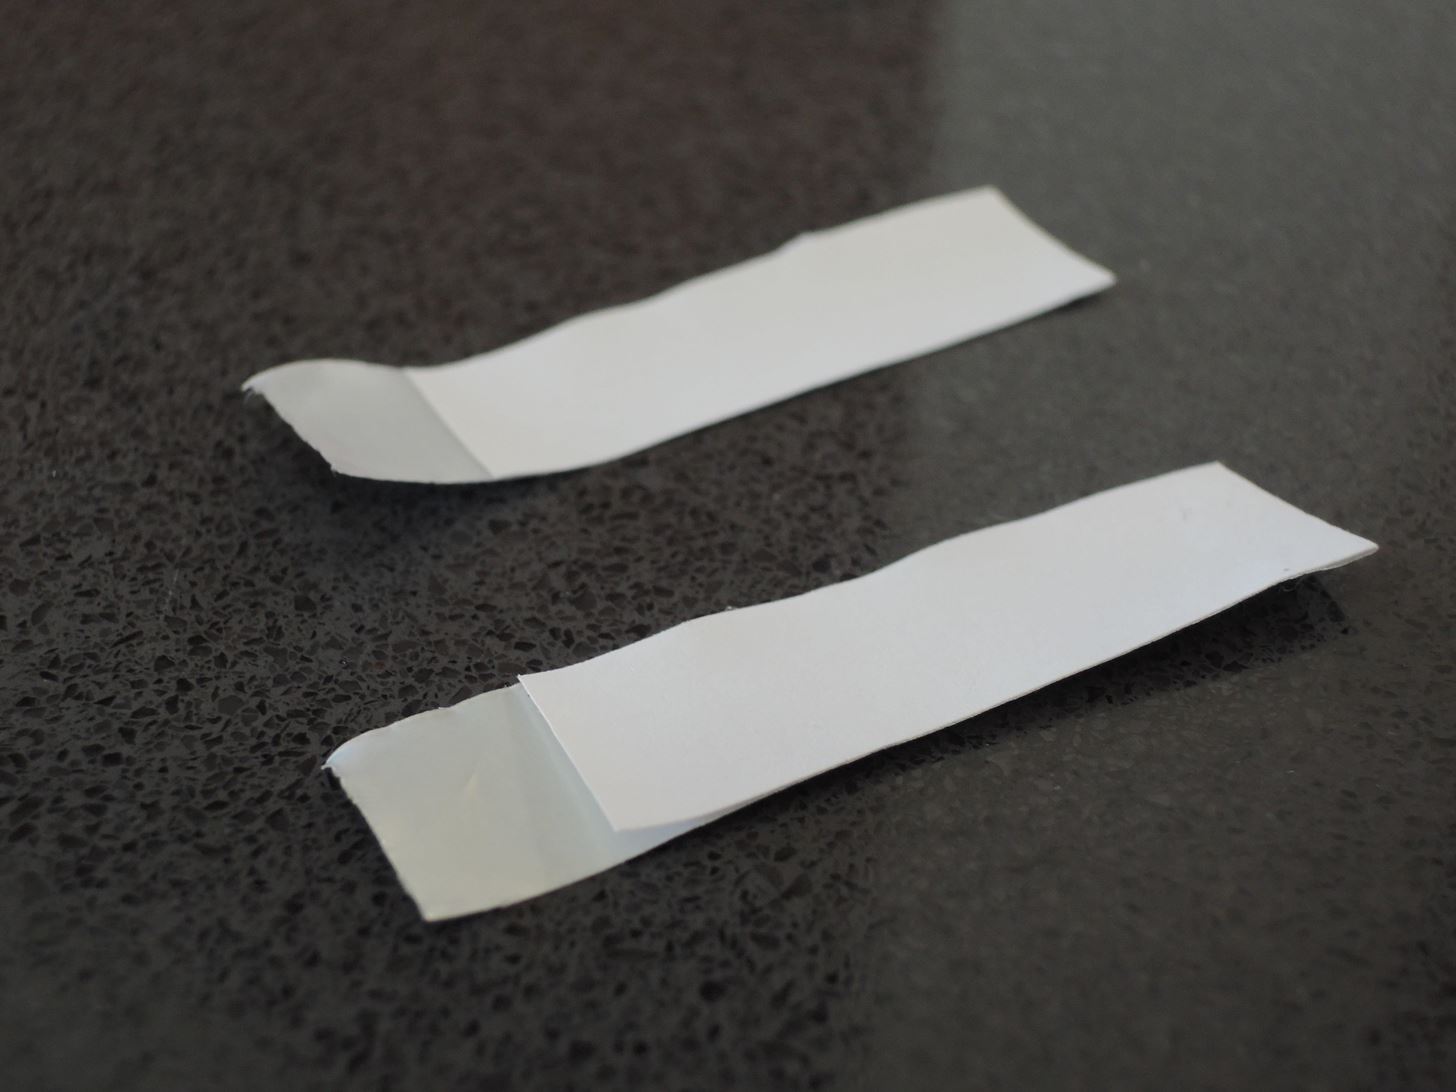
Step 3: Remove Small Portion of Paper Backing
Next, remove a portion of the paper backing on one end of the aluminum tape strips — around a quarter of an inch. You really just need enough metal exposed to place on the exact locations of your touchscreen buttons. Leave the rest of the paper backing intact to keep the tape from contacting your phone’s metal frame.
Step 4: Cover Metal Portions of Your Phone with Masking Tape
To further prevent unwanted metal-to-metal contact, use strips of masking tape to cover any metal parts on your phone (along with a small portion of the screen itself) where the aluminum strips will be placed. Any unwanted contact will short-circuit your commands and render the buttons unusable. This has the added benefit of preventing sticky residue on the aluminum tape from getting on your phone.
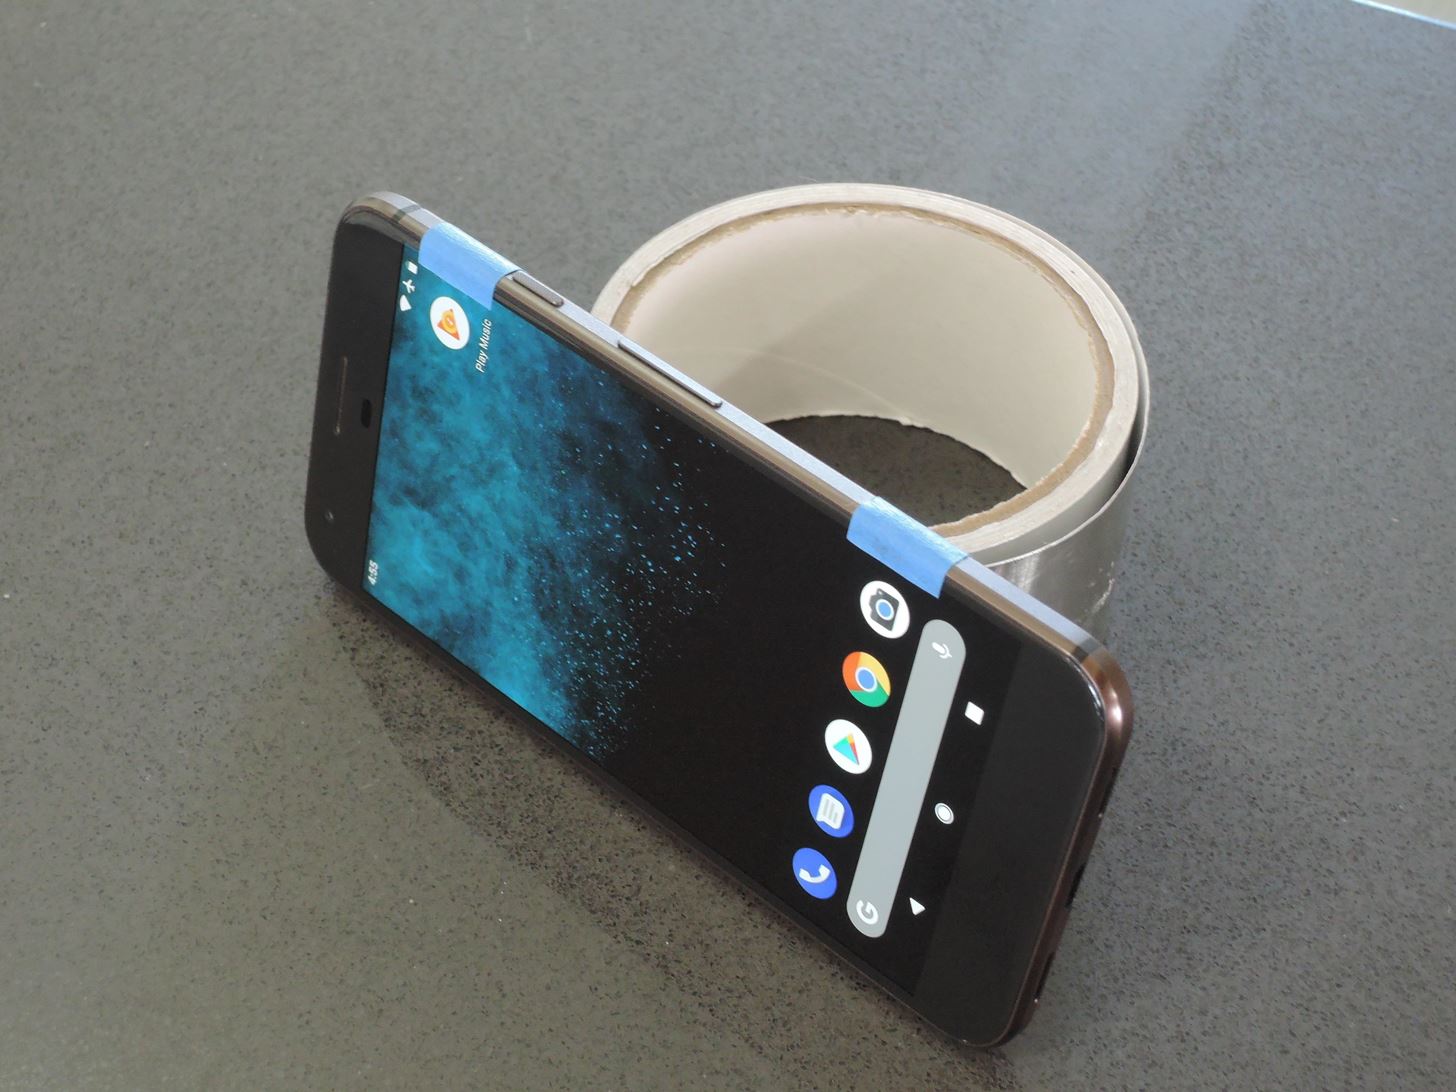
It’s worth noting that you can skip this step if you’re using a plastic or rubberized case to protect your phone. If you have a metal case, a cover with metal parts, or a case that leaves any metal portions of your phone exposed, however, you’ll need to follow the step as outlined above.
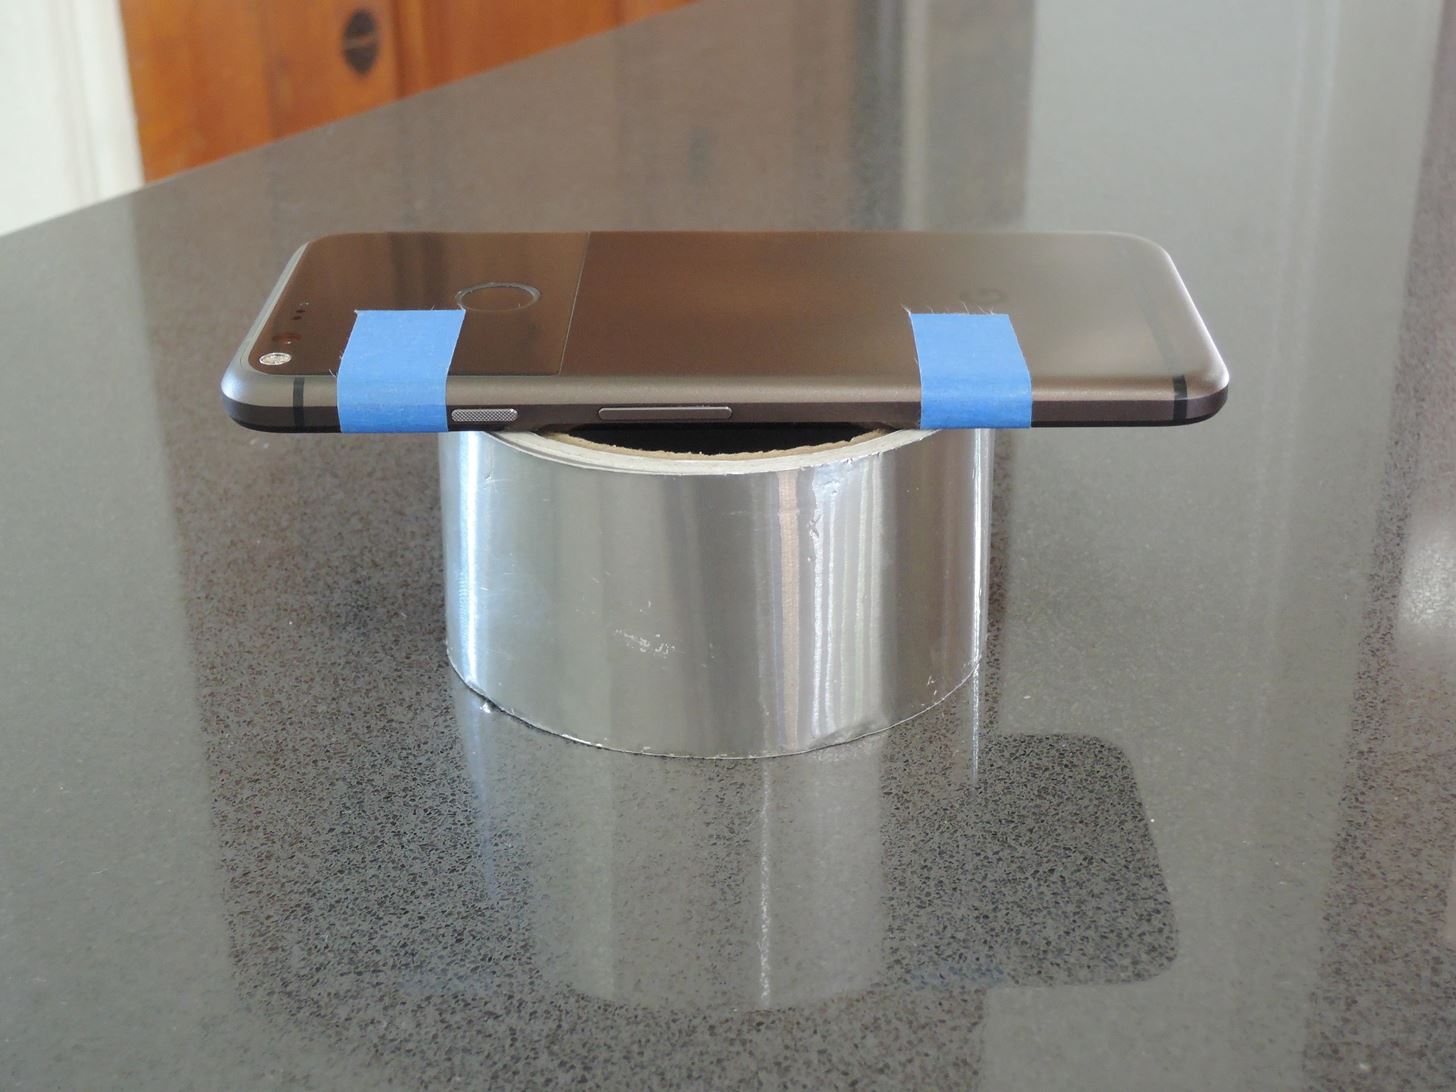
Step 5: Place Aluminum Tape on the Screen
It’s now time to place the aluminum tape on the screen, so carefully stick the exposed part of the tape to the spot where you had your buttons marked on the touchscreen.
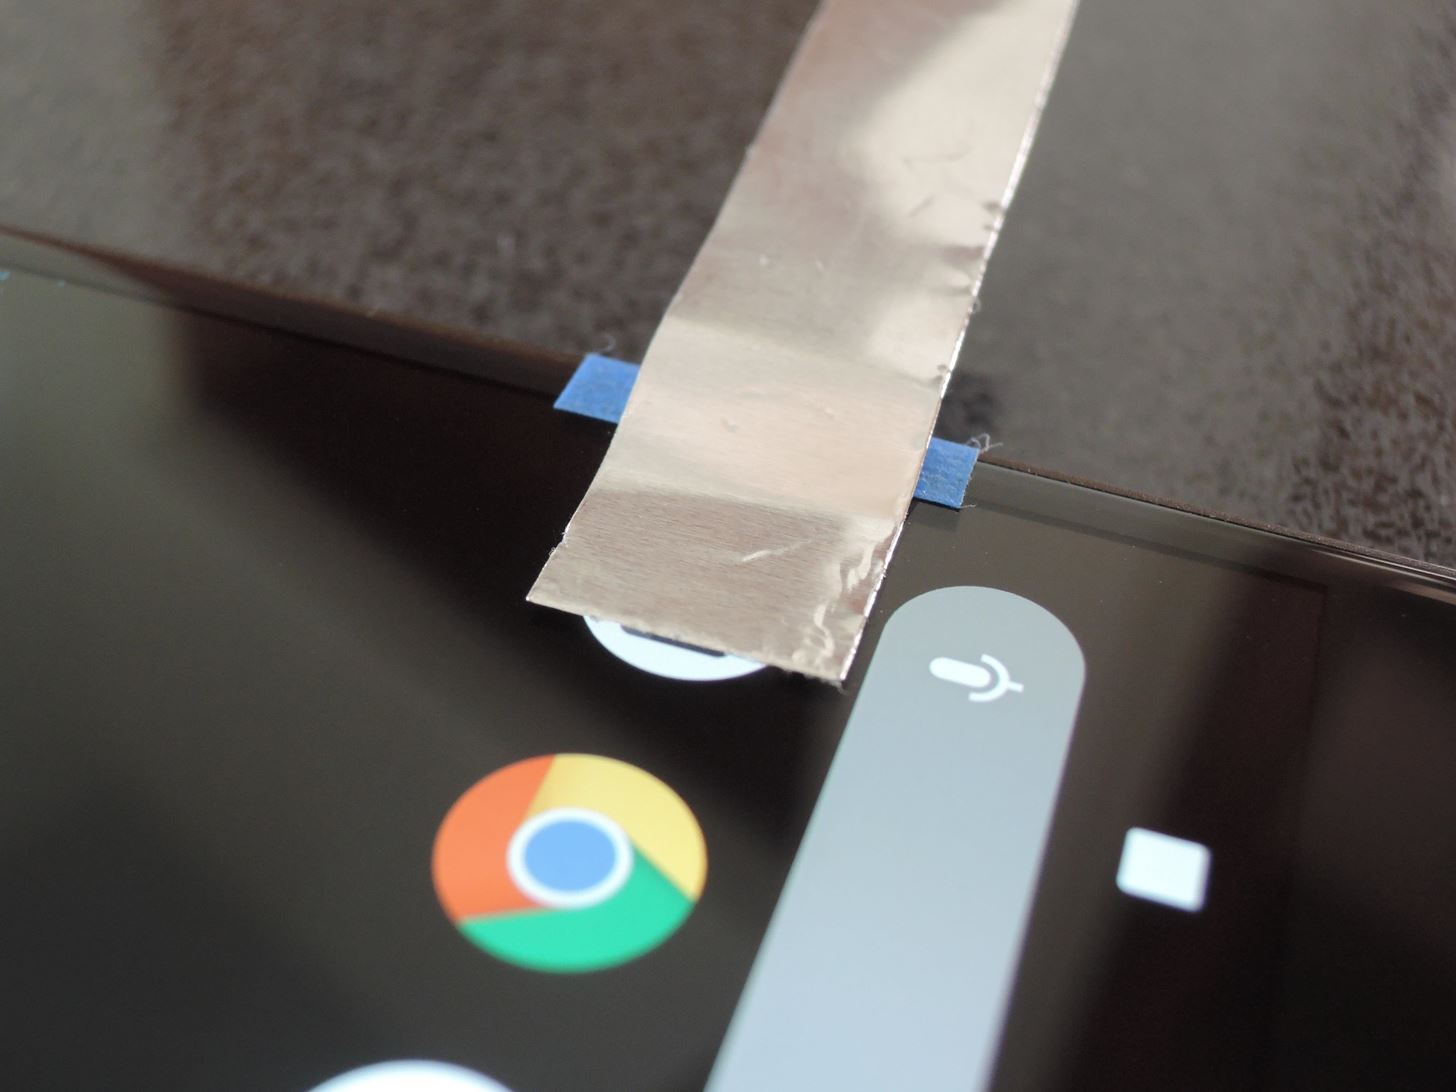
With the tape properly adhered to the screen, wrap the rest of the aluminum tape around the back of your phone. Again, leave the backing on the rest of the tape alone, as we want to minimize conductivity to the rest of your phone as much as possible to maximize the buttons’ effectiveness.
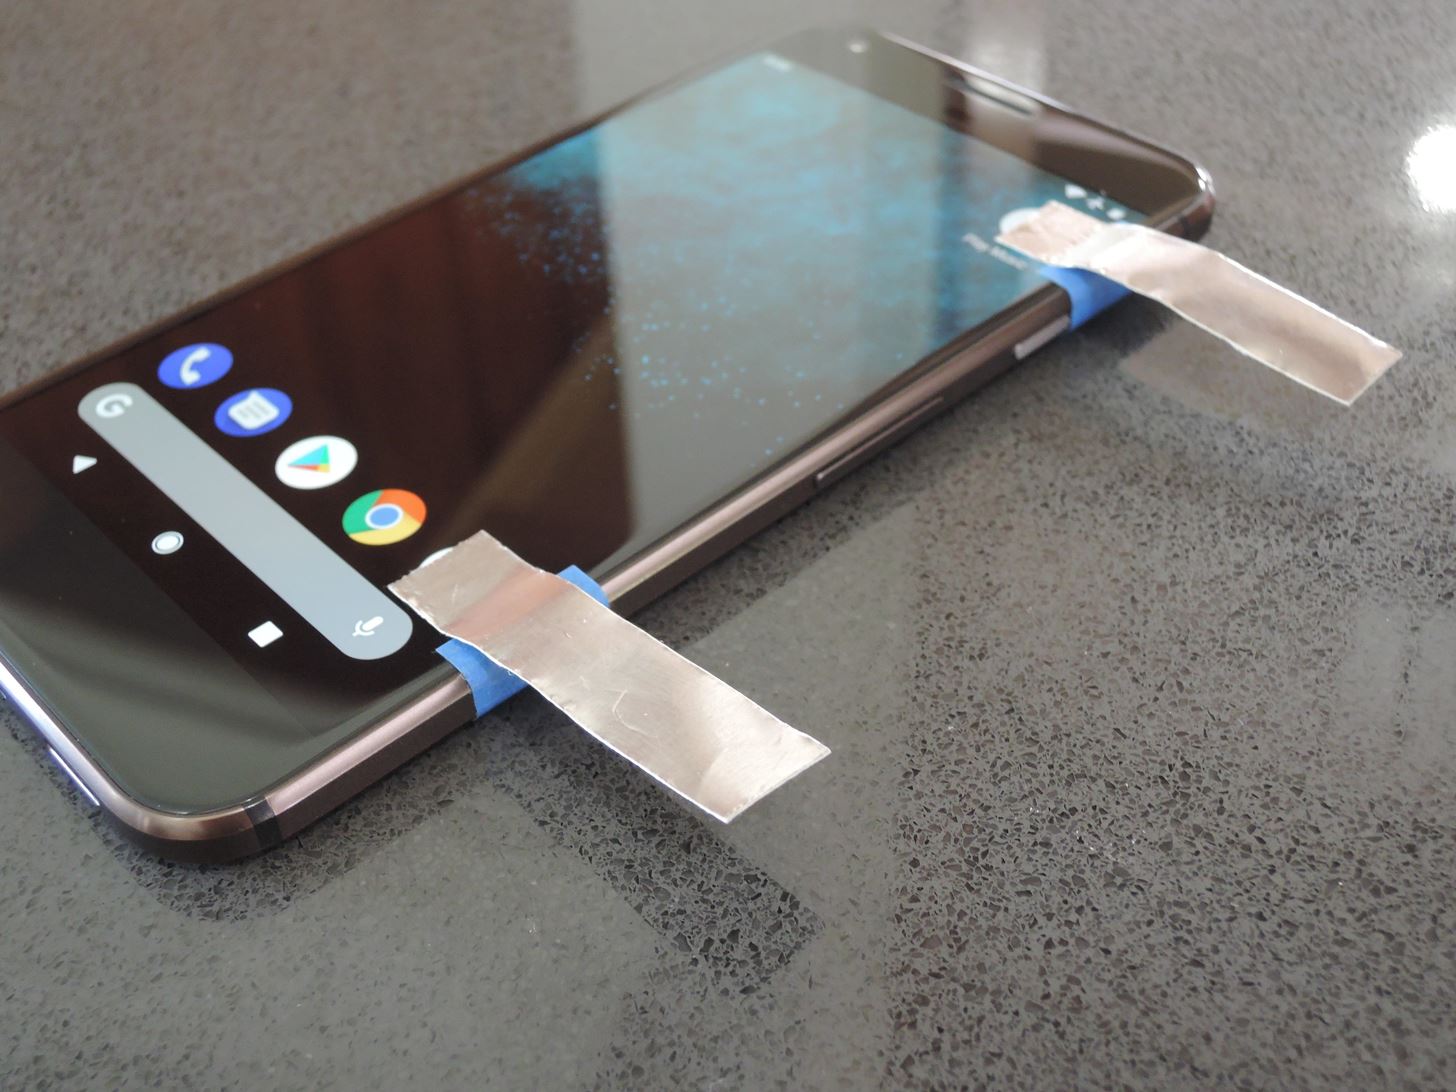
Step 6: Tape Down Your Aluminum Strips with Masking Tape
To wrap things up, so to speak, cut a strip of masking tape and secure the remaining aluminum strip to the rear panel of your phone. How much of the strip to cover is up to you — cover the entire strip along the rear and leave just the side exposed if you plan on tapping along your phone’s flanks, or leave parts of the rear exposed if you want to tap from the back.
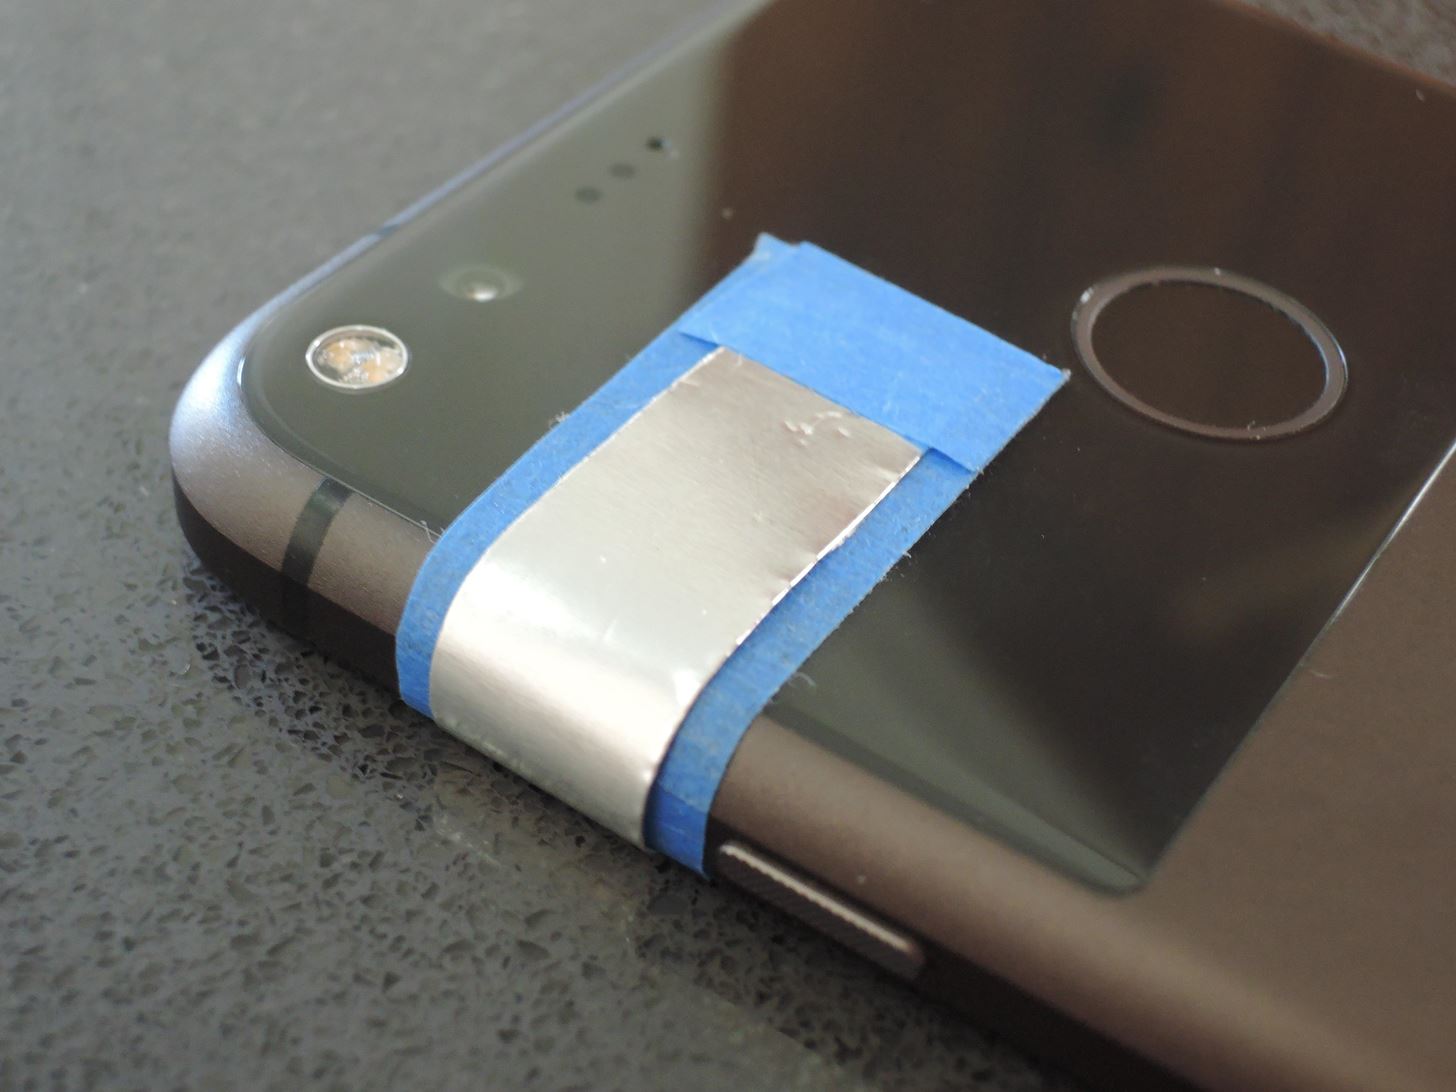
The finished product should look something like the GIF below. Ultimately, you’ve now redirected your touchscreen’s capacitive layer to a spot on the edge of your phone — perfect for using as a capacitive shoulder button.
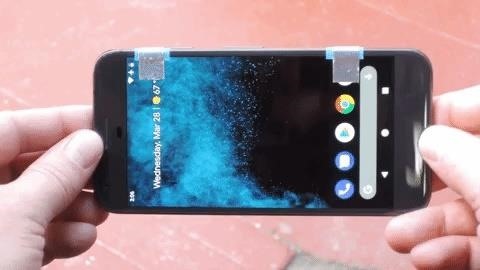
Now that we know the simple and ingenious concept behind making external buttons for touchscreen phones, the possibilities are endless. In theory, you can make removable buttons out of electrical socket covers, old smartphone keyboards, and so on. We’ll be sure to keep on the lookout for other, more convenient hacks you can make to enhance your mobile gaming experience, so stay tuned for more.
Just updated your iPhone? You’ll find new emoji, enhanced security, podcast transcripts, Apple Cash virtual numbers, and other useful features. There are even new additions hidden within Safari. Find out what’s new and changed on your iPhone with the iOS 17.4 update.
“Hey there, just a heads-up: We’re part of the Amazon affiliate program, so when you buy through links on our site, we may earn a small commission. But don’t worry, it doesn’t cost you anything extra and helps us keep the lights on. Thanks for your support!”


