If you’re currently running macOS 10.11 or higher on your Mac and connect your iPhone to sync with iTunes, you may get an alert saying that “a software update is required to connect to your iPhone.” Here’s everything you need to know about what that means, how to update your system, and what to do if updating doesn’t work.
Why This Alert Appears on Your Mac
Generally, if your Mac is running the latest macOS version and your iPhone is running the latest iOS version available, you should never see this message appear on your laptop or desktop’s screen.
If your iPhone is running a newer version of iOS than the macOS version you’re running currently supports, you will not be able to sync your iPhone with iTunes if you get the “software update is required to connect to your iPhone” alert. You will, however, still be able to charge your iPhone and use other tools such as Image Capture, Photos, etc.
How to Sync Your iPhone with iTunes Again
If you have no interest in updating your Mac to the newest macOS, the answer may be painfully obvious. When you see the “A software update is required to connect to your iOS device. Would you like to download and install this update now?” prompt, simply click on “Install” to update the software needed to get your iOS device working with iTunes again on an older macOS version.

Another solution would be to open up the App Store on your Mac, head to the “Updates” tab, then update any system software to the latest version. If you’re currently running macOS Sierra or lower, it’s a good idea to update to macOS High Sierra. Most third-party app developers have had ample time to make sure their apps work with High Sierra, so there should be no compatibility issues there.
If updating macOS, iTunes, and iOS to the current versions still presents the prompt above, then you’ll need to click on “Install” to download and install the supported software from Apple’s servers.
What to Do if It Won’t Install the Update?
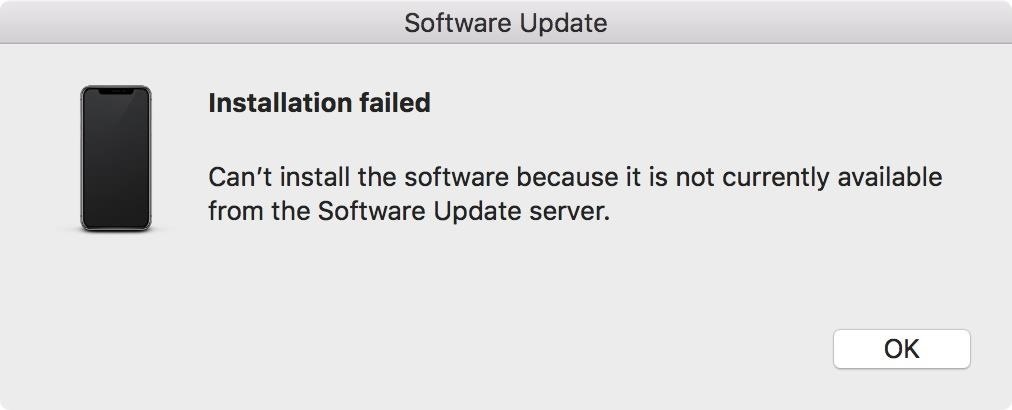
In some cases, installing the update required will hang and present an “installation failed” error after a decent amount of time has passed. In that scenario, it’s likely that your iPhone is running a developer beta or public beta software that is yet to be officially supported on the latest stable release of macOS.
Let’s say you’re currently running iOS 12 developer beta 3 or iOS 12 public beta 2. If that’s the case and you’re currently on the latest macOS High Sierra version, this may be a problem. While Apple is usually pretty good at making sure their iOS betas are compatible with the latest stable version of macOS, sometimes they slip the ball.
(For me, I recently had issues with both macOS High Sierra 10.13.5 and macOS High Sierra 10.13.6 with my iPhone running the iOS 12 developer beta 3.)
In this case, you’ll need to be running the latest beta version of macOS, which, for the iOS 12 betas, would be for the macOS Mojave 10.14 beta. Either that, or you’ll need to downgrade your iPhone back to the latest stable release of iOS.
- Don’t Miss: How to Downgrade iOS 12 Back to 11.4.1 on Your iPhone
If you don’t want to jump on the latest macOS beta but would like to stay on the iOS beta, then there’s one more thing you can do — install the latest Xcode beta on your Mac. While non-developers will likely have no use for Xcode, unless wanting to sideload apps they’re permitted to or needing to run certain Linux-style commands in Terminal, it may be required to get the iPhone syncing with iTunes again.
Installing the Xcode Beta on Your Mac
Xcode, Apple’s IDE (integrated development environment) for developers of iOS and Mac apps, is available freely in the App Store. However, this is the latest stable release, not the beta version that you need. To get the latest beta version of Xcode, you just need to visit developer.apple.com/download and sign in using your Apple ID (you don’t need to be a developer to do this).
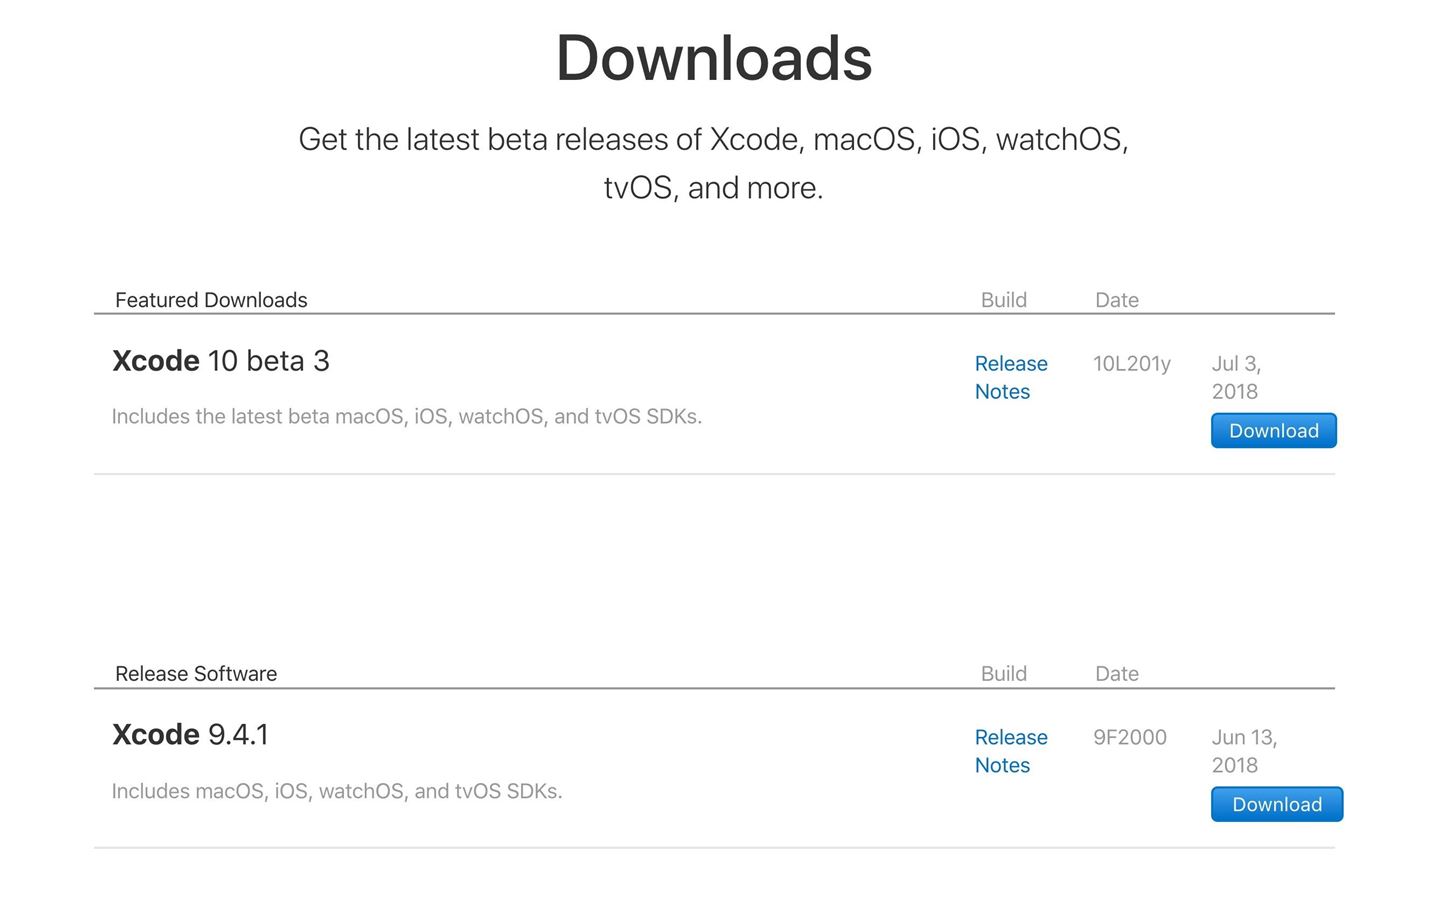
Once you’re there, simply hit “Download” next to the latest Xcode beta, in my case, that’s Xcode 10 beta 3. The download will be an XIP compressed file which is usually pretty large, in my case, over 5 GB. Once it’s finished downloading, you’ll need to uncompress the file, so double-click on the XIP file in your “Downloads.”
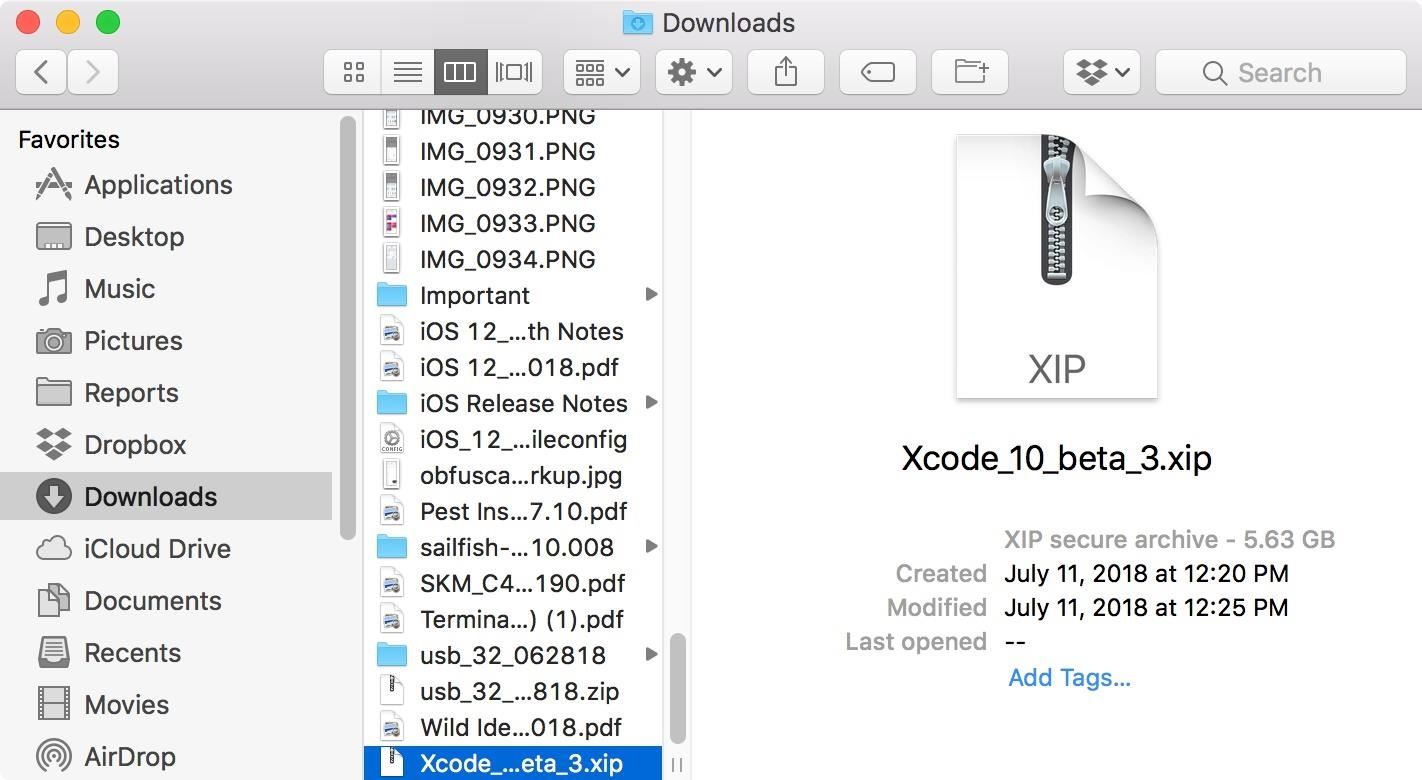
This will unzip the archive into an application file about twice its size. In my case, it ended up being over 11 GB. Be patient during this process, as it may take a while to uncompress. Once it’s finish, you should end up with an “Xcode-beta” app in your “Downloads.” Feel free to delete the XIP file to clear up space on your Mac. If you have a stable version of Xcode, you may want to delete that now since two apps over 10 GB may be unnecessary if you don’t have enough room for them.
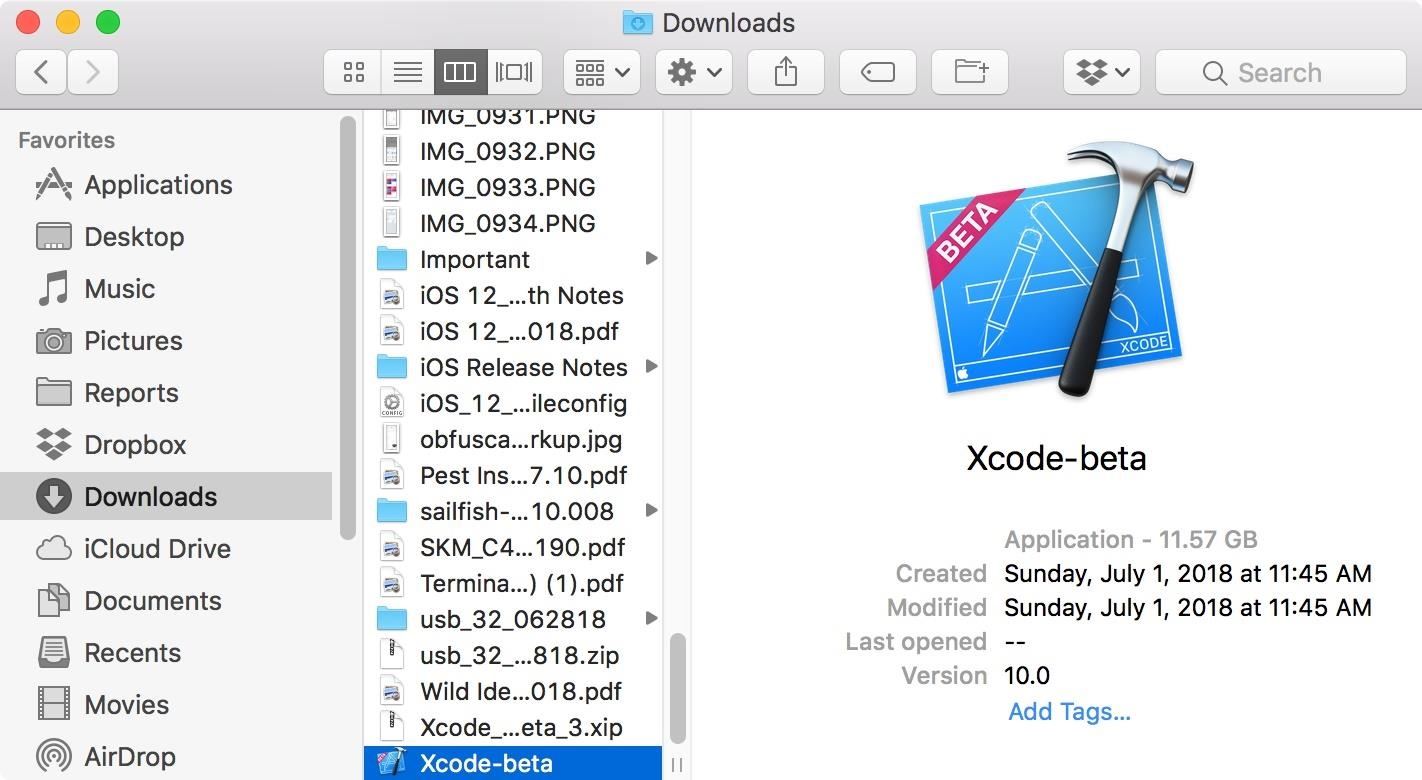
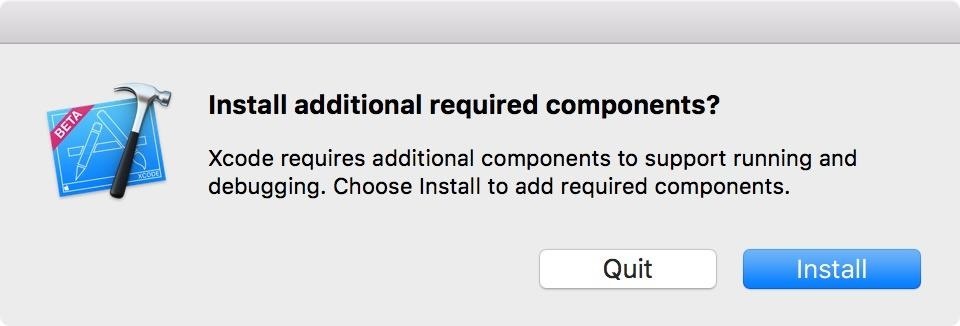
Now, just installing the Xcode beta is not good enough. You need to actually double-click on it. When it first opens, you’ll be presented with an option to “install additional required components.” Click on “Install” to do so. If you have iTunes open, you will need to close it before continuing. You’ll need to enter your password in order to proceed. Again, this may take a little bit of time.
Once you see the “Welcome to Xcode” window on your Mac, you’re all done. You can now quit Xcode and open up iTunes. Your iPhone should now be visible to sync or play music from. If you ever get the error again, repeat these steps to make sure you’re running the latest Xcode beta. Overall, it’s a good idea to keep the Xcode beta installed until the official version of the Xcode or macOS version that was in testing comes out for you to install as a stable release.
Just updated your iPhone? You’ll find new emoji, enhanced security, podcast transcripts, Apple Cash virtual numbers, and other useful features. There are even new additions hidden within Safari. Find out what’s new and changed on your iPhone with the iOS 17.4 update.
“Hey there, just a heads-up: We’re part of the Amazon affiliate program, so when you buy through links on our site, we may earn a small commission. But don’t worry, it doesn’t cost you anything extra and helps us keep the lights on. Thanks for your support!”


