7 Common Mistakes That Make Your iPhone Photos Look Worse
Photography
Having a camera on you at all times makes it possible to capture life’s most important and trivial moments. But it’s no good if you keep messing things up. Here are some mistakes you’re probably making, and how to avoid them.
1 Not Cleaning Your Lenses
The biggest problems often have the easiest fixes. A dirty iPhone lens can ruin a good photo with blobs and spots, by causing problems with focus, or by introducing light streaks caused by grease that’s accumulated on the lens surface.
In fact, I bet your camera lenses are filthy right now. Get into the habit of wiping your iPhone lens down when you go to take a photo. Since doing this, I’ve missed (and had to re-take) far fewer shots. I don’t bother using a microfibre cloth or anything fancy, the sleeve of a cotton shirt does the job just fine.
And don’t forget about the front lens either. The selfie camera gets pressed up against your greasy ears every time you take a phone call. Not only will cleaning it make for better selfies, but it could also solve problems with Face ID.
2 Overexposing Your Photos and Losing Detail
The iPhone seems to love to overexpose photos, a result of the limited dynamic range captured by the sensor. This means that if you whip your iPhone out to capture a quick shot, the subject will usually be correctly exposed. Since most of us use our iPhones for opportune images, this isn’t necessarily a bad thing.
But what about when you want to maintain the finer details in the highlights of an image? You may have noticed when taking a landscape photo with a nice blue sky in the background that the blue becomes pale or even white. Shots of a golden sunset glow can lose atmosphere as the iPhone decides to balance the exposure as much as possible. The results can feel sterile, like the rainforest shot below which was a lot darker and more atmospheric in real-life:
The best way to deal with this is to take charge of the exposure yourself. Tap on the subject you want to focus on and then tap and drag down on the screen to reduce the exposure. Take note of any especially dark spots on the photo, since this is shadow detail that you will lose. Try to balance your desire for atmosphere and correctly exposed bright elements with the fundamentals of a good picture. Sometimes it’s worth crushing the shadows to capture the details that made you reach for a camera in the first place
Ironically, the iPhone rarely seems to underexpose in the same manner especially since you have fallbacks like dark mode to rely upon.
3 Relying on Portrait Mode Too Often
Portrait mode is fun, and it can be a great way to make regular smartphone images look like they were shot on far more expensive cameras and lenses. But there are limits to its utility.
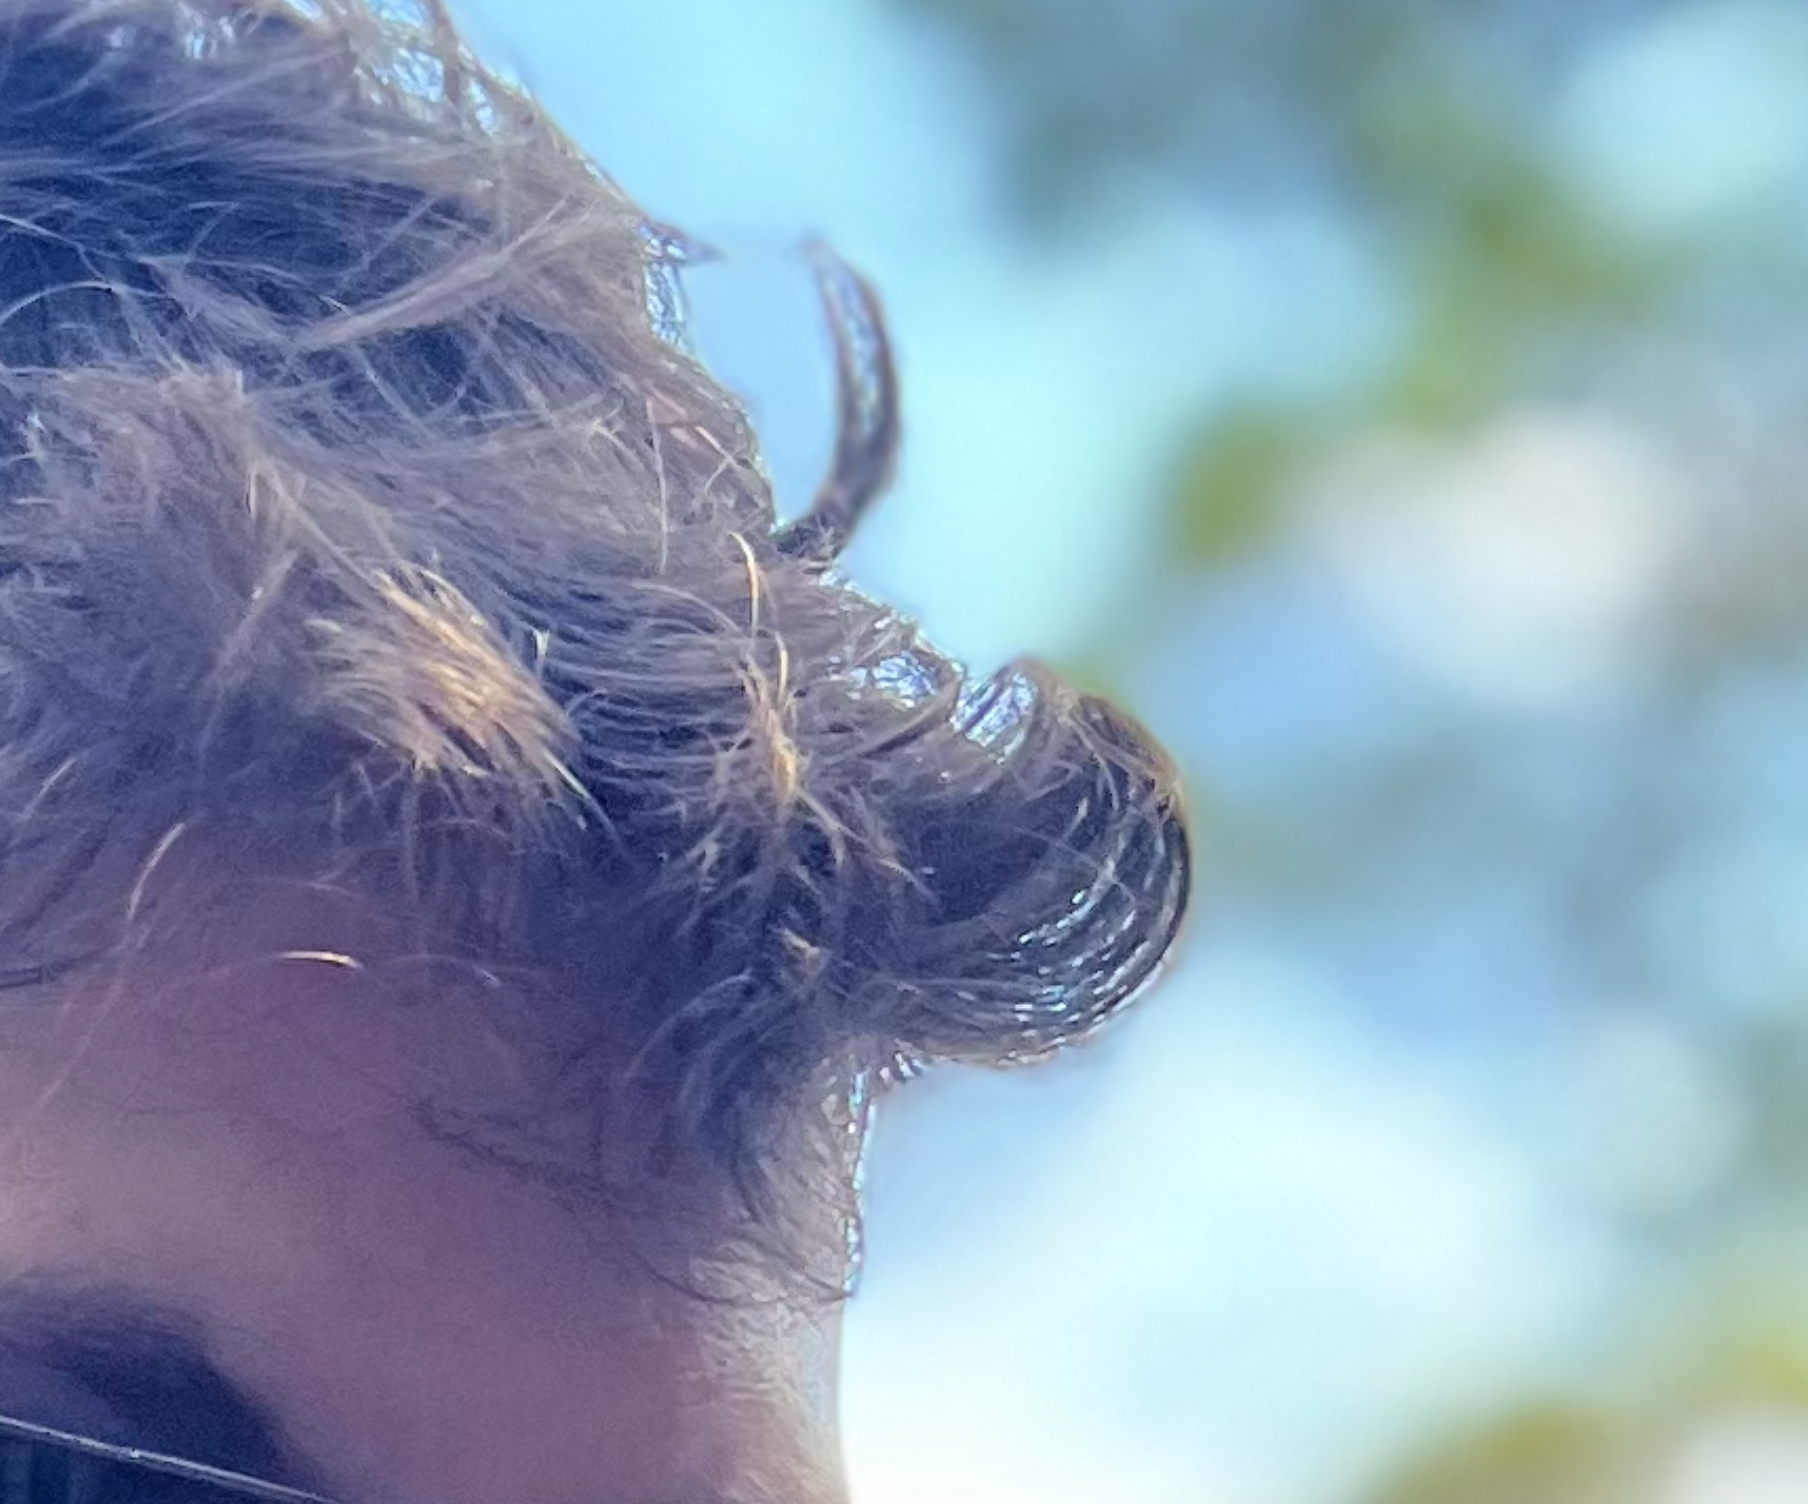
Some Portrait mode images can feel overdone, especially when the background looks comically blurred. The feature often struggles to blend the natural outline of a subject with the artificially blurred background. Hair in particular can give the game away, like in this image below:
On top of this, you don’t necessarily need to shoot in Portrait mode to get a decent blurred background. I used my iPhone 13 Pro to shoot this image in regular photo mode with the standard wide lens:
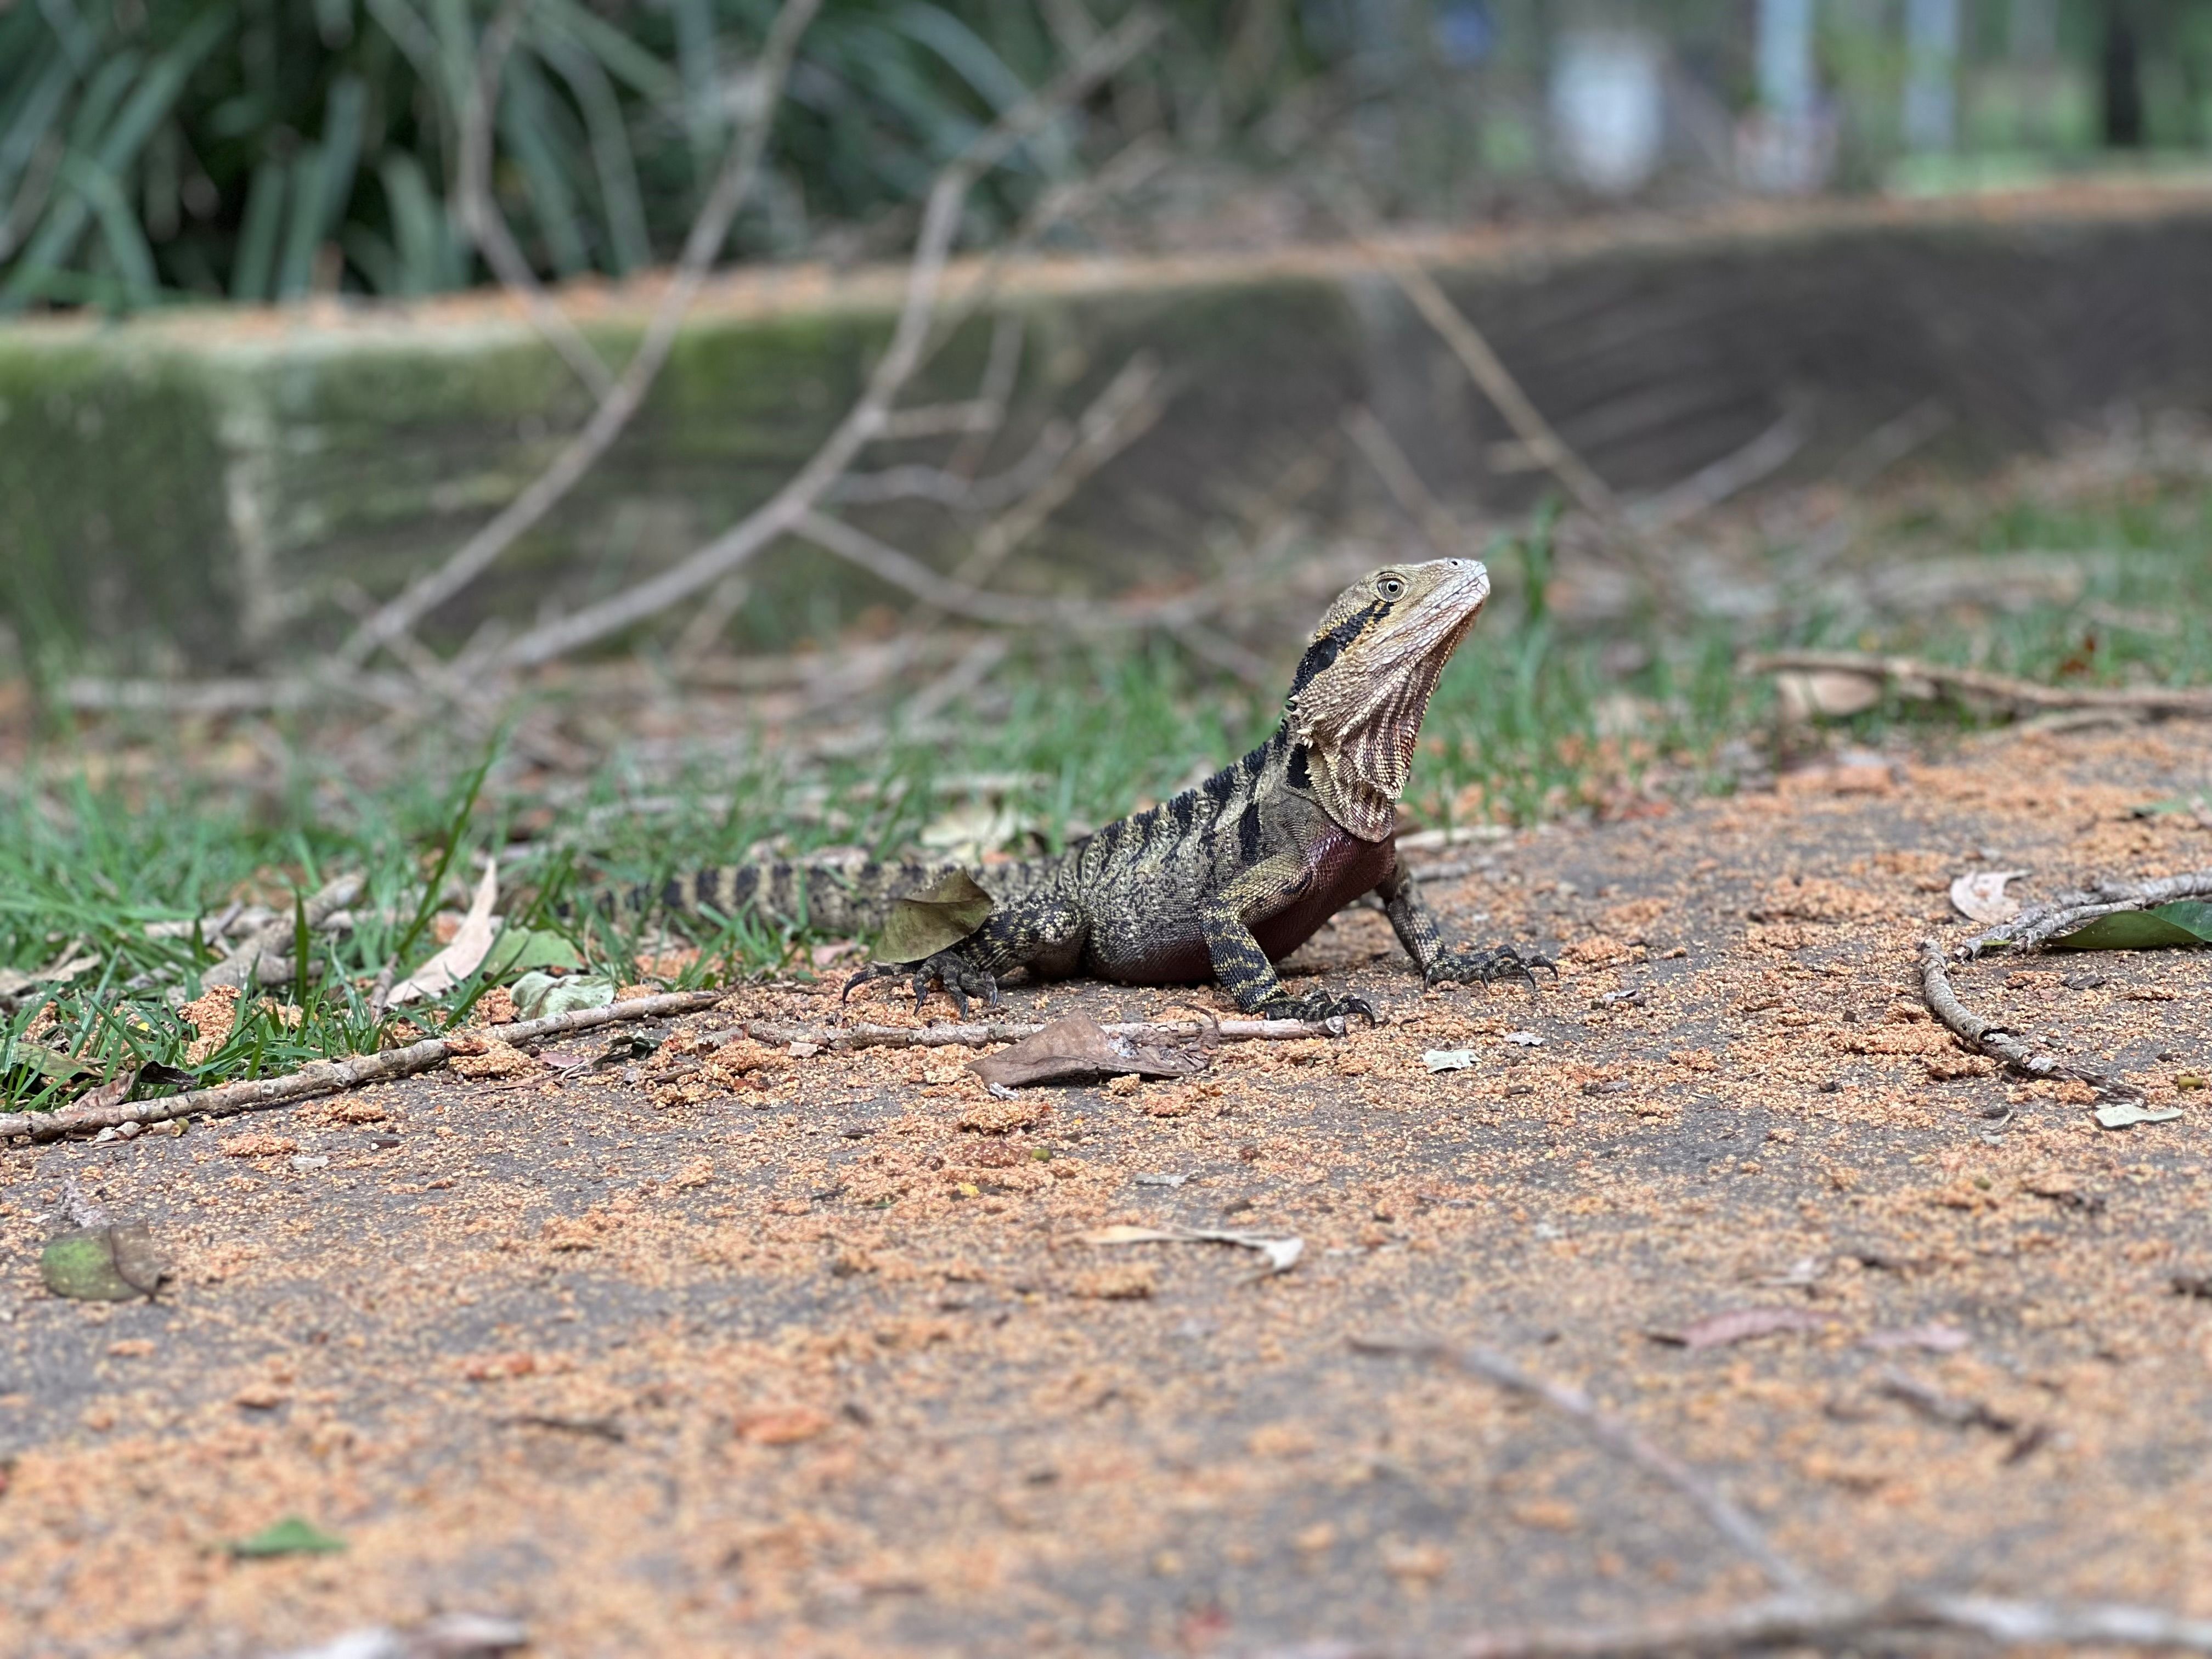
Because the lens has a relatively wide aperture and the scene was dull, the result is far more natural than if I’d tried shooting in Portrait mode. That said, there are some moments where I’m glad I tried a Portrait shot, like this dapper-looking eastern water dragon spotted on a hike:
In this instance, Portrait mode (using the 3x telephoto lens) has applied blur to the front of the frame too for an interesting tilt-shift effect. The take-away here is that if you’re trying to get a good shot, experiment with all modes and lenses at your disposal and pick the best.
4 Choosing the “Wrong” Lens
You’ve probably already got a decent idea of which lens is best suited to a specific situation, but there are some things to keep in mind.
The ultrawide lens will distort your images. This can be great for capturing big wide landscapes or photos of cramped locations, but it’s going to make your pets and family portraits look weird. Sometimes, that can be fun and produce images like this one:
But most of the time, you aren’t going to want to make your significant other look like a horse. Similarly, depending on the age of your iPhone, the ultrawide and telephoto (if you have one) lenses may be significantly worse than your main wide camera.
iPhone 16 owners finally got an upgrade to the ultrawide lens that includes autofocus but it’s still only a 12MP sensor. At the same time, iPhone 16 Pro owners get a full 48MP ultrawide camera but the telephoto tops out at a disappointing 12MP.
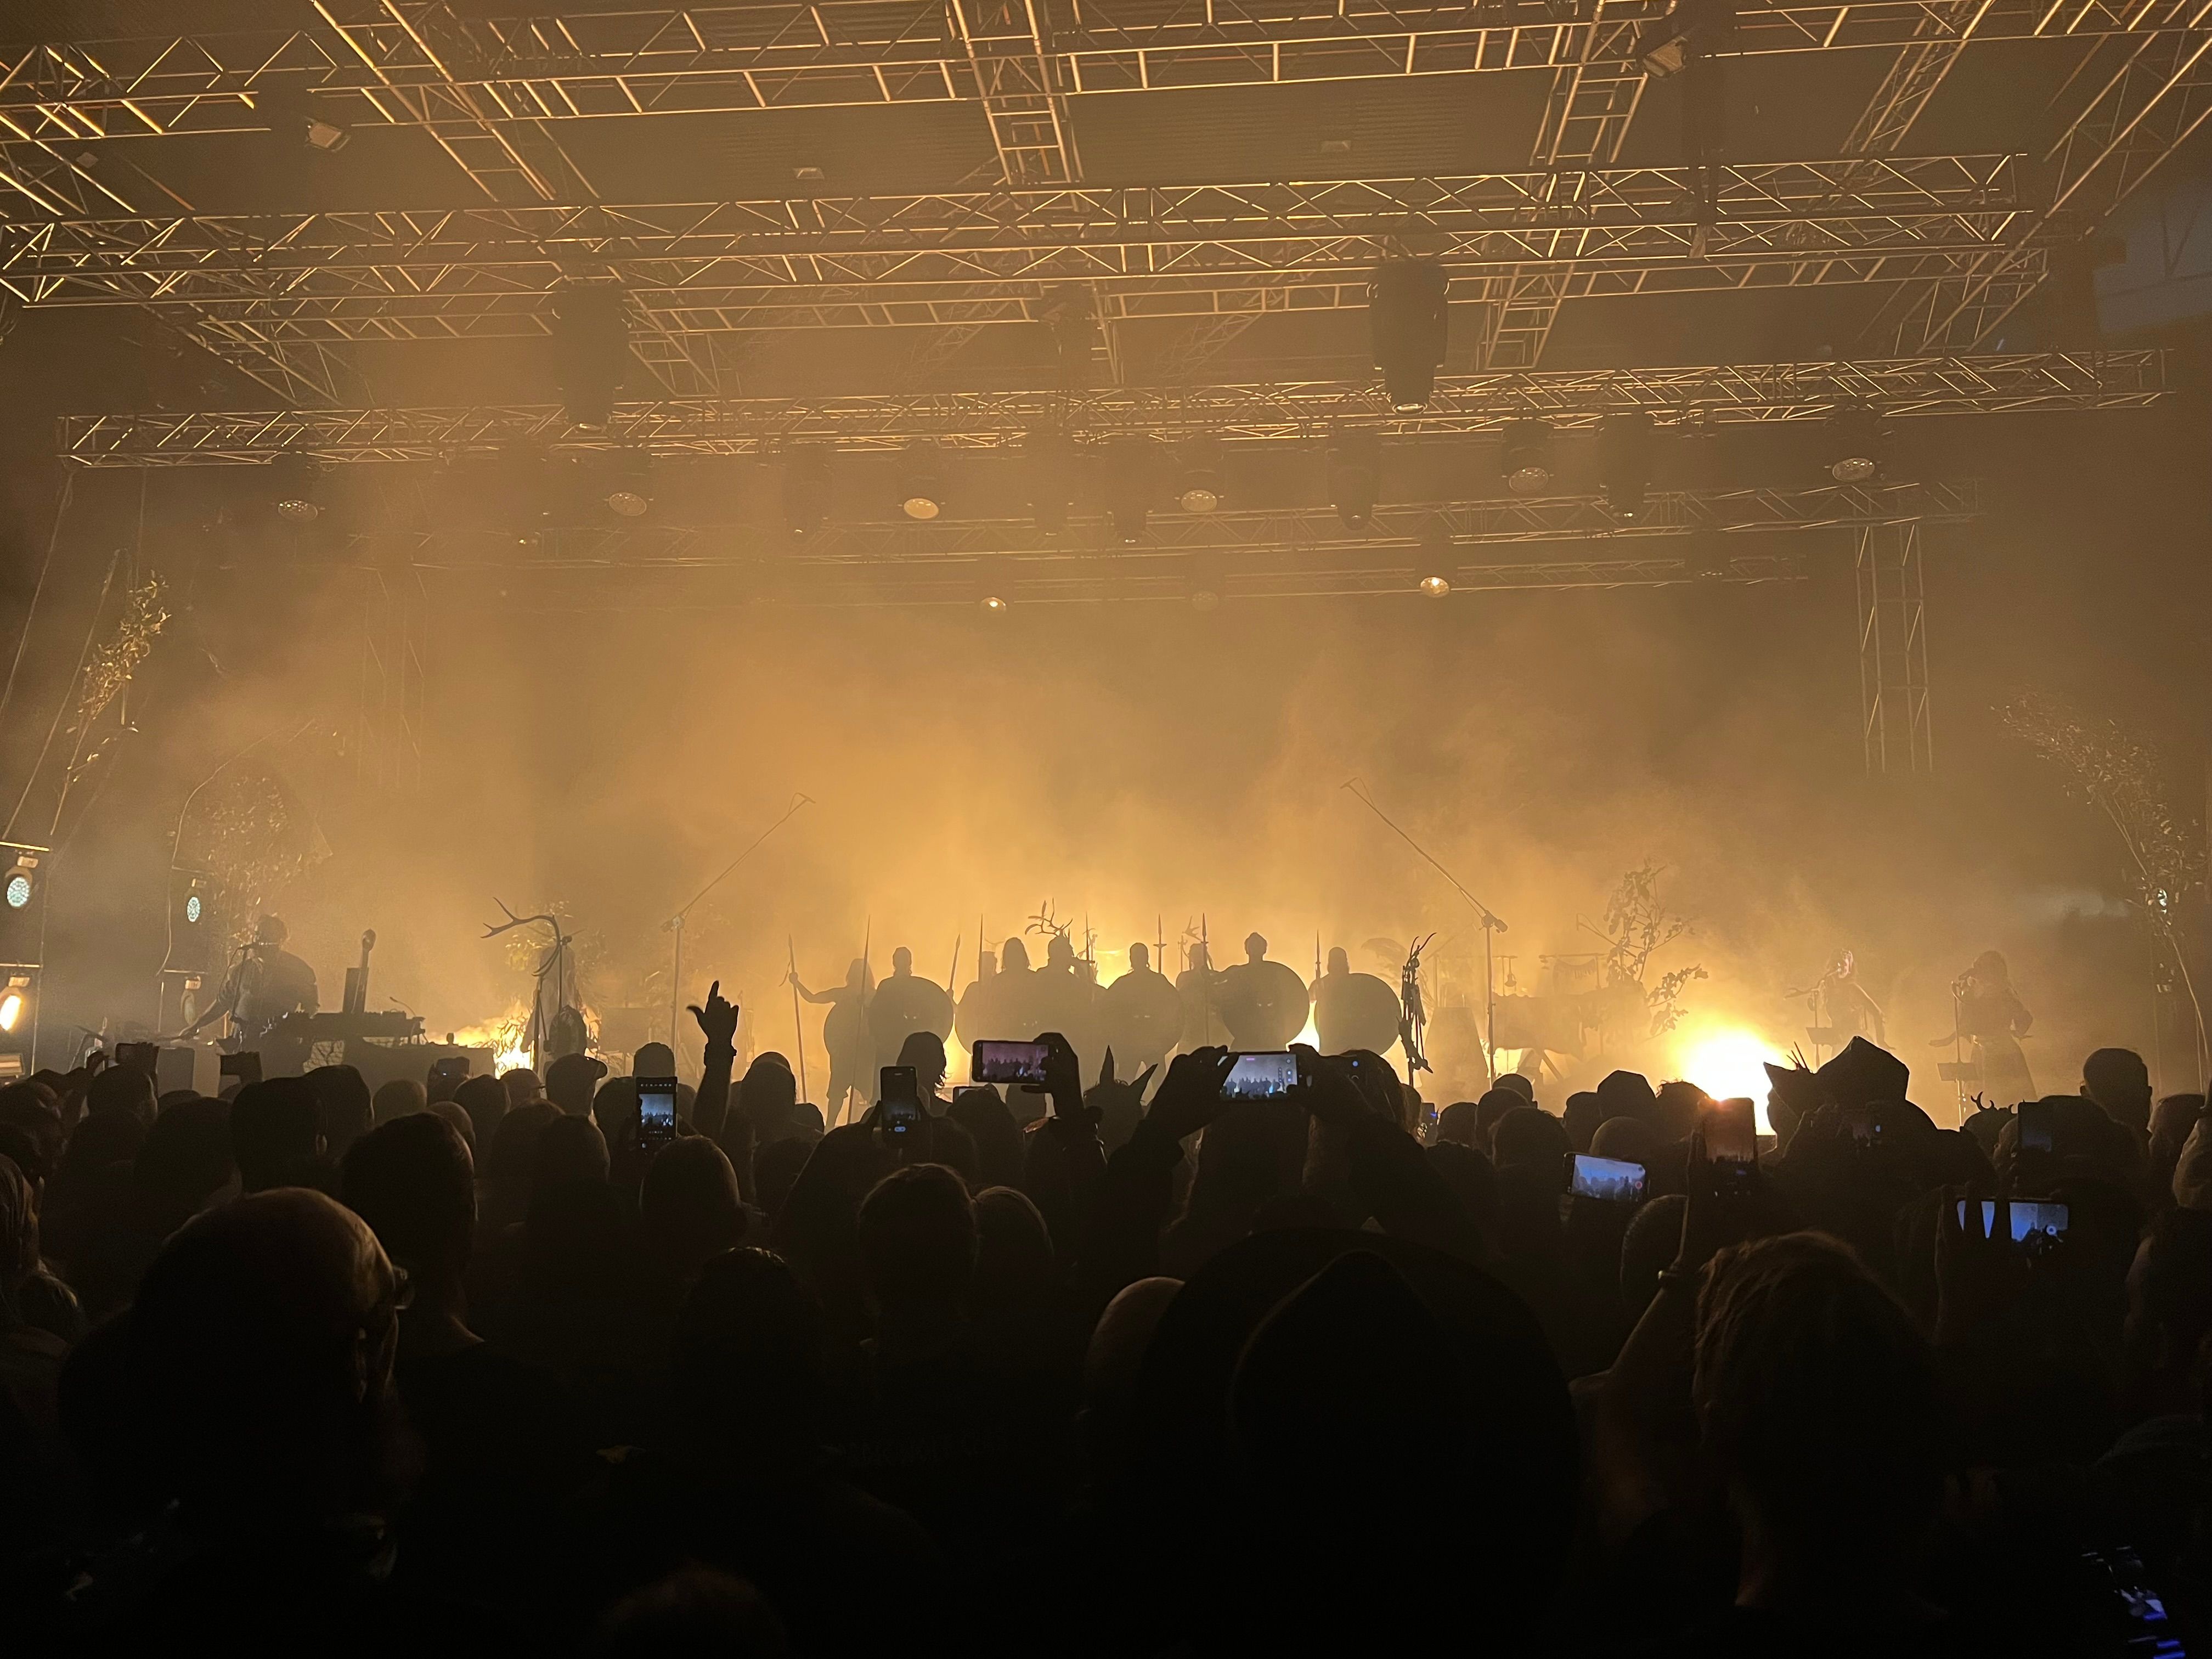
Sometimes, you just need to make a call based on what you’re faced with. Here’s a shot of a dark scene from a concert I recently went to, shot with a wide lens:
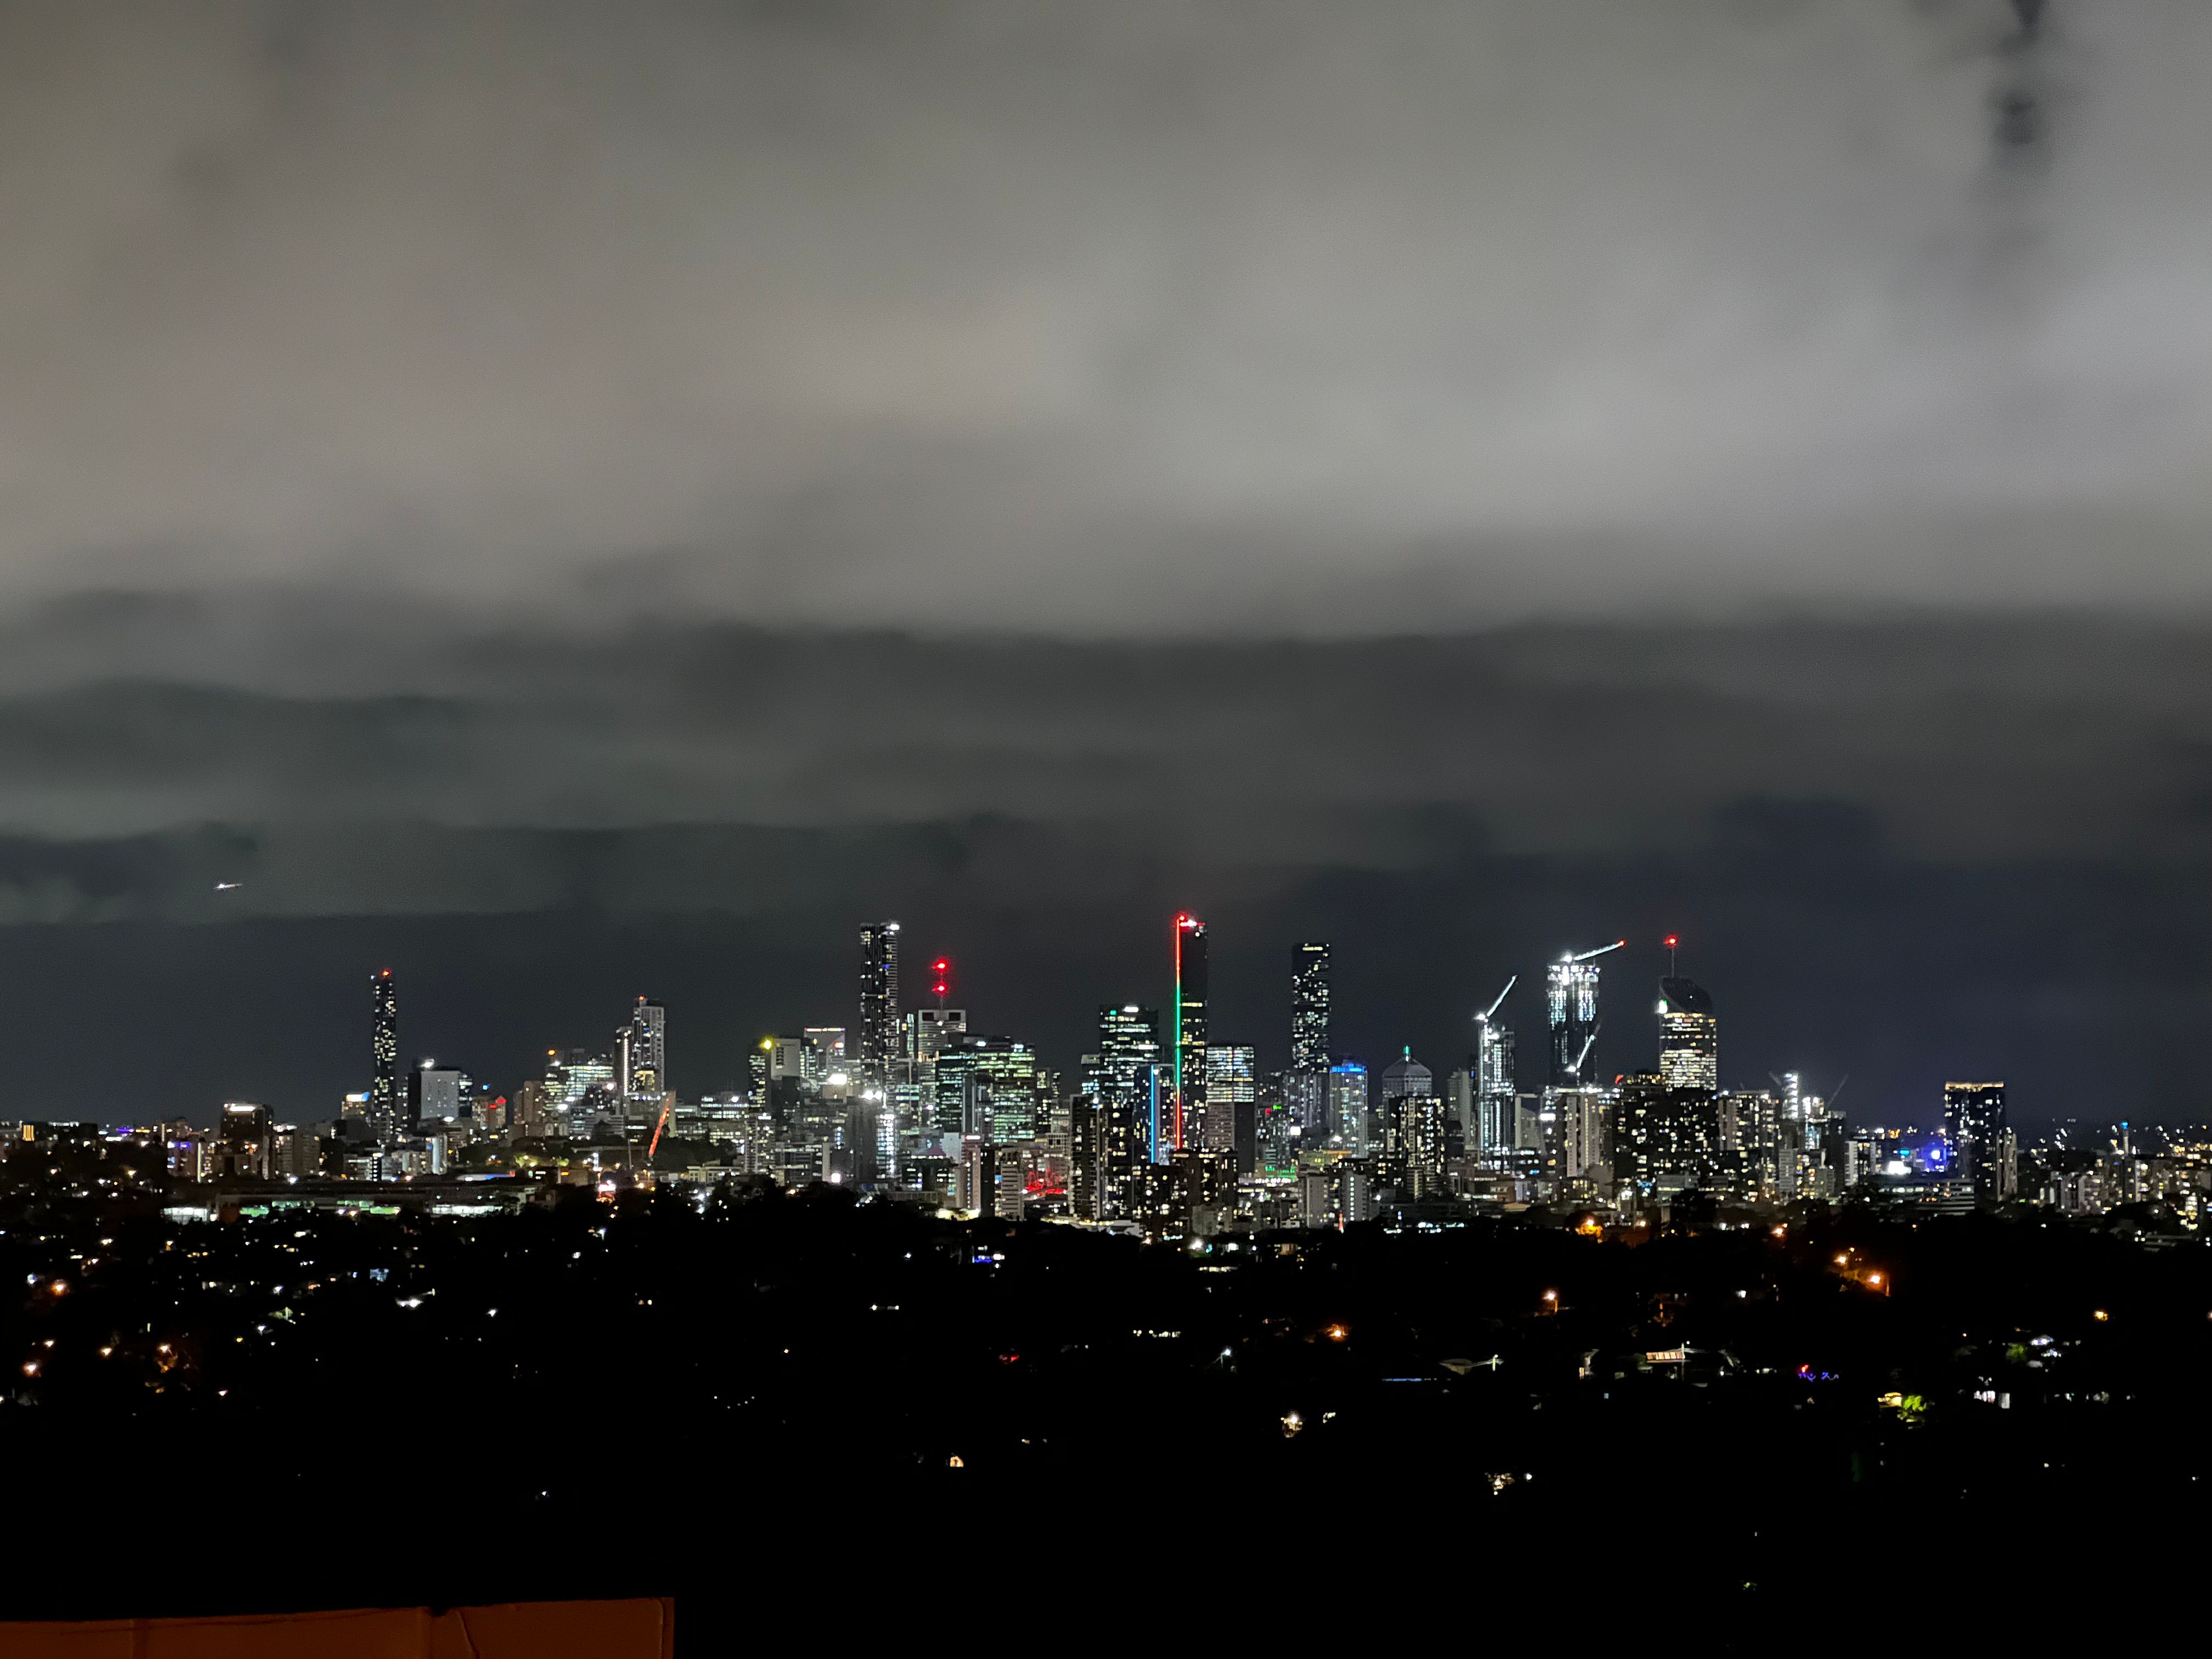
Here’s a shot taken a few moments later using the 3x telephoto lens on an iPhone 13 Pro. The composition is much tighter and the image looks better on first glance, but the low light abilities of the telephoto lens leave much to be desired and things look a bit “soft” in the darker patches:
If the opportunity to “zoom with your feet” is there, most iPhone owners should probably take it and move closer or further away and favor the superior wide (1x) camera instead of the 0.5x, 3x, or 5x option.
5 Ruining Shots With Flash or Dark Mode
Before you hit the shutter when shooting in sparsely-lit scenes, have a quick glance at the flash and dark mode indicators. The flash seems to remain off if you press and hold the flash icon and choose “Flash Off” from the menu. You’ll need to turn it on specifically the next time you want to use it.
Dark mode, on the other hand, is a bit more devious. It seems to sporadically enable itself all of the time, with no option to turn it off indefinitely (as appears to be the case with the flash). Worse still, the icon only appears when the scene is dark enough to trigger it.
If you want to maintain the moody lighting in a shot, you’ll want to avoid dark mode. If you’re taking images of moving objects at night (like during a concert), dark mode is a terrible idea. It relies on you standing very still and capturing a static scene over the course of several seconds.
Of course, dark mode has its uses (as does the flash). You can take some pretty surreal images shot in near-darkness, as long as the scene remains still and you hold the phone steady.
6 Not Locking Exposure or Focus
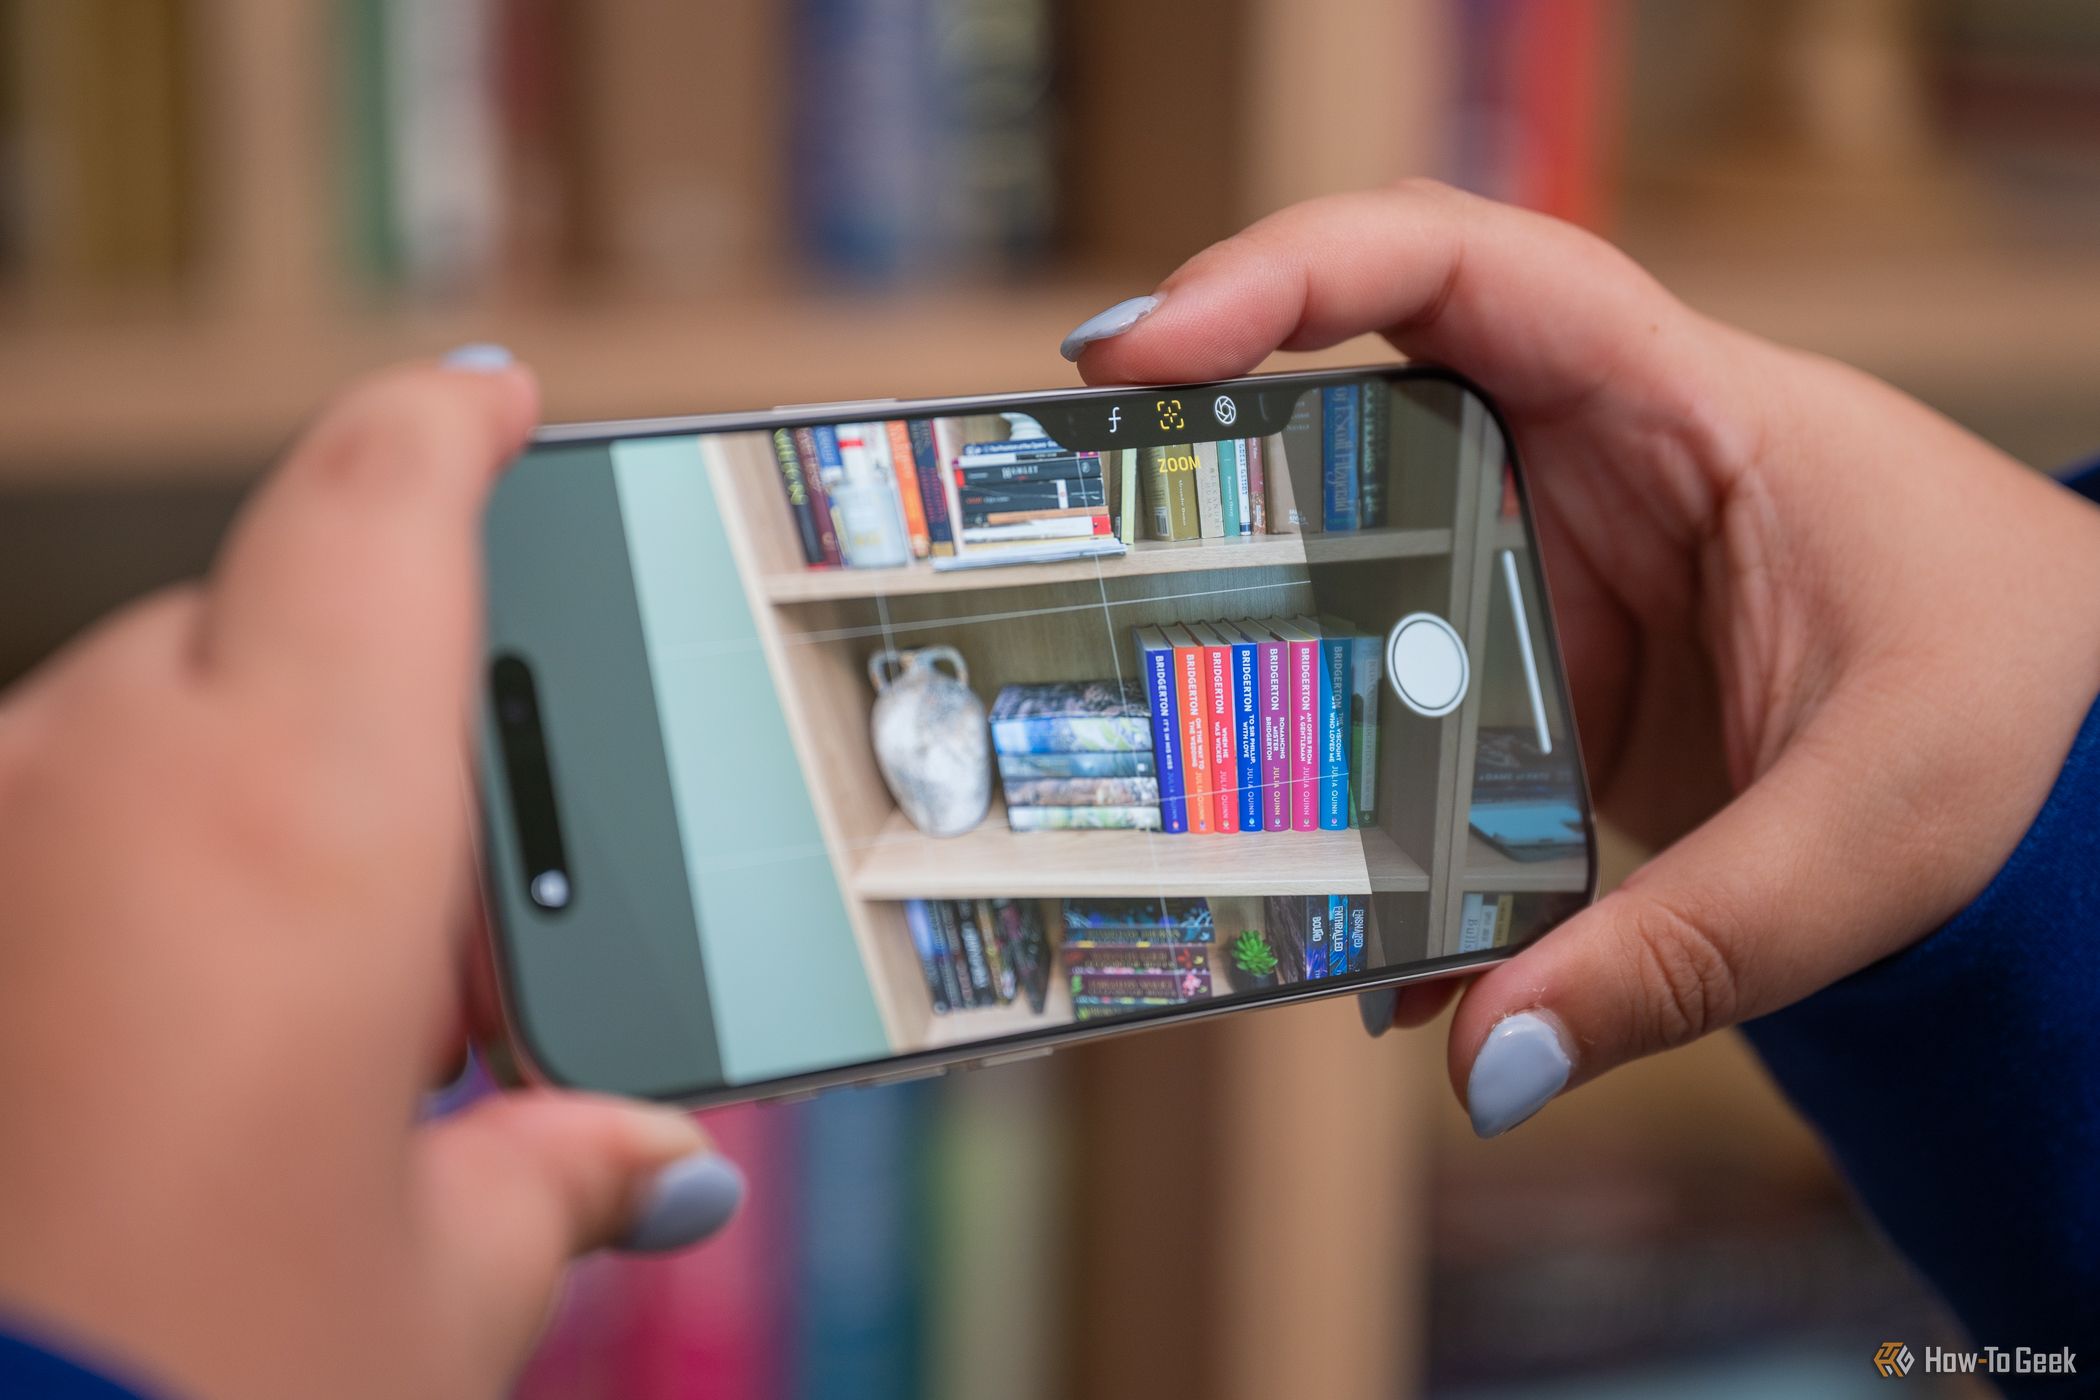
You can adjust the focus by tapping, and you can adjust exposure by dragging, but if you really want the final say on how your image comes out then you’ll need to lock both. To do this, tap and hold the image at the point of focus, then drag your finger up and down to adjust how much light enters your shot.
Apple’s Camera app seems to have a bit of a mind of its own, disregarding your previous taps as you adjust composition. Locking focus and exposure is the only way to keep things consistent, and it even persists between shots.
7 Using Digital Zoom
Digital zoom is a lot better than it used to be thanks to machine-learning-based image processing. That said, it’s still best avoided in all but the most extreme of circumstances (or grab a few decent shots first, then zoom in). You can avoid it by sticking to your iPhone’s native focal lengths of 0.5x, 1x, 3x, or 5x (depending on which model you have).
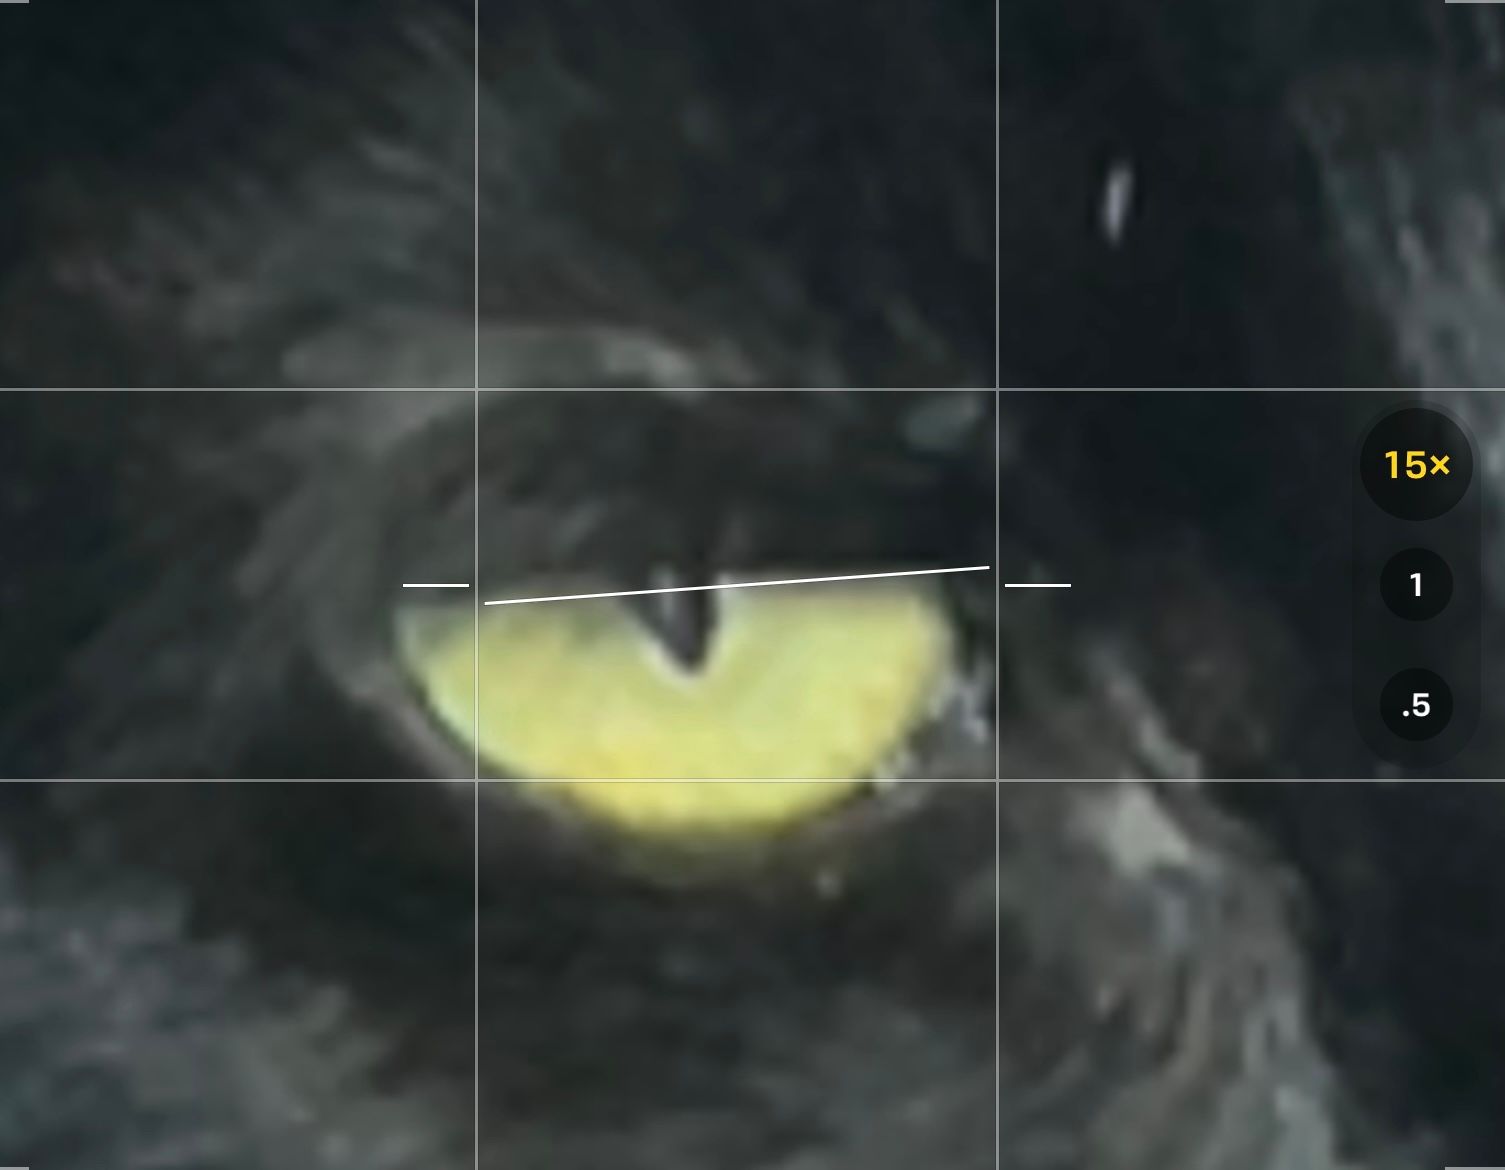
Remember that lengths in between these rely on some form of digital zoom, and anything that goes higher than your iPhone’s maximum zoom level (like 15x will suffer from some pretty bad image breakdown). The processing that takes place after you’ve hit the shutter isn’t great.
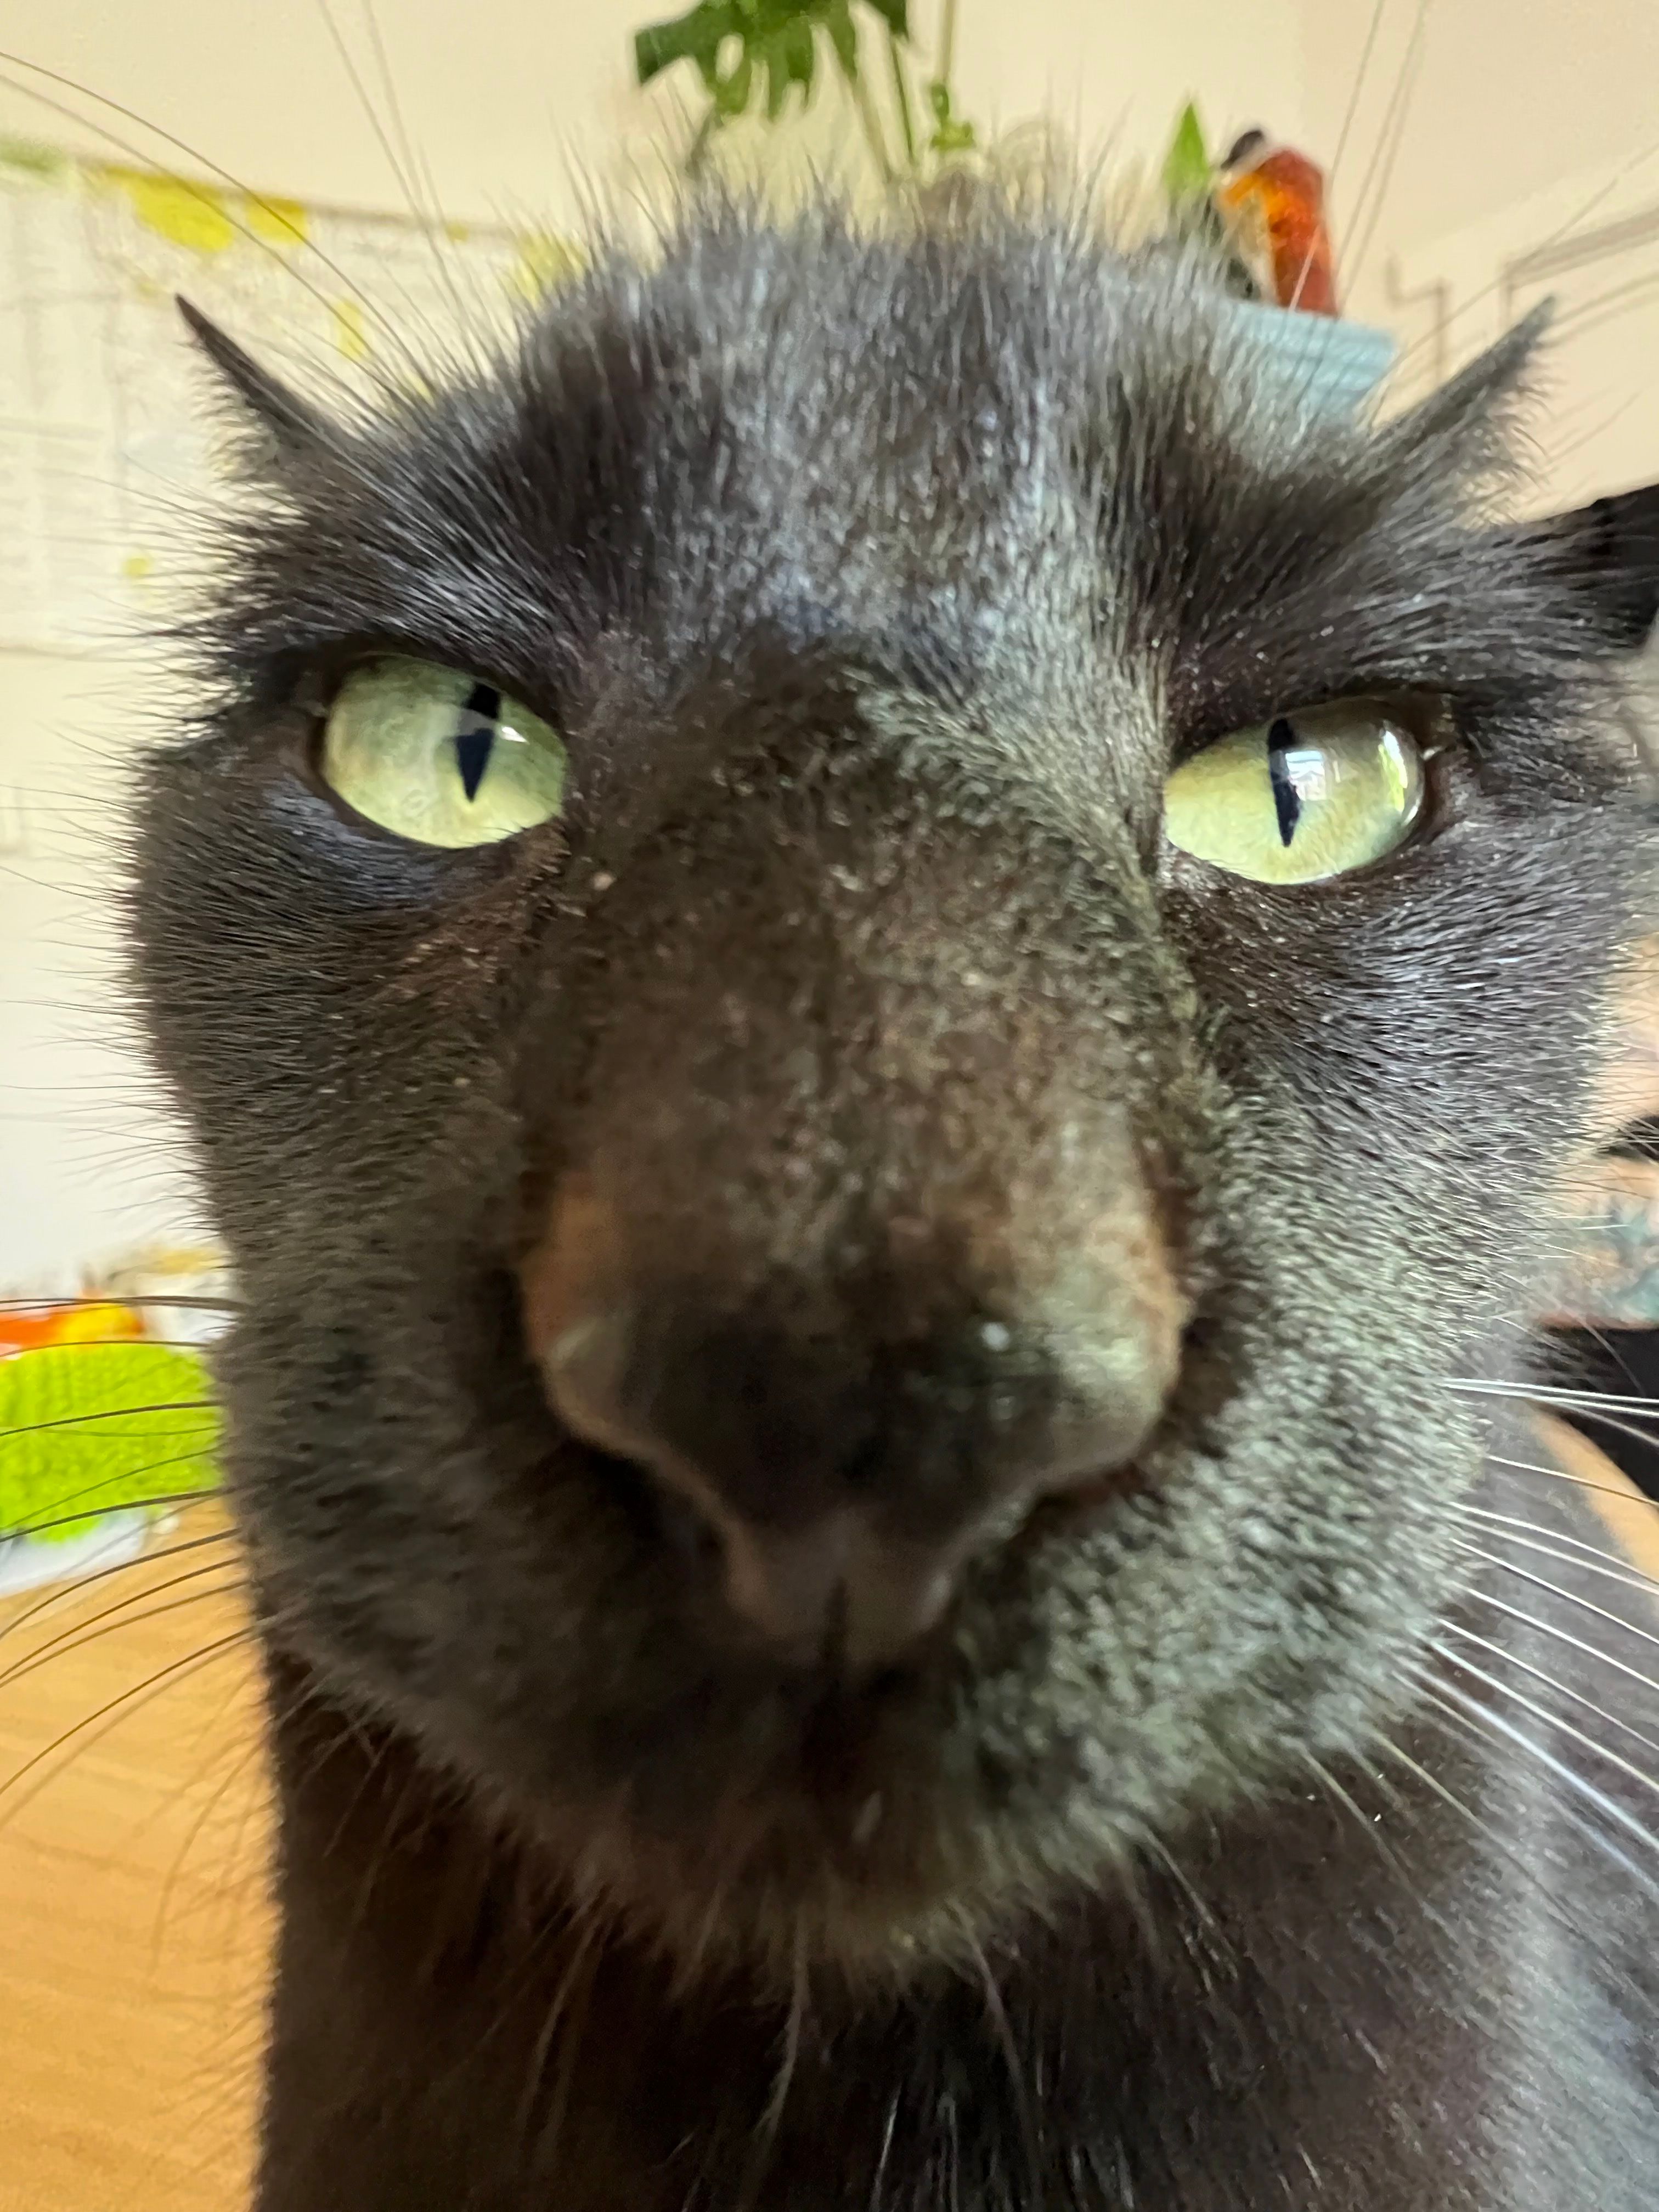
Here’s a 15x zoom shot of my cat’s eye in the iPhone camera viewfinder:
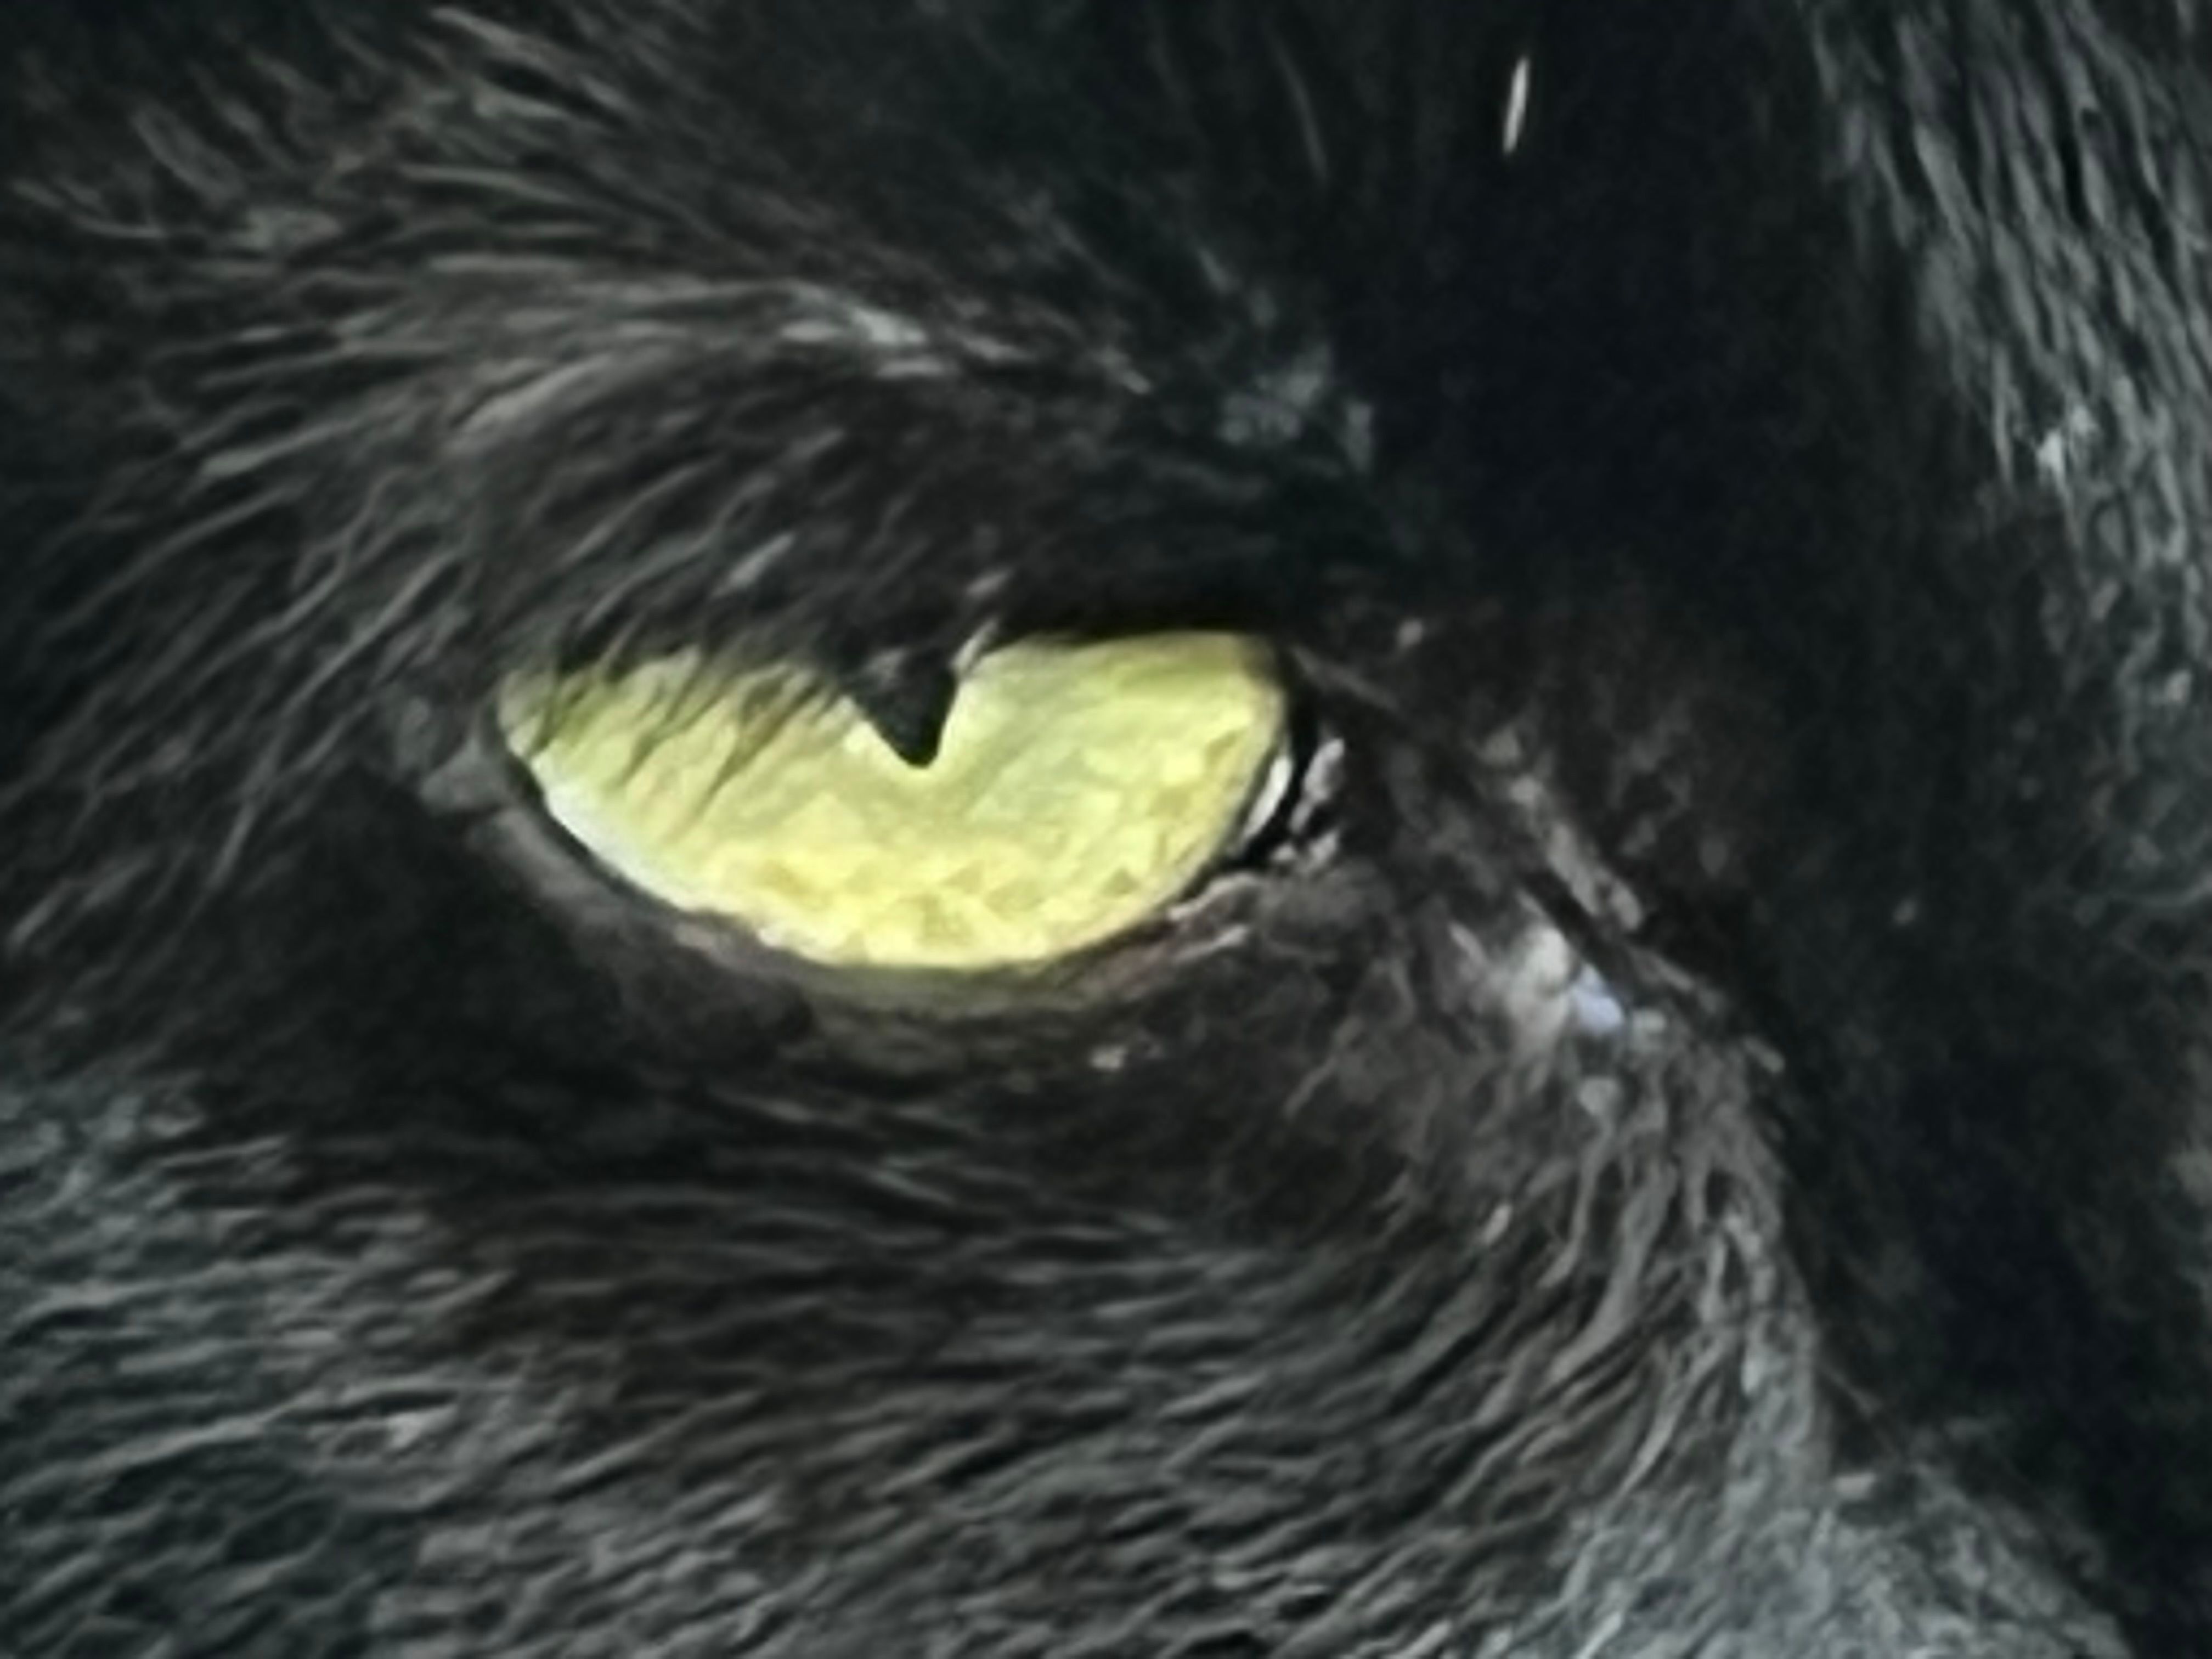
And here’s the “finished result” after Apple’s processing:
I’m not going to pretend that things haven’t improved significantly between the A15 chip used for the images above and the A18 Pro found in the iPhone 16 Pro, but I’d still be happier with a 5x optical zoom on the newer model and doing away with the swirly upscaling altogether.
If you’ve got an iPhone 16 or 16 Pro, don’t forget to make proper use of the new Camera Control button to access camera functions quicker than ever. Regardless of which model you have, check out some basic tips to take better iPhone photos.


