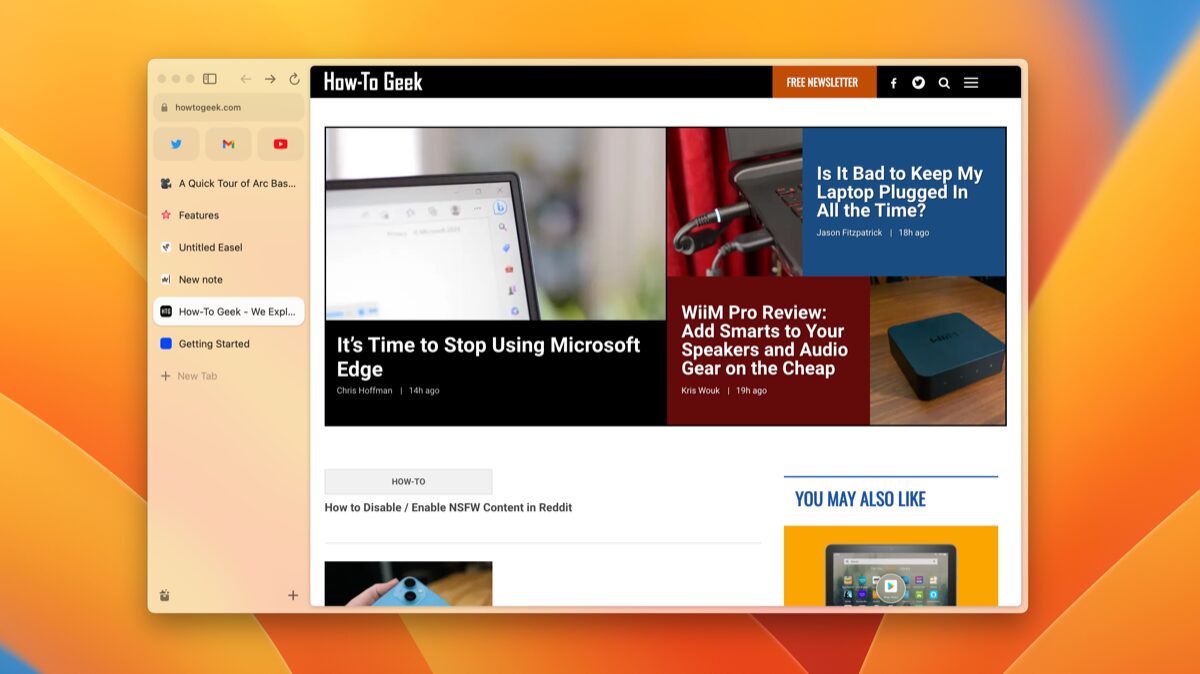
7 Settings I Change After Installing Ubuntu
Quick Links
-
Update My System
-
Customize the Appearance
-
Install GNOME Tweaks and Extensions
-
Install Media Codecs
-
Disable Characters From GNOME Search
-
Set Up the Firewall
-
Install Backup Software
Every time I install Ubuntu, whether it’s a fresh setup or an upgrade—I follow a checklist of tweaks I immediately apply. It’s a set of changes I always make to ensure the system feels comfortable, familiar, and efficient for me.
Before digging in, let me be clear: this isn’t a “You Must Do This” list. While these settings work perfectly for my workflow, your preferences may vary. Maybe you’ll get some inspiration, or maybe you’ll disagree entirely—and that’s totally fine! Linux, especially Ubuntu, is all about making it your own.
7
Update My System
The very first thing I do before anything else is update everything. Why do I prioritize this? Well, those updates come with security fixes, bug patches, and sometimes even shiny new features.
Also, sometimes, between the time the installation image was created and the time I actually installed it, new updates have been released. So, running the update not only ensures I have the latest features, but also keeps my system secure.
Related
How to Update Ubuntu Linux
Keep the broken package blues away with these tips.
You can update your system easily through the graphical Software Updater tool, which often pops up automatically. If not, or if you prefer the command line, run this in your terminal:
sudo apt update -y
sudo apt upgrade -y
Here, apt update refreshes the list of available packages, and apt upgrade installs the new versions. The -y just automatically says yes to the prompts.
Could I skip this? Sure. But those notification bubbles reminding me to update would just haunt me until I did it anyway.
6
Customize the Appearance
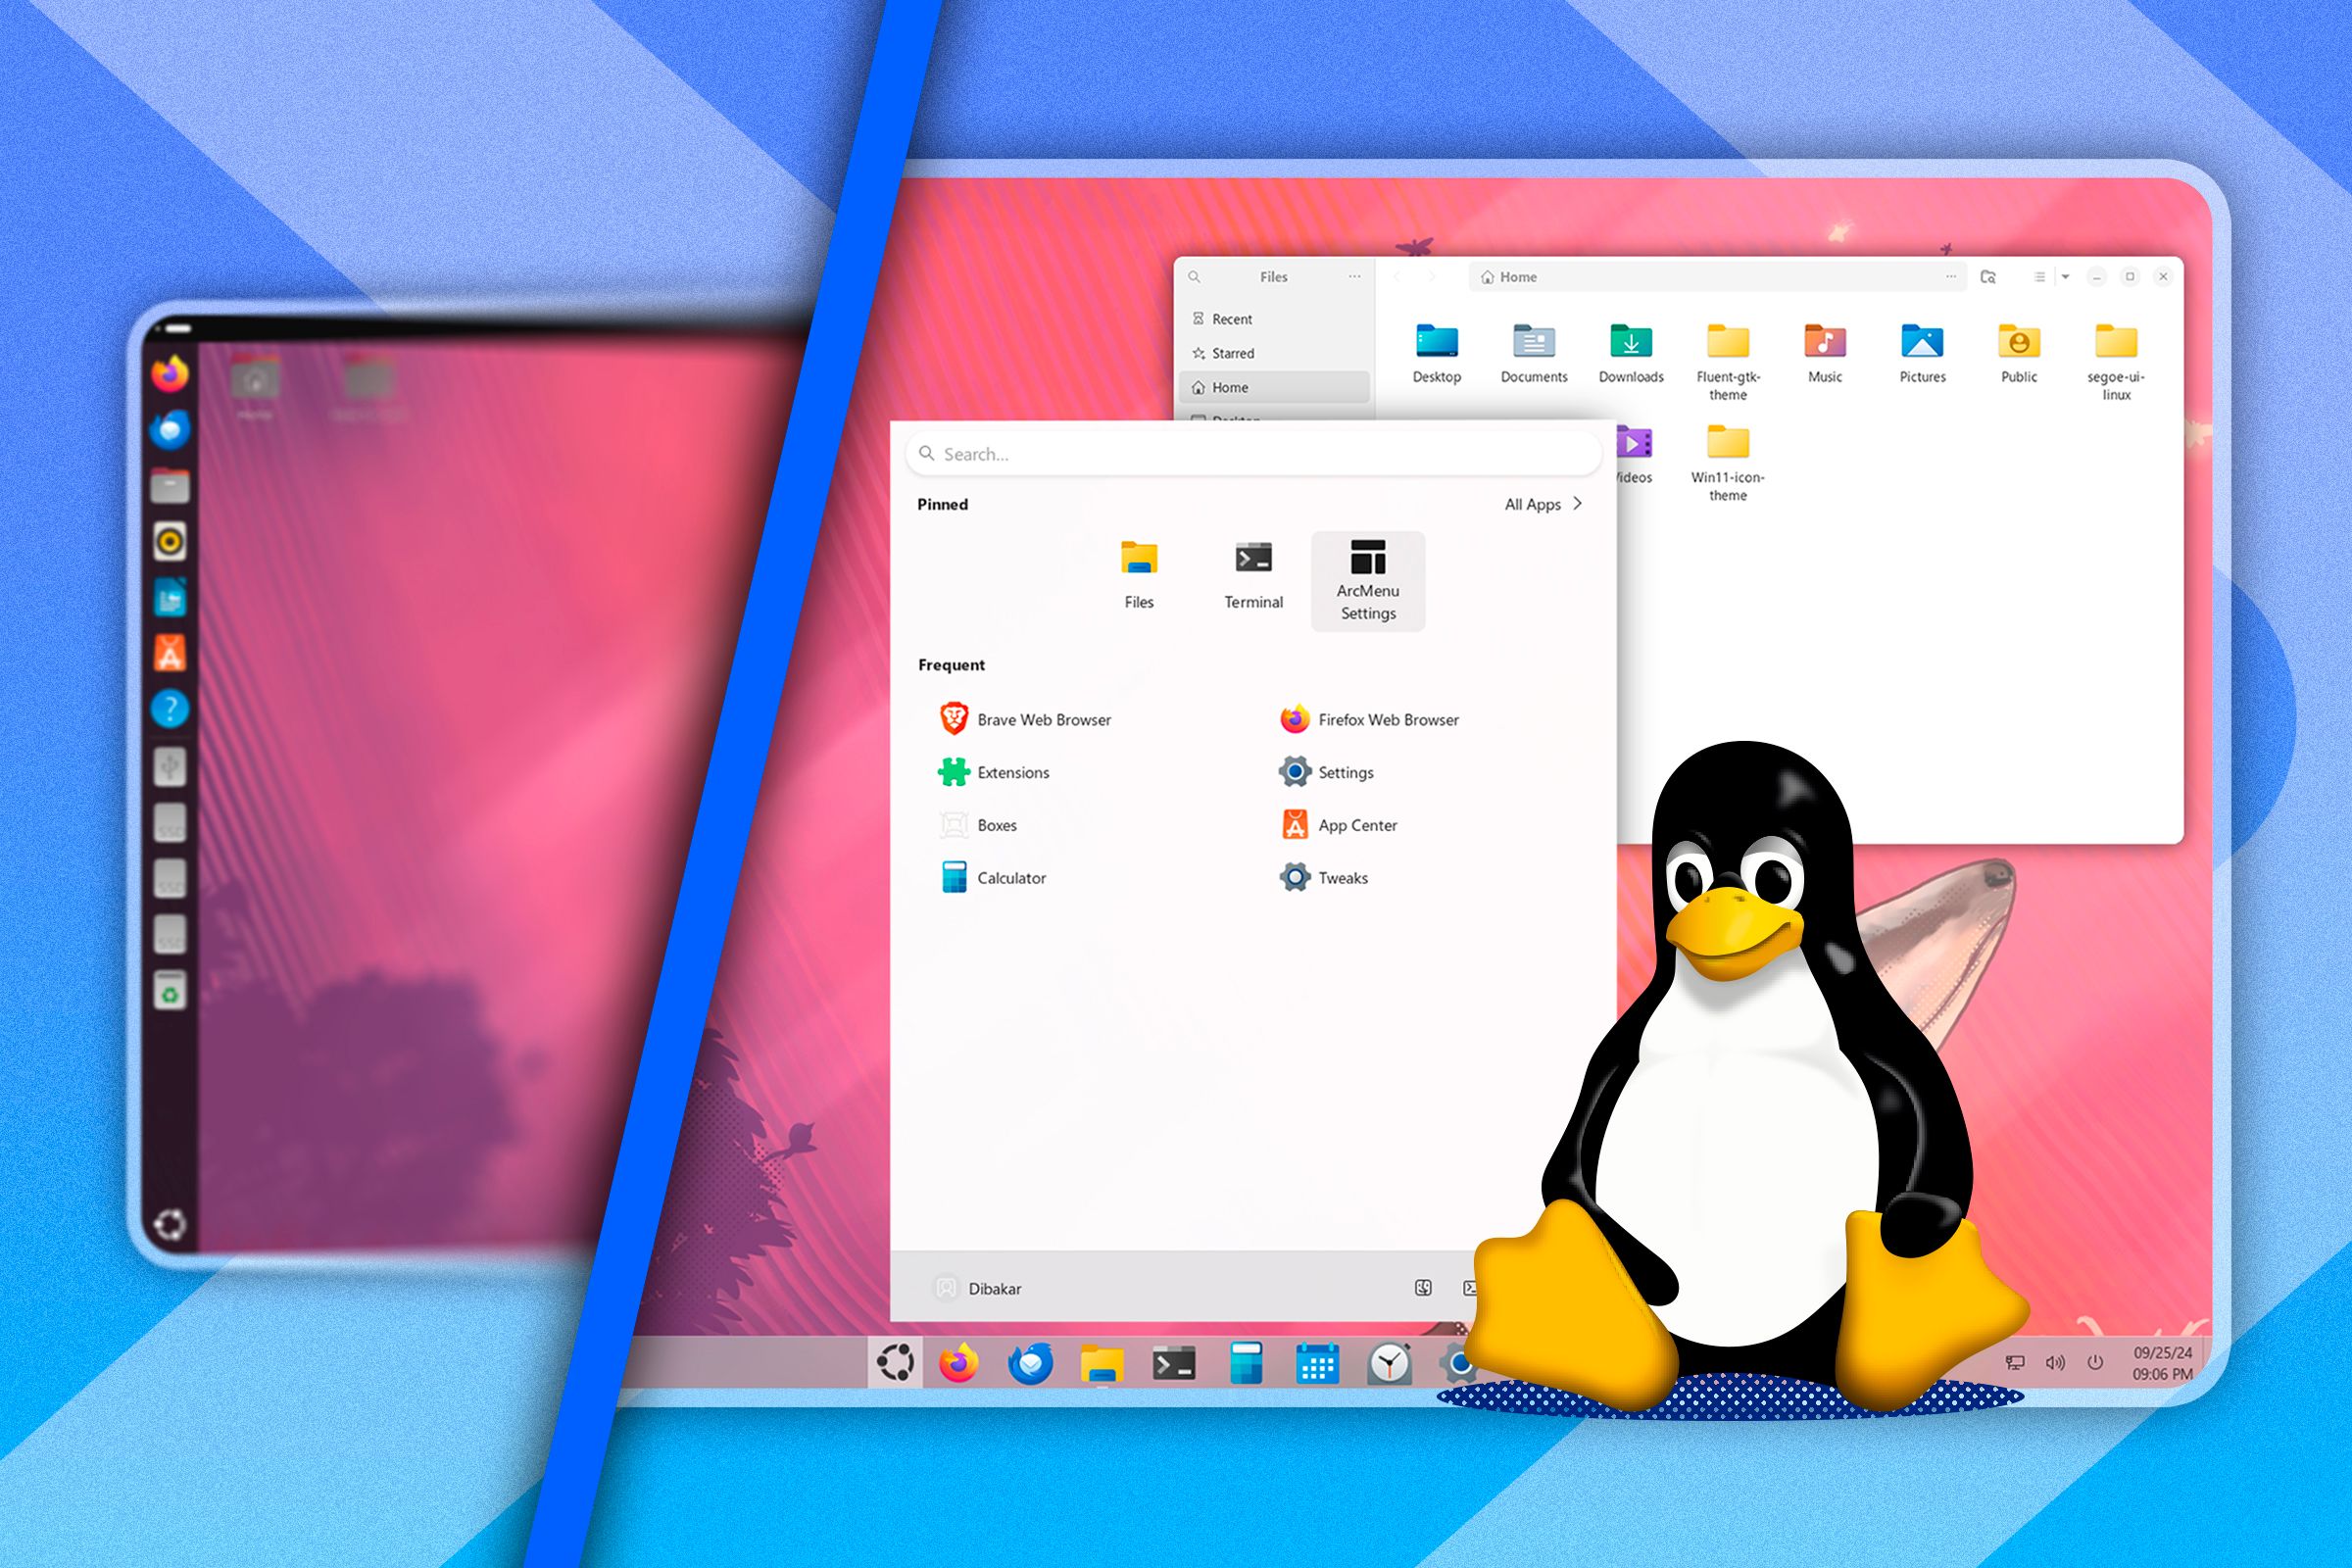
The default Ubuntu theme is nice and professional, but I still prefer to personalize my environment to make it more comfortable and familiar. For example, I stare at my screen for 8+ hours daily, so having a visually pleasing environment isn’t just about aesthetics—it’s also about reducing eye strain and making my workspace enjoyable.
Related
Jazz Up Ubuntu’s Default Look With Custom Themes
Customize Ubuntu into a true personal computer!
Here’s how I start: I immediately head to the Appearance settings to change the wallpaper, switch to dark mode, and adjust the accent colors, but that’s just the beginning. For deeper customization, I sometimes install themes and icon packs, which require installing GNOME Tweaks (more on that later). I normally prefer the dark theme because it’s easier on my eyes, and the colorful icons provide just enough visual contrast to make navigation intuitive.
5
Install GNOME Tweaks and Extensions
Want to unlock a whole new level of customization? Try installing GNOME Tweaks and GNOME Extension Manager. GNOME Tweaks is a separate application you’ll need for the GNOME desktop environment that Ubuntu uses. I use it for changing fonts (system-wide or for specific elements), adding minimize/maximize buttons back to window title bars, and tweaking appearance settings.
You can get it immediately from the Ubuntu Software Store or via the terminal with this command:
sudo apt install gnome-tweaks
Similarly, the GNOME Extension Manager lets you manage GNOME Shell extensions. These extensions are like little add-ons for your desktop. You can find ones that add weather forecasts, system monitors, alternative application menus, advanced window management, and much more. I’ll also sometimes grab the Wallpaper Changer extension to rotate through my favorite images throughout the day.
Get the Extension Manager application with this:
sudo apt install gnome-shell-extension-manager
Now you can install, manage, and browse any GNOME extension directly within the app. After installation, navigate to the Installed tab to toggle or enable the recently added extensions.
My must-have extensions include Dash to Dock, which transforms your sidebar into a persistent dock for quick app access, and a System Monitor extension for tracking resource usage.
Related
I Always Install These GNOME Extensions on My Linux Computers
My default set of must haves.
While extensions add great functionality, using too many, or ones that are poorly maintained can sometimes cause instability. So, it’s best to stick with a lean, well-regarded selection.
4
Install Media Codecs
Ever downloaded a video file or tried to play an MP3 and found that Ubuntu just can’t play it? That’s usually because it’s missing the necessary codecs—small bits of software that decode various audio and video formats.

Related
What Is a Codec?
You may have heard the term codec used when discussing media formats and compression, but what does it mean and where did it come from?
The Ubuntu installer does prompt you to install codecs during setup, and you can check a box to install them right away. However, most of the time the installer doesn’t include many video codecs by default due to licensing restrictions. So, we often install them afterward by adding the ubuntu-restricted-extras package via the Multiverse repository.
To do this, simply open a terminal and run:
sudo apt install ubuntu-restricted-extras
This package bundles many common codecs (like for MP3, MP4, AVI) and useful extras like Microsoft fonts. It just makes life easier when dealing with media files.
An easier way is to just download and install the VLC media player on your Ubuntu system. VLC has most of the media codecs you need to play videos without any problems.
3
Disable Characters From GNOME Search
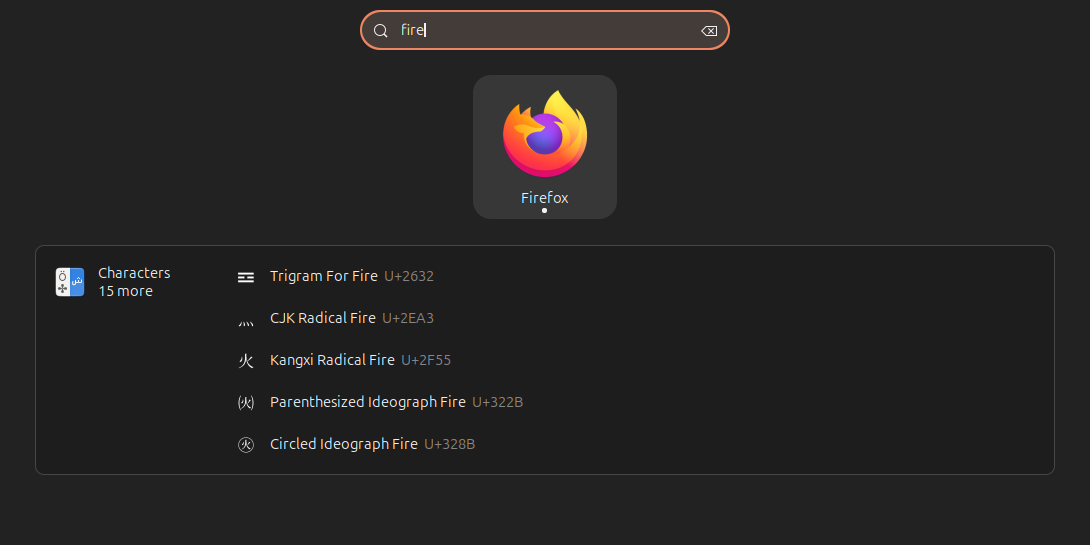
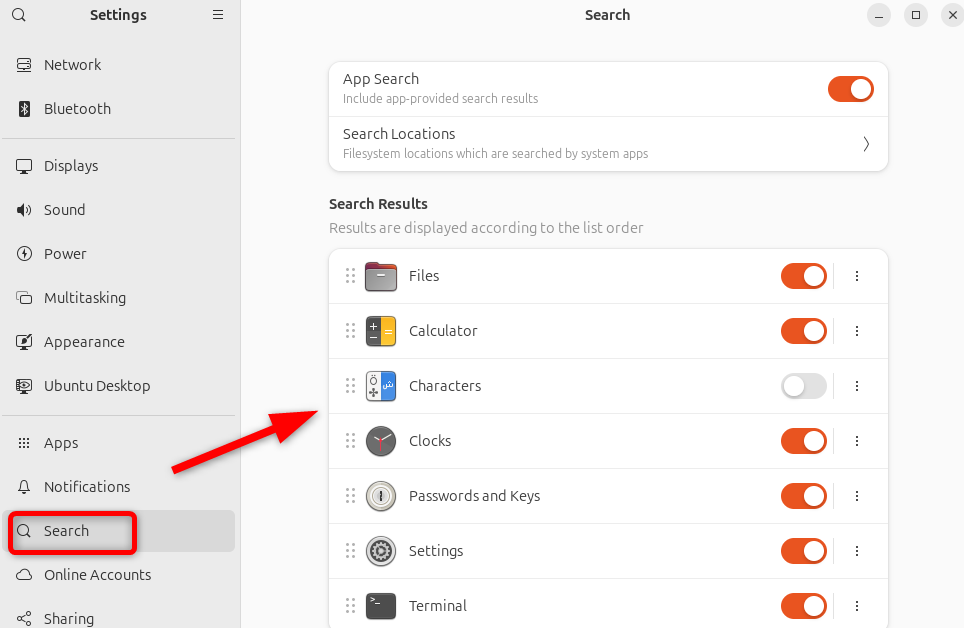
Okay, this one is a personal preference—maybe even a bit niche—but it bugs me! When I search in GNOME, it pulls up emoji and special characters by default. Why do I need emoji cluttering my search results when I’m just trying to find Firefox? So, I head into Settings > Search and toggle off Characters.
Now I can search for settings or any other things without getting irrelevant characters in the search result.
Beyond disabling character search, I also modify file search locations. By default, Ubuntu searches everywhere, which can slow things down and surface results from folders I rarely use. I go to Settings > Search > Locations and uncheck directories like Pictures and Music, since I rarely search for media files by name.
2
Set Up the Firewall
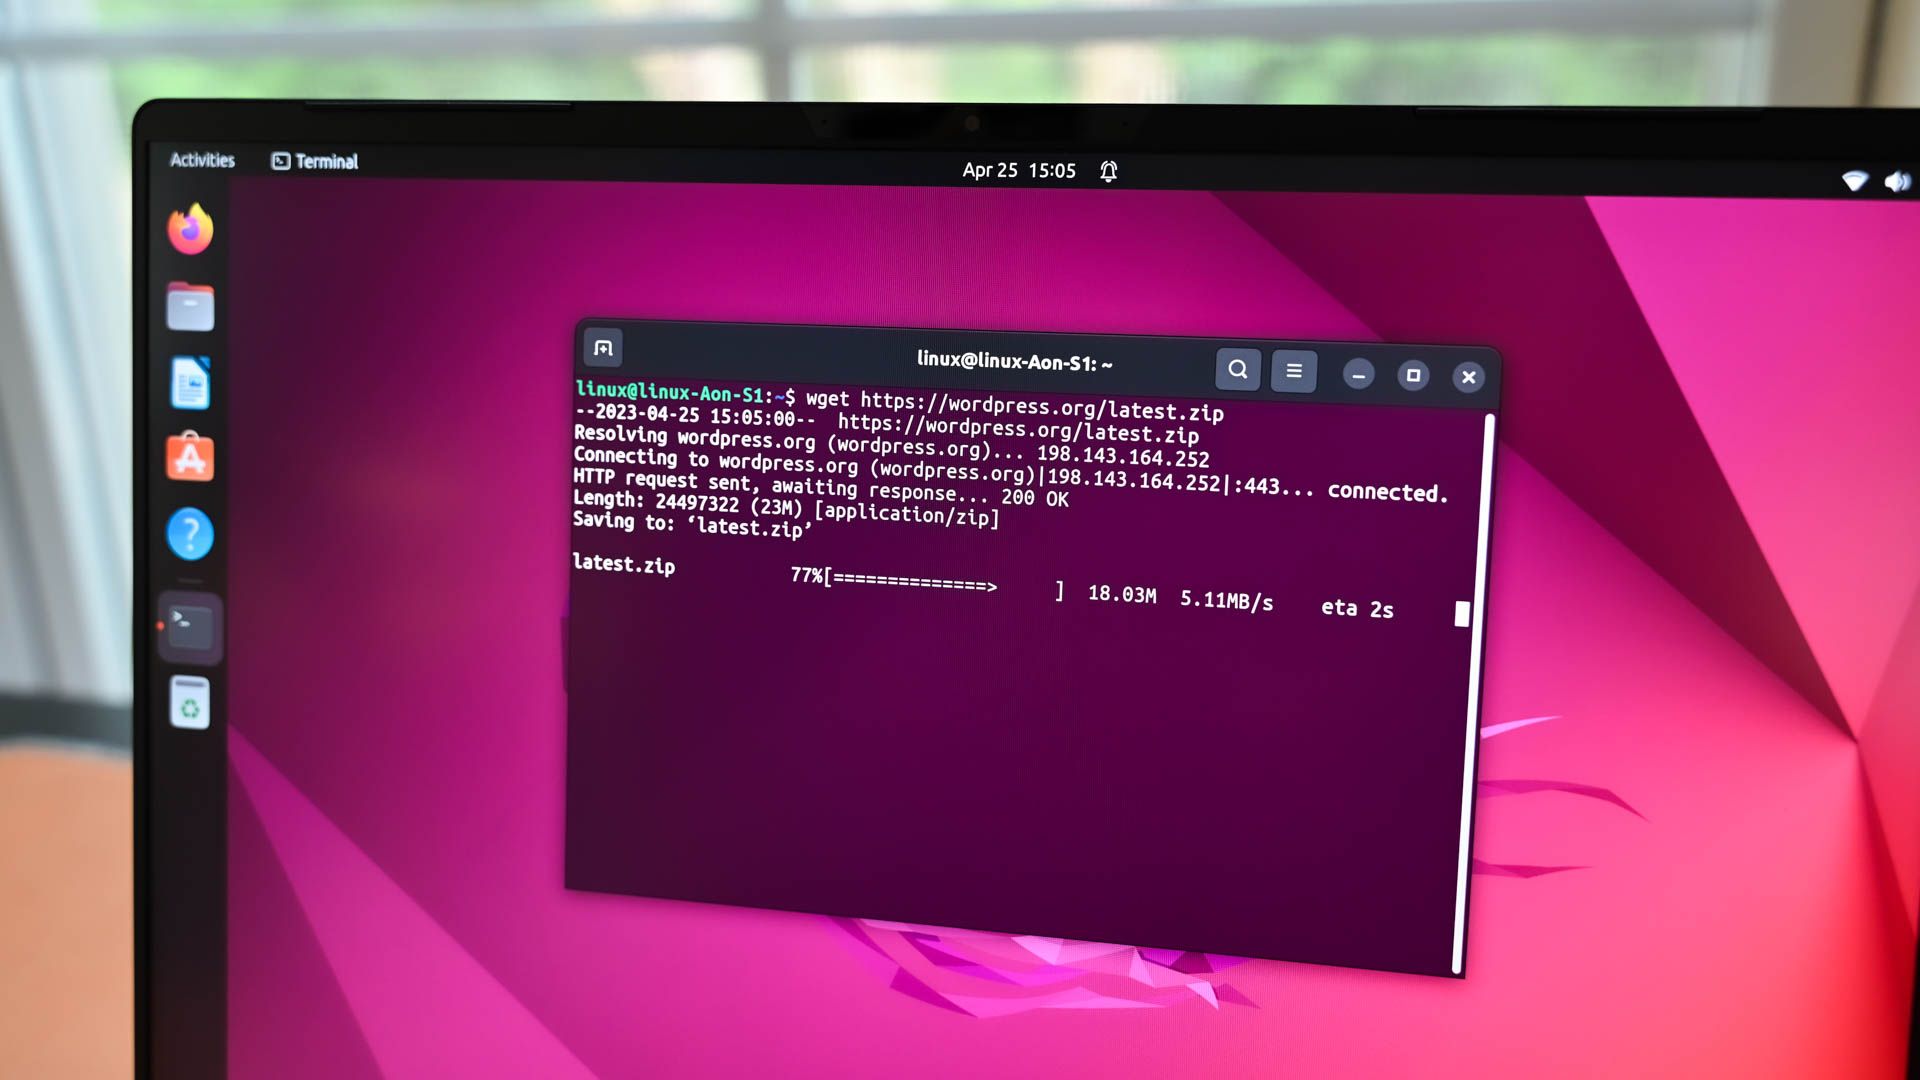
Ubuntu comes with a firewall tool called UFW (Uncomplicated Firewall), but it’s usually not enabled by default on desktop installations.
Related
How to Get Started With firewalld on Linux
The easiest firewall on Linux?
For most people, leaving the firewall turned off is fine. However, if you’re like me and sometimes run specific services like SSH or a web server, you’ll need to open ports, which can potentially expose you to bad actors. In that case, you should activate and manage the firewall.
Enabling it is super simple. Just open a terminal and run:
sudo ufw enable
That’s usually it—it sets up sensible defaults. You can check its status anytime with:
sudo ufw status
1
Install Backup Software
Backing up your stuff isn’t exactly a settings tweak, but installing and configuring backup software is absolutely on my essential post-install checklist. Like with any other operating system, it’s crucial for safeguarding against hardware failure, user error, cybersecurity threats, and system-specific issues.
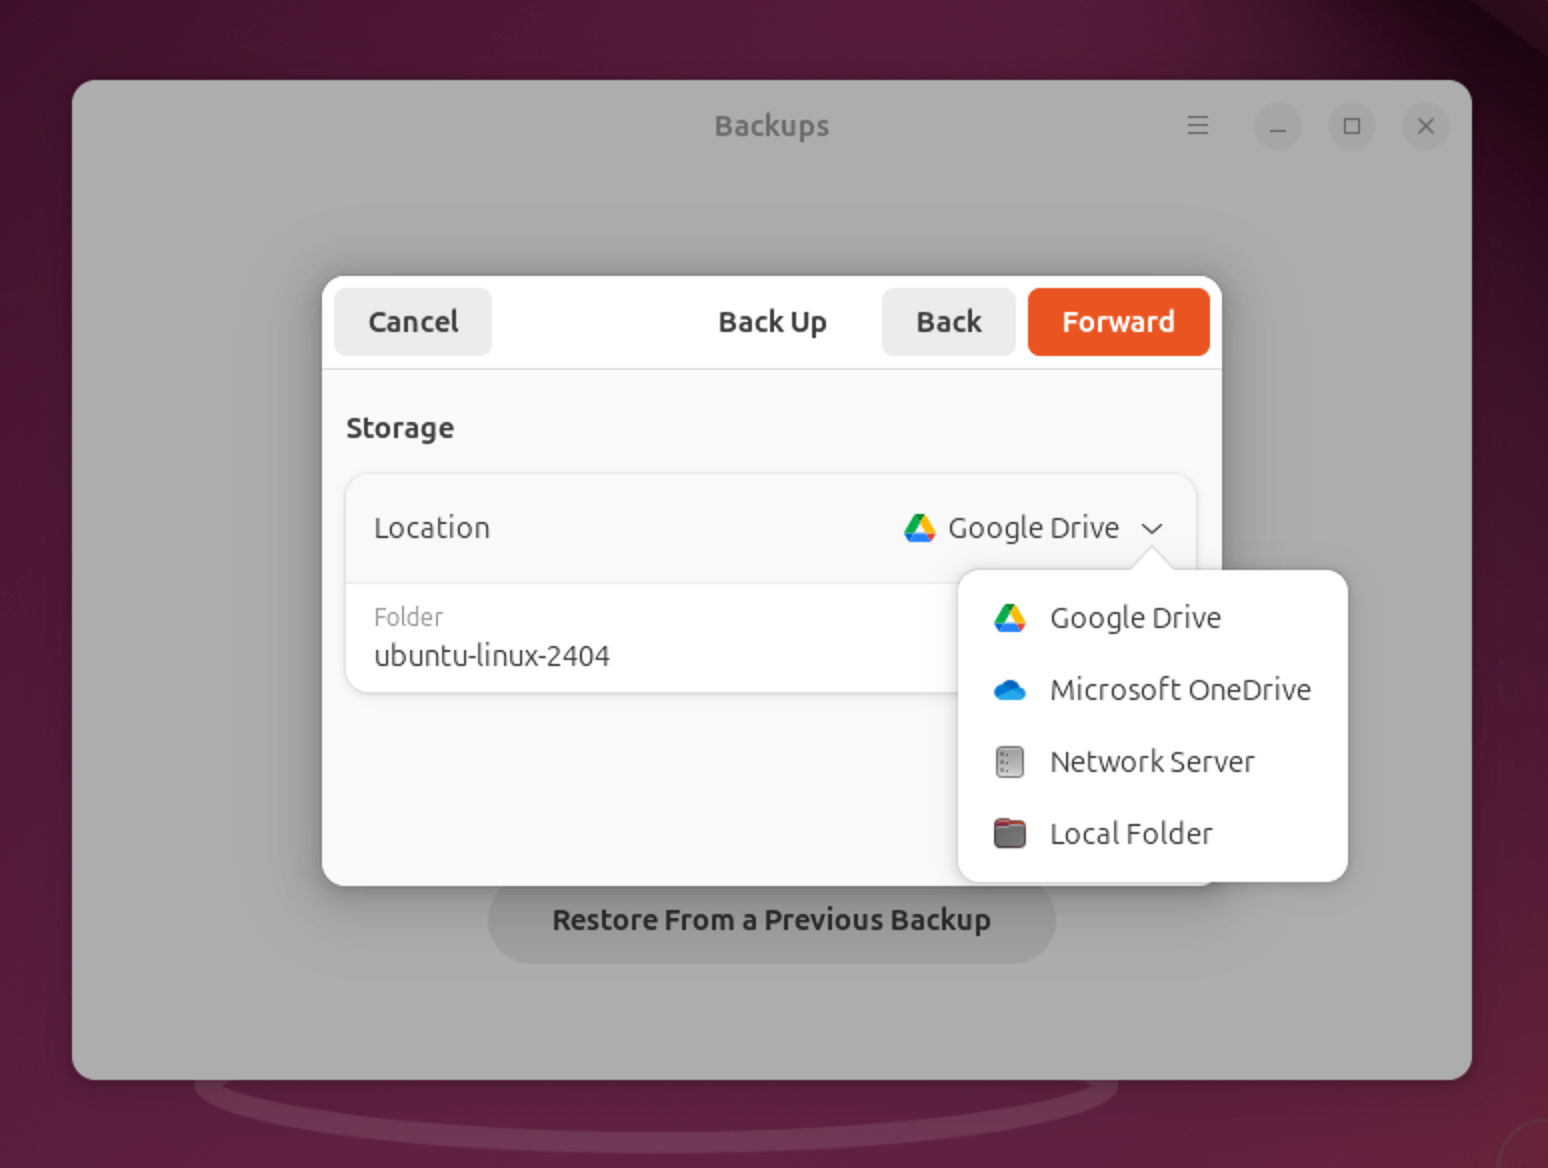
Ubuntu comes with a built-in backup tool called Backups. It’s simple, integrates well, and can back up your important home folder files to an external drive or cloud storage (like Google Drive).
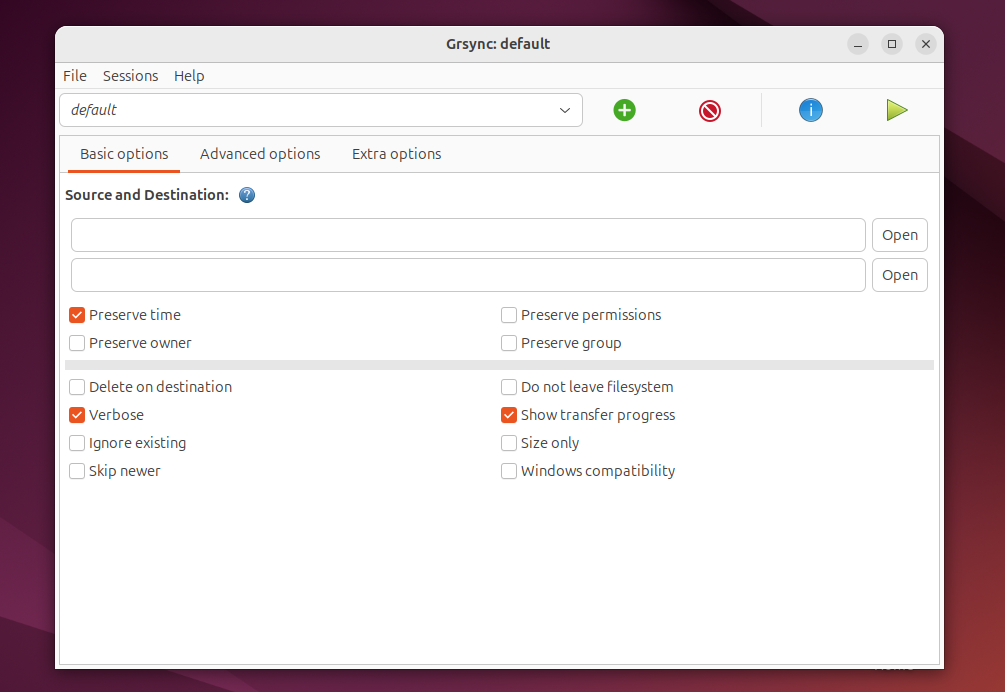
However, after trying numerous backup solutions, I prefer Timeshift for system backups. It offers a clean interface while using rsync under the hood when operating in RSYNC mode. To install Timeshift, run:
sudo apt install timeshift
Timeshift is different from tools that just back up your personal files. It mainly saves your system settings and important system files. This is really useful if you want to experiment with your system or install updates that might cause problems.
Related
The 5 Best Ways to Back Up Your Files on Ubuntu
From simple to low-level, here’s your go-to list of backup methods on Linux Ubuntu
And there you have it! Those are the main things I usually tinker with right after a fresh Ubuntu install. What I love about Linux is that there’s no single correct configuration—it’s all about what works best for your needs and workflow.


